Learning Ukulele 50 Sites Top 50 Ukulele Sites Argapa Ukuleles - one size louder

Sunday, May 31, 2020

A bit of binding and a rosette

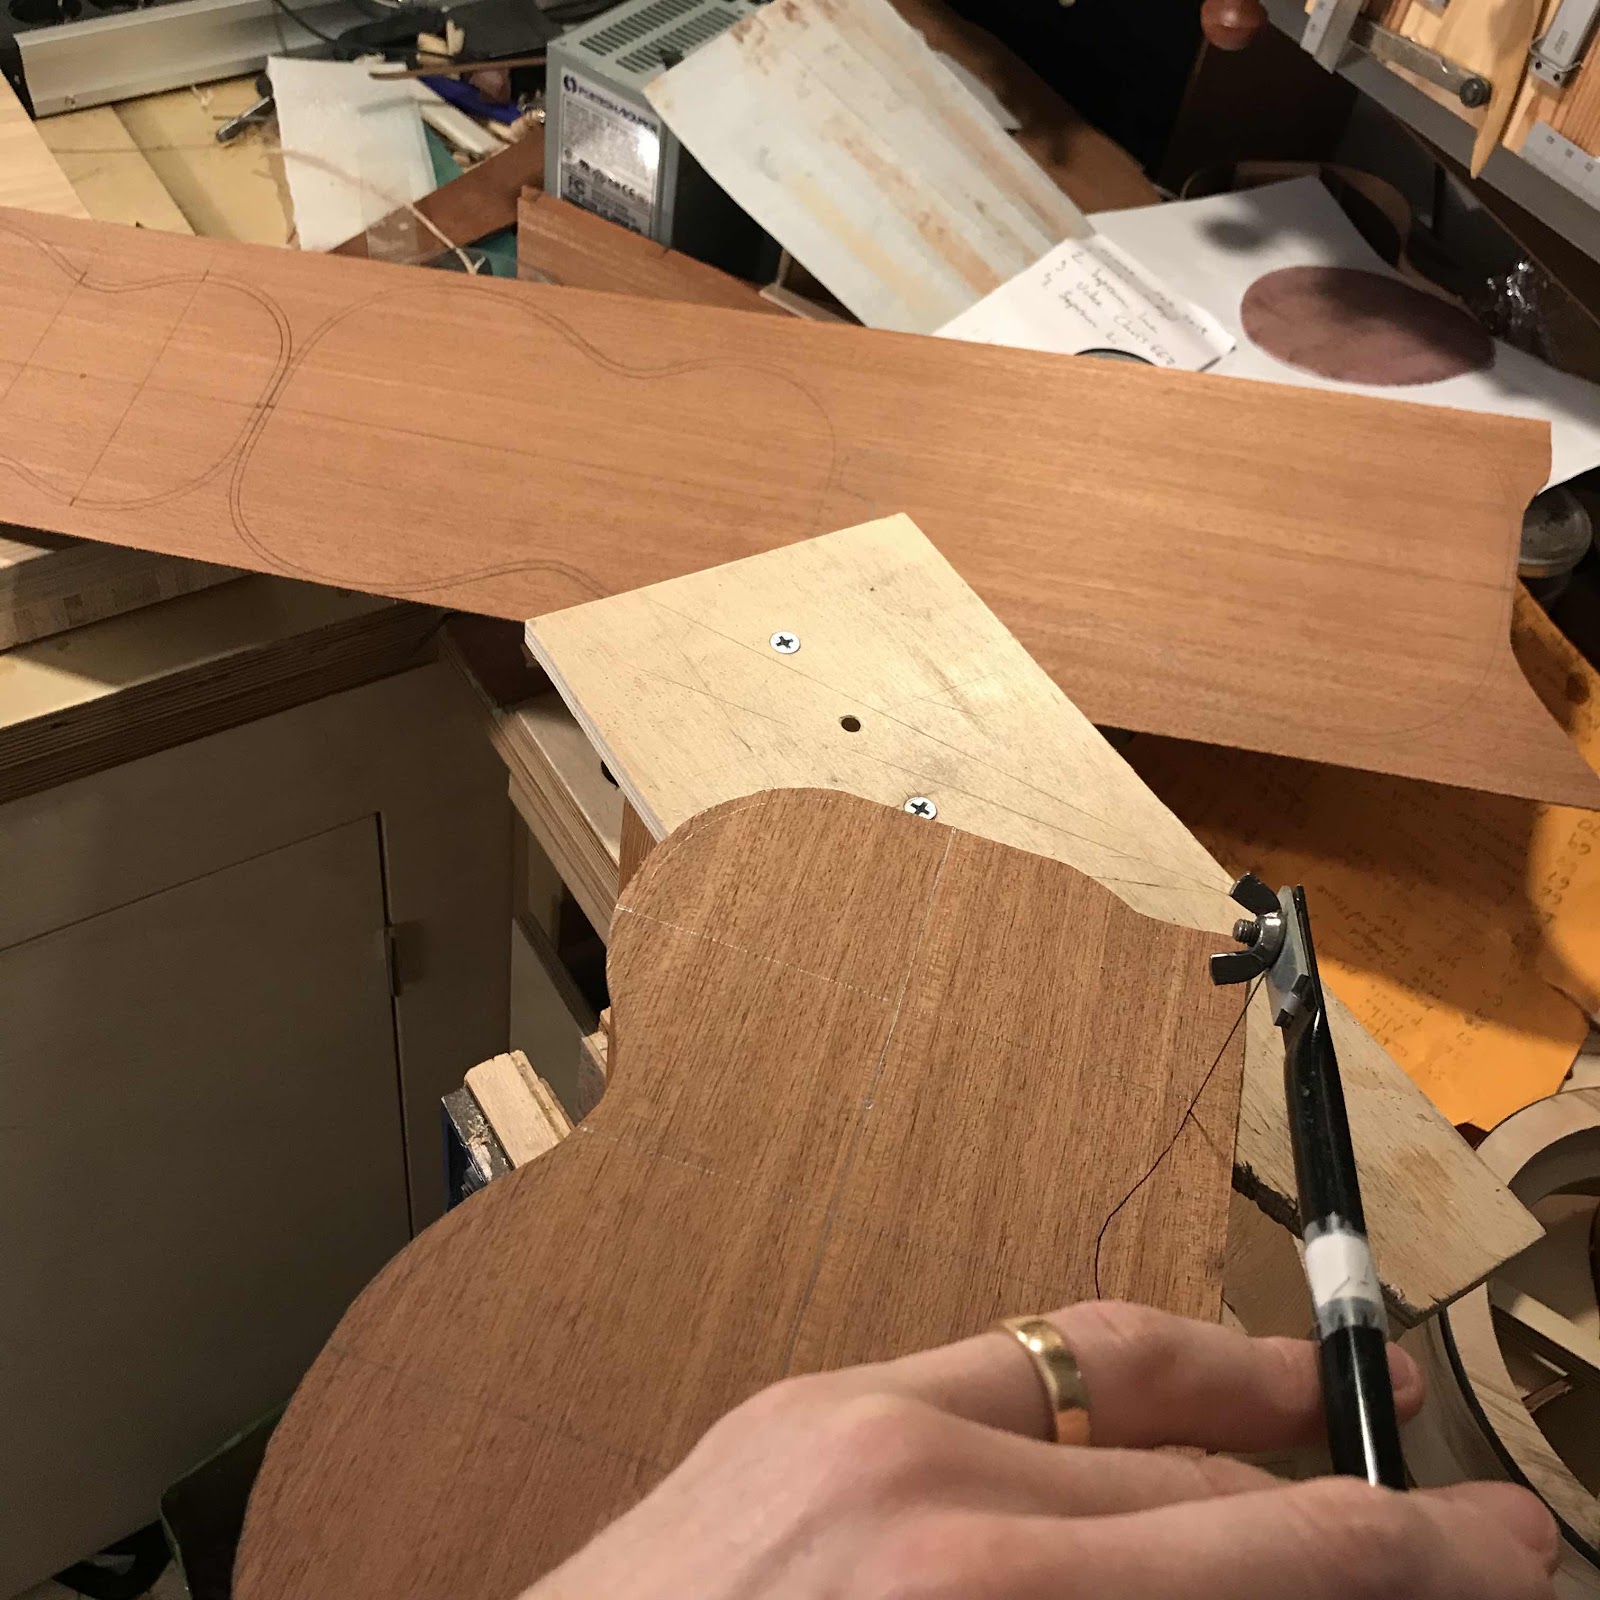
I pushed on and made some progress. I cut out the top for the soprano with a coping saw I got at a flea market. My expensive saw from Knew concepts is acting up and frankly this 2 dollar tool does a better job right now. And I couldn’t be arsed to whip out the tiny bandsaw. 


My Bavarian customer didn’t request binding, and all mahogany ukes don’t need any. But I will install a rosette. Here’s my favourite tool, my rosette cutter from Micheal Connor in Australia. Hefty. Reliable. Perfect. 


I bend the black veneer strip on a large soldering iron that I found in a barn. Apparently it was used for de-horning cows. But now it’s in my workshop so all cows are safe. 


After putting it into the channel and wicking in superglue I use a steel tool shaft to pres it down and slightly squash the veneer so it fills the channel nice and tight. 


Then a shot or two with the accelerator and it’s ready to take down with a chisel and the scraper from Stewmac. 


But what about that binding? I wasn’t thrilled with the look of the joint between the top and rim of the reso so I routed a channel and added binding. The weather was nice so I sat on the balcony (also good for the glue fumes).


Friday, May 29, 2020

Oh err... three on the bench!

Well this is nice. Since starting that reso a while back I have picked up some steam, and now I have no fewer than three ukes on the bench. The reso, a travel uke, and an acoustic soprano bound for Bavaria. 

But I’m getting ahead of myself. We’ll take the reso first. The wood was resawn, the plates for the top and back were joined, and sanded together with the rim. 


Then I assembled the skeleton. The dowels are cut to 50 mm length and the neck block and a temporary spacer make sure it comes together the way it should. 


I didn’t take pics of bending the rim, sorry about that. But here’s me laying out the positions for the holes for the come and sound ports. 


Then I found one of the blanks I’ve prepared for the travel ukes and couldn’t keep from carving the neck on it. First the entry point with the two handled knife. 


Then the Stanley spokeshave - very effective. 


For the finer details I used my Millers Falls no.1, the cigar spokeshave. It’s weird and fiddly to setup but once you get it to work it does things no other tool does. 


And here are some of the parts for the soprano I’m making for a new and very polite customer who almost gave me the freedom to make whatever ukulele I wanted to build for him. We were definitely on the same page regarding specs so I’m convinced he’ll be happy. I’m using very old mahogany for this, and kept the sides quite thick. In the picture you see me gluing the neck block. 


Friday, May 22, 2020

Neck work

I started on a resonator, as you know from that resawing post. That ash wood comes from my own bit of land, and after I made a few fretboard blanks from elm from the same place I thought it’d be nice to use something similar for the neck. Alder’s good and I was sure I had some kicking around. 

The big board I was thinking of turned out to be a piece of American alder from the lumber yard, so I went rummaging through another pile. 

And came up with this:


A sturdy chunk that has been air dried for several years. It still needs some time indoors but I thought I should see if there was a neck in there somewhere. 

First the planer. 


Then the band saw. With a new blade it works perfectly, best flea market find ever. 


Marking, cursing, re-marking. Then slicing. The wide blade doesn’t really let me cut curves but it’s doable. 


Ta-daa! Maybe I should bake it? To make it all dry and fancy.