Learning Ukulele 50 Sites Top 50 Ukulele Sites Argapa Ukuleles - one size louder: 2/1/20 - 3/1/20

Sunday, February 23, 2020

Fitting pegs

This is no secret: most of the odd design is nicked from the Risa Stick uke and that goes for the tuners too. I drill the holes at an angle using a guide block. 


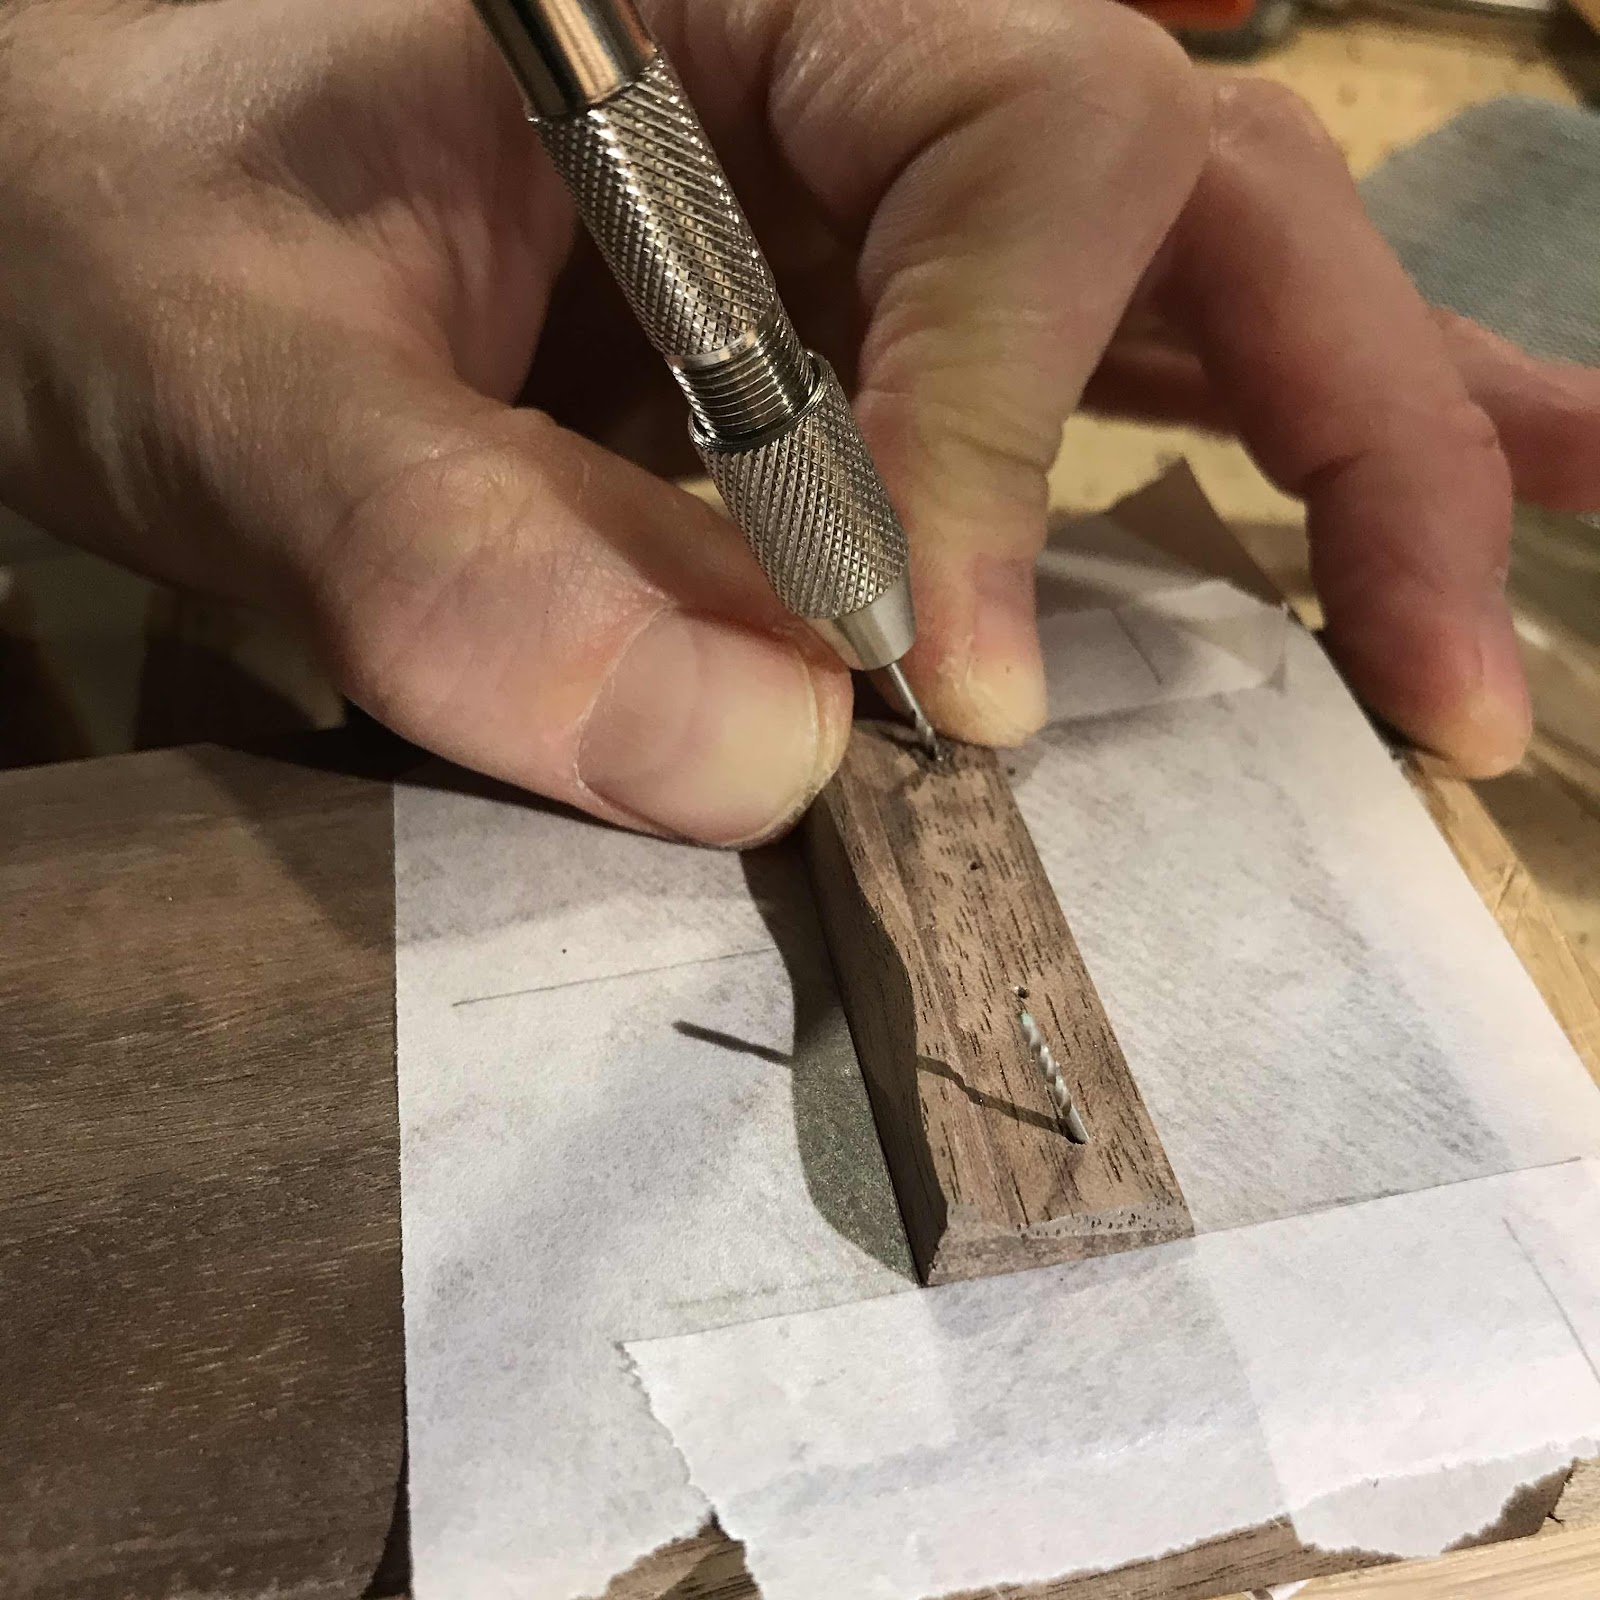
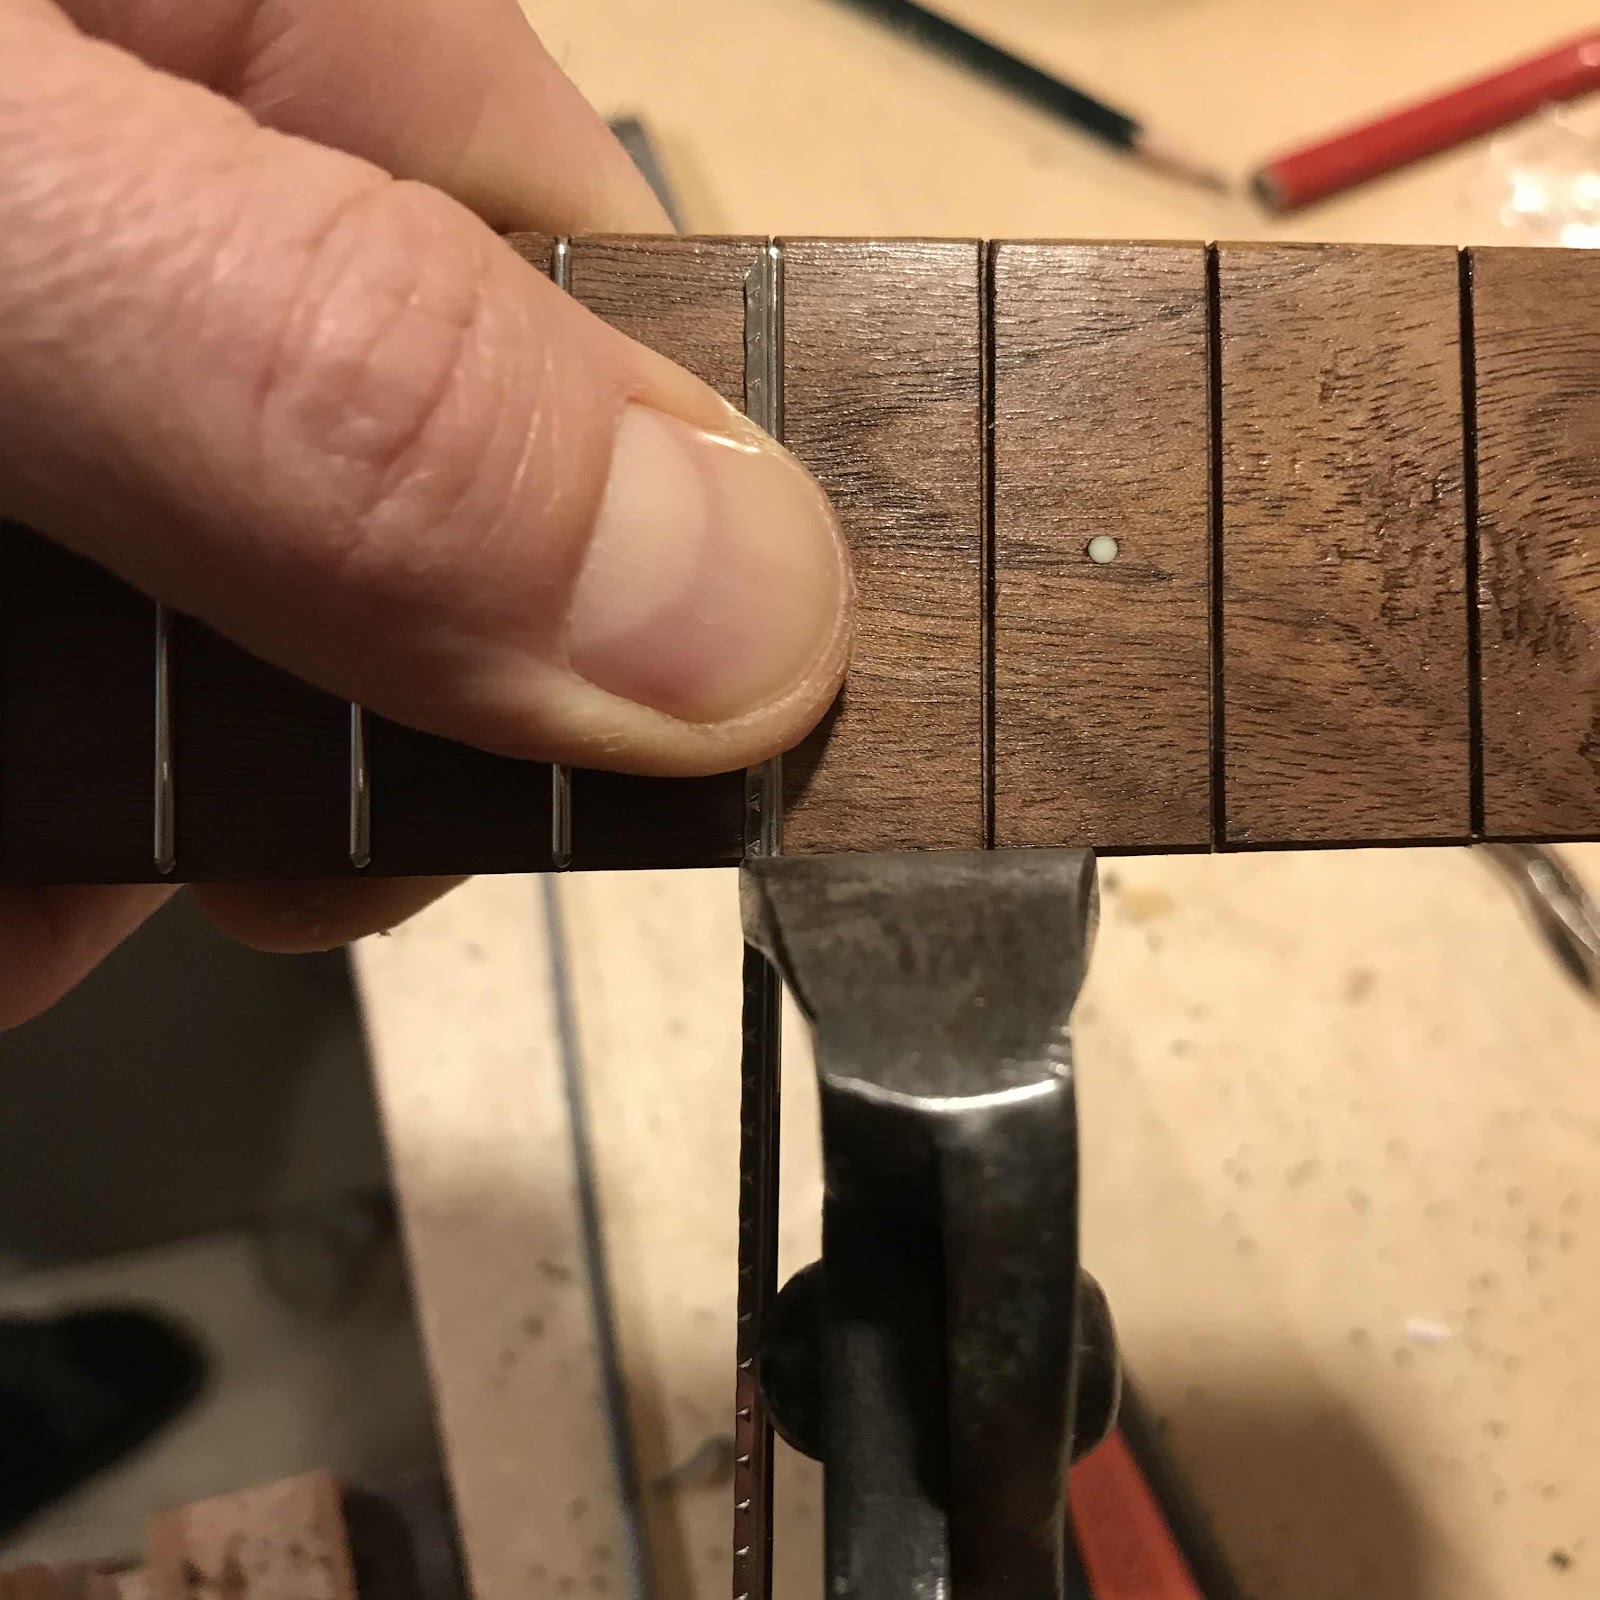
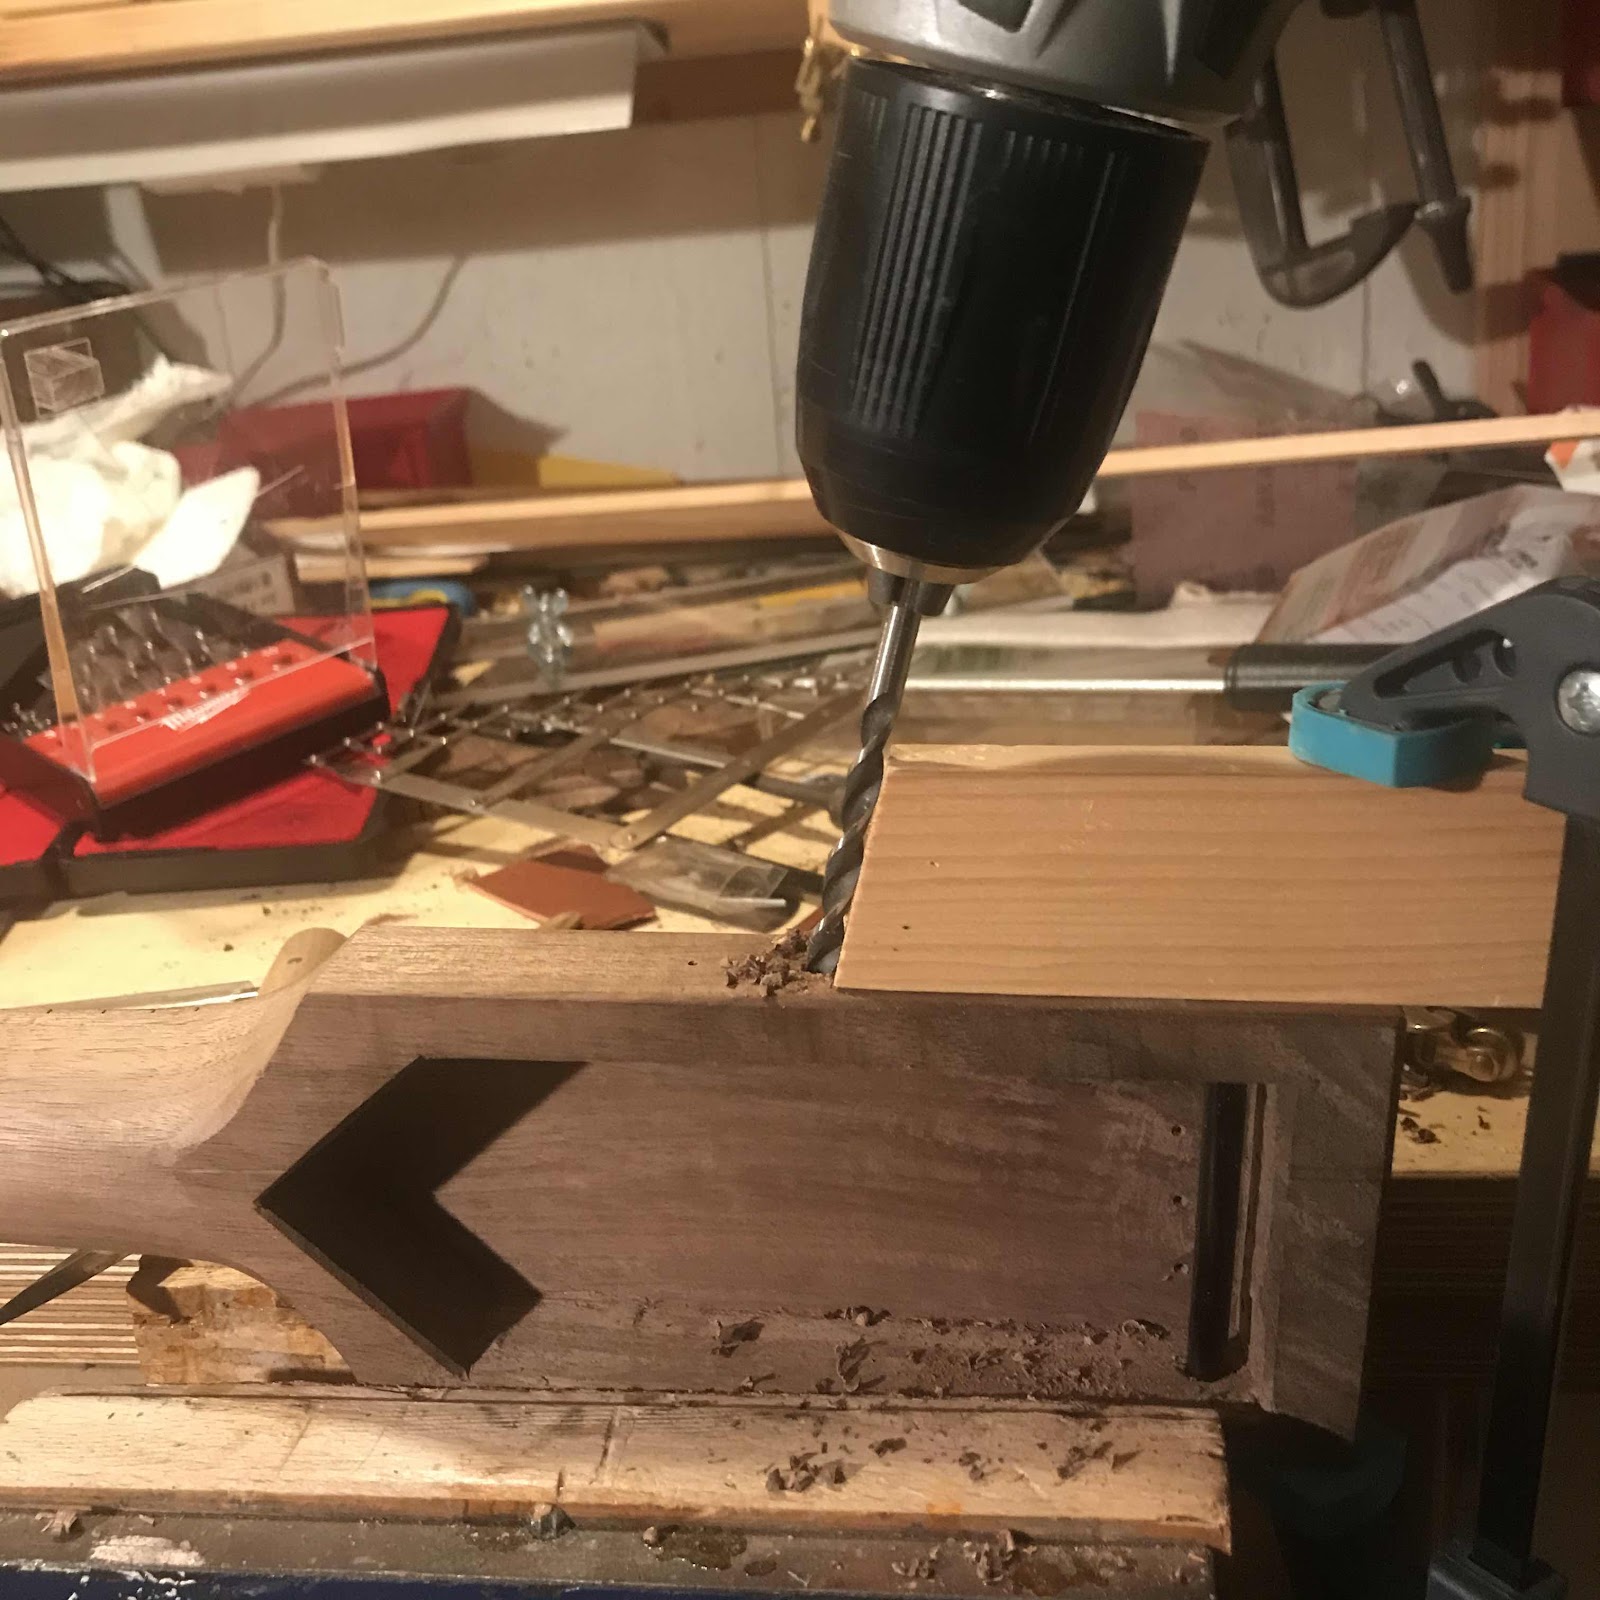
Then I ream the holes. It’s a bit too easy to fudge the angle when reaming so I check with the guide block a few times during reaming. 

A keen reader of the blog remembers why the reamer has such a short, sorry handle. For un-keen readers; check the post in which I finished the uke for Chris recently. 


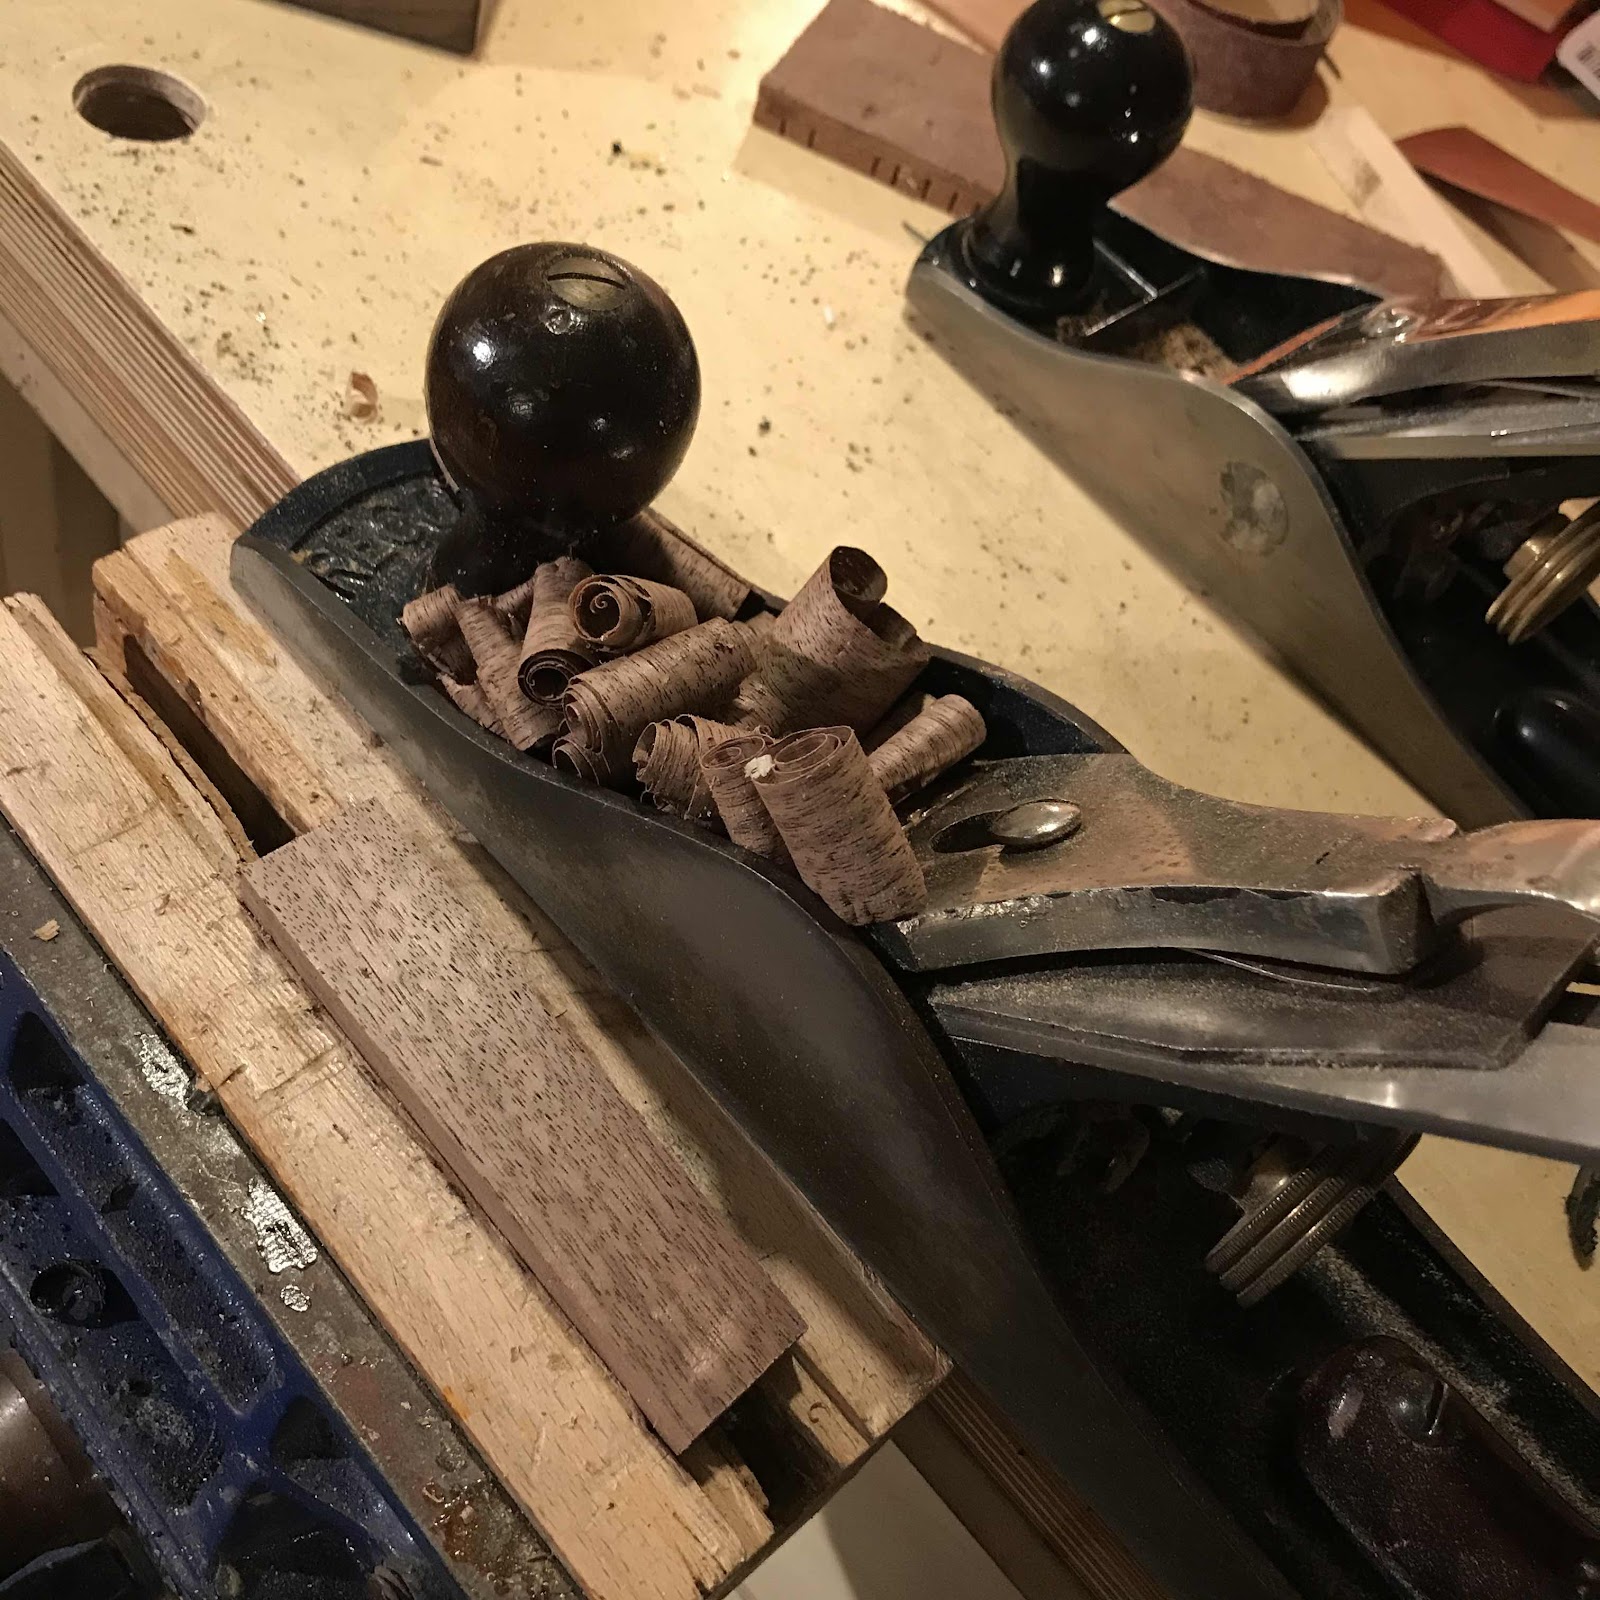
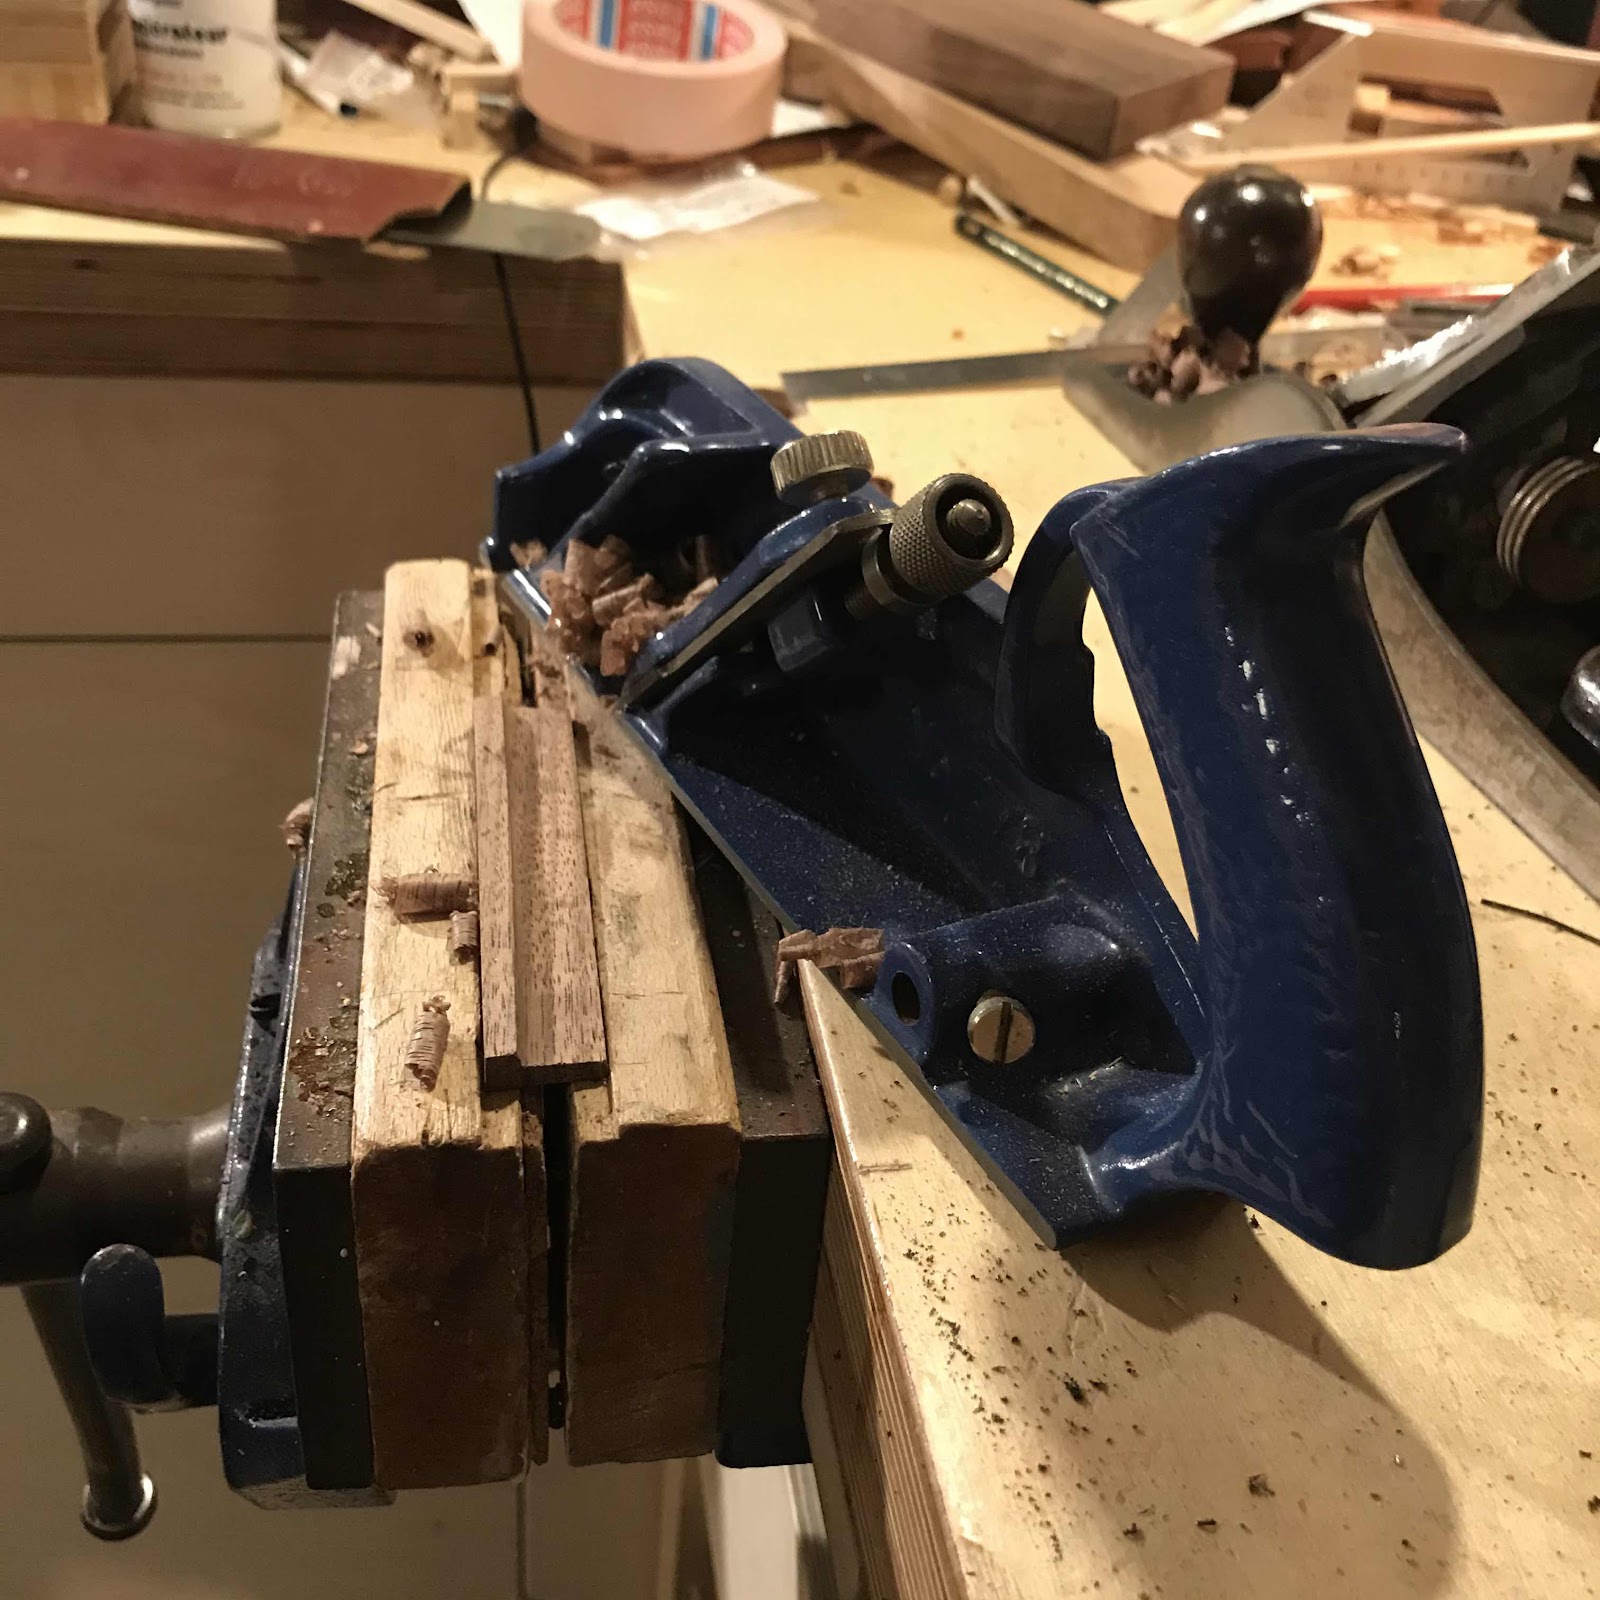
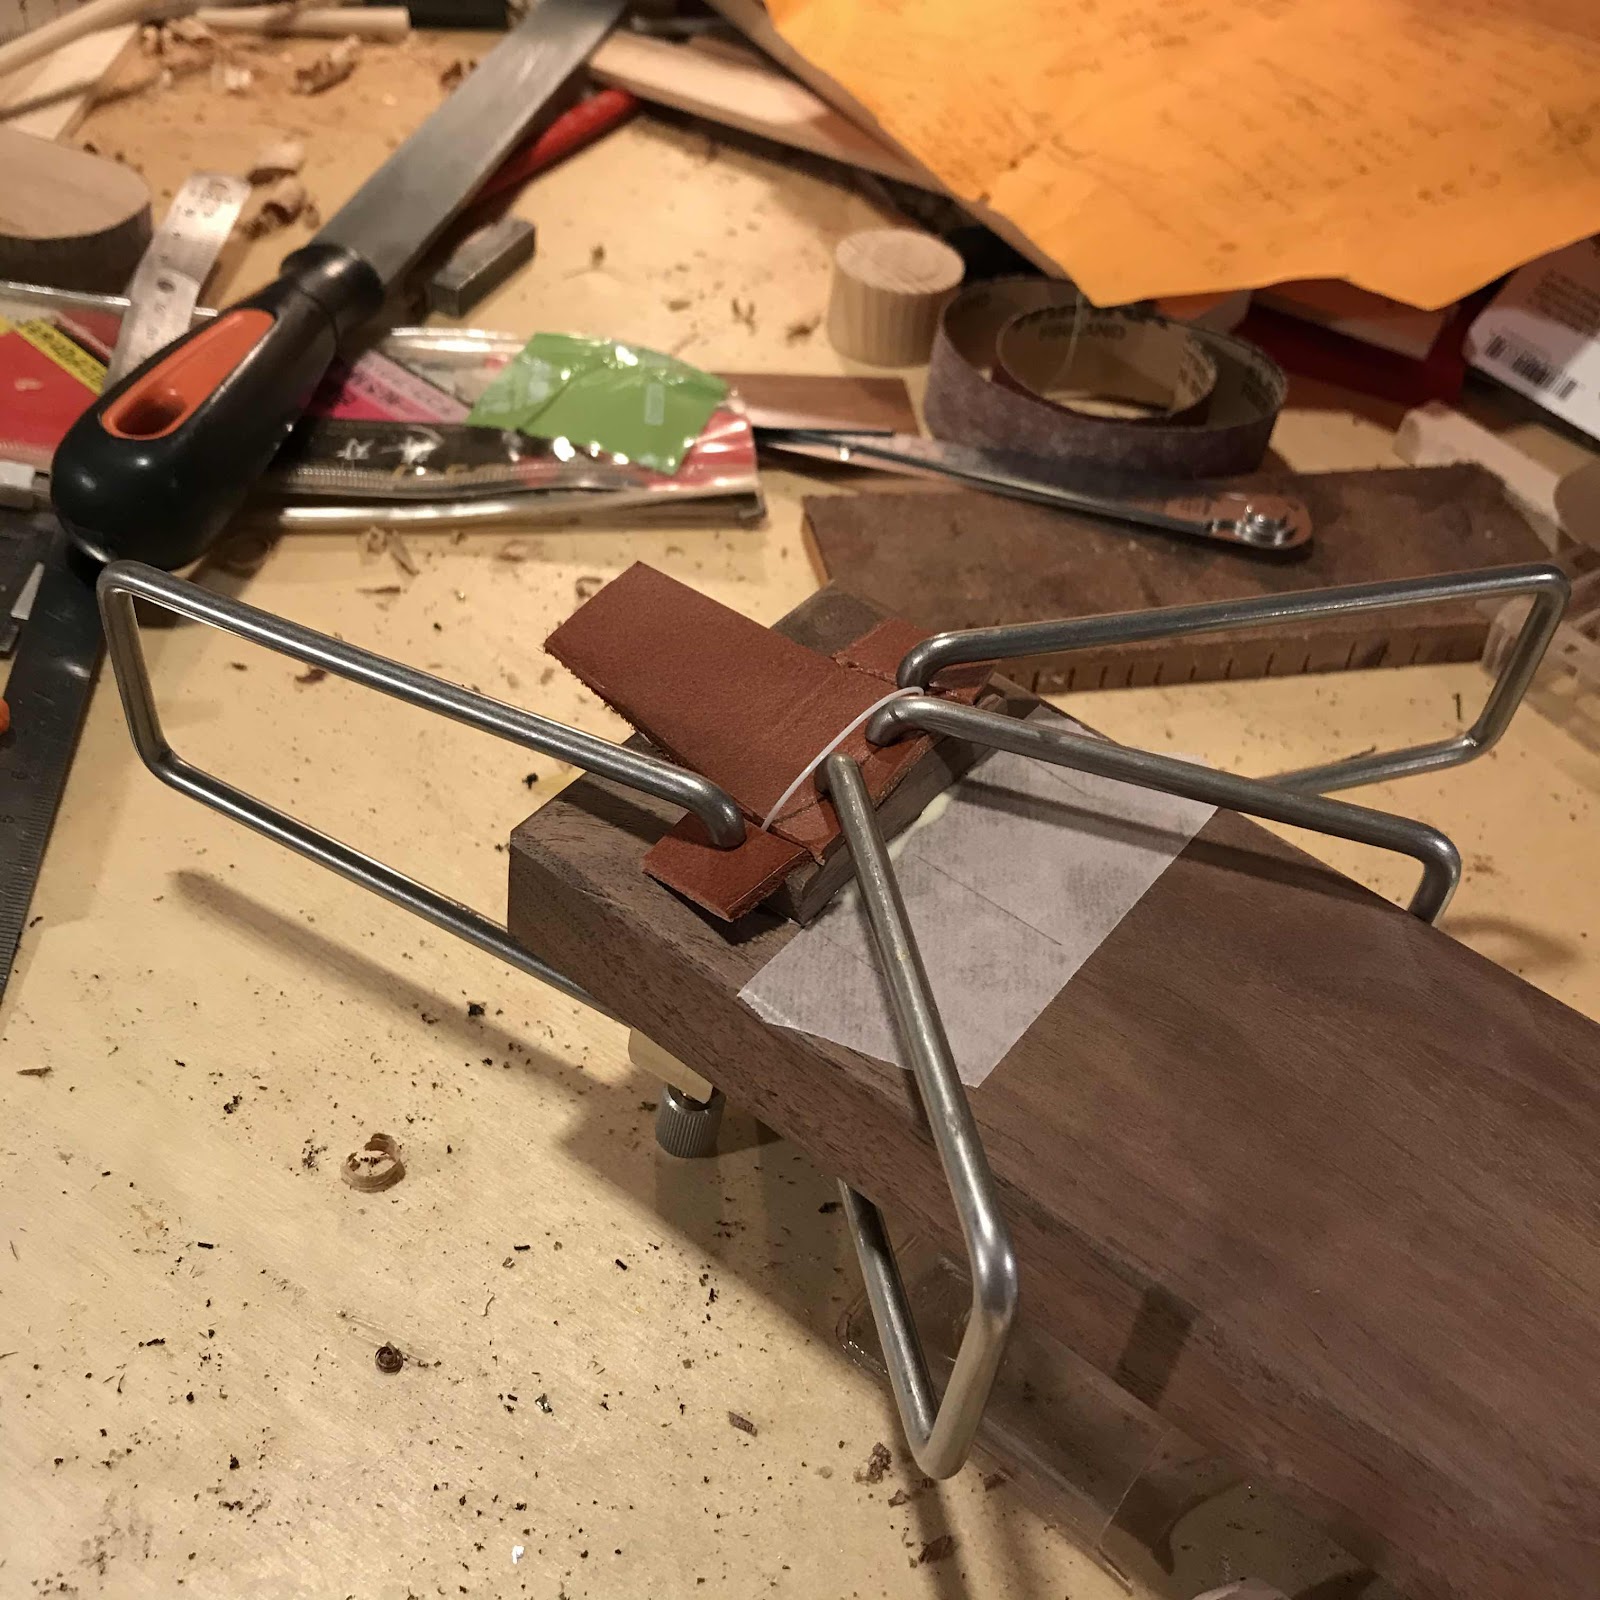
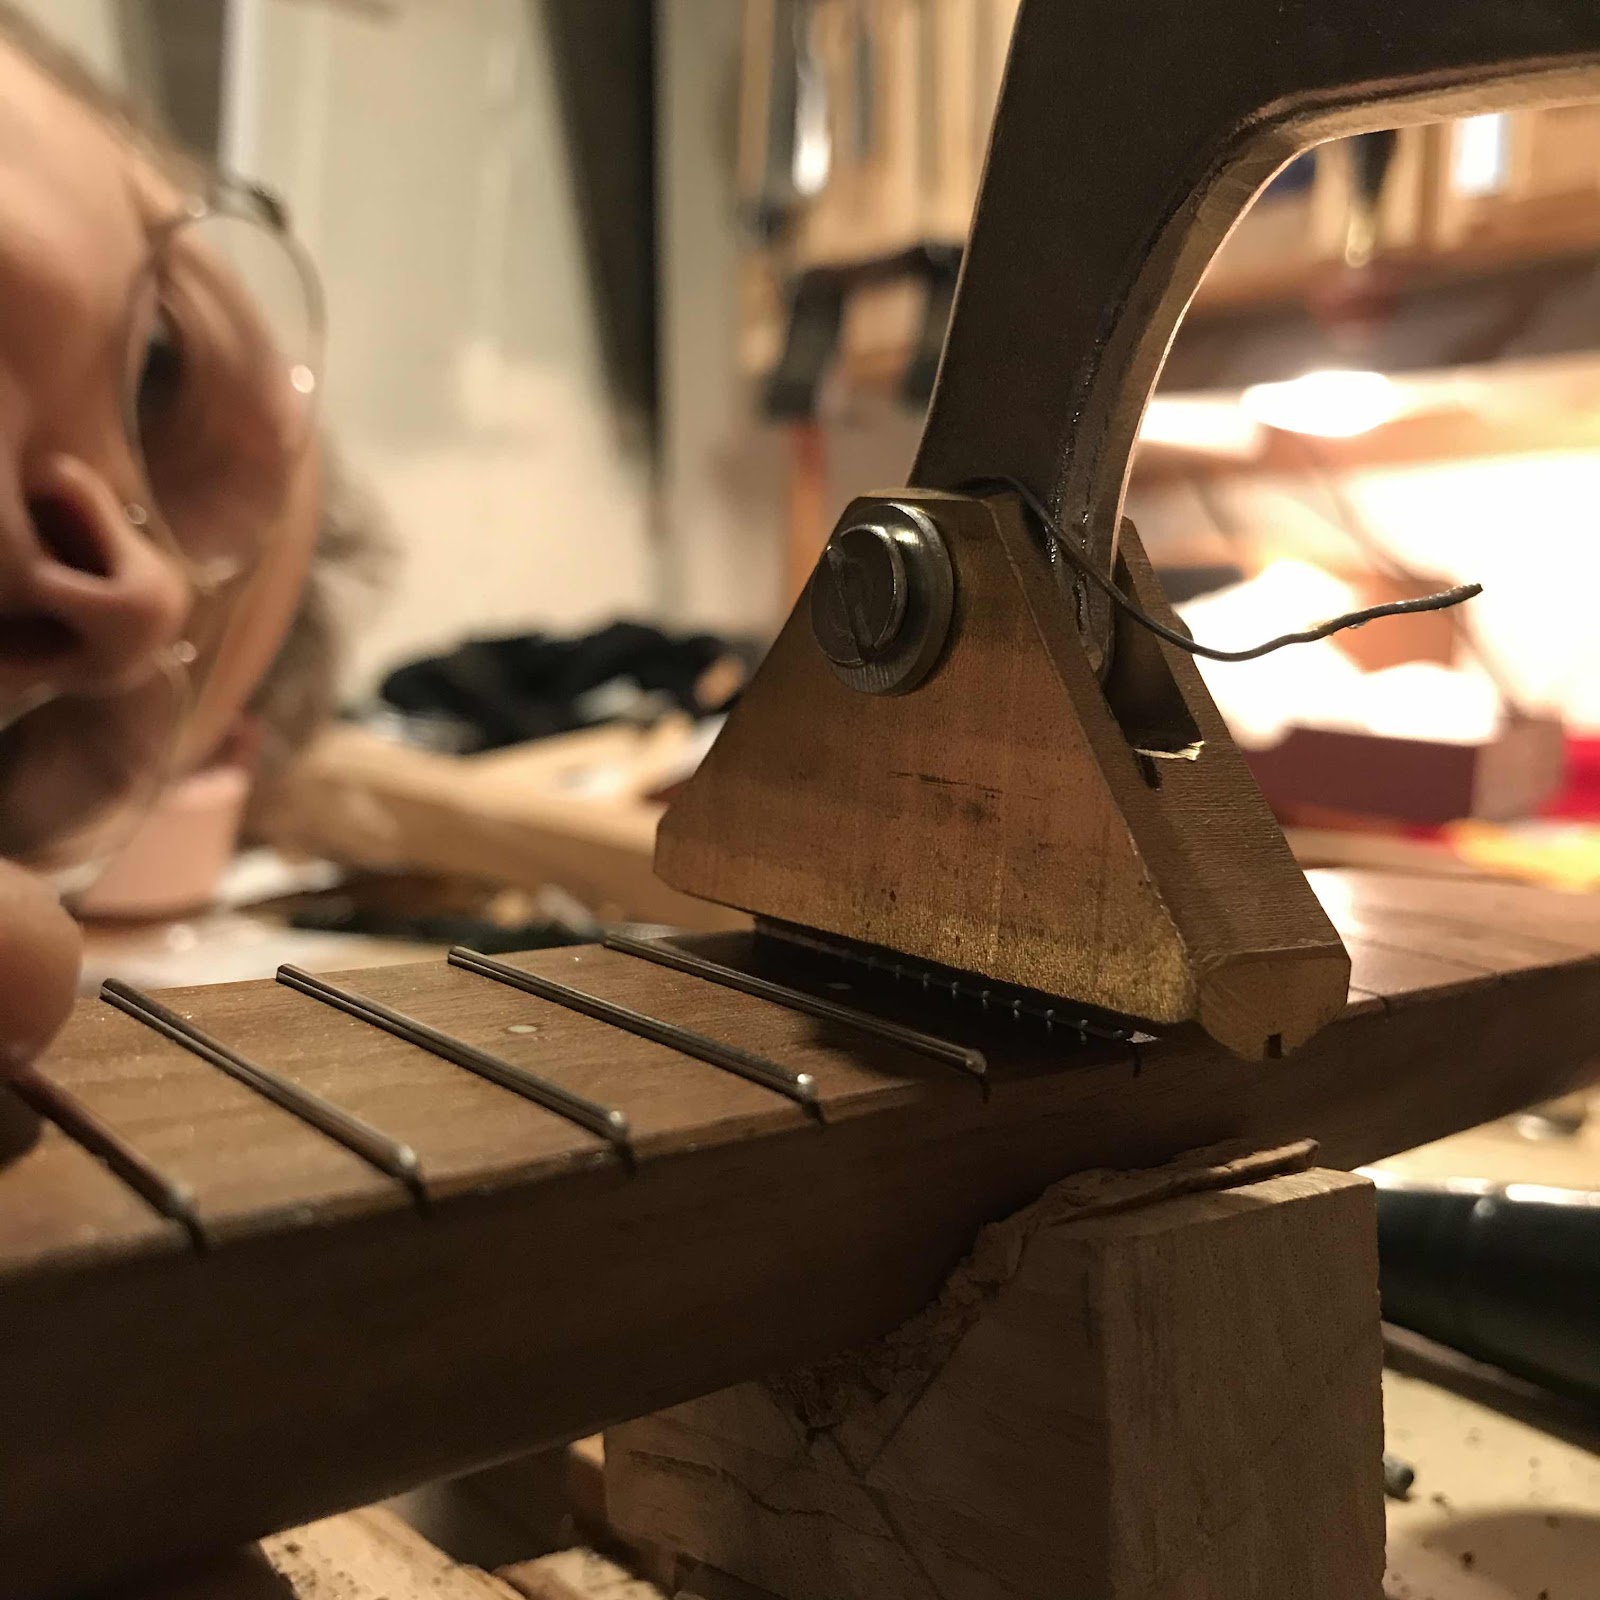
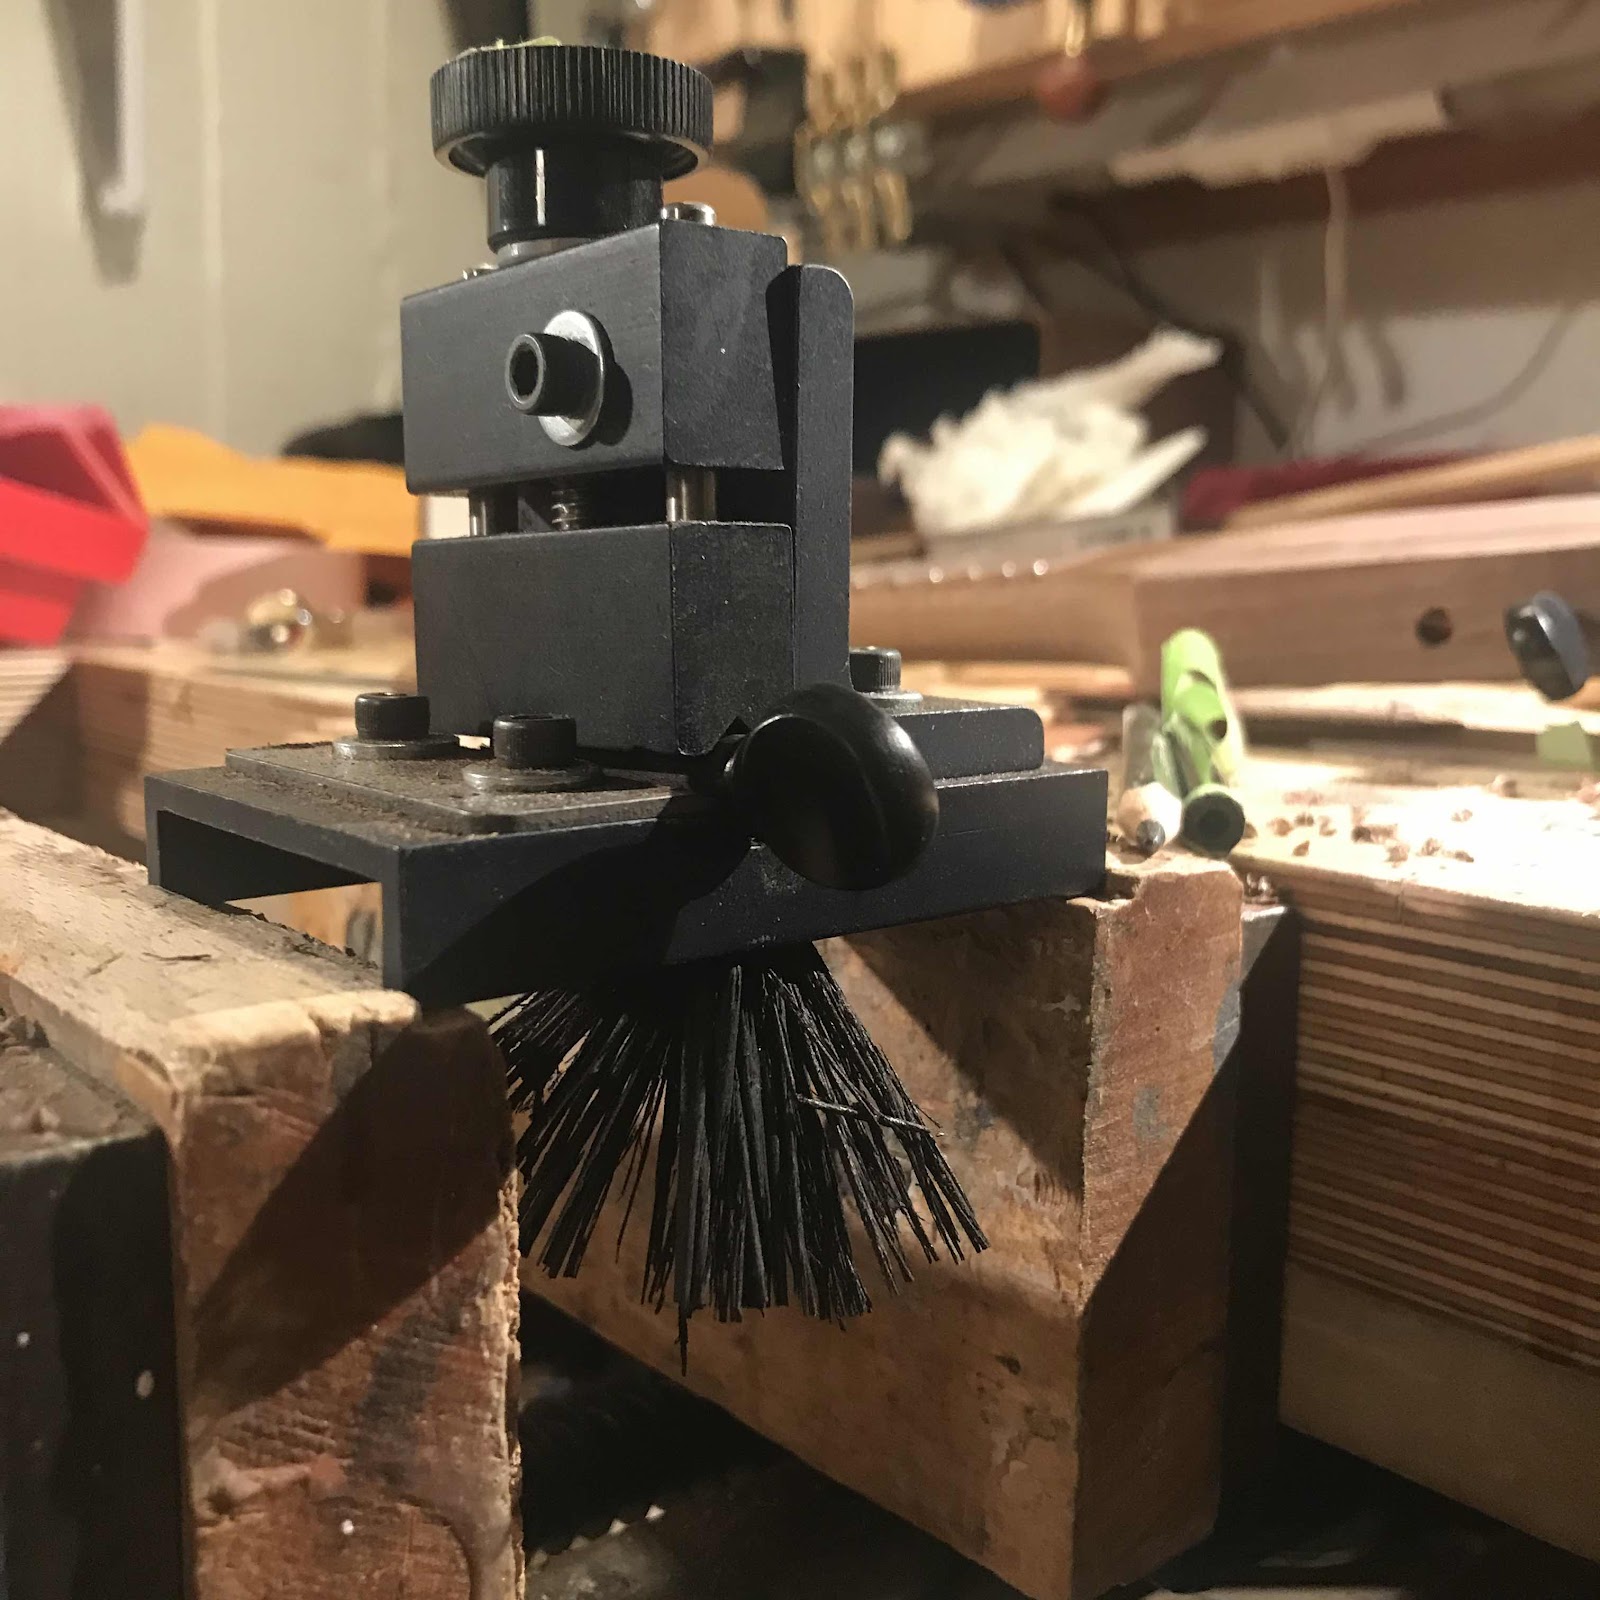
I can’t ream quite as much as I do in a headstock since the tip of the tool hits the opposite wall. So I need to shave the pegs a bit more than usual. Luckily I have a wonderful peg shaver from Juzek tools, bought form metmusic.com. 


All four pegs were straight in the grain and it went well. I’m used to at least one of them splitting and more or less disintegrating. 

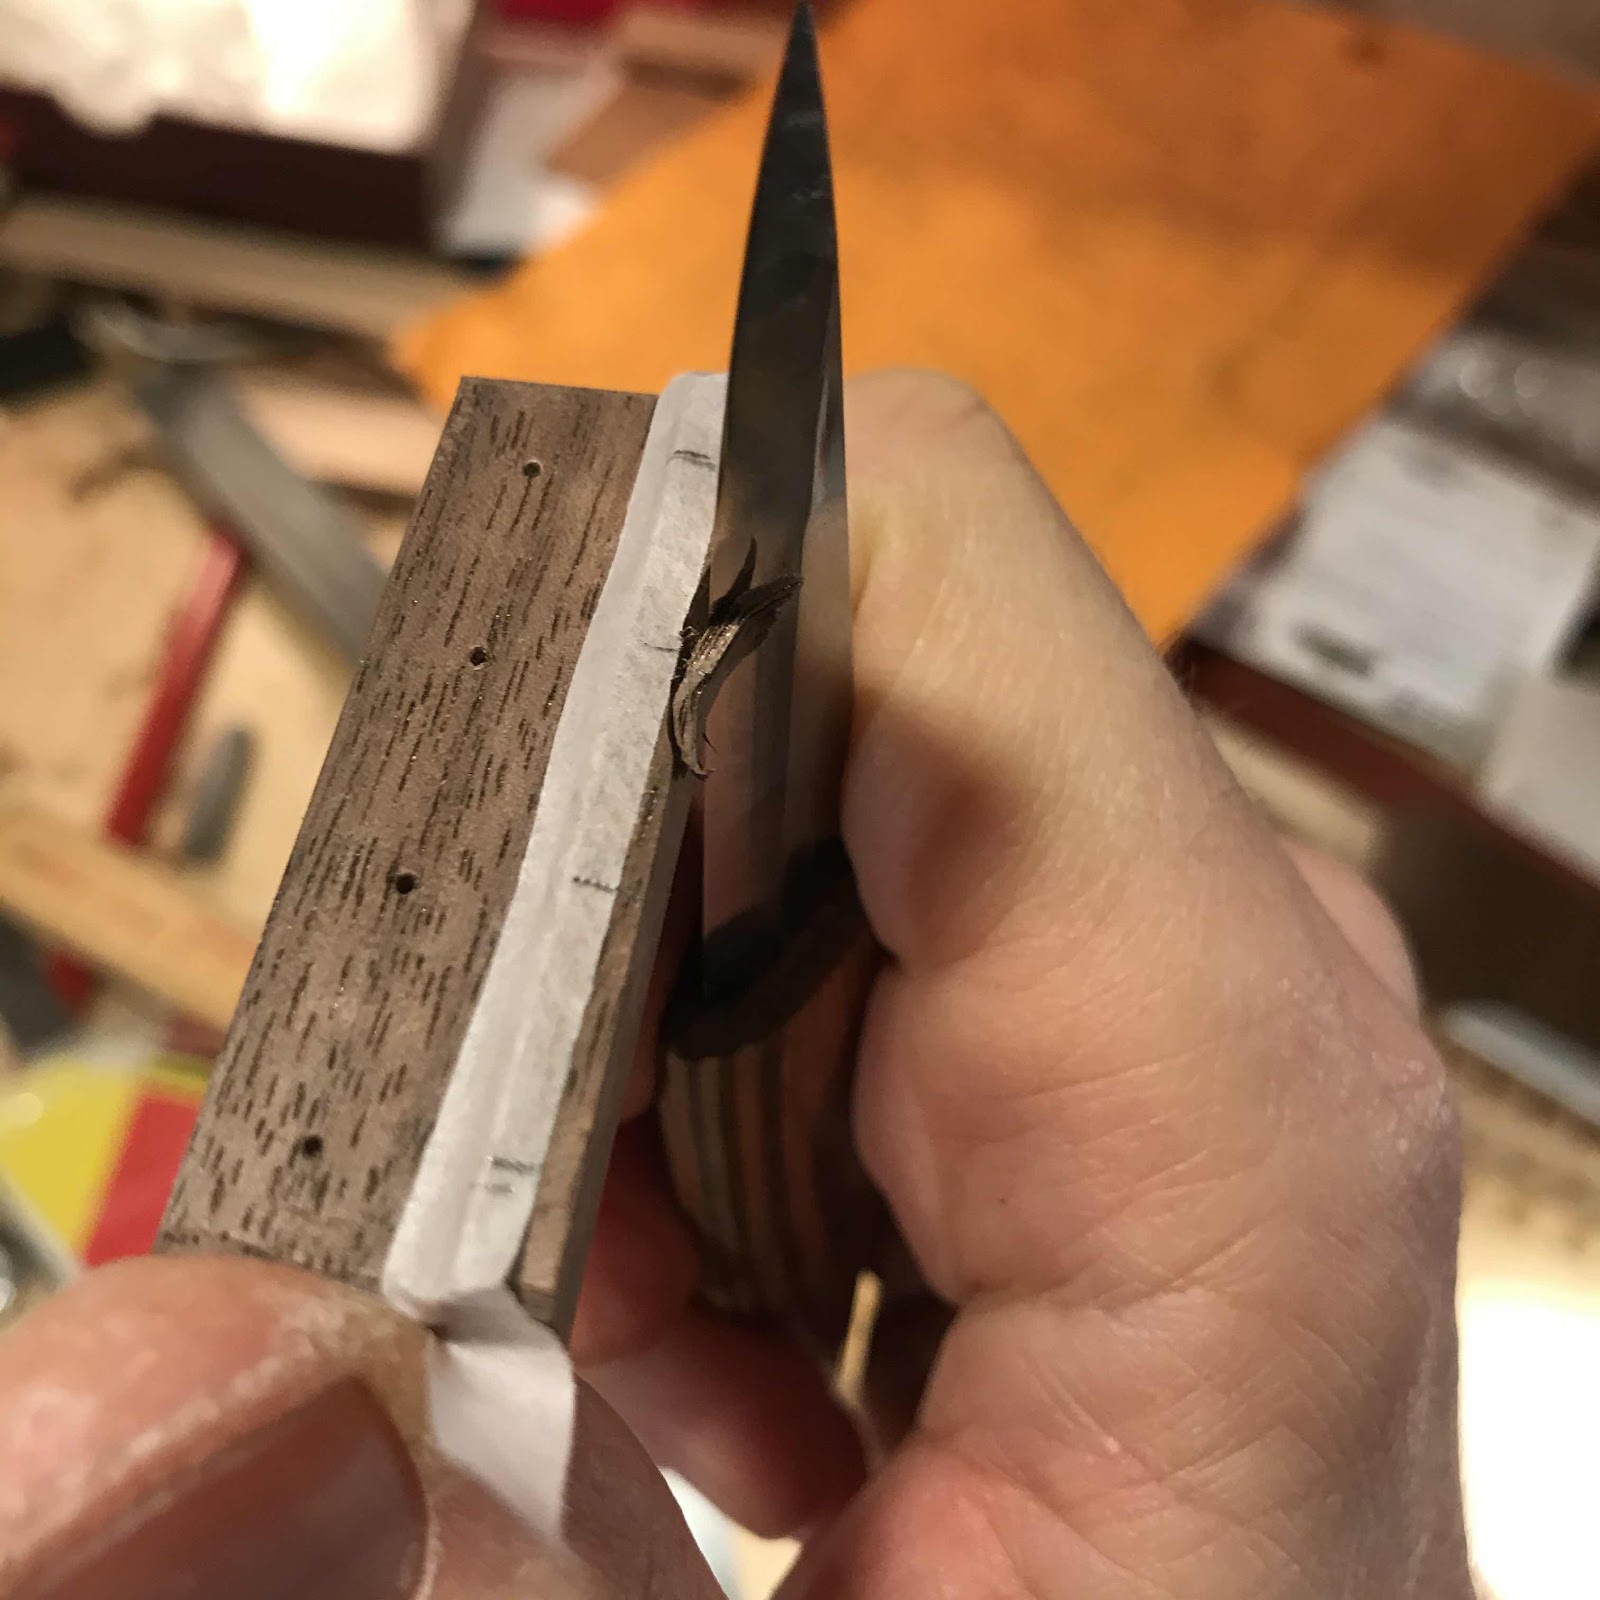
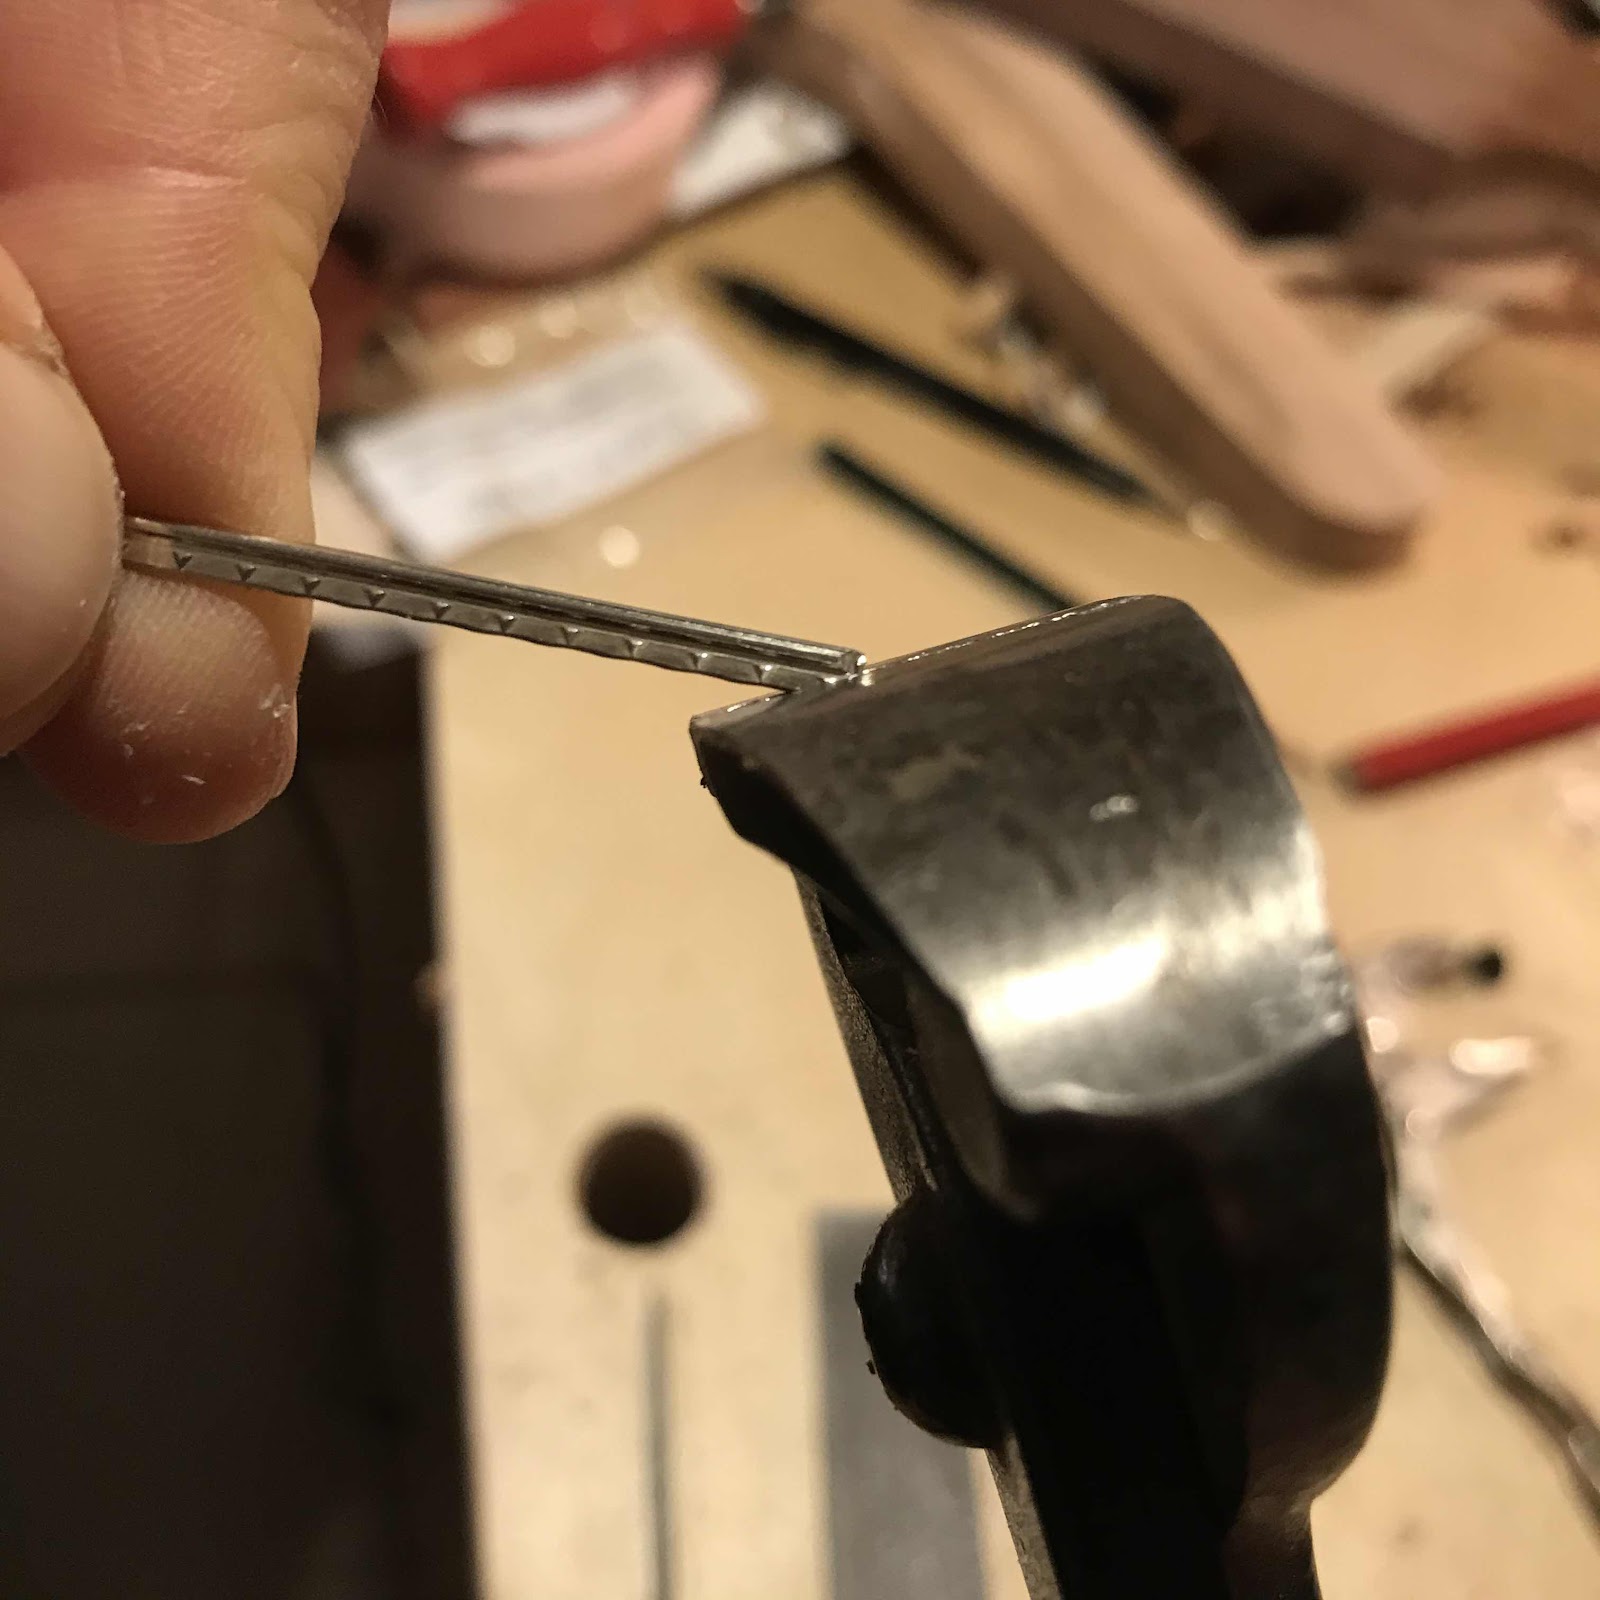
Under the shaver the shavings stick out like bristles on a brush. 


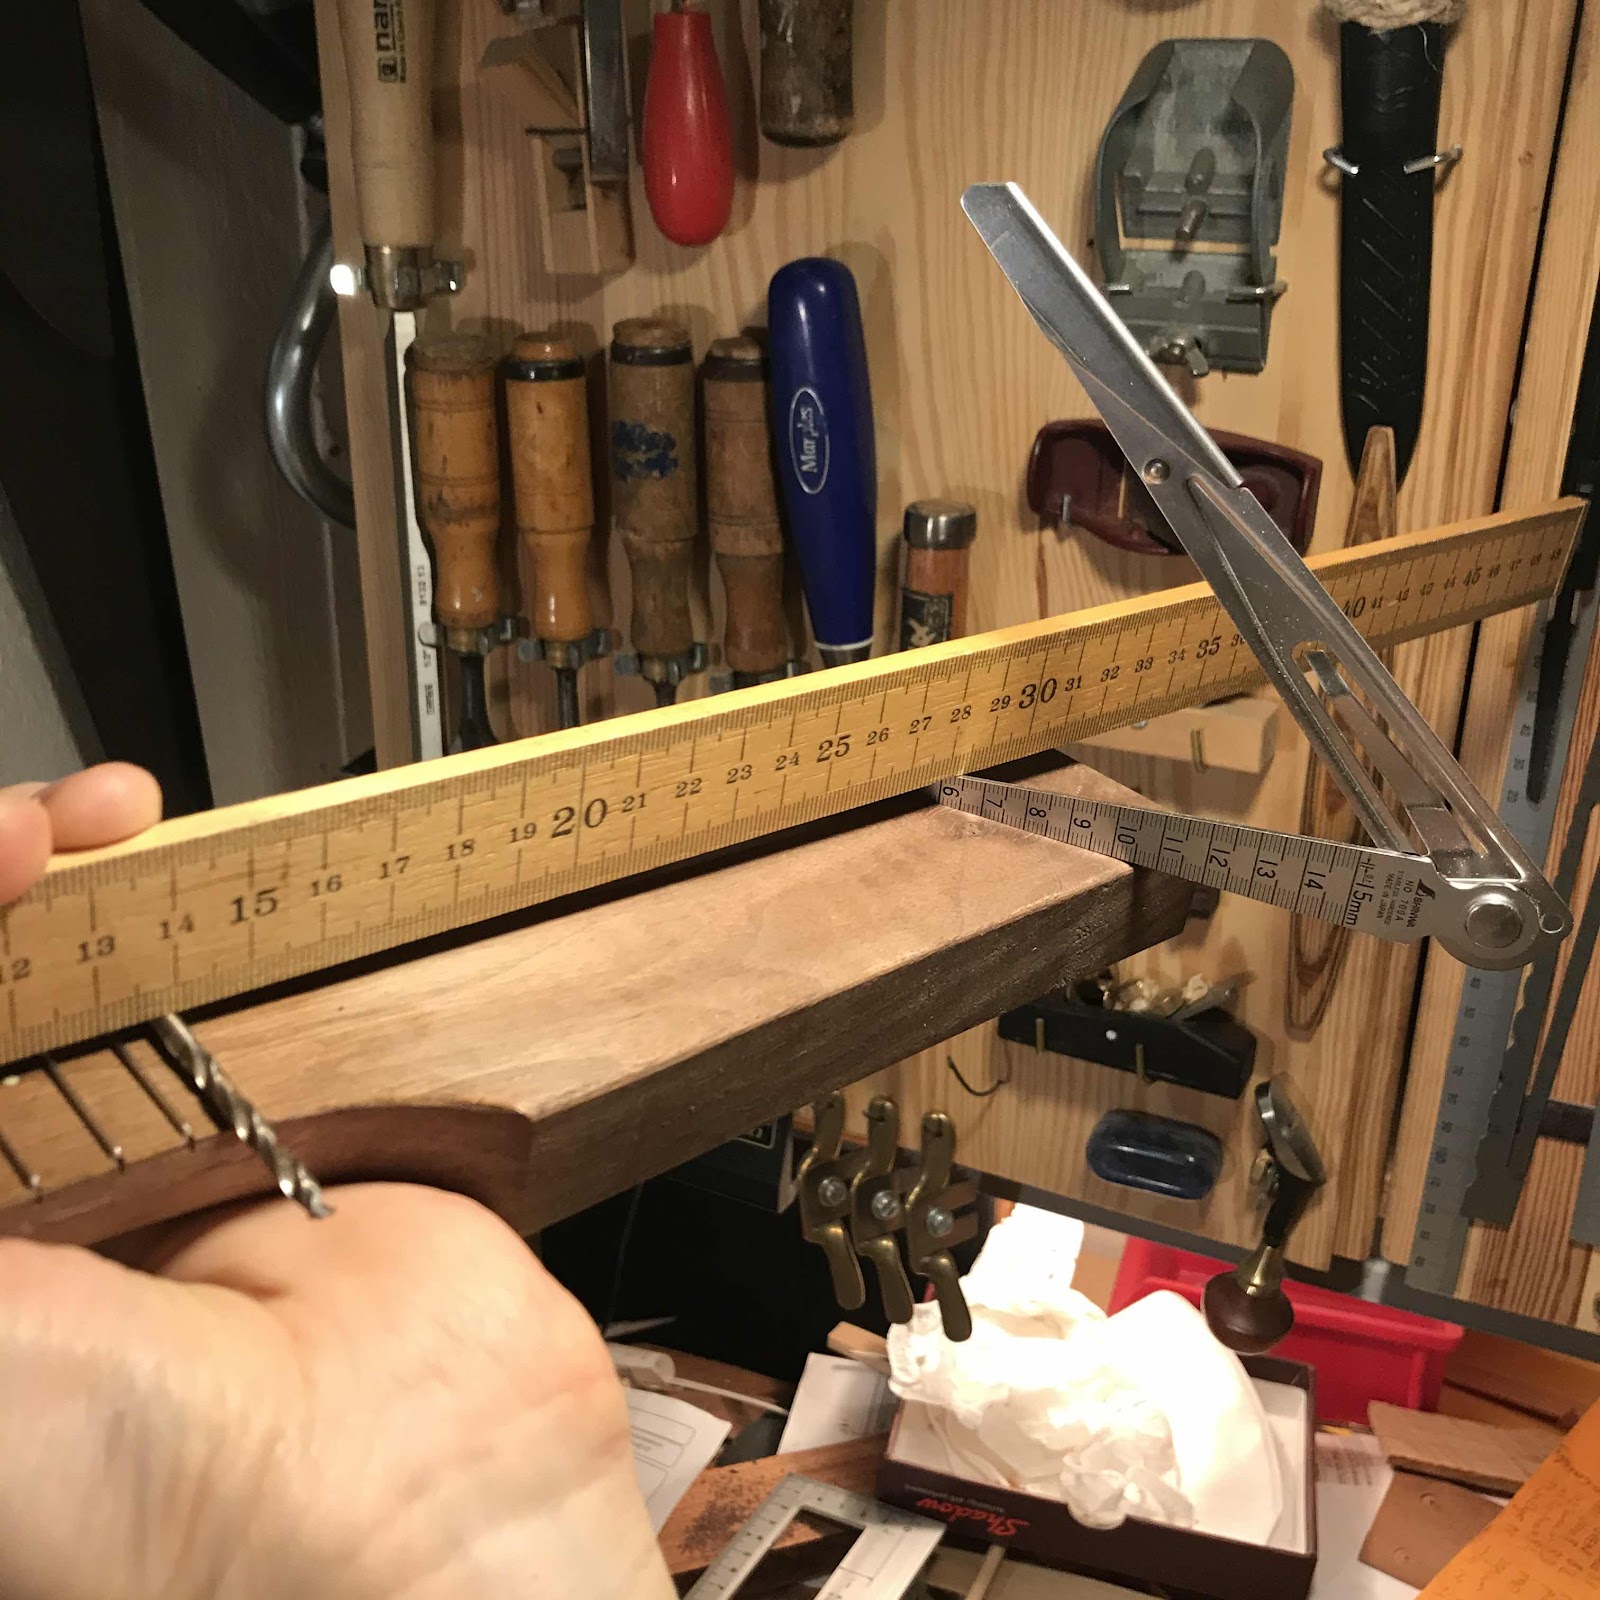
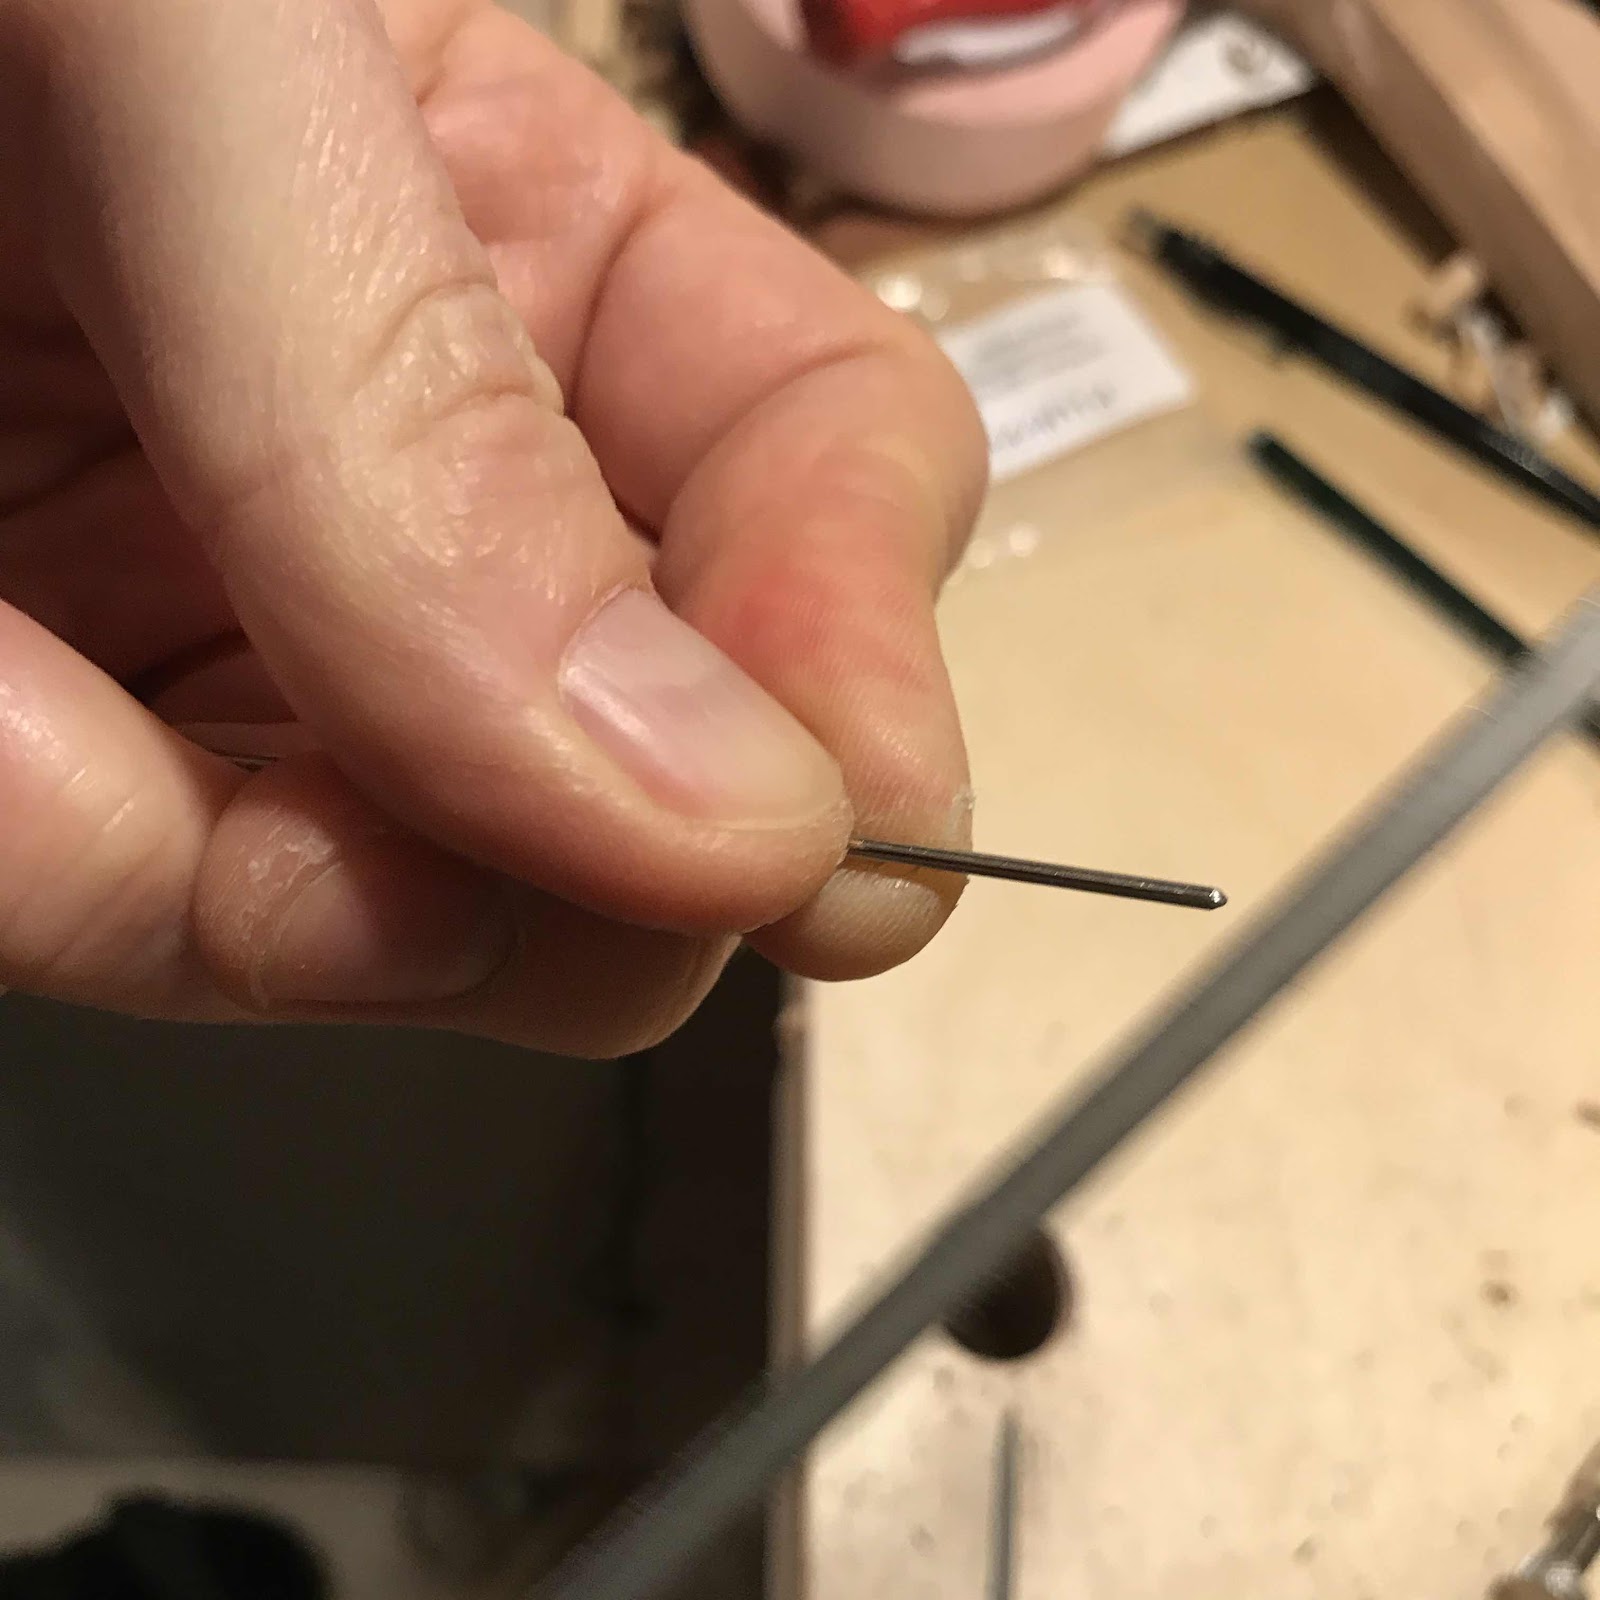
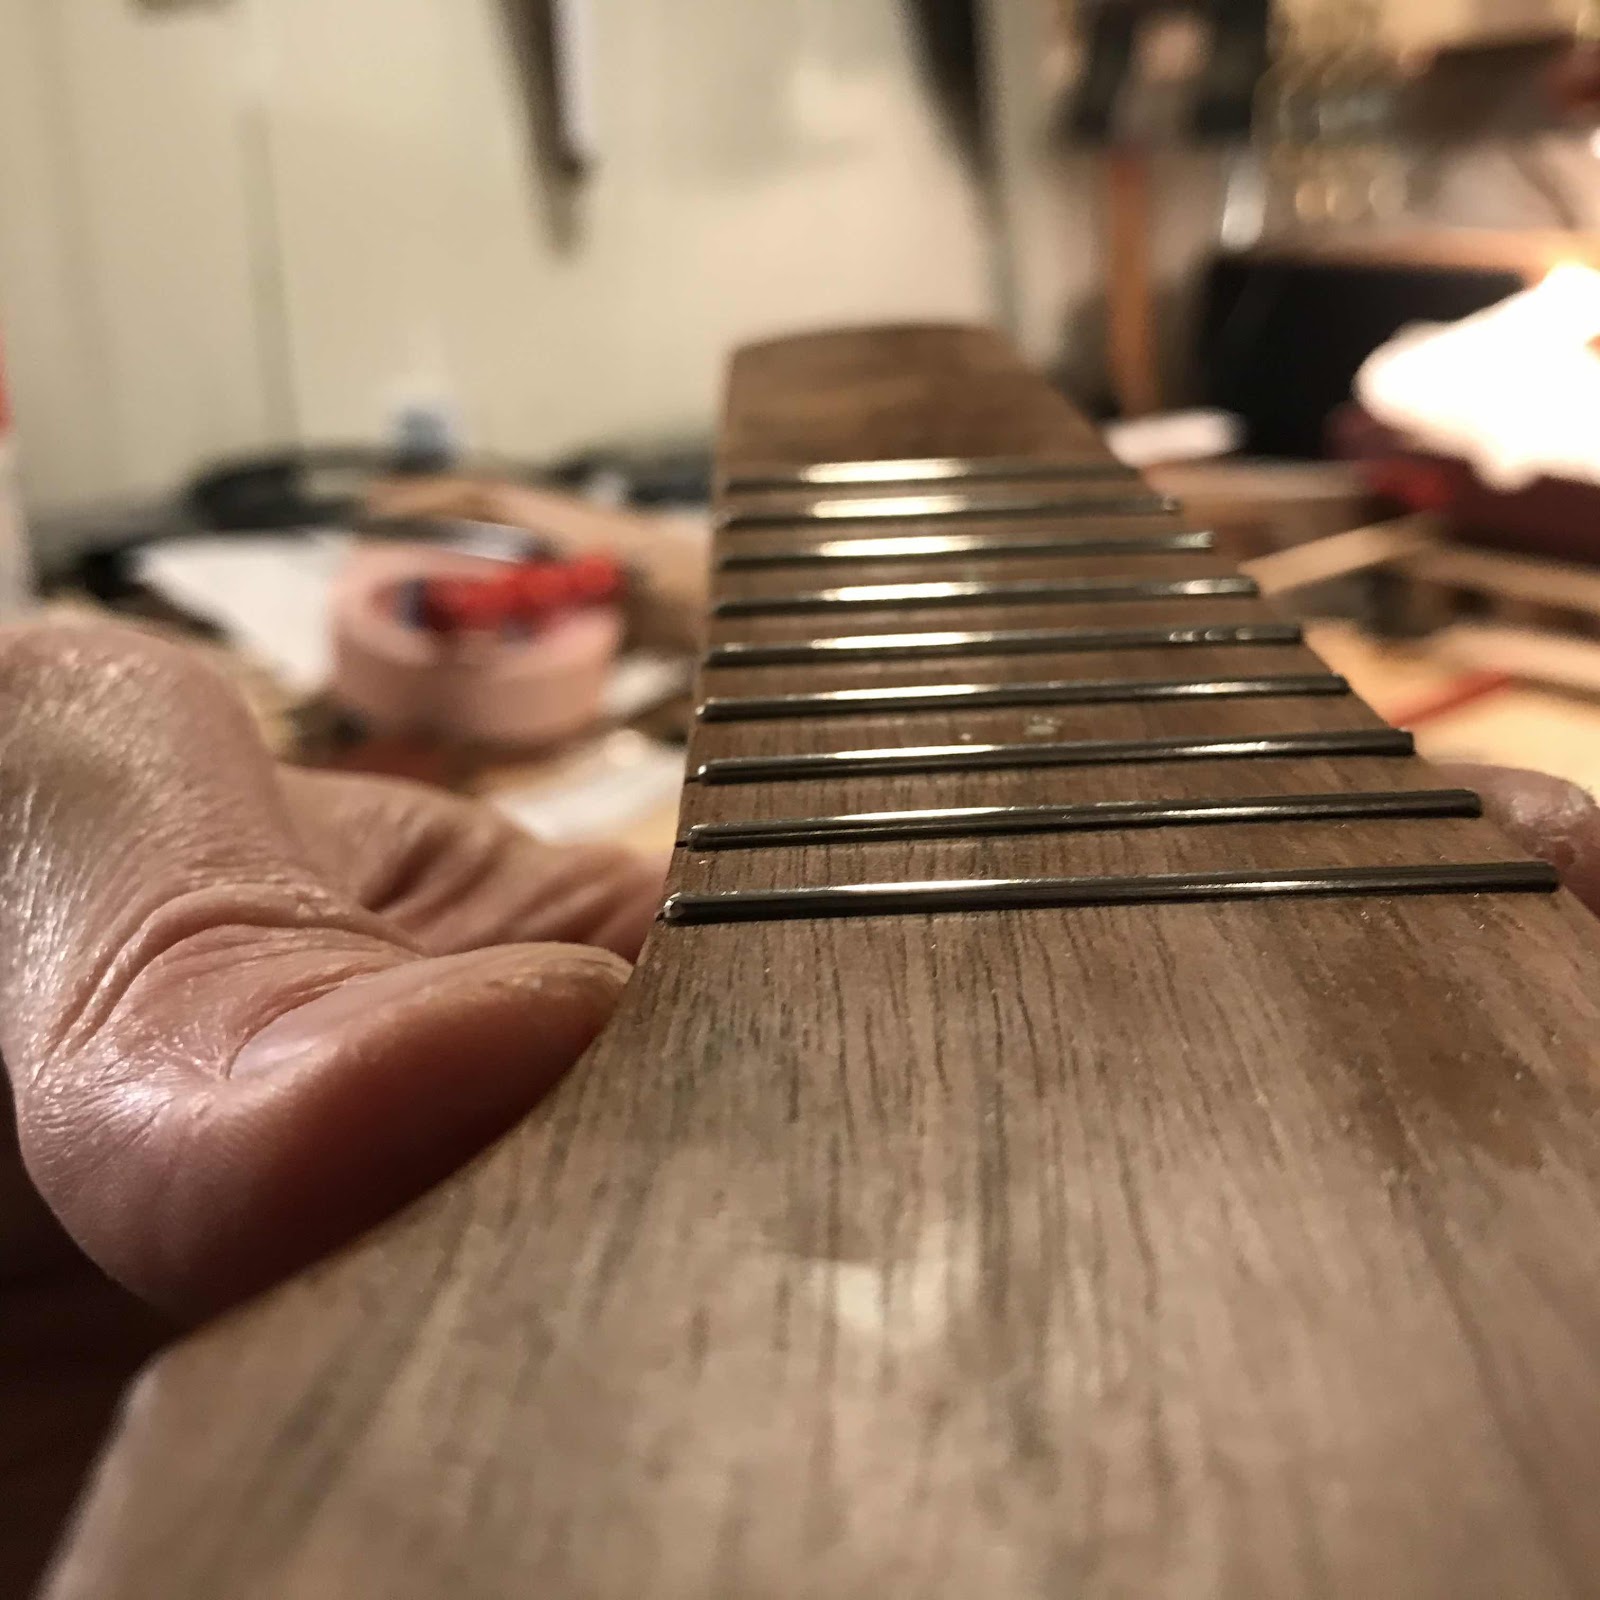
And voilá. Here they are next to the carbon fibre tube that turns the strings around. Maybe I spaced the pegs a bit too close together. I will increase the distance a wee bit next time. 


Thursday, February 13, 2020

Bridge for the traveller

A post with a bunch of pics, revealing all my secret techniques. A scrap piece of walnut was found and planed flat. 


My new Shinwa gauge and a 3.5 mm drill bit gave me the height of the bridge. This is something of a trick shot, it took a while to get them all to balance while I held the camera with one hand. 


A few minutes with the Record rabbet plane and the profile for the integrated saddle was done. 


Then I saw the blank was long enough for two bridges, if I was careful/lucky. I have another uke blank waiting so I took the chance. 


Clamping the wooden ruler with small clamps gives enough pressure to hold the bridge down while I position it. The unorthodox shape means I could use a square against the side. 


The compensation on these piccolo scale ukes is important. In absolute terms I use the same as on longer scale ukes, that means a greater compensation relative to the nominal string length. I set the break point for the C-string back a bit further still. 


Two of the string holes are drilled through the soundboard and will help to locate the bridge, also stopping it from sliding around in the glue. 


And here we are. Since everything is open and accessible it’s super easy to place the clamps. 


Sunday, February 9, 2020

Fretting

Time to put the frets in. I do this differently from when I’m fretting a uke with a fretboard because I can’t get at the ends with bevelling files in the same way. Let me show you. My darling wife helped me by taking the pics today. 

First I cut the tang off at a 45 degree angle so it won’t stick out if the wood shrinks in the winter. This is still a whole length of fretwire. 


I shape the end of the fret with a file. I aim for a parabolic shape. It’s quite quick, like eight or ten strokes. 


Then I lay it flat in the slot it’s destined for, leaving a distance at the end that is big enough to split between both edges when it’s installed. I cut it off flush with the other edge, then I shape that end in the same way as the first one. 


I press the tang in with the Iron Thumb öf Death. Just lightly so it doesn’t rattle off and away in the Crud öf Death that covers the floor. 


Then some old bloke pops in and presses the fret in with a copyright-violating tool that resembles Stewmac’s press ”Jaws”. 


This pic shows how evenly the frets go in. I hardly ever need to level them with files, if I’m careful to use consistent force with the press. 

Next up, the bridge!