First pic shows me doing a smart thing: I held a piece of paper under the brace and rubbed the edges of it so they marked the paper. Then I could measure the width more easily, outside the guitar.

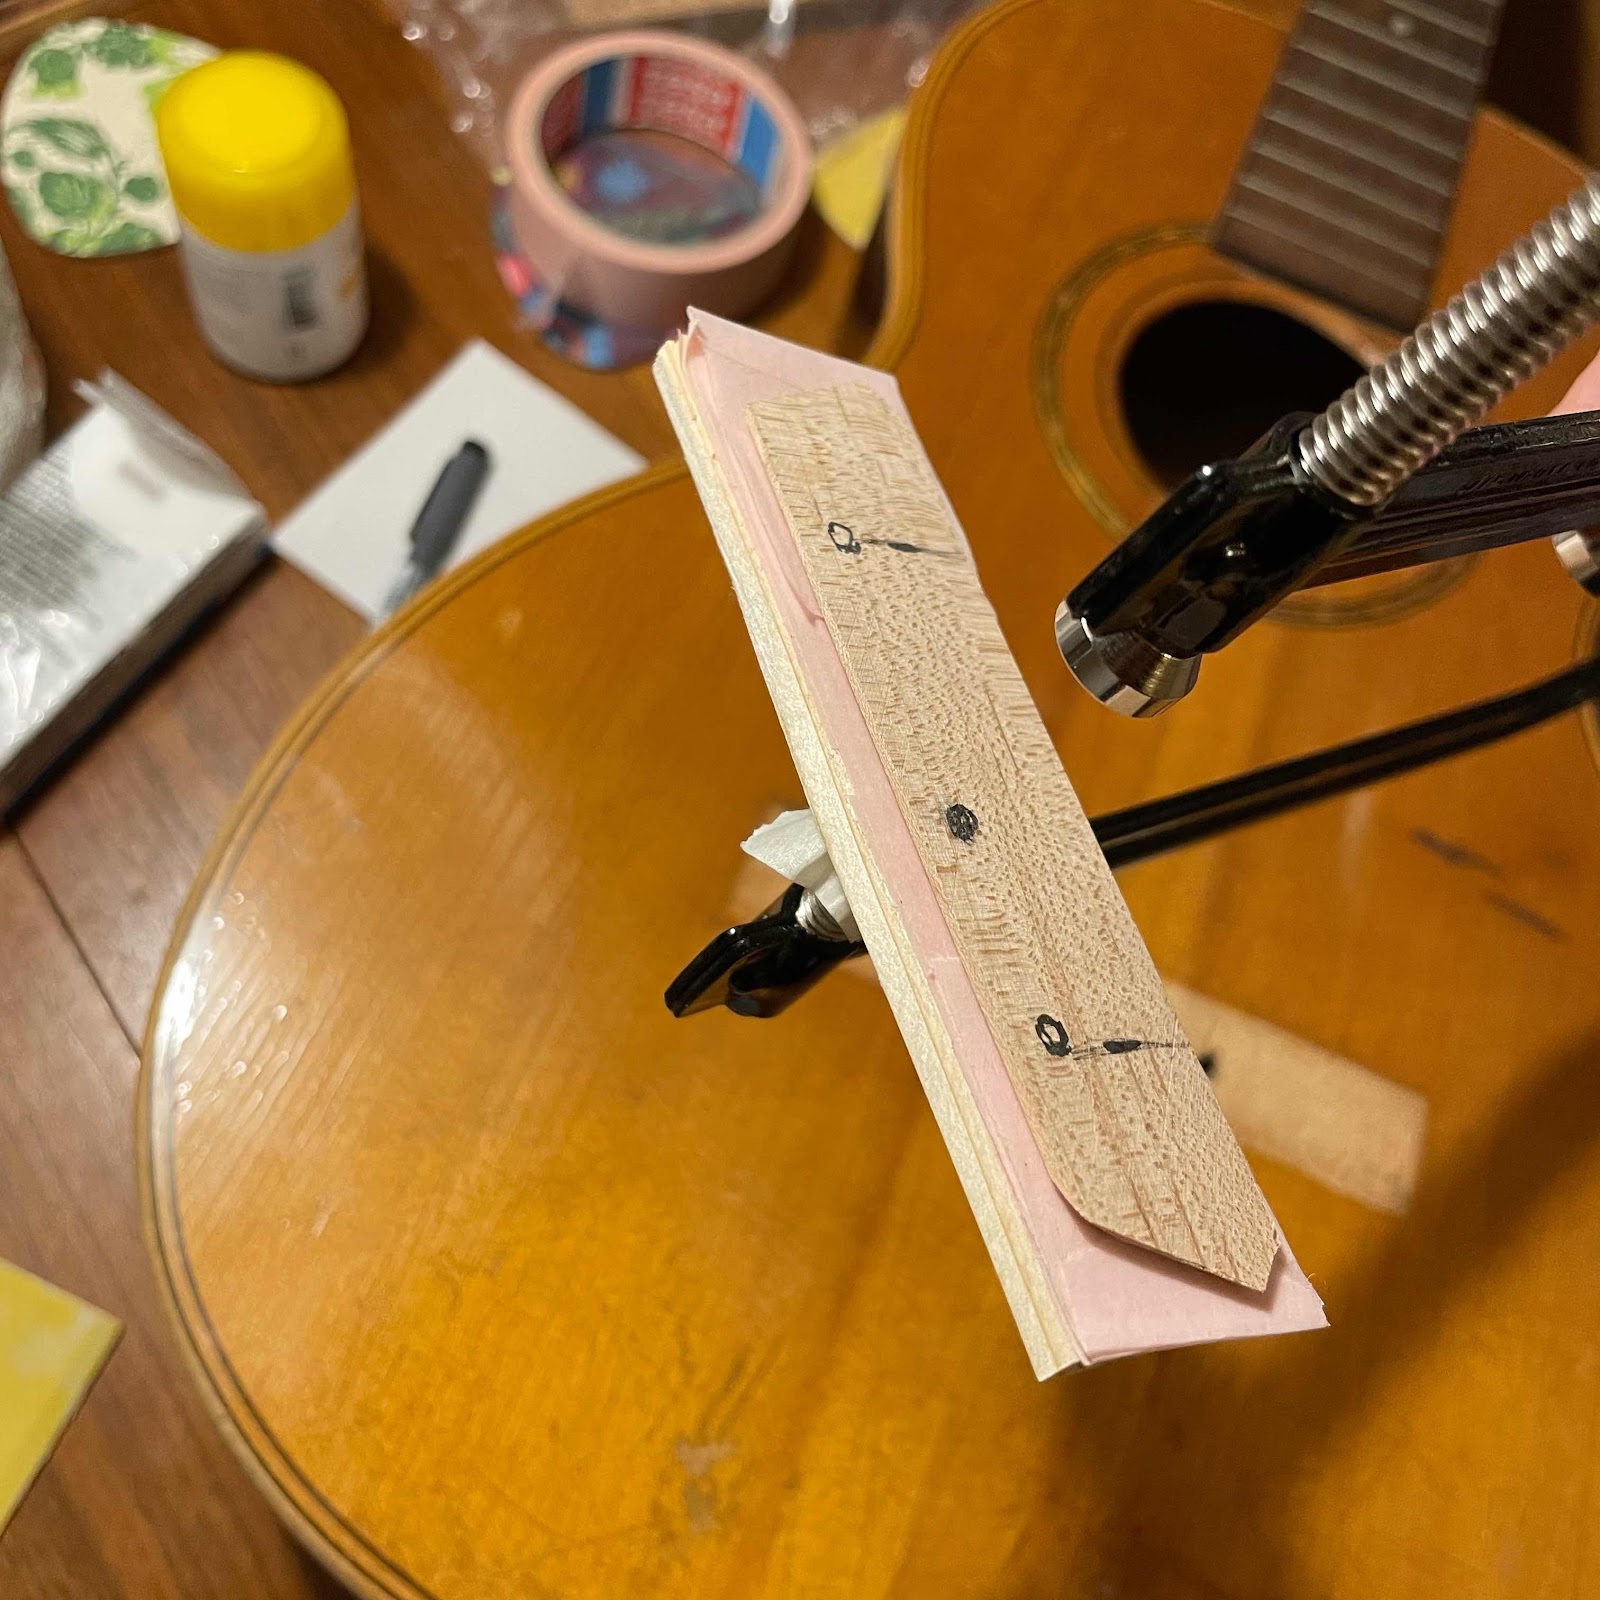
I went back and forth a bit, marking the new patch through the holes so it would end up in the right position. Here you can see the size and shape I worked out by guessing.

Smart moment number two: I glued a caul on the clamp, and built two tiny ramps of masking tape so they were higher towards the ends of the caul. That way when I tighten the clamp it’ll give pressure to the entire maple patch instead of just in the middle.
I went back and forth a bit, marking the new patch through the holes so it would end up in the right position. Here you can see the size and shape I worked out by guessing.
Smart moment number two: I glued a caul on the clamp, and built two tiny ramps of masking tape so they were higher towards the ends of the caul. That way when I tighten the clamp it’ll give pressure to the entire maple patch instead of just in the middle.
The patch was temporarily fastened to the caul with masking tape and superglue, and wiggled into position. My wife helped me because my hands were too big once the clamp was in.

A caul on the outside and left to dry for 24 hours.

Gut shot that shows we did well. Next up is drilling holes in the new patch and also in the new bridge, to get that positioned correctly over the existing holes through the soundboard.

A caul on the outside and left to dry for 24 hours.
Gut shot that shows we did well. Next up is drilling holes in the new patch and also in the new bridge, to get that positioned correctly over the existing holes through the soundboard.

No comments:
Post a Comment