I found some time between the larger projects, couldn’t decide if I should concentrate on the acoustic or the reso so I did both. Below there are pics of different stuff that got done, no clear narrative in this post but I will describe what’s in each pic.
That can also be necessary as there is clutter on the bench in the background.
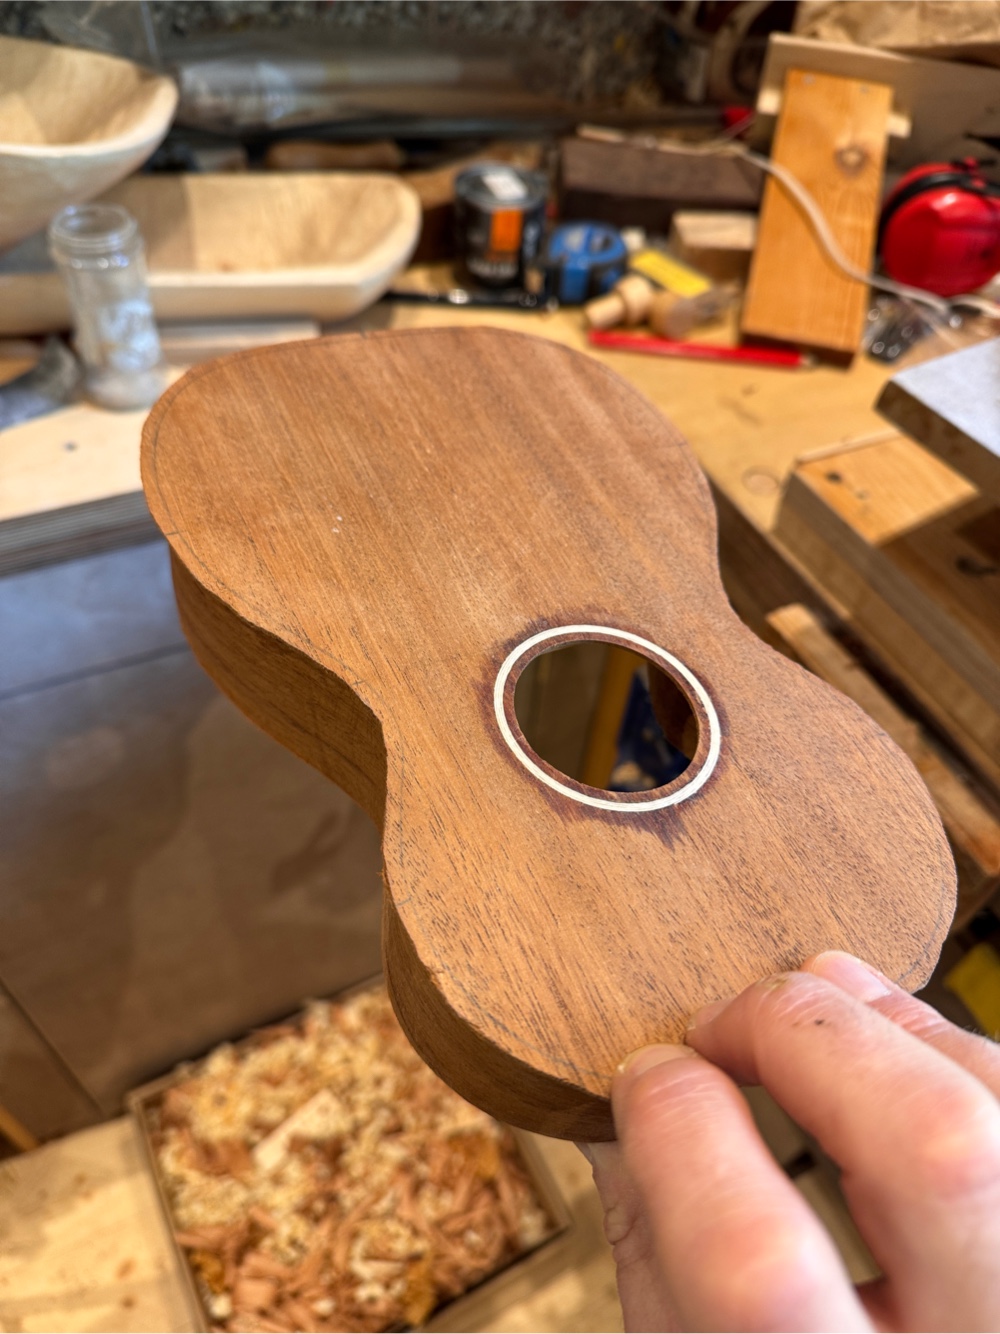
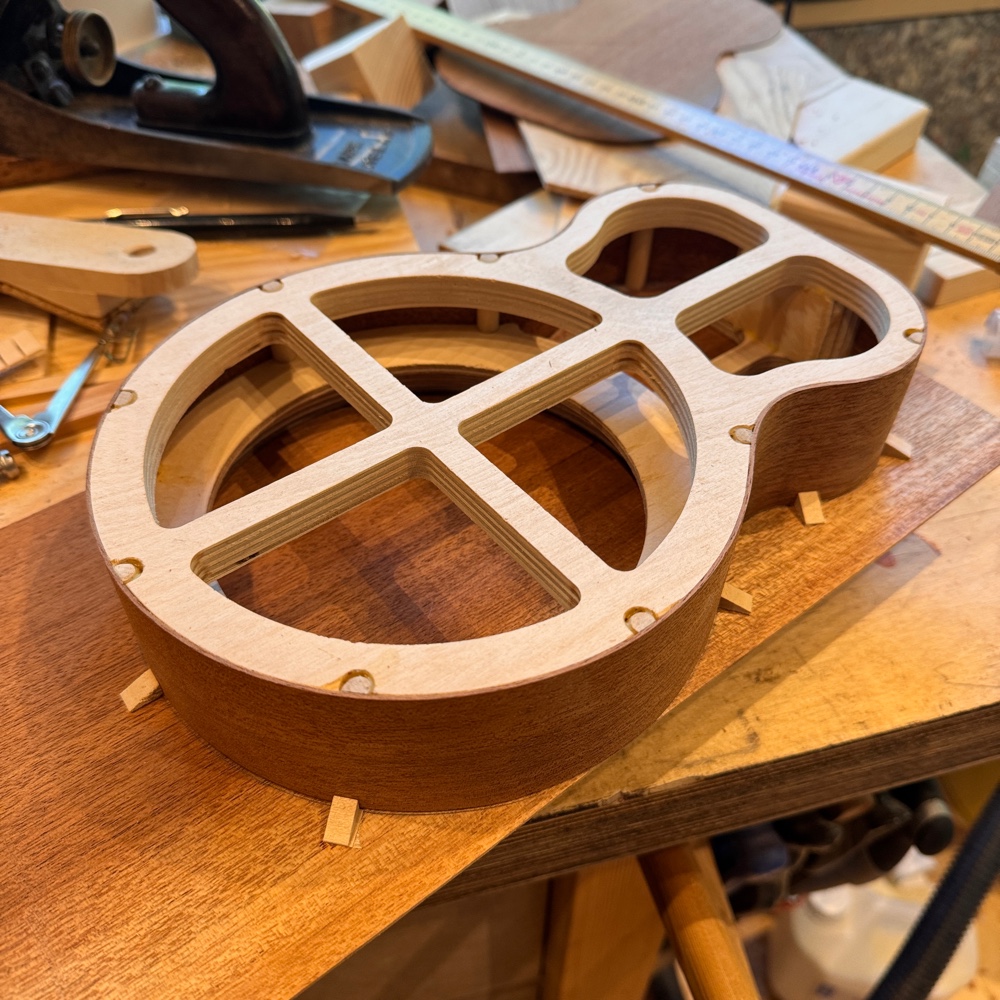
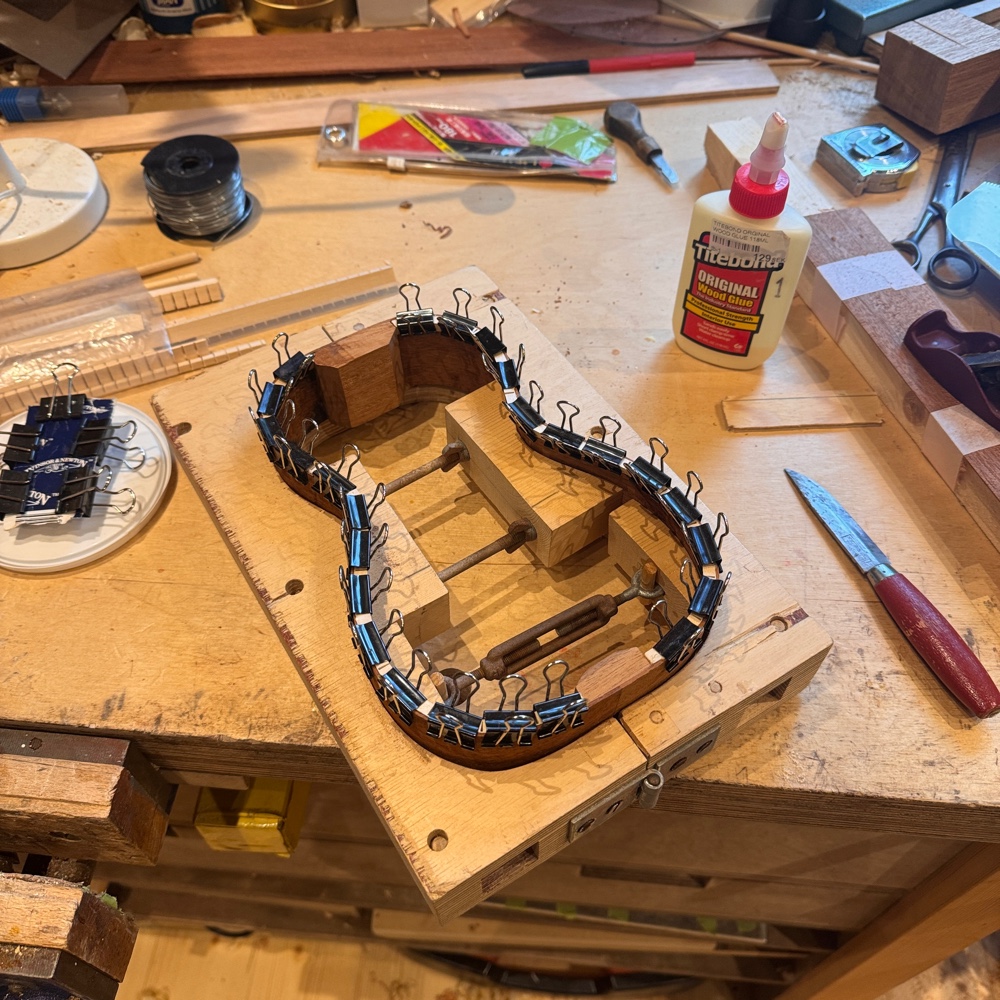
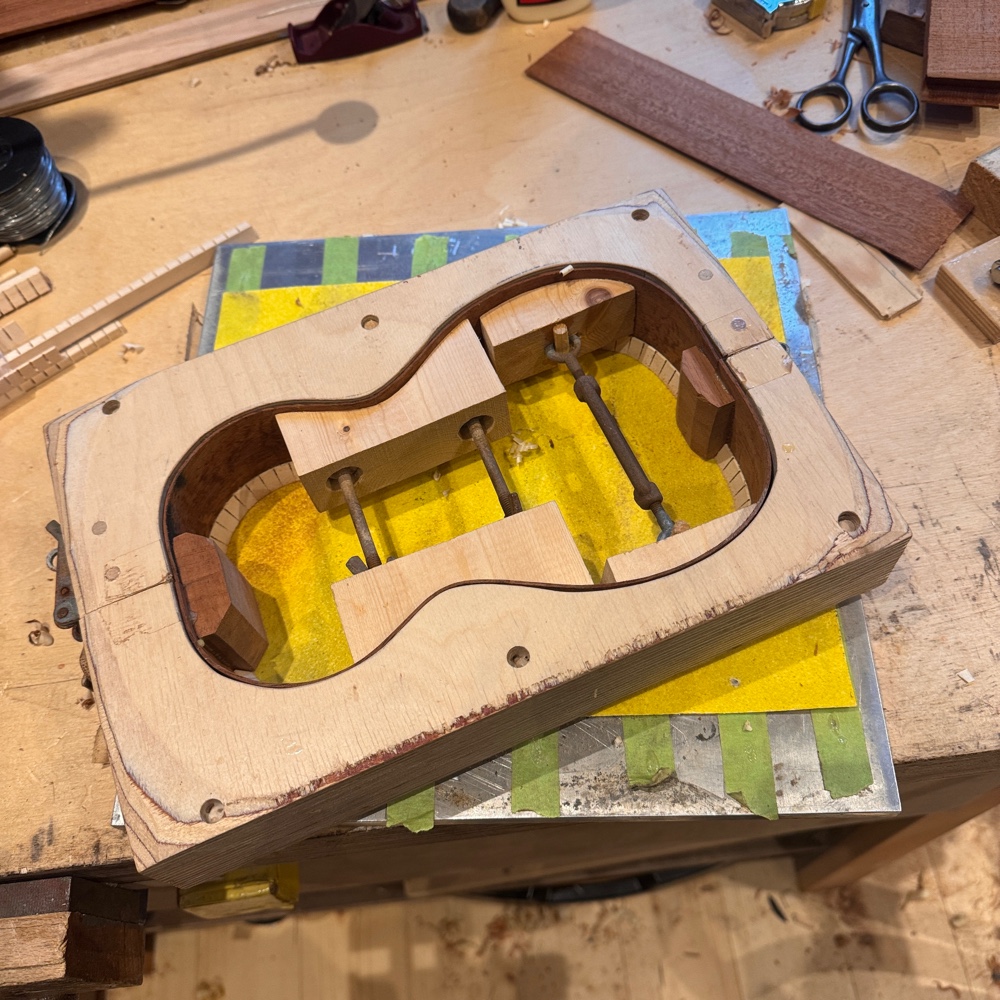
When last we met the sides were glued to the top, like so.
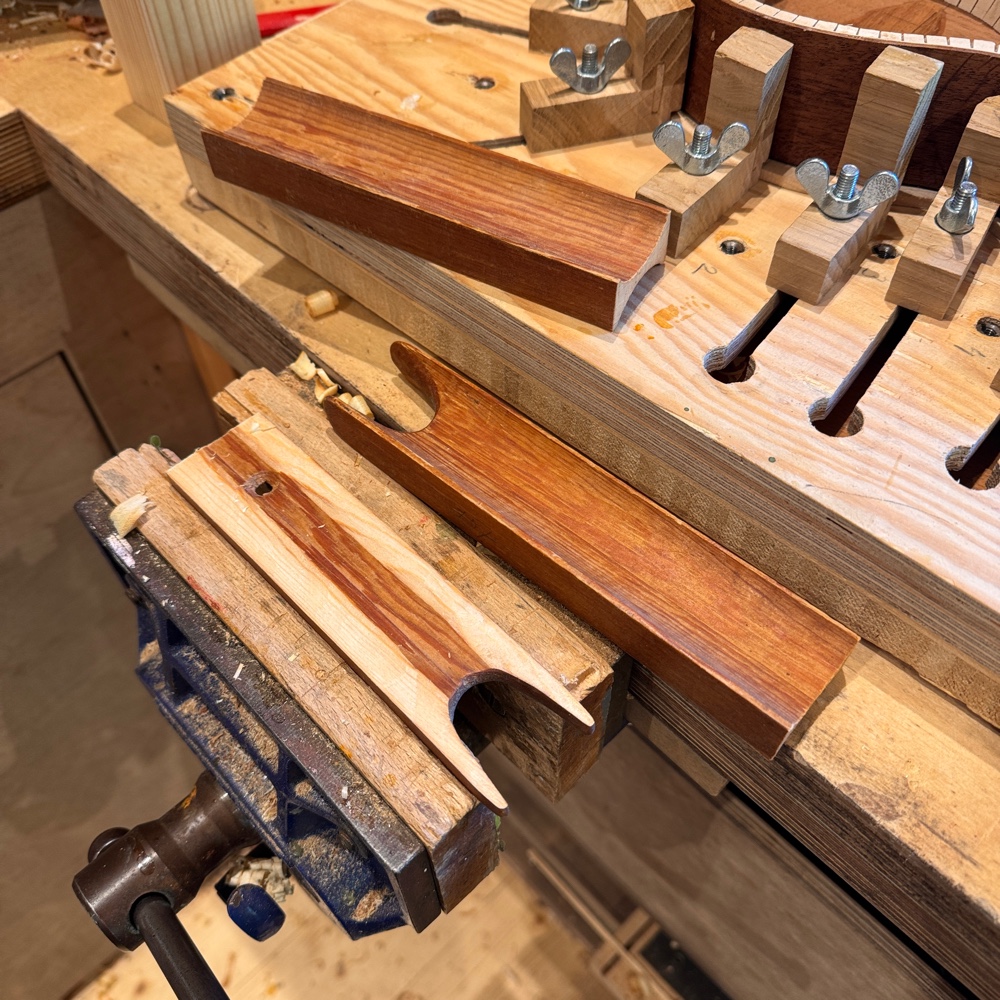
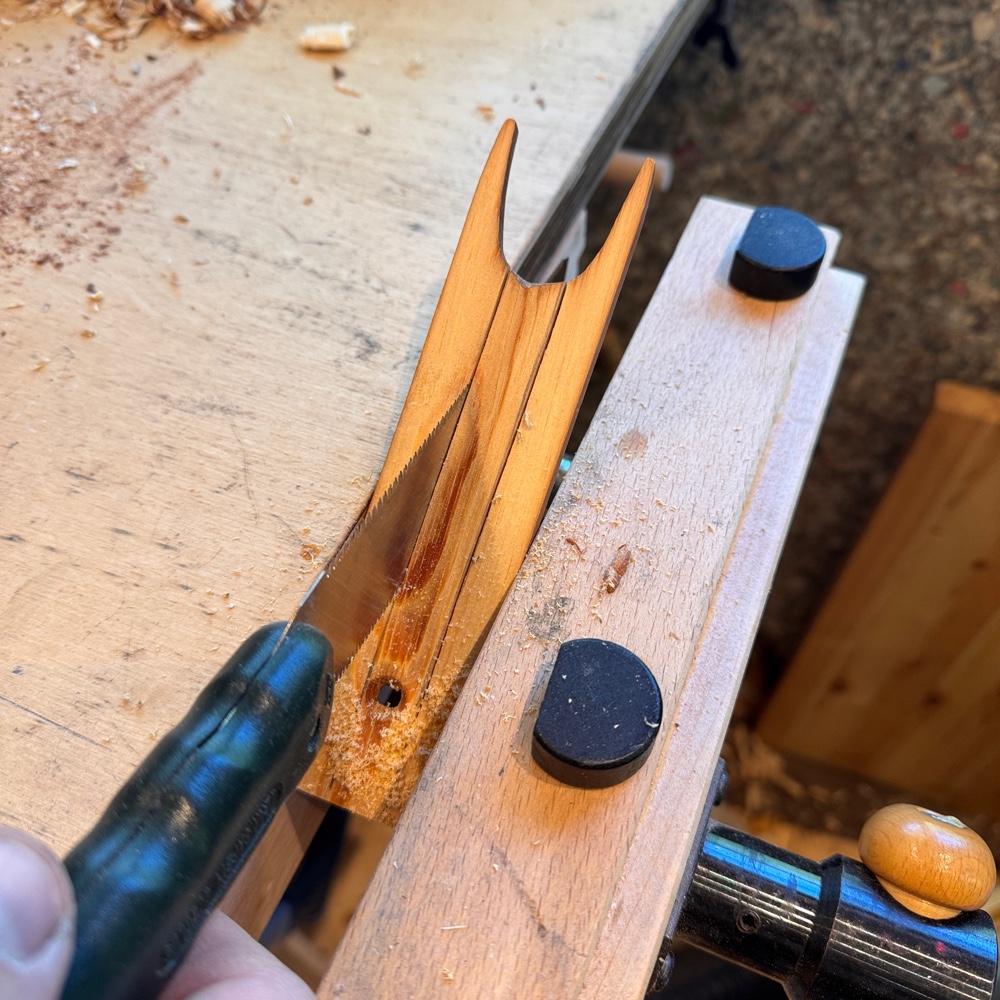
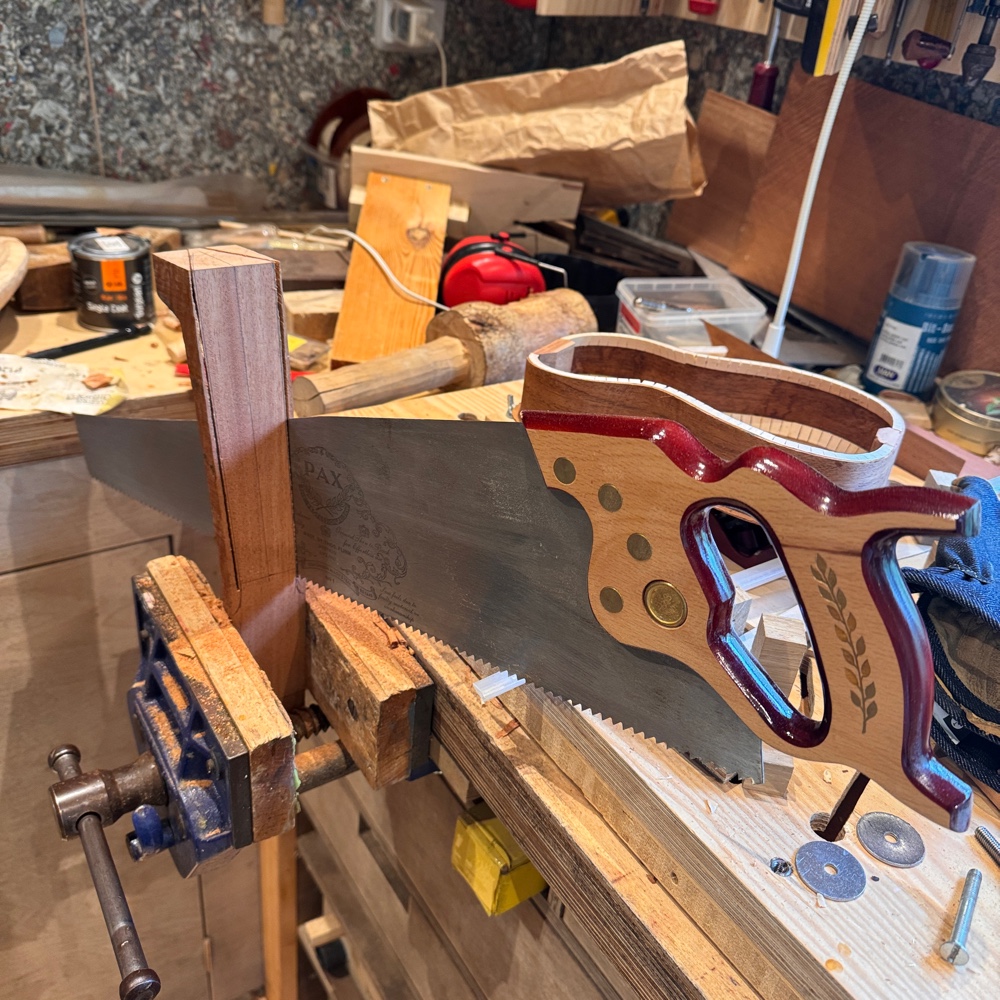
So I started on the necks, marking out the taper and ripping them down with my Pax ripsaw.
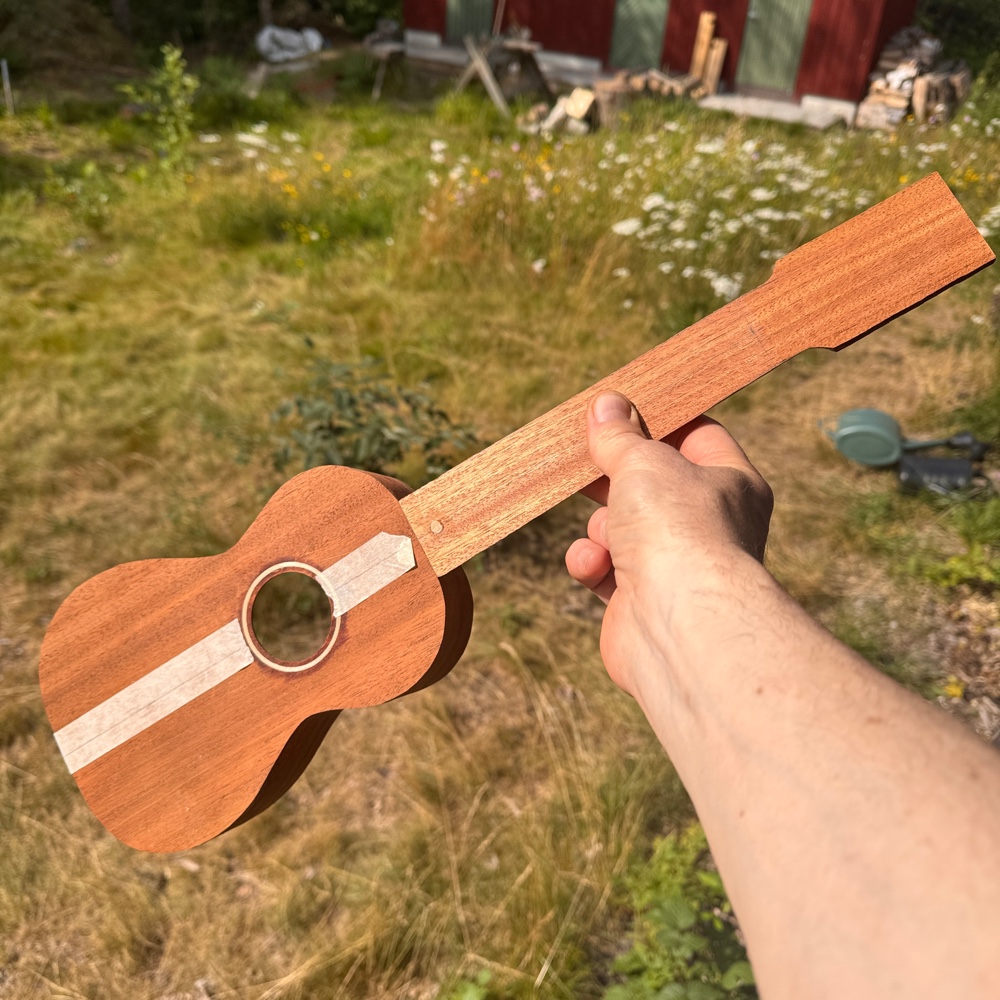
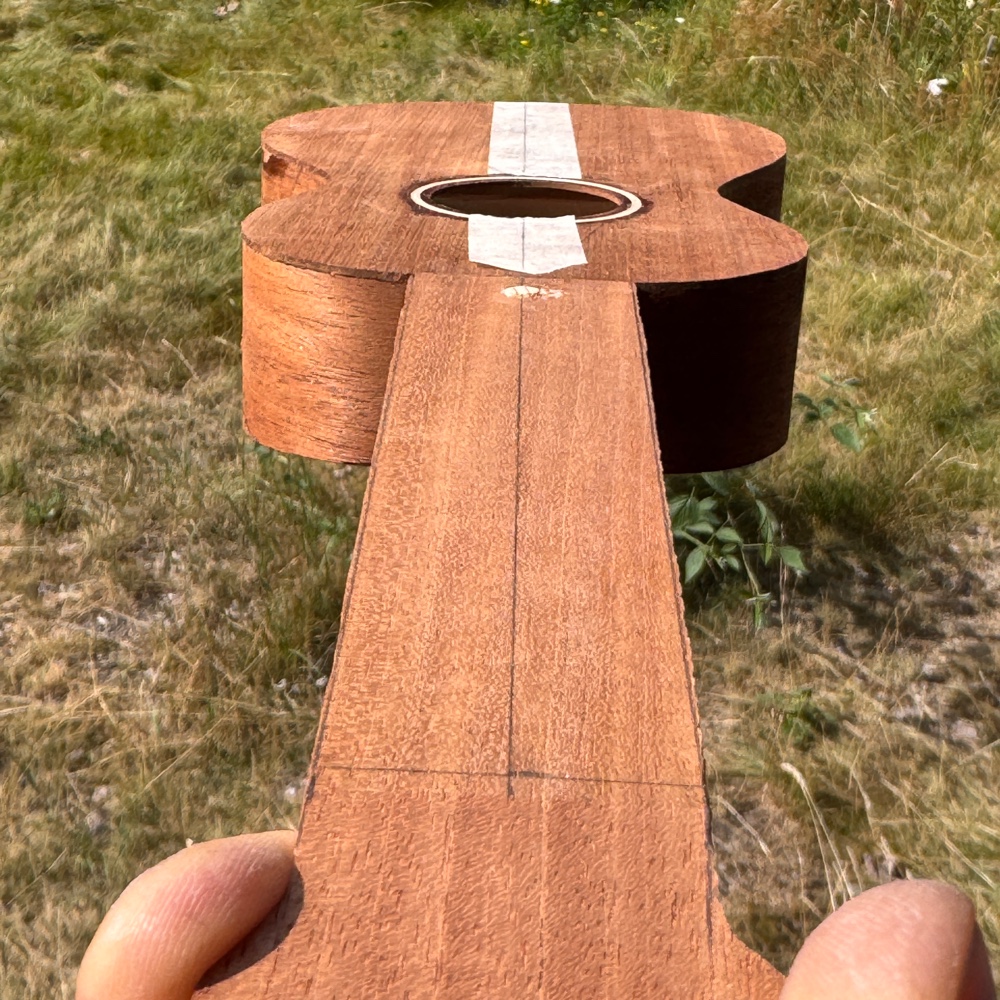
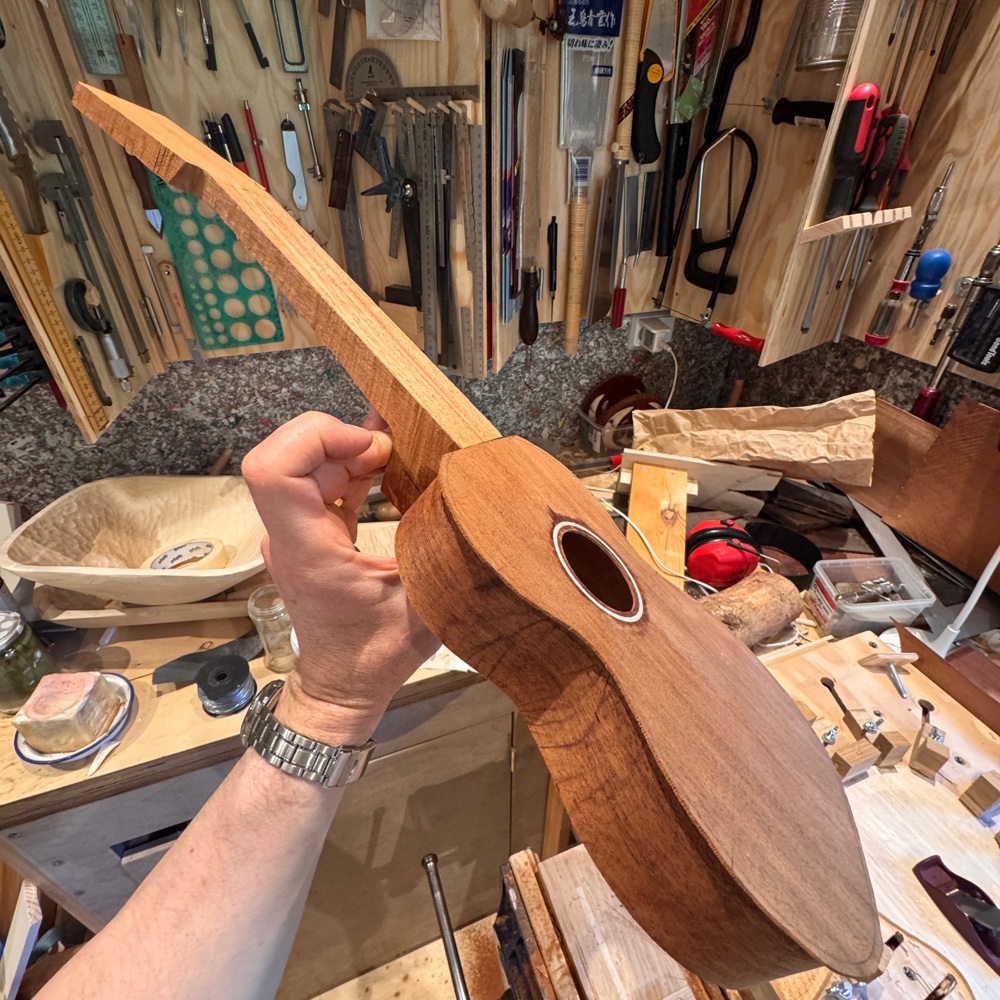
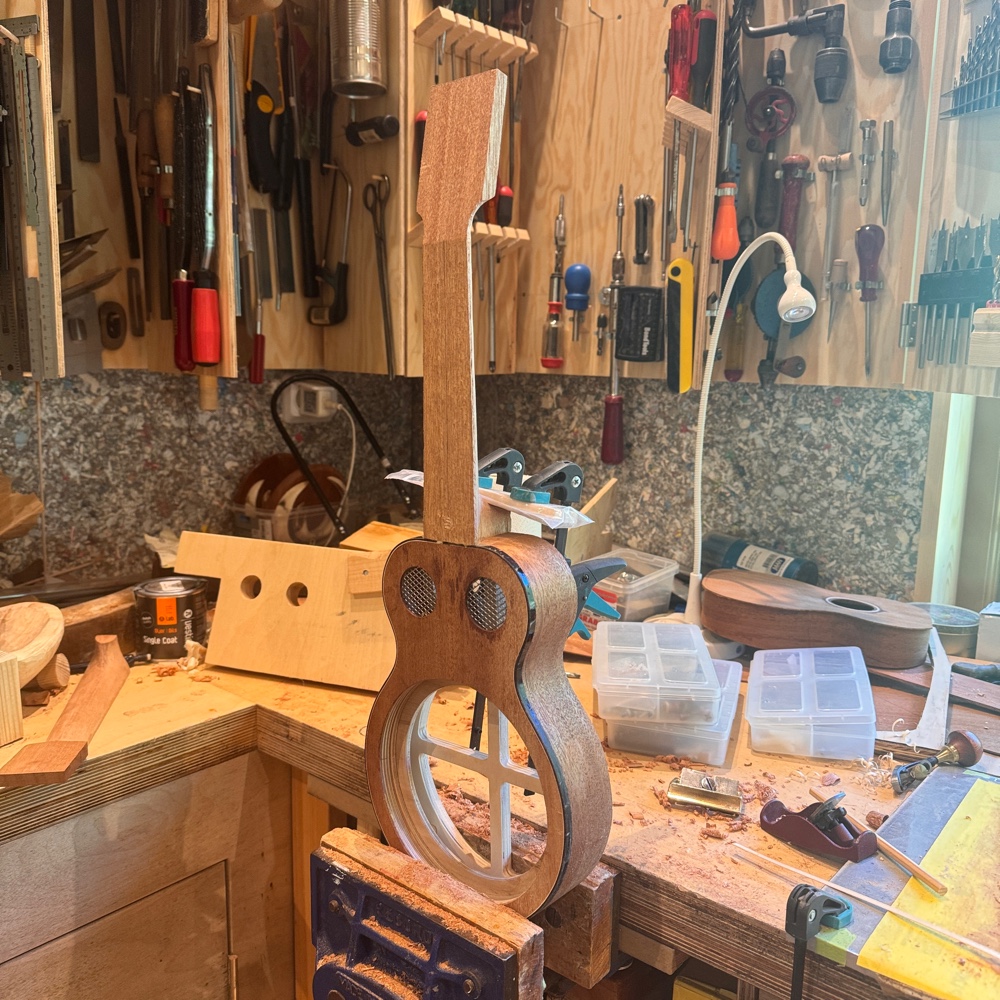
A mock-up with the neck, just pinching it together.
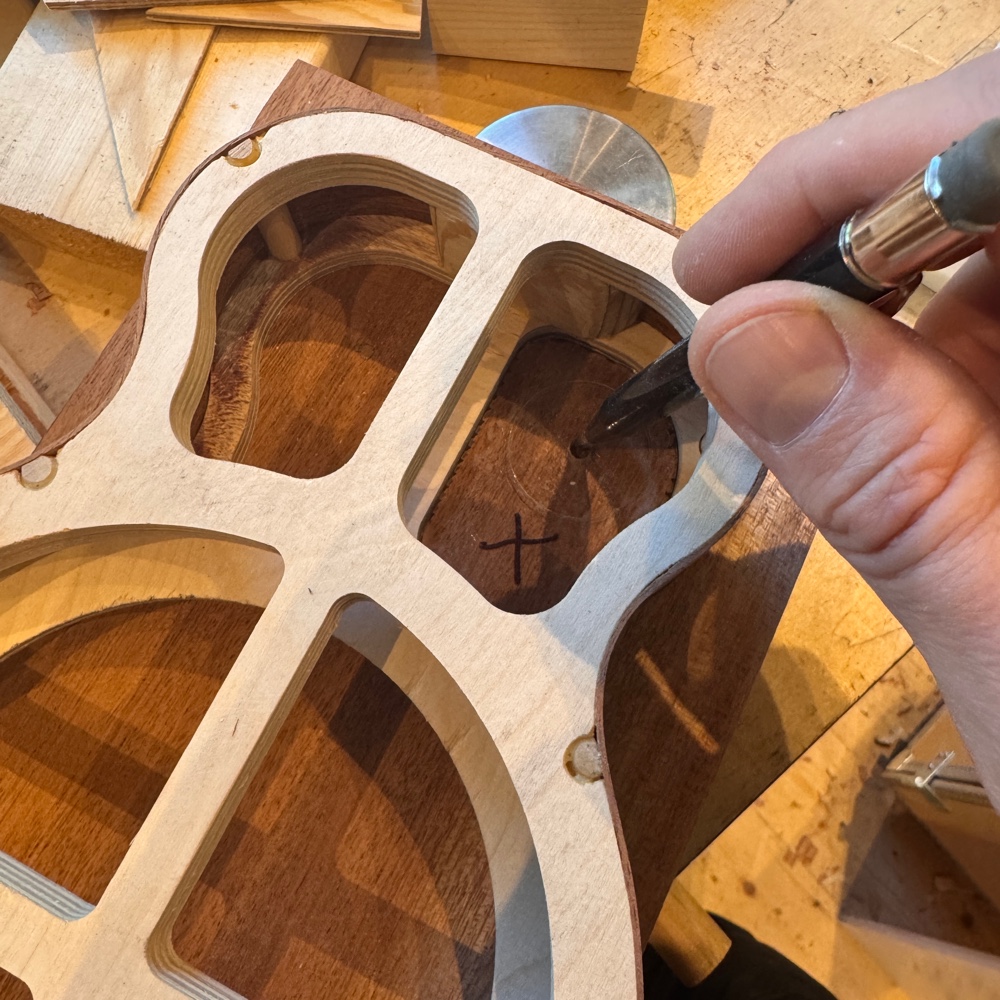
Then it was more or less time to prepare the top for the resonator. I have small acrylic templates that fall into the cutouts in the reso skeleton to mark out the exact positions of the center holes for the three different larger holes in the top.
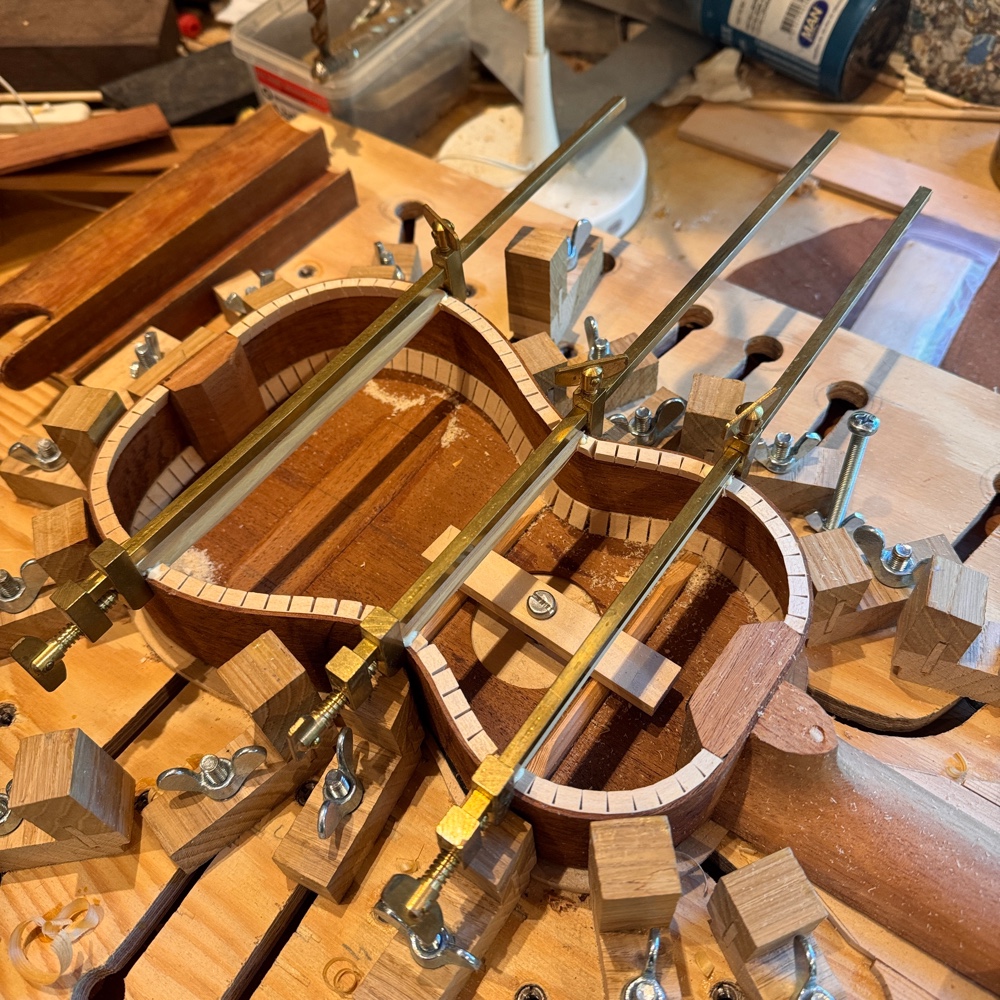
And that only works if the top is locked into position, I fix that with bits of kerfing superglued around the body.
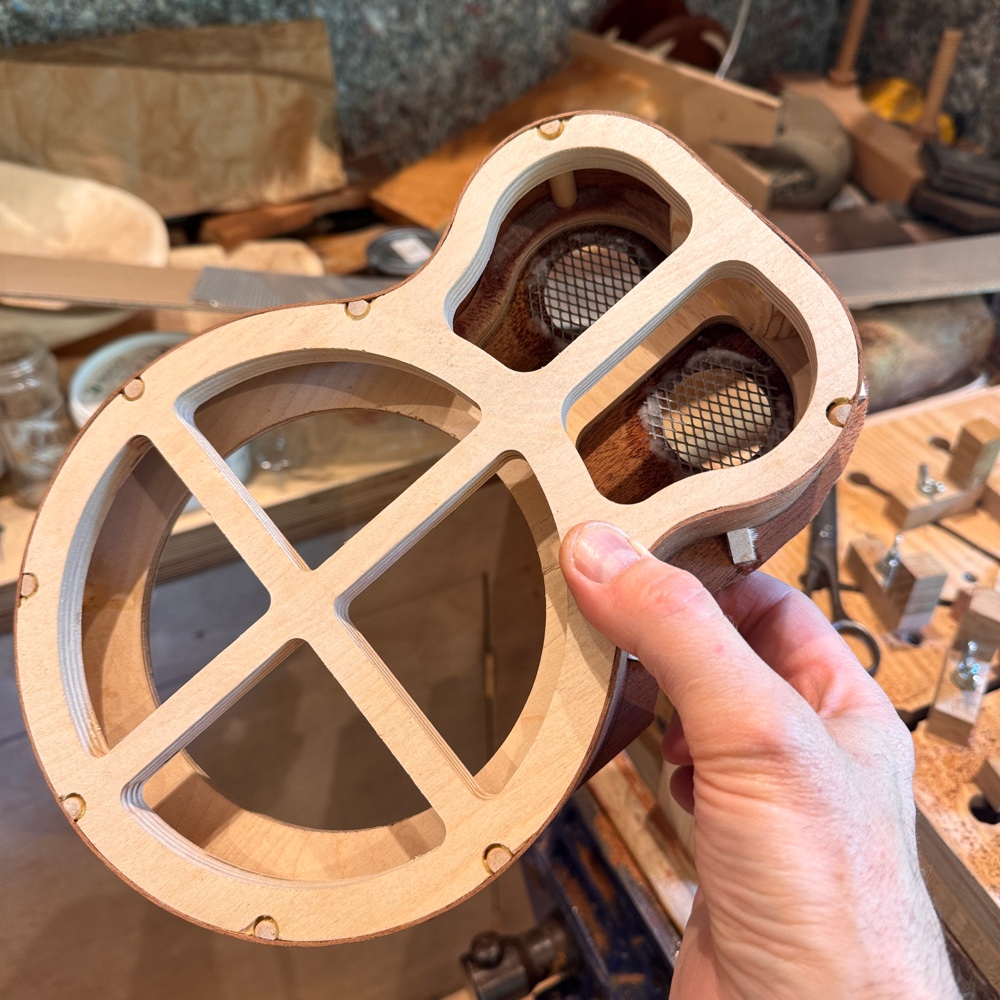
Without taking pics, I cut the holes and glued in the mesh for the soundports.
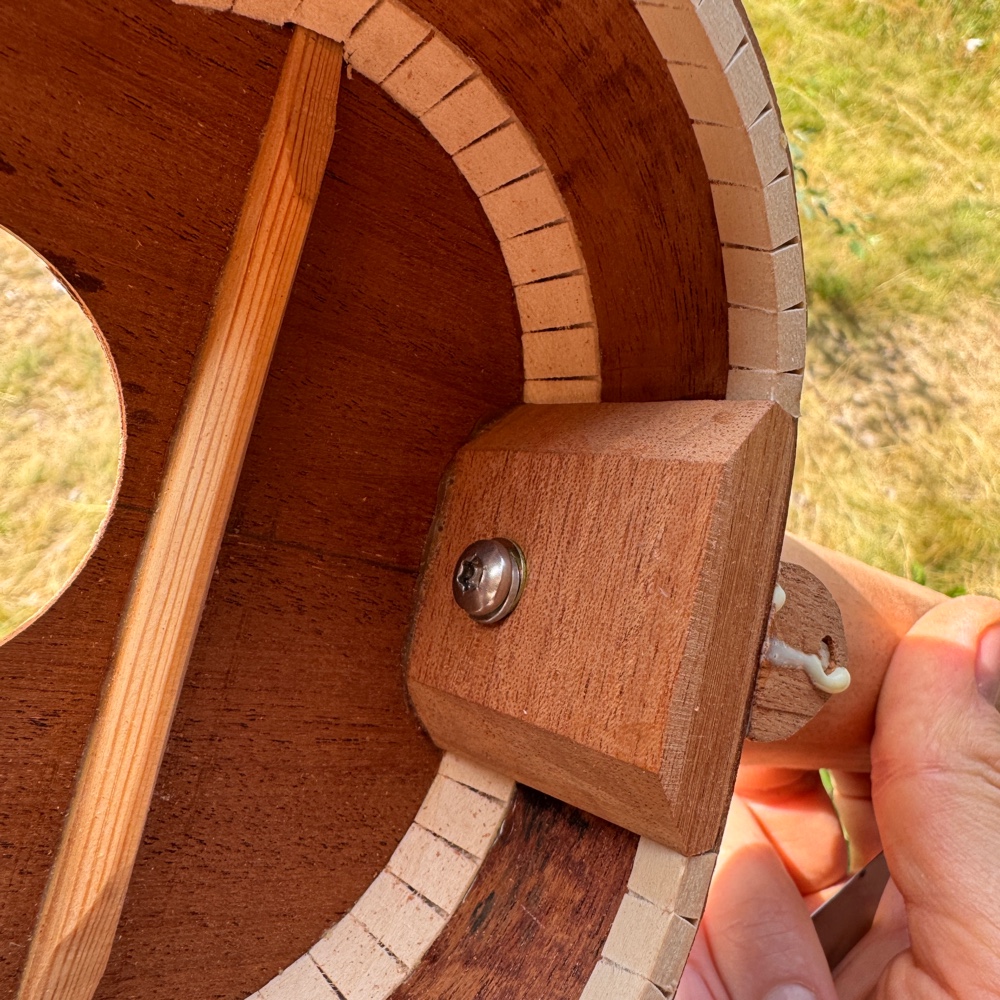
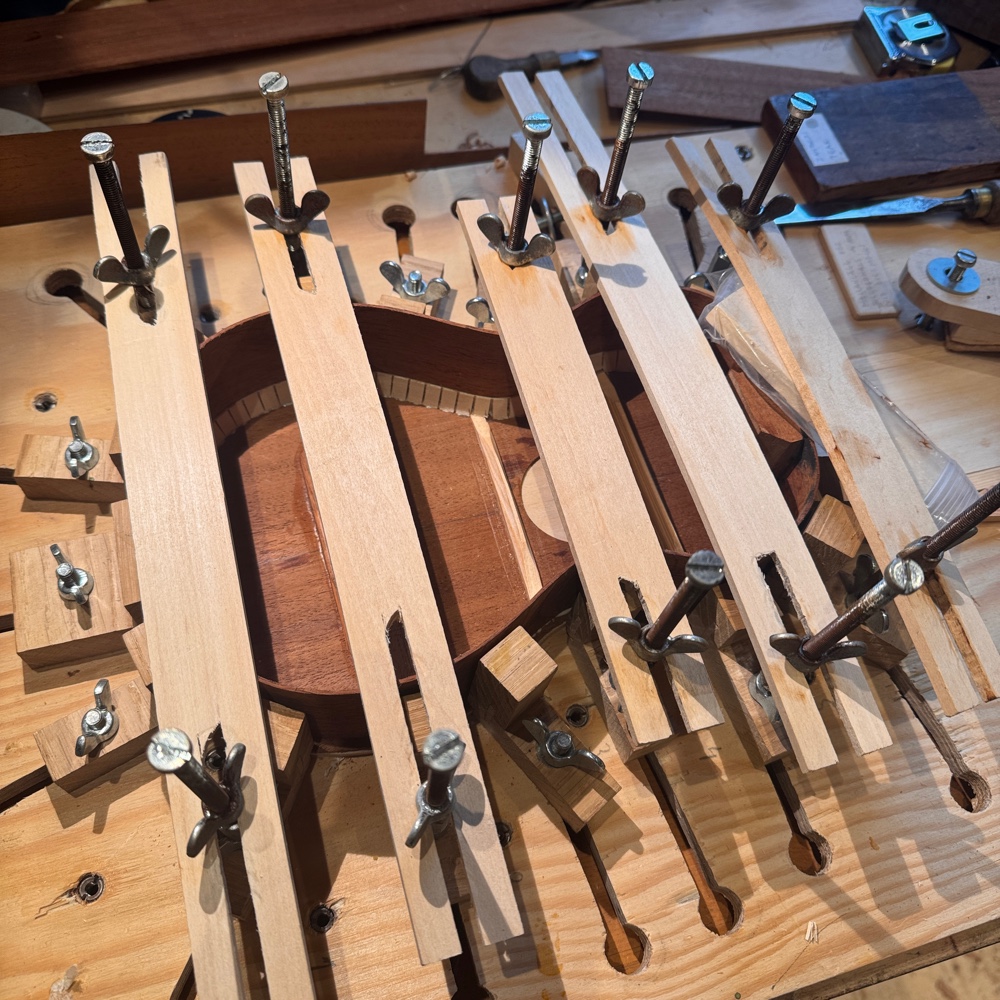
The top was a wee bit narrow so I had already decided to bind it. That in turn made me finally rig the routing jig up. It’s a piece of kit from Stewmac that I bought second hand. First time and it went very well!
I’ll use tortoloid binding so a lighter strip inside will help with the transparent bits, I glued in a thin maple veneer strip with wood glue. The tortoloid webt in using acetone.
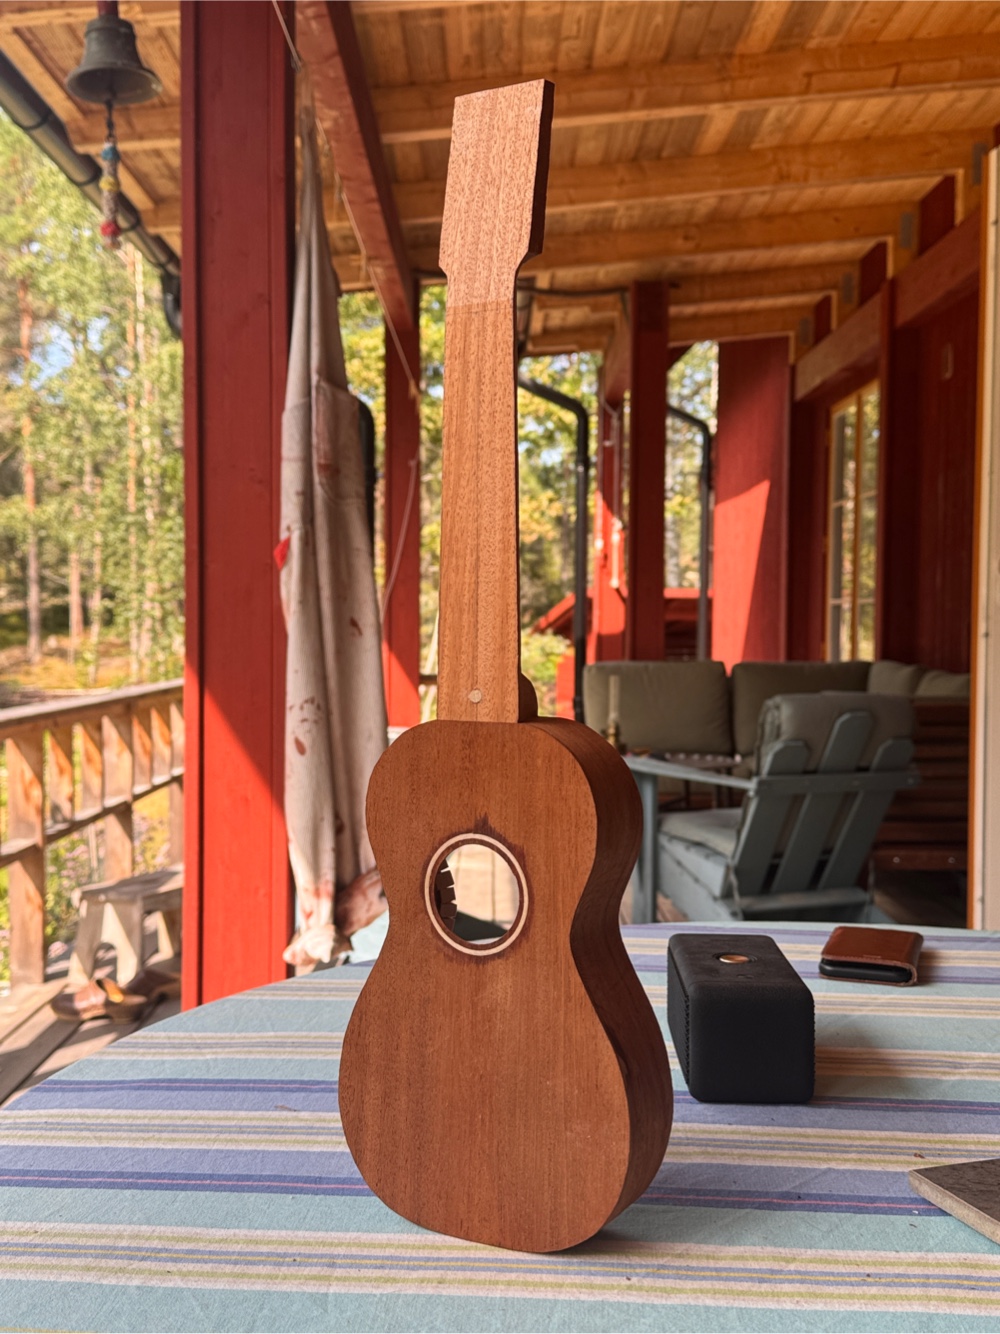
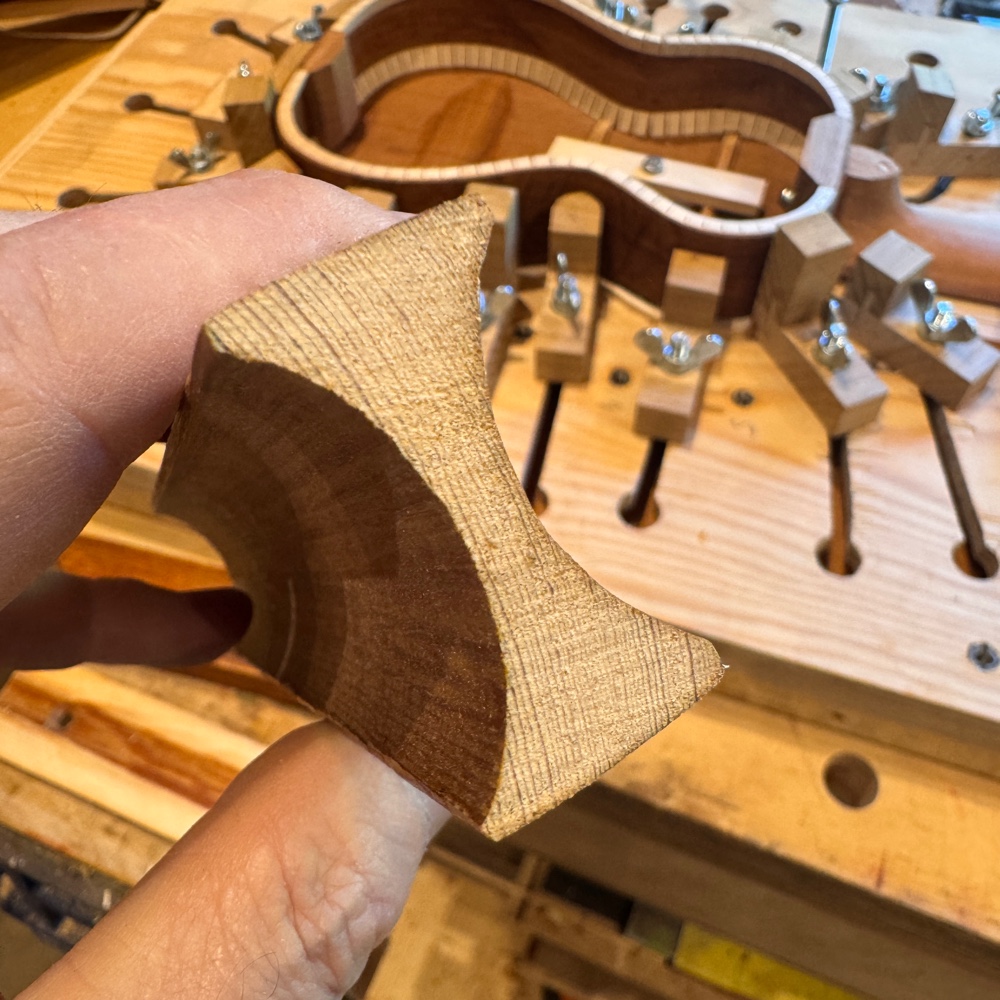
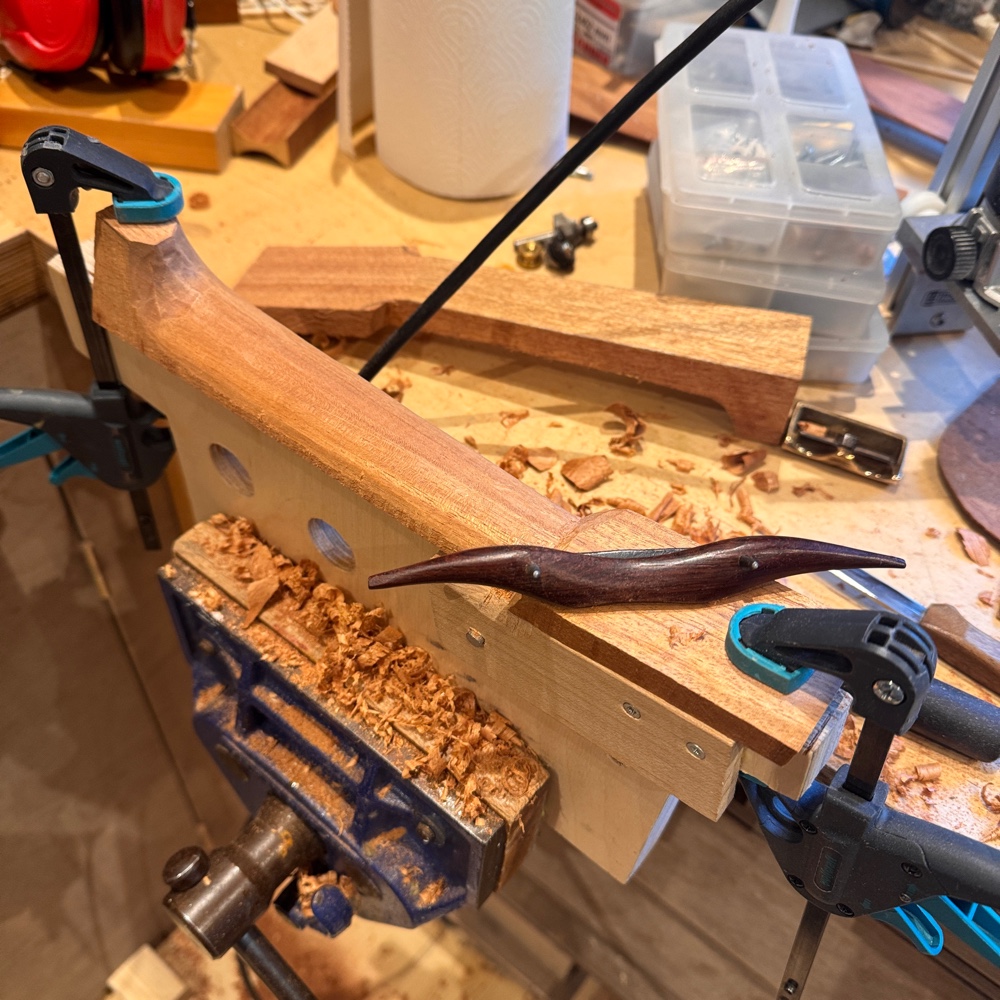
And between other jobs I started carving the mahogany neck for the acoustic. This is still my favourite part of building.
The reso gets a cedar neck, and I managed to get that in place today before I needed to dash out for a couple of errands.