Learning Ukulele 50 Sites Top 50 Ukulele Sites Argapa Ukuleles - one size louder: 2019

Sunday, December 8, 2019

French polishing

I’m getting closer to the finish line. But I have been forced to travelin work too much lately and that steals time. But an hour here and there and the shellac finish is starting to look really nice. 


I messed up the soundboard a bit as I went too thick in places. So I’m only showing you the back and neck here. I’m doing the top again after some careful scraping. 


Monday, November 11, 2019

Bridge made with handtools

I found a scrap piece of rosewood and decided to shape it with only hand tools. So I cut it to rough dimensions. 


And planed it flat. It’s no use trying a smaller plane for smaller pieces, I prefer a hefty one. 


The tricky part is cutting the saddle slot. Normally I do this on the small table saw but hey, it’s in a cupboard and takes a while to set up. Instead I use my wee model maker’s saw. 


Two cuts and then I remove the waste between them. 


Since the soundboard is domed I need to shape the underside of the bridge to match it. I use a scraper for this, and check often to make sure it fits. 


And it’s in place. The guitar string goes through two tiny holes in the slots and down through the top to prevent slipping. 


Wednesday, November 6, 2019

Fretboard, continued

When I’ve shaped the edges to the correct taper I mark a centreline and drill holes for the position dots. I use a 1.6 mm styrene rod for them. 


Three of the holes are transferred to the neck. I’ll leave the rods protruding a bit so the fretboard won’t slide around any when it’s time for the glue. 


I pressed the frets in, and forgot to take any pics of that. But here’s me filing the ends and bevelling them. 


And on it went. I’ve used rubber tubing and other sorts of clamps, but you can’t really beat some old Bahco C-clamps. You could squeeze something out of anything with those. 

Next up; the bridge. 


Sunday, November 3, 2019

A mesquite fretboard

I keep saying I’m gonna tidy up the workbench but I never really get around to it. And there is that half finished ukulele that needs sorting, so I tell myself if I finish that I can clean the bench so much easier. 

So I found the mesquite fretboard blank I chose long ago, and trued one edge on it. I put my Stanley number 6 upside down in the vise and ran the board along it. 


I put the fretting template on the board, using the tape and superglue trick. The underside of the fretboard is cleverly marked “ner”, which means “down” in Swedish. The plywood contraption is a sled for cutting the slots. 


Et voila. For some reason the slots weren’t as deep as they should be, something is up with the saw or the sled. But I just deepened them with my handsaw. 


I taped it and marked it the centreline, and from that I marked the tapering edges. I scored the edge lines with a marking knife...


... and pulled the excess tape off. Then I planed the edges down to the remaining tape section. I like using a large plane for this, the length and the mass really help in getting the sides straight. 


And I did a lot more today. But I will post it in bits, kind of bad form keeping quiet for a month then publishing mega posts with way too many pics. Thinks I. 

Thursday, October 31, 2019

Glueing the back

I make sure the back braces and the rim are flush at the edges and that the arching forms a smooth dome shape, by grinding the whole assembly in the radius dish. 


I found the back I prepared long ago (not a mean feat since the bench is cluttered) and cut the shape with my Knew Concept saw. That saw is a bit weird. Sometimes it works and I love it, other times it is hard to tune and keeps botching up the cuts. 


The back is jointed so I took one of the offcuts and made a cross banding strip. It’s segmented to fit with the braces. In the pic I’m chamfering the edges with my miniature shoulder plane. 


And on it goes. Usually I use the go-bar deck to put some extra pressure on some spots but yesterday I fitted some wedges here and there to assure an even bead of squeeze out in the joint. 

This morning I took it out and it has a really nice dark tap tone now, it all sort of comes together when the back goes on. 


Wednesday, October 23, 2019

Installing back braces

With the braces profiled and cut to length, I mark the positions out for cutting the slots in the lining strips. The braces are triangular in cross section so the notches match that. 


I cut carefully with my Japanese model maker’s saw. It is insanely fine toothed but cuts rather fast, so I take care not to mar the sides. 


After a bit of fiddling it fits. I want it protruding slightly rather than being flush or *shudder* low. 


The clamps are also Japanese. The prejudice about stuff from there being elegant, of high precision, and a joy to use seems more and more like a hard fact, don’t it. 


Monday, October 21, 2019

Marking out plates, and brace work

I’m back (I never left)! It’s been hell at the day prison thd last months, and it still is. But I have cleaned up the workshop [a bit] and tonight I was back at it. 

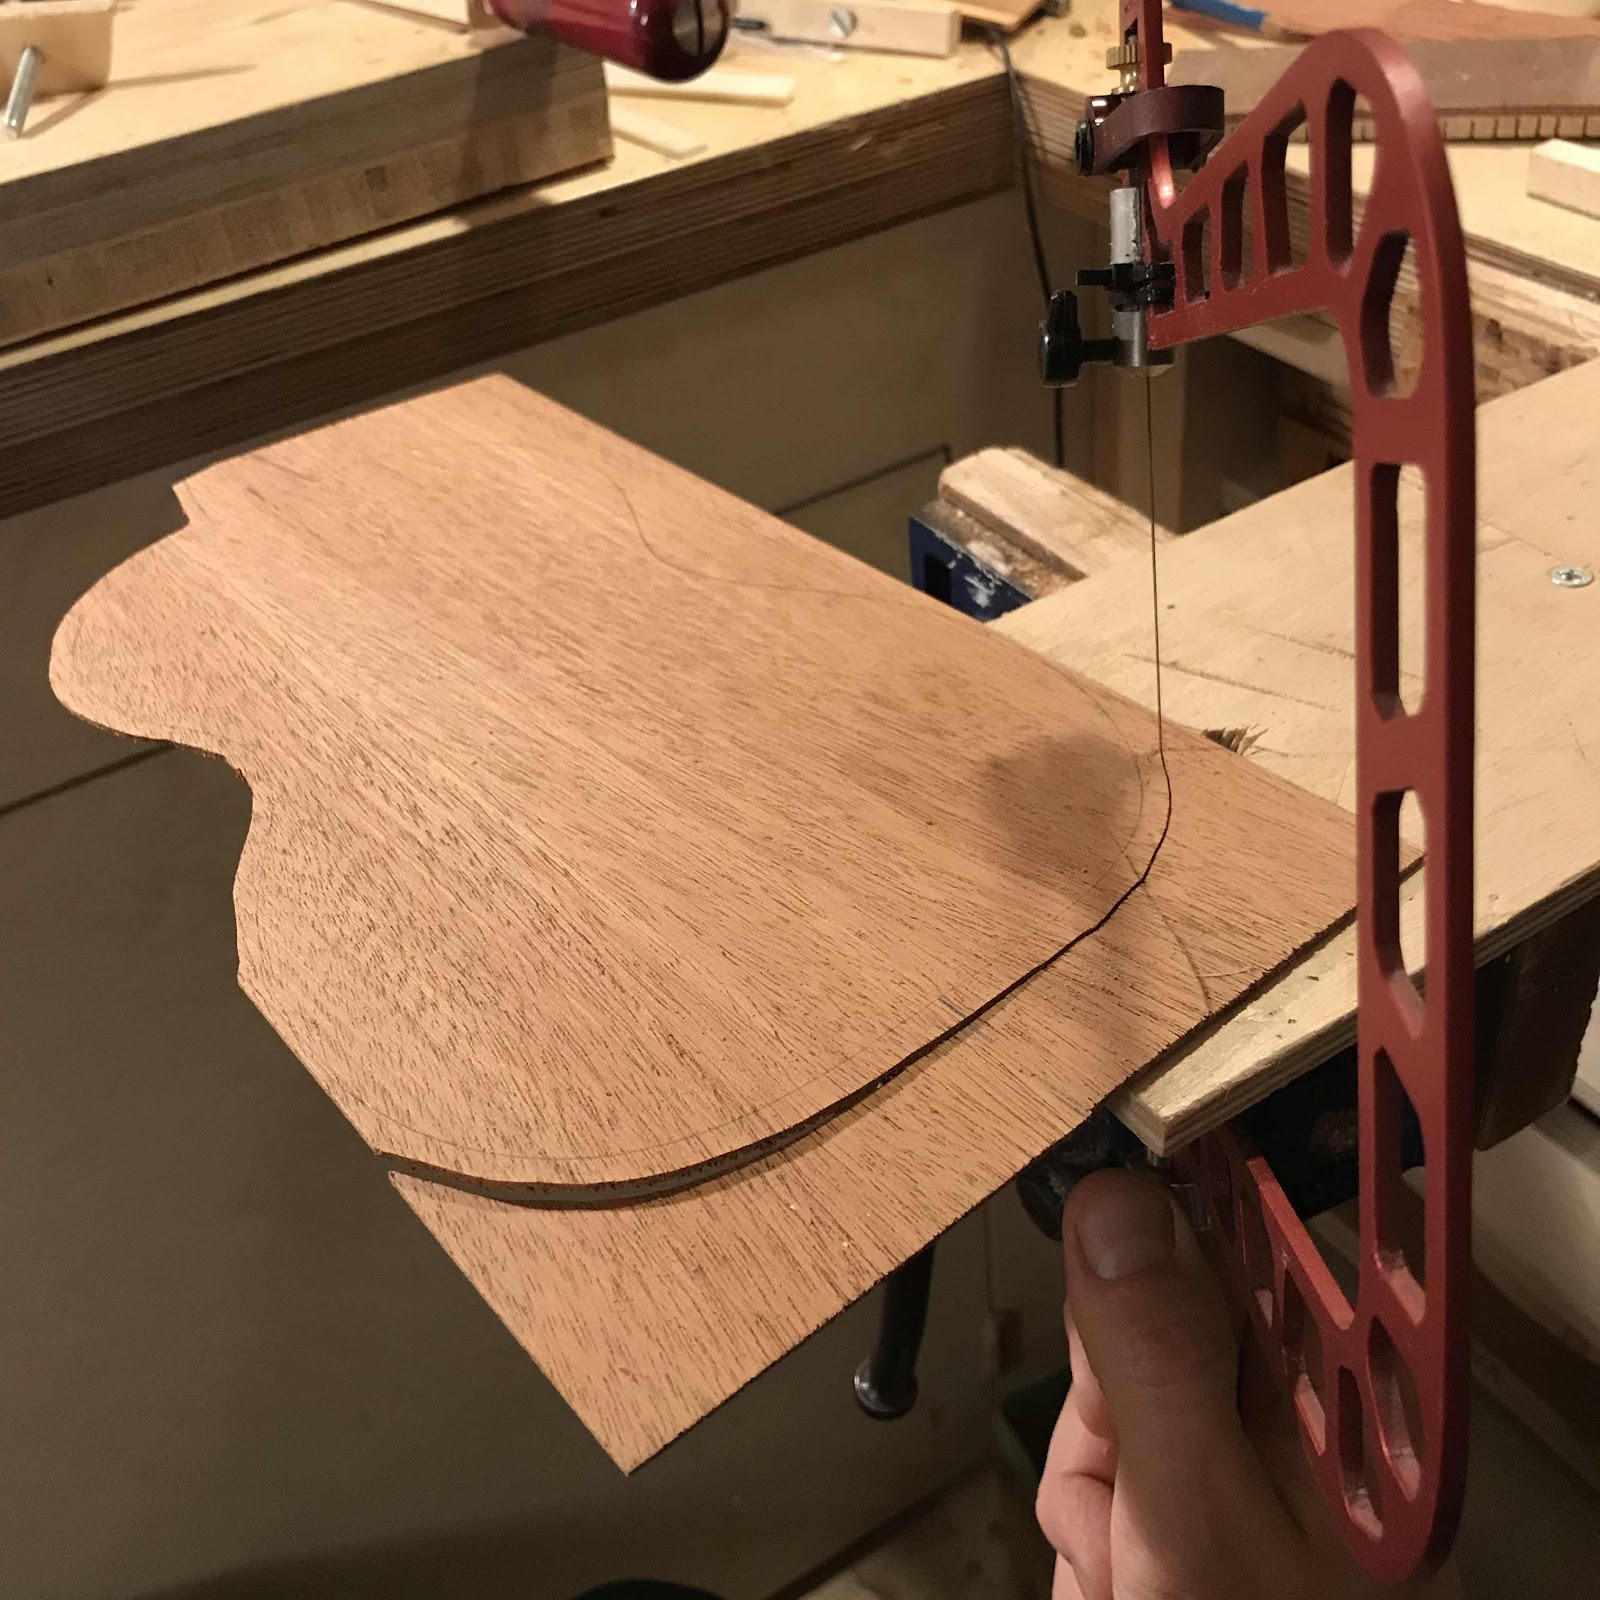
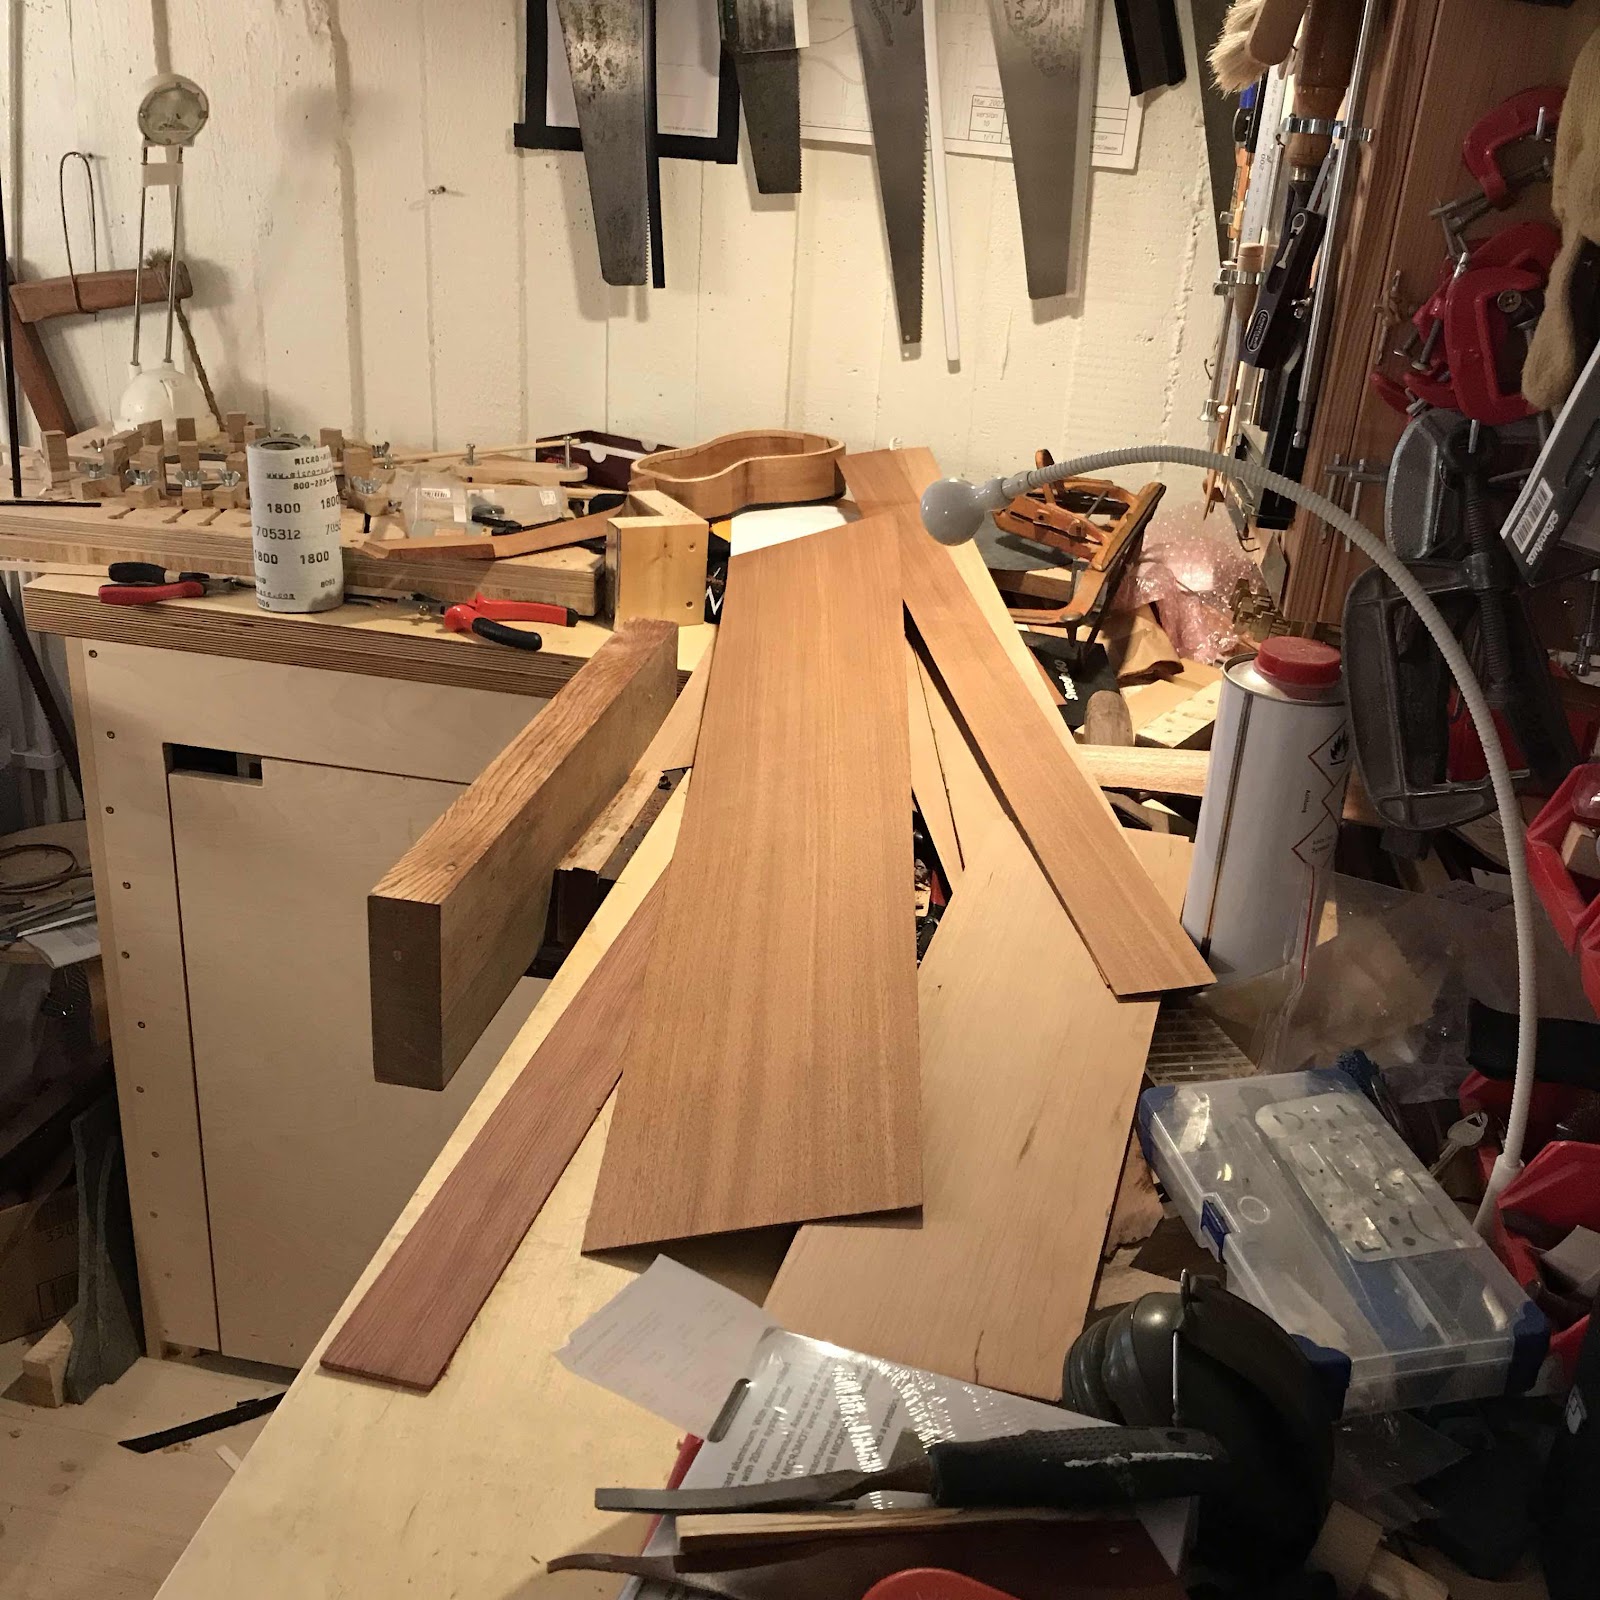
The plates I sanded a while back will give me two mahogany sopranos and two cherry piccolos, if I don’t mess up. I picked through the wee pile and marked out the contours. I got lucky with the grain direction in the mahogany piece - the heelcaps tucked in side by side so the length was enough for all four plates. 


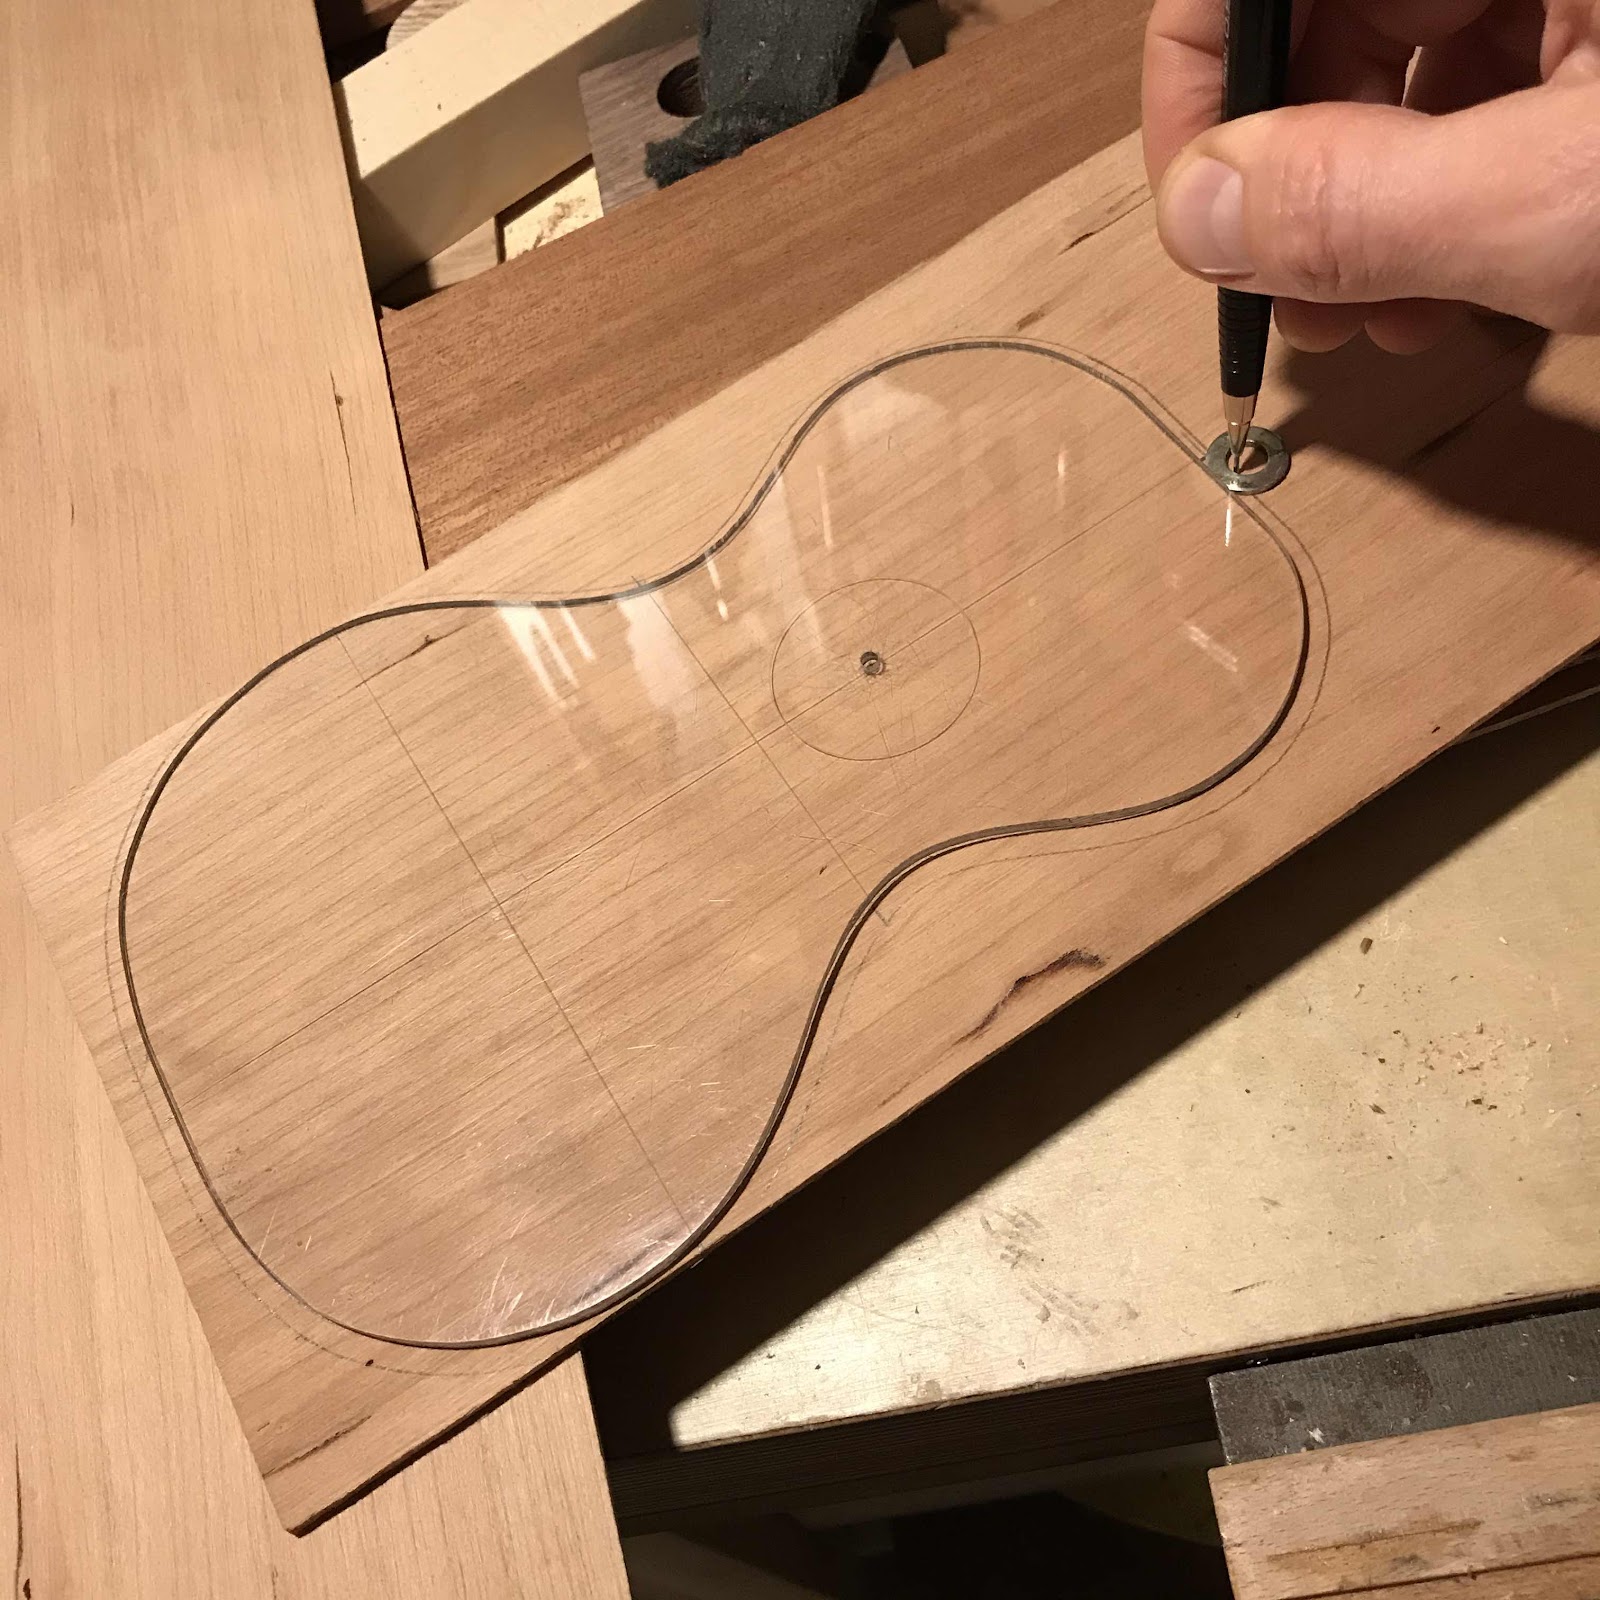
Maybe it’s visible in the middle there. The heelcaps. Wot I wrote. 


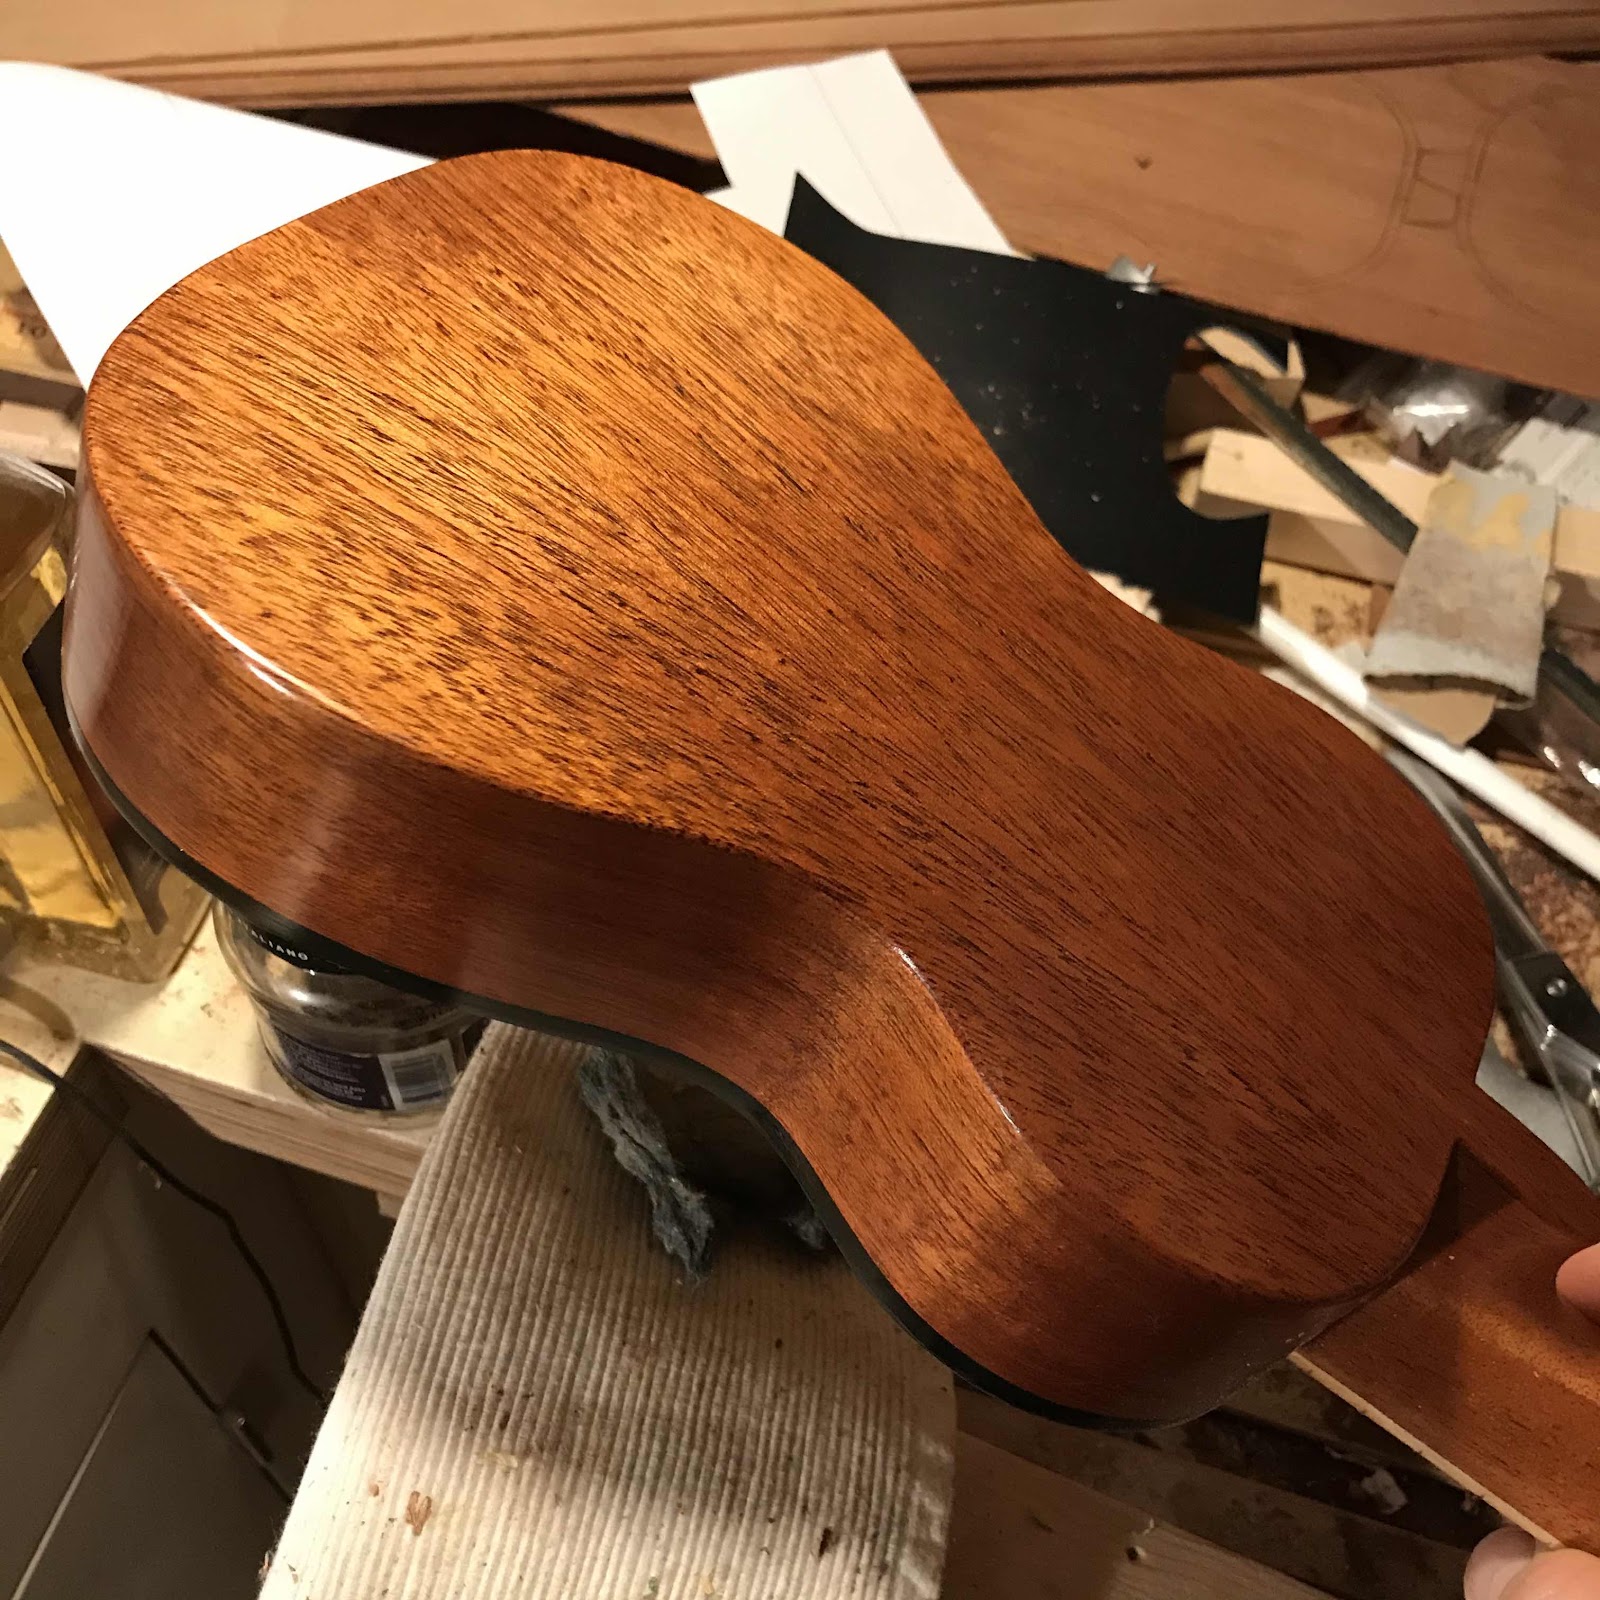
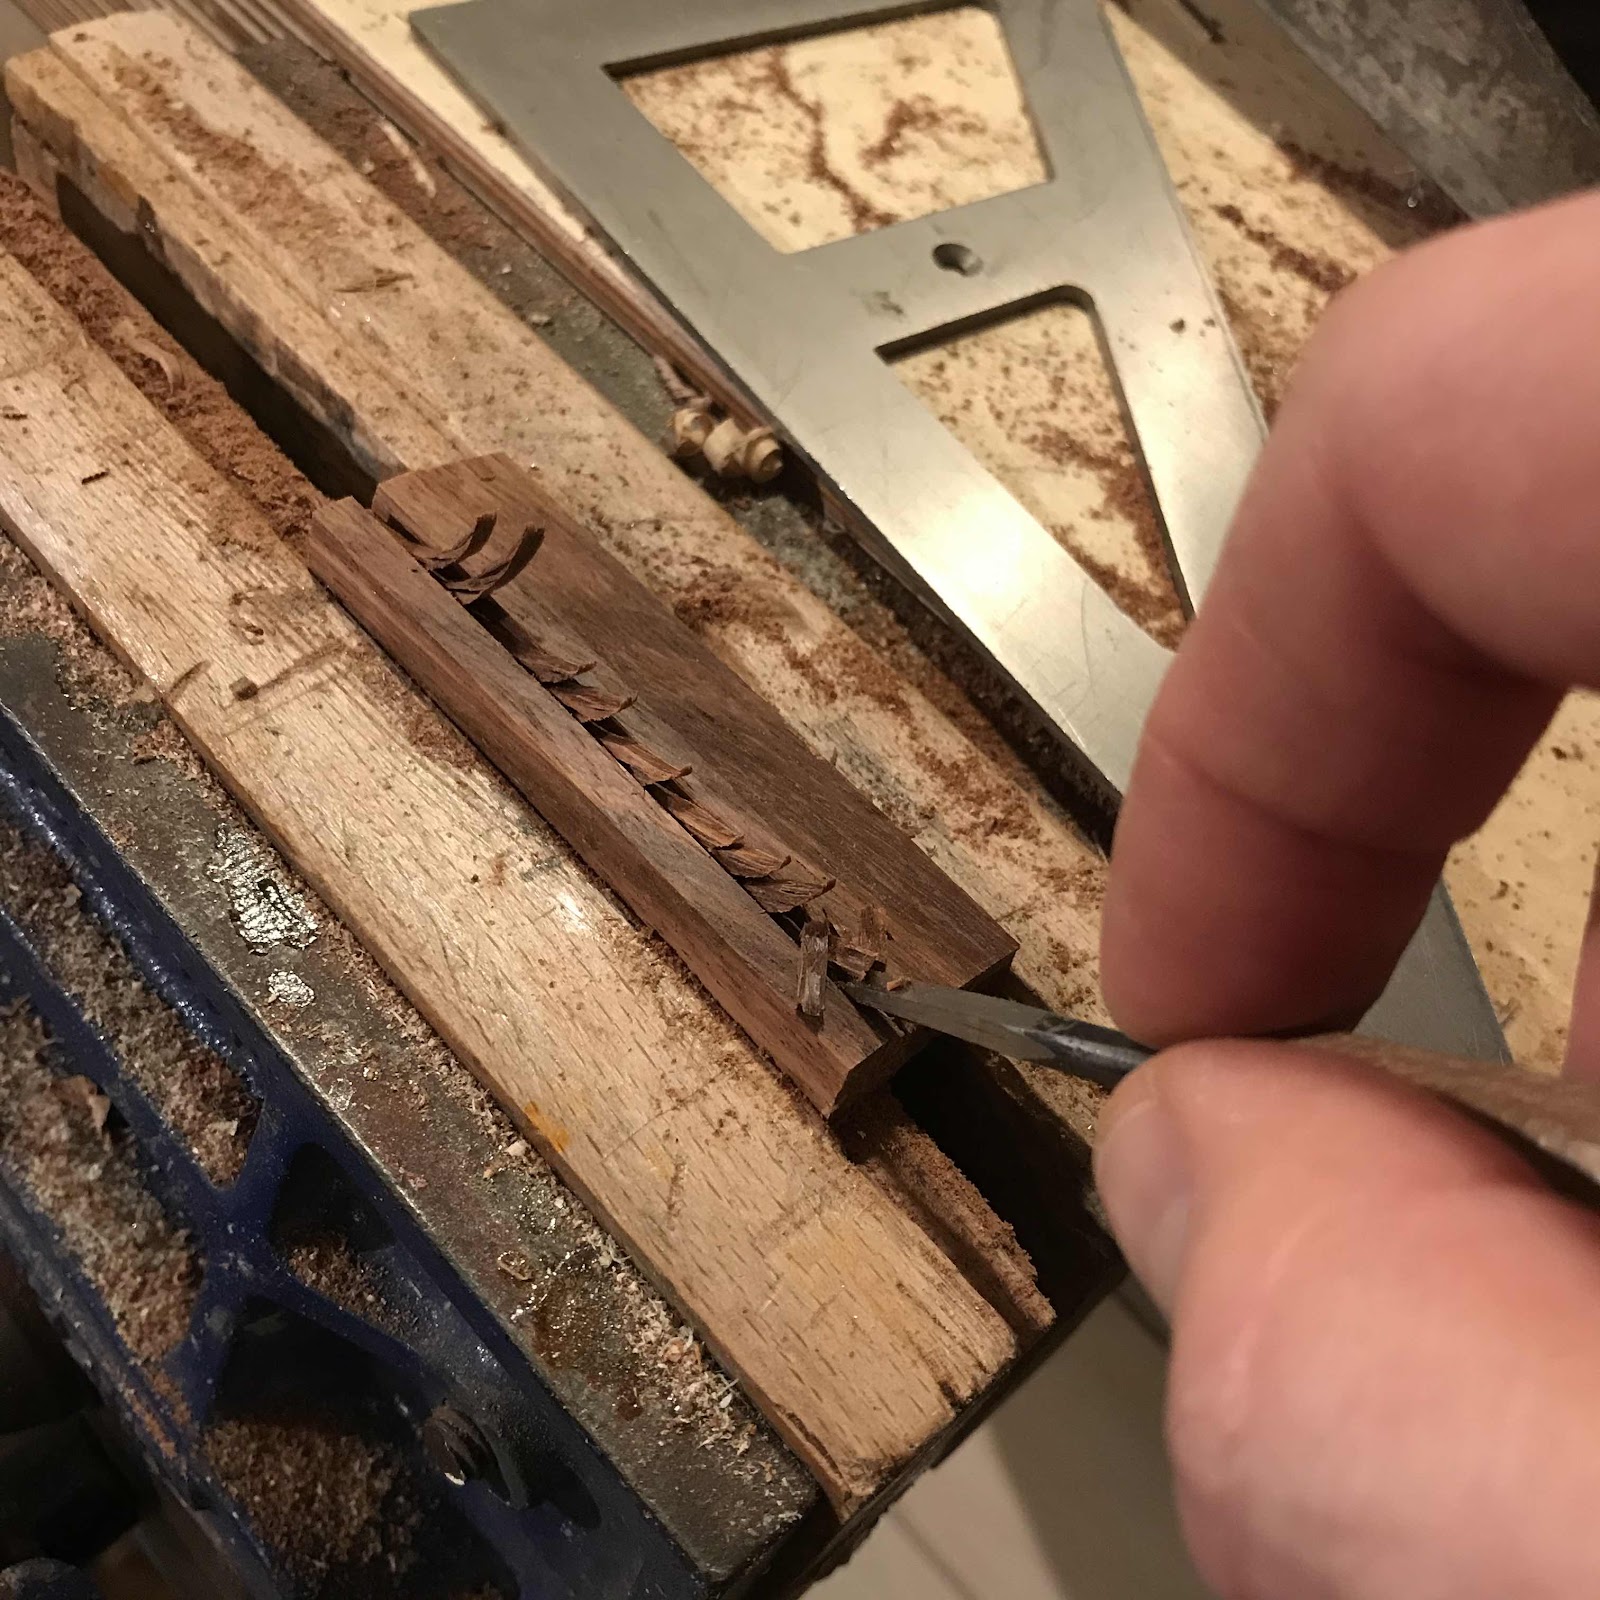
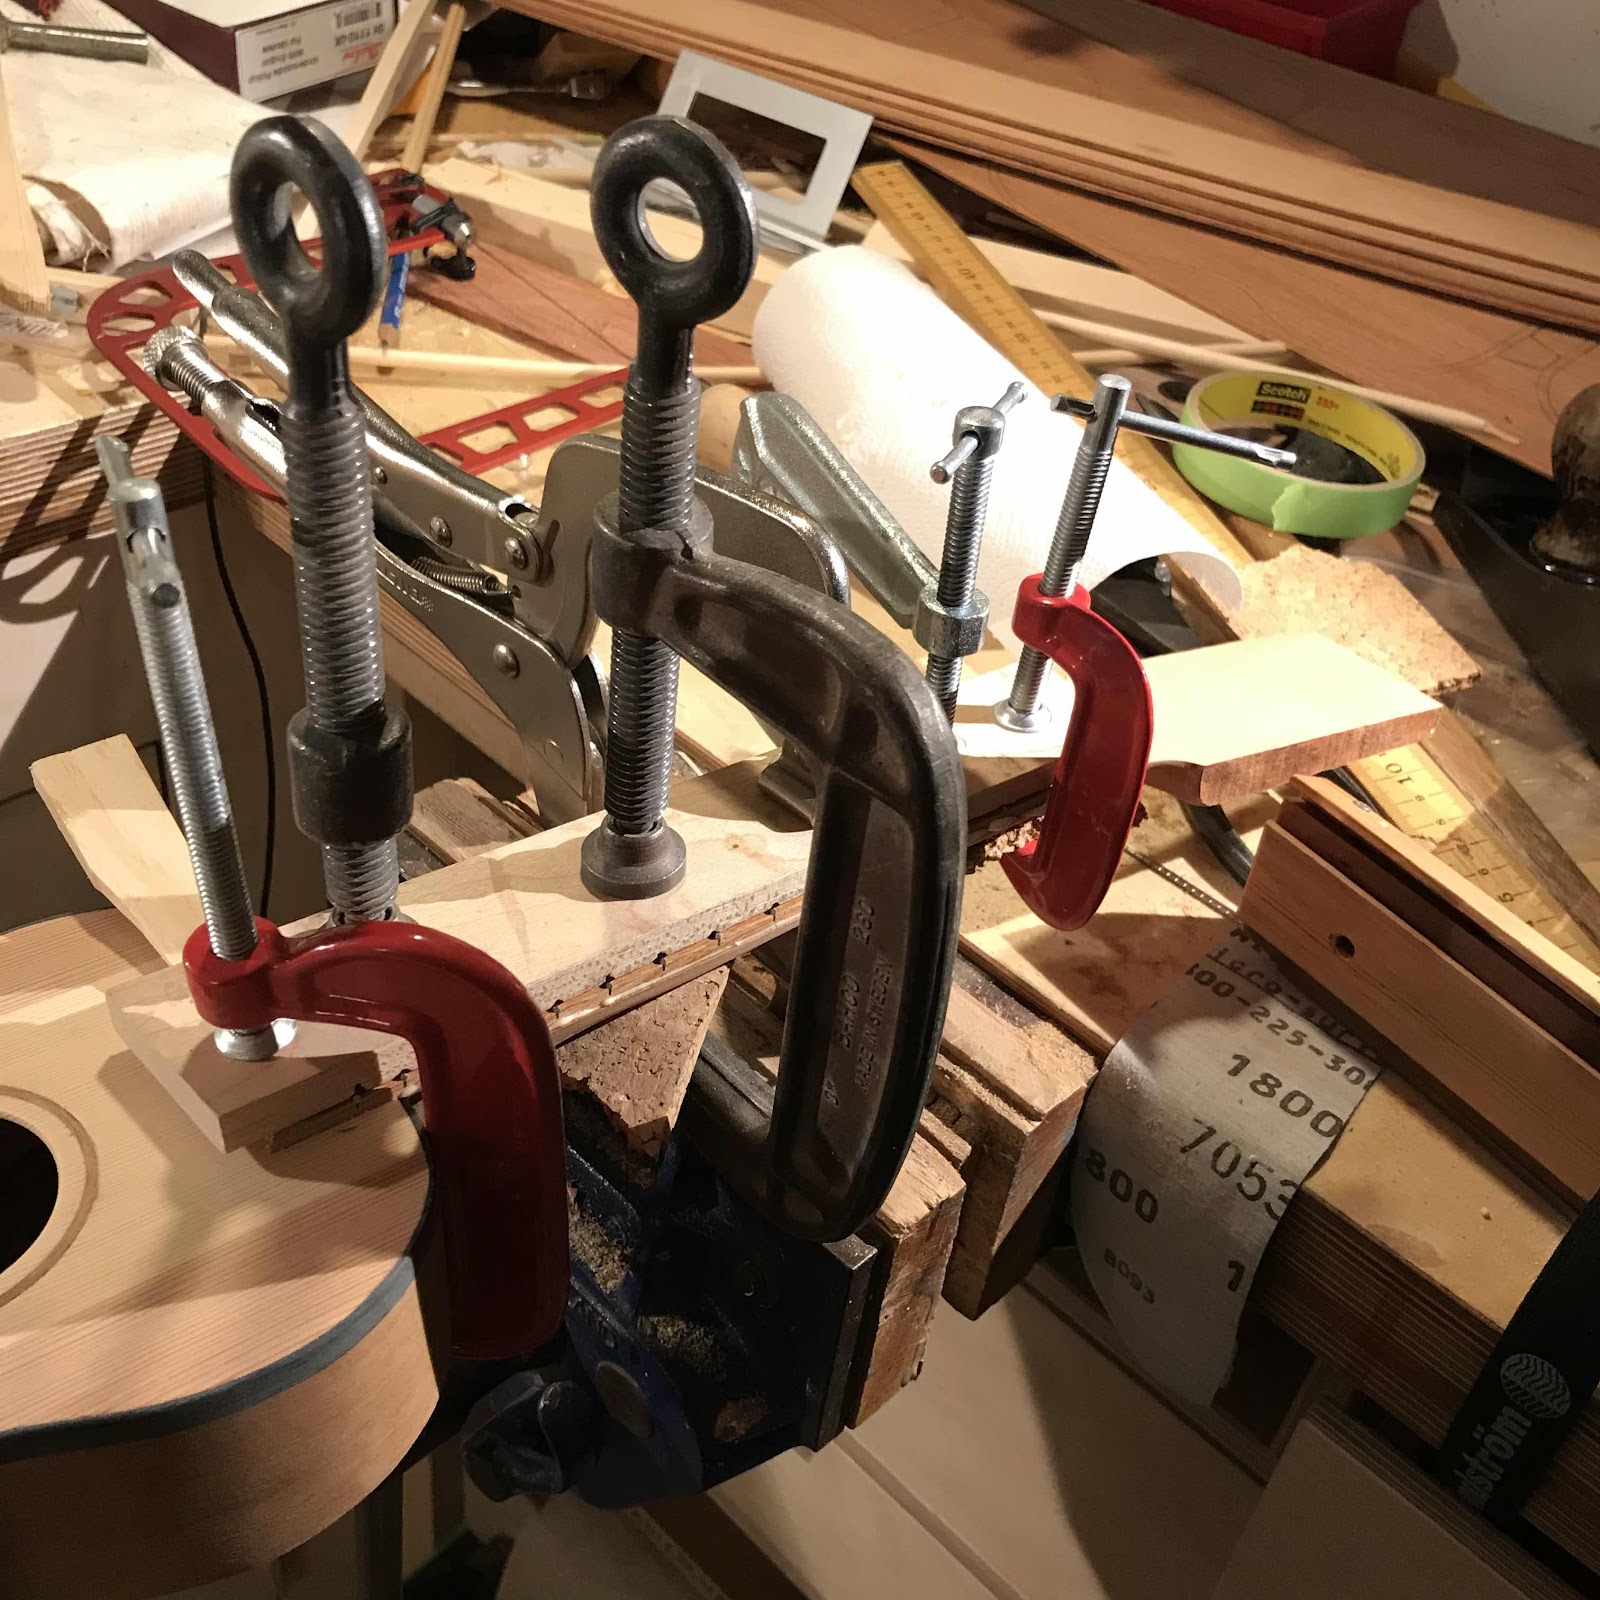
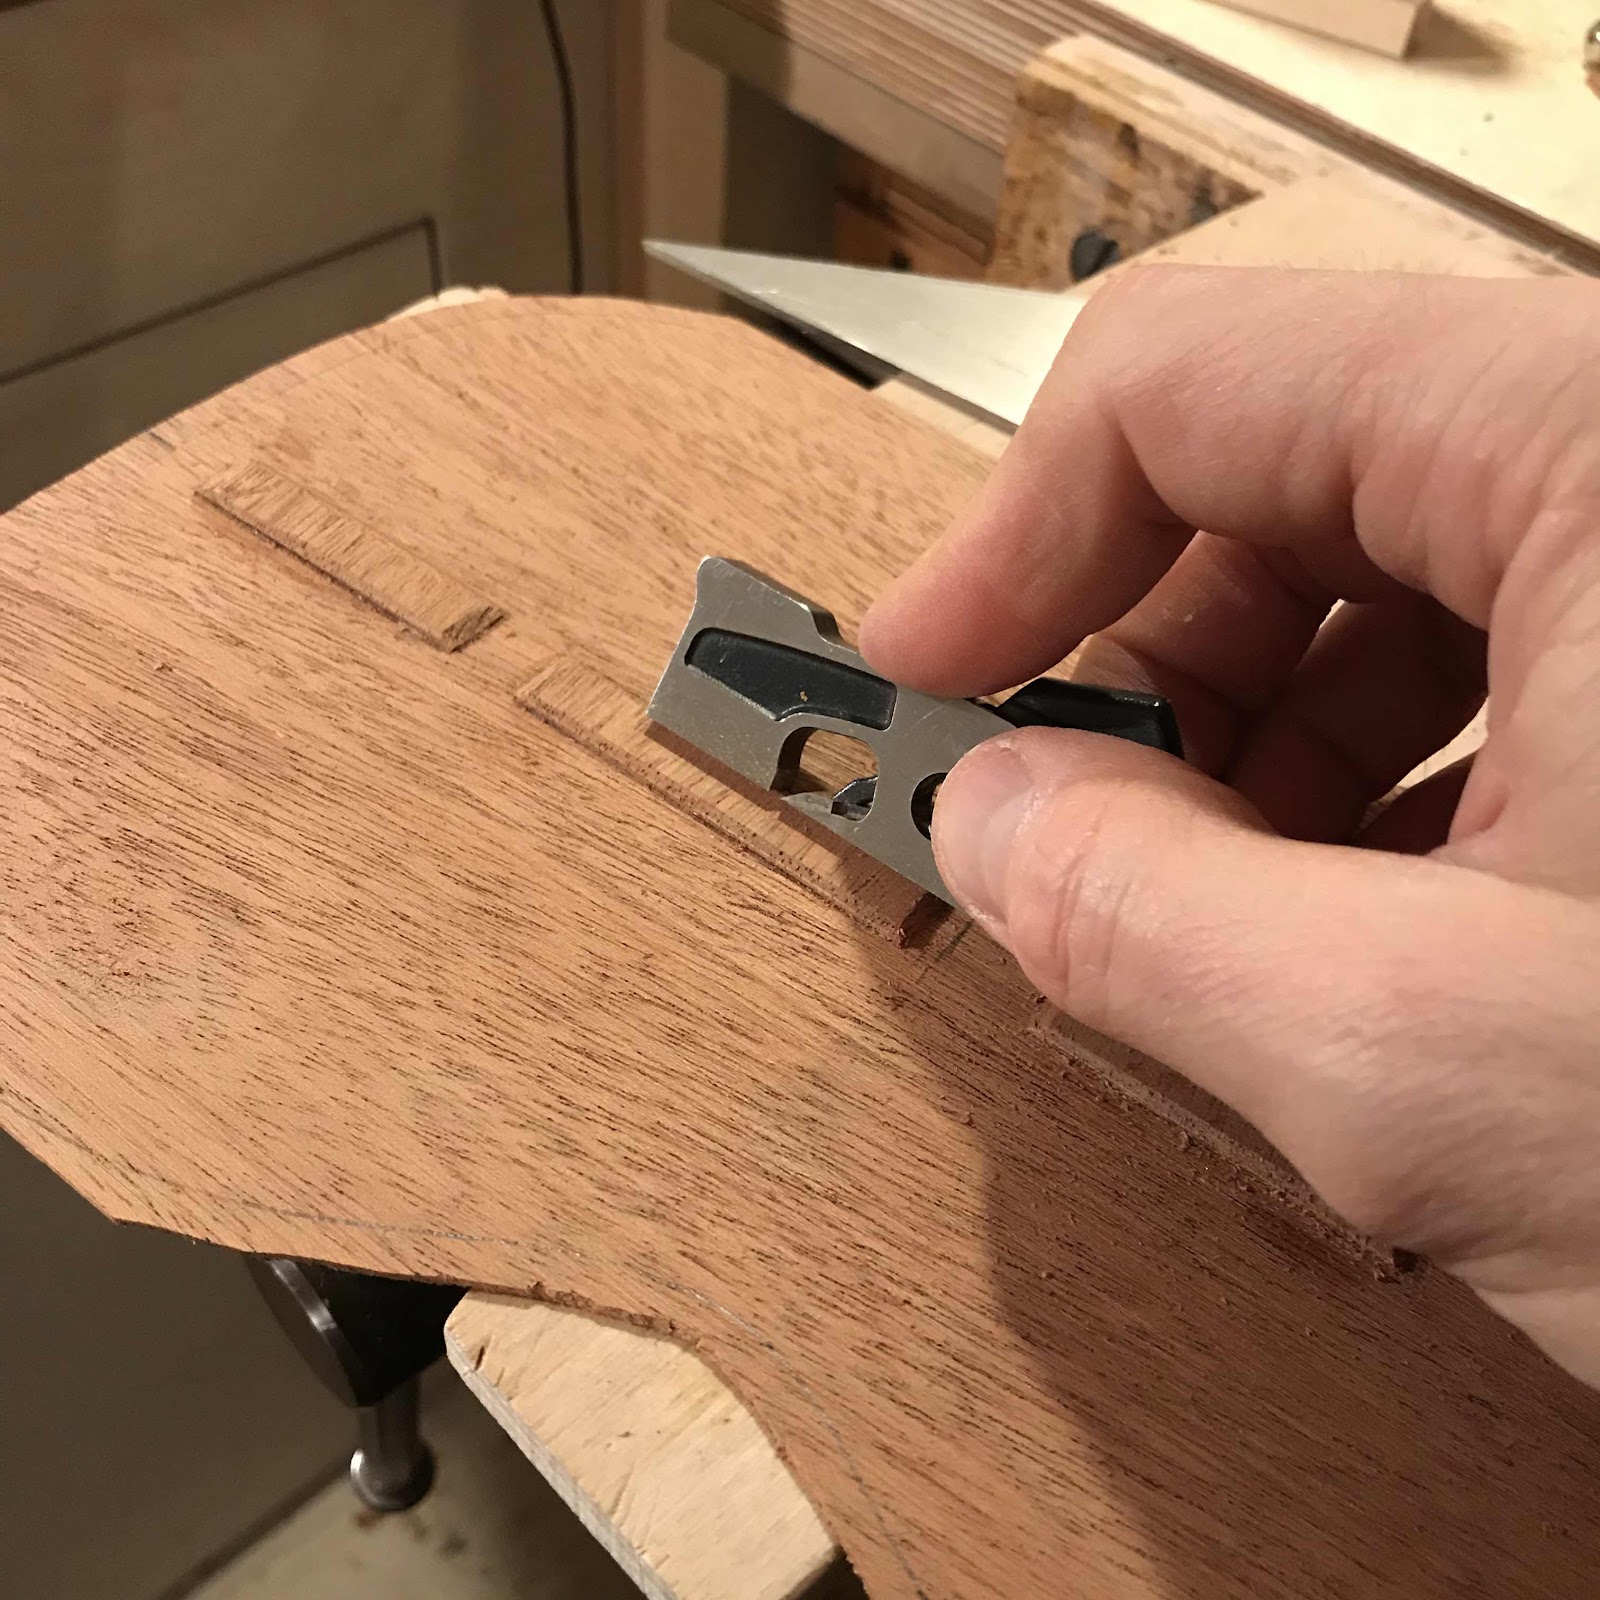
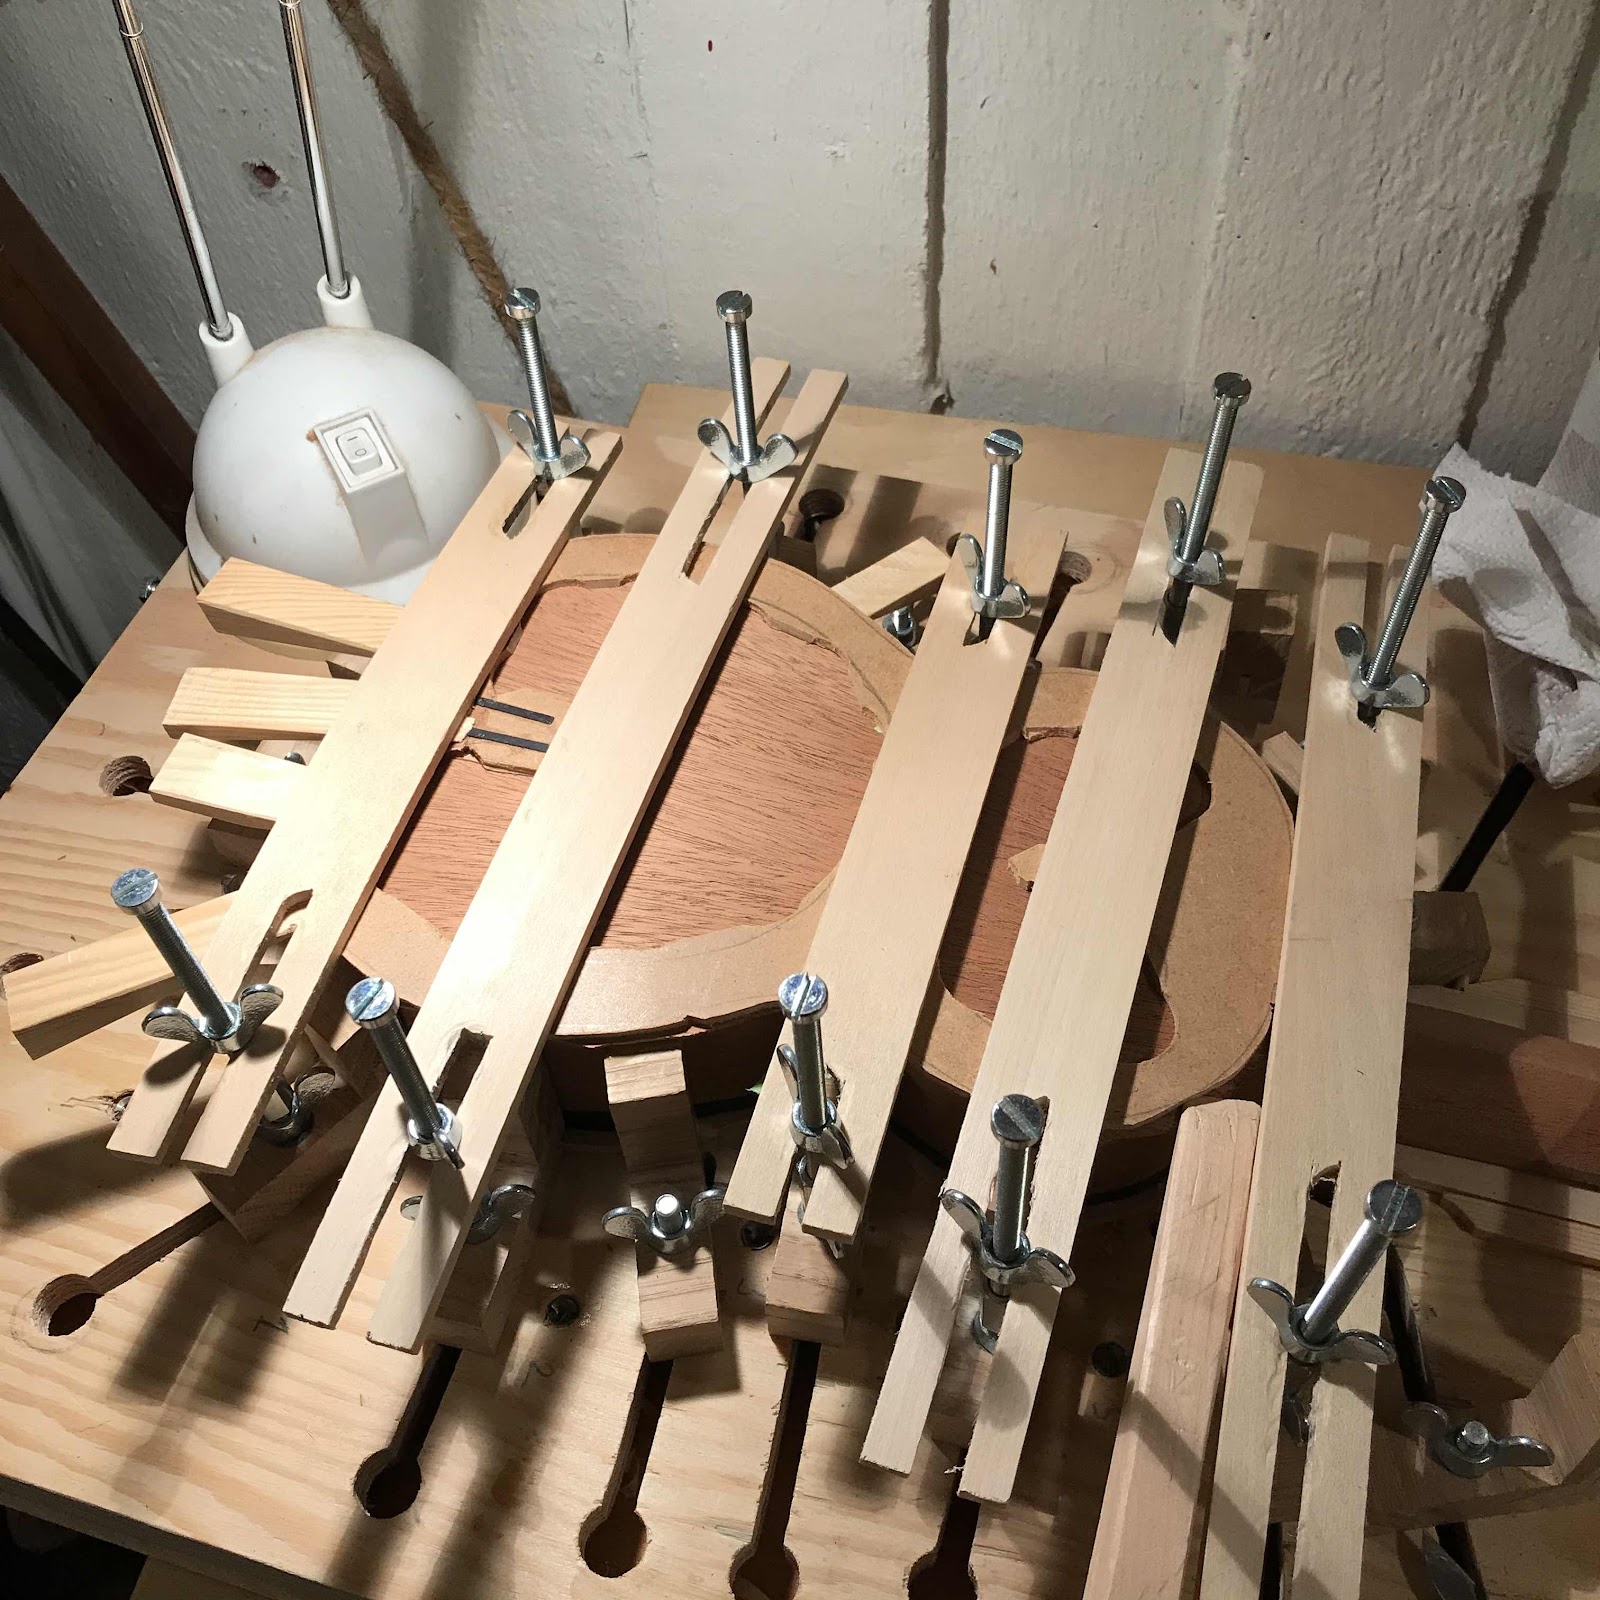
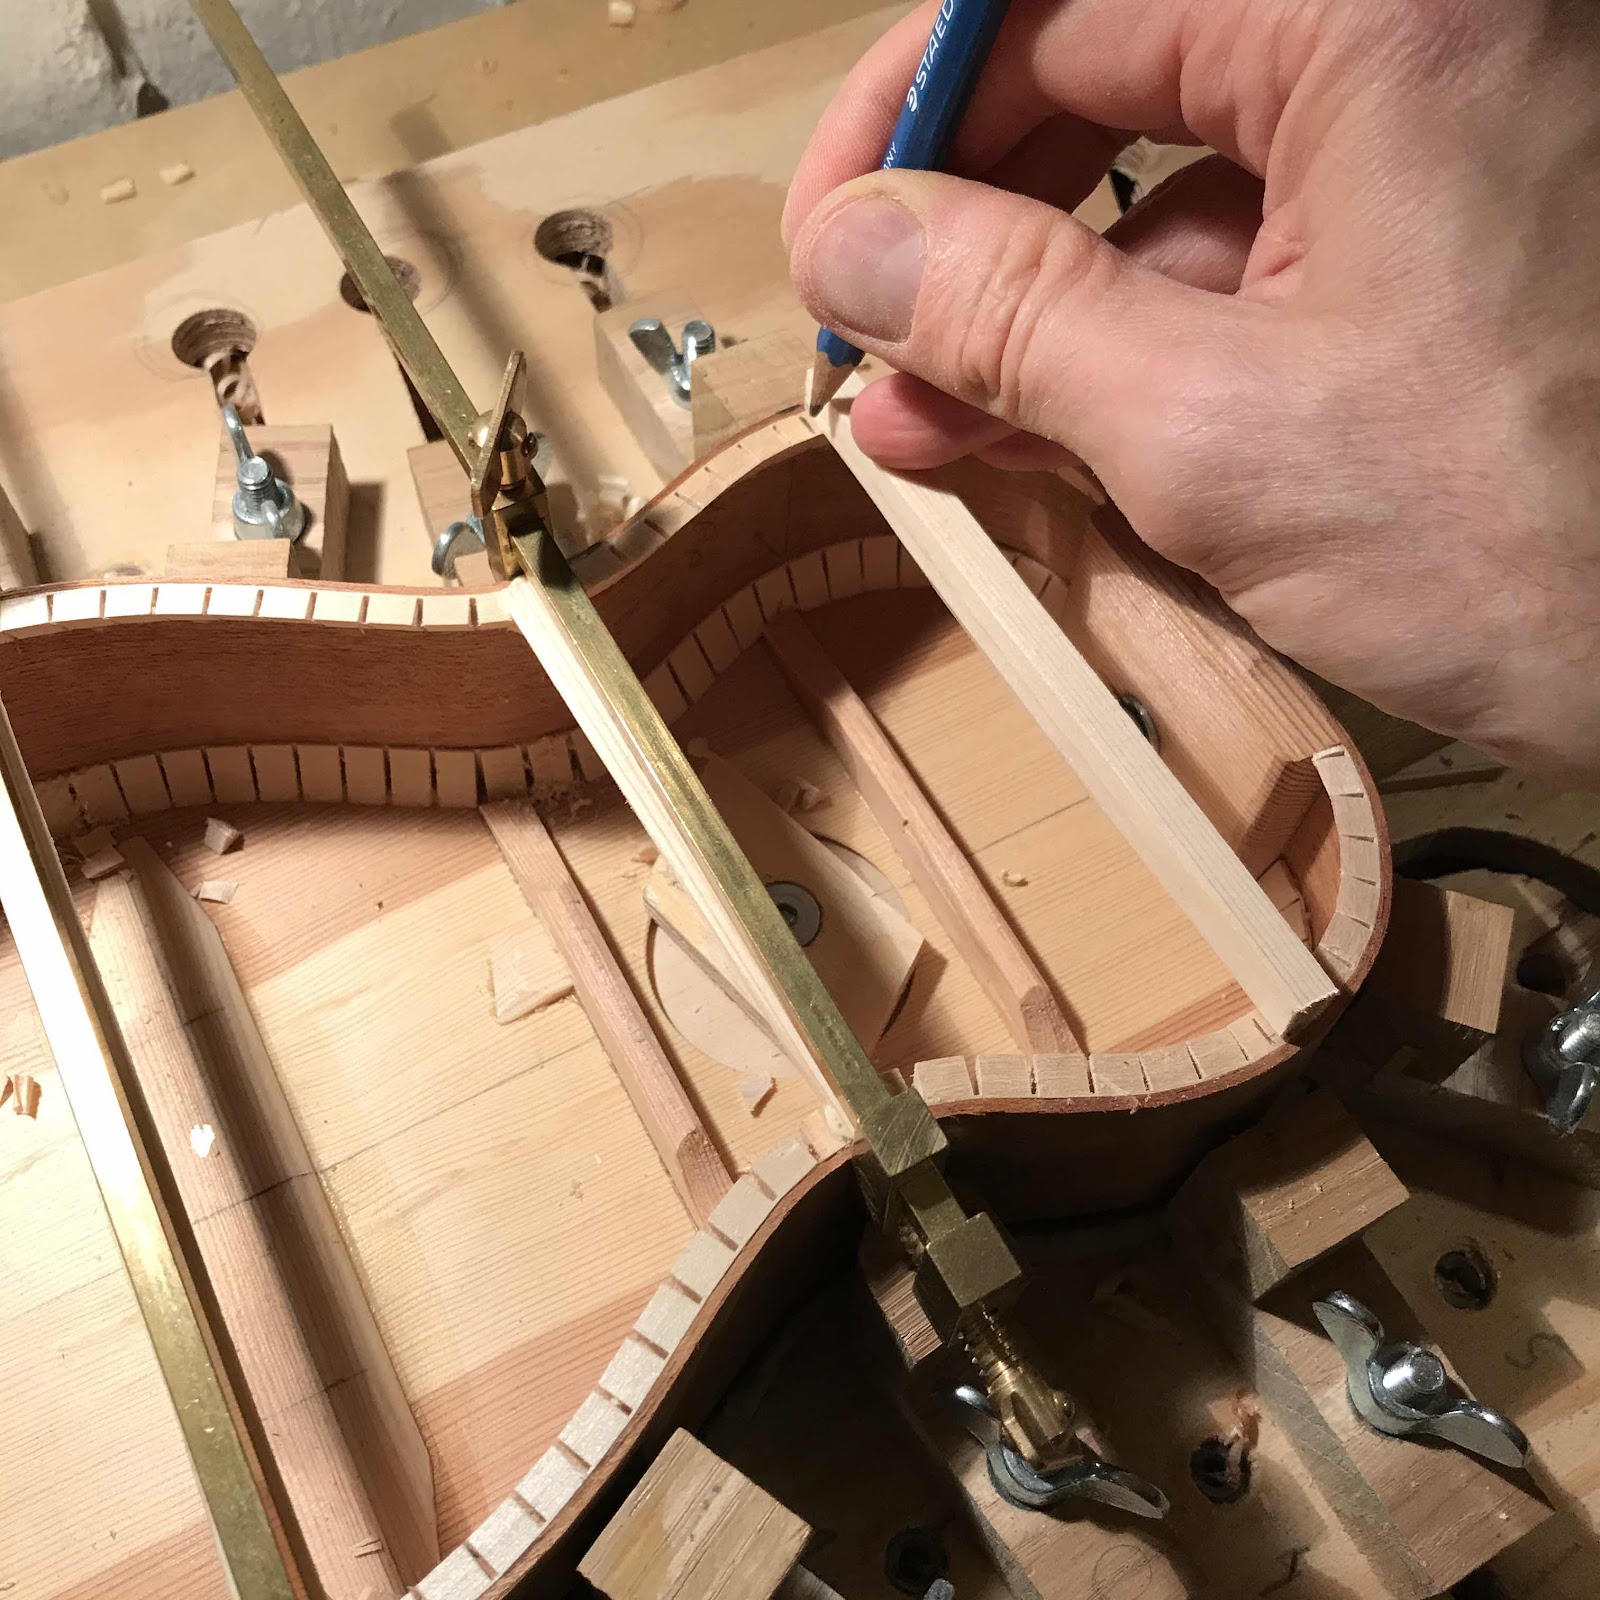
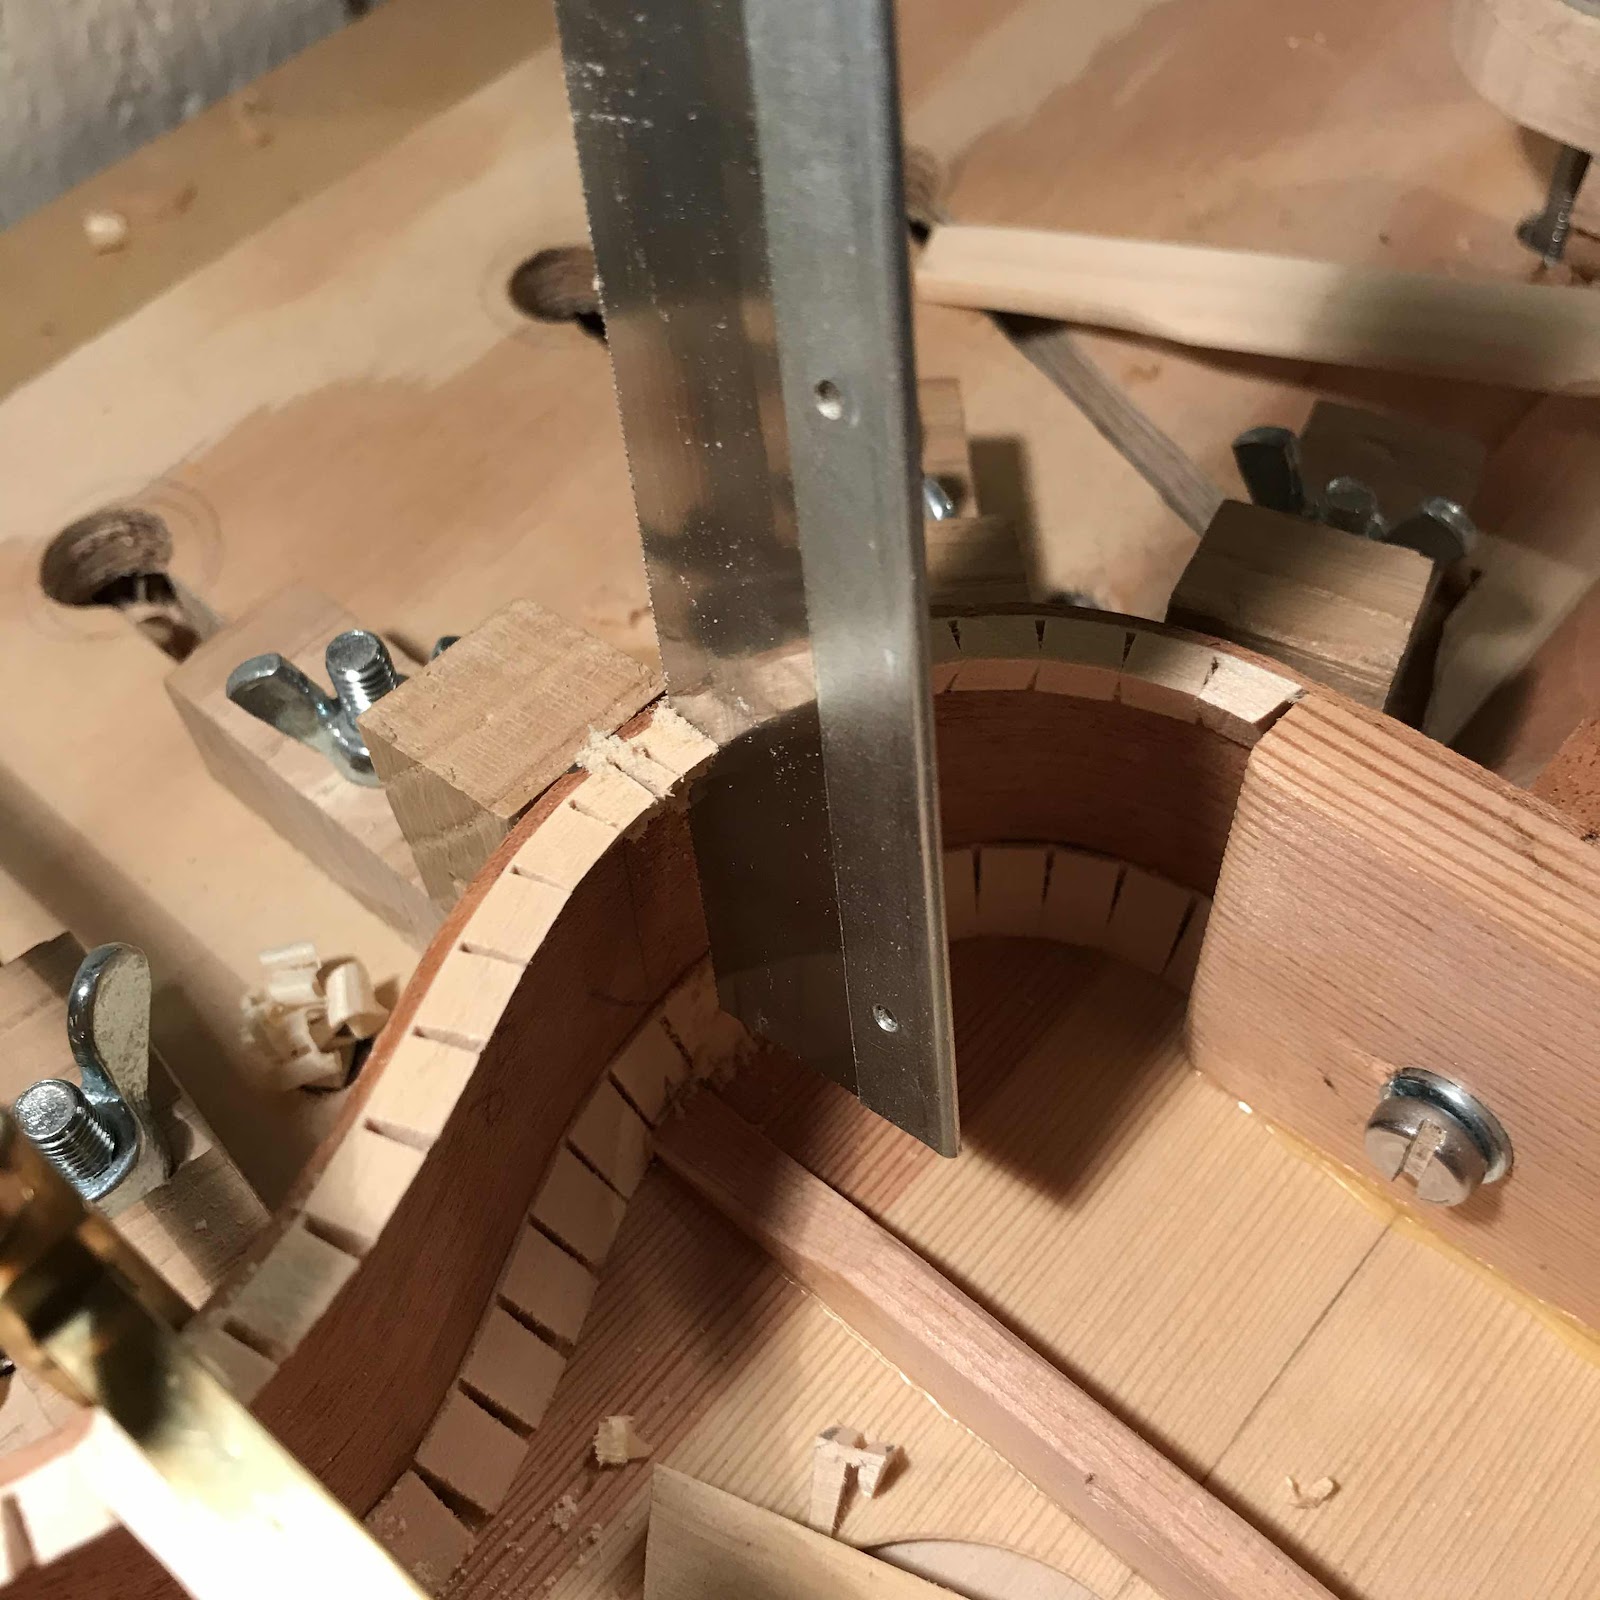
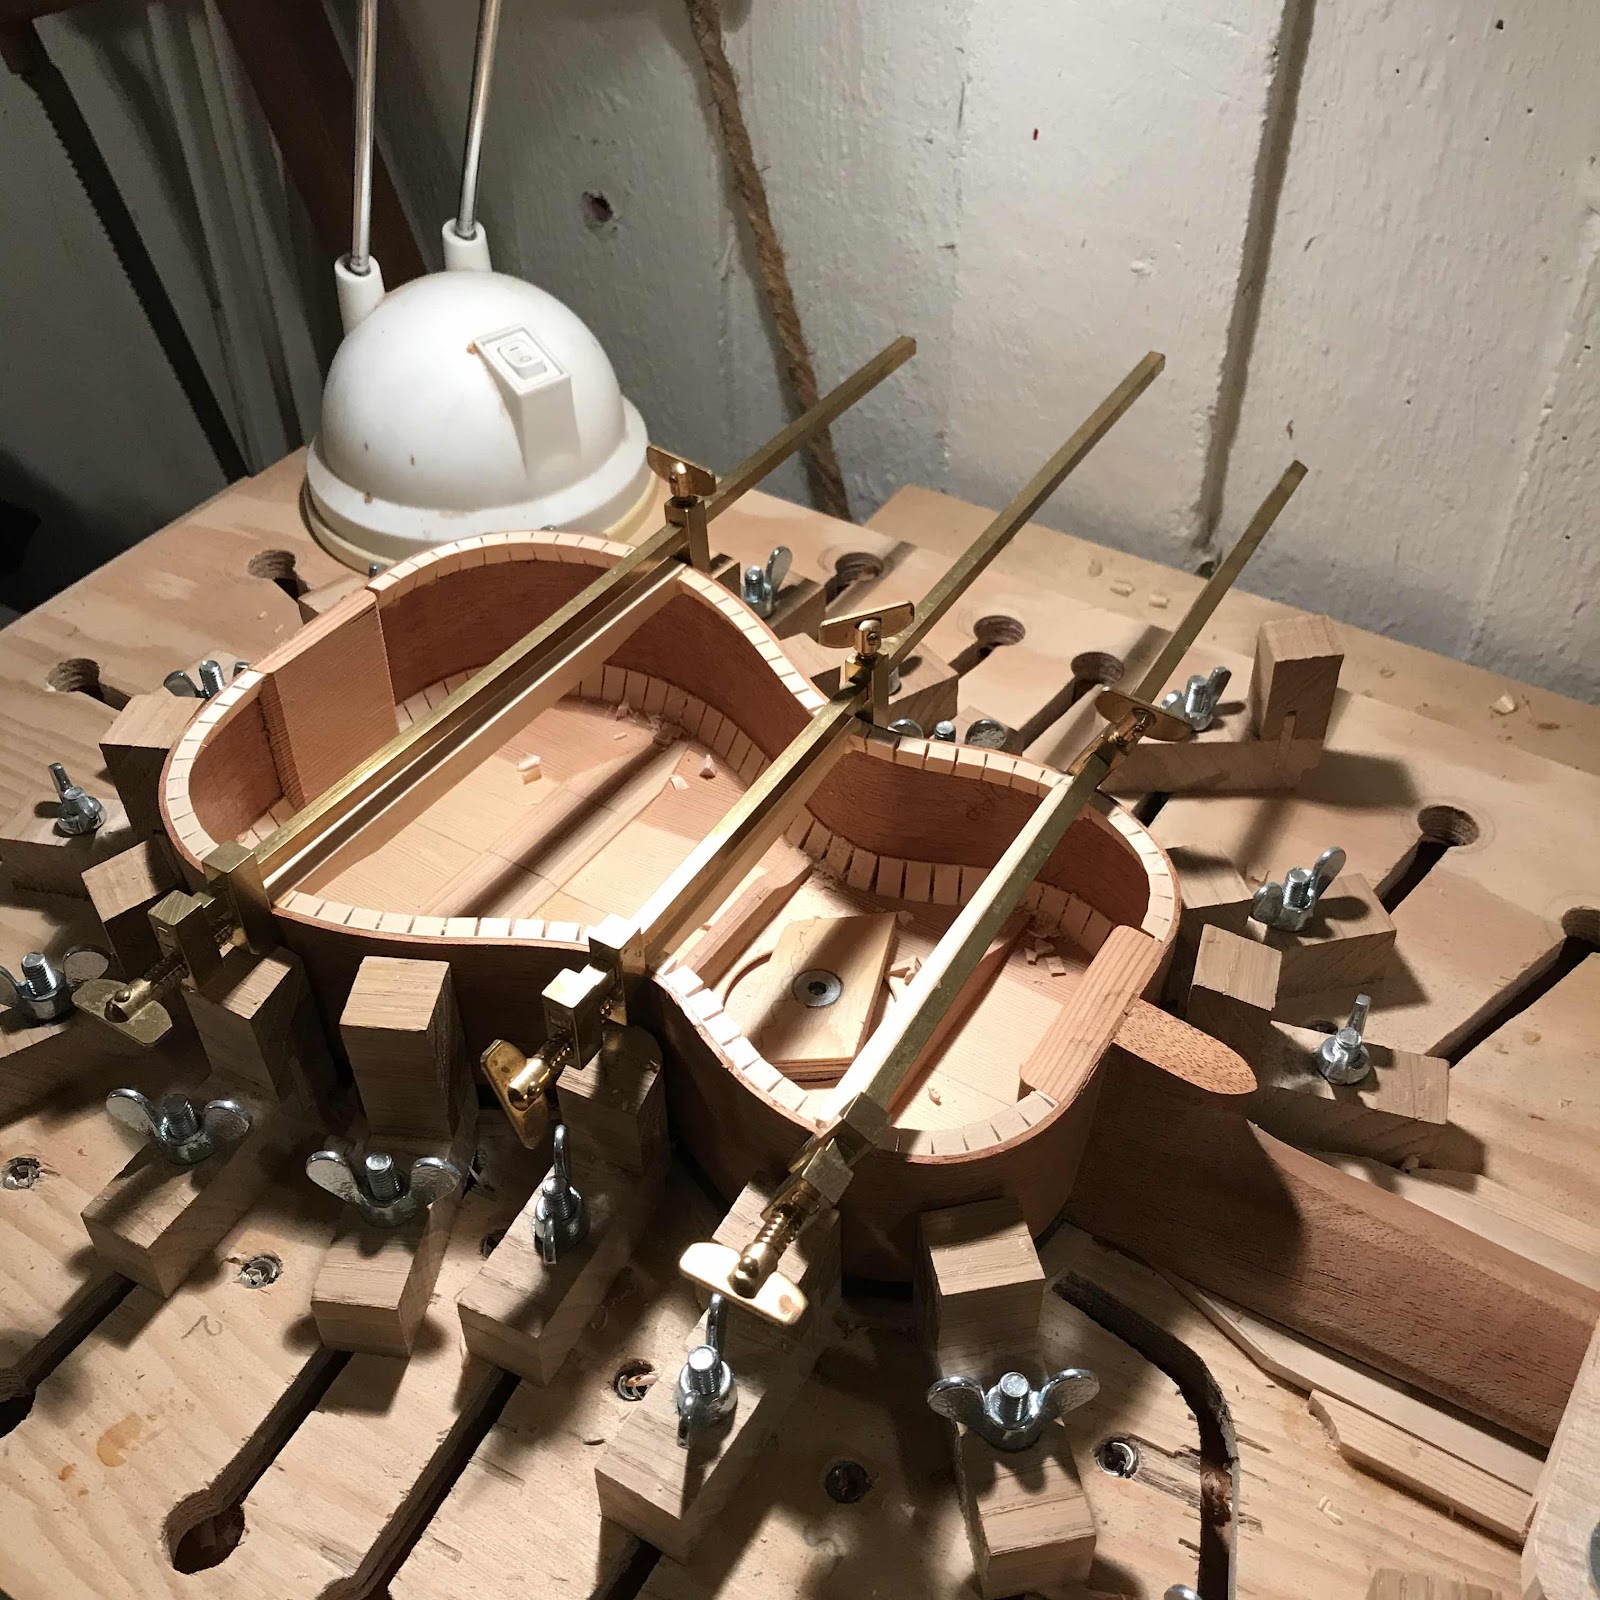
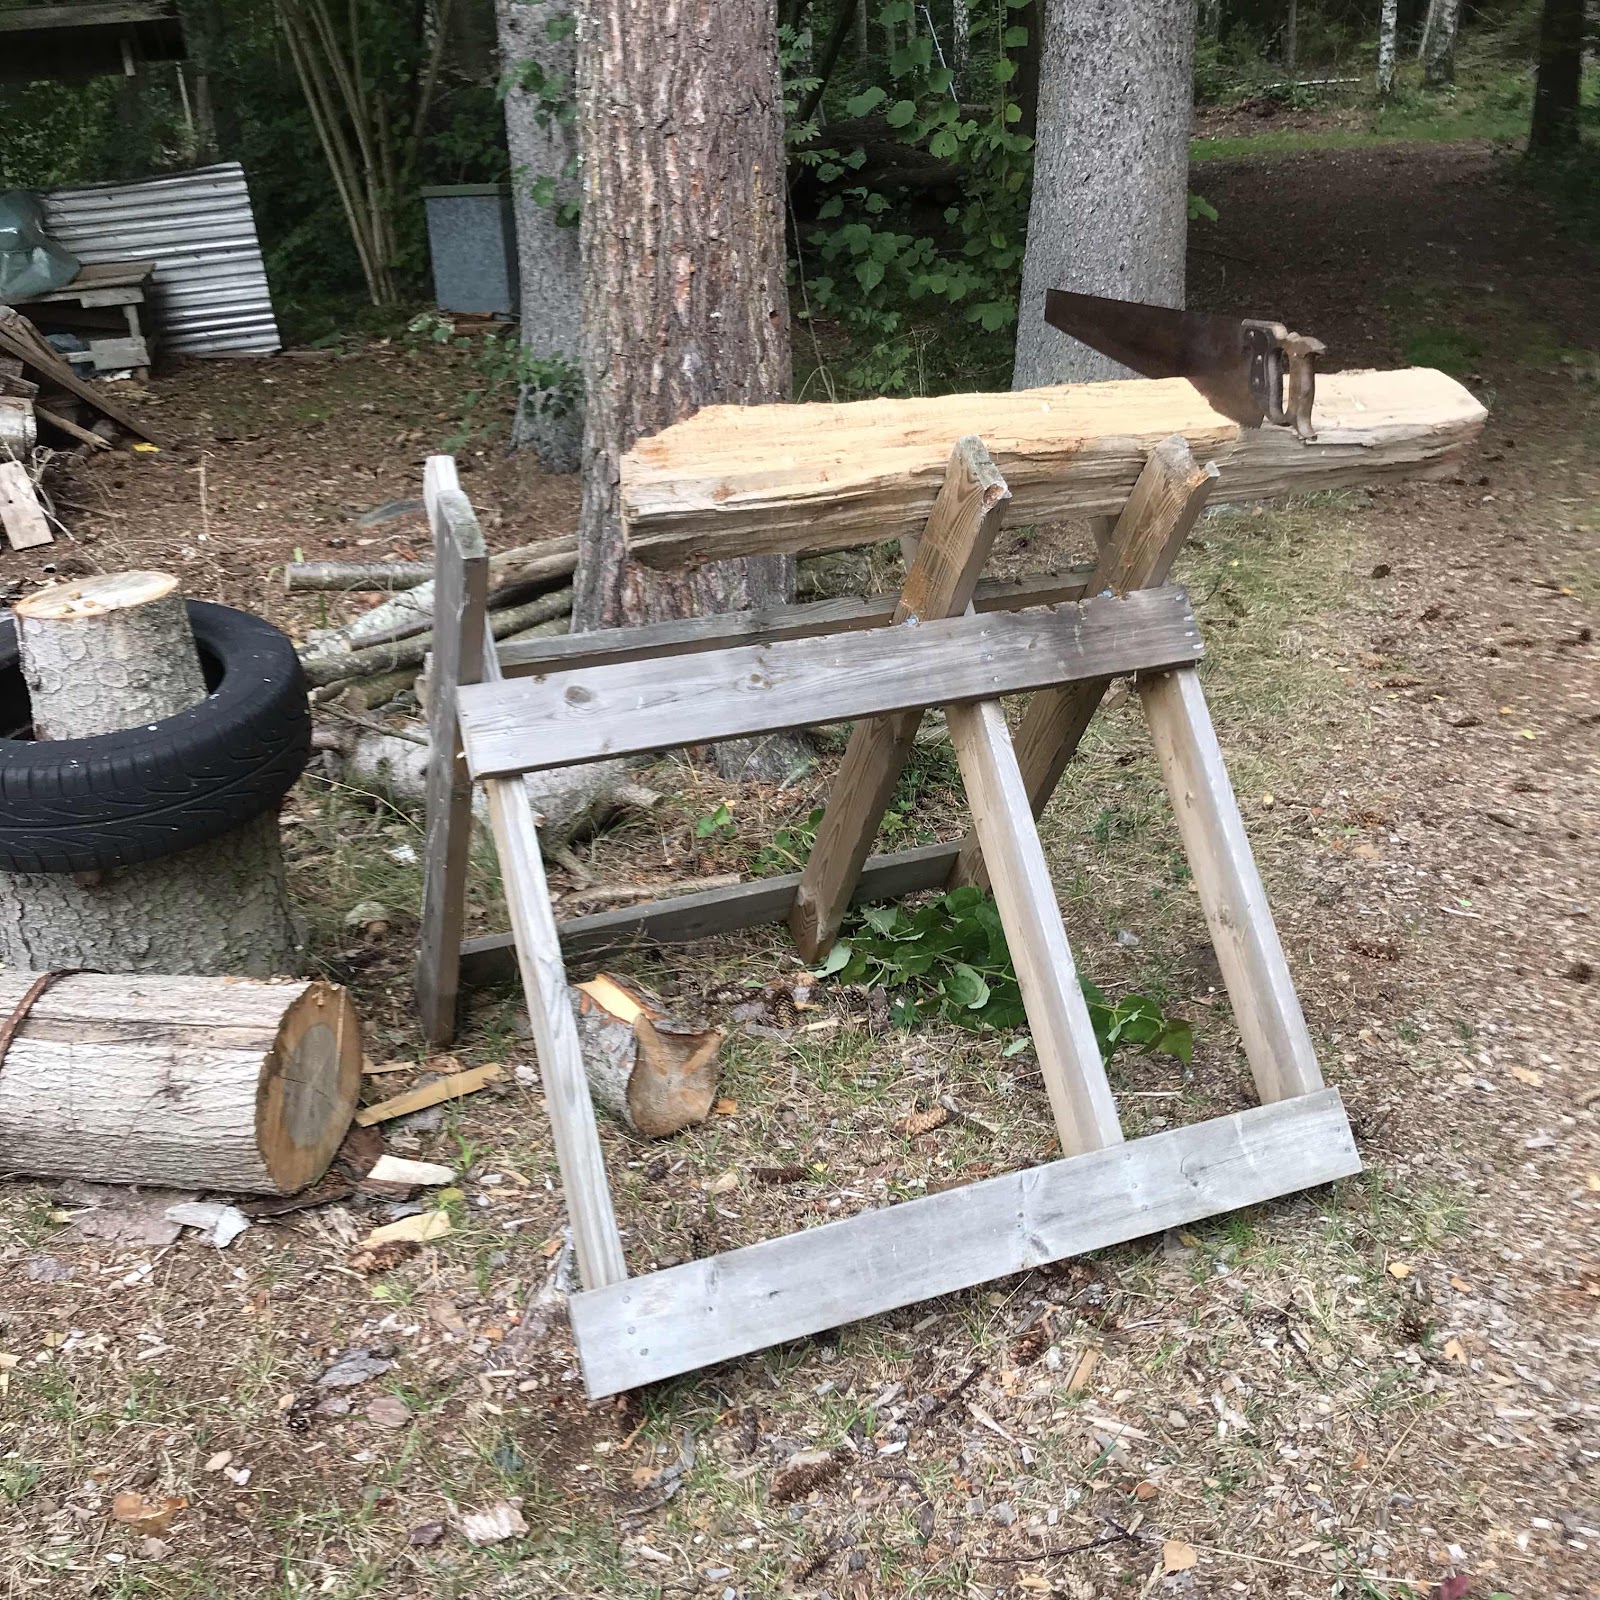
But before I get to start I need to finish this one - the half built soprano I’m making for a friend. It isn’t all that much left. I strapped it into the workboard and started on some back braces. 


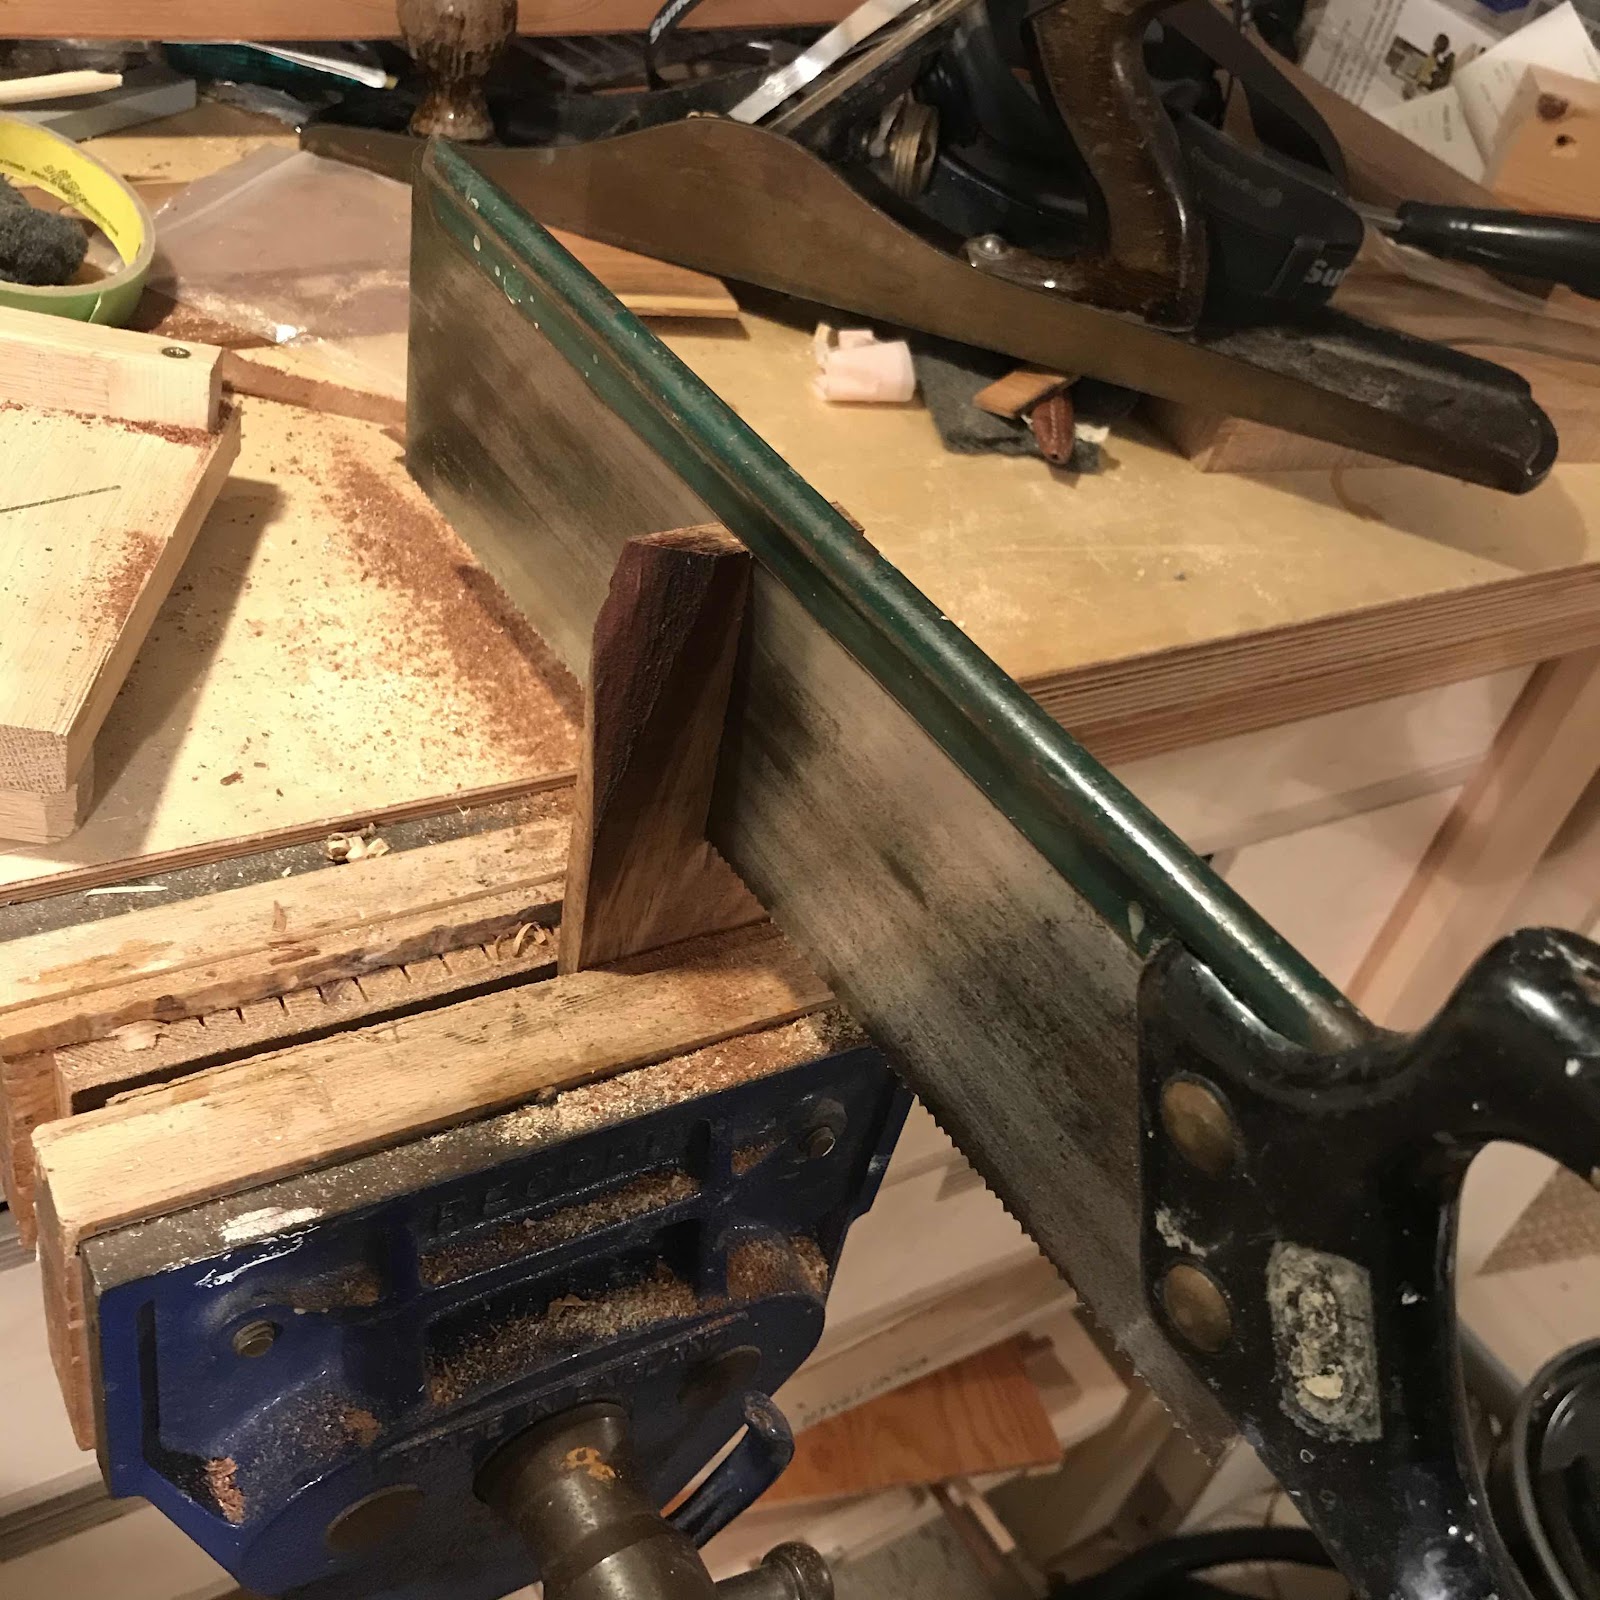
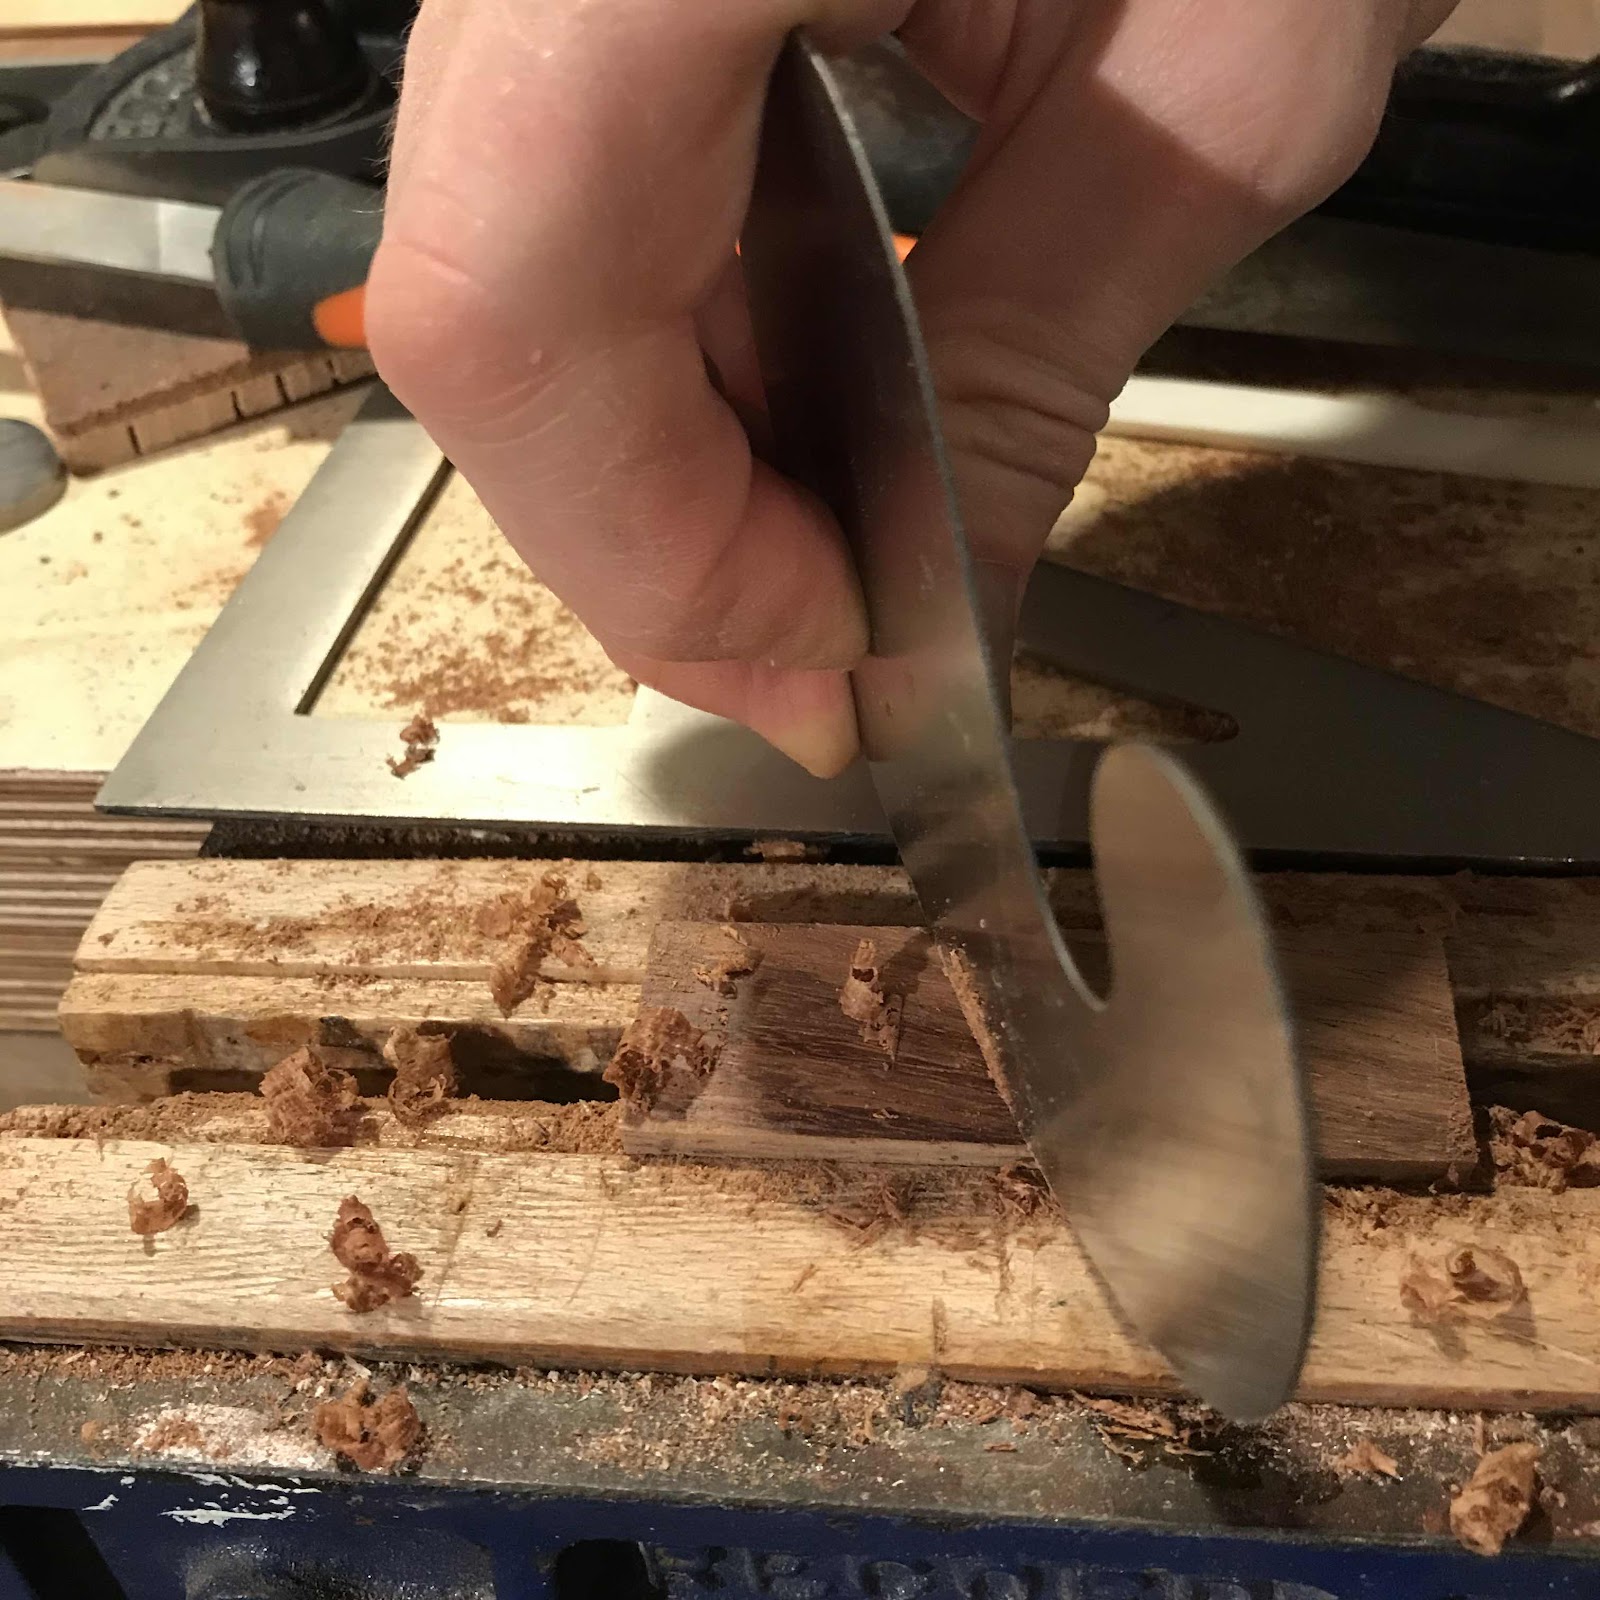
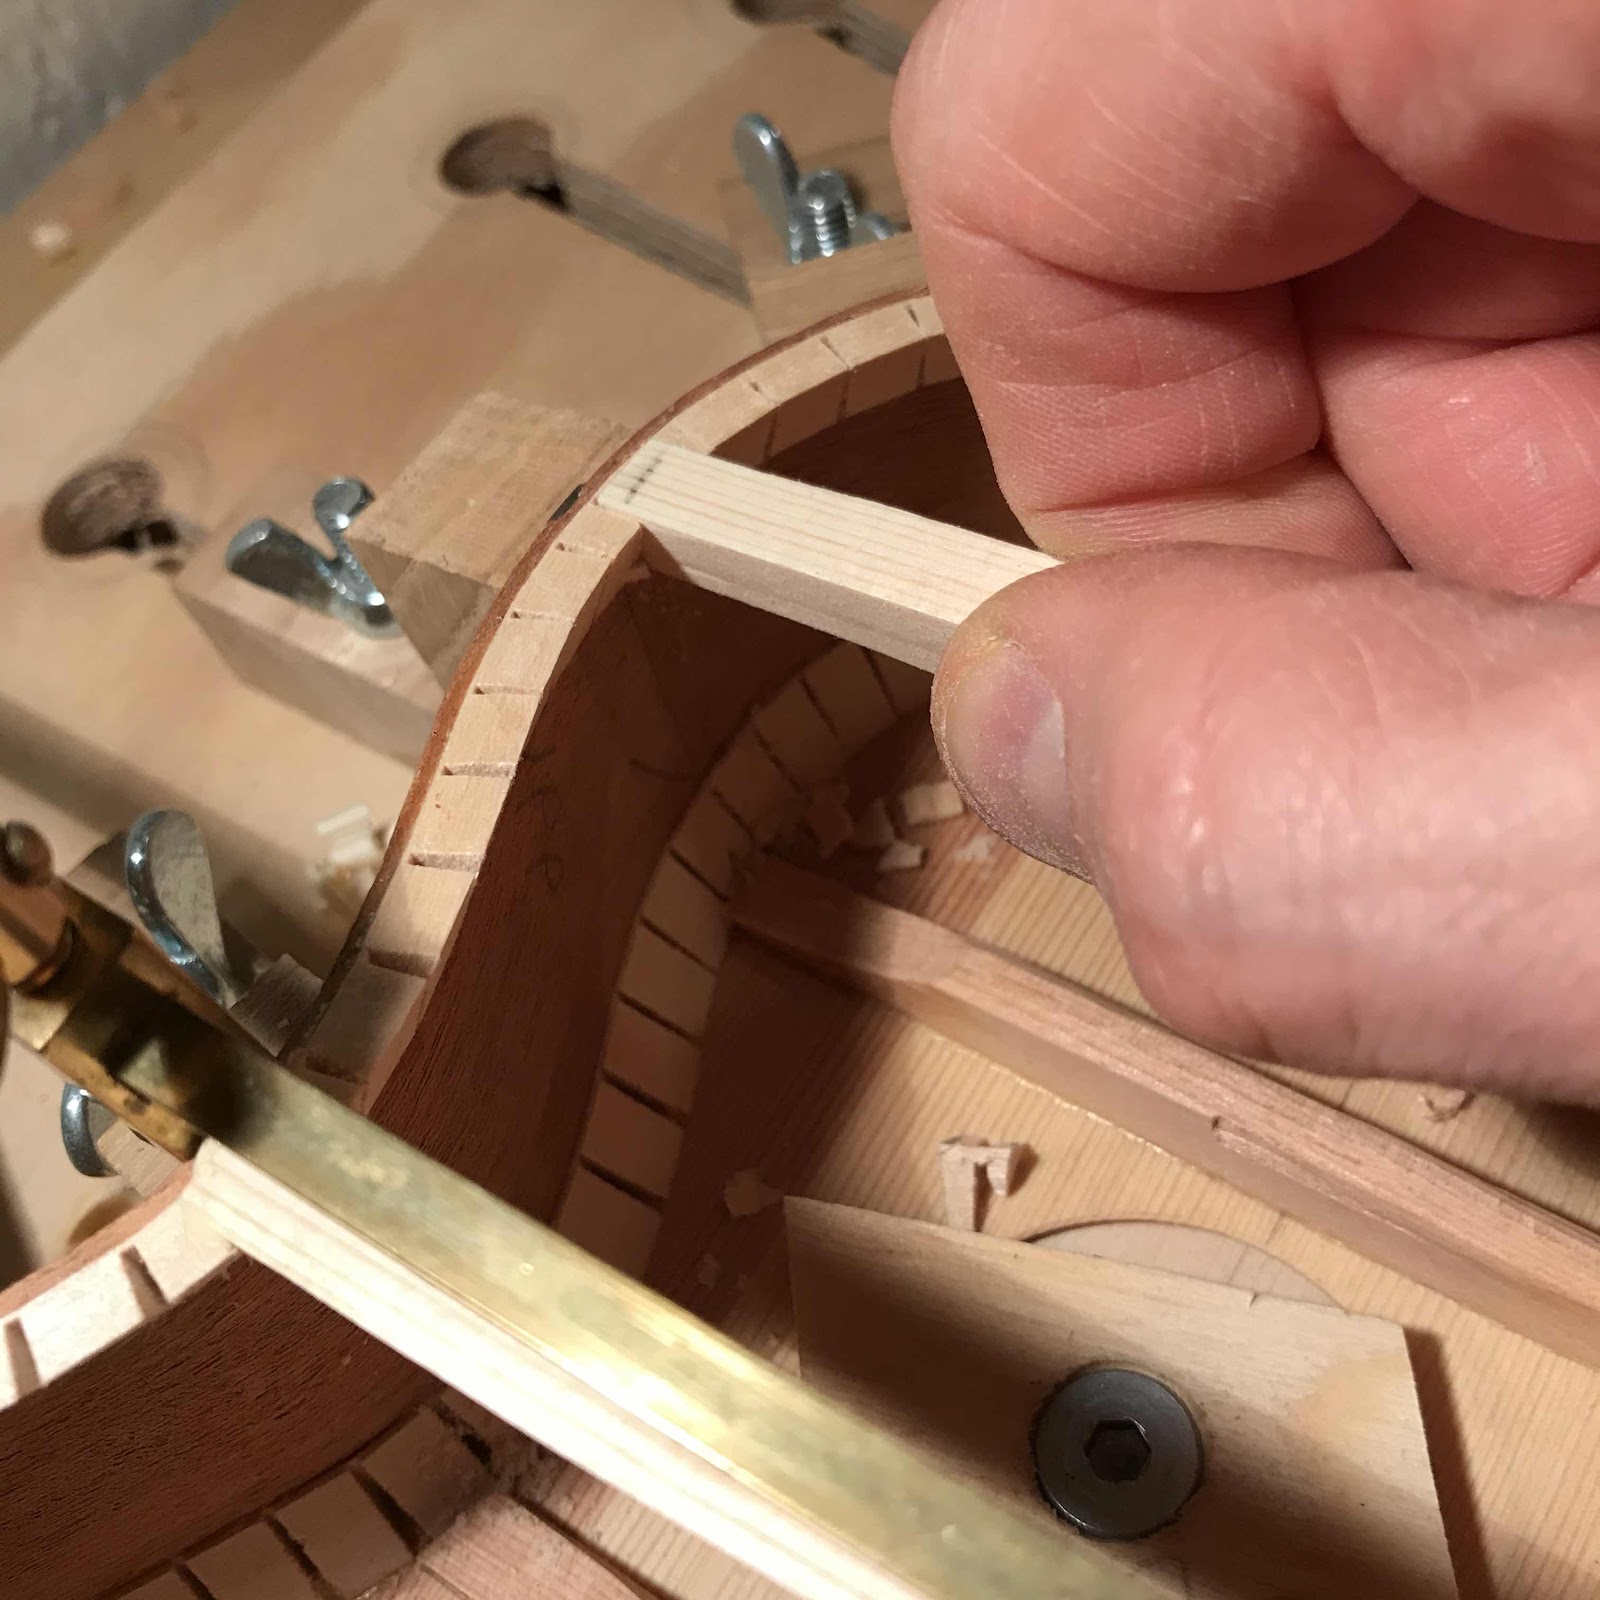
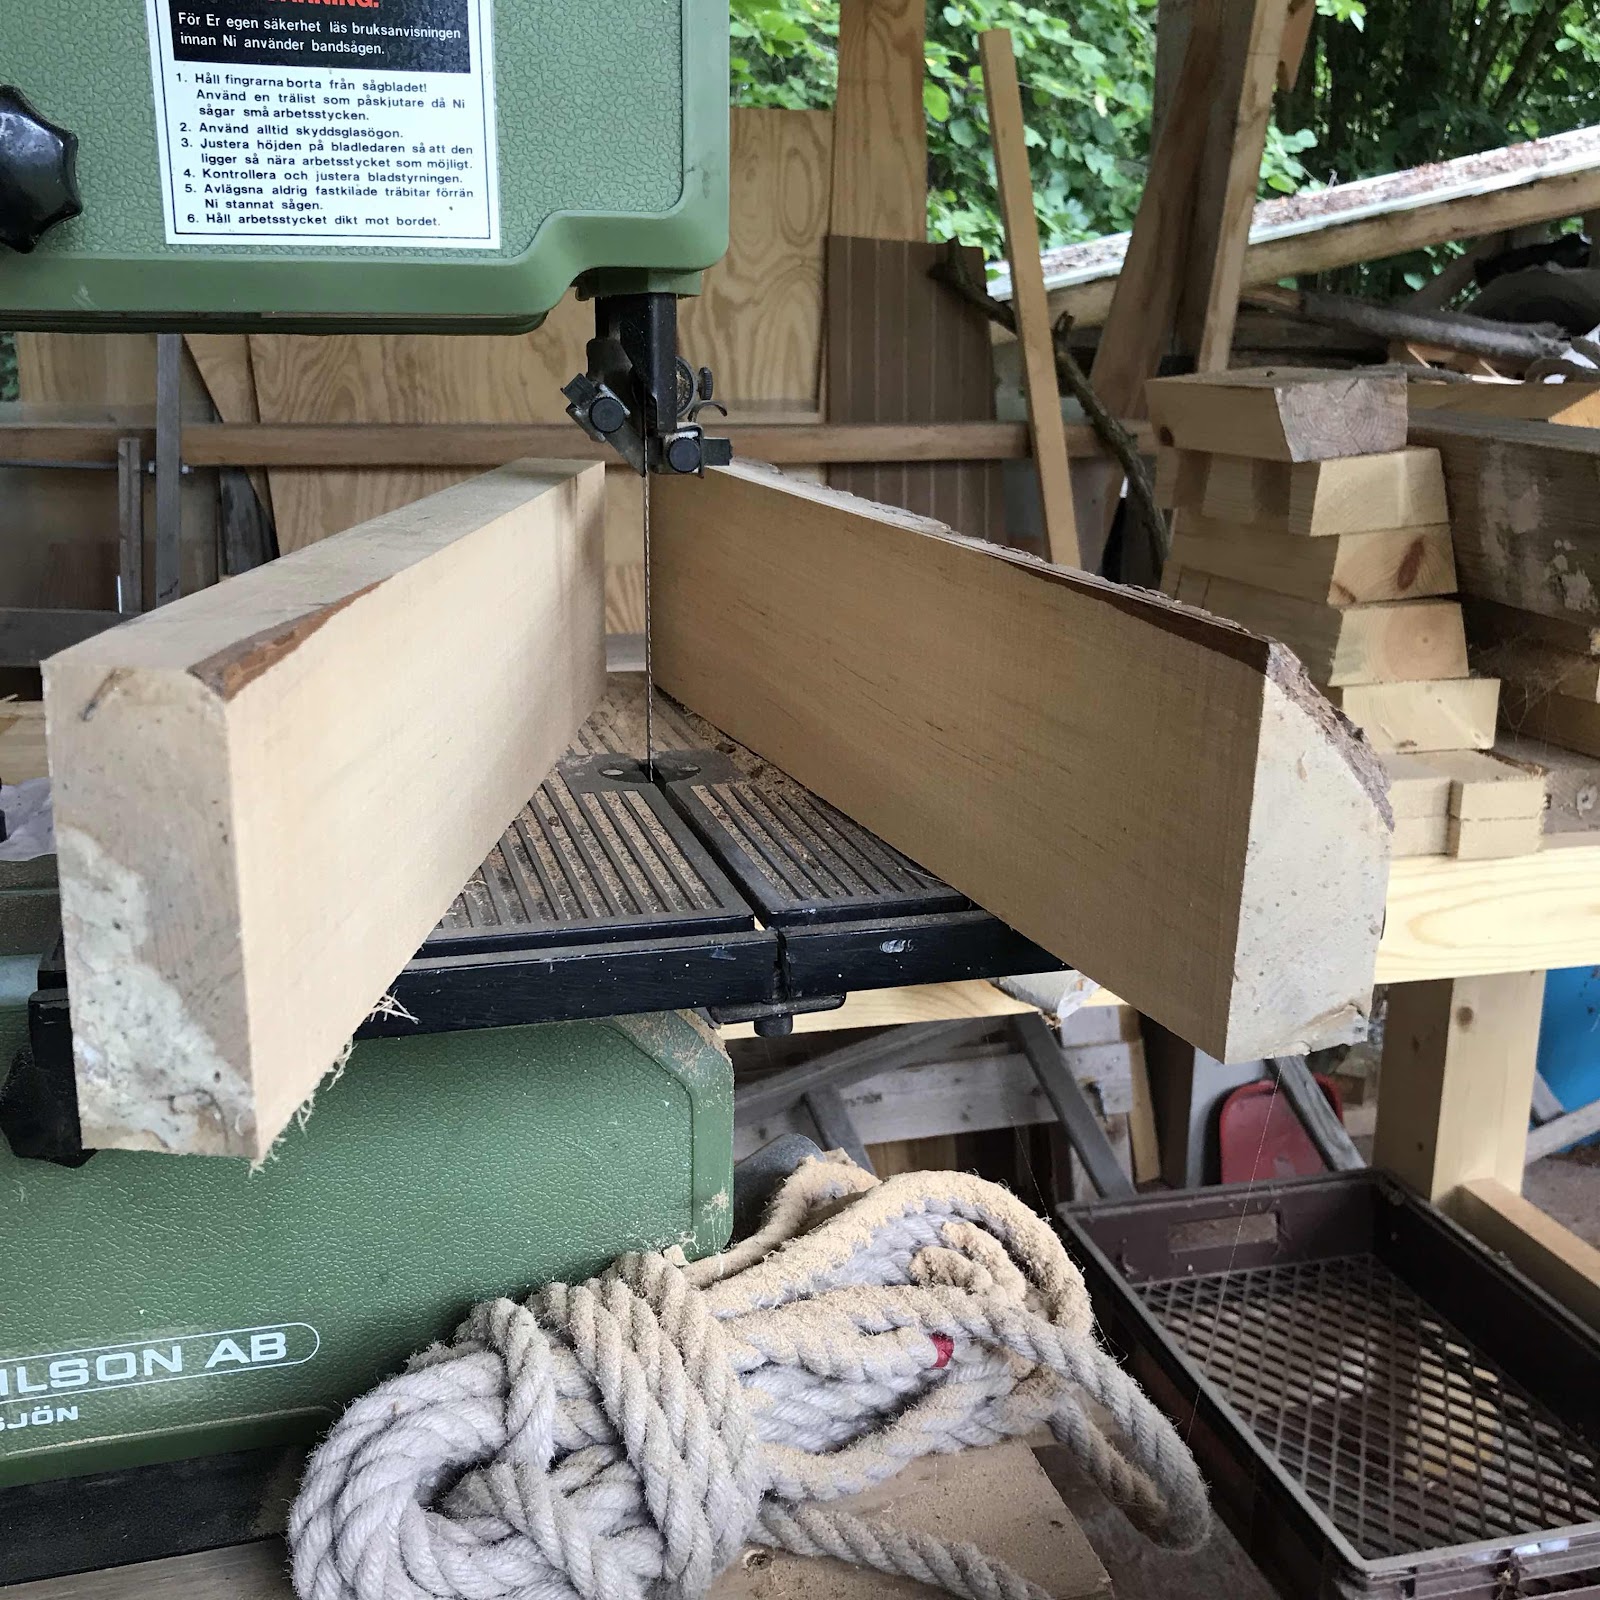
A very light and straight piece of spruce that I found somewhere will do nicely. I split it with my something something knife. 


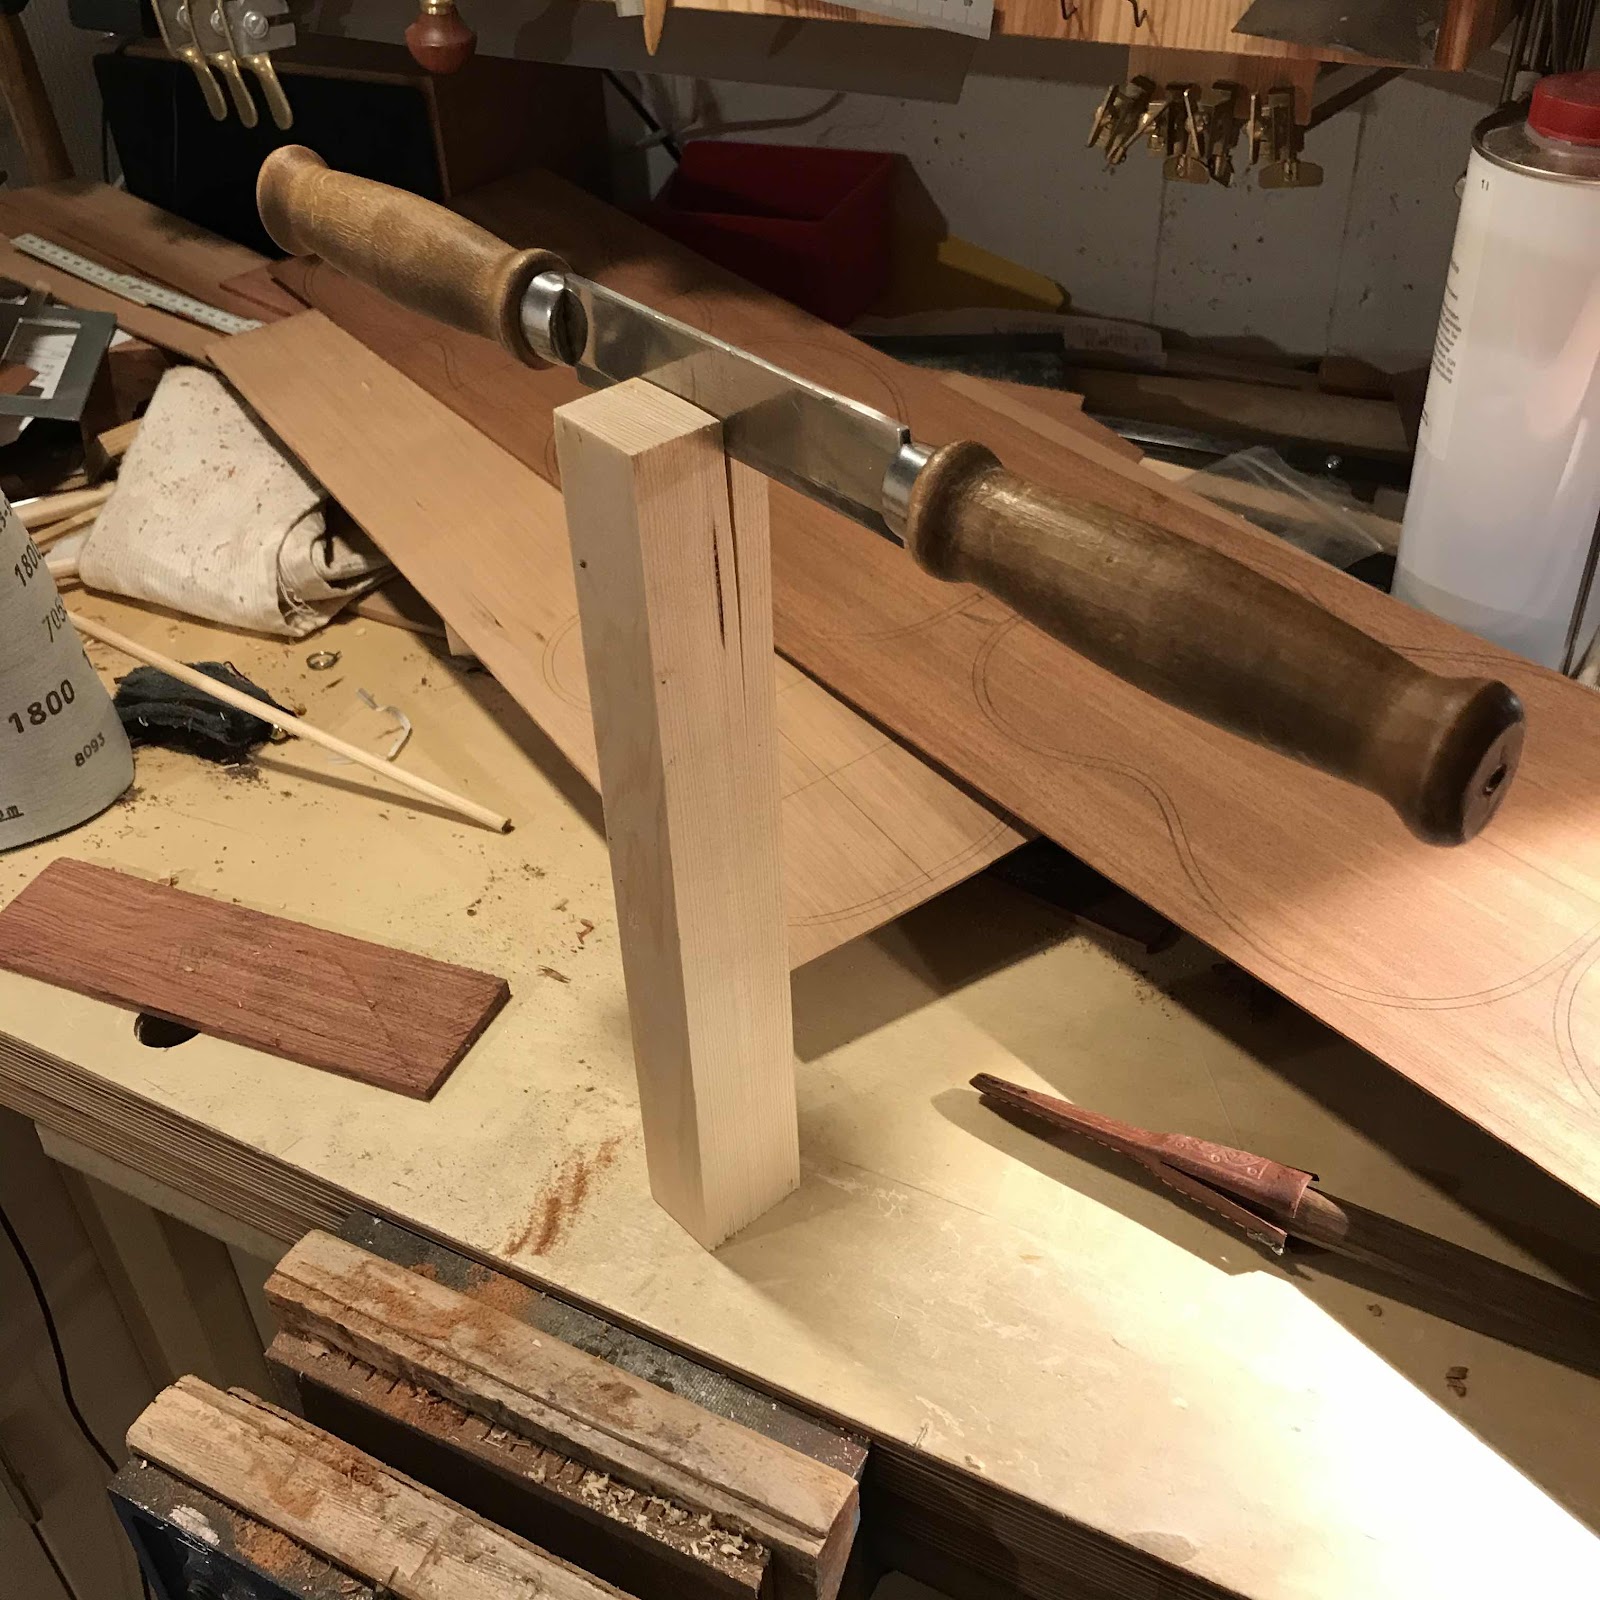
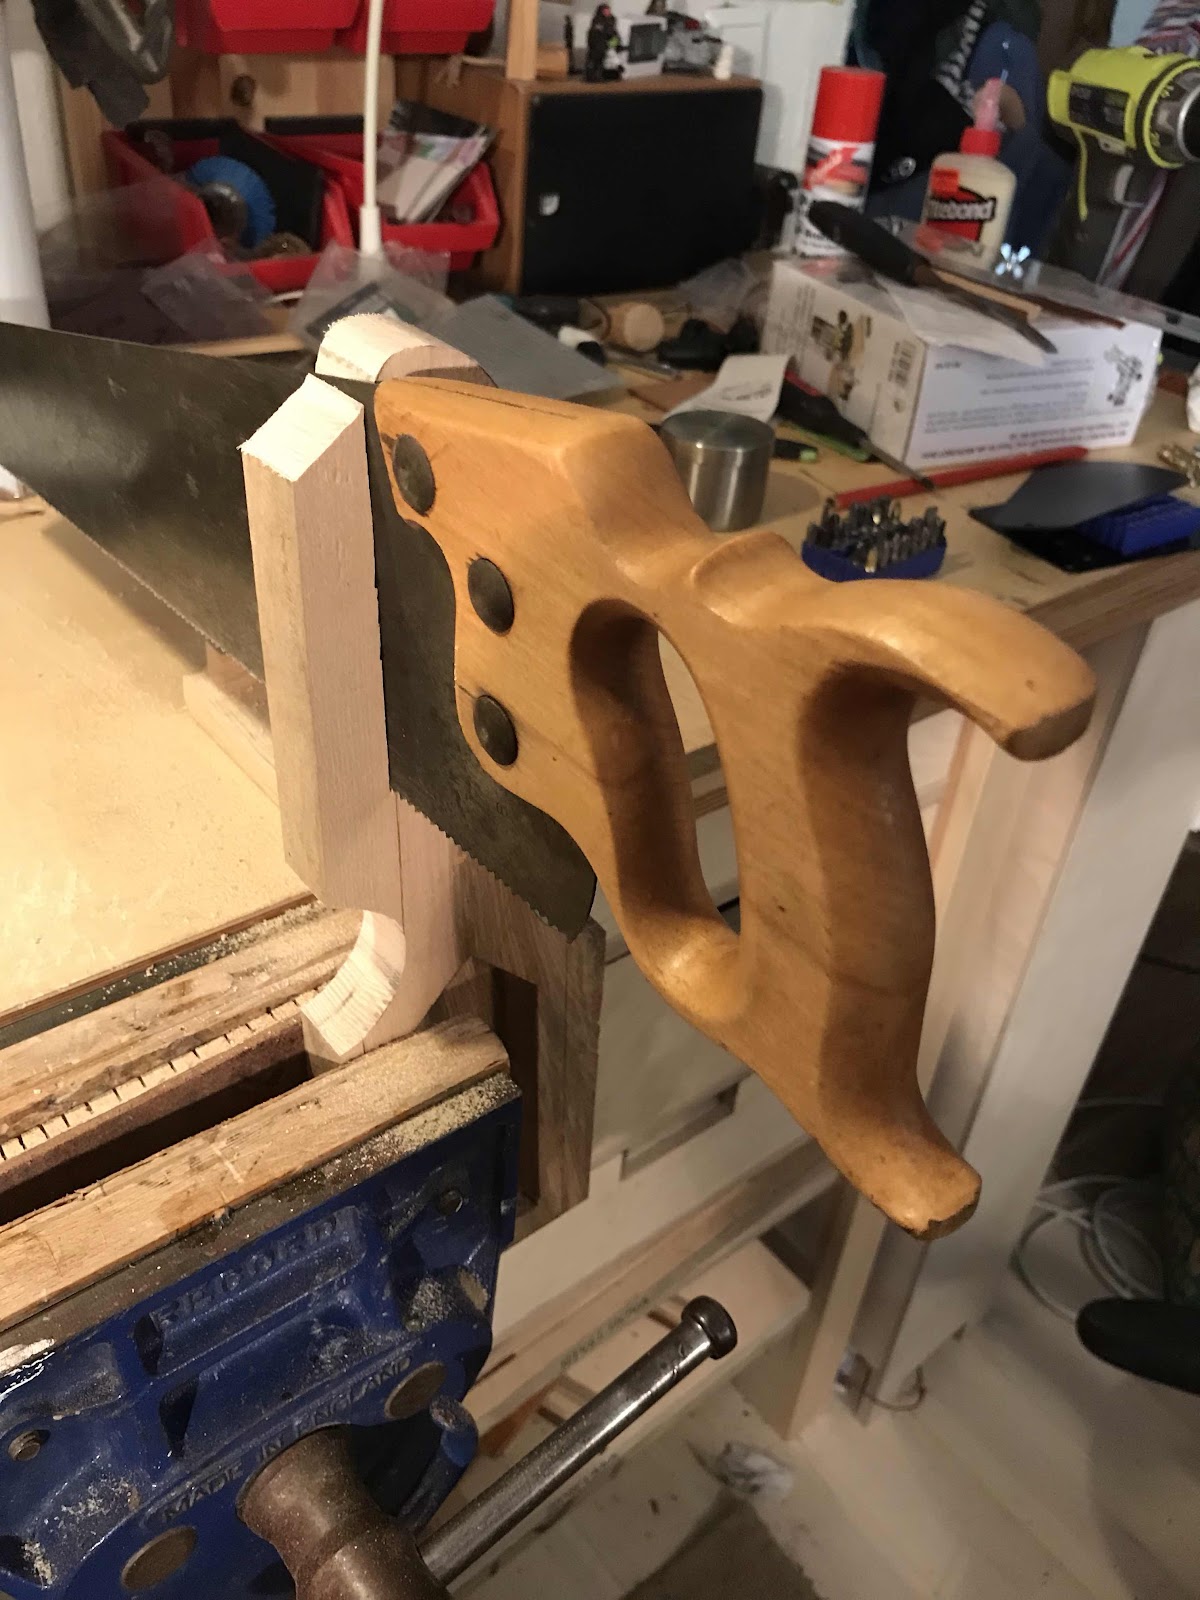
Then I ripped the split off piece with my cute rip saw. Maybe the knife could’ve done this as well but no chances were taken. And ripping is fun. 


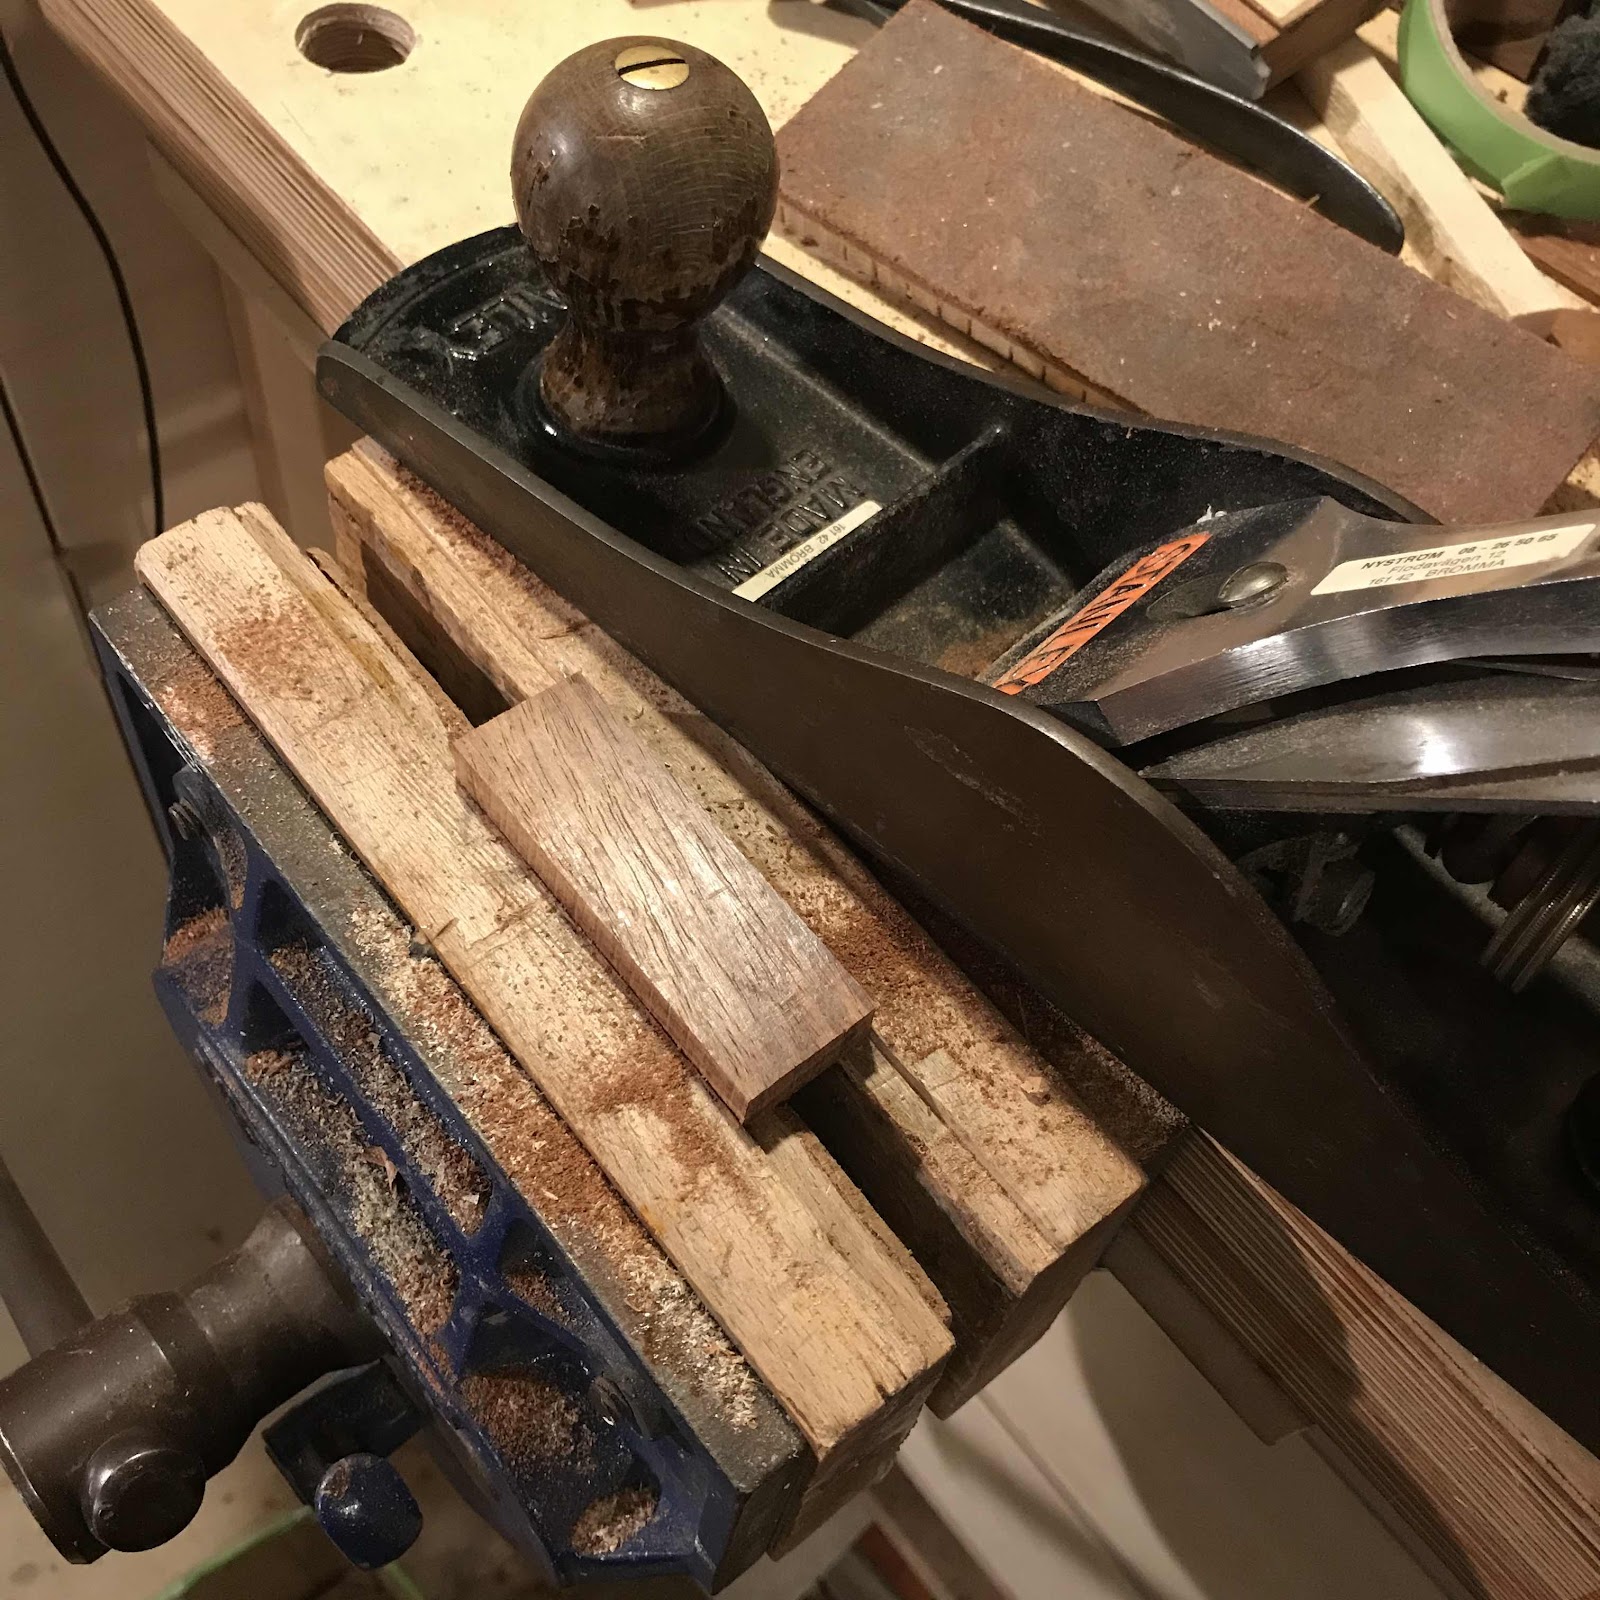
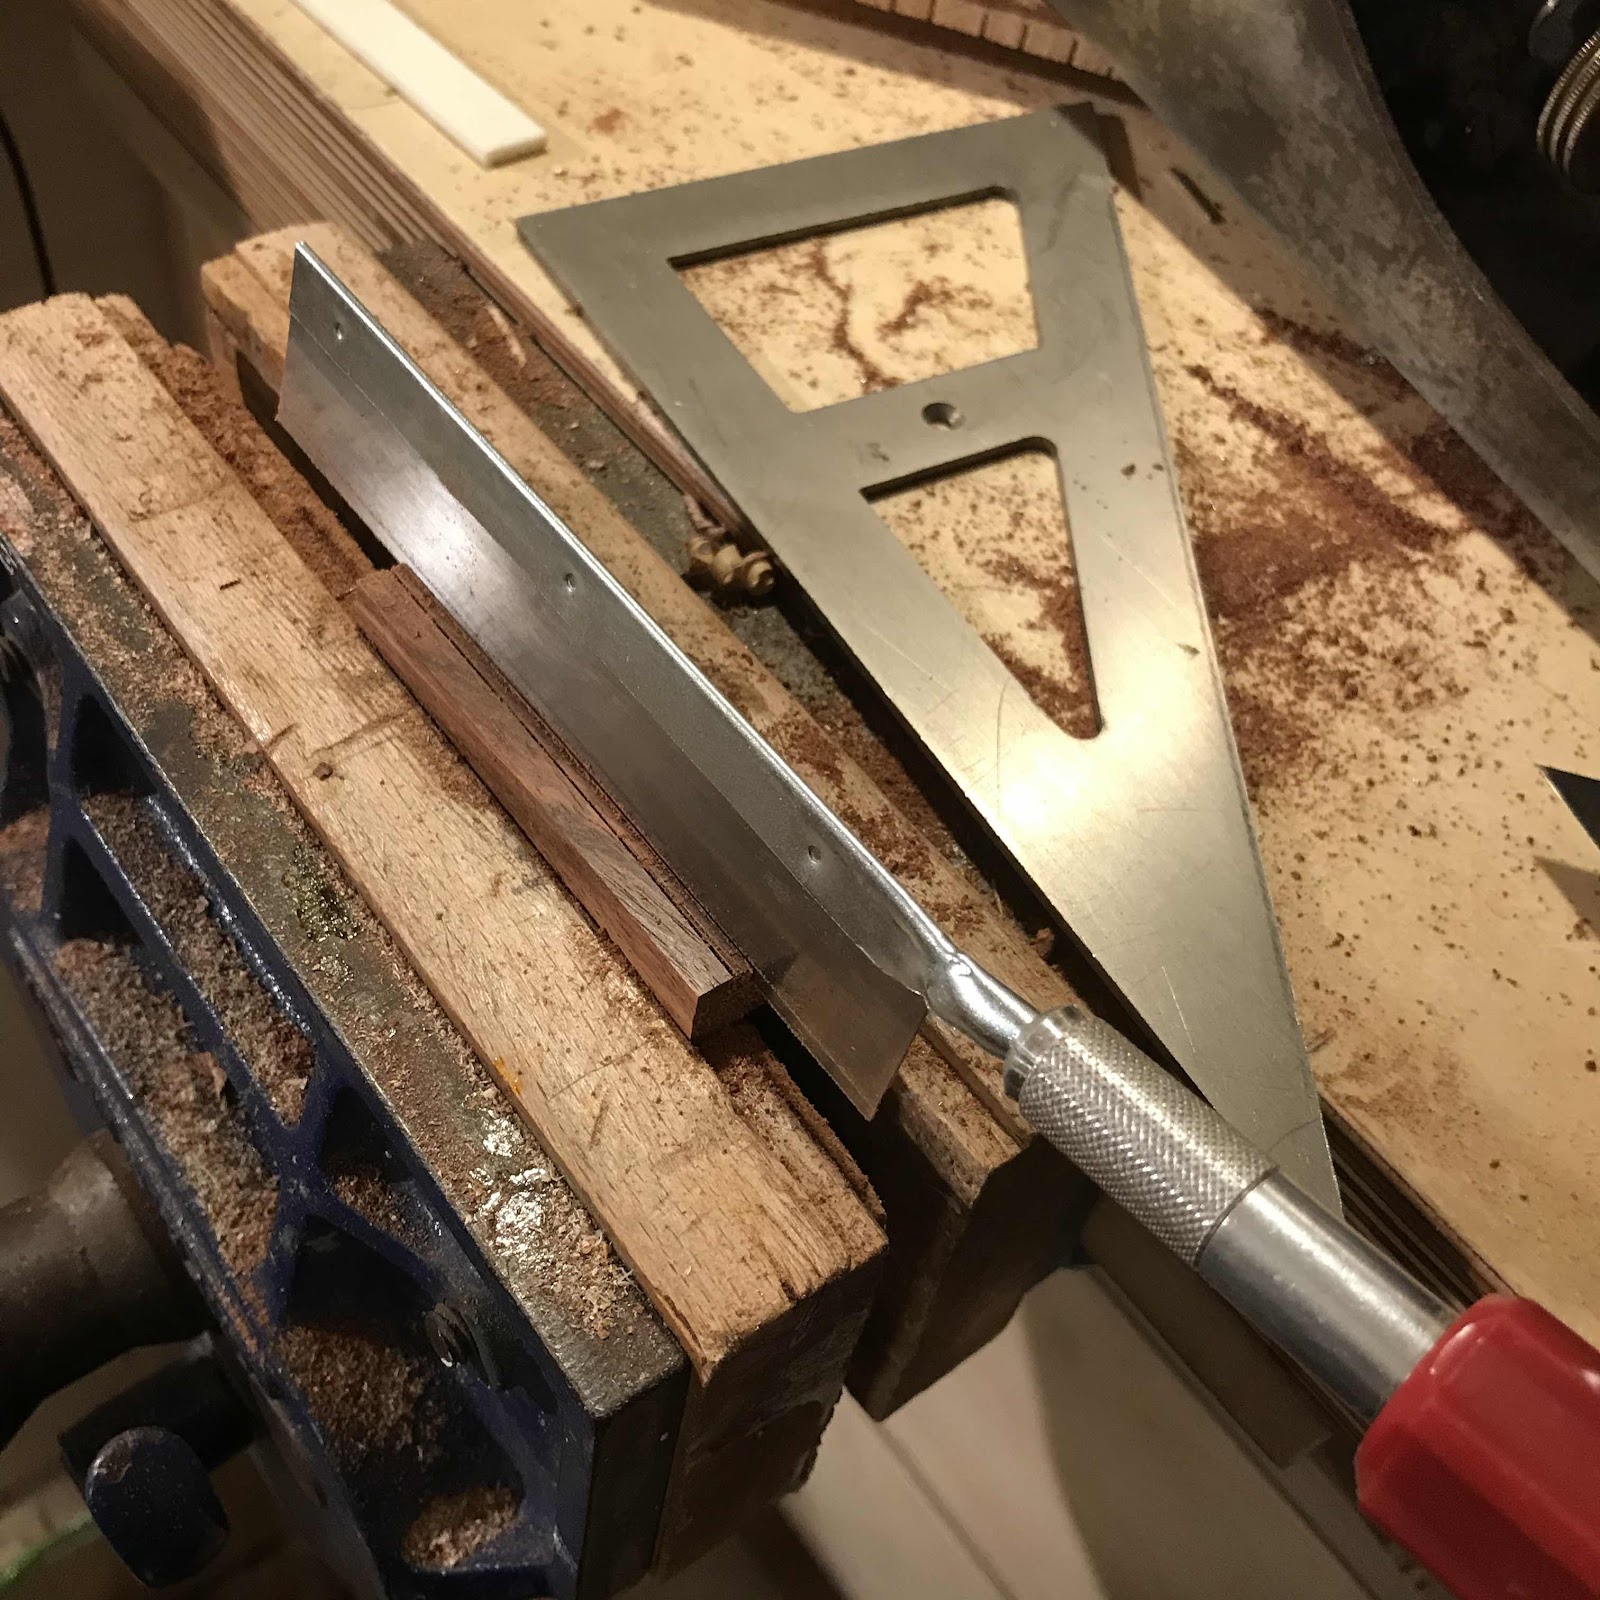
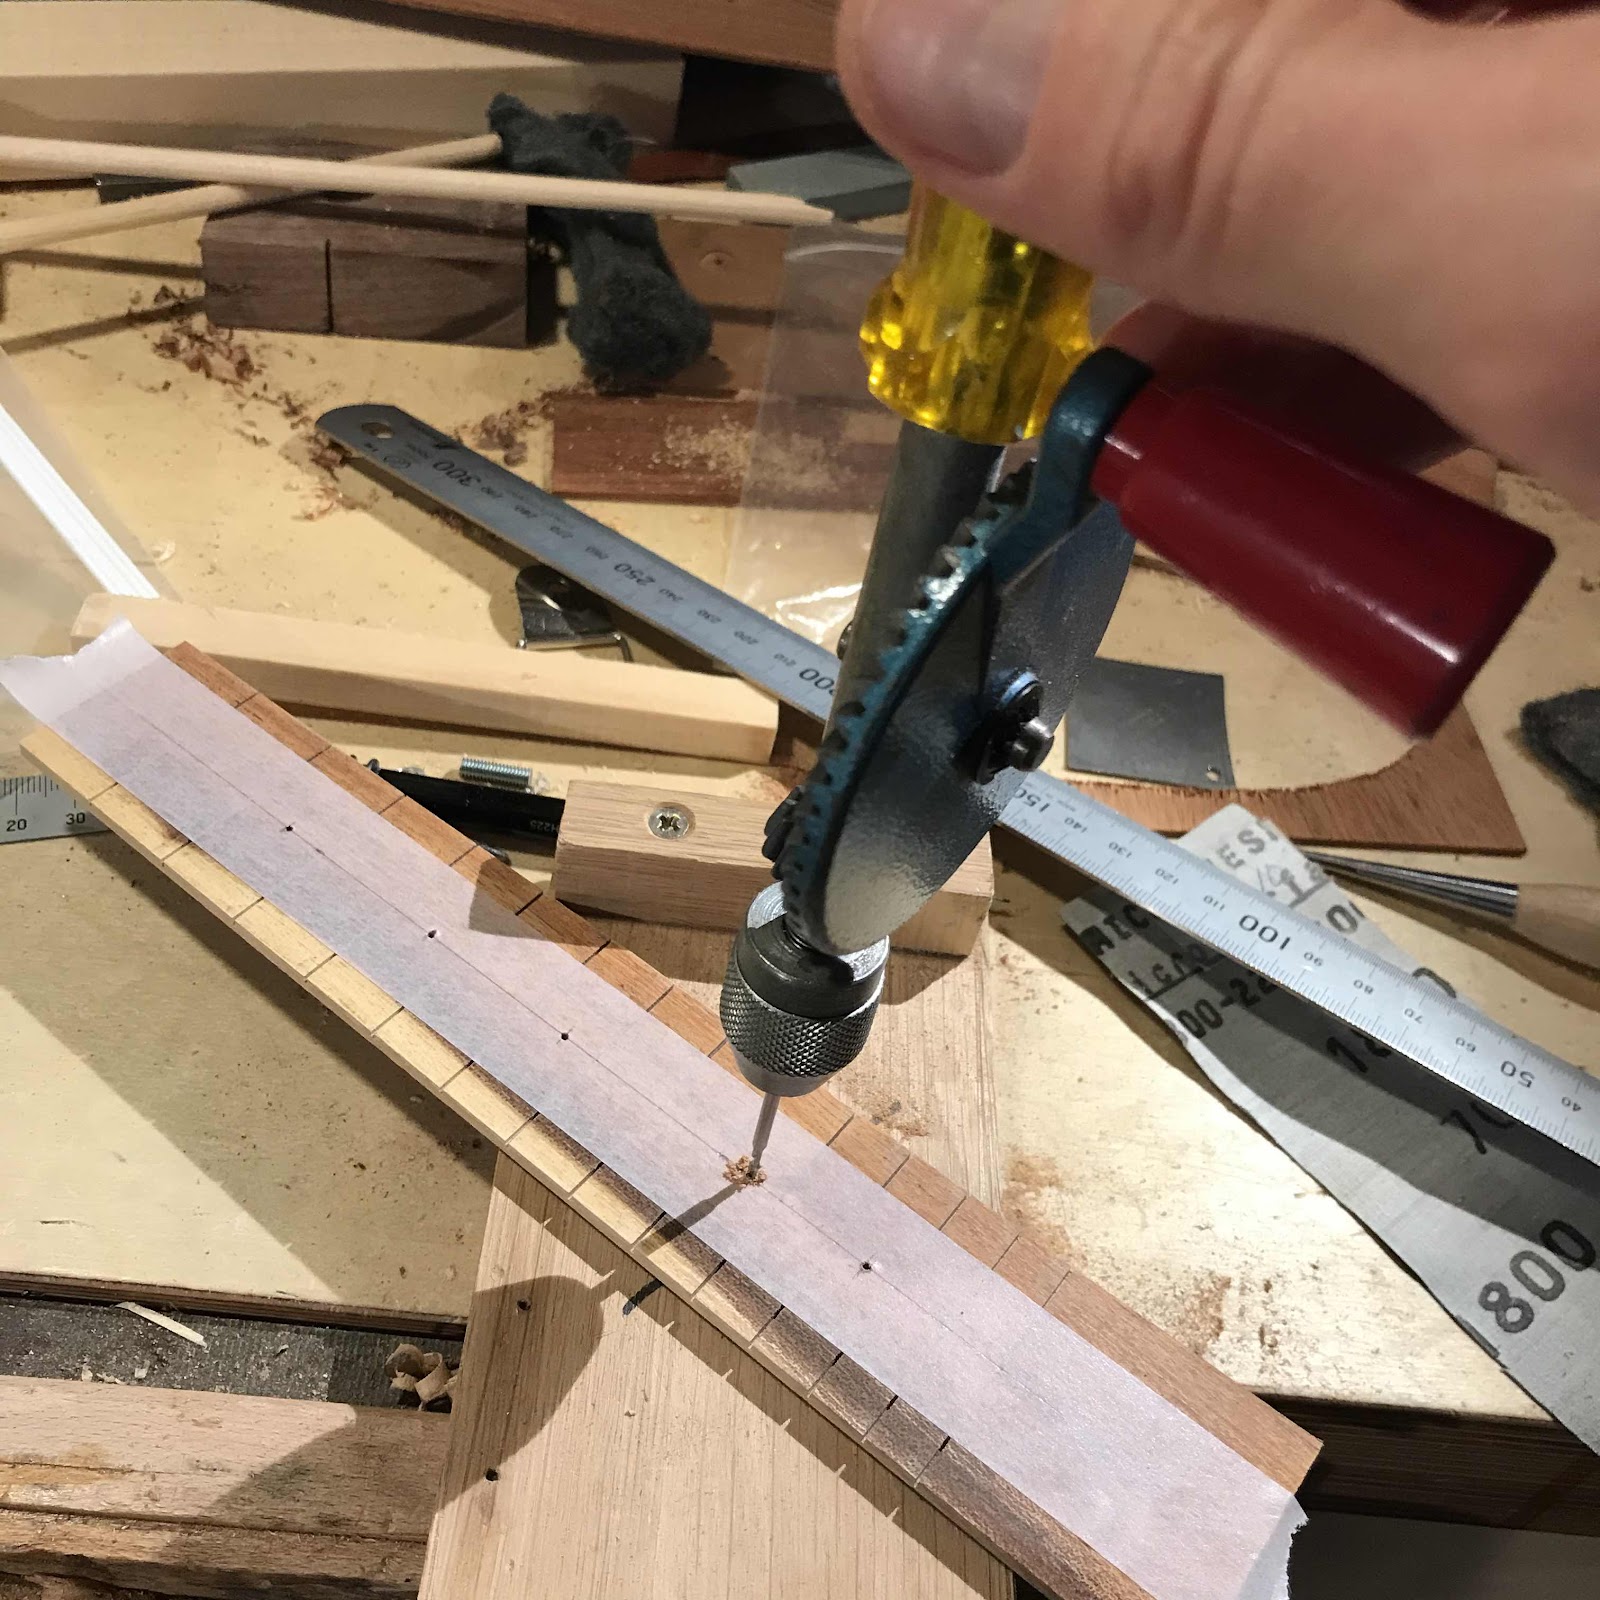
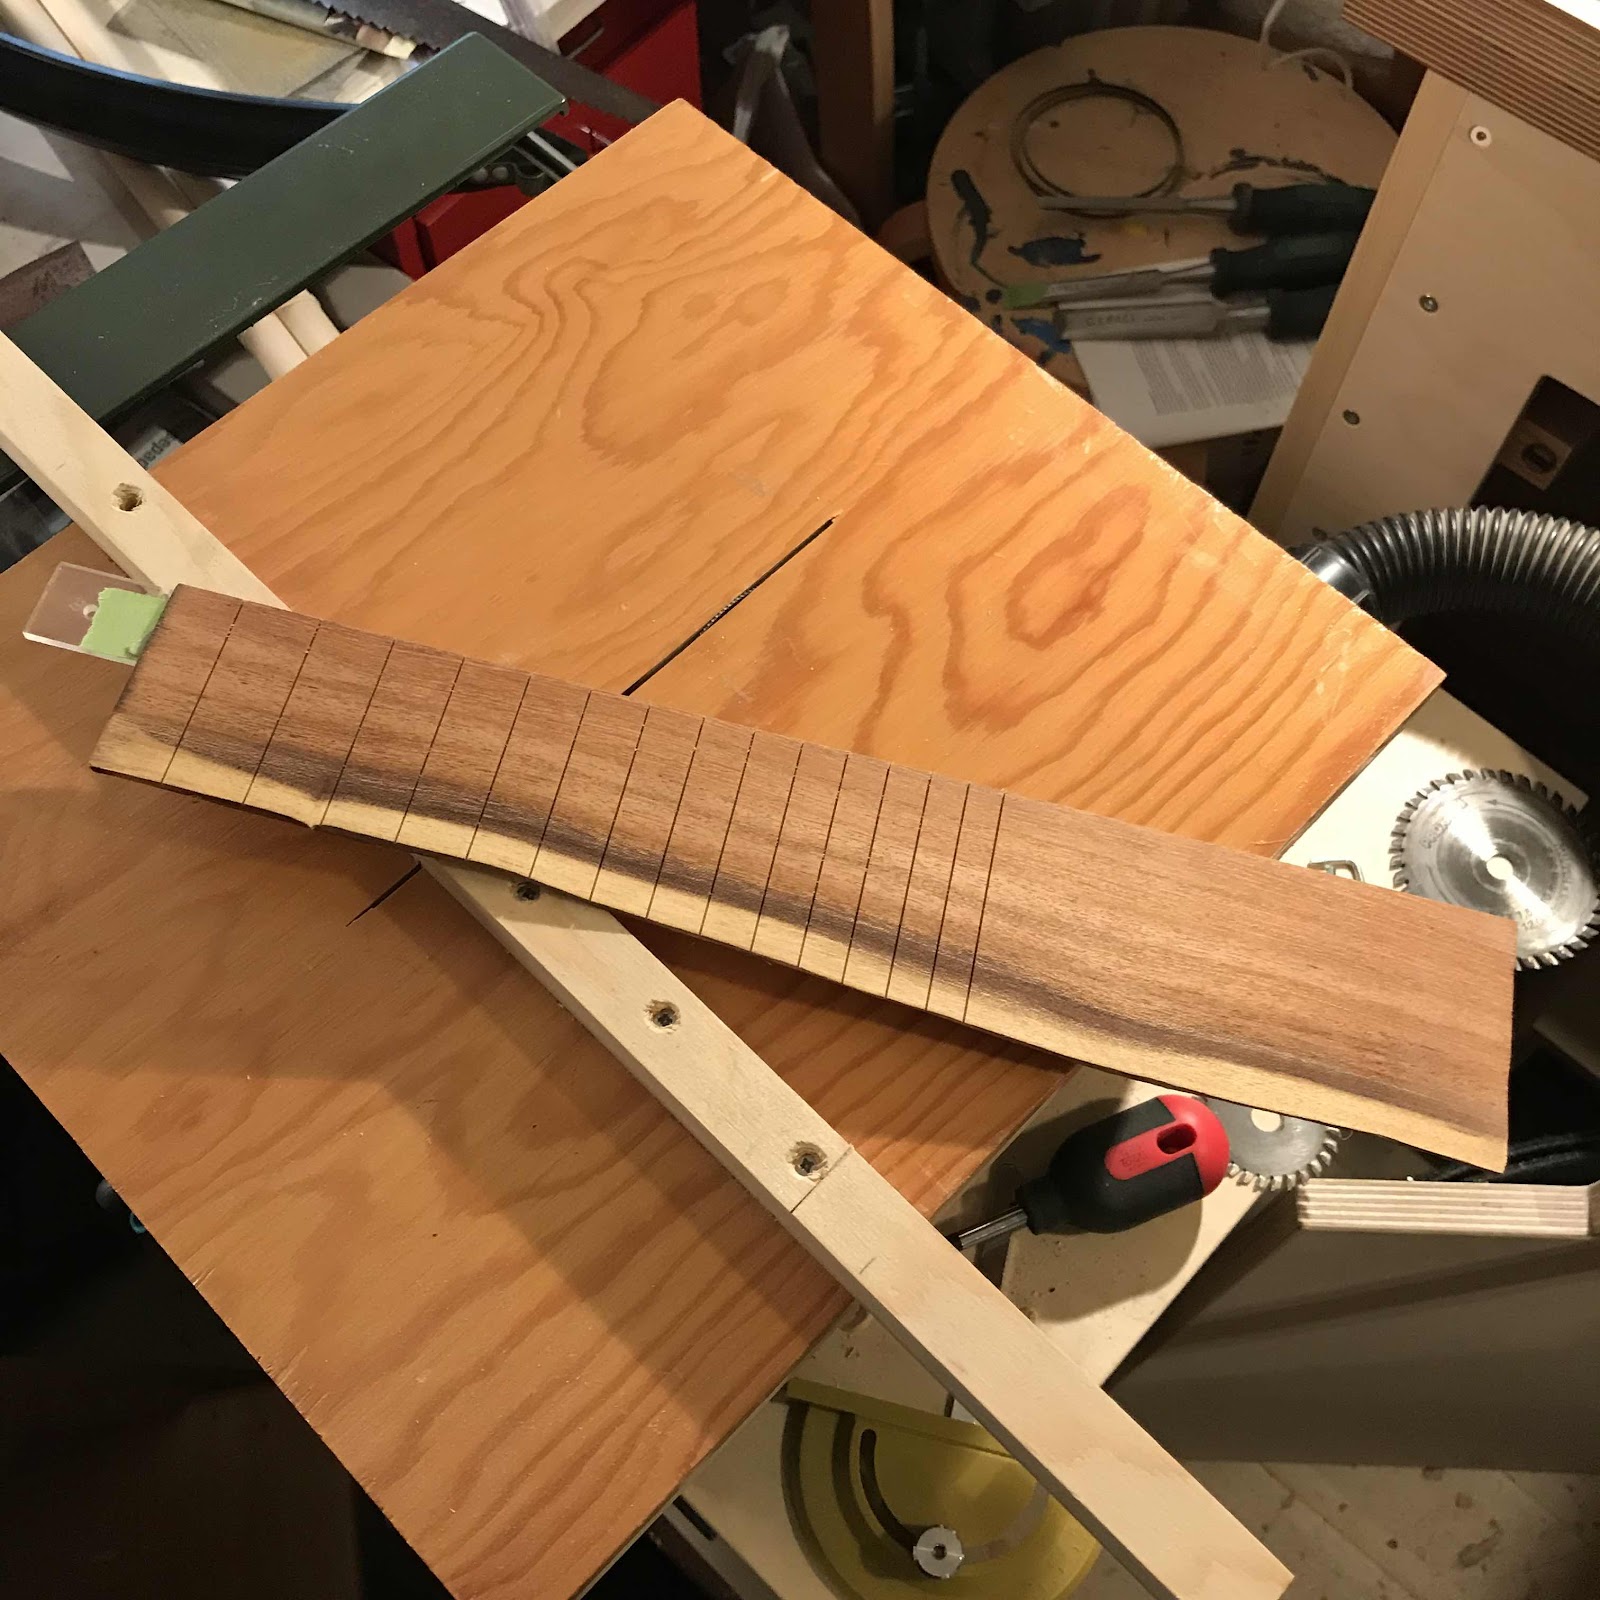
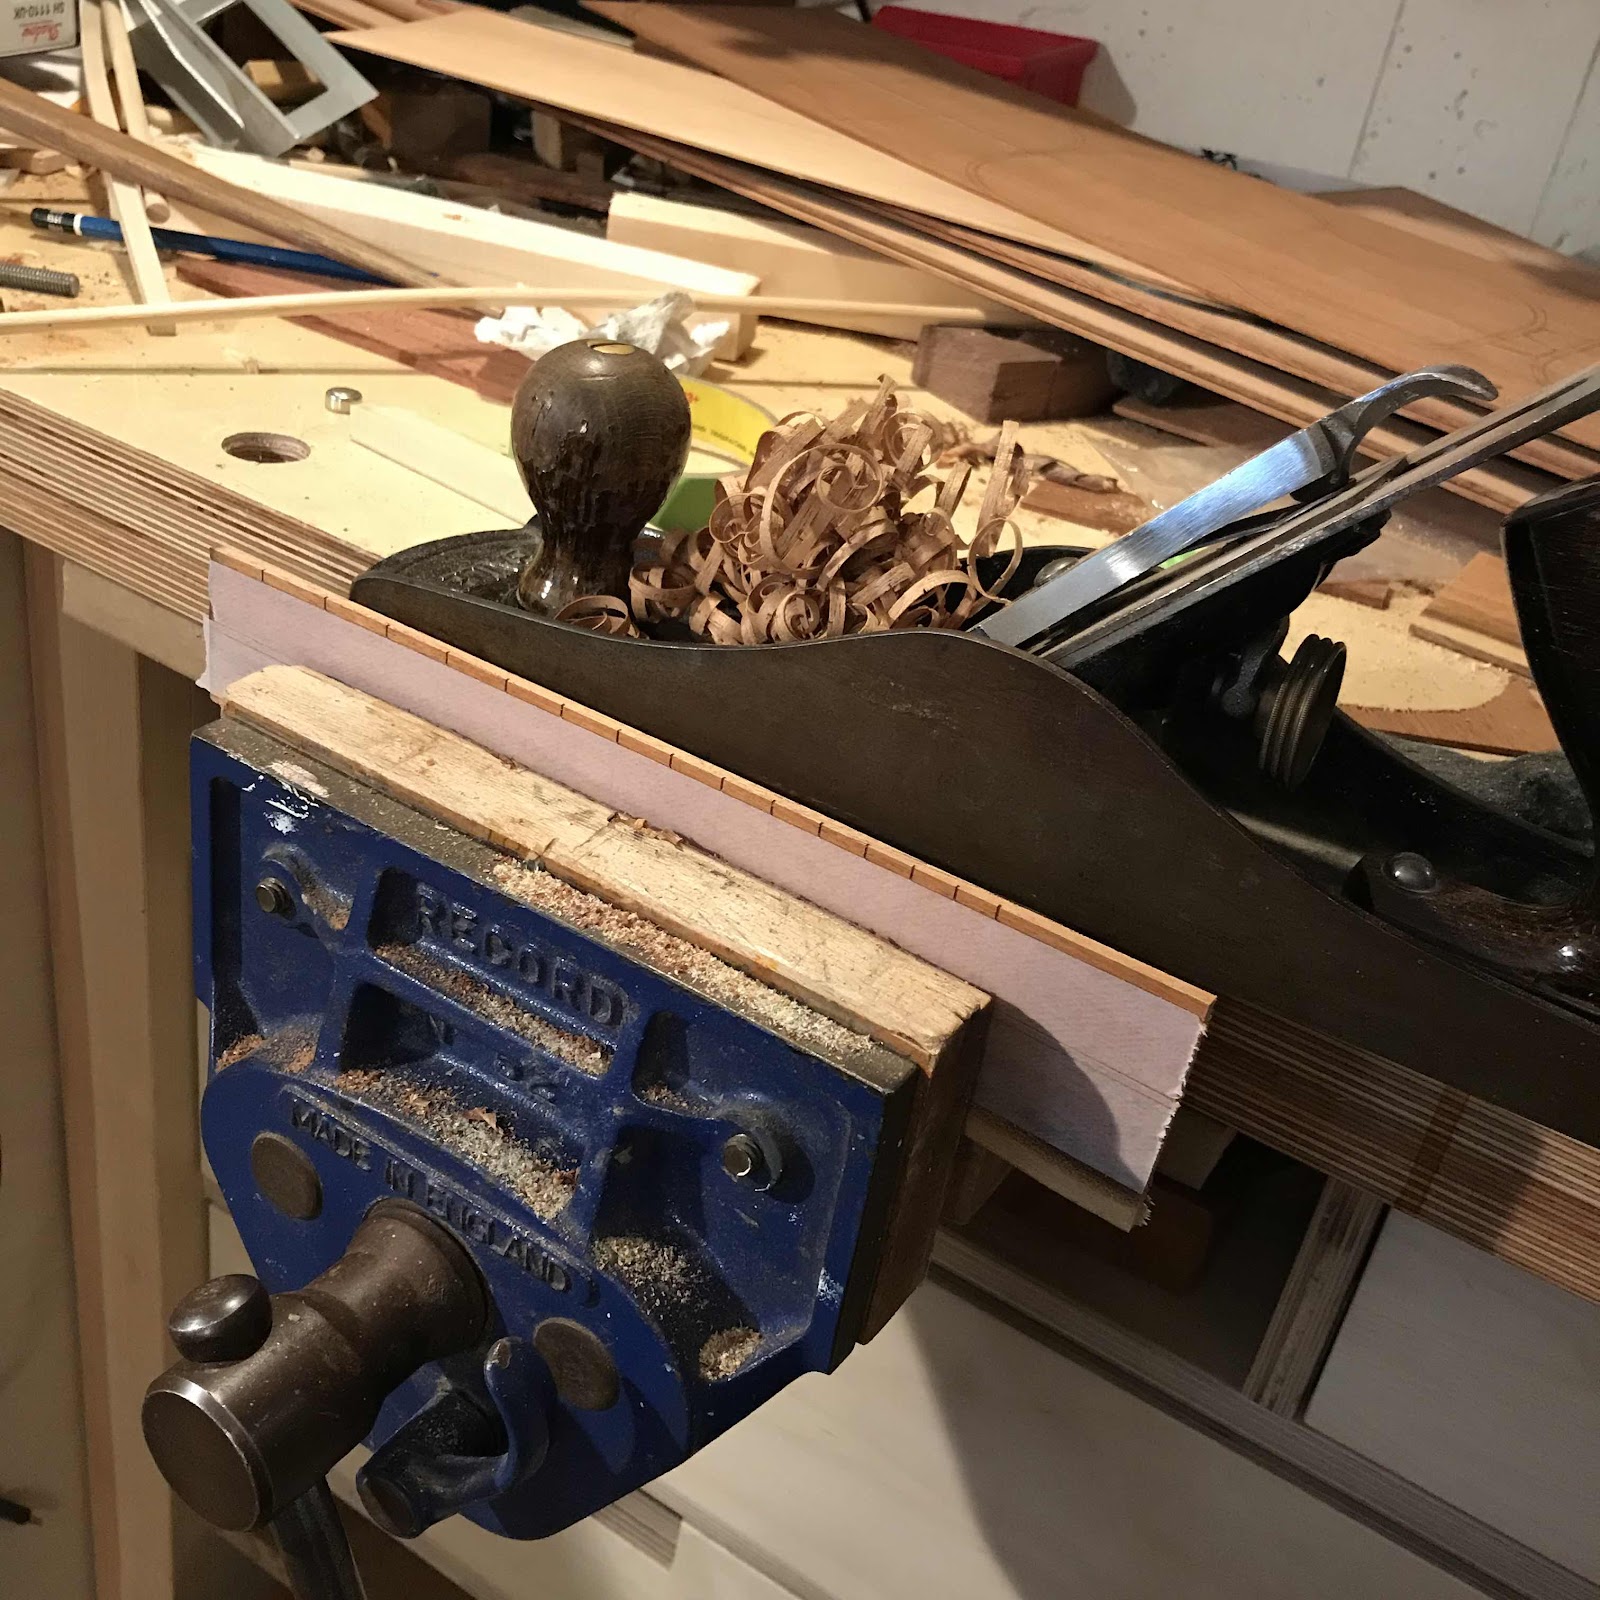
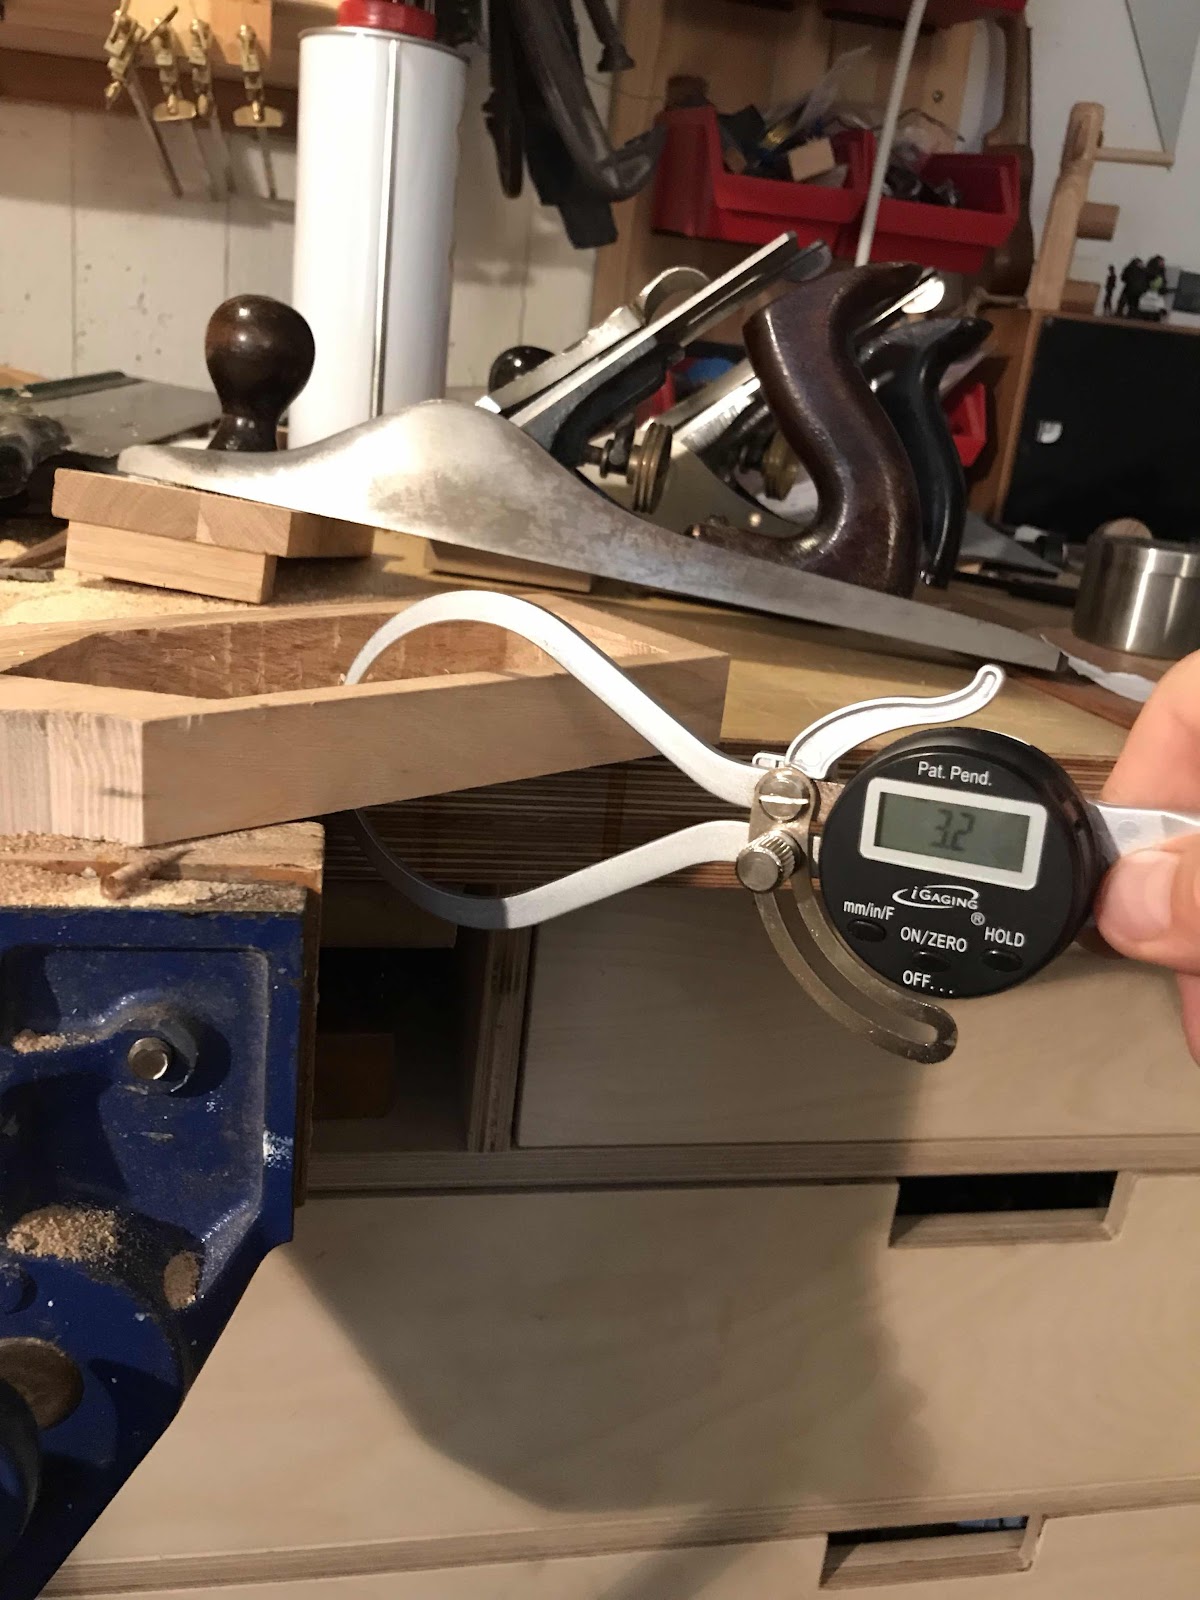
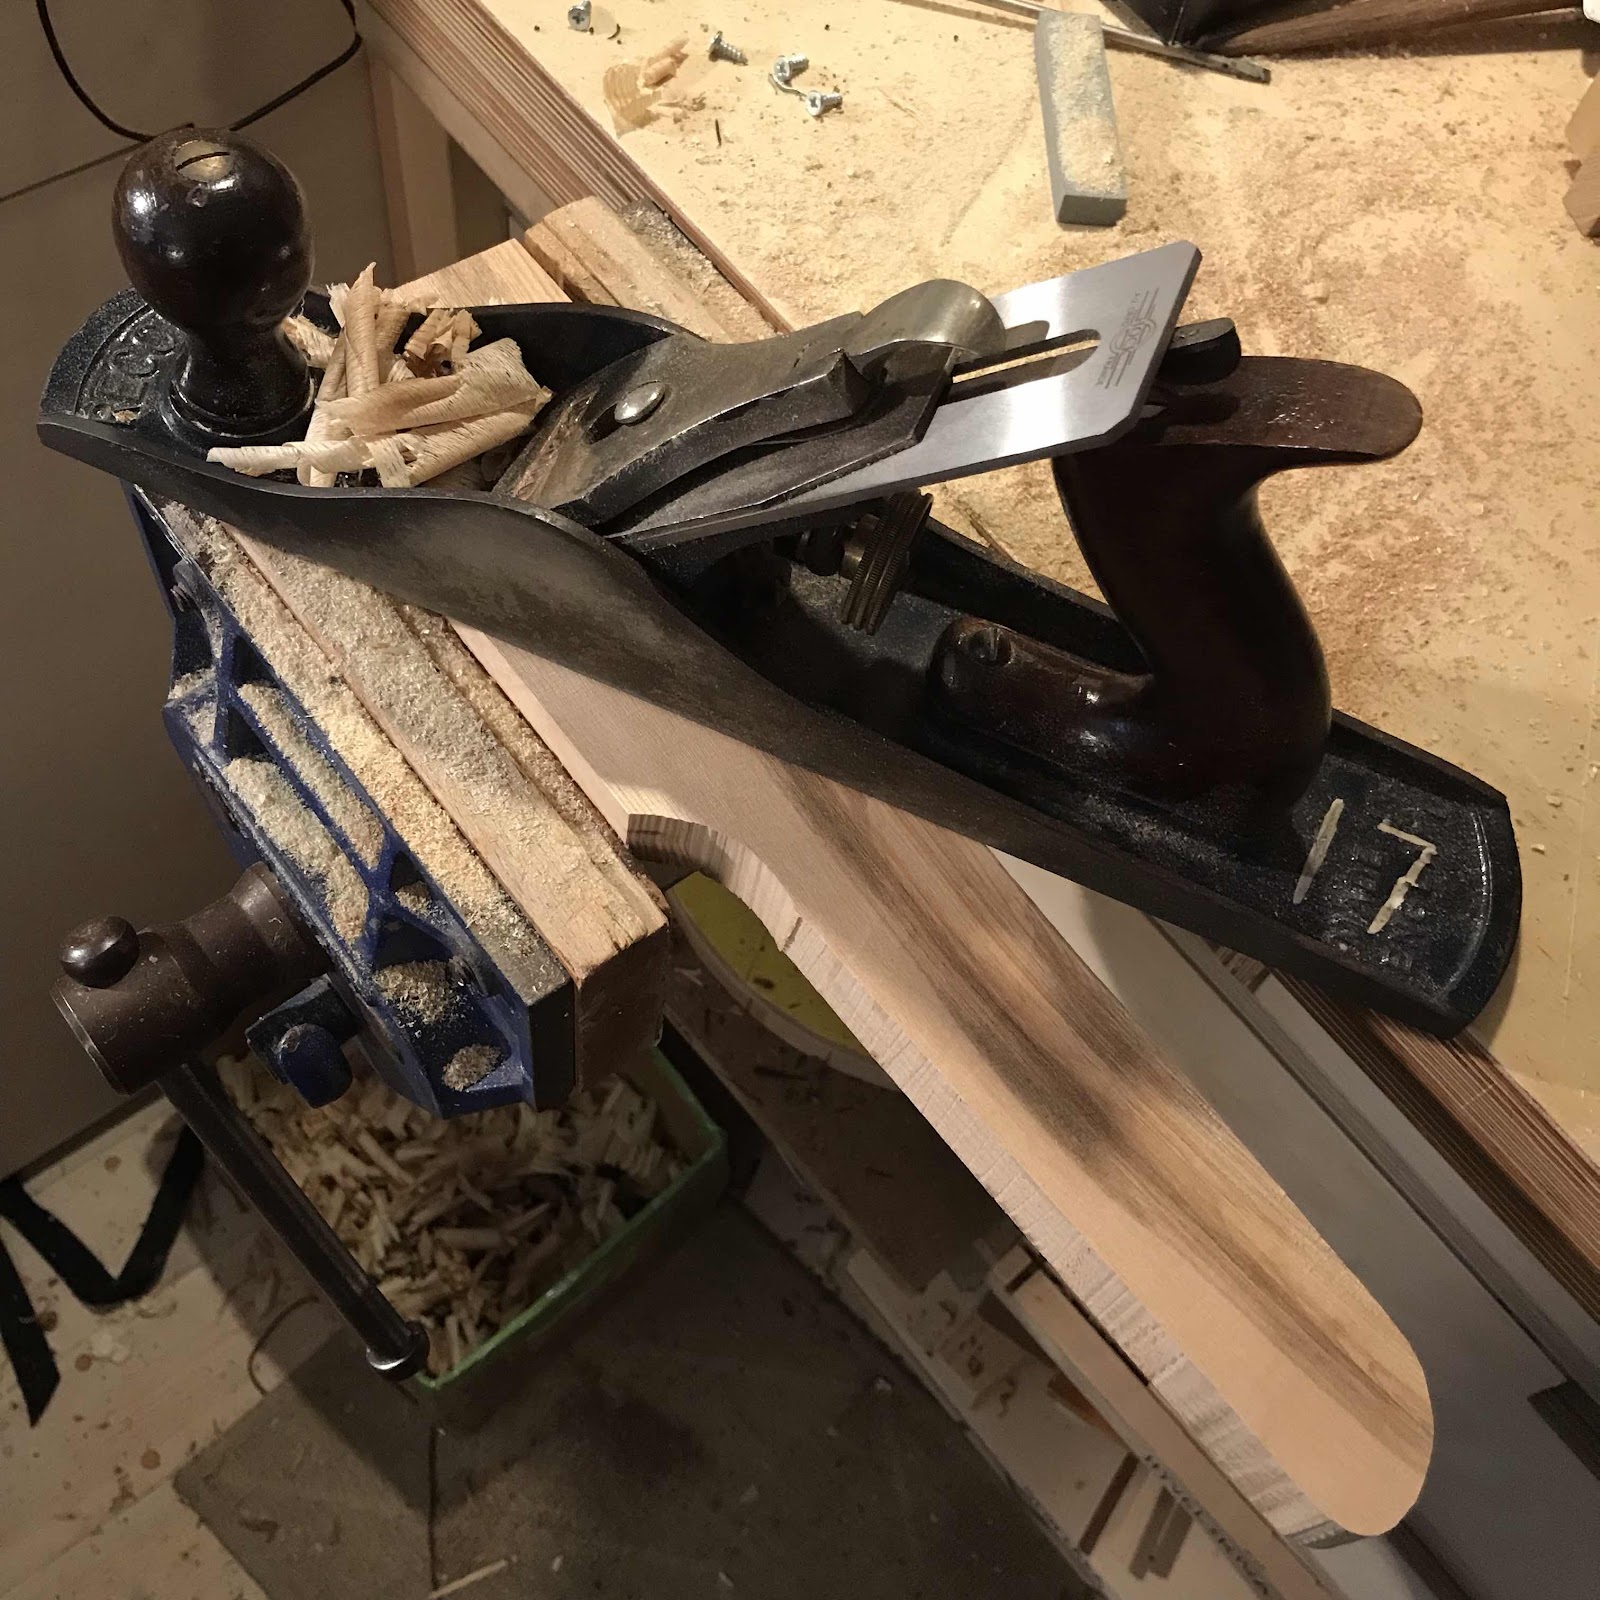
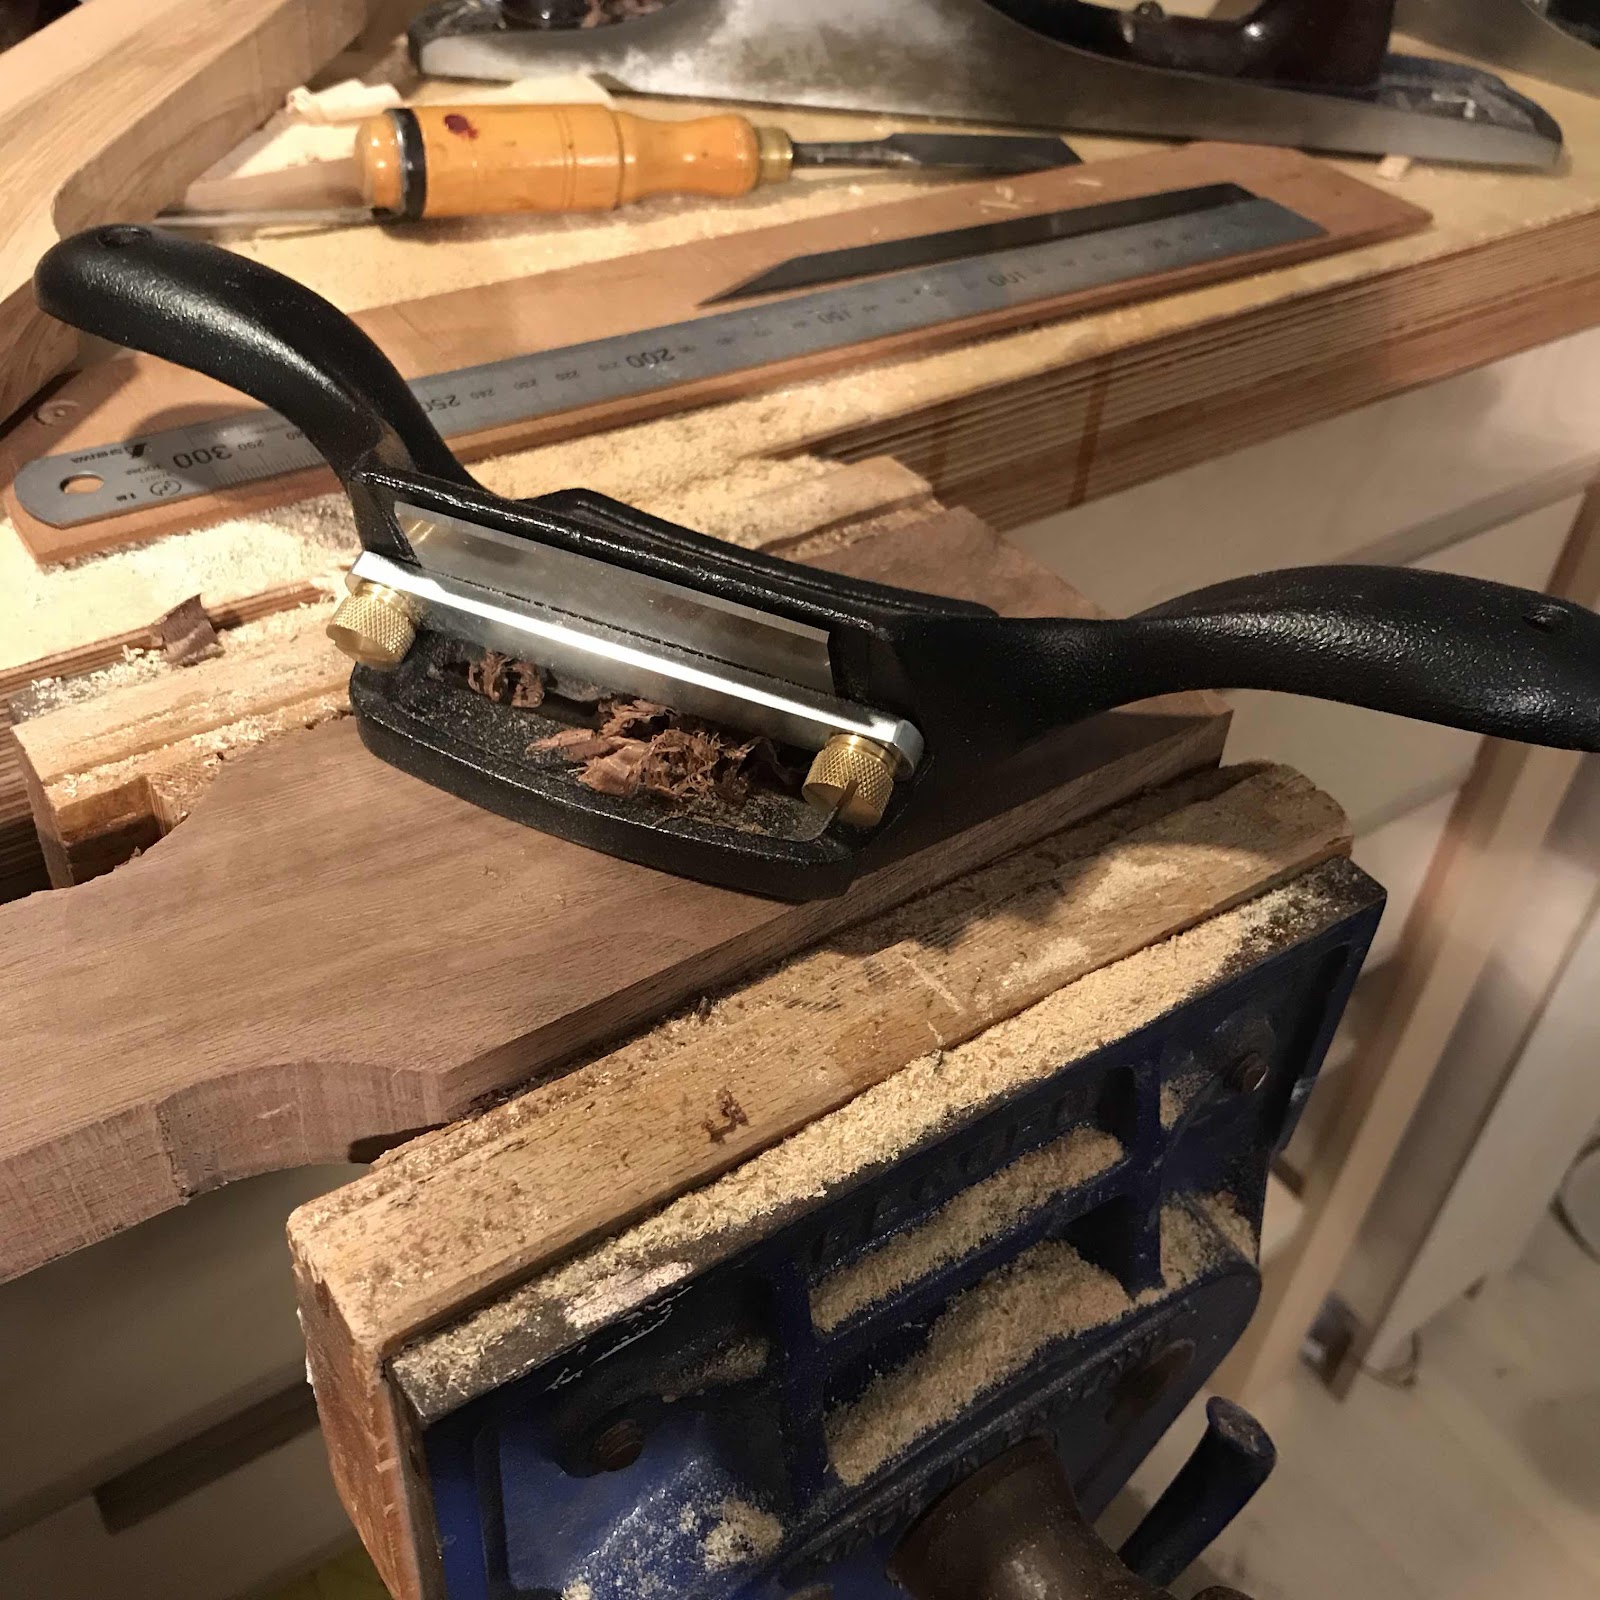
I’ll leave you with this image to haunt your dreams - a no. 3 Stanley plane and the Stewmac nut vise. I get the profile first before I cut it to length and curve the wide edge for the back arch. 


I’ll try to be quicker with the updates. Fanx for staying tuned to this ancient blog. 


Monday, September 23, 2019

Sanding, and more sanding

It was time to take on some of that wood I resawed this summer. Old mahogany, some cherry and a bubiga fretboard blank I had kicking around. Out came the Jet 10-20 drum sander. I don’t use it that often but when I do I try to prepare a bunch of stuff at one time. 


The problem is my roll of sandpaper isn’t great. It tears itself up and it’s also too wide. So I need to cut it to width and make the tapered ends. Below you can see how I reinforce the ends with some tape. But it breaks anyway. 


Sanding something this large takes a while. Feed rate is slow and it takes many passes. 


I couldn’t find my roll of finer grit paper* so I finished with my Festo random orbital sander. That turned out quite nicely. 


I’m thinking two mahogany sopranos and two cherry piccolos. But I need to tidy up the bench first. 


And I made a new biscuit for a resonator that’ll be strung low G. 


*I found the roll when I put the ROS away. 

Tuesday, September 17, 2019

Back to carving

My day job just exploded in my face after summer ended. Good grief. While I can find an hour here and there that could be spent in the workshop, my brain has just been in a right state, and that’s not good for wielding sharp tools and creating delicate instruments. 

But tonight I felt alright enough to start carving a neck on one of the travellers. Nothing much in terms of progress but it felt great. I started by carving the entry point with a modified Mora carving knife. 


Then I used three different spokeshaves, in what must have been ten different directions and angles. The grain was all over the place, no wonder this chunk of wood wasn’t resawn into plates for regular ukes. But I’ll get there. The spokeshaves are very sharp and I’ve still got it when it comes to carving. 


Sunday, September 8, 2019

Making two alder blanks

I got the best letter the other day. A happy customer told me about the heavy use he got out of a fugly traveller uke he bought from me last year. That wee uke has been to a lot of places across the world. So I did that one right I think. But maybe I can make one even righter, my customer asked me for another one of a different wood and with a slightly longer headstock. Or nut end. The part above the zero fret. You’ll remember that my prototype was cut short after the zero fret, then I changed it to a wee butt up there to help with some chord shapes (E7 comes to mind). But now the request is for even more real estate at the end. 

Since I’m a sucker for praise I went out to the stack of drying lumber and looked for something nice. I found a piece of that hefty alder trunk I harvested, split and stored a few years back. It’s curly, blonde and comes from my corner of the world. Perfect. 

First pic is cutting of a length. I’ll be using the shorter length to the right of the saw. 


On my new wee bandsaw I sliced off a corner to get started on the squaring up. It’s a small three wheeler but it’s actually better than my old one. 


Planing that first surface with a no.7 plane to get it flat and true. I still haven’t put a vise on the new bench so this is the old one. 


Then using that first side as a reference I cut the adjacent split surface to clean it up before going back to the handplane. 


Next pic is of the third surface being planed. Then I made the fourth and last, before...


... splitting it in two halves. The gunk on the end of the left one is old glue I smeared on to prevent it cracking while drying. I will cut off a bit more when building the ukes. 

To get the two faces parallel I sent them through the thicknesser. I could do it by hand but my best planes are at home in the cave and here at the cottage workshop there are more machines so time and effort was saved. I will keep these here to use the drill press to make the cavities, just as you saw me do it July. 


Here they are, with the view in the background. They will rest inside and dry for a few months before I continue, but I have a couple of projects to keep me busy. 


Wednesday, August 28, 2019

Slow moving

Well summer ended and wurk began. And what a formidable beginning it was - these last couple of weeks have made me question my sanity, a load of career related decisions, and what I want to do with the rest of my life. 

But anyhow, we got some lumber freshly sawn delivered from the sawyer. Surprisingly, a lot of the boards are quarter sawn and a few might wiggle their way into future instrument builds. In some years. After drying. There was more than I show in the pic, this was half way through stacking it temporarily under the roof. I’ll build a proper structure for it as soon as I get the time. 


Monday, August 12, 2019

Travel ukes, planing the soundboard

Briefly back at the home workshop, I hogged out the curvy bits with the small bandsaw and made the straight cuts with hand saws. 


Starting out the soundboard was 3.2 mm. I want to take that down to around half. This was the main idea behind the new order of oprations, as it was risky to use the router plane for the last bit when the remaining wood was thin and fragile. Well it turned out this was hard too. 


I used a well fitting caul under the soundboard to prop it up, but fit some padding on it. That was a mistake as it flexed and the plane took more from the edges than from the middle. I might be able to save the ash blank but it’ll probably be a keeper. 


The walnut blank turned out more even but had some rather difficult reversing grain, so I had to use the Veritas cabinet scraper to remedy some tear out.