Learning Ukulele 50 Sites Top 50 Ukulele Sites Argapa Ukuleles - one size louder: 10/1/19 - 11/1/19

Thursday, October 31, 2019

Glueing the back

I make sure the back braces and the rim are flush at the edges and that the arching forms a smooth dome shape, by grinding the whole assembly in the radius dish. 


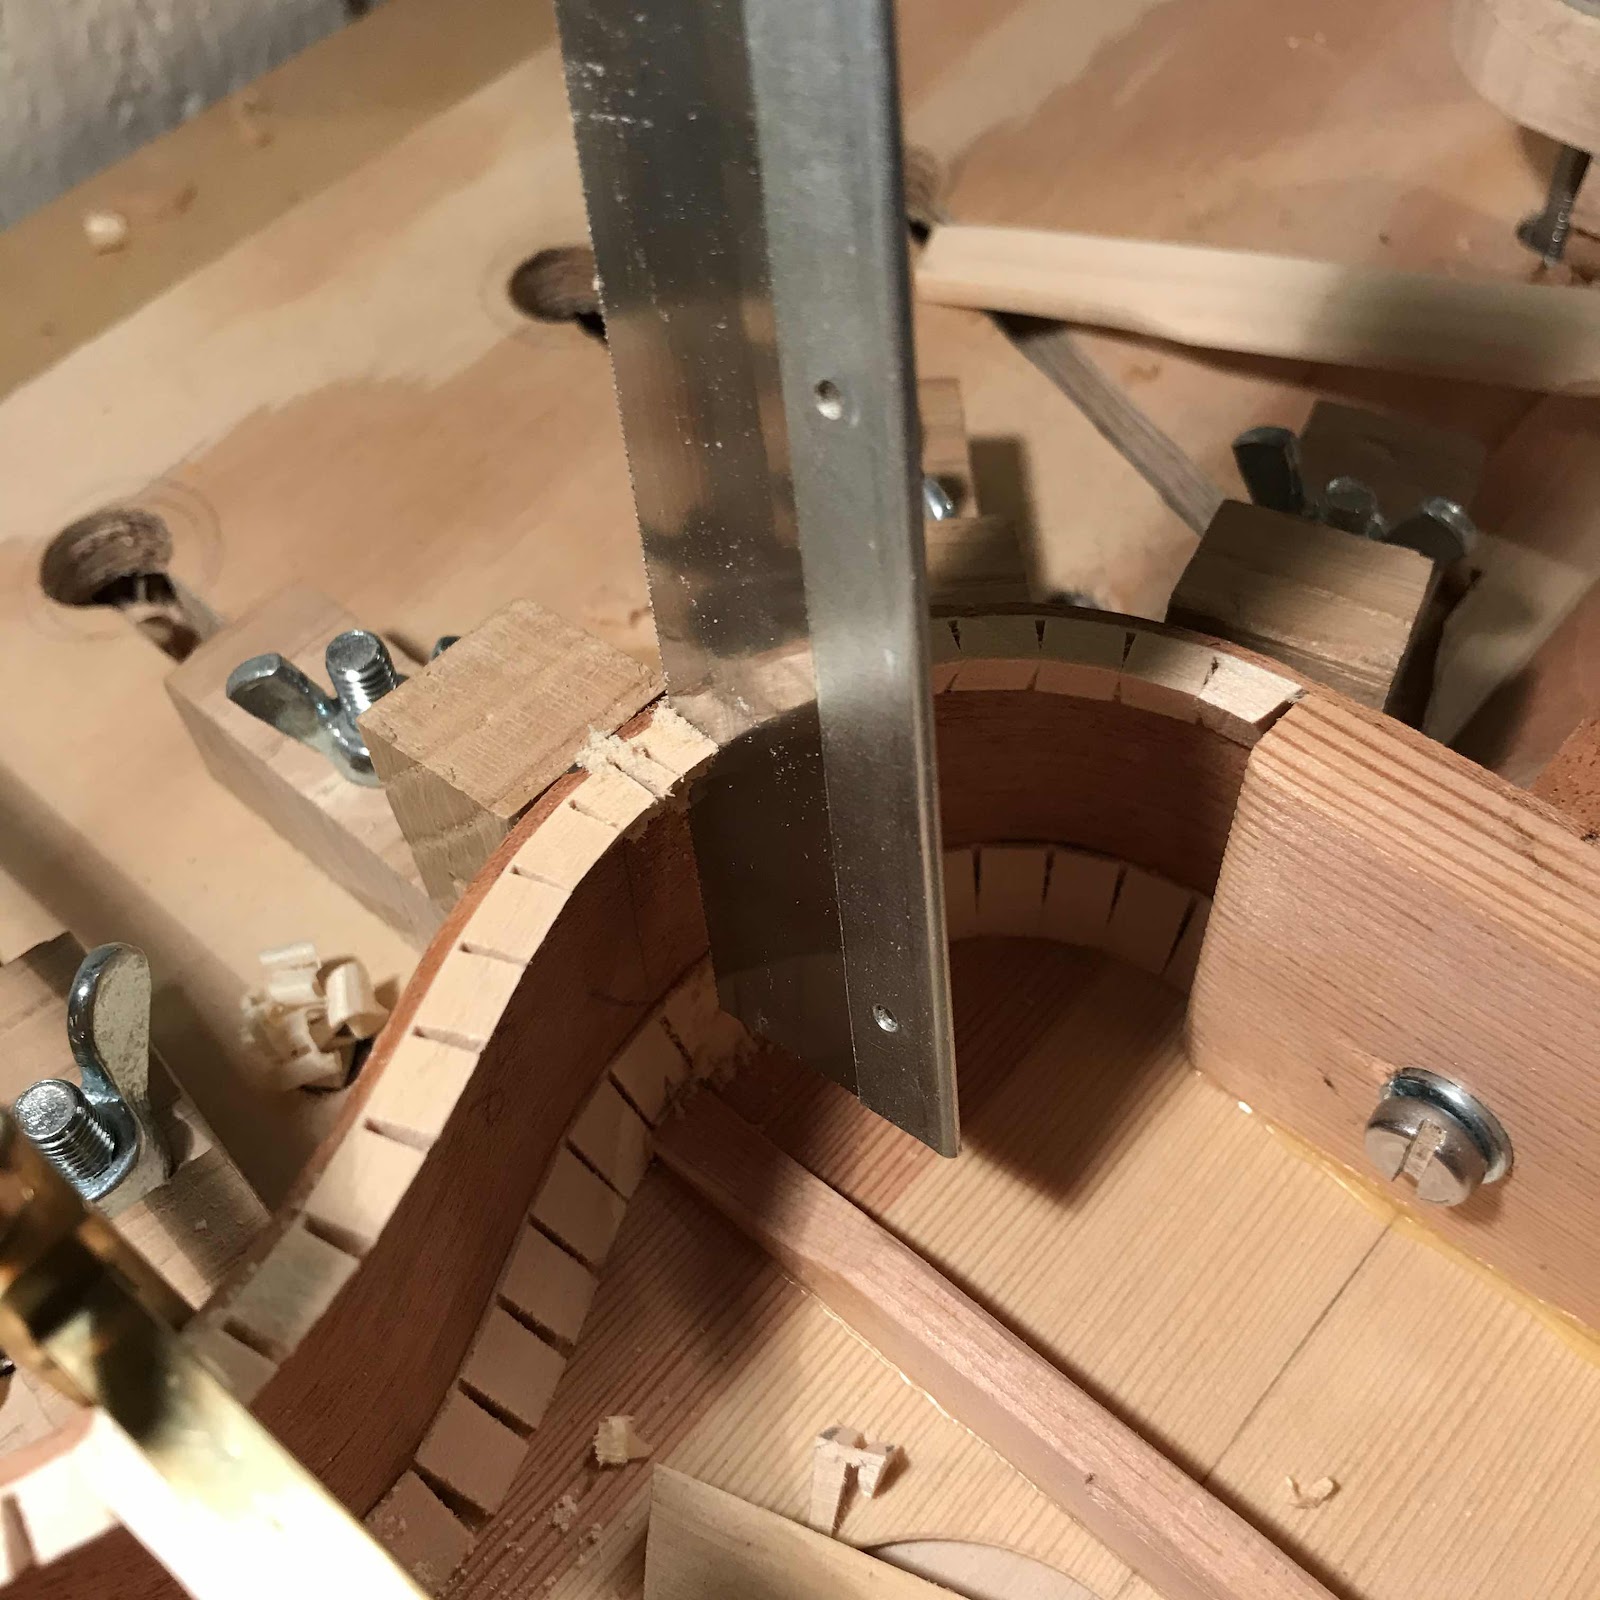
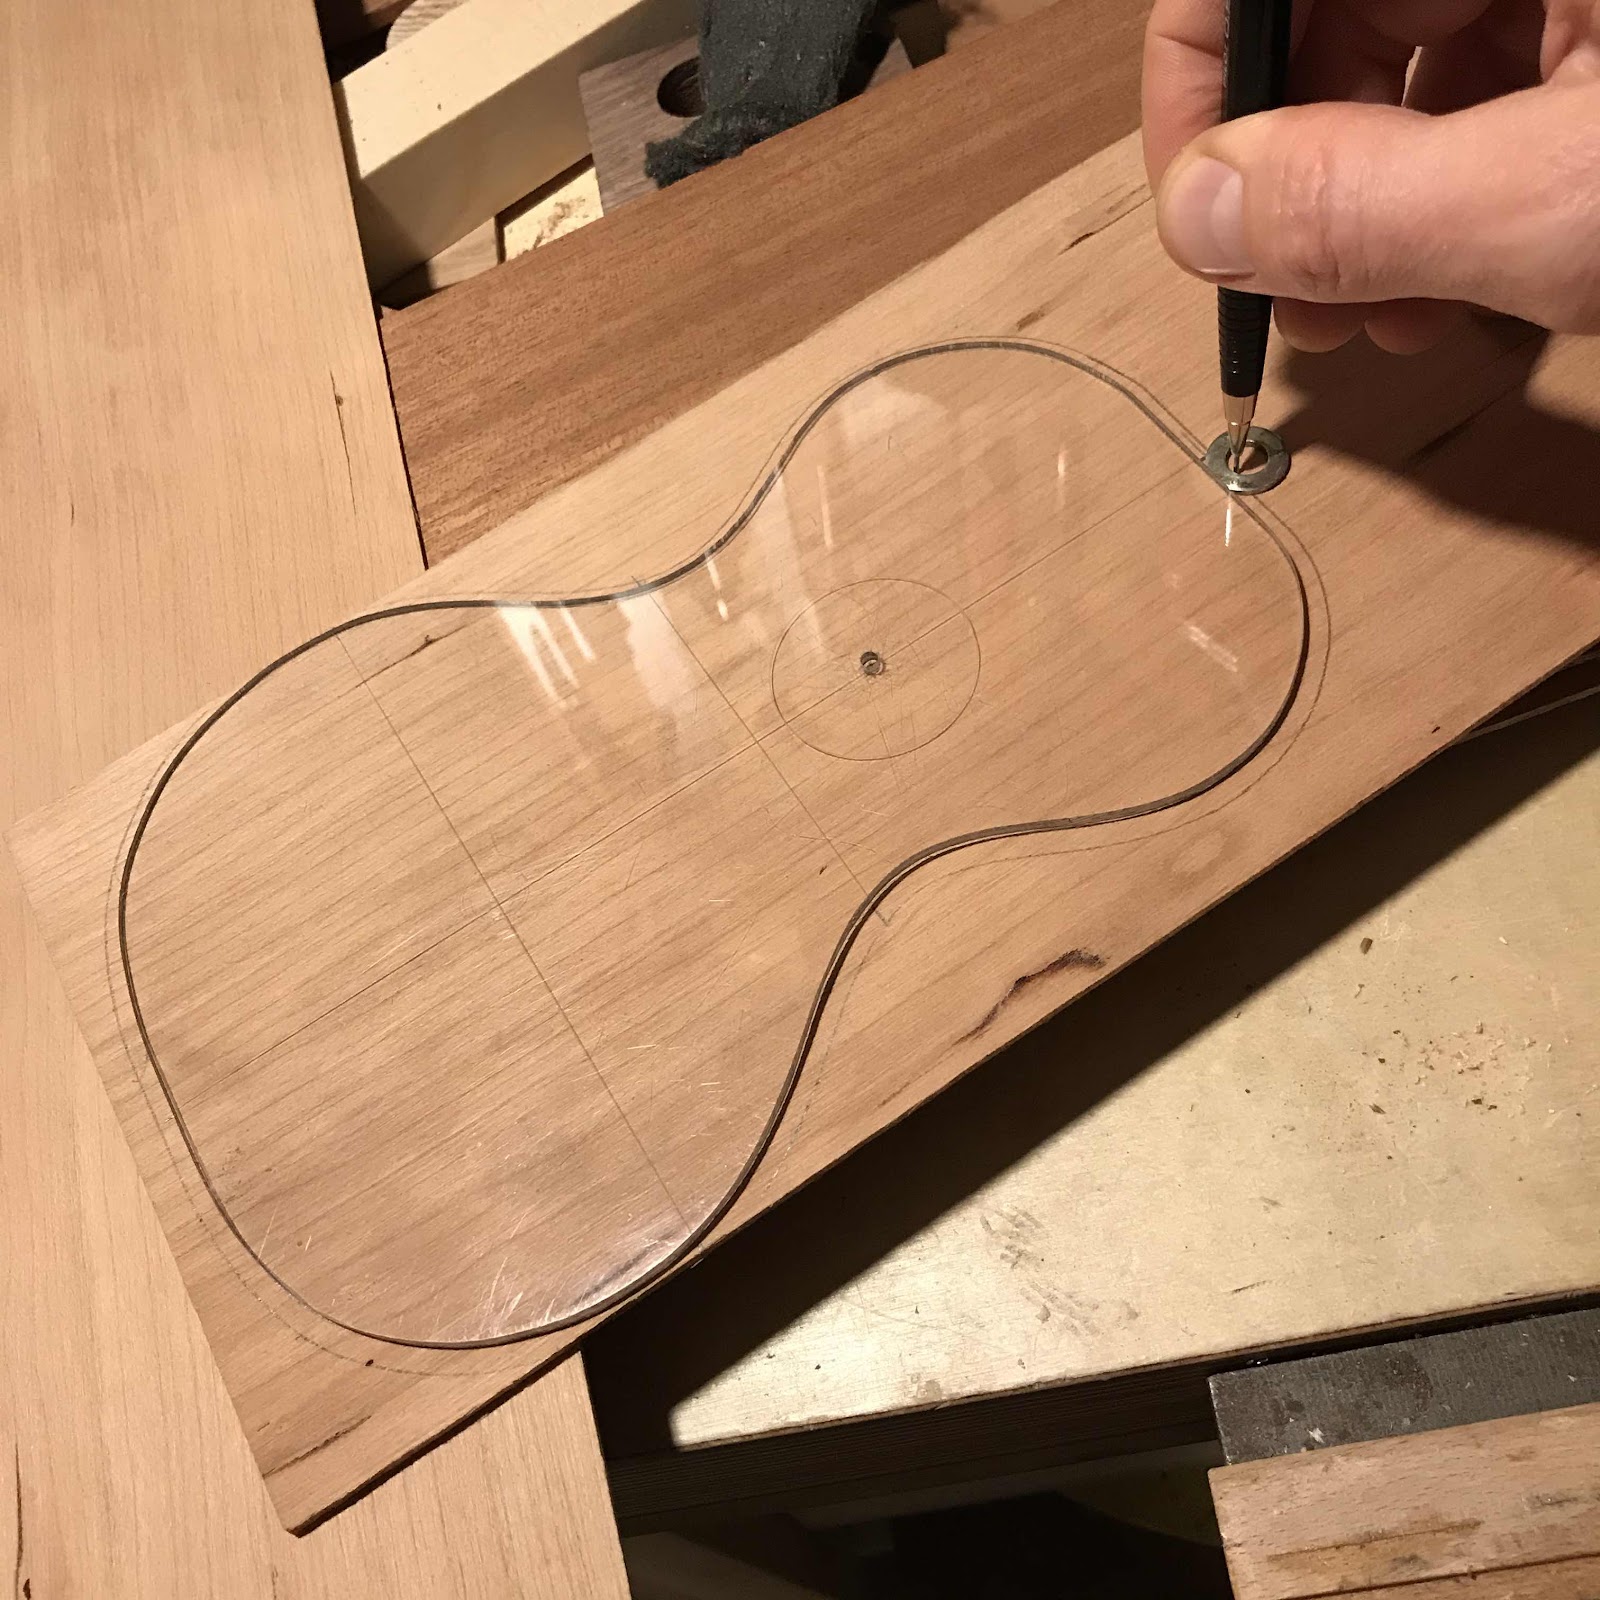
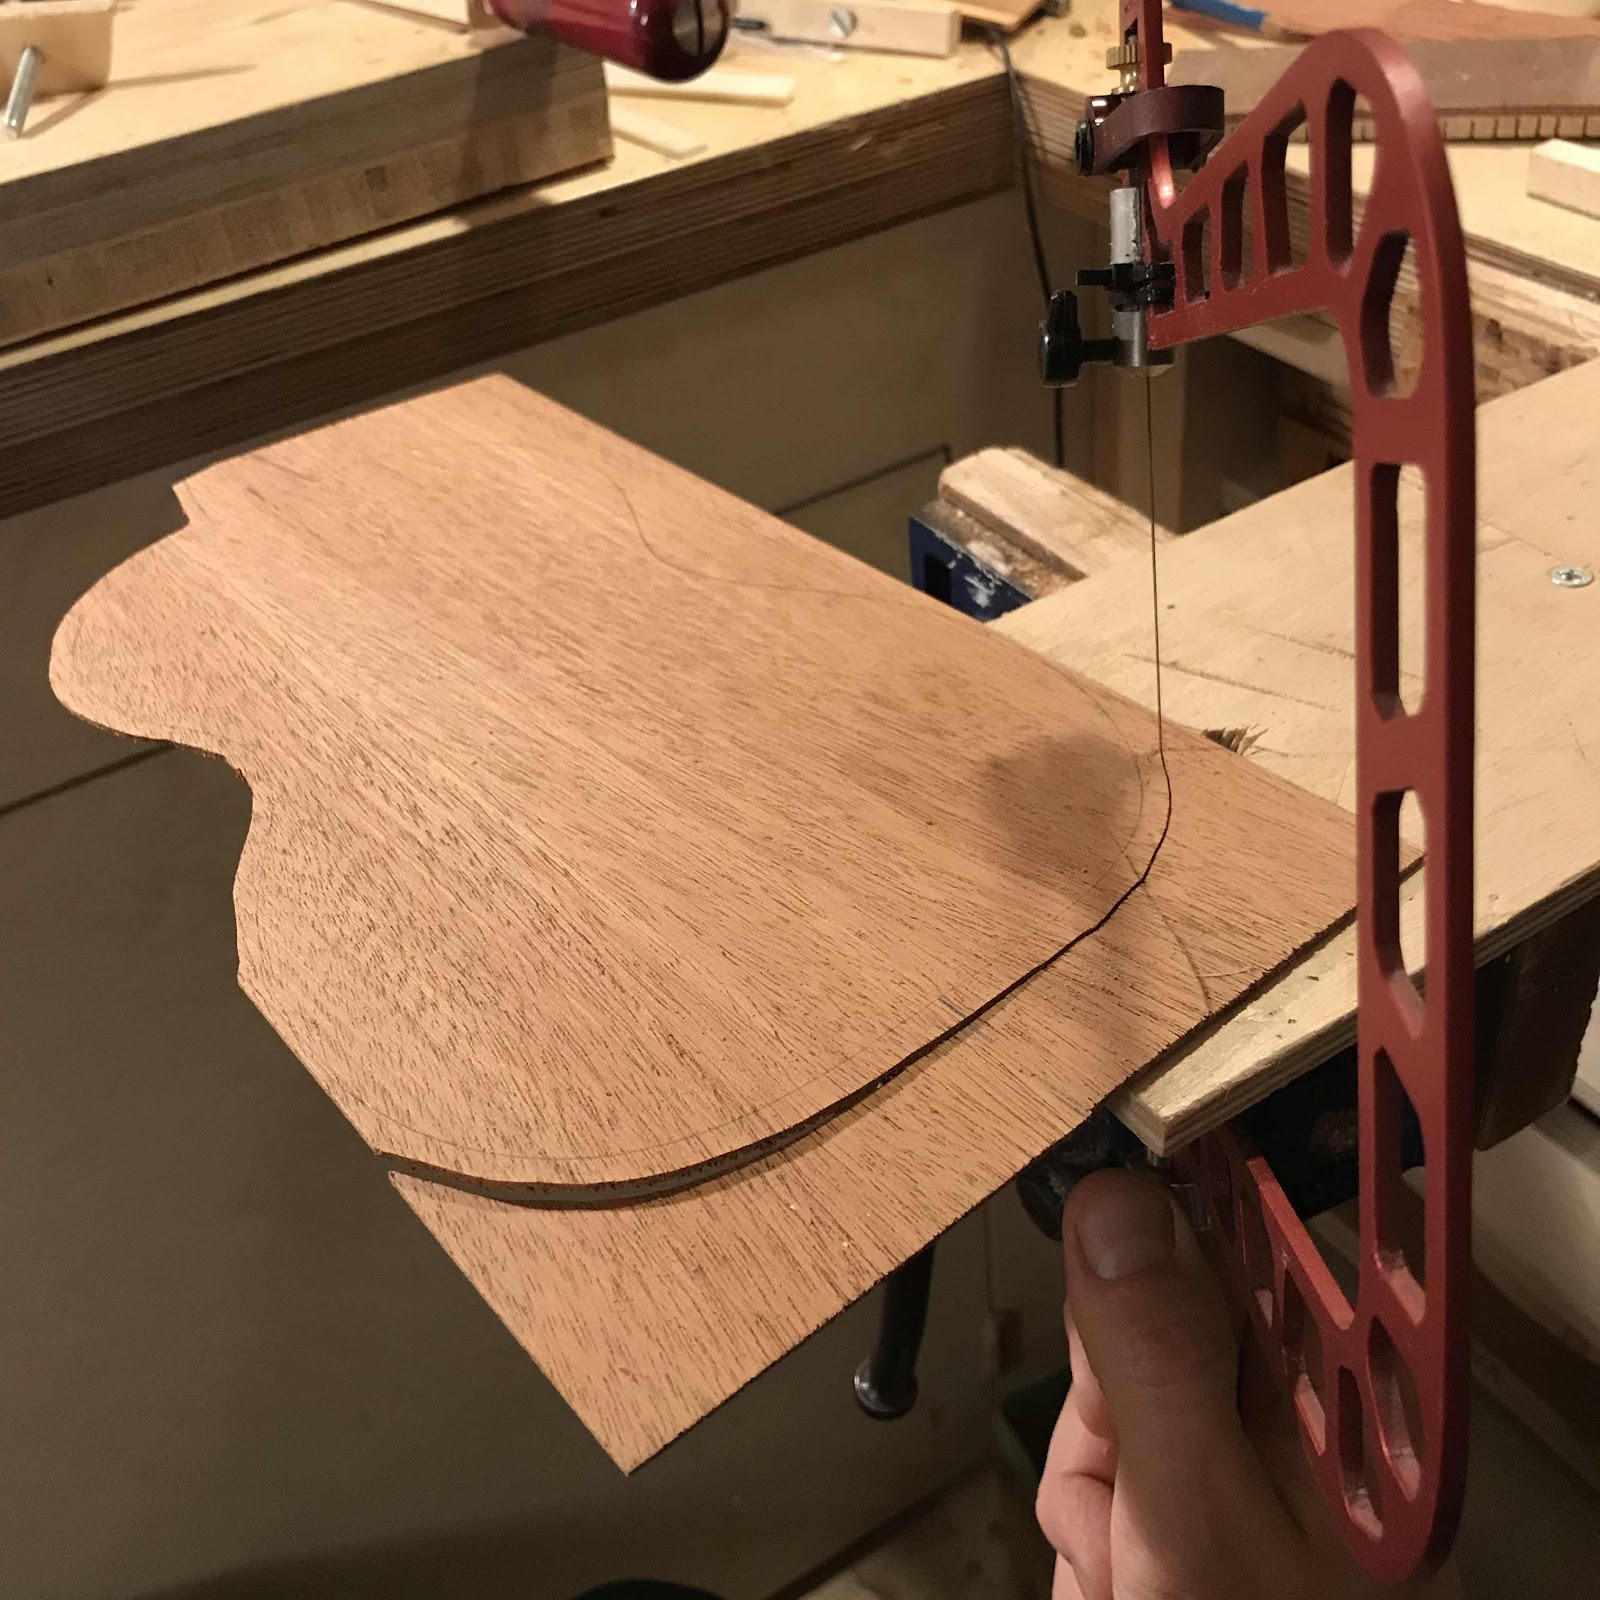
I found the back I prepared long ago (not a mean feat since the bench is cluttered) and cut the shape with my Knew Concept saw. That saw is a bit weird. Sometimes it works and I love it, other times it is hard to tune and keeps botching up the cuts. 


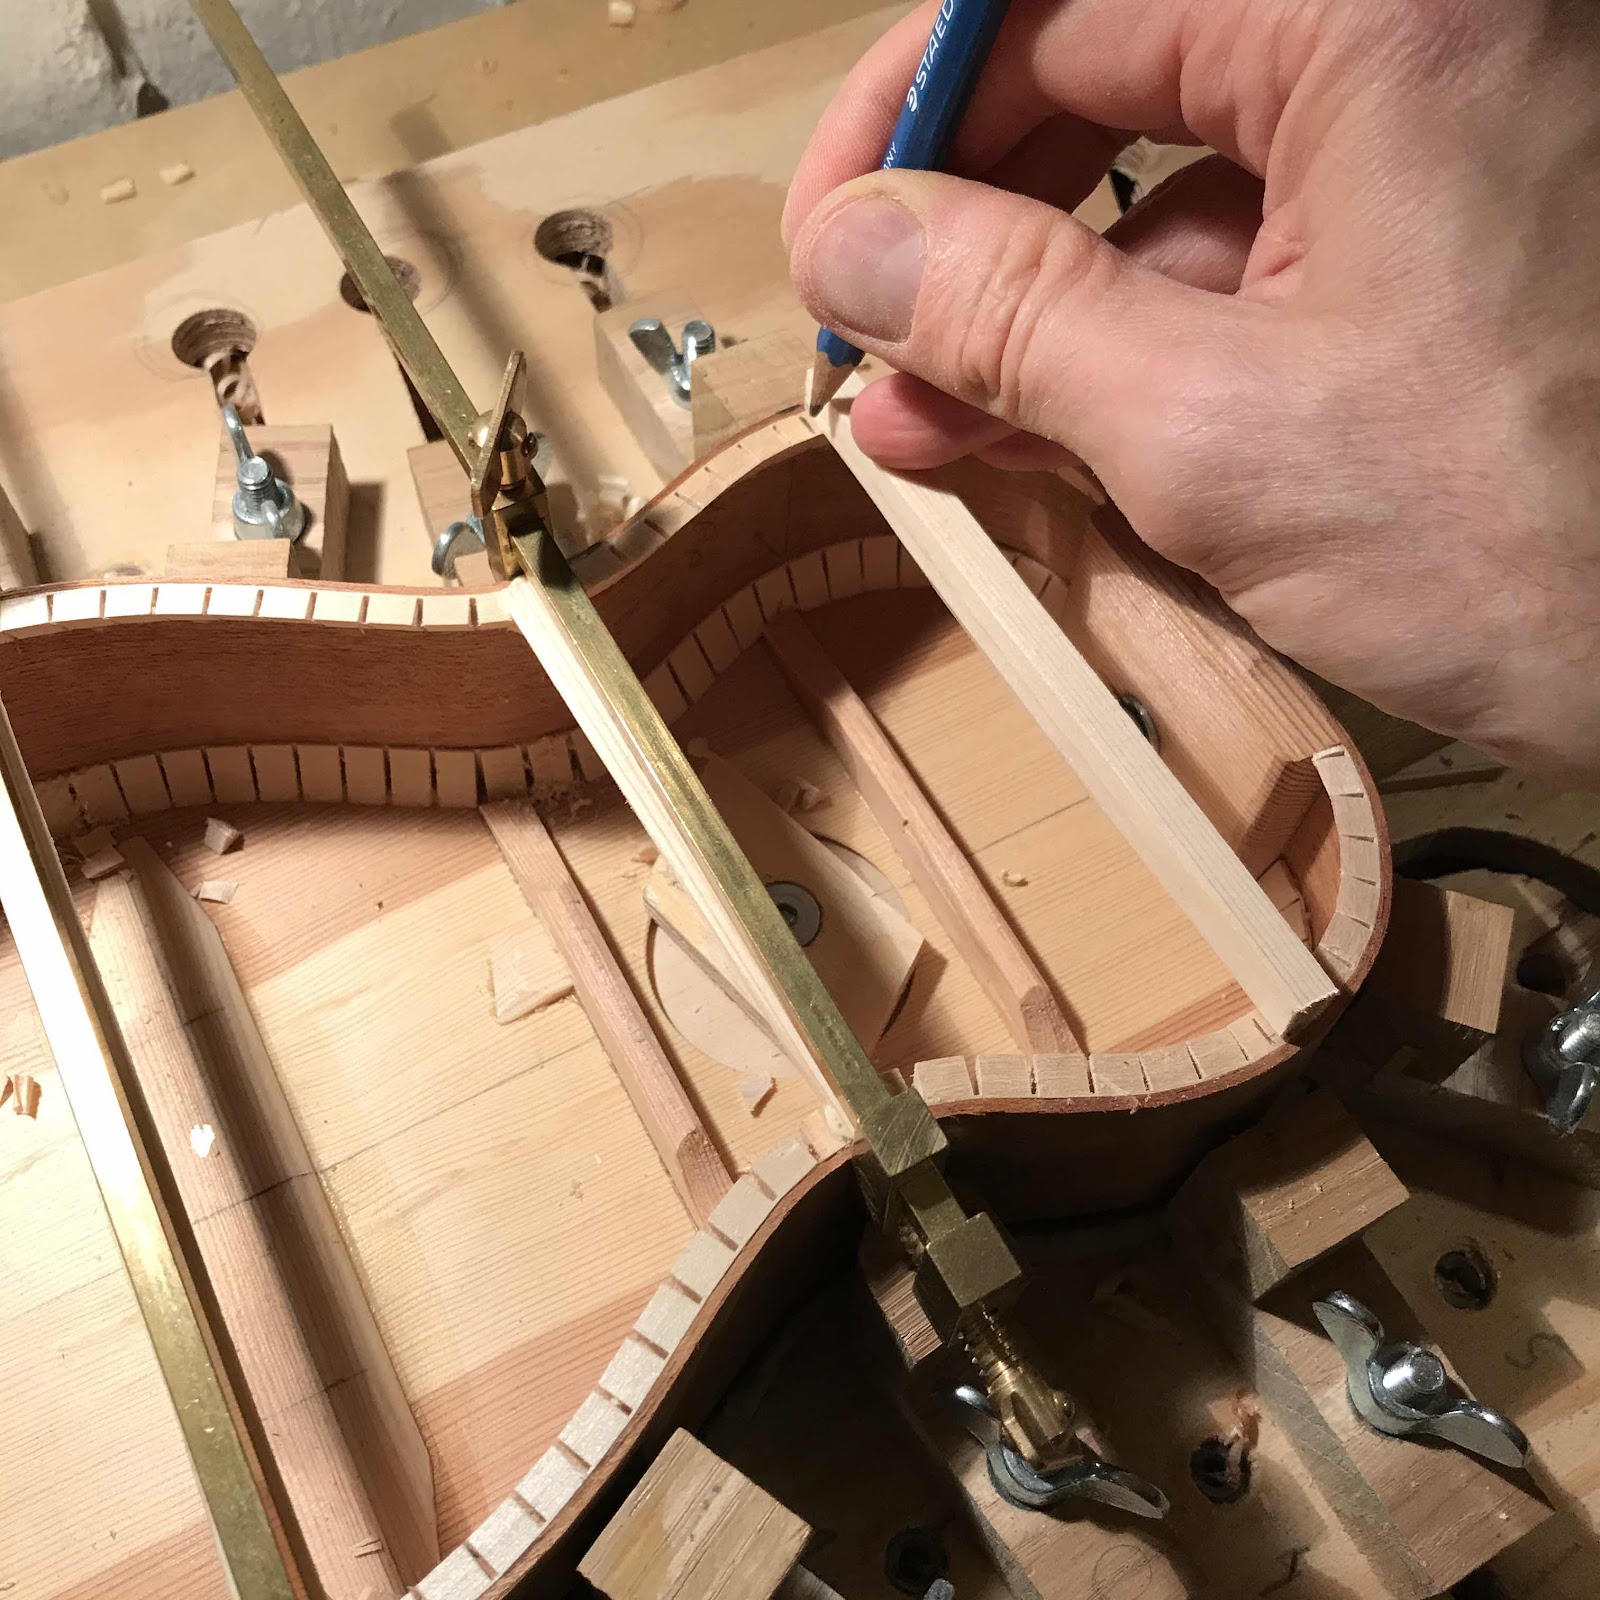
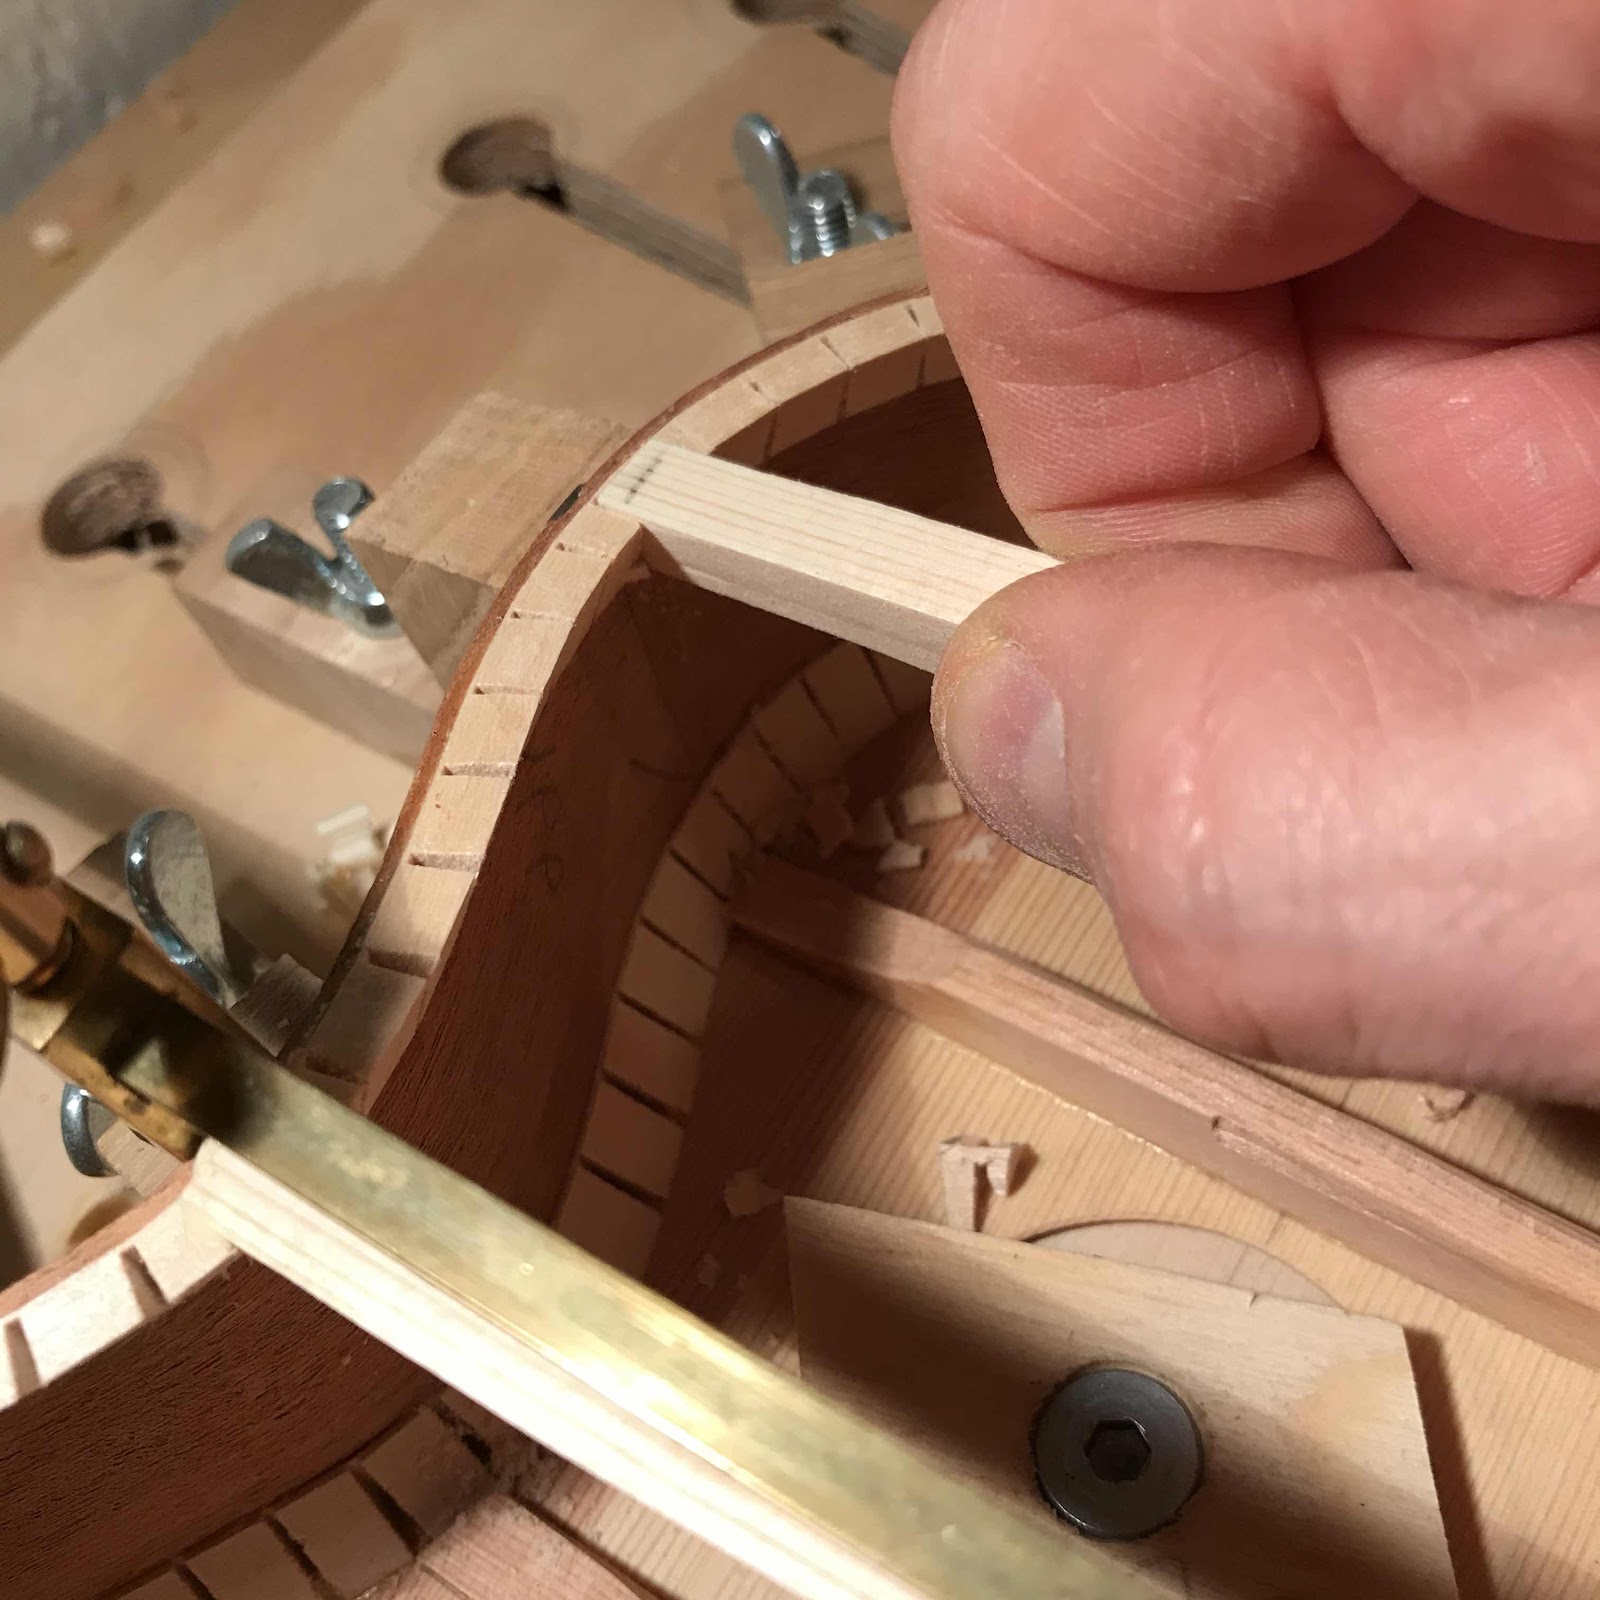
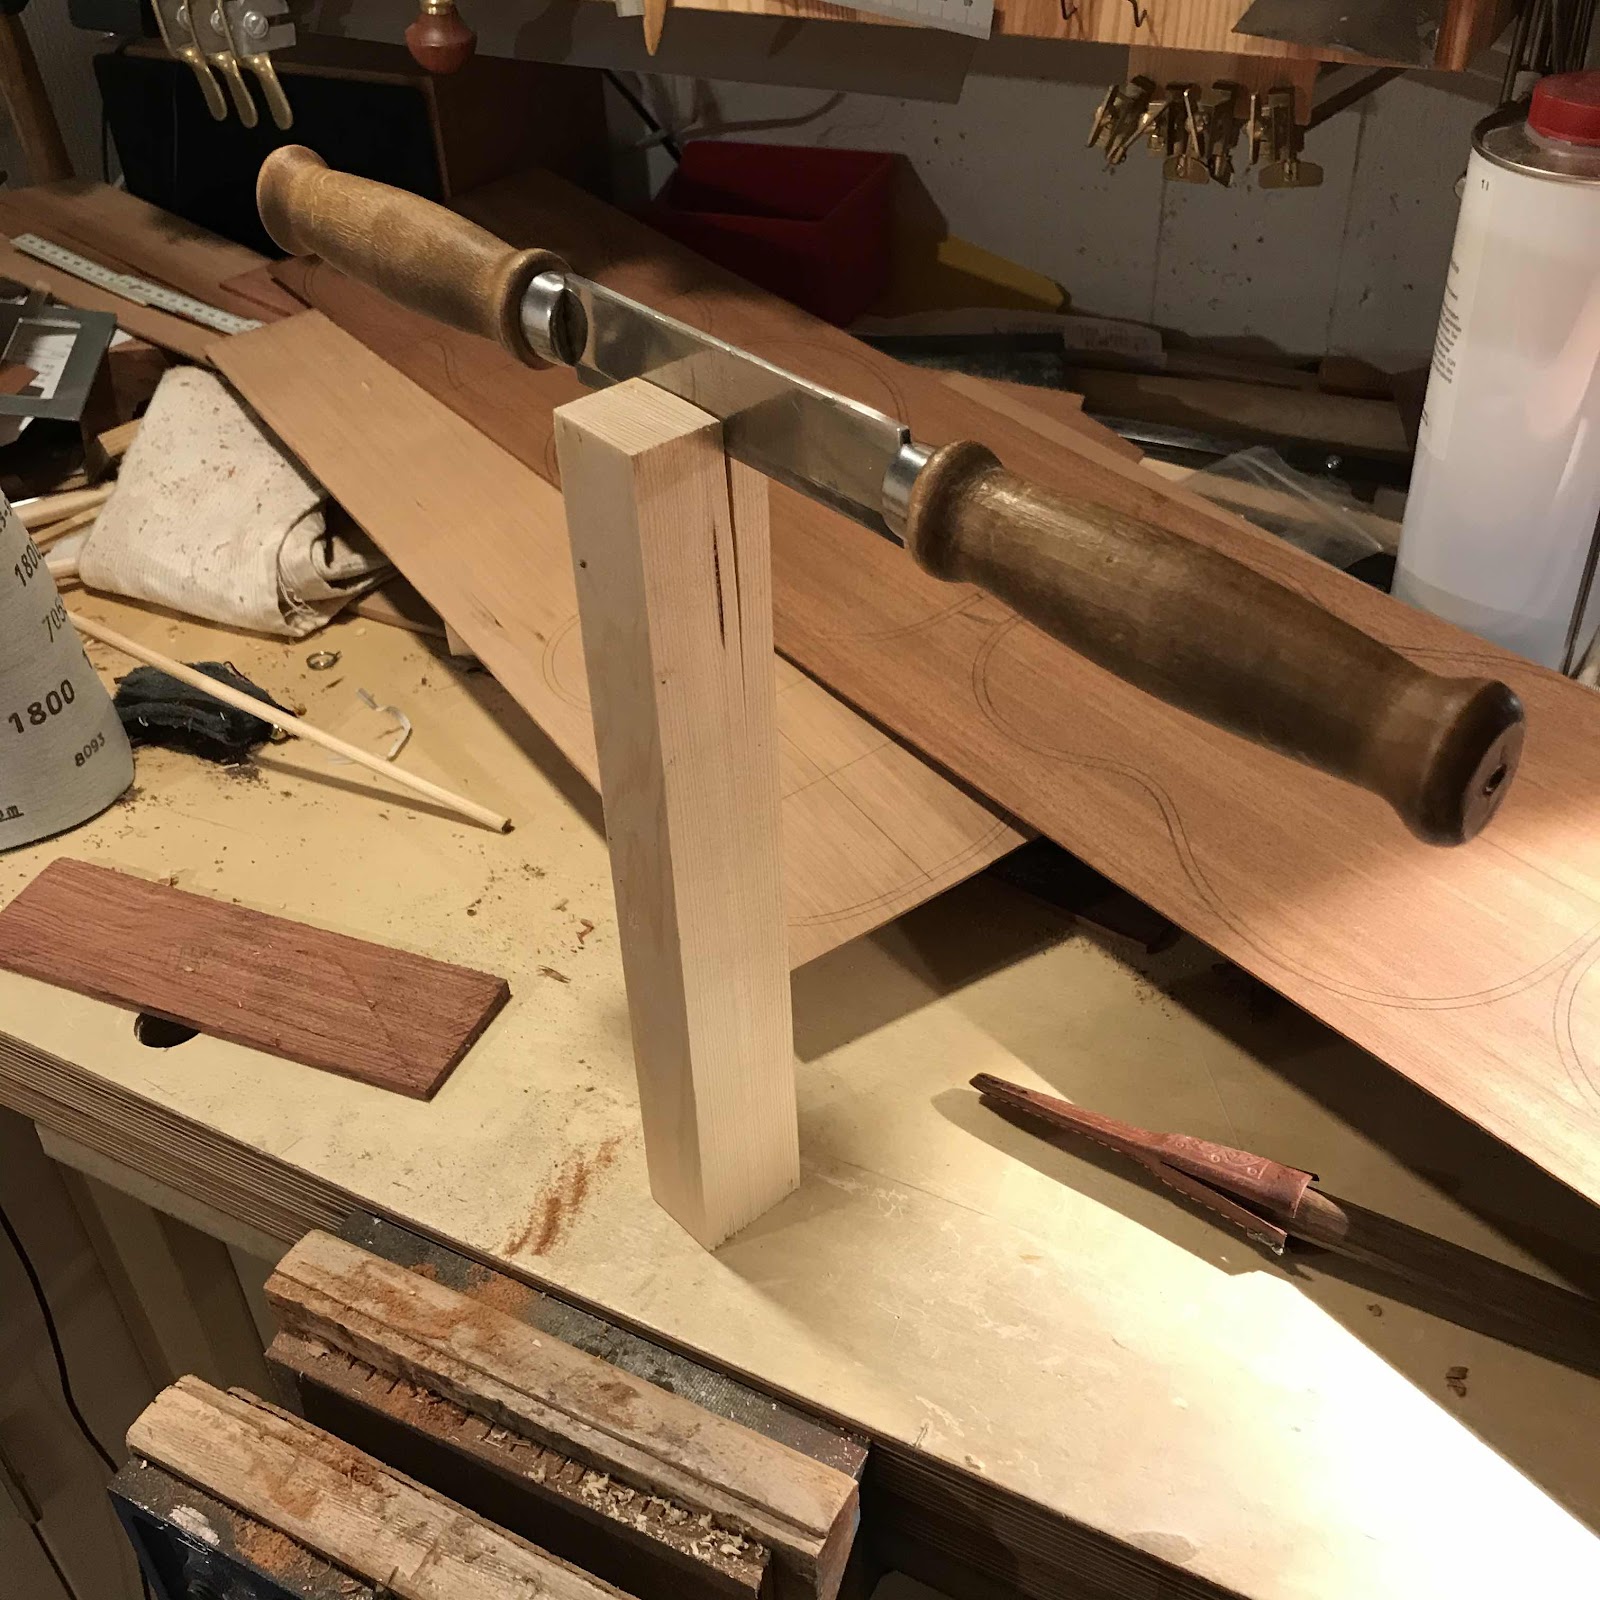
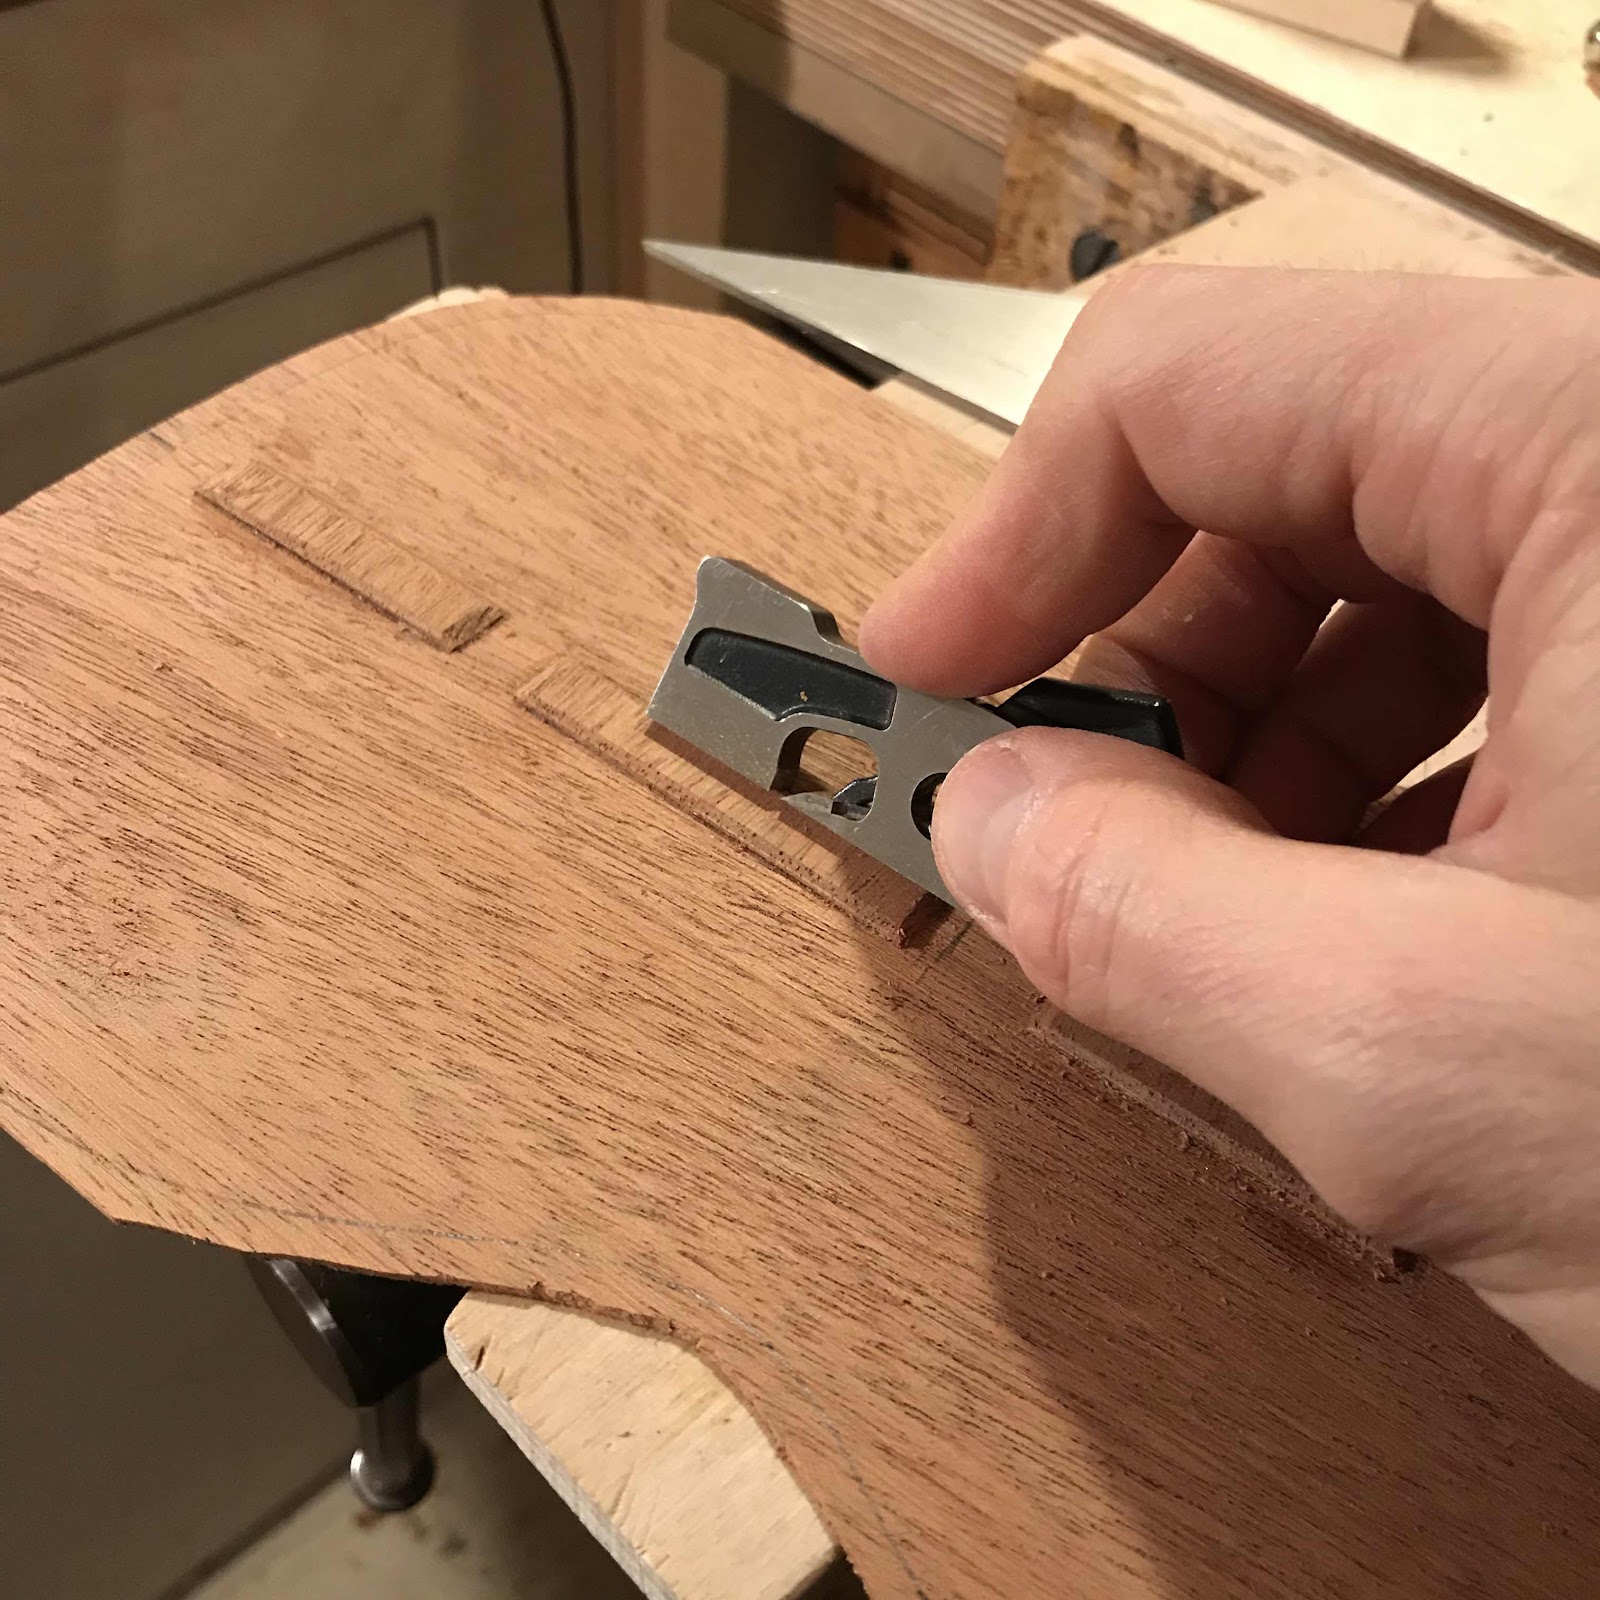
The back is jointed so I took one of the offcuts and made a cross banding strip. It’s segmented to fit with the braces. In the pic I’m chamfering the edges with my miniature shoulder plane. 


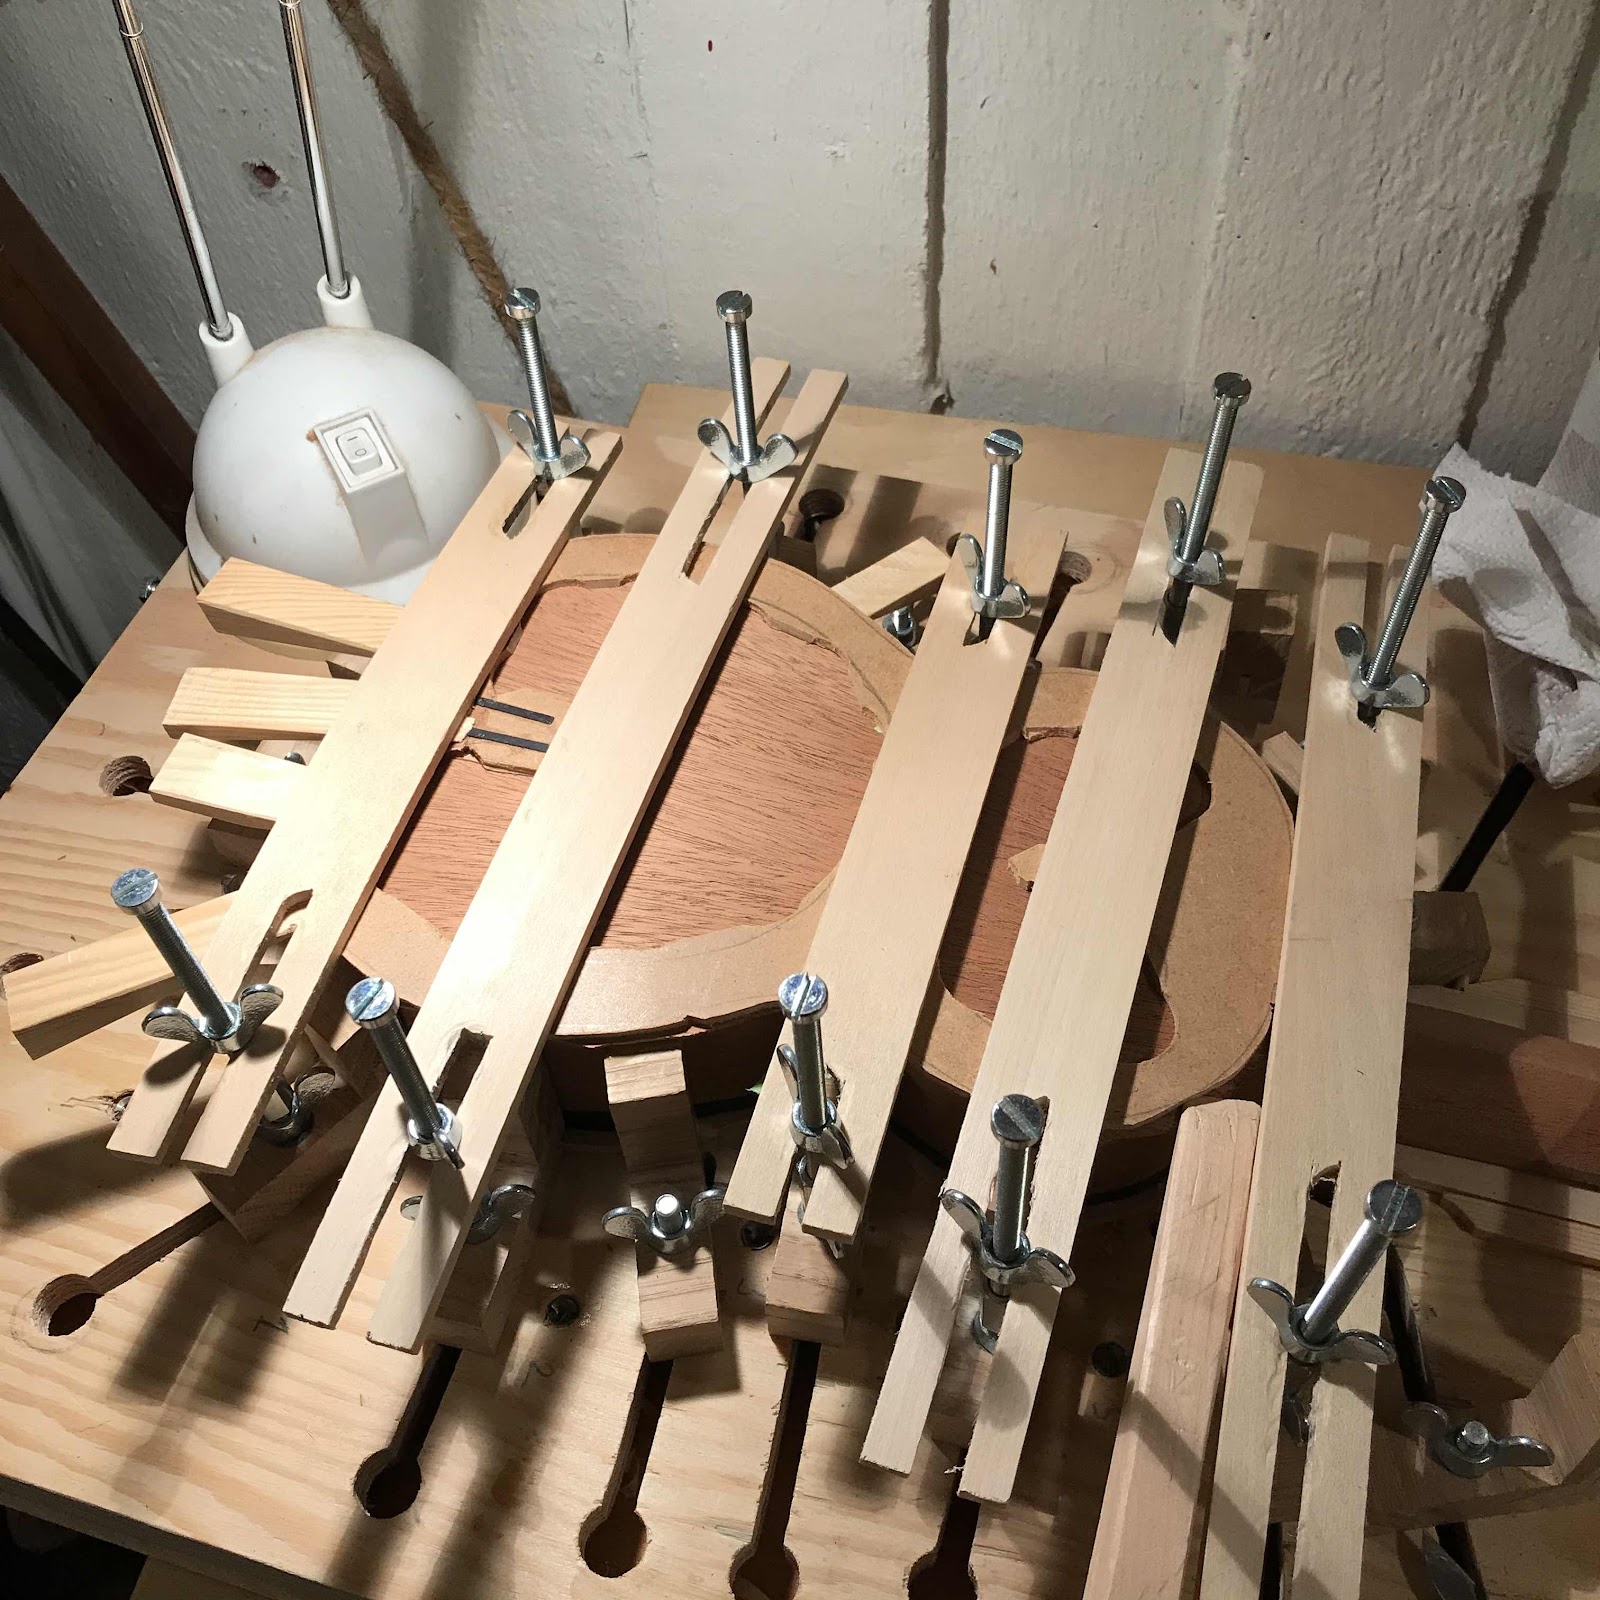
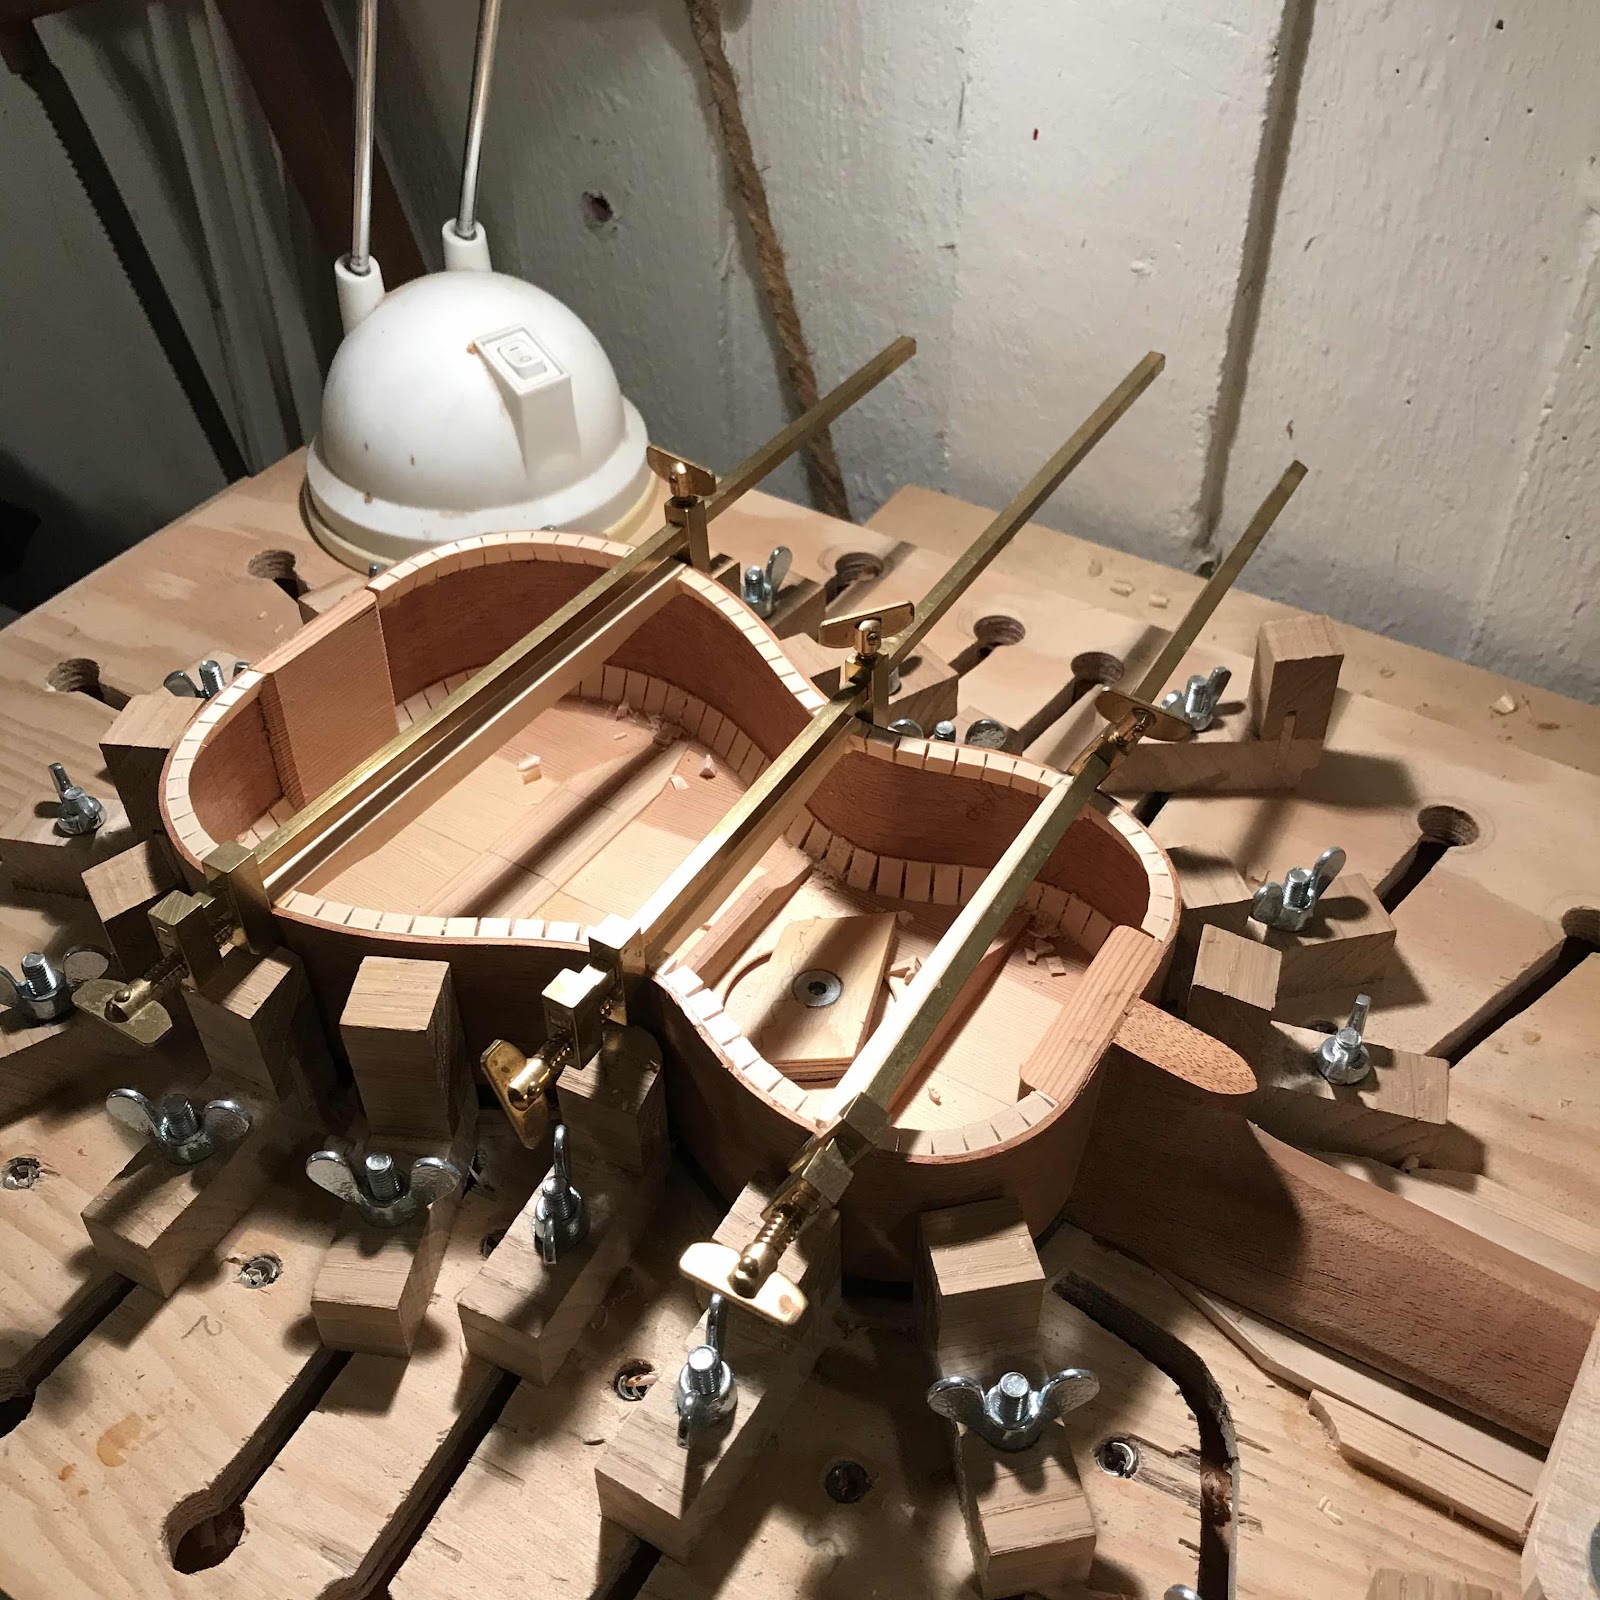
And on it goes. Usually I use the go-bar deck to put some extra pressure on some spots but yesterday I fitted some wedges here and there to assure an even bead of squeeze out in the joint. 

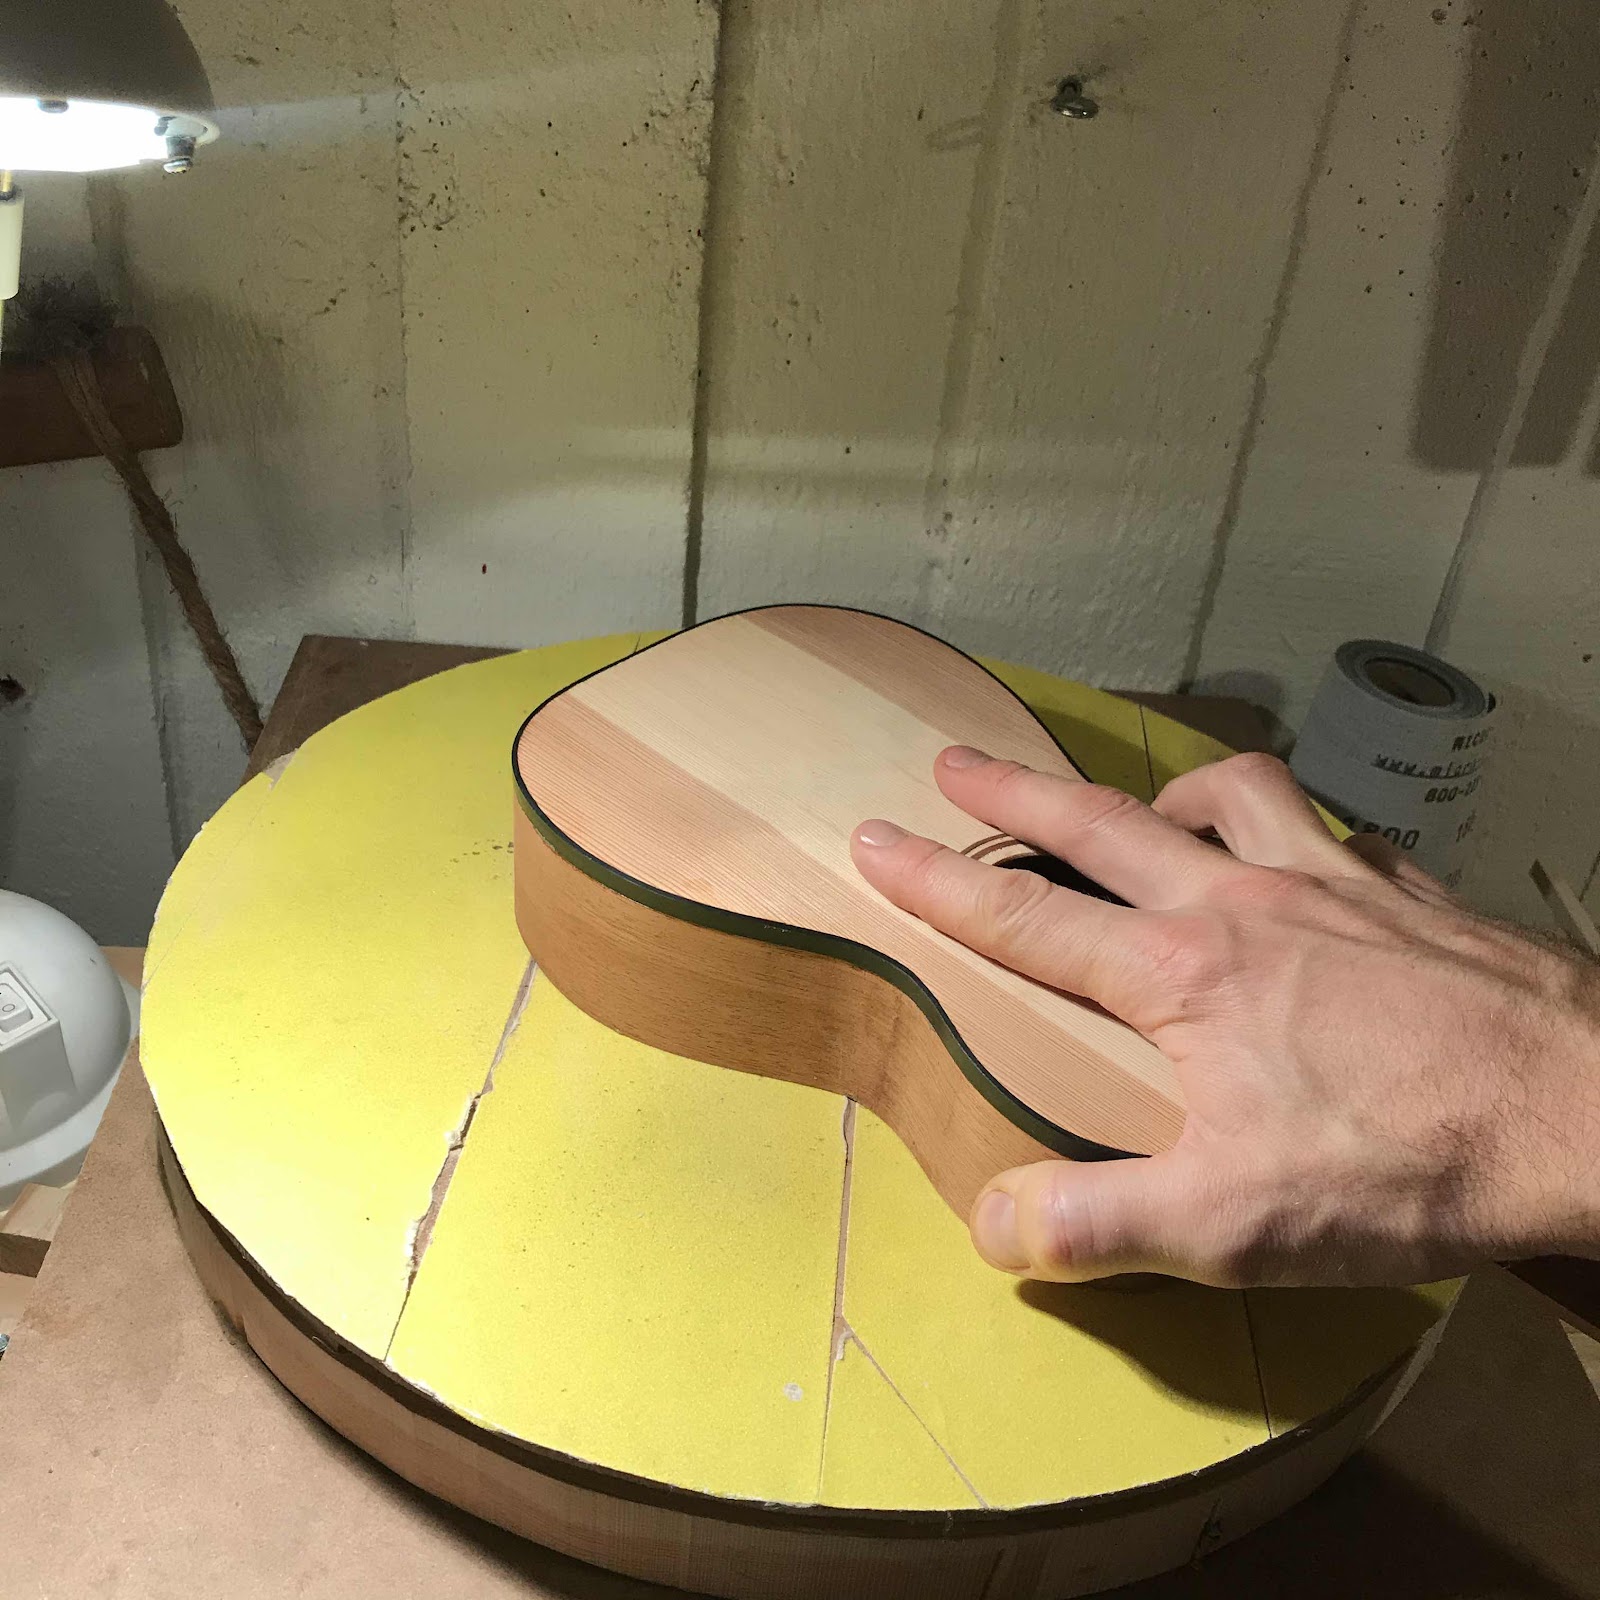
This morning I took it out and it has a really nice dark tap tone now, it all sort of comes together when the back goes on. 


Wednesday, October 23, 2019

Installing back braces

With the braces profiled and cut to length, I mark the positions out for cutting the slots in the lining strips. The braces are triangular in cross section so the notches match that. 


I cut carefully with my Japanese model maker’s saw. It is insanely fine toothed but cuts rather fast, so I take care not to mar the sides. 


After a bit of fiddling it fits. I want it protruding slightly rather than being flush or *shudder* low. 


The clamps are also Japanese. The prejudice about stuff from there being elegant, of high precision, and a joy to use seems more and more like a hard fact, don’t it. 


Monday, October 21, 2019

Marking out plates, and brace work

I’m back (I never left)! It’s been hell at the day prison thd last months, and it still is. But I have cleaned up the workshop [a bit] and tonight I was back at it. 

The plates I sanded a while back will give me two mahogany sopranos and two cherry piccolos, if I don’t mess up. I picked through the wee pile and marked out the contours. I got lucky with the grain direction in the mahogany piece - the heelcaps tucked in side by side so the length was enough for all four plates. 


Maybe it’s visible in the middle there. The heelcaps. Wot I wrote. 


But before I get to start I need to finish this one - the half built soprano I’m making for a friend. It isn’t all that much left. I strapped it into the workboard and started on some back braces. 


A very light and straight piece of spruce that I found somewhere will do nicely. I split it with my something something knife. 


Then I ripped the split off piece with my cute rip saw. Maybe the knife could’ve done this as well but no chances were taken. And ripping is fun. 


I’ll leave you with this image to haunt your dreams - a no. 3 Stanley plane and the Stewmac nut vise. I get the profile first before I cut it to length and curve the wide edge for the back arch. 


I’ll try to be quicker with the updates. Fanx for staying tuned to this ancient blog.