Learning Ukulele 50 Sites Top 50 Ukulele Sites Argapa Ukuleles - one size louder: Neck carving
Showing posts with label Neck carving. Show all posts

Monday, July 14, 2025

Neck work

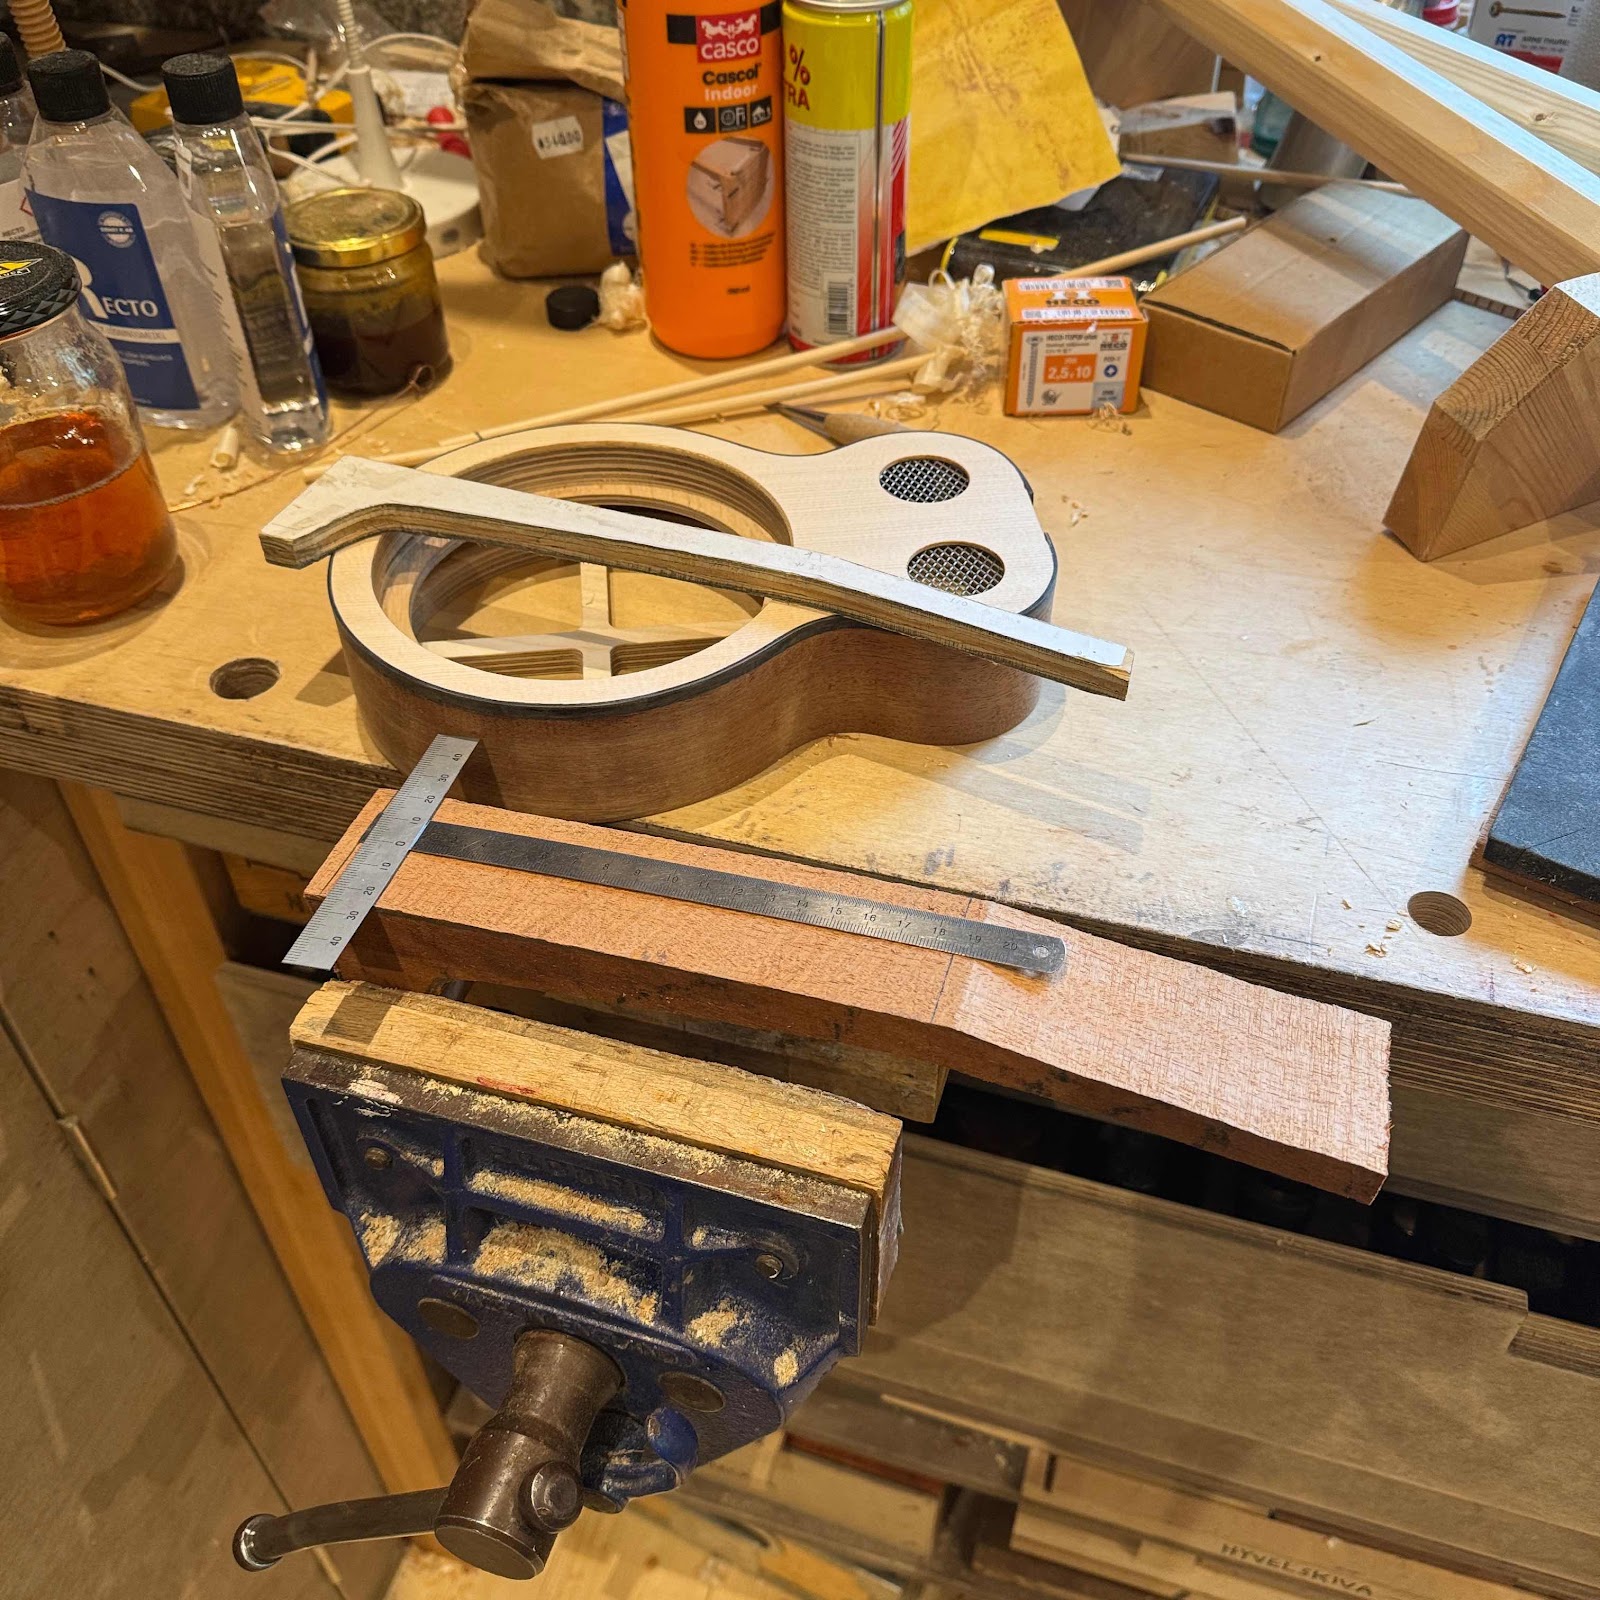
Time to get a handle on this situation, innit. I found an old mahogany neck blank kicking around and it will be a great match for the body. First pic is from measuring and marking out. 


Then I start carving with a two-handle drawknife, wicked sharp. I can’t find the neck carving jig, it must still be in a box somewhere. But the vise I got from Chris works. 


The knife goes down through the end grain like through [really dense and slightly brittle] butter. 


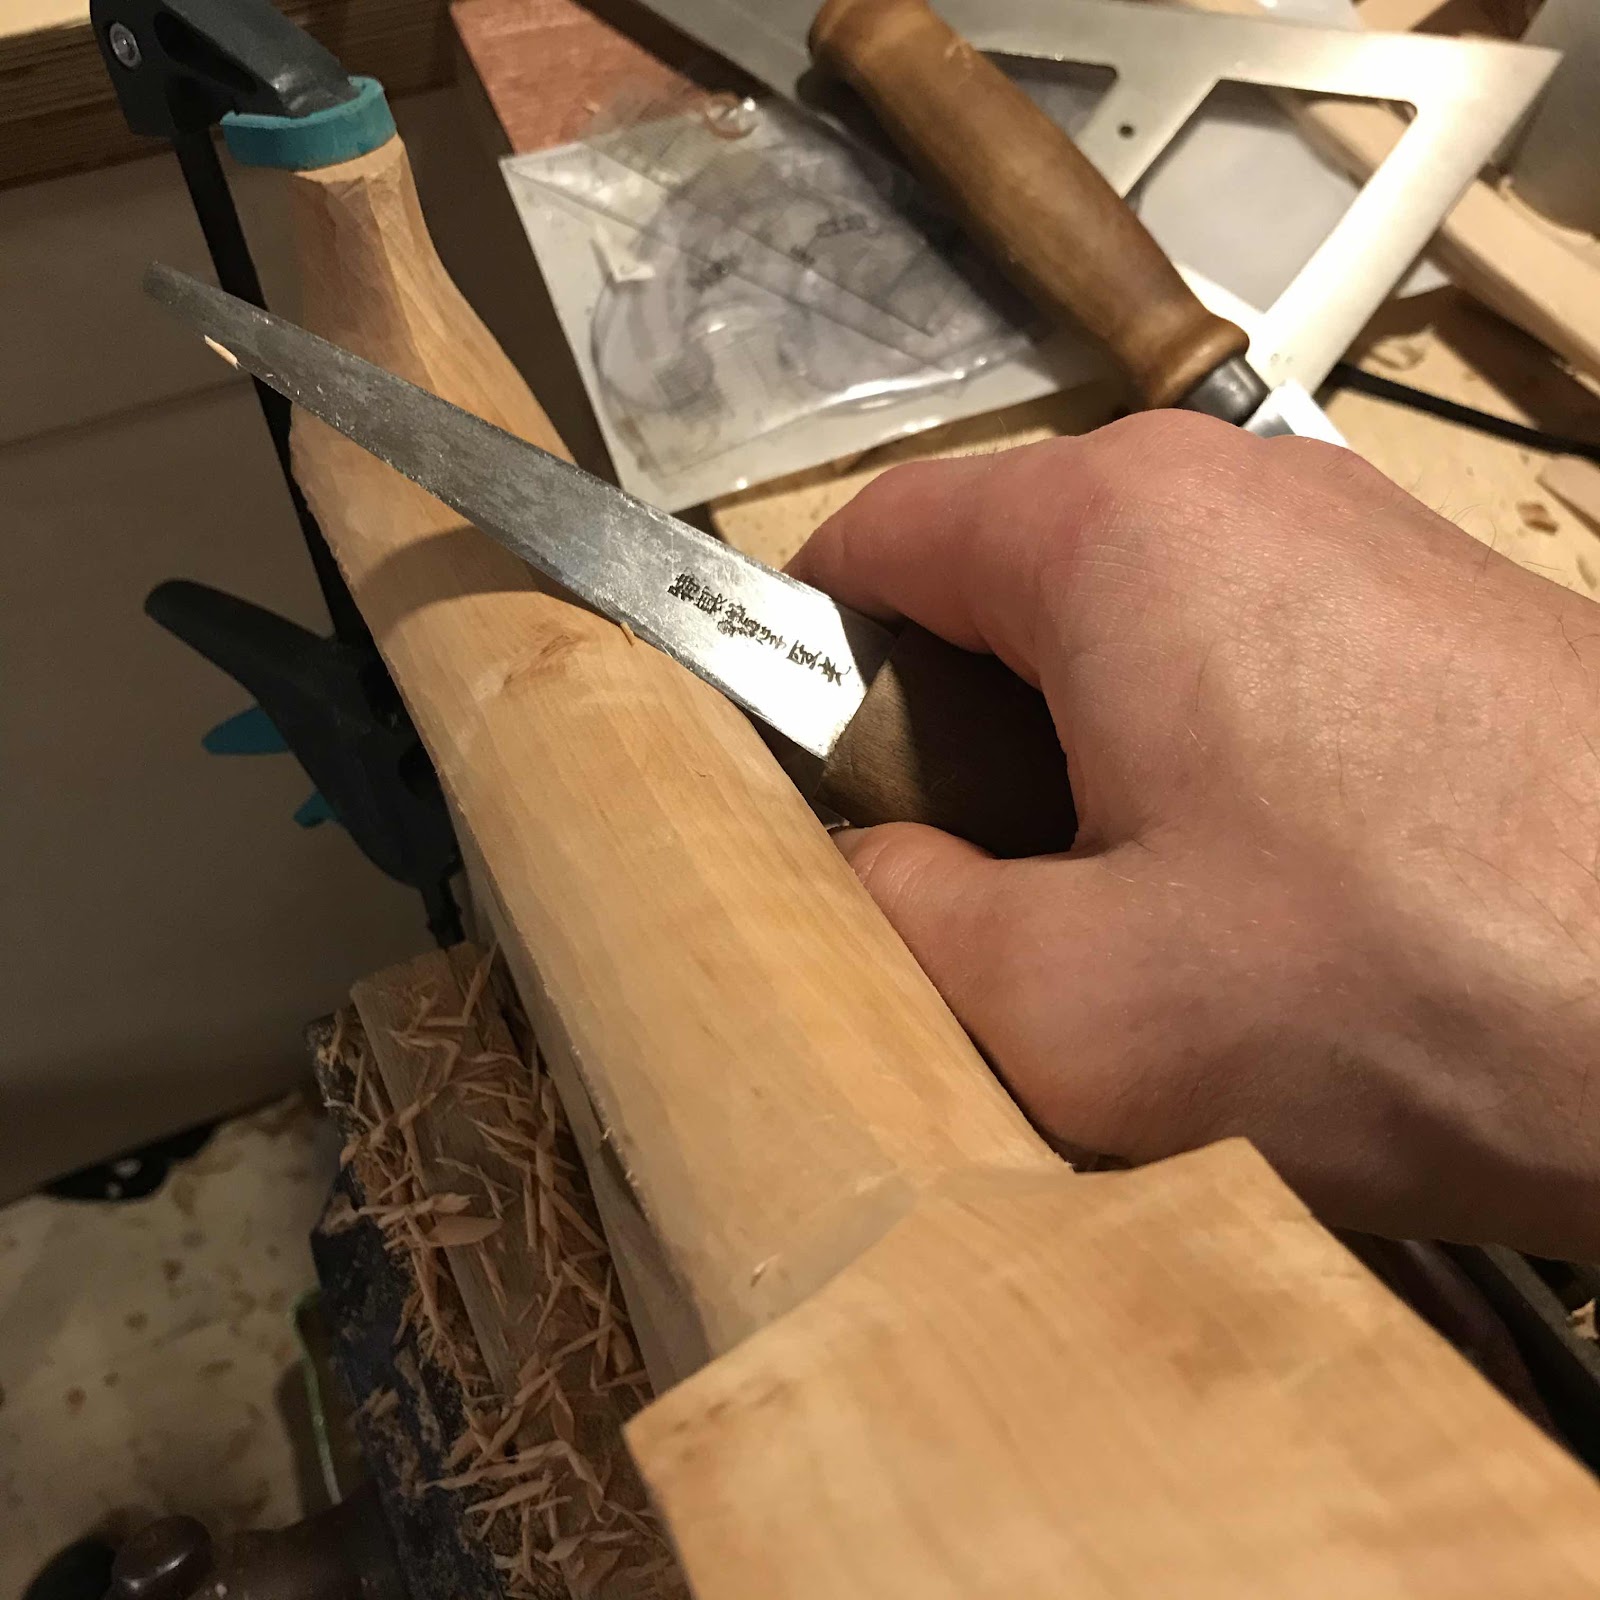
Trick photo - I can’t really carve holding the neck and the knife in the same hand, but wanted to show the shift to the wee knife for refining the shape and profile. 


I really like the faceted shiny surface from carving, but not all do so I finished it off with sandpaper. 


Are we fast approaching attaching the neck? I didn’t think I would remember this much but expected a lot more fumbling. Let’s hope this won’t jinx it. 

Sunday, September 27, 2020

Neck work

I found a solid lump of cherry, strangely L-shaped. I planed the upper face to get a tenor length neck. The plan was to then bandsaw out the blank but alas, the blade on my bandsaw was dull. 

I was about to saw perpendicular stop cuts down to the line and chisel away the waste, but then I saw another neck in there. 


So this is what I had to resort to. A rickety frame saw and an hour of fun. 


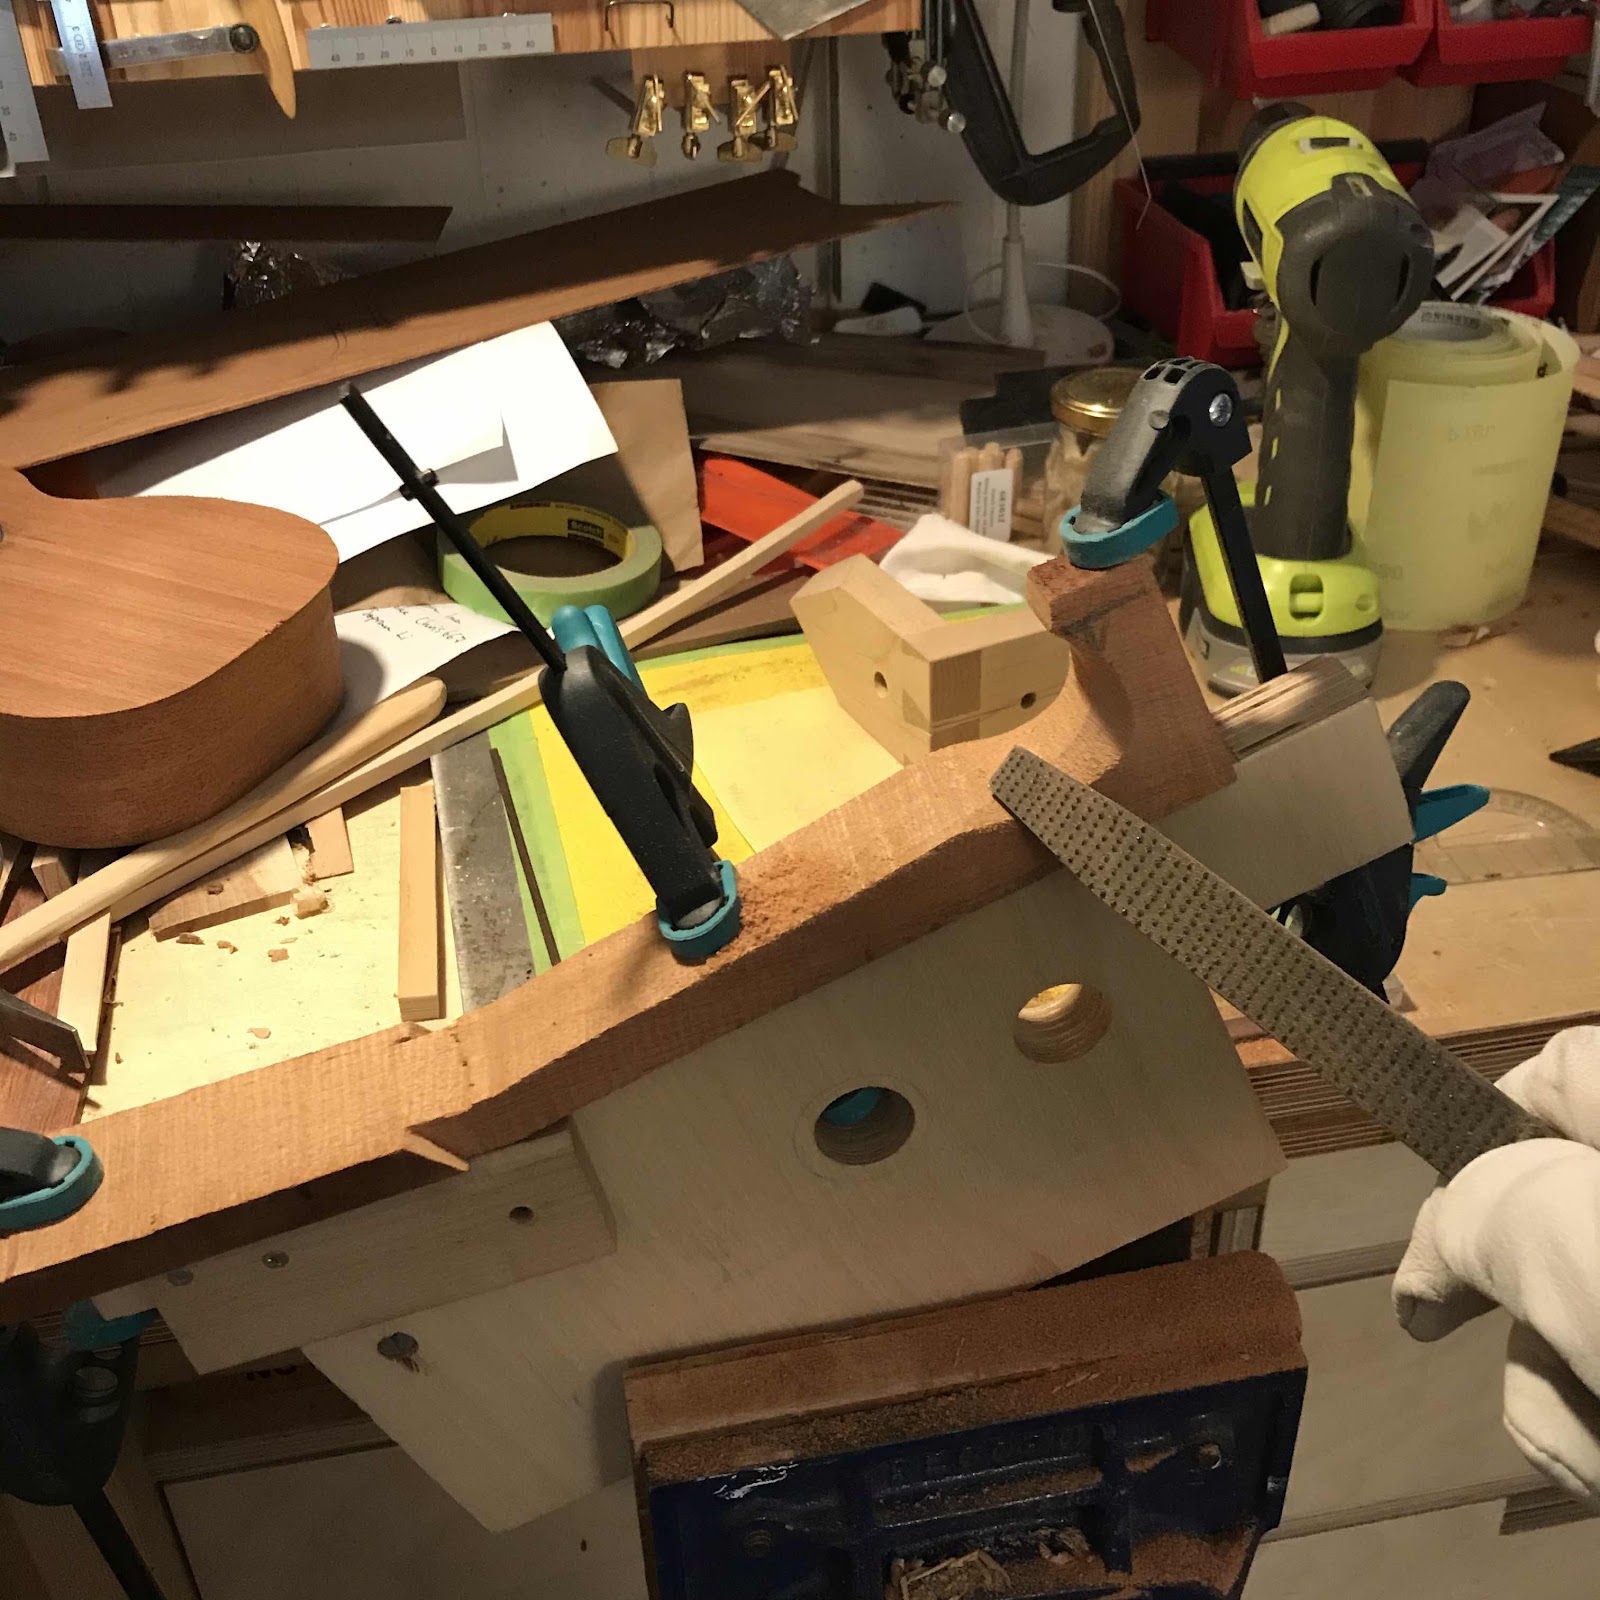
I got the two blanks out but as you can see by the middle clamp, the contour was a bit of a mess. I started out by making the entry and exit points with the rasp. 

No - actually I started by planing the back of the headstock. Doing things in the correct order saves time. 


But then it was time for the spokeshaves, connecting the entry and exit points. This is so much fun. 


Here’s the first one, for the soprano resonator. 


And the one for the tenor. That one got a wee volute. 


And number three, for Li’s acoustic soprano. Mahogany and cherry are both great woods to carve. 


Sunday, June 7, 2020

Neck work

I’ve spent some time with the necks. The reso gets the alder neck I found in that lump of wood from a few posts back. The mahogany soprano gets a mahogany neck, natch. 

In the first pic you can see me using my Japanese kiridashi carving knife. It is insanely sharp, provided I take care of it. 


Attacking the mahogany neck blank with my Pax rip saw. I really enjoy using the right tool for the job. Roughing out the neck blank is much faster with a coarse saw, no marks will remain for long anyway so why waste time with a smaller saw. 


I found some rasps I bought a while back so I used one of them for the entry point. I saved a bit more of the heel this time, it’ll form a nice curve. 


After making an exit point at the nut end I shift to the wee spokeshave to make the profile. 

I spent more time and used more tools. But didn’t take any more pics. Sorry about that. 


And look at this. Both ukes have their necks on. The reso uses a bolt on system with a machine screw and barrel bolt, the soprano has my new fangled method with a cross grain dowel. 


Monday, February 4, 2019

Neck, cleaning and sharpening

I haven’t forgotten you! I was just busy with the soul numbing daily grind of the day job, the one grown-ups tell you not to quit. May they rot in hell. 

I put Li’s soprano on the bandsaw and cut the sides down to height/depth. Then I got cracking rubbing it in the radius dish. It’s not an even spherical radius, I rock it lengthwise to exaggerate the curve in that direction. Because I want to*.


And here it is with the kerfed lining strips glued in. 


Then I turned to the neck, one of the blanks I made a while back. You know, that post with all the saws in it. I mark out a centerline, and from it I set off the tapering edges of the finished neck. I shoot for 36 mm at the nut and 42 at the 13th fret where the neck meets the body. Why at the 13th, I [don’t] hear you ask. Because I want to*.

I use my tiny sliding bevel for the heel profile. All’s quite rough this far, the important decisions are all made once the knives come out. 


Before I set the saw to to blank I had to set the teeth on the saw. My saw set from ebay makes that an easy task. 


Then it rips really well. This is the smaller of the two saws I restored last year and it keeps getting better. A tool in use is a tool that shines, as we say. 


Then I make entry and exit points for the spokeshave...


... and carve the neck. This takes all of five minutes even though I try to make it last. 


I needed to thin the back of the headstock down, but the plane wasn’t sharp enough. So I took the iron out and soaked a couple of stones. As I waited for them to stop bubbling I chose a few more blades to sharpen. This lot took me a full hour on 1200 and 2000 grit, followed by the leather strop. 


But what of the cleaning? No point in showing you the bench even though I cleaned it for a long time before even taking that first pic. You wouldn’t see the difference I’m afraid, but I do and it’s there. 


* I could make outlandish claims about improved tone or volume but I’ll leave the bullshit for others to spread. I don’t need to explain the science or magic behind the Argapa ukuleles, they’re just what I want them to be - bad ass and lovely. 

Sunday, September 30, 2018

Carving the neck for Dafydd’s reso

Hi all. I’m behind in blogging at the moment. I’ve made progress on a few ukes but to keep it organized I’ll just show one tonight. The mahogany reso will have a mahogany neck. I needed a peghead overlay o the same wood as in the body, but want to be very economic with it. So I looked at the circular piece I got from the sound well. Problem was it had a hole in the centre. I cut it diagonally to get the hole out, and glued the halves back together with a stylish strip of alternating wood veneers, maple and mahogany. 


It turned out really nice I think. 


Then onwards to my favourite part, the carving. I marked out the angles and widths and made starting cuts with a chisel. 


Then I ripped it close to the lines with my Pax rip saw. I gave the teeth on the rip saw a little extra set and it went much straighter. Should’ve done that a couple of years ago. 


And here’s a new knife. I saw someone on youtube carving with a knife with an extremely long handle. And I had a spare blade so I made one like it. Jury’s still out but it cuts well enough after a session on the water stones. 

I made the entry and exit points at the heel and headstock ends. 


And then I took the small wooden spokeshave that serves me so faithfully. With the initial carves made this last step takes me five minutes at most. I wish it took longer because it is immensly satisfying. 


Saturday, August 6, 2016

Back on track

My left hand is doing fine. Not a single drop of blood or anything else has emerged since the stitch up and it doesn't hurt a bit. So today it was time to get a move on with all the ukes I'm working on. When I bent the sides for the six resos I was sure two or three of them would wait while I worked on the first few, but so far I'm still doing them all in parallel. The neck blanks were prepared and I'm going to carve them all to the stage where they only need a light scraping or sanding. And today I whipped out the drum sander to prepare wood for the Argapa 100, and thought why not take those sides down to the exact height of the skeletons. 

First a rough cut on the band saw, then some passes with a block plane before sending them through the sander. Look at the stack now!


We're getting closer to glueing the tops on, and that means double checking my customers' weird requests for special shapes. 

Then I fed some of the nice Honduran mahogany through the sander, and laid out a soundboard and a back for Argapa 100. I could also squeeze in either a top and back for a piccolo, or maybe two backs for piccolos with spruce or cedar tops. Or one of each. I'll think about that later, the plan is to make a couple for the raffle at next year's Raystock jamboree. And maybe one for GNUF. I don't know. 

But today was about Argapa 100. Which was sort of ordered in 2010 by a friend but will be built for me. 


And then of course I carved another neck. I'll carve a couple more tomorrow. The pic shows the kevlar glove on my left hand. I hold the knife with my right hand when I'm not taking pics. 


And the result then. With no new cuts or wounds. 


Saturday, July 30, 2016

Carving necks in the wilderness

The fight for consistency and quality continues. Rather than carving one at the time I chose to making them in parallel. So after marking the width at the nut and the 13th fret position I connected the marks with lines and drew the angle cuts on the heel end. Then I saw off the waste. 


The leftovers have a very typical shape and are all over the workshop, even this temporary shop. I put them to good use, lighting up the barbecue. 


Then I carve them all at the nut end to give the spokeshave an exit point. At this point I almost caved in and started to carve them. 


But looking at them from this position I remembered all the necks I carved without seeing to the headstock thickness first. So I marked them all with a marking guage, 10 mm all around. 


When I planned these ukes I thought I was going to thickness the headstocks in a drum sander, but I have to use my small brass plane, most likely a concave spokeshave with its handles broken off. 

And I upgraded the hat. 


Heres a pic of the plane. If you look closely at the edges of the headstock you can see the fraying that occurs when the planed surface reaches the guage line. 


First five done, I'll do the last four tomorrow. Then it's time for carving, at last. 


Thursday, July 28, 2016

Flat pack workshop for the Argapa embassy

I know the big Swedish furniture store sells a table called Sven, but if they didn't they could sell this mobile workshop. Or they couldn't of course, not with their focus on shite quality and fake materials. 

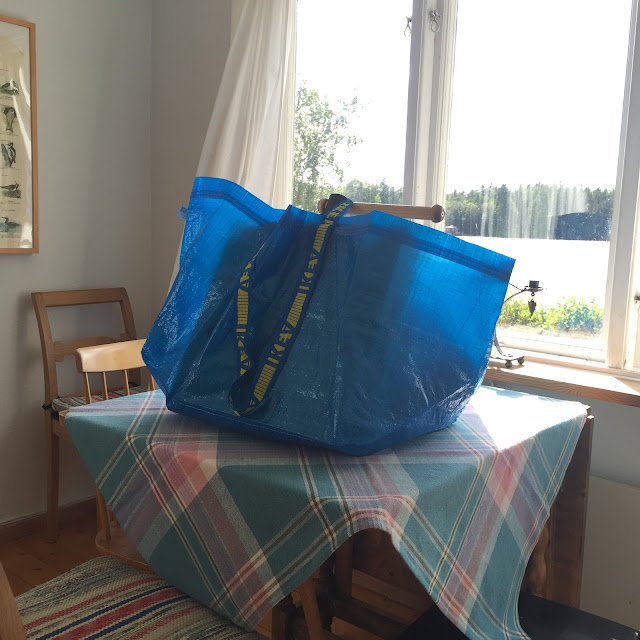
Despite my bitter feelings towards them I used one if their bags. 


In it were a Sjöbergs vise, my neck carving jig, nine neck blanks (I counted to eight yesterday but I was wrong apparently), three socks and a roll of tools. 


Here's what I think I'll need for carving the necks:
The vise
The jig
Measuring tools
Marking knife and marking guages
Japanese saw, for rip and cross cuts
Carving knives and chisel
Scrapers
Spokeshaves
Planes
Sharpening utensils
Clamps

There's a brass plane next to the marking tools, it should've been with the other planes. 


I knocked a base together for the vise and screwed it down to the front porch. 


And here's an action pic of the Argapanator in full swing and a stupid hat. The shöp is open! Carving necks. I just love it. 


Saturday, December 26, 2015

Shaping and fitting the neck

I took an hour today and aimed at shaping the neck for the piccolo. Thise of you who's been here a while know that I enjoy neck carving immensely, and today was no exception. The cherry was unusally beautiful too, with rays and a nice chattoyance. 

First I shape the heel and the area around the nut end, so I get entry and exit points for my small contour plane / spokeshave. 


Then I do most of the shaping, trying to avoid flats or divots. A sharp tool will do what you expect of it but I had to go in different directions to handle the grain. 


The profile was cut with my large rip saw so the last bit outside the lines was planed off with a tiny violin plane. Look at that shaving!


At the heel I make a relief cut which helps as I mate the neck with the body. I sand the heel on a thick metal plate with sandpaper on it to get the joint perfect, and also the angles. 


Here's the metal plate in the background. 

With a one piece top and a one piece rim we're at a loss of centre lines, so I put low tack tape at both bouts and find the middle with a centre finding rule. 


Then it's check - sand - check centre line- sand - check angles - check centre line - sand - check joint - and then at last GLUE, DRILL, SCREW. Finish [now cold] cup of coffee. 


Here it is. Next up are back braces and then the back itself. 


Happy new year everybody, hope you stick around in 2016 even if this ain't facebook.