Learning Ukulele 50 Sites Top 50 Ukulele Sites Argapa Ukuleles - one size louder: Workshop
Showing posts with label Workshop. Show all posts

Tuesday, July 22, 2025

Back glued on

It was time to glue the back on. I cut it out a bit oversized and aligned it with some small cleats from a kerfed lining strip. 


Then the glue was applied and spread out with the wee roller. In the back you can see a piece from an extra skeleton, to be used as a clamping caul. 


A rare shot of the Argapanator himself, thanks to me having company in the workshop for once. 


With a layer of foam I found kicking around and that skeleton half as the caul I clamped it up. 


And some excess glue was cleaned off and removed. Paralell to this I got cracking on the fretboard, but that’ll come in the next post. Fanx for reading!


Saturday, July 5, 2025

Soundboard (top anyway)

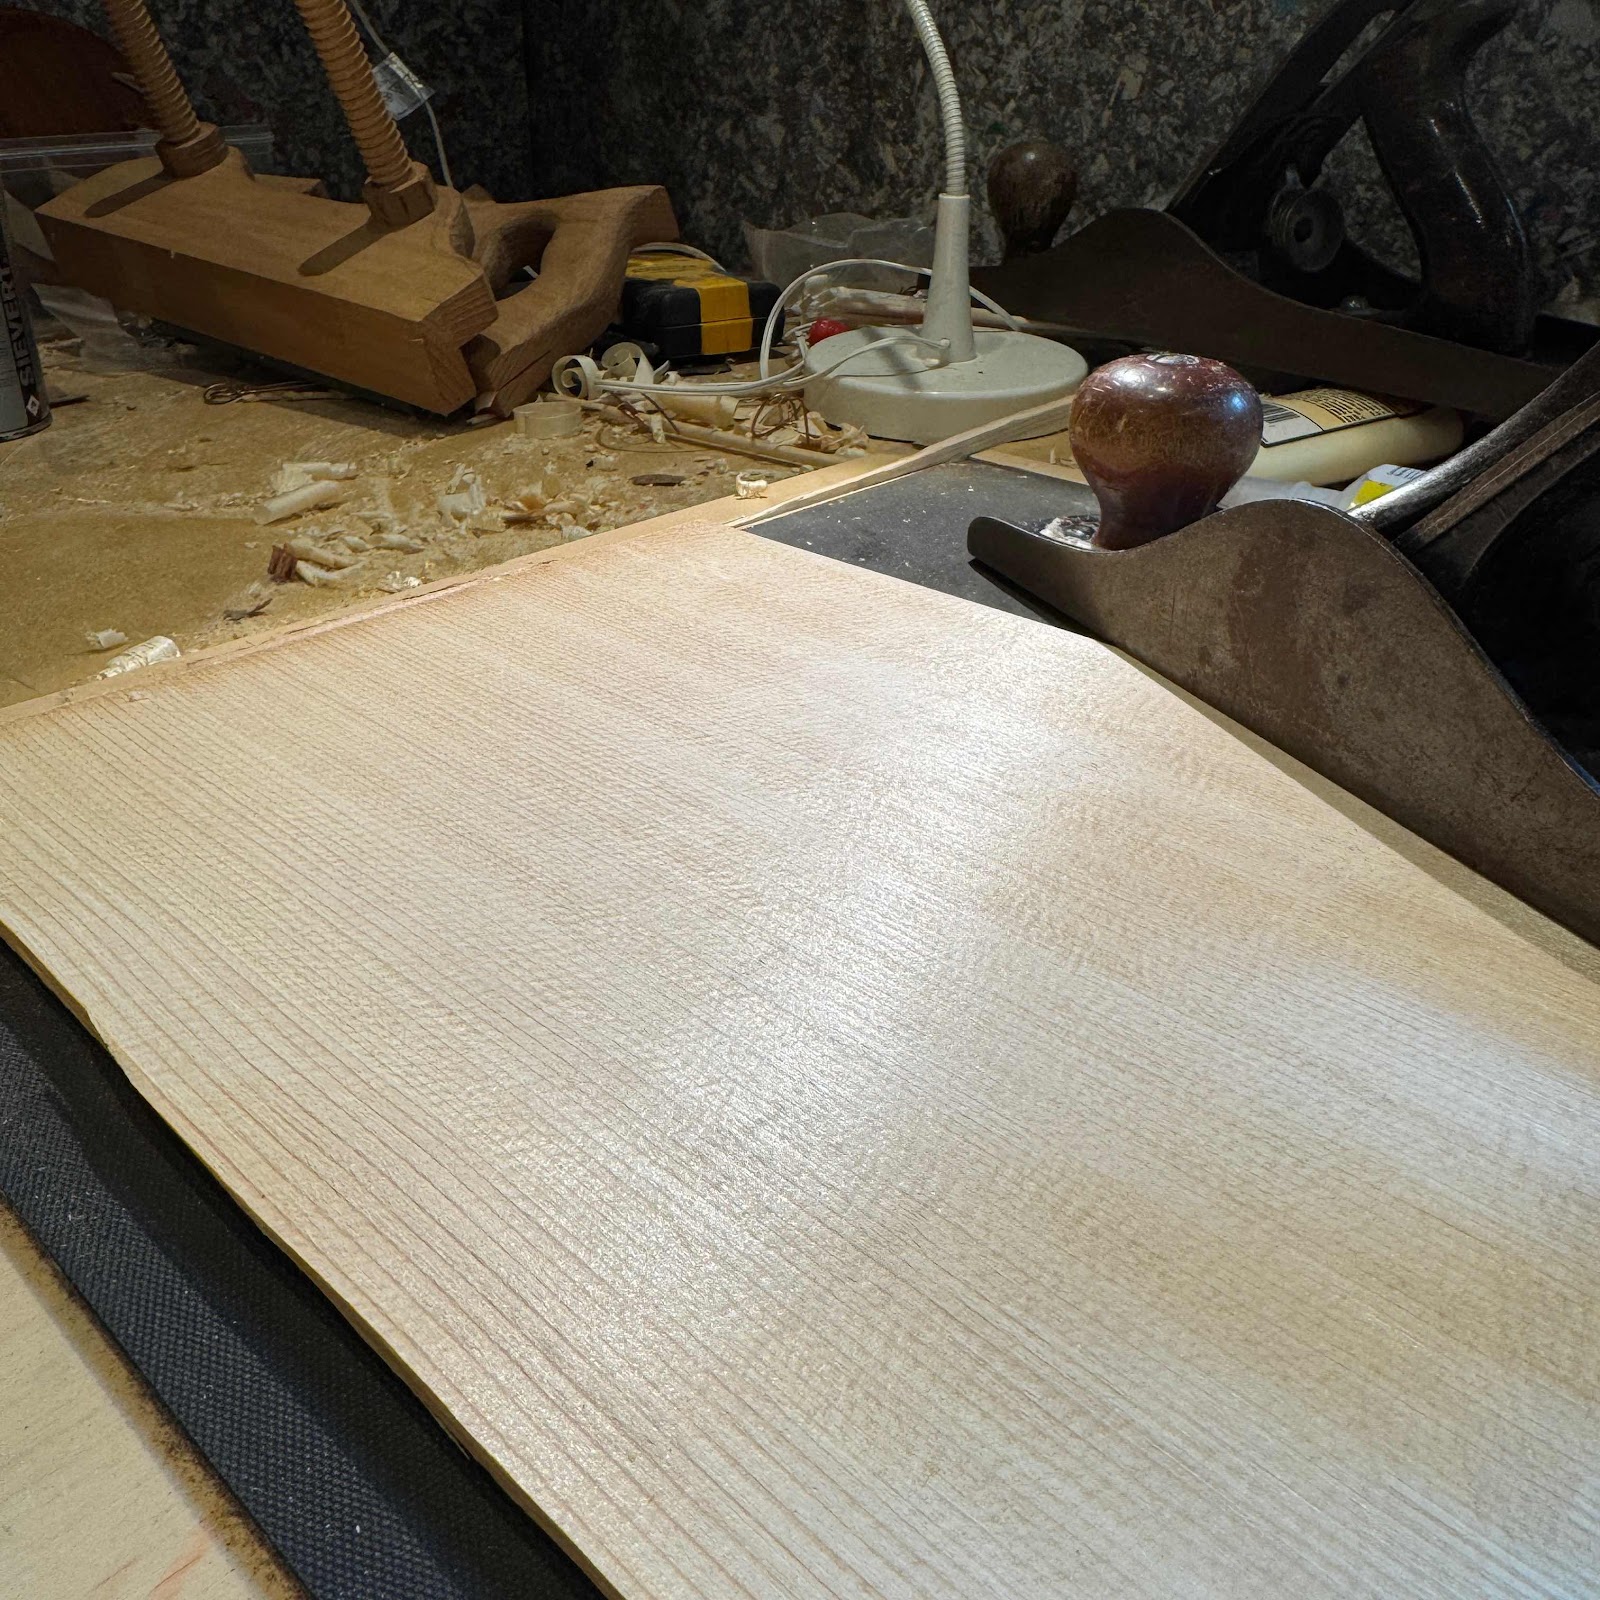
Hell-o, I’m back in Sweden after a stint in Mumbai and I’m back in the workshöp. My favourite customer S has been quiet lately, but he told me before that he considered a spruce top on the reso. I haven’t done that before so I’m game. Pic shows me planing it with a number 5 jack plane. 

It was a while since I prepared a top for a reso but I was confident I remembered the long and rather complicated sequence of steps <— foreshadowing


Then laying out the contour and marking for the holes. I’m really proud of my locating templates, the only easy way to find the center of the holes in the skeleton. 


And I get that the last pic doesn’t explain it totally so here’s another one that should help you out. 


And out came the marvellous rosette and circle cutter! Of course the holes should have been cut before I glued the wee locating nibs on. First mistake due to hazy recollections of ”the long and rather complicated sequence of steps”.


It’s possible to do it like this but next time I hope I do things in order. 


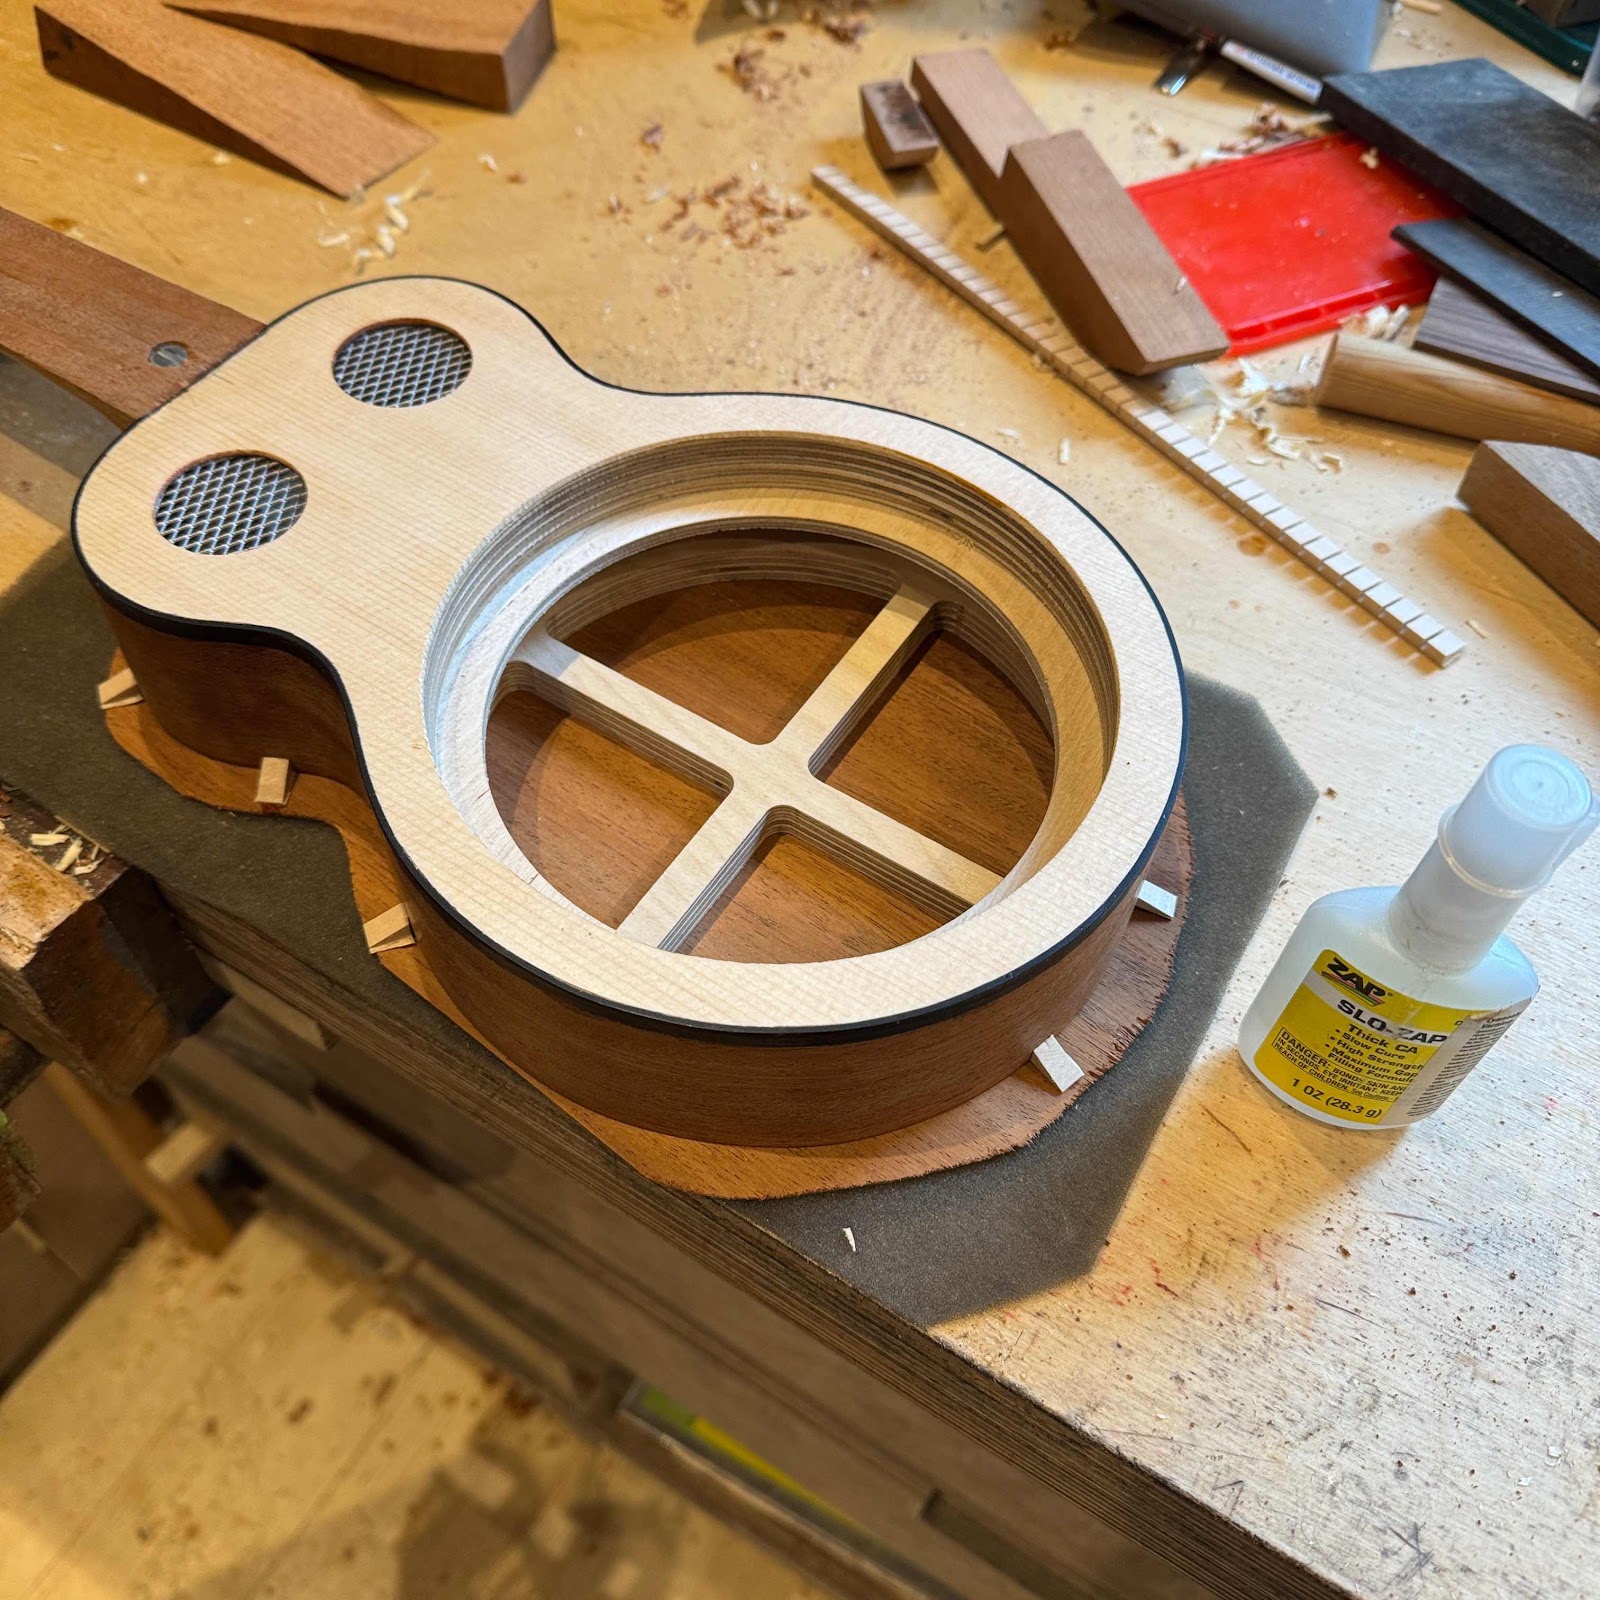
And on to mistake number three! (I won’t bother you with the second one but it involved sanding the edges of the holes before glueing the top on.) The third mistake was forgetting to glue the mesh screens in before the glue-up. But it went alright apart from poisoning myself with CA accelerator. 


And here is the result. Not much left of the spruce soundboard we started with but hey, it’s what’s needed. I will add binding as I tend to do with spruce topped instruments, leaning towards a single ply plastic one. But not black, that would be too stark a contrast. I hope I can find some tortoloid strips, they were around a mere four years ago. 


Saturday, June 21, 2025

Rim bent and glued

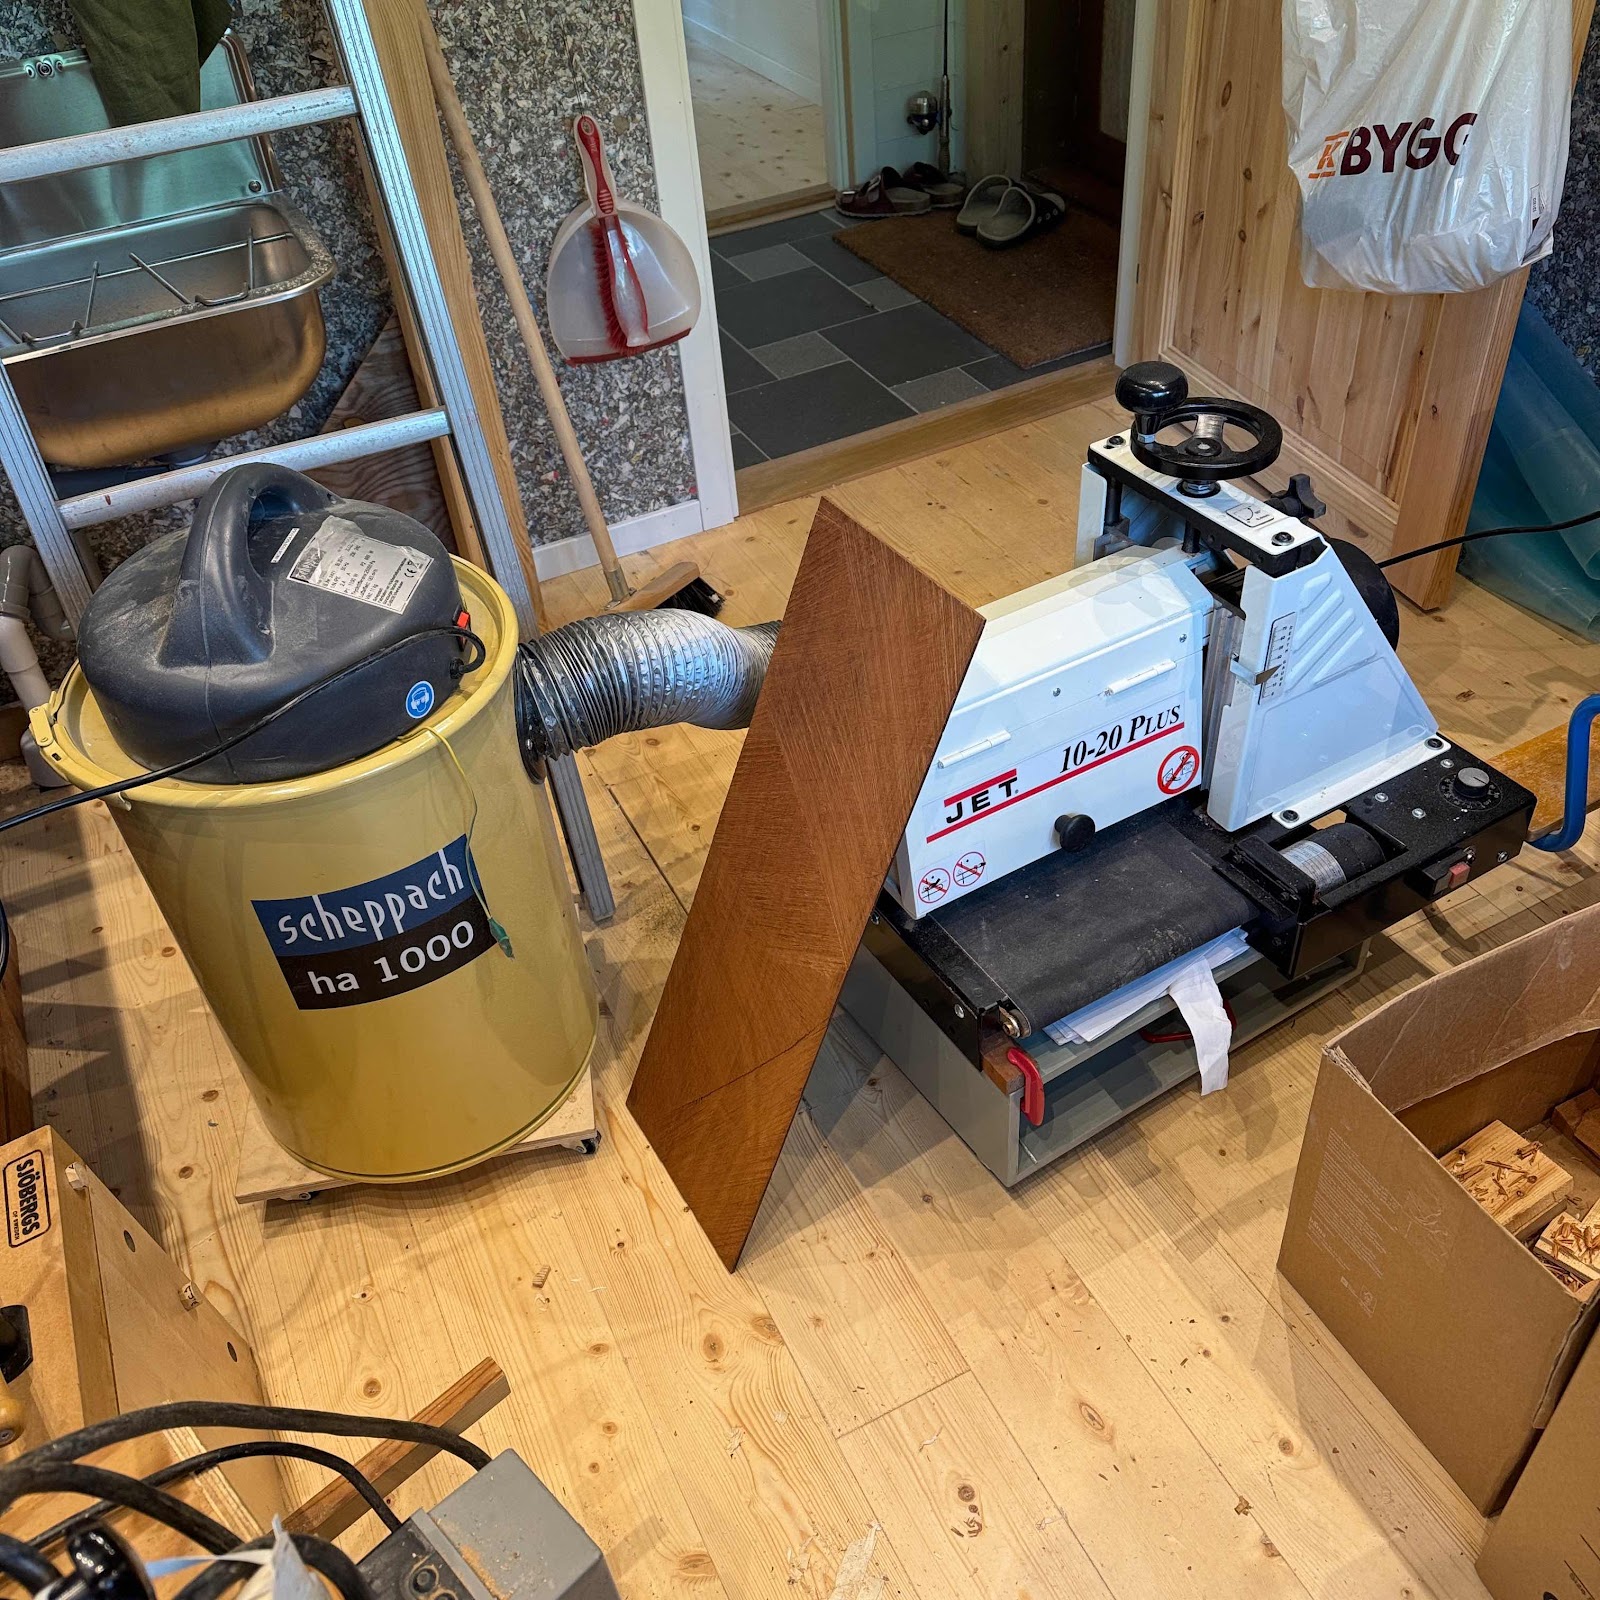
So, can I set the drum sander up for the first time in years? It’s still on the low trolley I built for a TV some 25 years ago, so I operate it kneeling on the floor. But it is the floor of the new workshop, so it’s all good. 


It took a moment or two to remember the finer points of drum sanding (believe me, there are those), but it turned out rather well. 

Next pic shows a 60 mm slice taken off for the one piece rim. 


And then I thought I might as well get reaquainted with the old bending iron, that isn’t made of iron but of aluminium. The skeleton is mounted on a stick for reference. 


And after a wee while I got the hang of it, sort of. 


The bending was done yesterday, and today the rim was dry enough to glue. If only I could find the rest of my clamps!


Should I get back to instagram as well? I might do that since nowadays fewer people are made of the stuff that makes them read blogs, damn them and damn all social media. 

Saturday, June 14, 2025

New project started

Is there anywhere a more patient man than S? He and I have been penpals for a couple of years now, since he first approached me enquiring about the chance of me building a soprano resonator for him. I then explained the circumstances under which I toiled, with all tools and jigs packed and stored in boxes in grandma’s attic. 

But now the new workshop is well under way to completion. I have spent a month constructing storage solutions for the tools, and today I dug into the remaining boxes of… stuff, and found the small pile of resonator skeletons. 

And I thought, why not start already. 


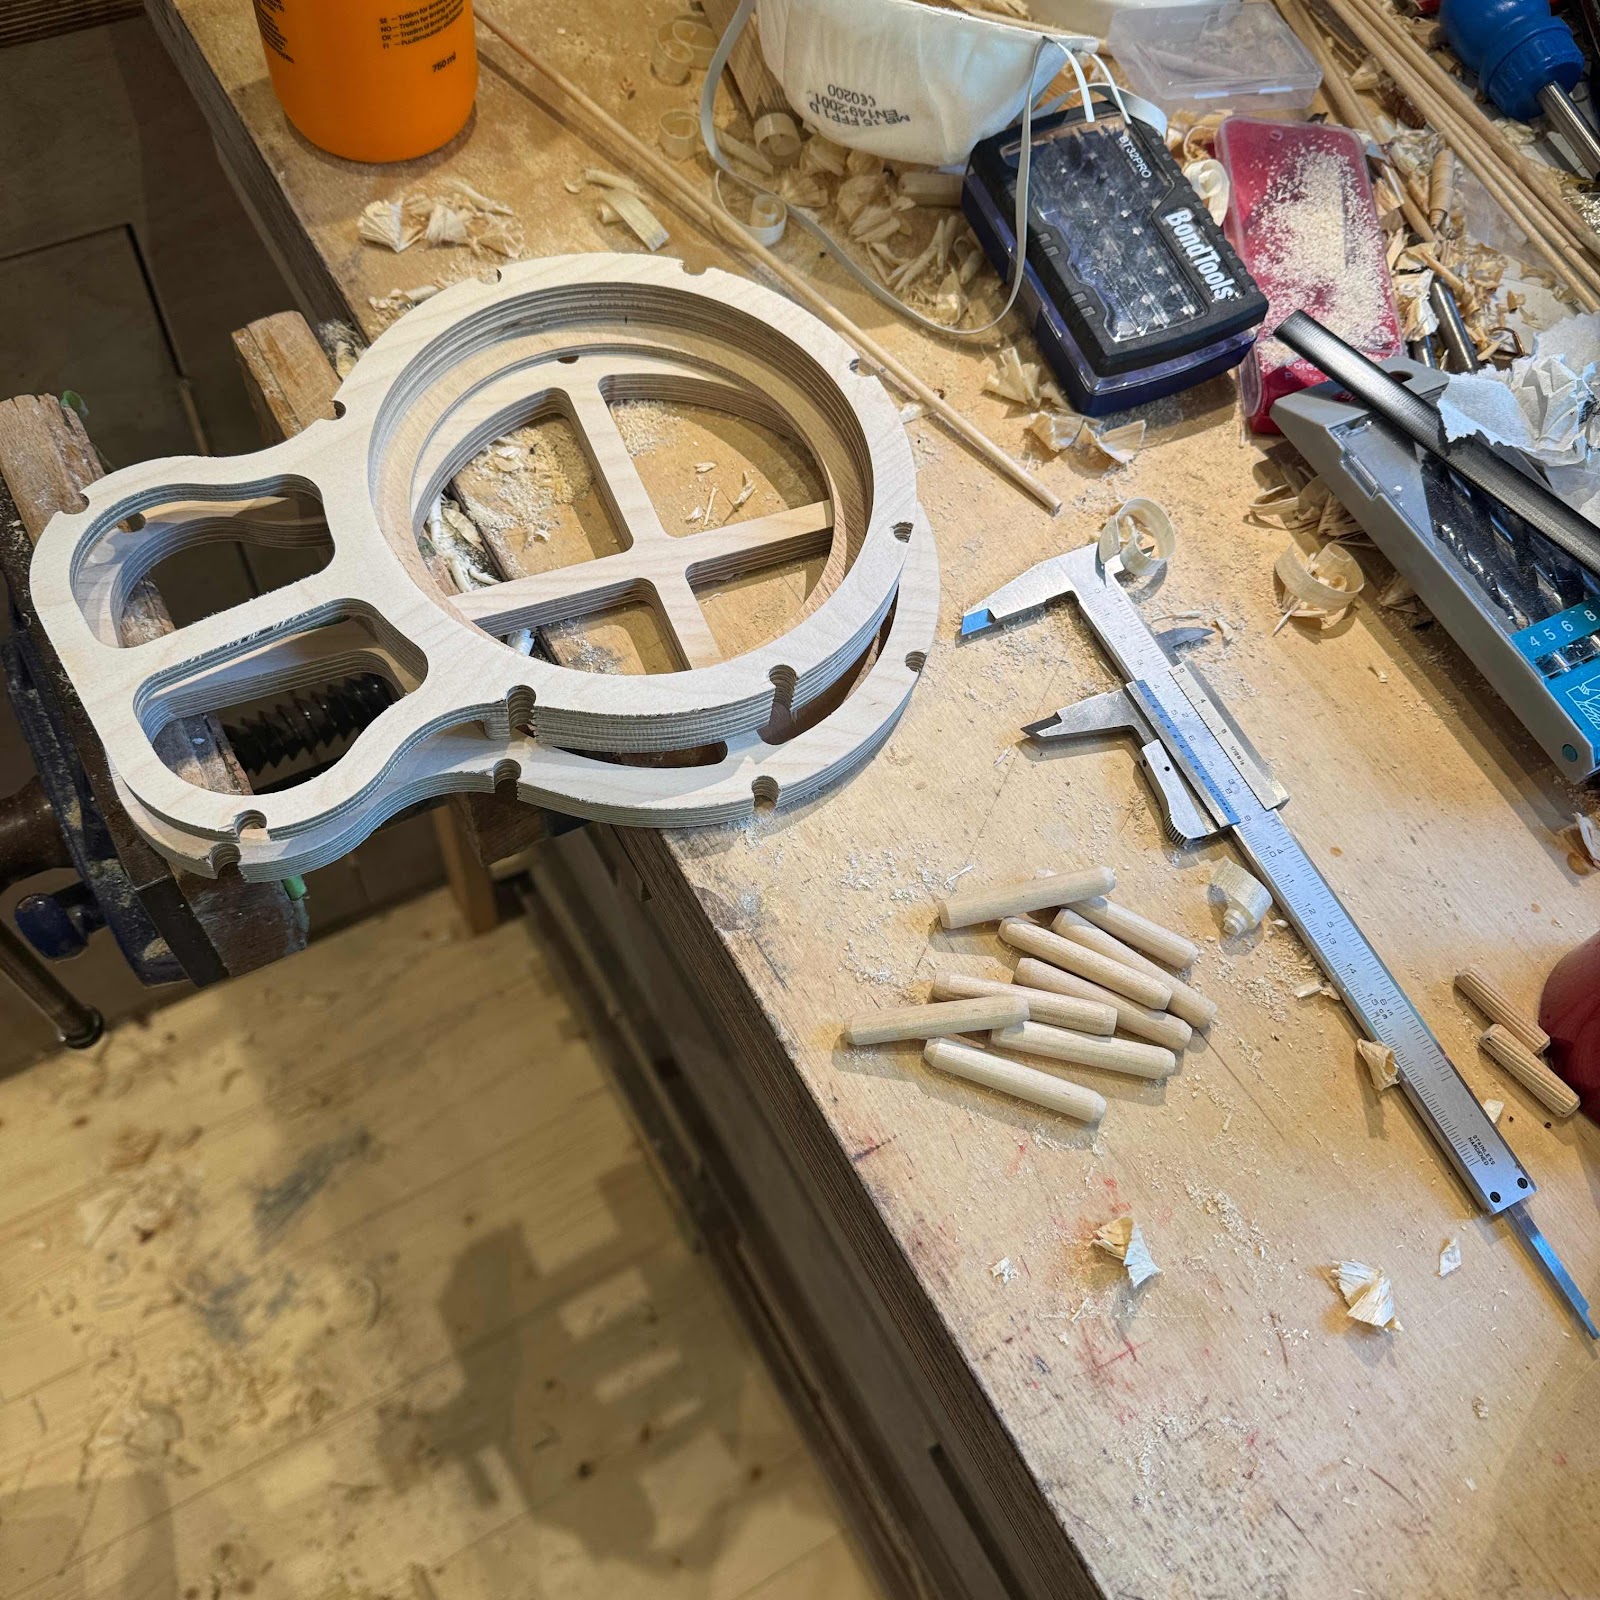
I even found the ready-made dowels that hold the halves together. What I didn’t find was the spacers I used to get the distance right, but they were easy to replace. 


And a neck block of the right height. I think I remember using a strip of plywood for those, but this will sound better for sure. 


Clamped up and drying. Fanx, S. You’re a champ. 

Friday, June 6, 2025

Lazarus

Crackle… static… hello..? Hello? Is anybody out there?

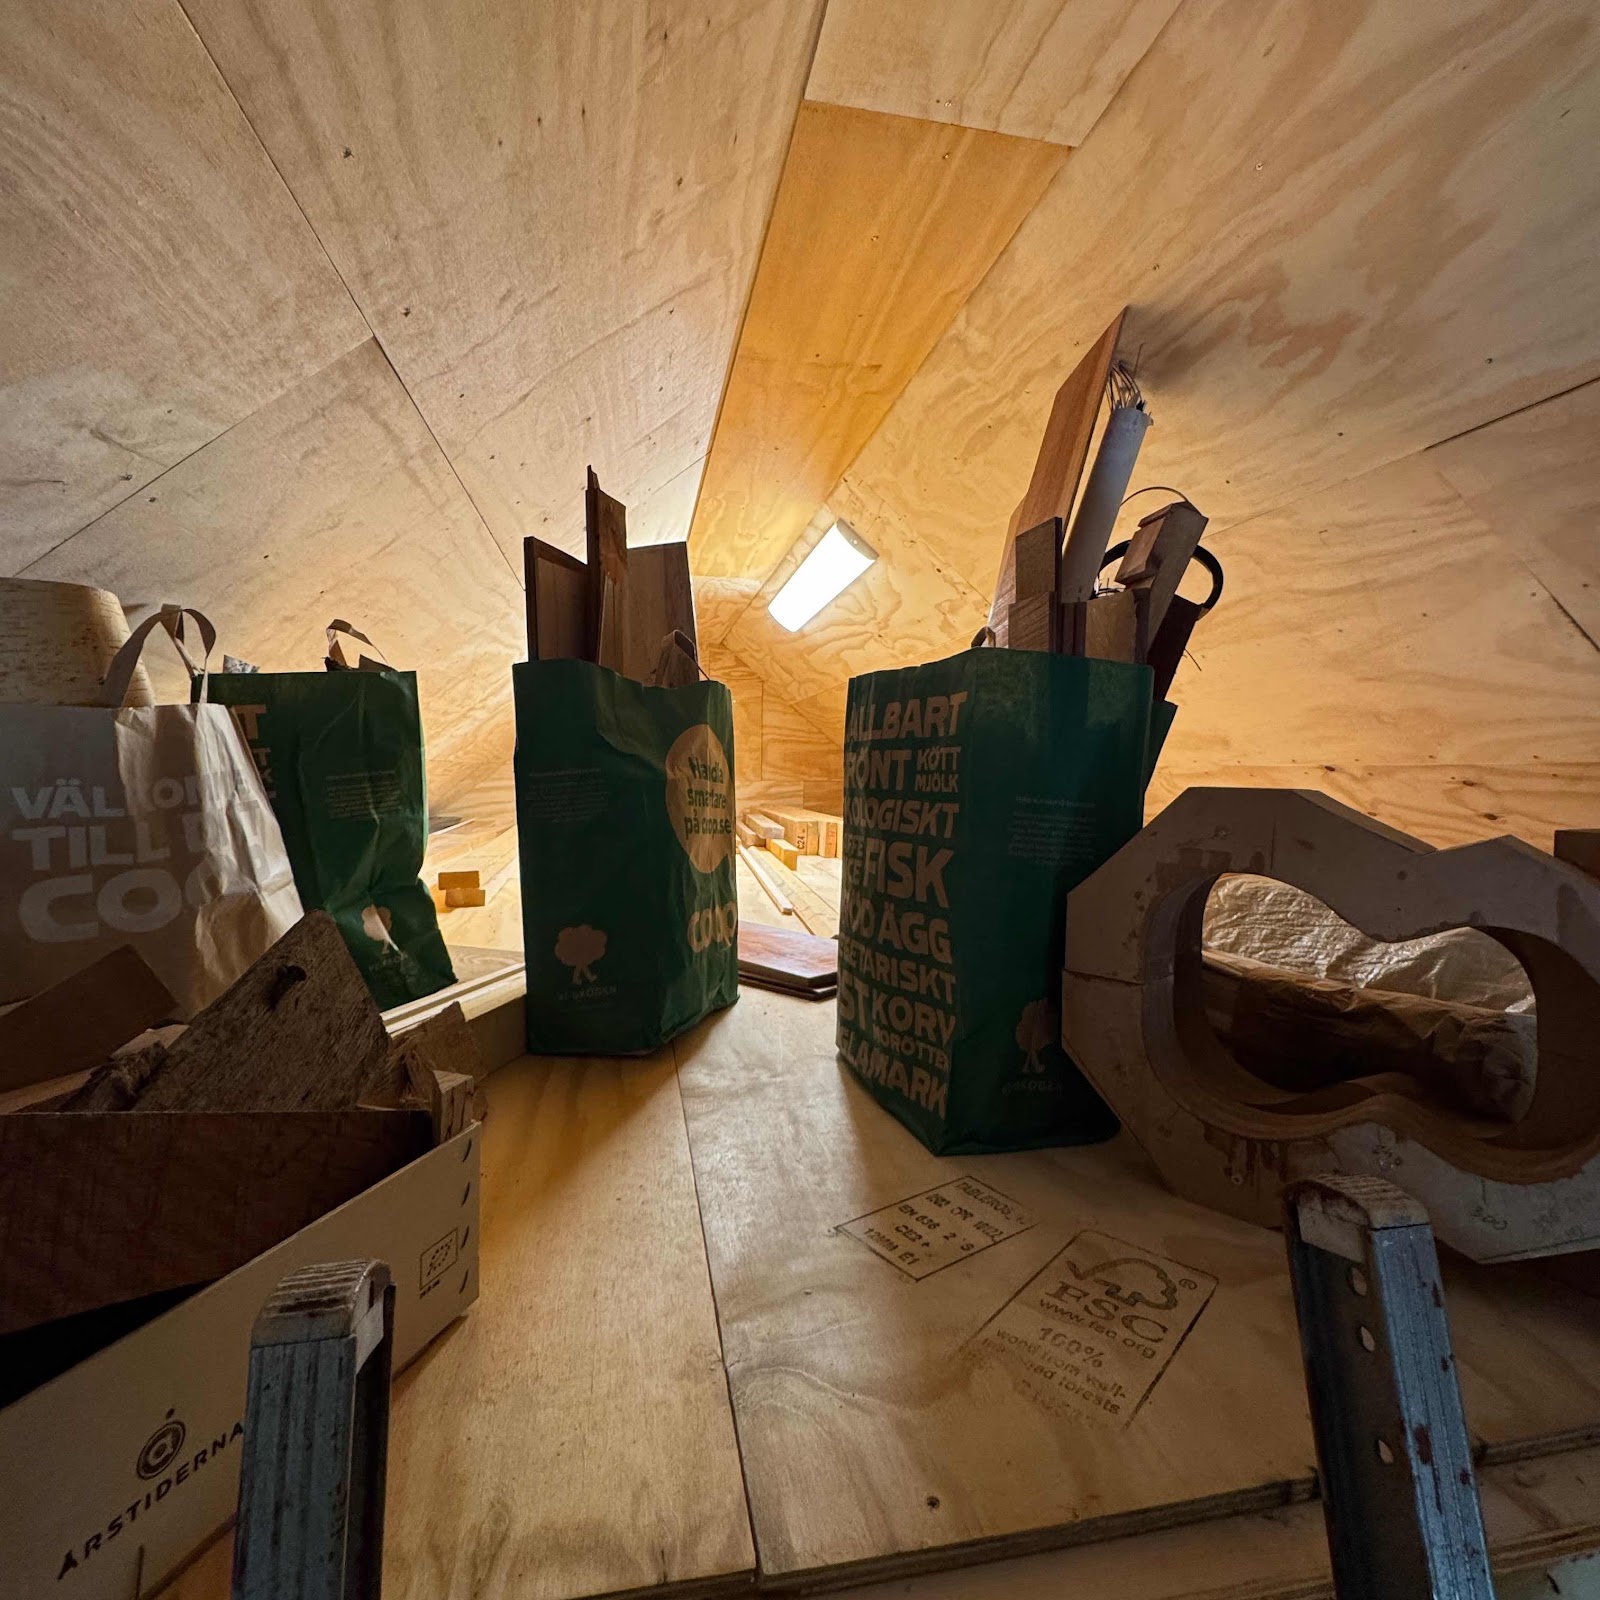
What’s this. A long forgotten stash of wood, unearthed and almost ready to dig into. 


It is now stored in the loft above the new workshop. 

DID YOU HEAR [read] THAT? The new workshop. Look at it and marvel.  


Next post won’t take three years. I promise. 

Wednesday, May 26, 2021

Good news / bad news

Well. Not a glimpse from me in over a month, what happened I suppose you ask. The truth is I’ve packed the greater part of my workshop in boxes and shipped them to the cottage. Most likely we’re moving to a smaller apartment to raise some much needed cash for the construction of a wee house. In time there’ll be a workshop there but in the meantime prögress will be slow here. 

But amidst the boxes and the chores of packning... I did build a bass guitar. Let’s look at some pics because I’m awfully pleased with the result. I was going to build the neck from scratch but before I could score som maple I found a decent 2nd hand neck so I used that one. 

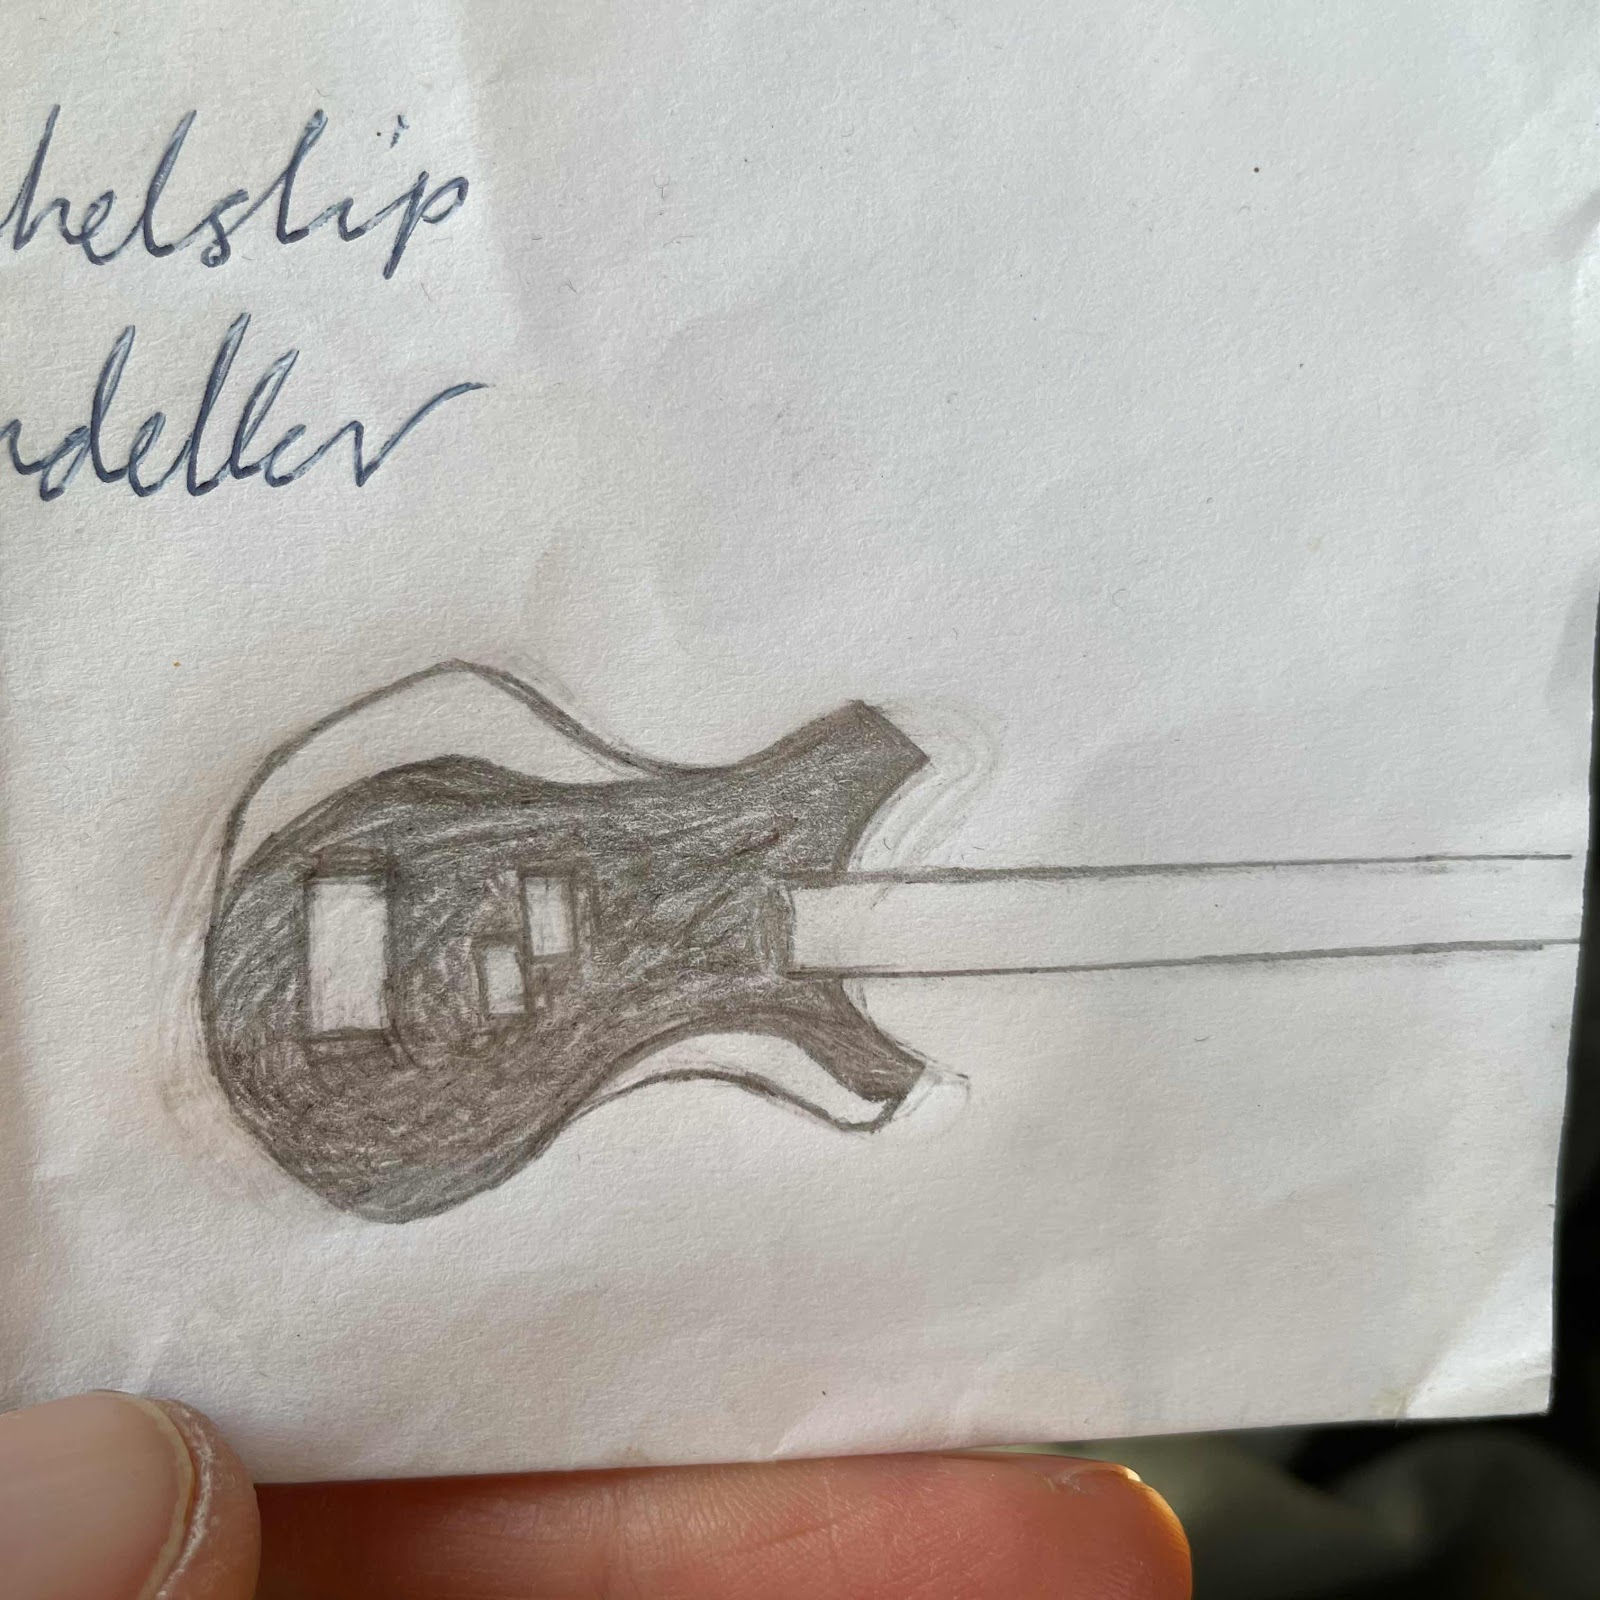
The sketch I made:


I had this really hairy piece of mahogany, severly damaged from the logging process but dry as bone. I figured I could extract the needed material, avoid the crushed part. 


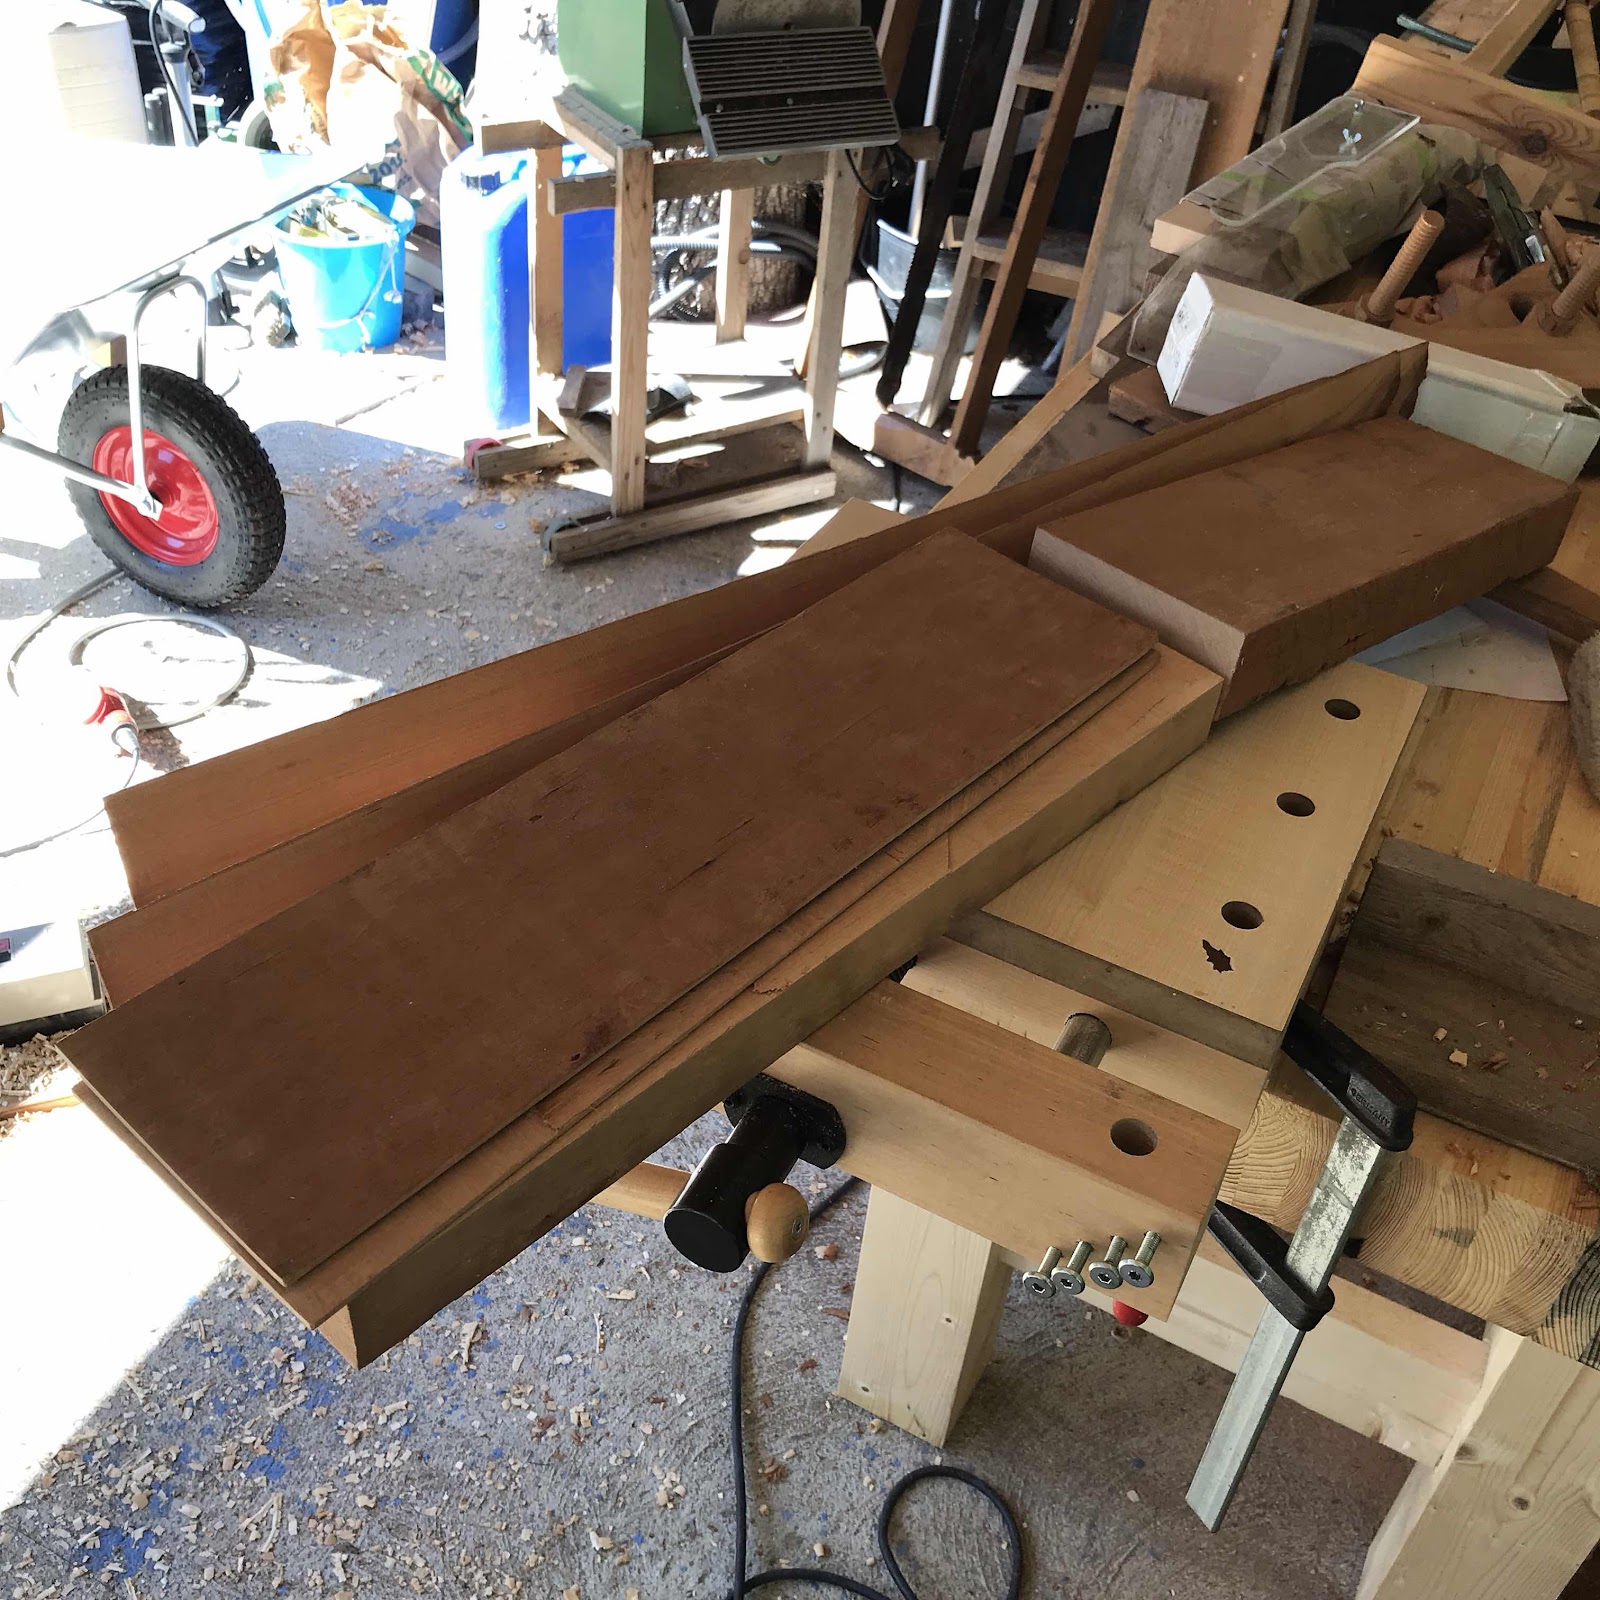
And it worked, even though there wasn’t much extra material in the resulting blank. 


Glueing it up, I turned the pieces to get the grain direction balancing out possible movement. 
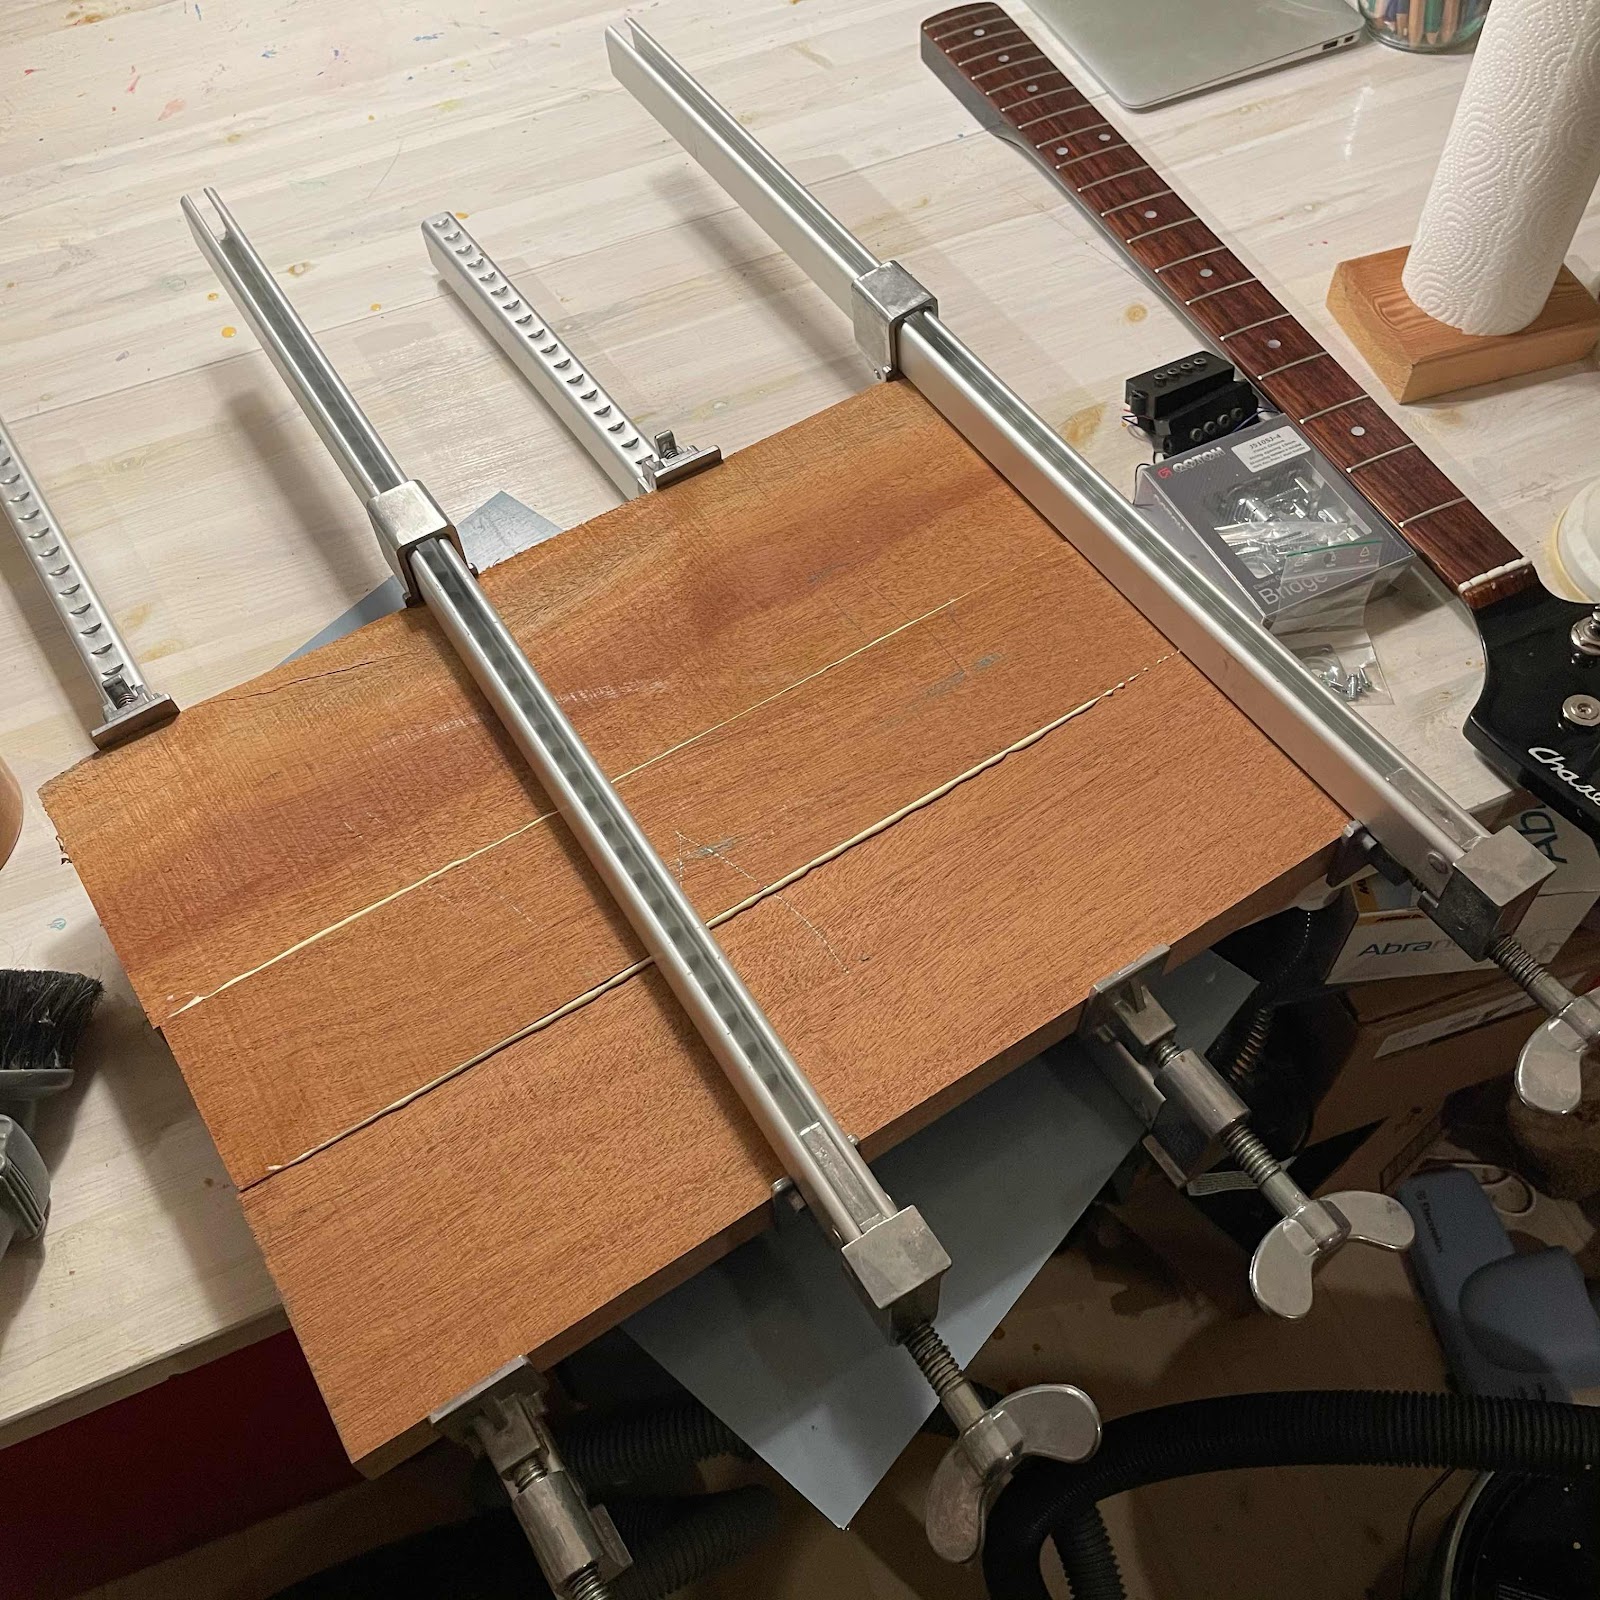


My wee Proxxon bandsaw did a sterling job, but not without complaints. 
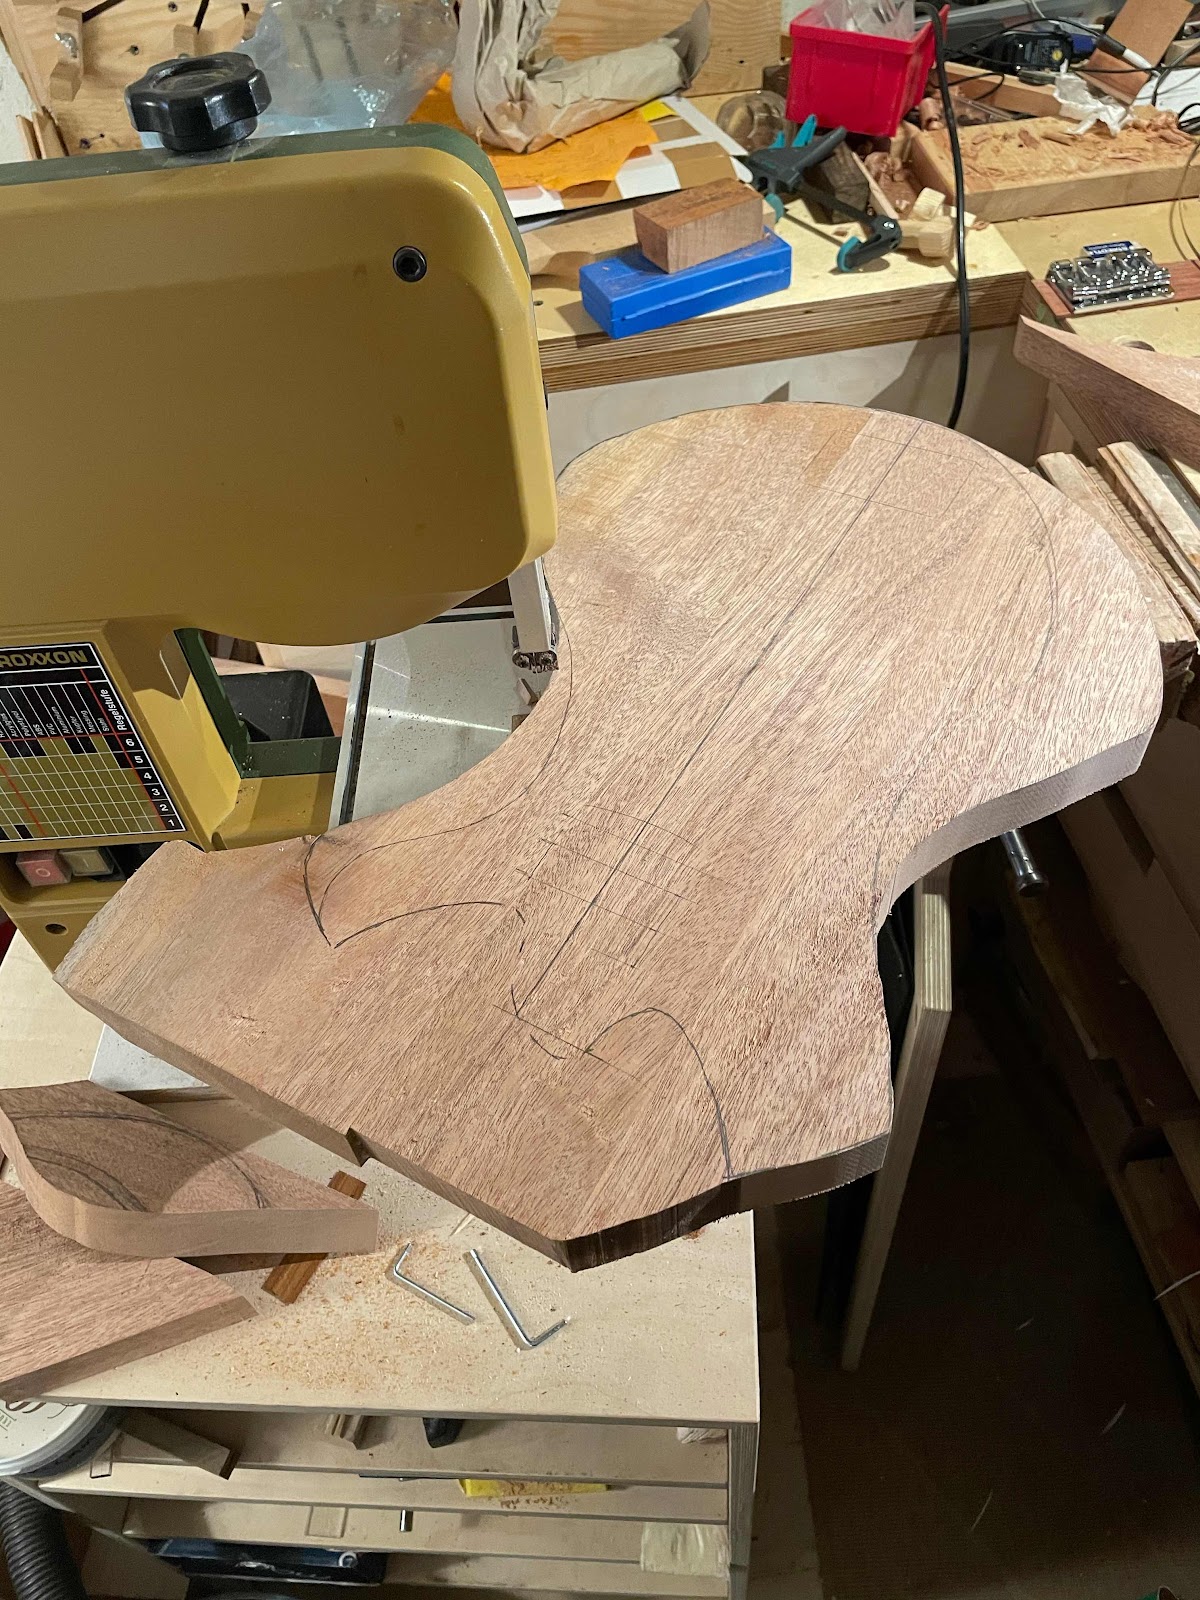


Carving bevels, or an extended German carve. With the gouge sharpened to a ridiculous level it was quite easy. 


Fitting the pickup directly into the body. I allowed myself a millimeter or so around the edges, but it was a tight fit. After chiselling out the cavity I realized I swapped the position of the coils, compared to a P-bass. But Yamaha made some cool models in the 70’s with this layout so I’m with them. Apparently. 


The body turned out to bee too thin for a side mounted jack plate so I got a strat jack and mounted it inside out. 

And you are correct, there are no pots. So no volume, no tone control. 


Then I managed to mix red and brown stain to get almost the colour I wanted. I’m very pleased, as I already blurted. What’s more, I had a set of strings lying around so I used them. They were flat wound! What a peculiar feeling, but I actually like them a lot. 


AISLE B, BACH... as they say in the record store. 

Tuesday, June 23, 2020

Fretboards and bandsaw woes

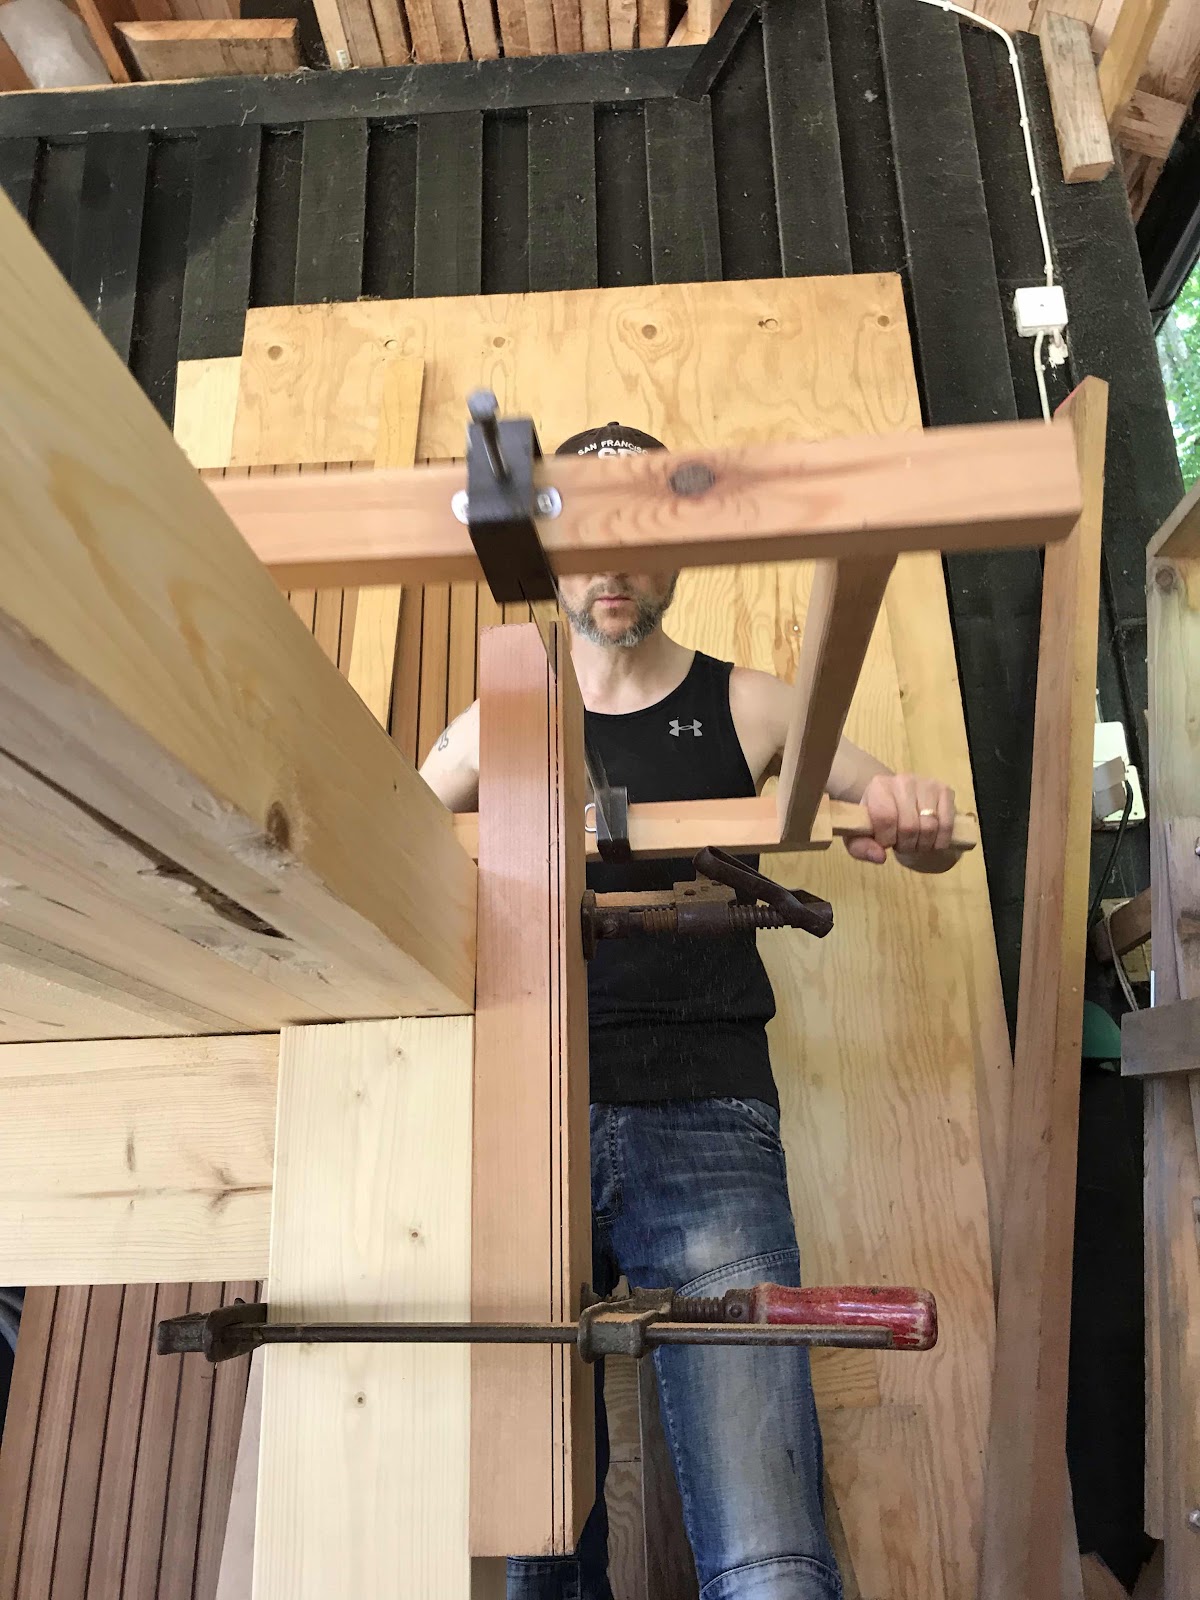
I brought some special pieces to the larger workshop by the cottage to resaw them into fretboard blanks on the bandsaw. 

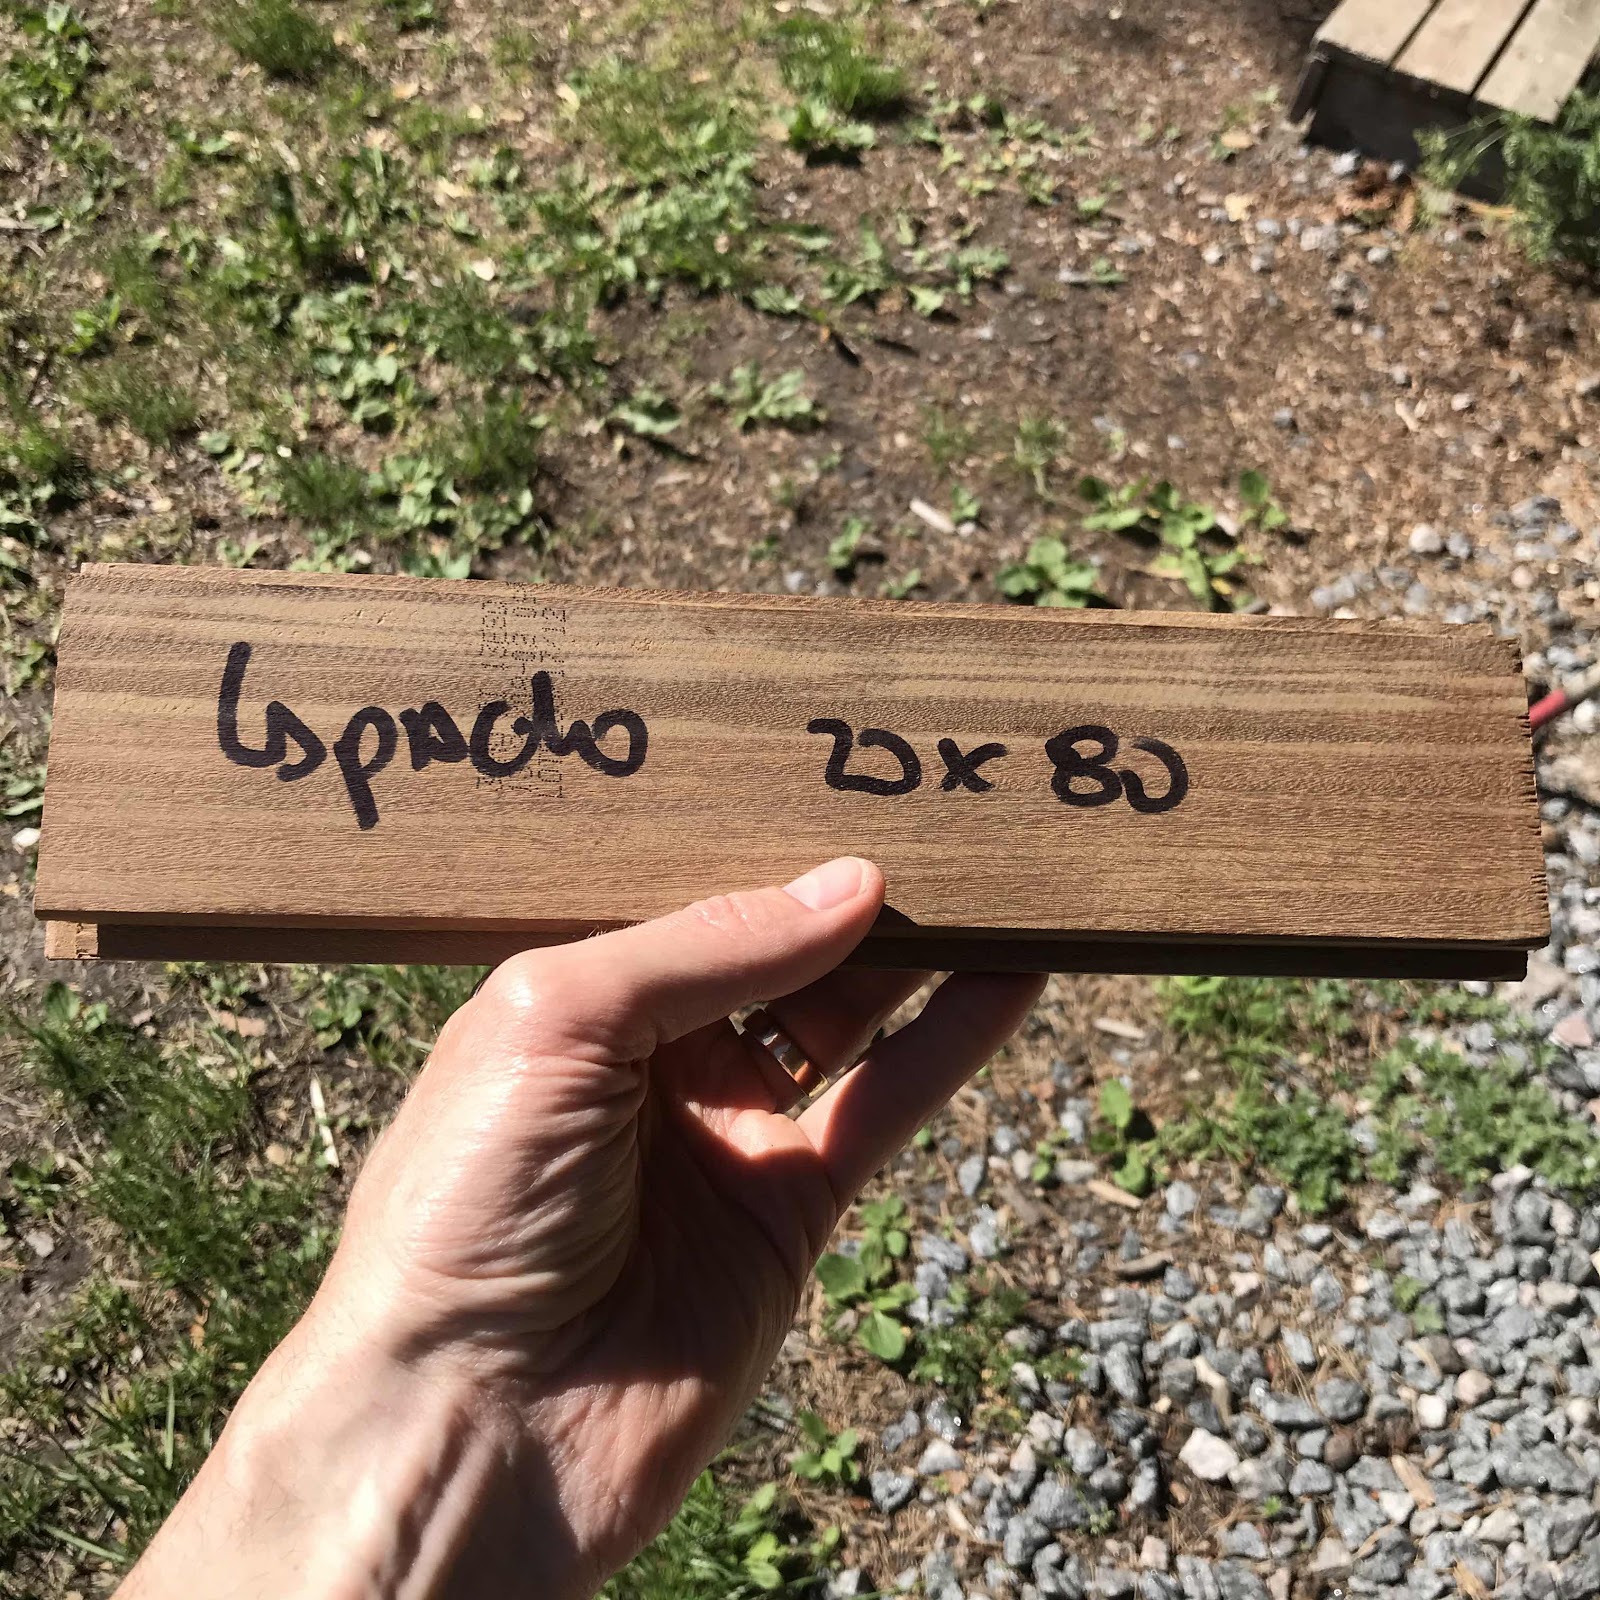
First piece was this, a floor board sample from a shop in Buenos Aires, pilfed on a work trip a few yeara back. It says ”lapacho” on it, which I gather is another name for ipe. It’s an insanely dense and hard species. 


This is the profile it had, as it was a floor board cut off. 


But what now?! The dried out old belt on the bandsaw decided it had had enough. It snapped and I was yet again up shit creek without a paddle. Finding and ordering a new one would take me ages. 


Luckily I had string and duct tape. I made a loop with some 15 turns and put the tape on so it wouldn’t separate. It works! If anything it runs smoother now. 


So here we are, three fretboard blanks and a cut off for bridges. Onwards, let’s resaw the ebony!


Ok. I got three blanks sliced off before there was a clunk, a sproing, and a sudden appearance of a wheel tyre on the sawtable. Now finding and ordering new ones will take me ages, I wonder if I have some self vulcanizing tape somewhere...


Wednesday, May 13, 2020

Resawing

I started planing a slab of ash that I think will work for a resonator. It’s a bit gnarly and very dense. It had been much easier to dig out one of the large frame saws but alas, they are at the cottage and I’m not. 


So I thought I’d give it a try with my Sandvik #292. I need to slice off three pieces, so three cuts. I scored around the edges, had to settle for that because the kerfing plane resides with the frame saws. I will present the progress in an entertaining time lapse. 

21:44


22:17


22:34


So, almost half of the first cut in almost one hour. This’ll take a while. And I need to sharpen the saw. 

Sunday, November 3, 2019

A mesquite fretboard

I keep saying I’m gonna tidy up the workbench but I never really get around to it. And there is that half finished ukulele that needs sorting, so I tell myself if I finish that I can clean the bench so much easier. 

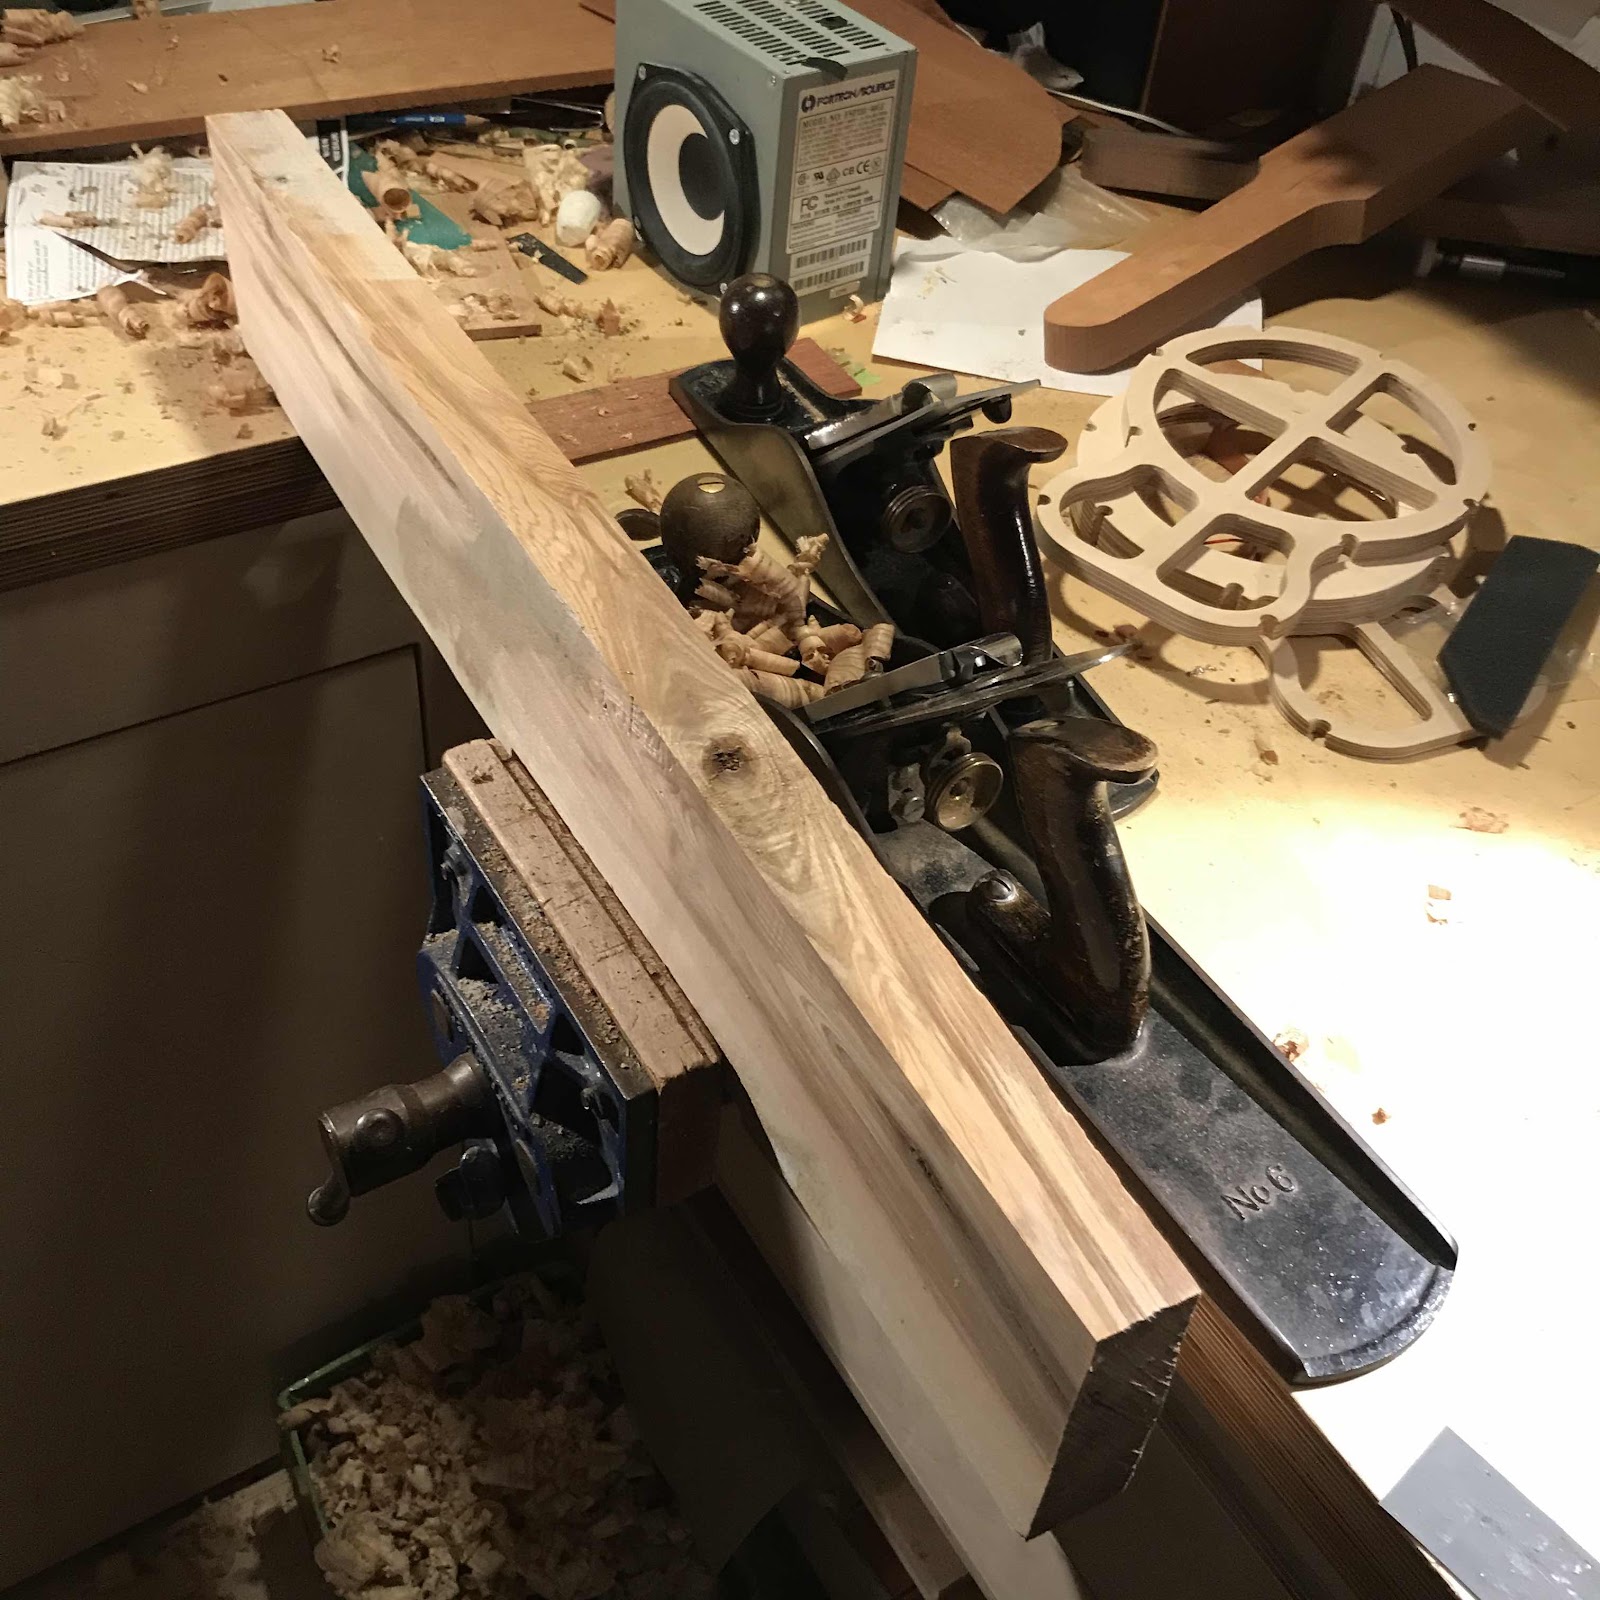
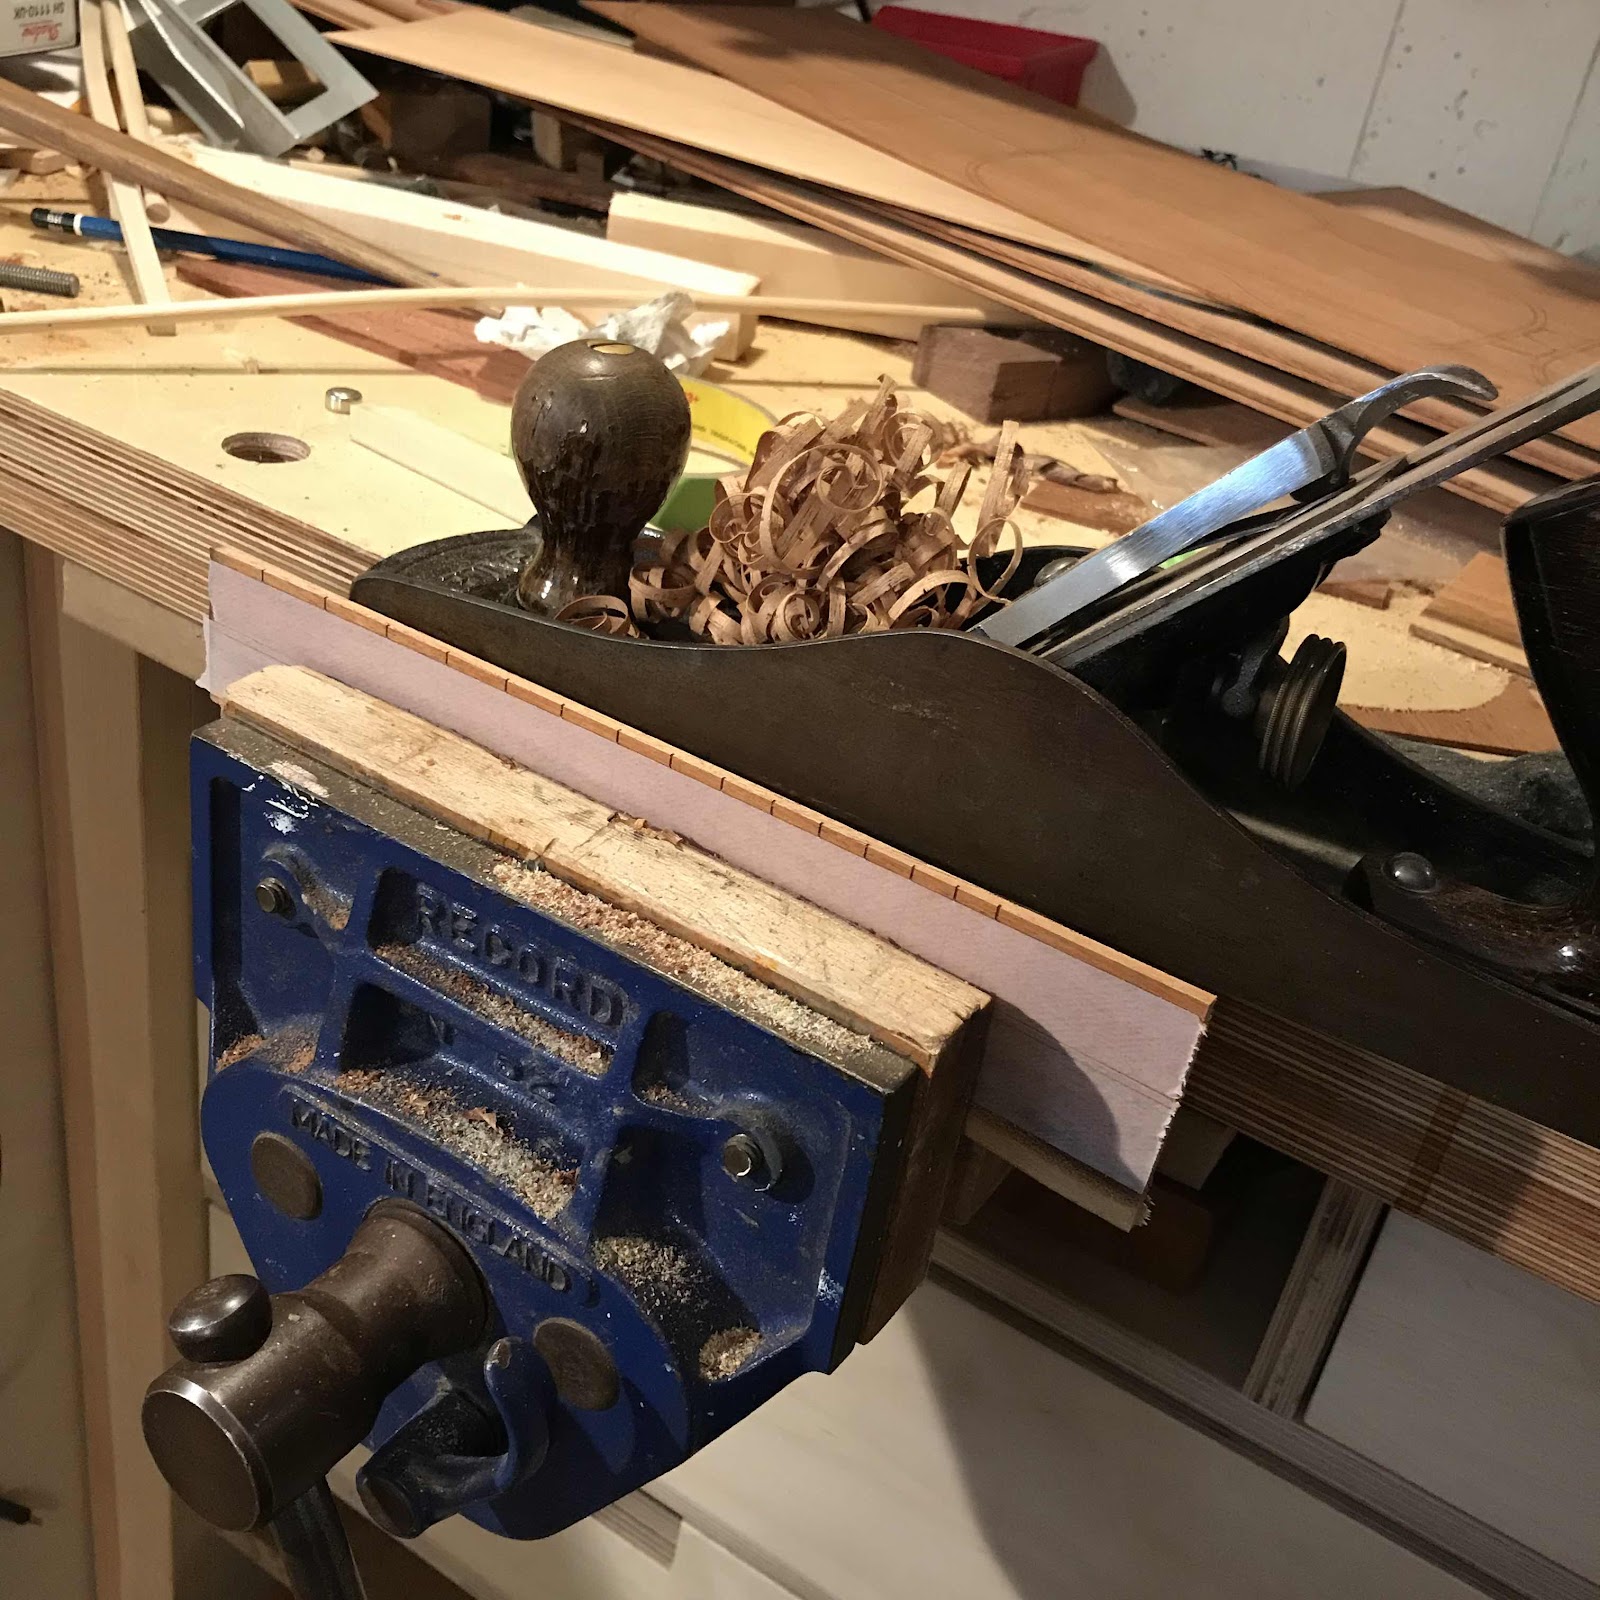
So I found the mesquite fretboard blank I chose long ago, and trued one edge on it. I put my Stanley number 6 upside down in the vise and ran the board along it. 


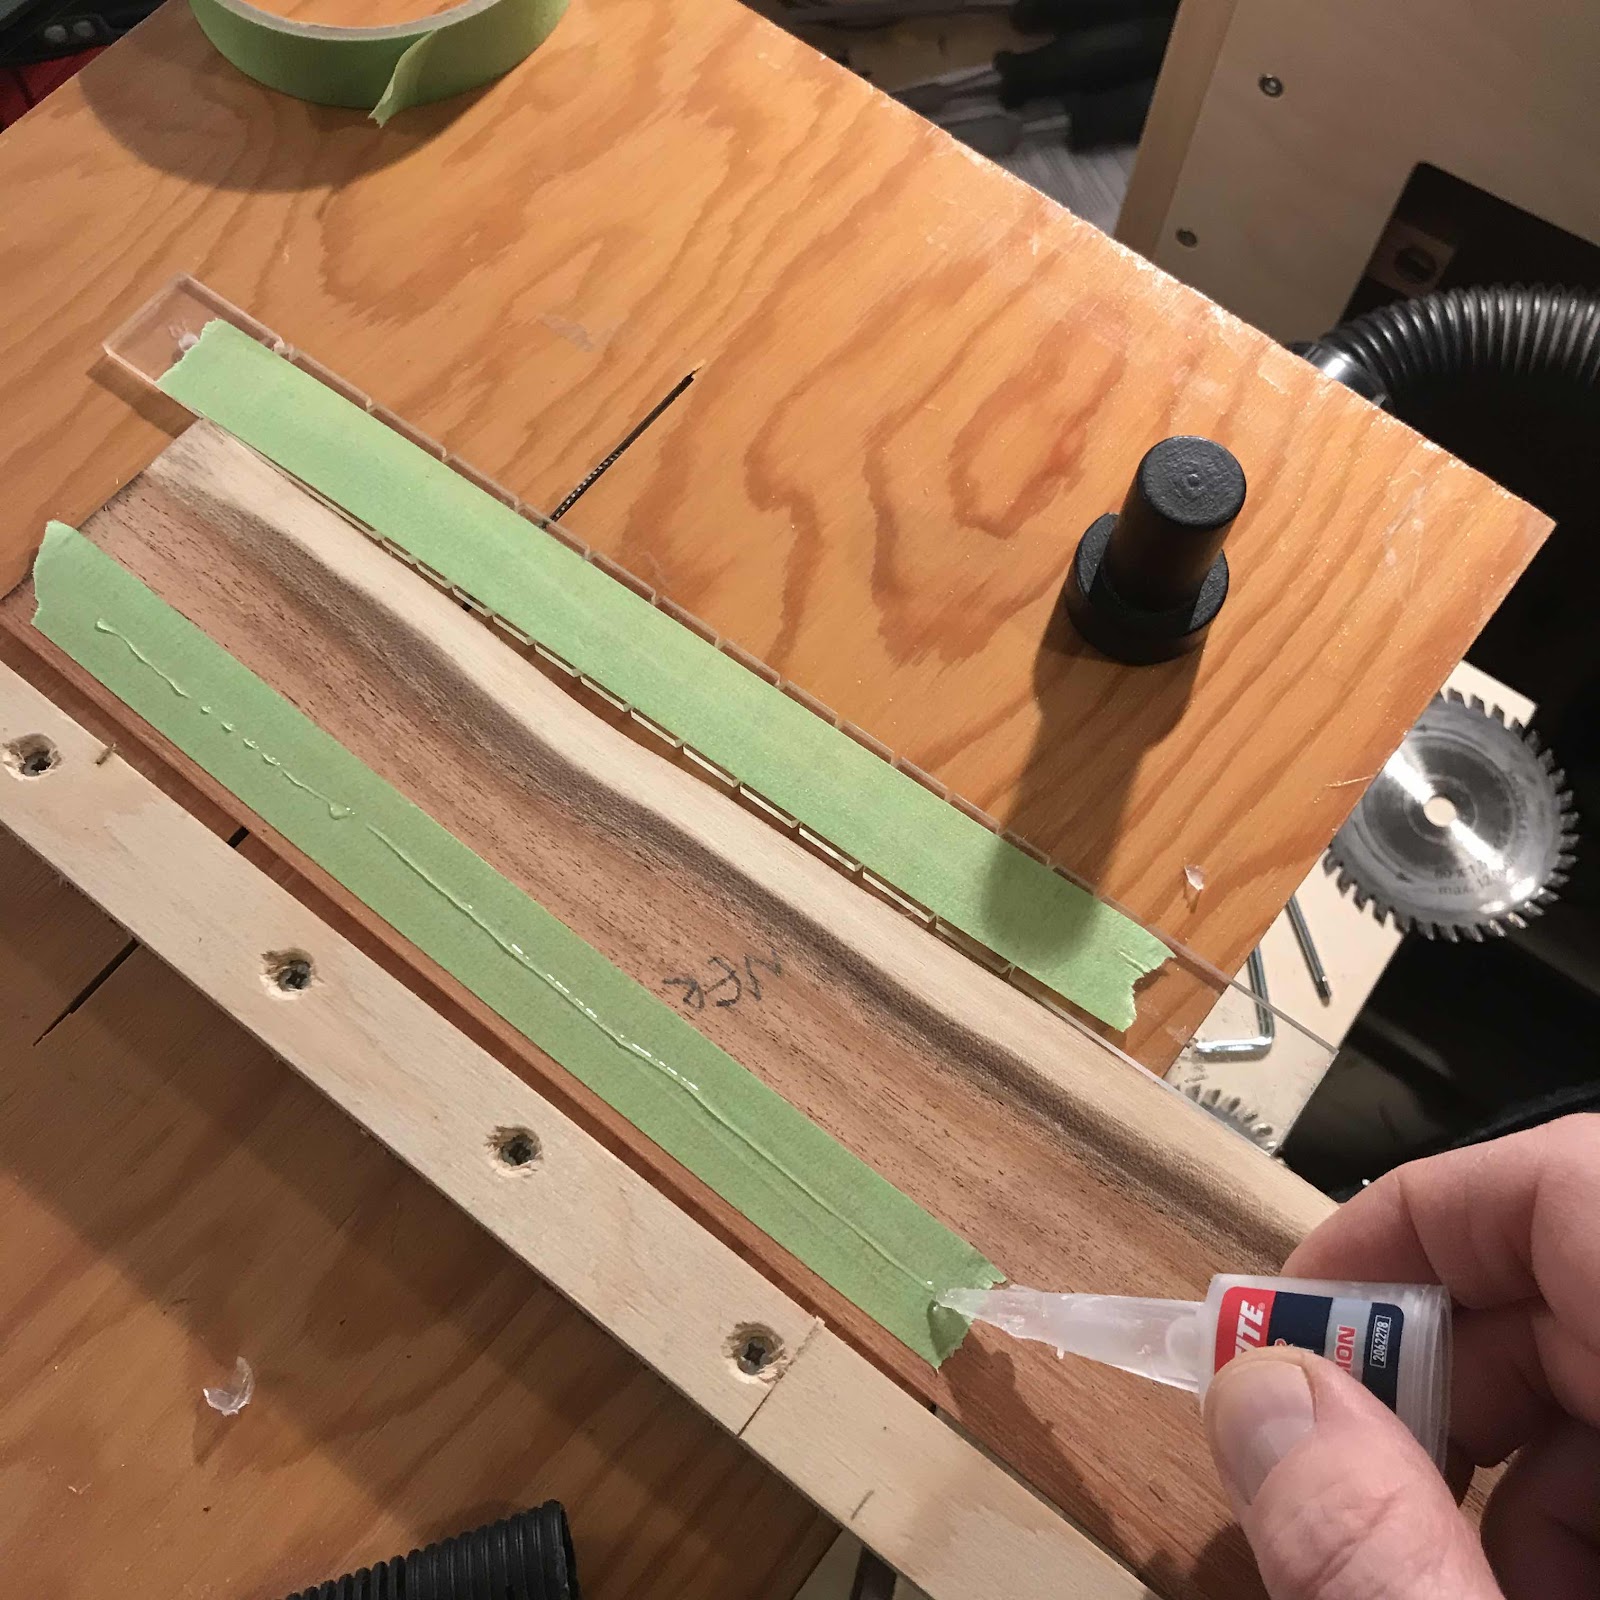
I put the fretting template on the board, using the tape and superglue trick. The underside of the fretboard is cleverly marked “ner”, which means “down” in Swedish. The plywood contraption is a sled for cutting the slots. 


Et voila. For some reason the slots weren’t as deep as they should be, something is up with the saw or the sled. But I just deepened them with my handsaw. 


I taped it and marked it the centreline, and from that I marked the tapering edges. I scored the edge lines with a marking knife...


... and pulled the excess tape off. Then I planed the edges down to the remaining tape section. I like using a large plane for this, the length and the mass really help in getting the sides straight. 


And I did a lot more today. But I will post it in bits, kind of bad form keeping quiet for a month then publishing mega posts with way too many pics. Thinks I. 

Wednesday, July 24, 2019

Resawing

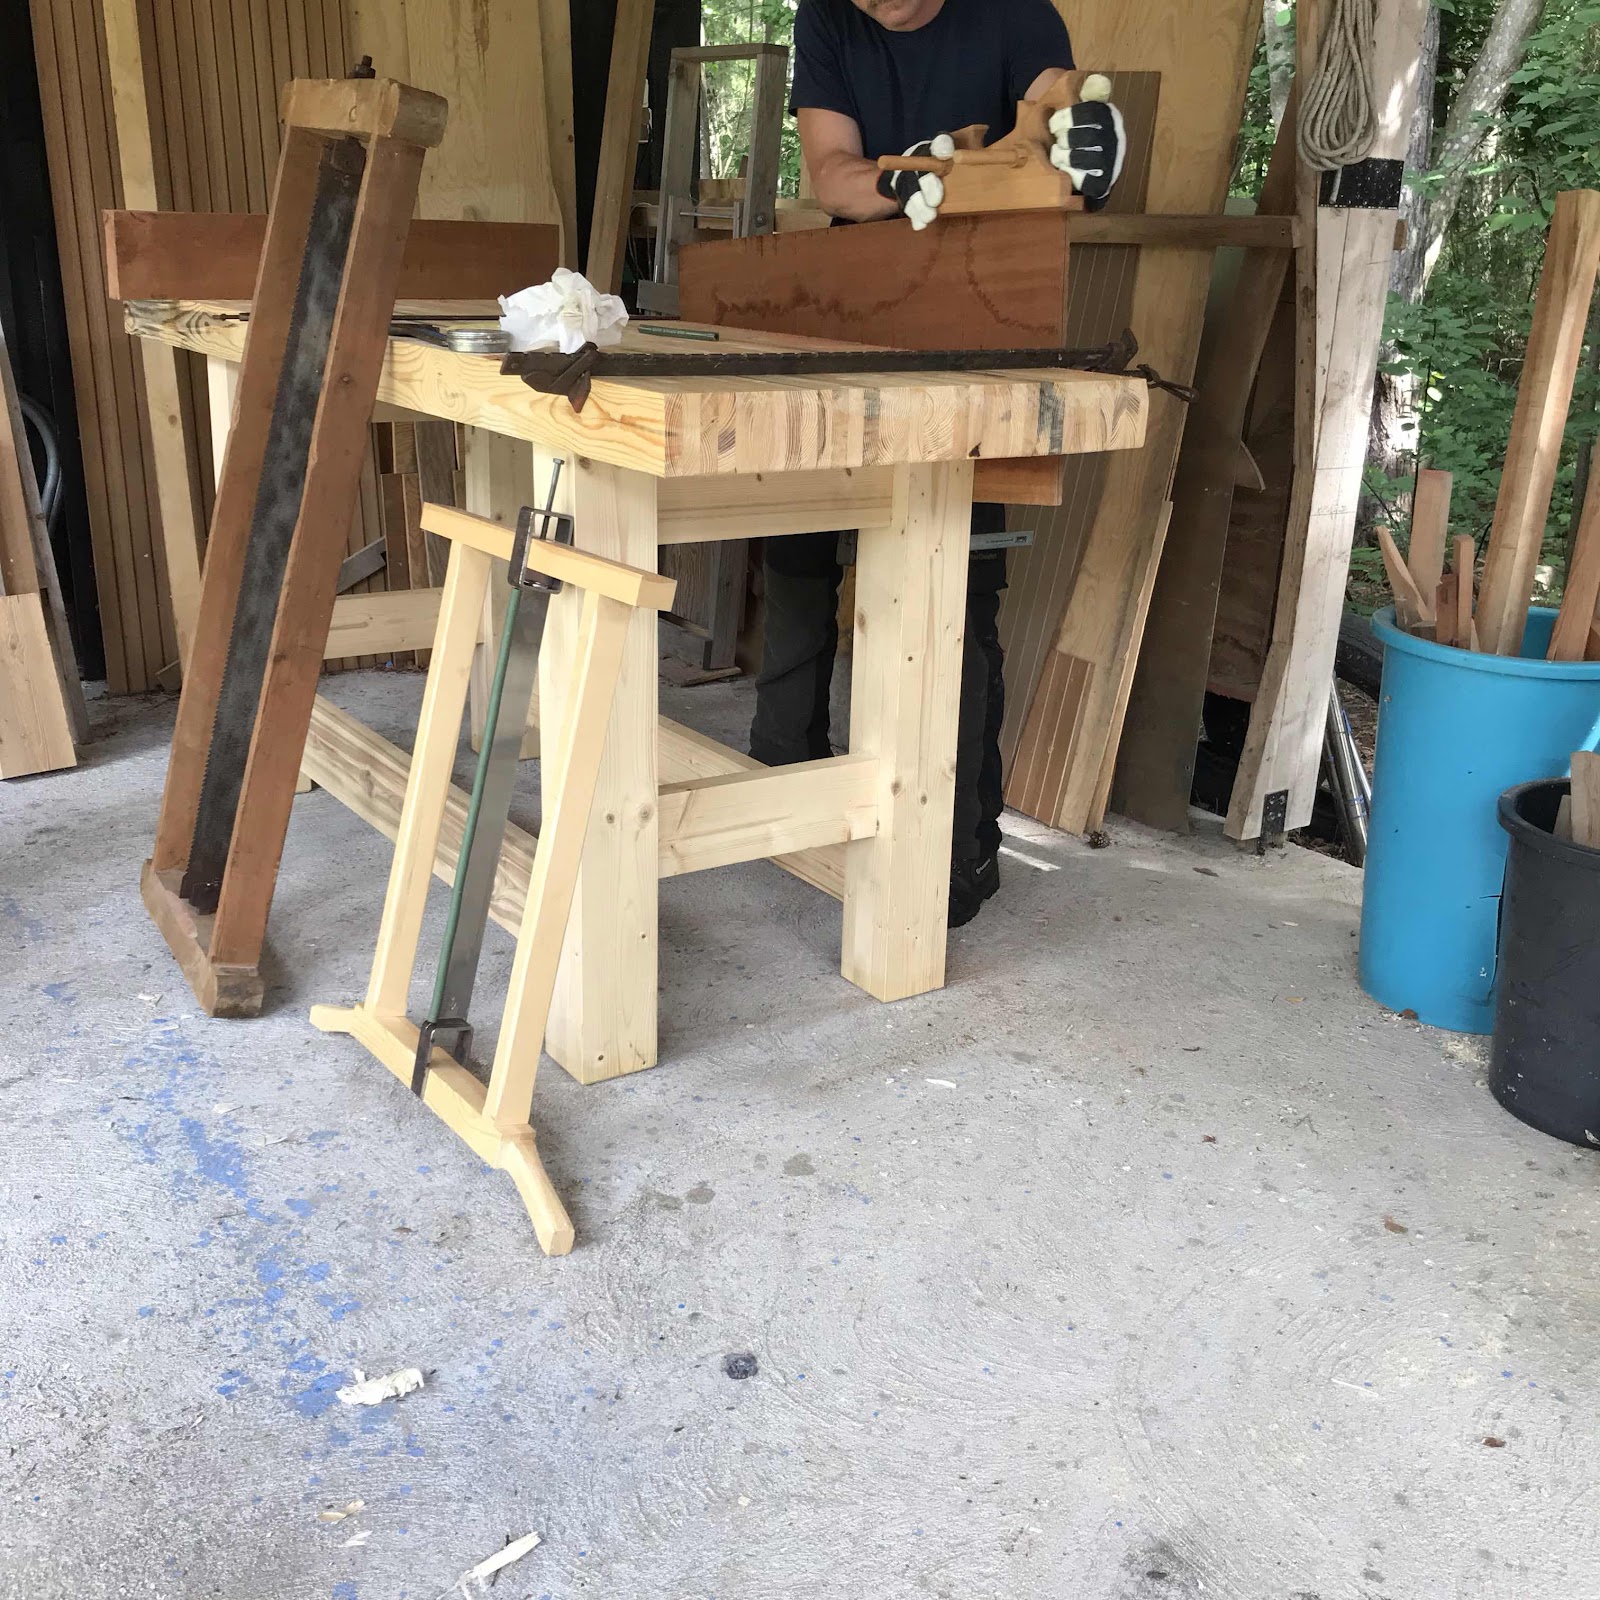
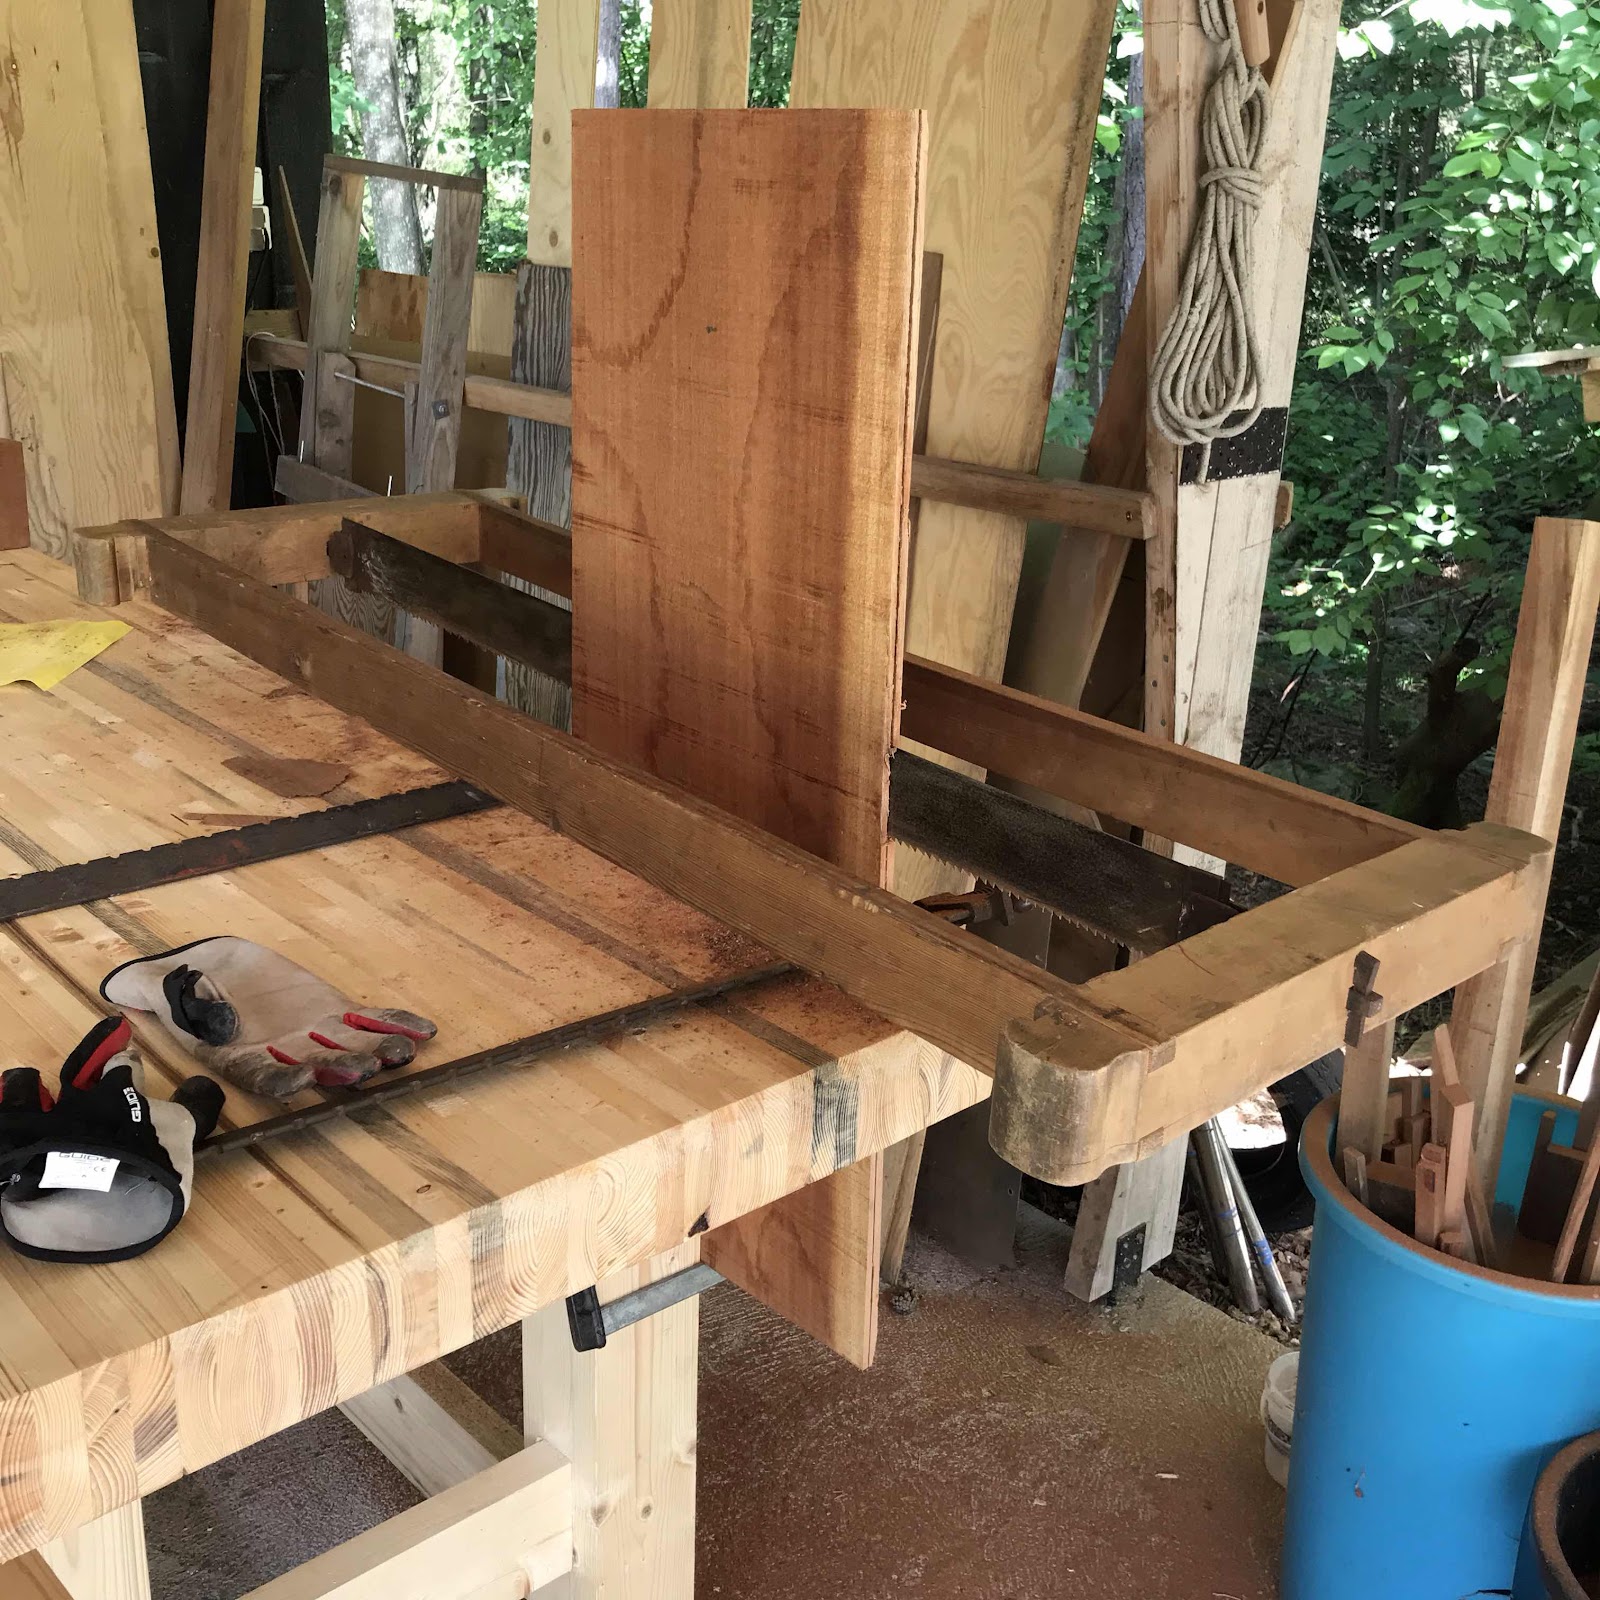
Time to put the bench to the test, and for posting about something other than that bench. Remember the extremely large board I split late last year? It was time to split it again. When I did it by myself last time it tirned out a bit wavy and uneven in the cut. But I enlisted my brother to hold the other end of the frame saw, and in the pic here he can be seen working the kerfing plane to make the slot around the edge to guide the blade. 


I usually go at it from the corners, but with assistance I found out that going perpendicular to the grain was better and produced a straighter cut. At least in mahogany, more below about another species. 


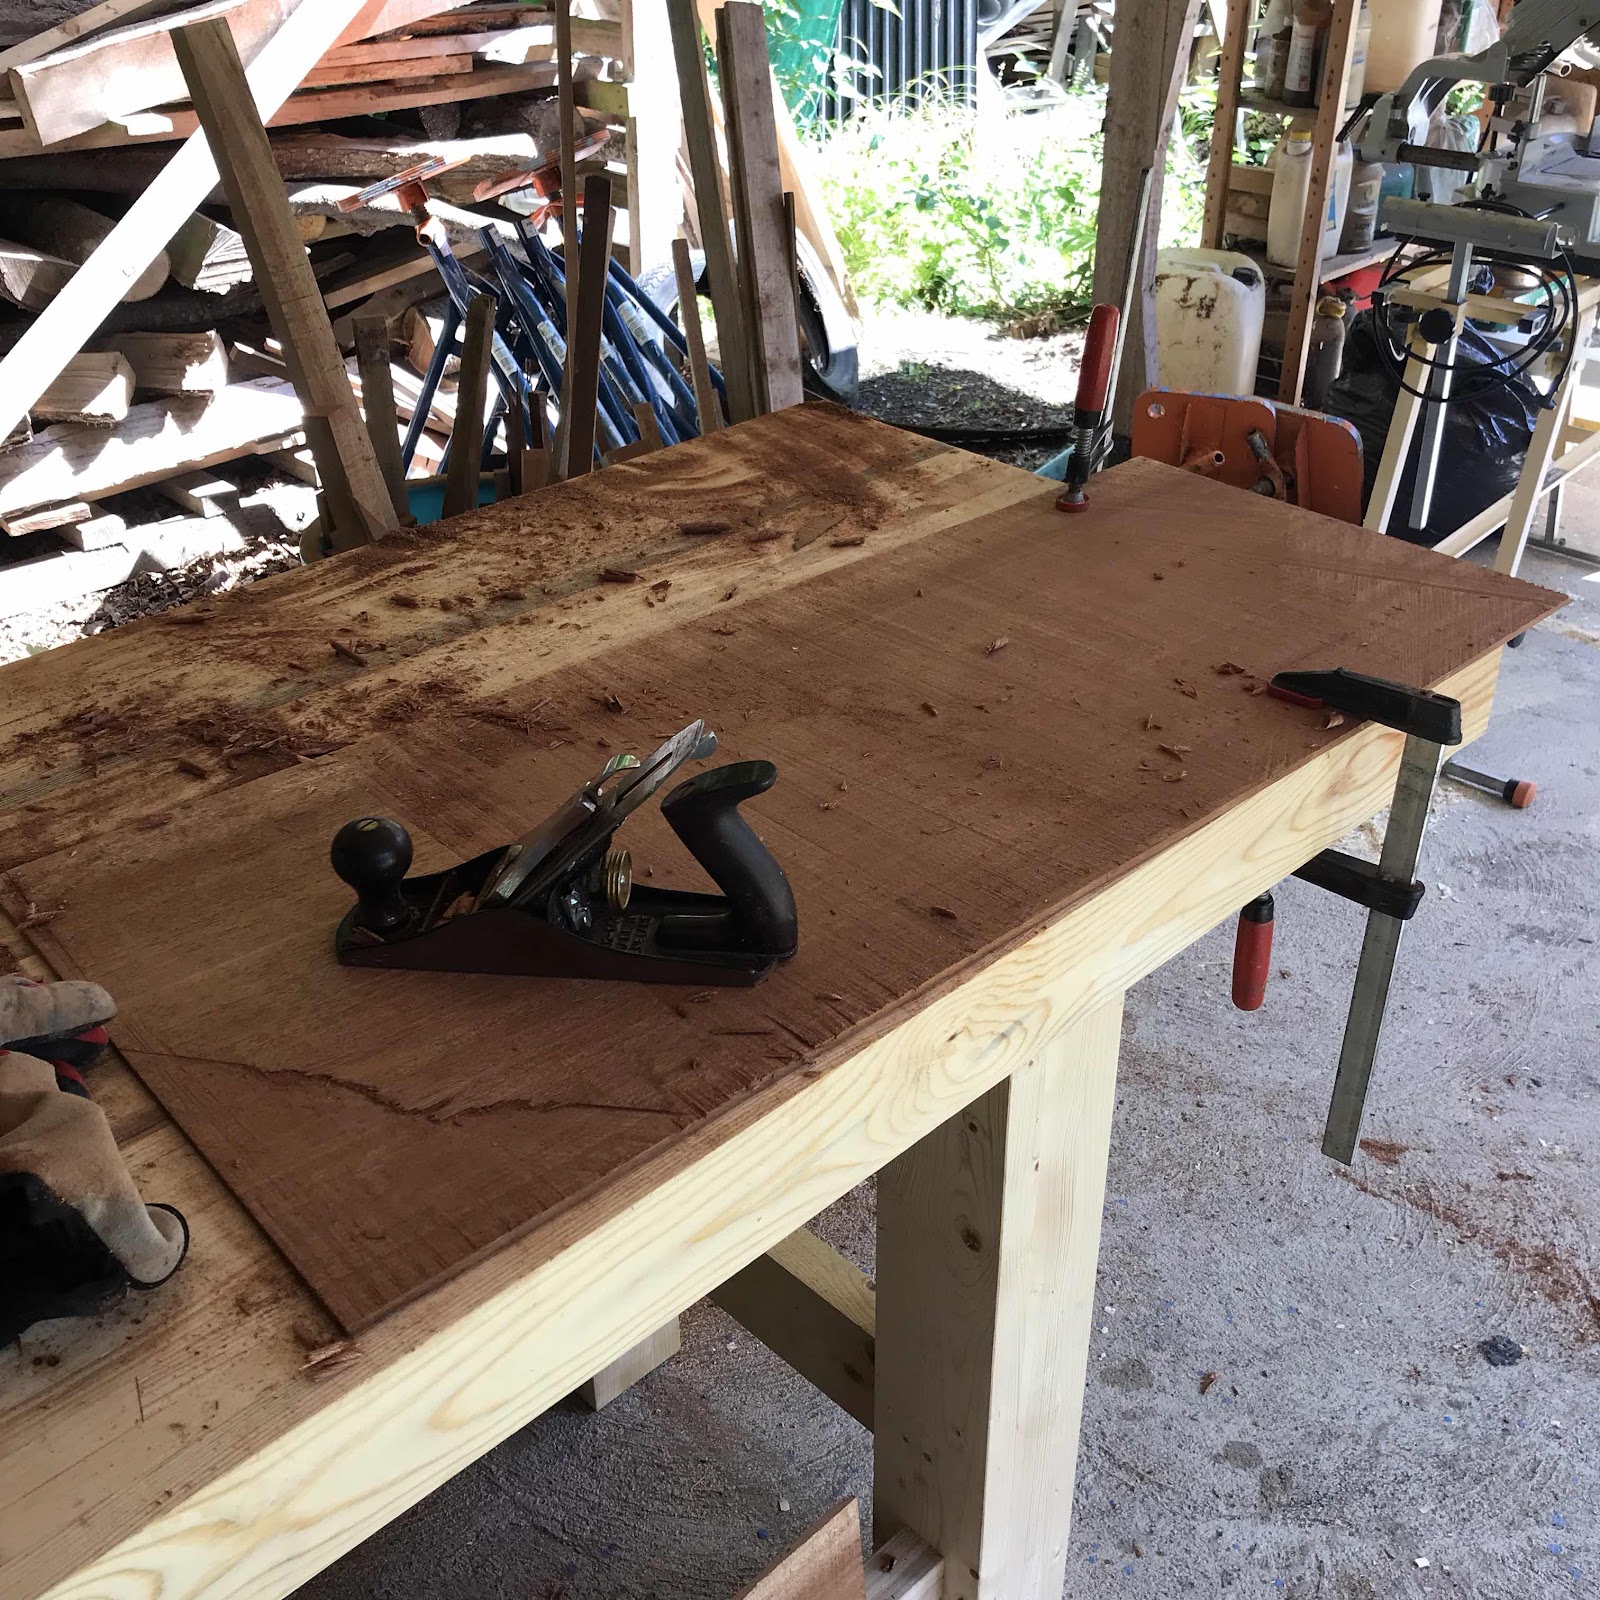
You can see here I needed to scrub plane the first bit where we did move in from the corners, we got a hump in the middle there but the rest was a great success. The middle piece that was uneven from earlier got a couple of holes but will give me a one piece rim, and top and bottom for at least one soprano. The good board in the pic will yield much more. 


Then I moved on to a piece of cherry that could give me material for two piccolos. First I sliced off two rims on the table saw, then I worked the kerfing plane around the edges. Cherry is hard to resaw with the frame saw as the blade tends to veer off on acount of the fibres. Also you can see my laziness beard, I am off work you know. 


I used the smaller frame saw but would maybe have had greater success with the huge one. Not in the pic is my brother who once again came to my aid holding the far end of the saw. 
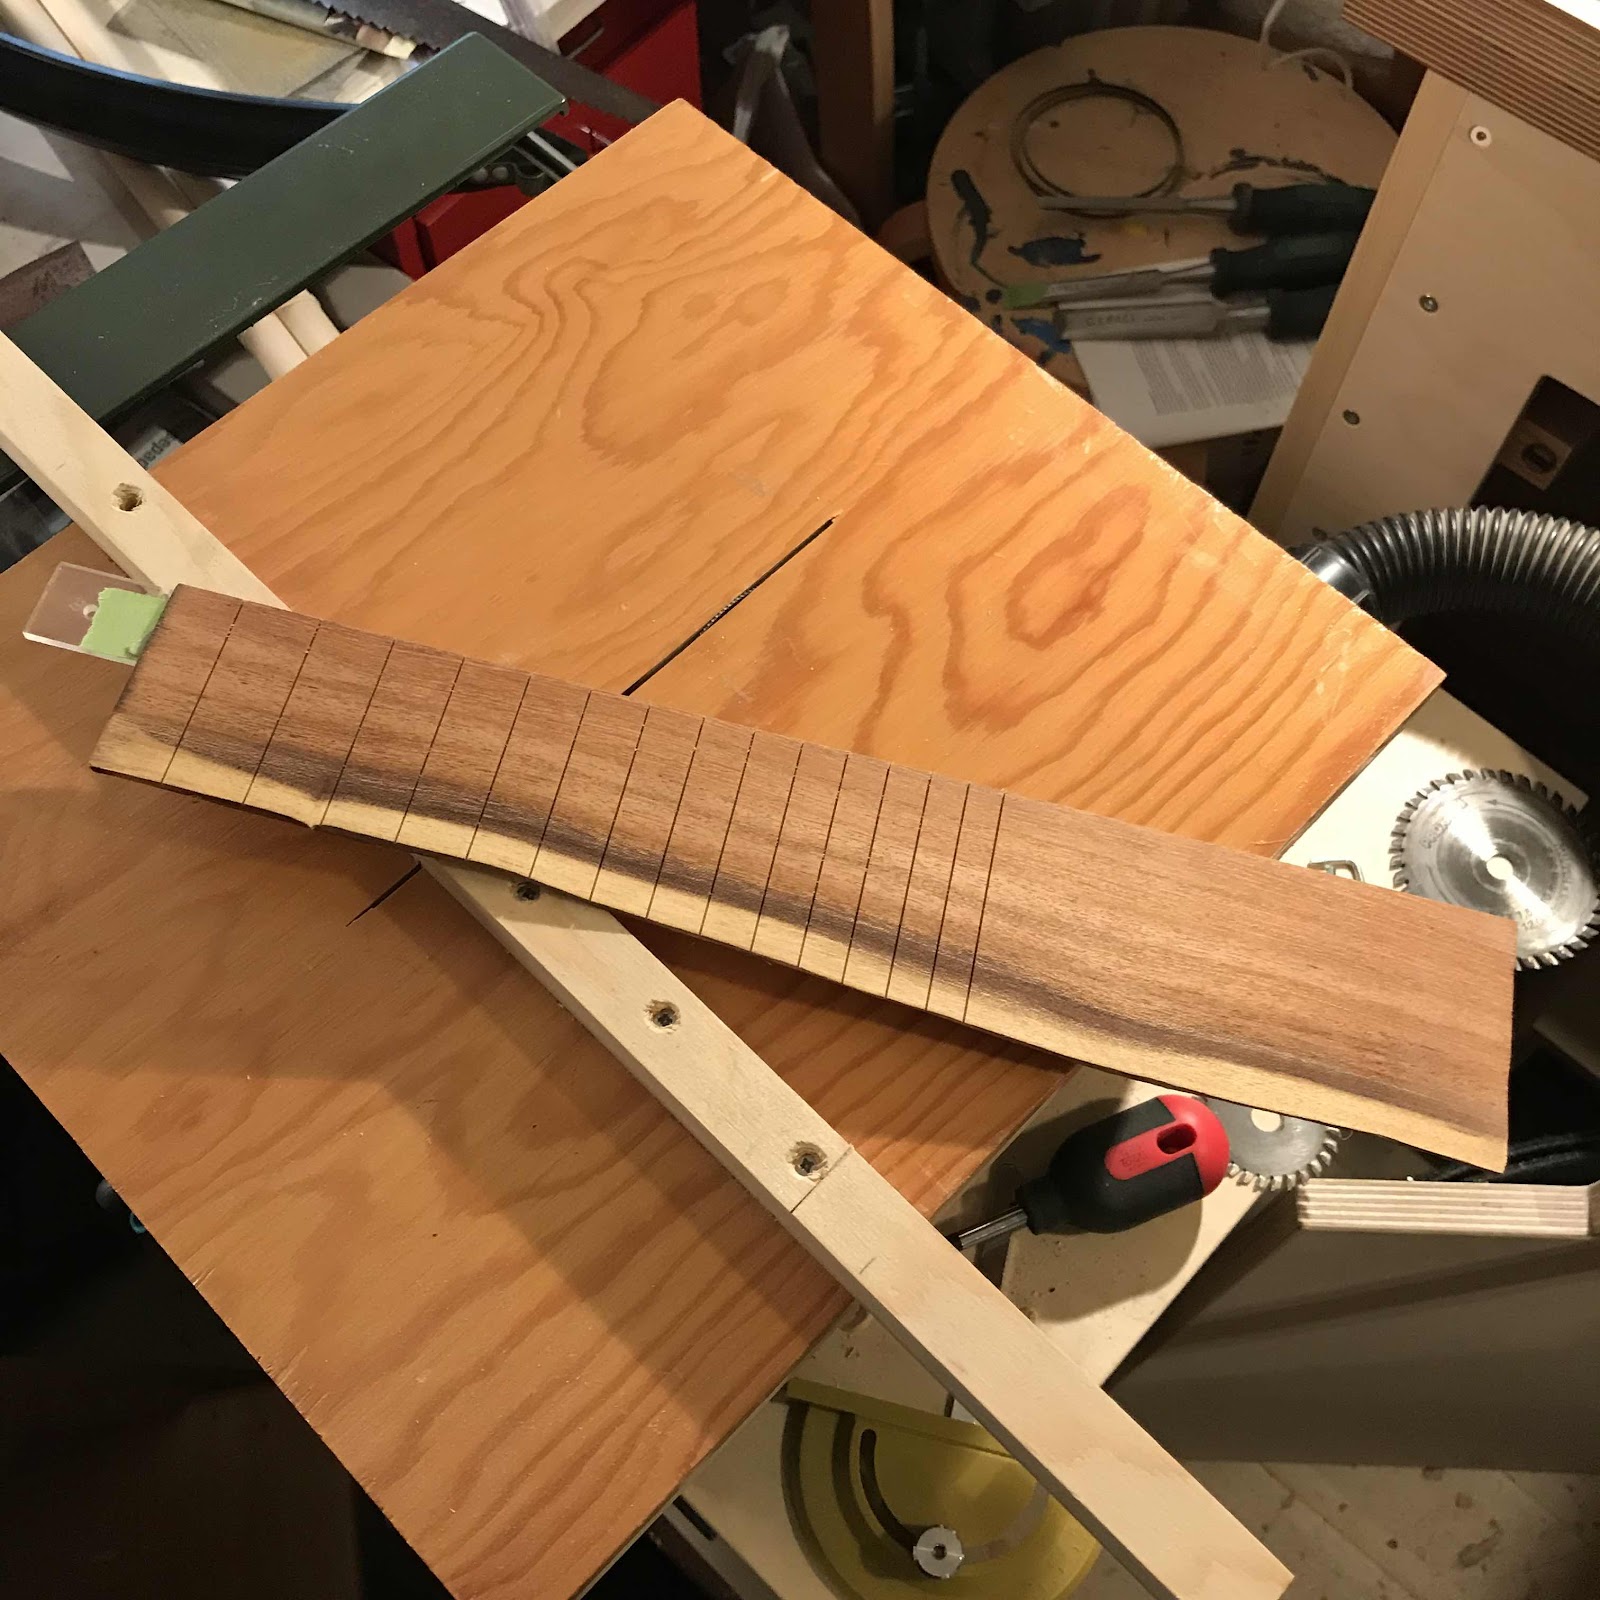
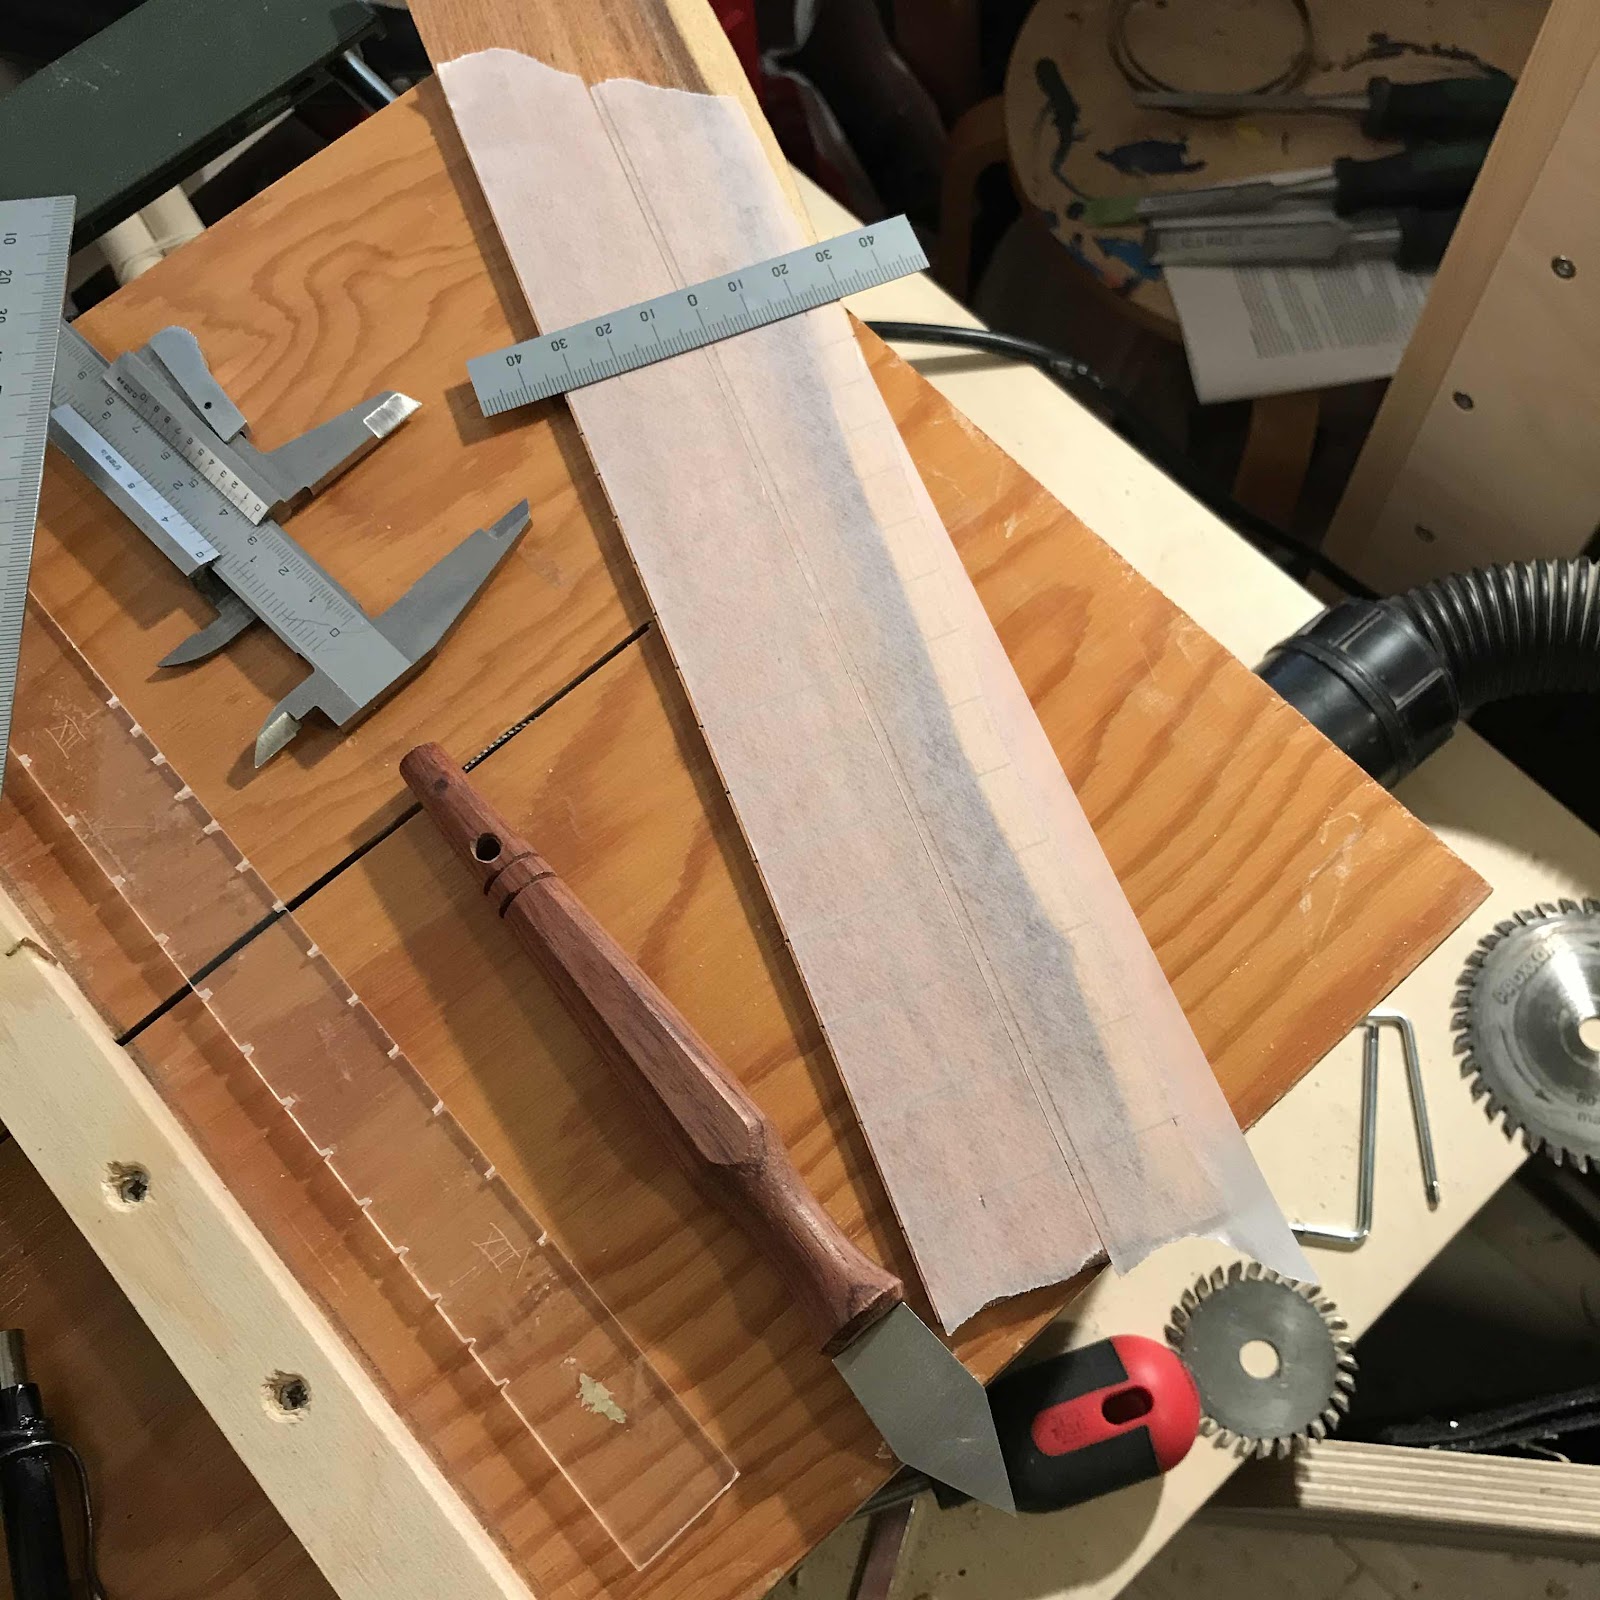


Here’s where I ended up: the two rims at the back, then the lump to the right will become necks. In the foreground are the two larger slices that will give me the backs and tops, and the leftover chunk beneath them could become a few traveller blanks. Loads of fun, as always!