Learning Ukulele 50 Sites Top 50 Ukulele Sites Argapa Ukuleles - one size louder: Wood
Showing posts with label Wood. Show all posts

Saturday, July 26, 2025

Fretboard pt. 1

I’ve been mucking around a bit with the fretboard while waiting for glue to dry in other places, now I have loads of progress to share. I’ll split it into two installments. 

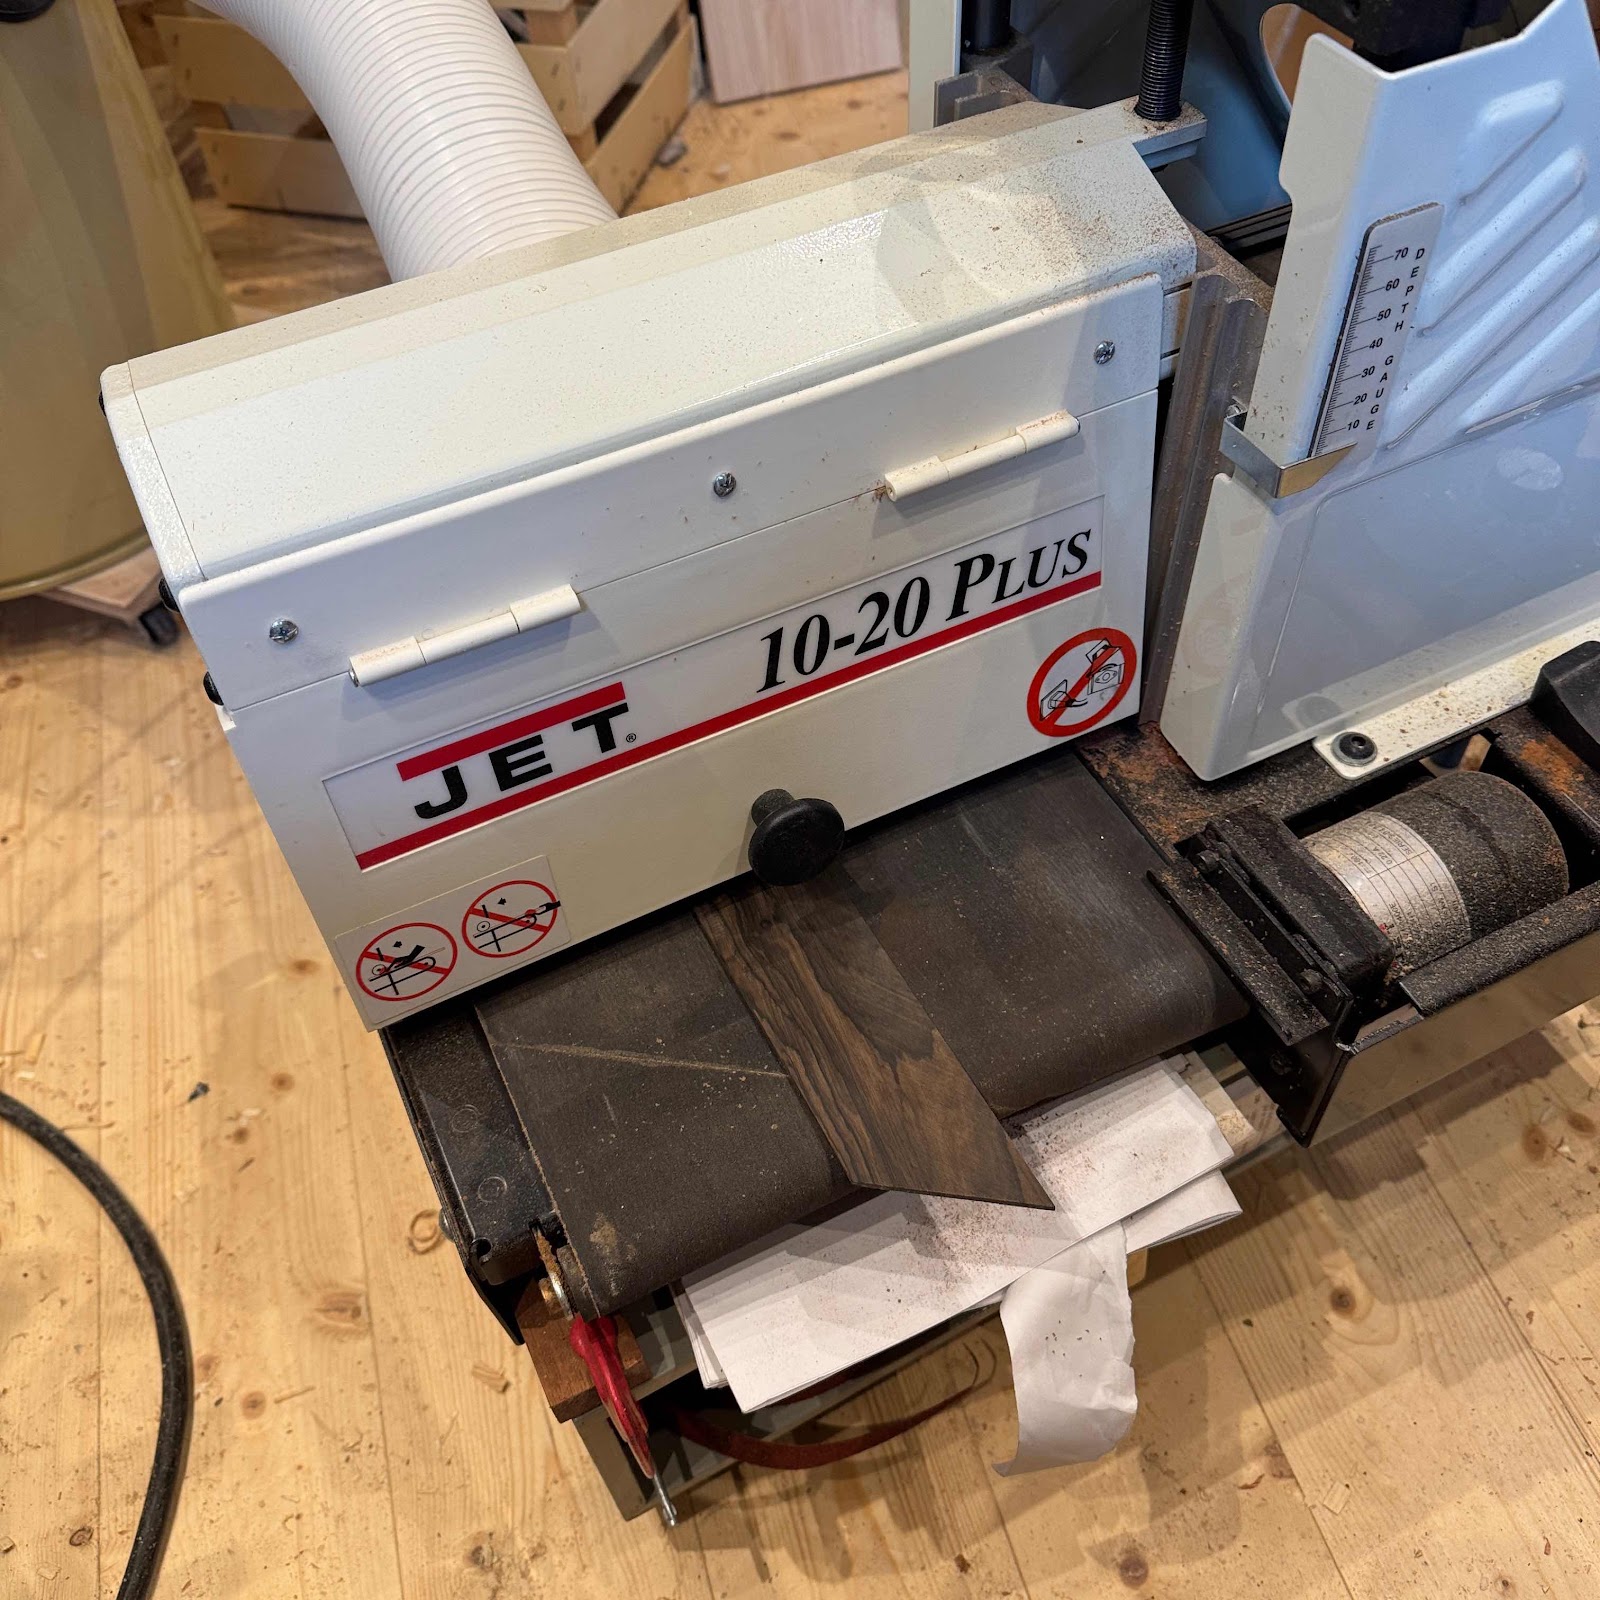
First pic is the rosewood board running through the drum sander. It was close to thickness already so I just needed the marks from the bandsaw to be gone. 


Then masking tape is applied to the underside of the board, and to the top of the fretboard. CA-glue holds the strips of tape together and everything in place. 


It was fiddly to set the depth stops to the exact depth, and the same depth, but I managed. I remember buying this expensive bit of kit from Stewmac, three weeks after the purchase they released their upgraded model with bearings and knurled thumb screws. I was fuming then and if I’m completely honest I’m still fuming. 


See? This is what we want. 


In a flash of inspiration I came up with the pattern for the inlays. I drill straight through and use plastic rods that I cut flush with a chisel. 


And sawing to width and the correct taper. The edges were planed after sawing. 


And this is where I’ll leave you for now. Fretting is underway and I dare promise that post will be gripping. 


Monday, July 14, 2025

Neck work

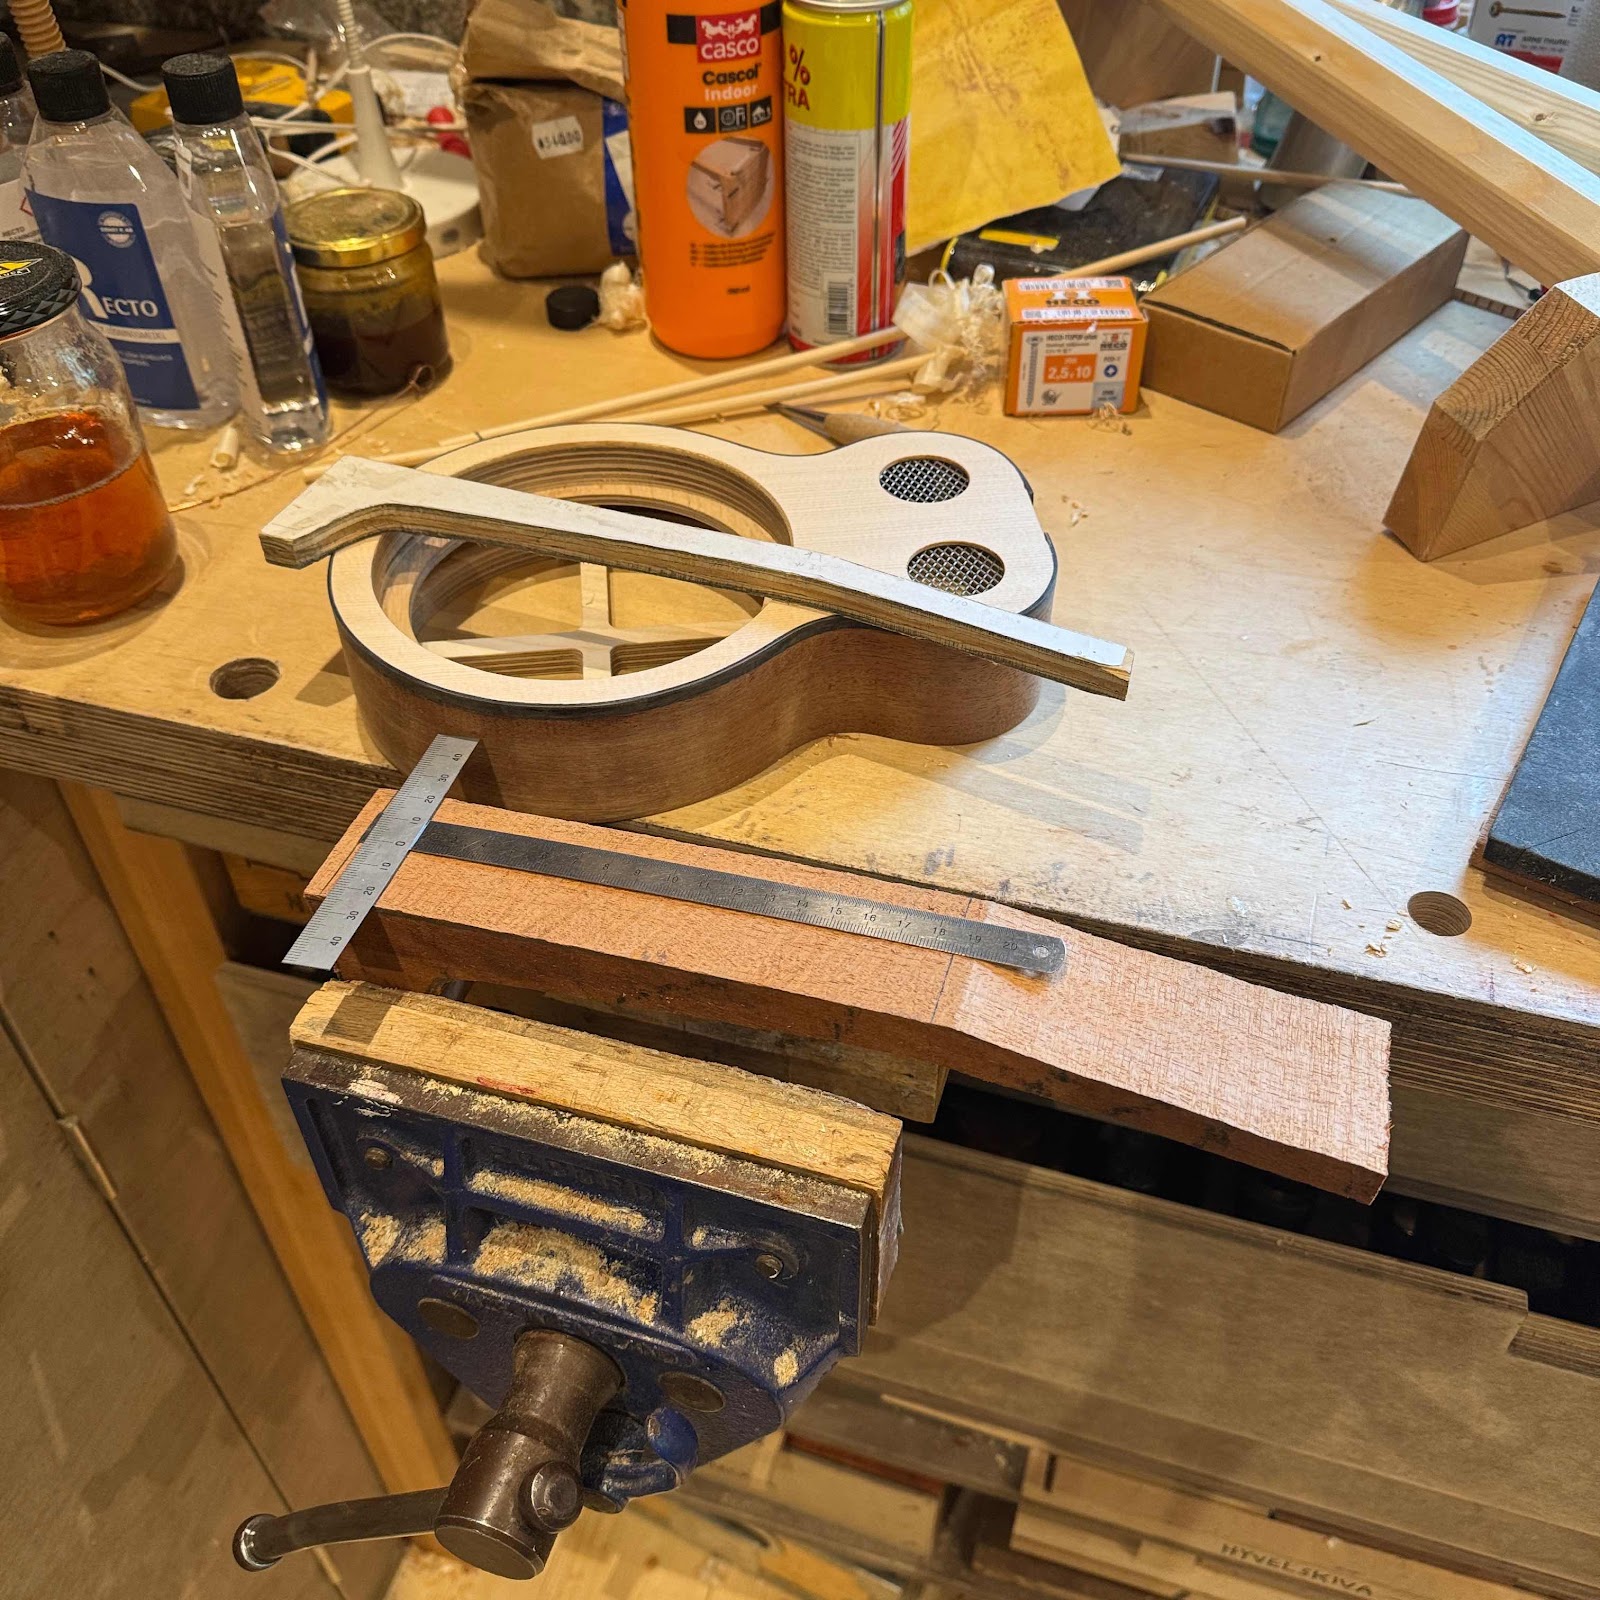
Time to get a handle on this situation, innit. I found an old mahogany neck blank kicking around and it will be a great match for the body. First pic is from measuring and marking out. 


Then I start carving with a two-handle drawknife, wicked sharp. I can’t find the neck carving jig, it must still be in a box somewhere. But the vise I got from Chris works. 


The knife goes down through the end grain like through [really dense and slightly brittle] butter. 


Trick photo - I can’t really carve holding the neck and the knife in the same hand, but wanted to show the shift to the wee knife for refining the shape and profile. 


I really like the faceted shiny surface from carving, but not all do so I finished it off with sandpaper. 


Are we fast approaching attaching the neck? I didn’t think I would remember this much but expected a lot more fumbling. Let’s hope this won’t jinx it. 

Saturday, July 5, 2025

Soundboard (top anyway)

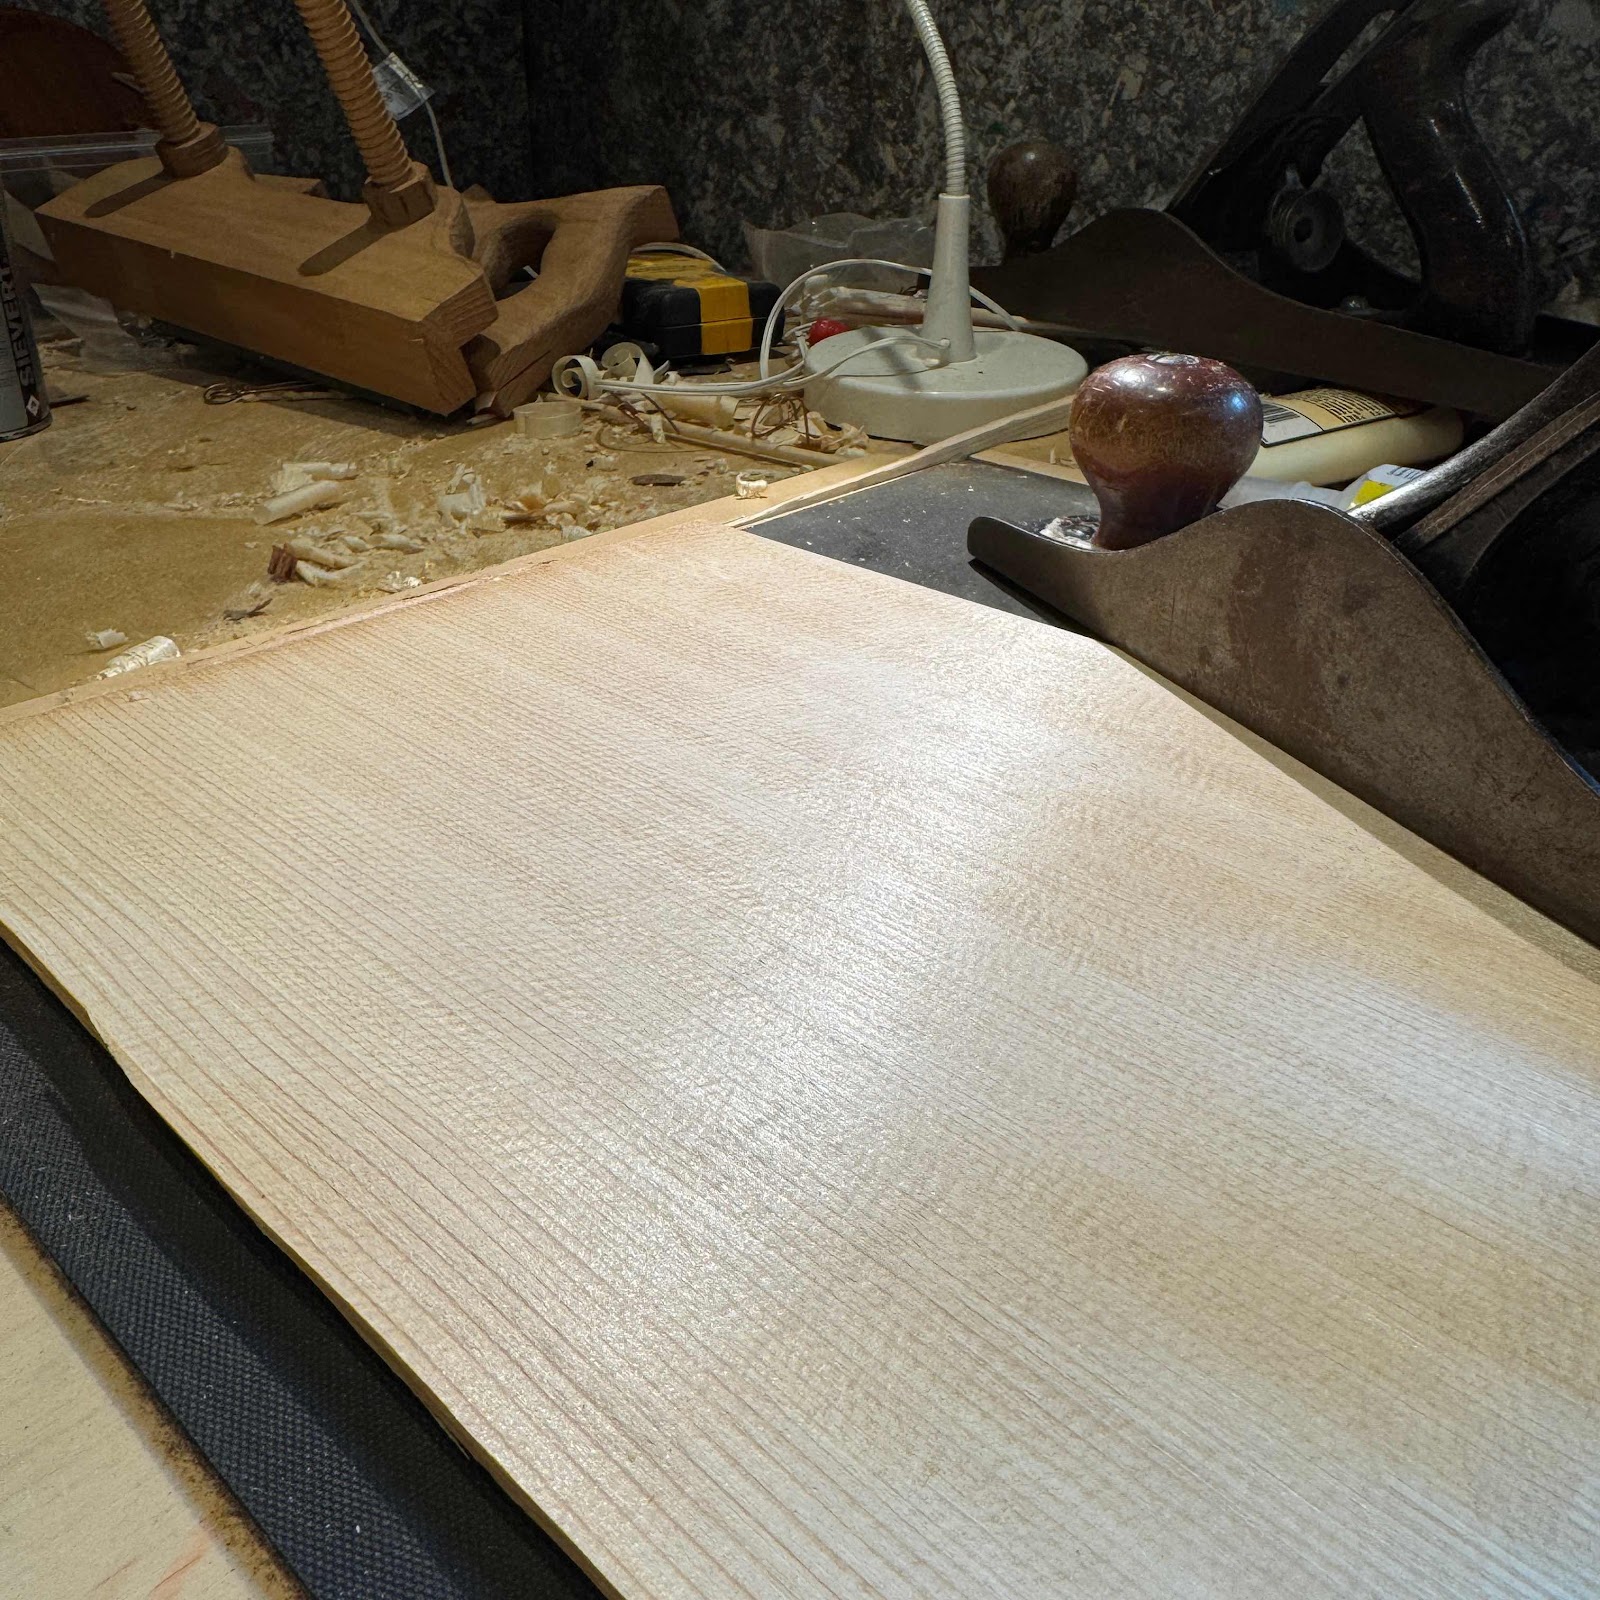
Hell-o, I’m back in Sweden after a stint in Mumbai and I’m back in the workshöp. My favourite customer S has been quiet lately, but he told me before that he considered a spruce top on the reso. I haven’t done that before so I’m game. Pic shows me planing it with a number 5 jack plane. 

It was a while since I prepared a top for a reso but I was confident I remembered the long and rather complicated sequence of steps <— foreshadowing


Then laying out the contour and marking for the holes. I’m really proud of my locating templates, the only easy way to find the center of the holes in the skeleton. 


And I get that the last pic doesn’t explain it totally so here’s another one that should help you out. 


And out came the marvellous rosette and circle cutter! Of course the holes should have been cut before I glued the wee locating nibs on. First mistake due to hazy recollections of ”the long and rather complicated sequence of steps”.


It’s possible to do it like this but next time I hope I do things in order. 


And on to mistake number three! (I won’t bother you with the second one but it involved sanding the edges of the holes before glueing the top on.) The third mistake was forgetting to glue the mesh screens in before the glue-up. But it went alright apart from poisoning myself with CA accelerator. 


And here is the result. Not much left of the spruce soundboard we started with but hey, it’s what’s needed. I will add binding as I tend to do with spruce topped instruments, leaning towards a single ply plastic one. But not black, that would be too stark a contrast. I hope I can find some tortoloid strips, they were around a mere four years ago. 


Saturday, June 21, 2025

Rim bent and glued

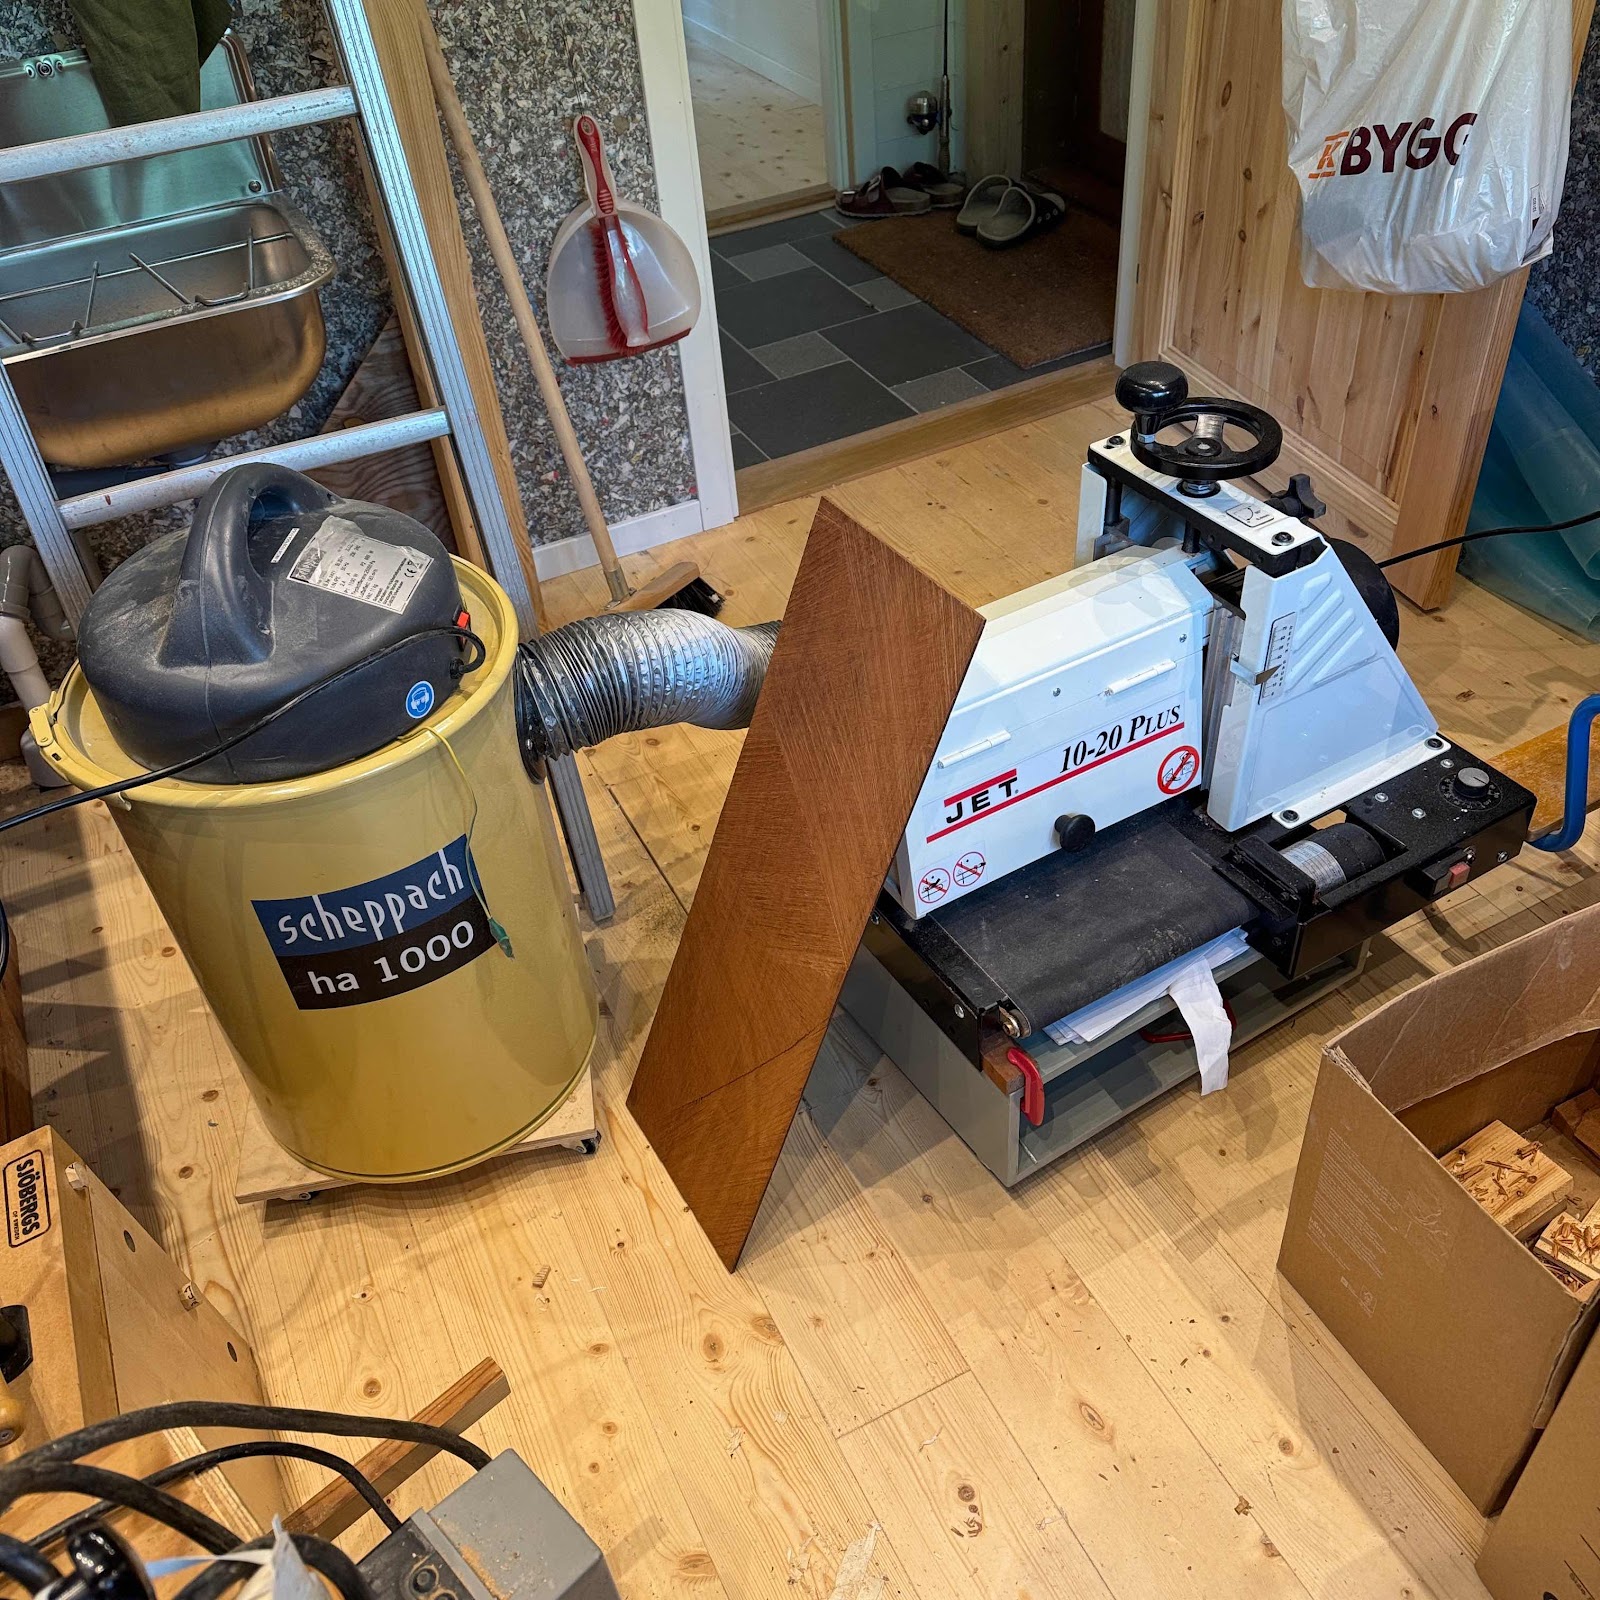
So, can I set the drum sander up for the first time in years? It’s still on the low trolley I built for a TV some 25 years ago, so I operate it kneeling on the floor. But it is the floor of the new workshop, so it’s all good. 


It took a moment or two to remember the finer points of drum sanding (believe me, there are those), but it turned out rather well. 

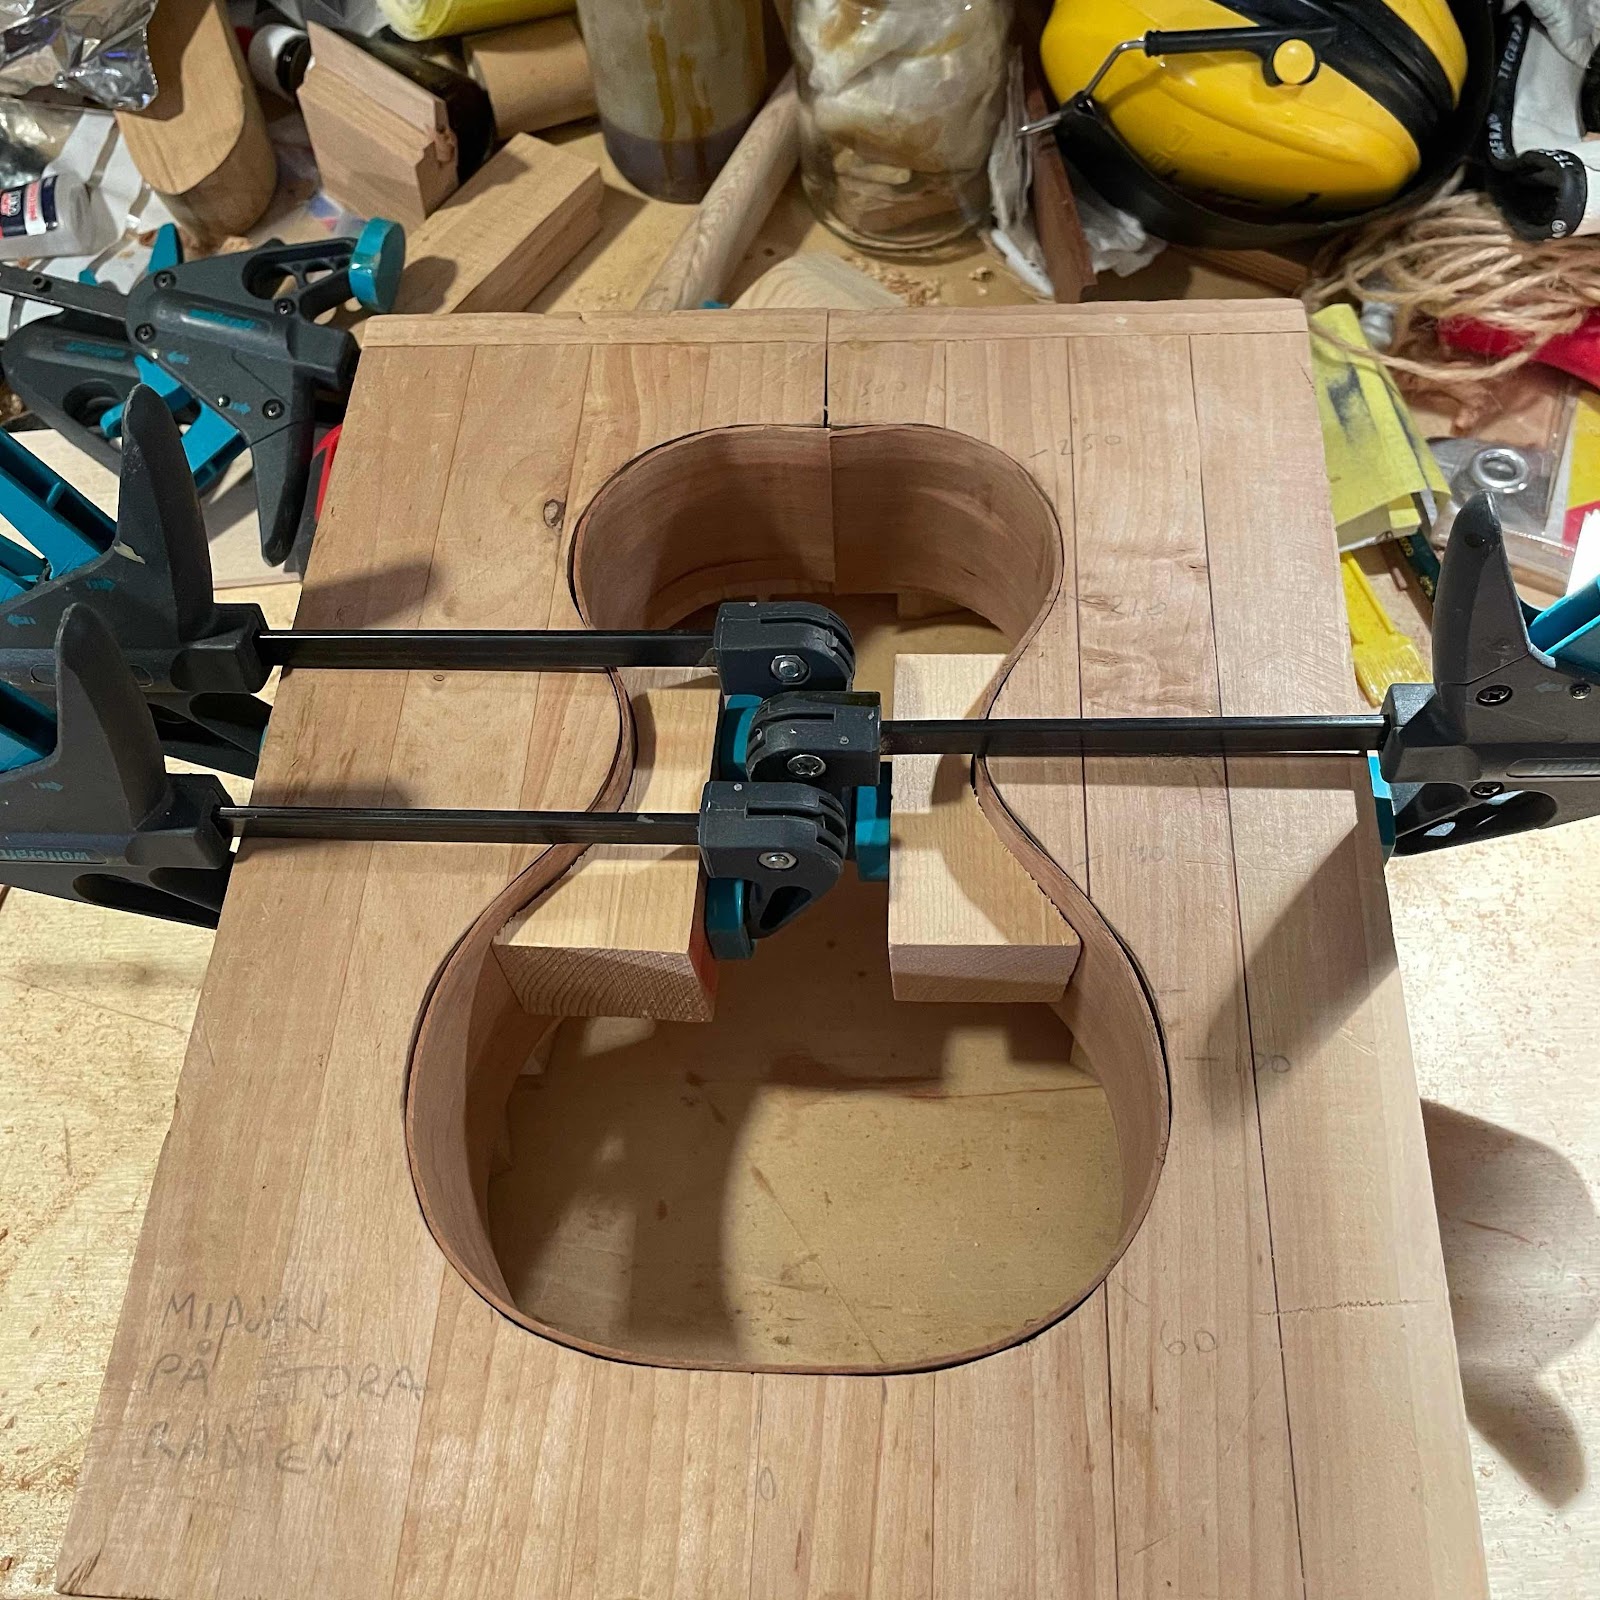
Next pic shows a 60 mm slice taken off for the one piece rim. 


And then I thought I might as well get reaquainted with the old bending iron, that isn’t made of iron but of aluminium. The skeleton is mounted on a stick for reference. 


And after a wee while I got the hang of it, sort of. 


The bending was done yesterday, and today the rim was dry enough to glue. If only I could find the rest of my clamps!


Should I get back to instagram as well? I might do that since nowadays fewer people are made of the stuff that makes them read blogs, damn them and damn all social media. 

Friday, June 6, 2025

Lazarus

Crackle… static… hello..? Hello? Is anybody out there?

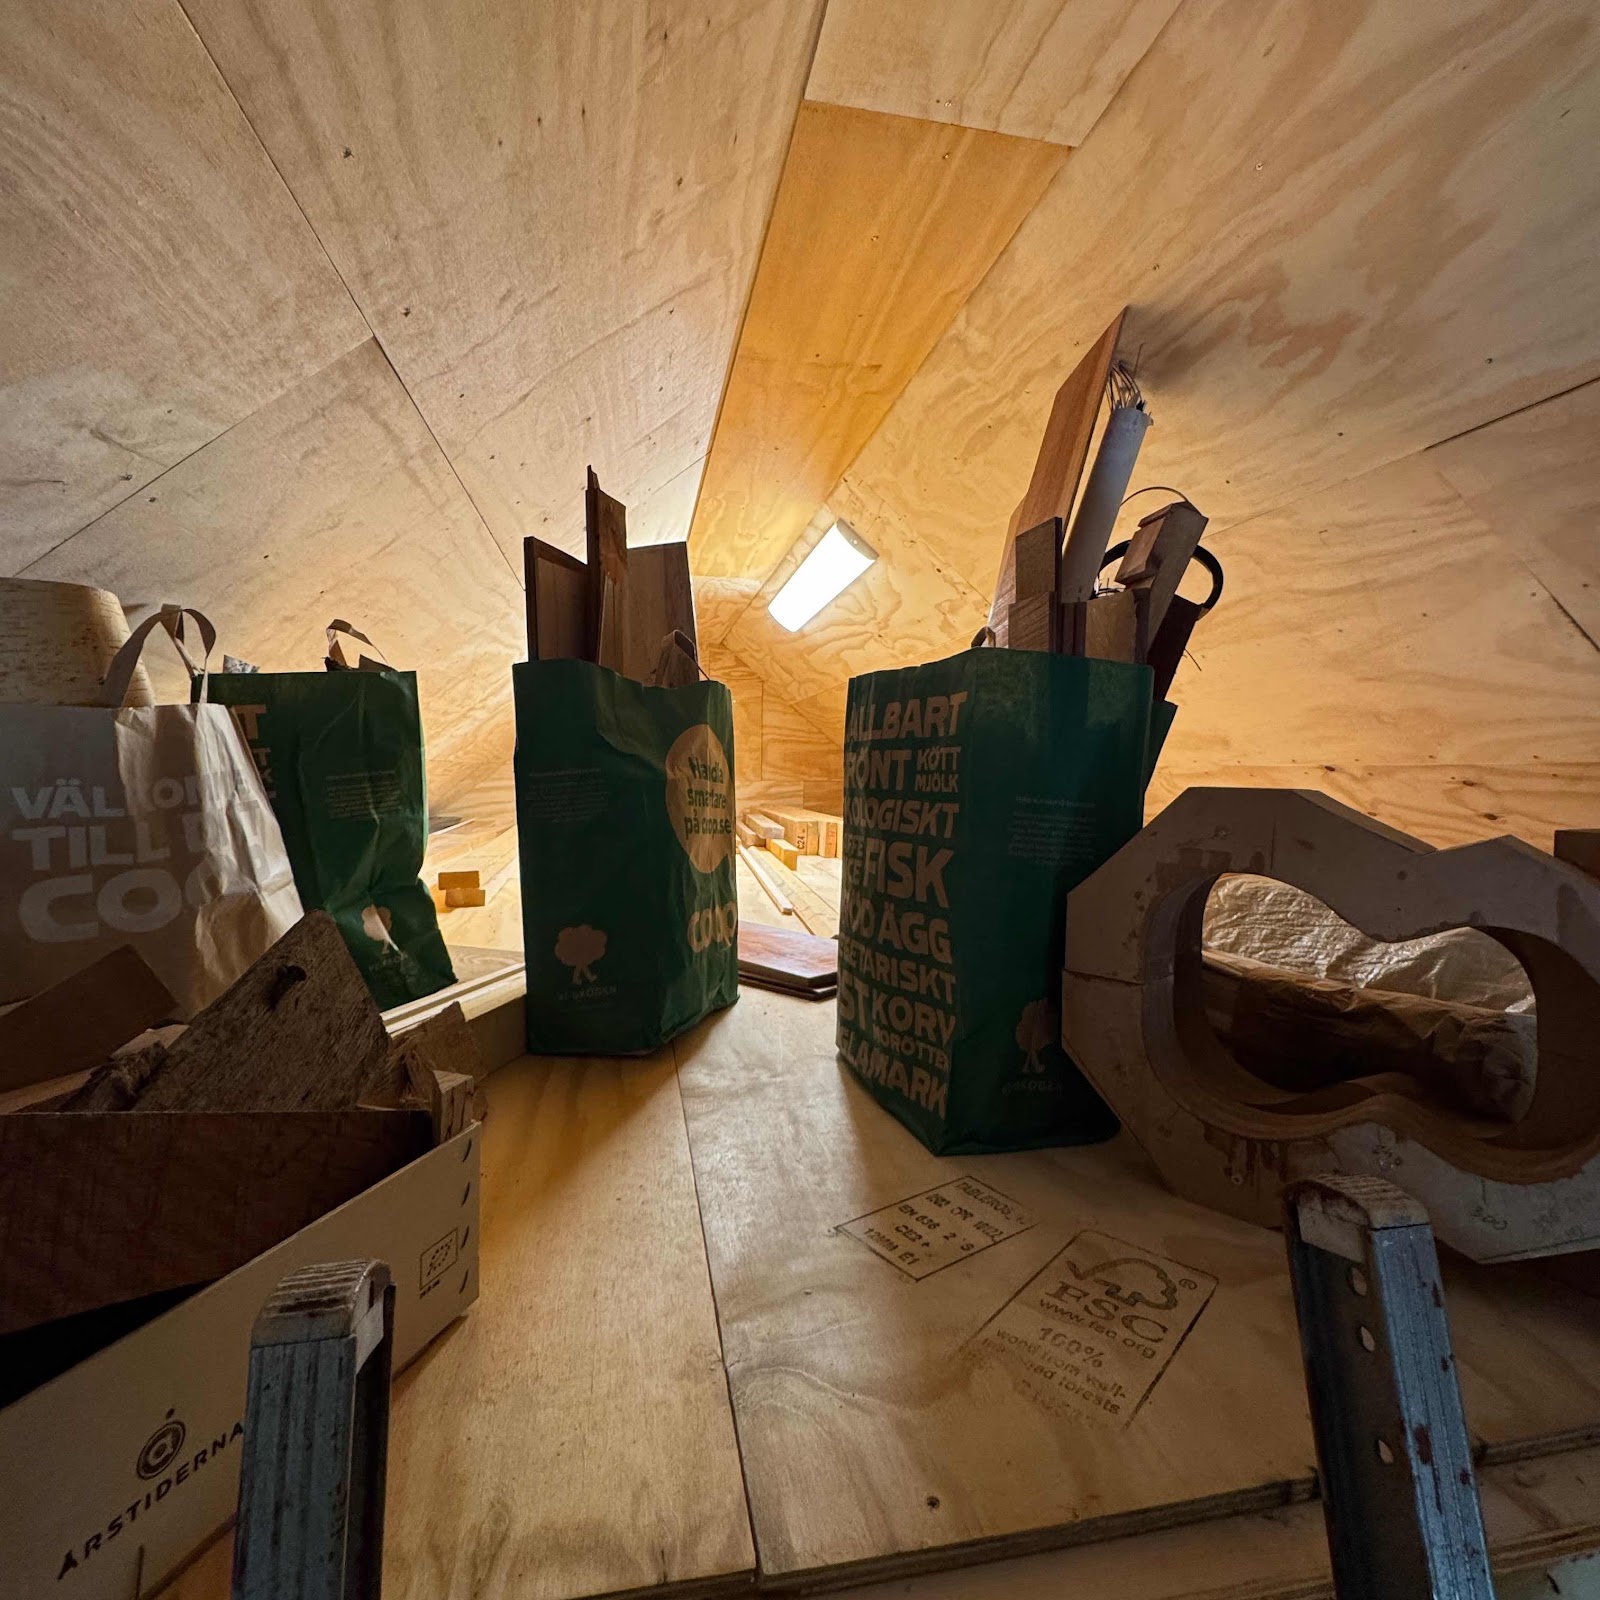
What’s this. A long forgotten stash of wood, unearthed and almost ready to dig into. 


It is now stored in the loft above the new workshop. 

DID YOU HEAR [read] THAT? The new workshop. Look at it and marvel.  


Next post won’t take three years. I promise. 

Friday, January 7, 2022

Making a new bridge, pt. 1

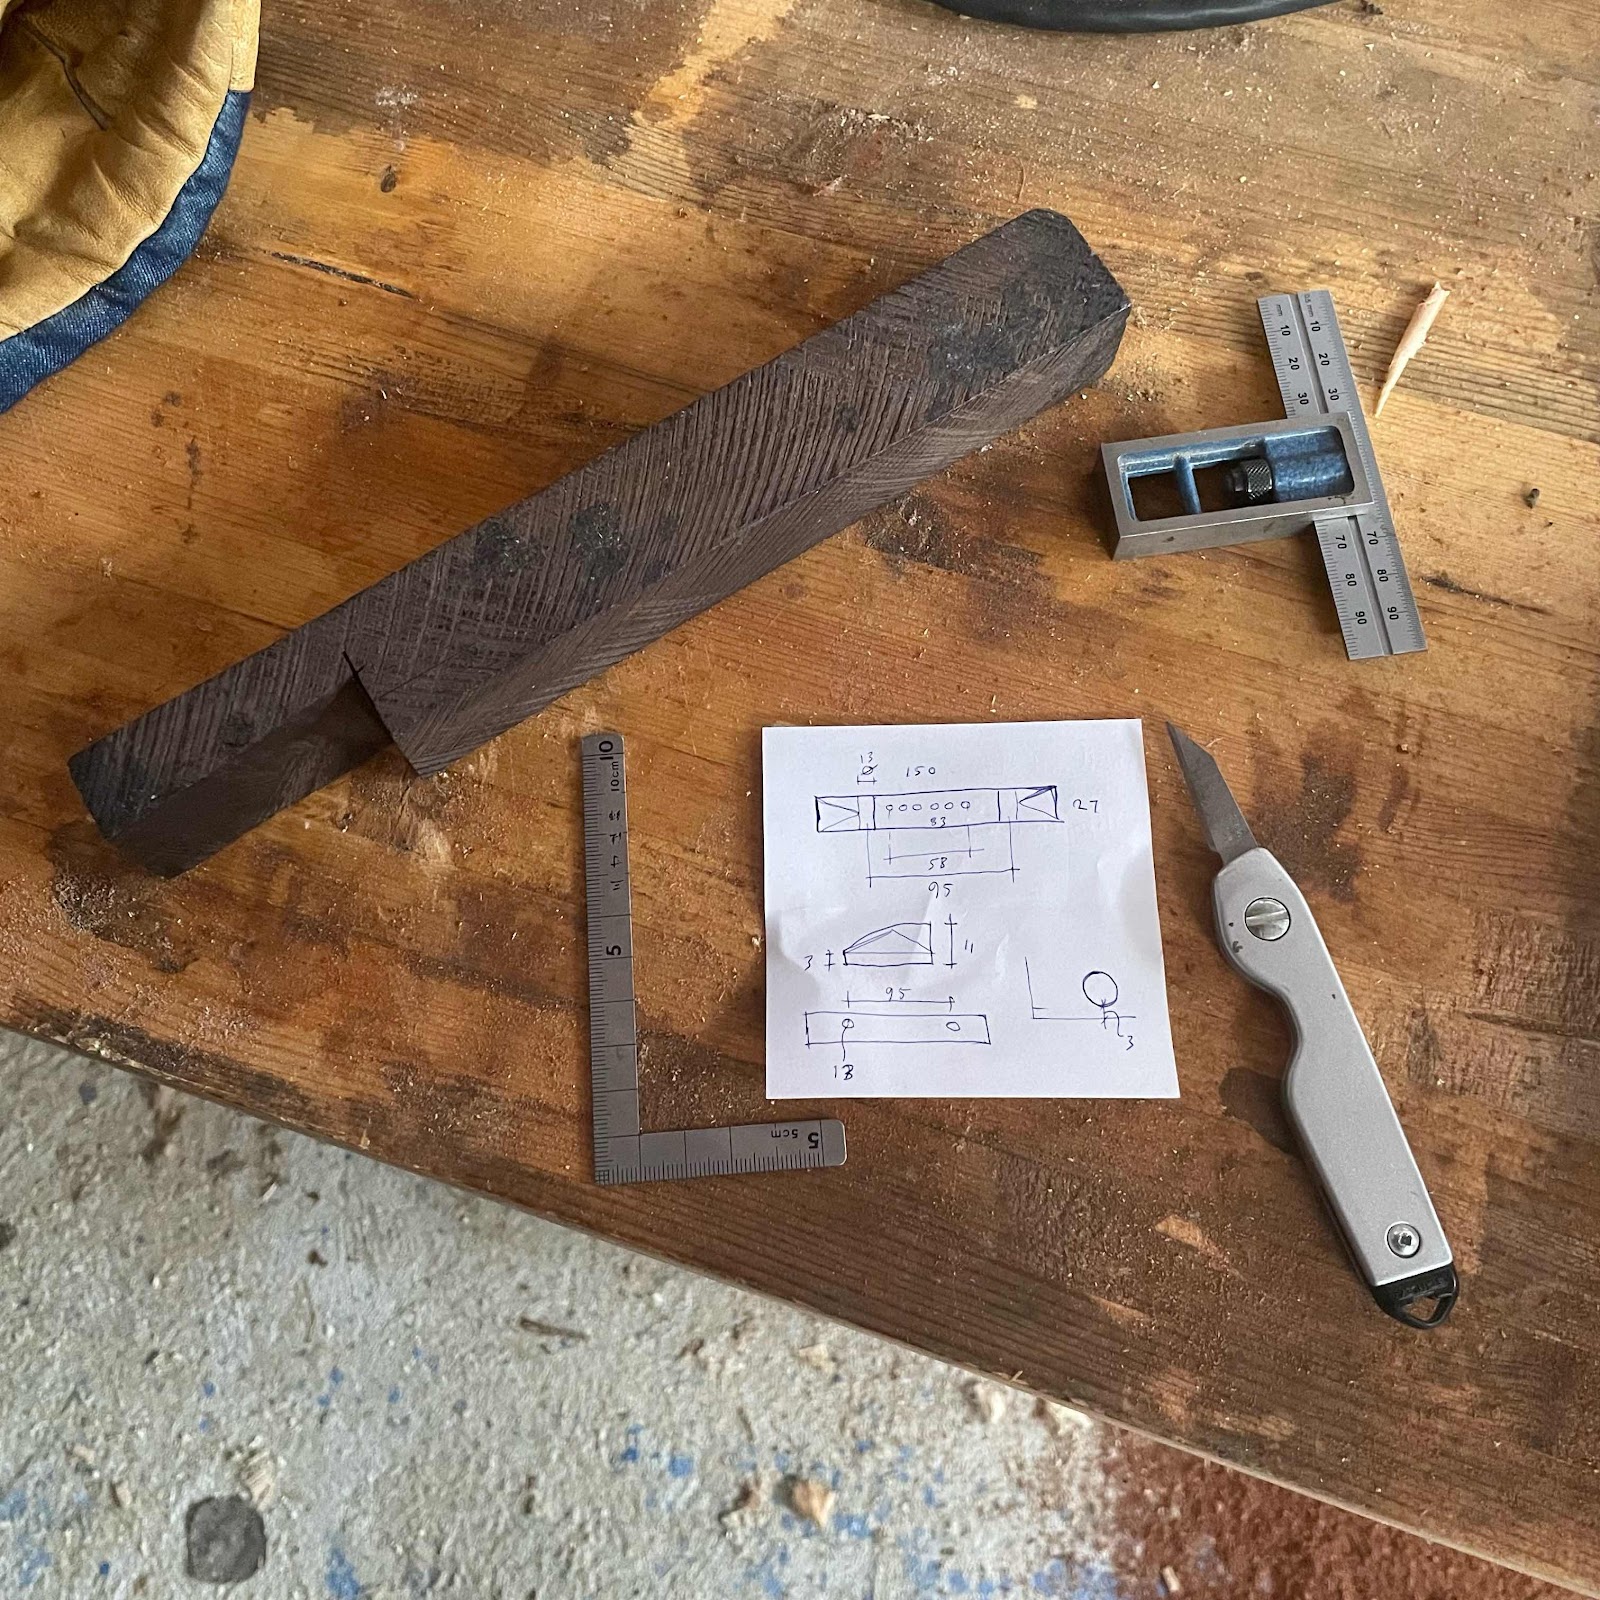
An old chunk of ebony will be the new bridge for Milo’s guitar. I measured the existing bridge and made a drawing so I didn’t have to bring the guitar to tge frozen hell that is the workshop at the cottage. 


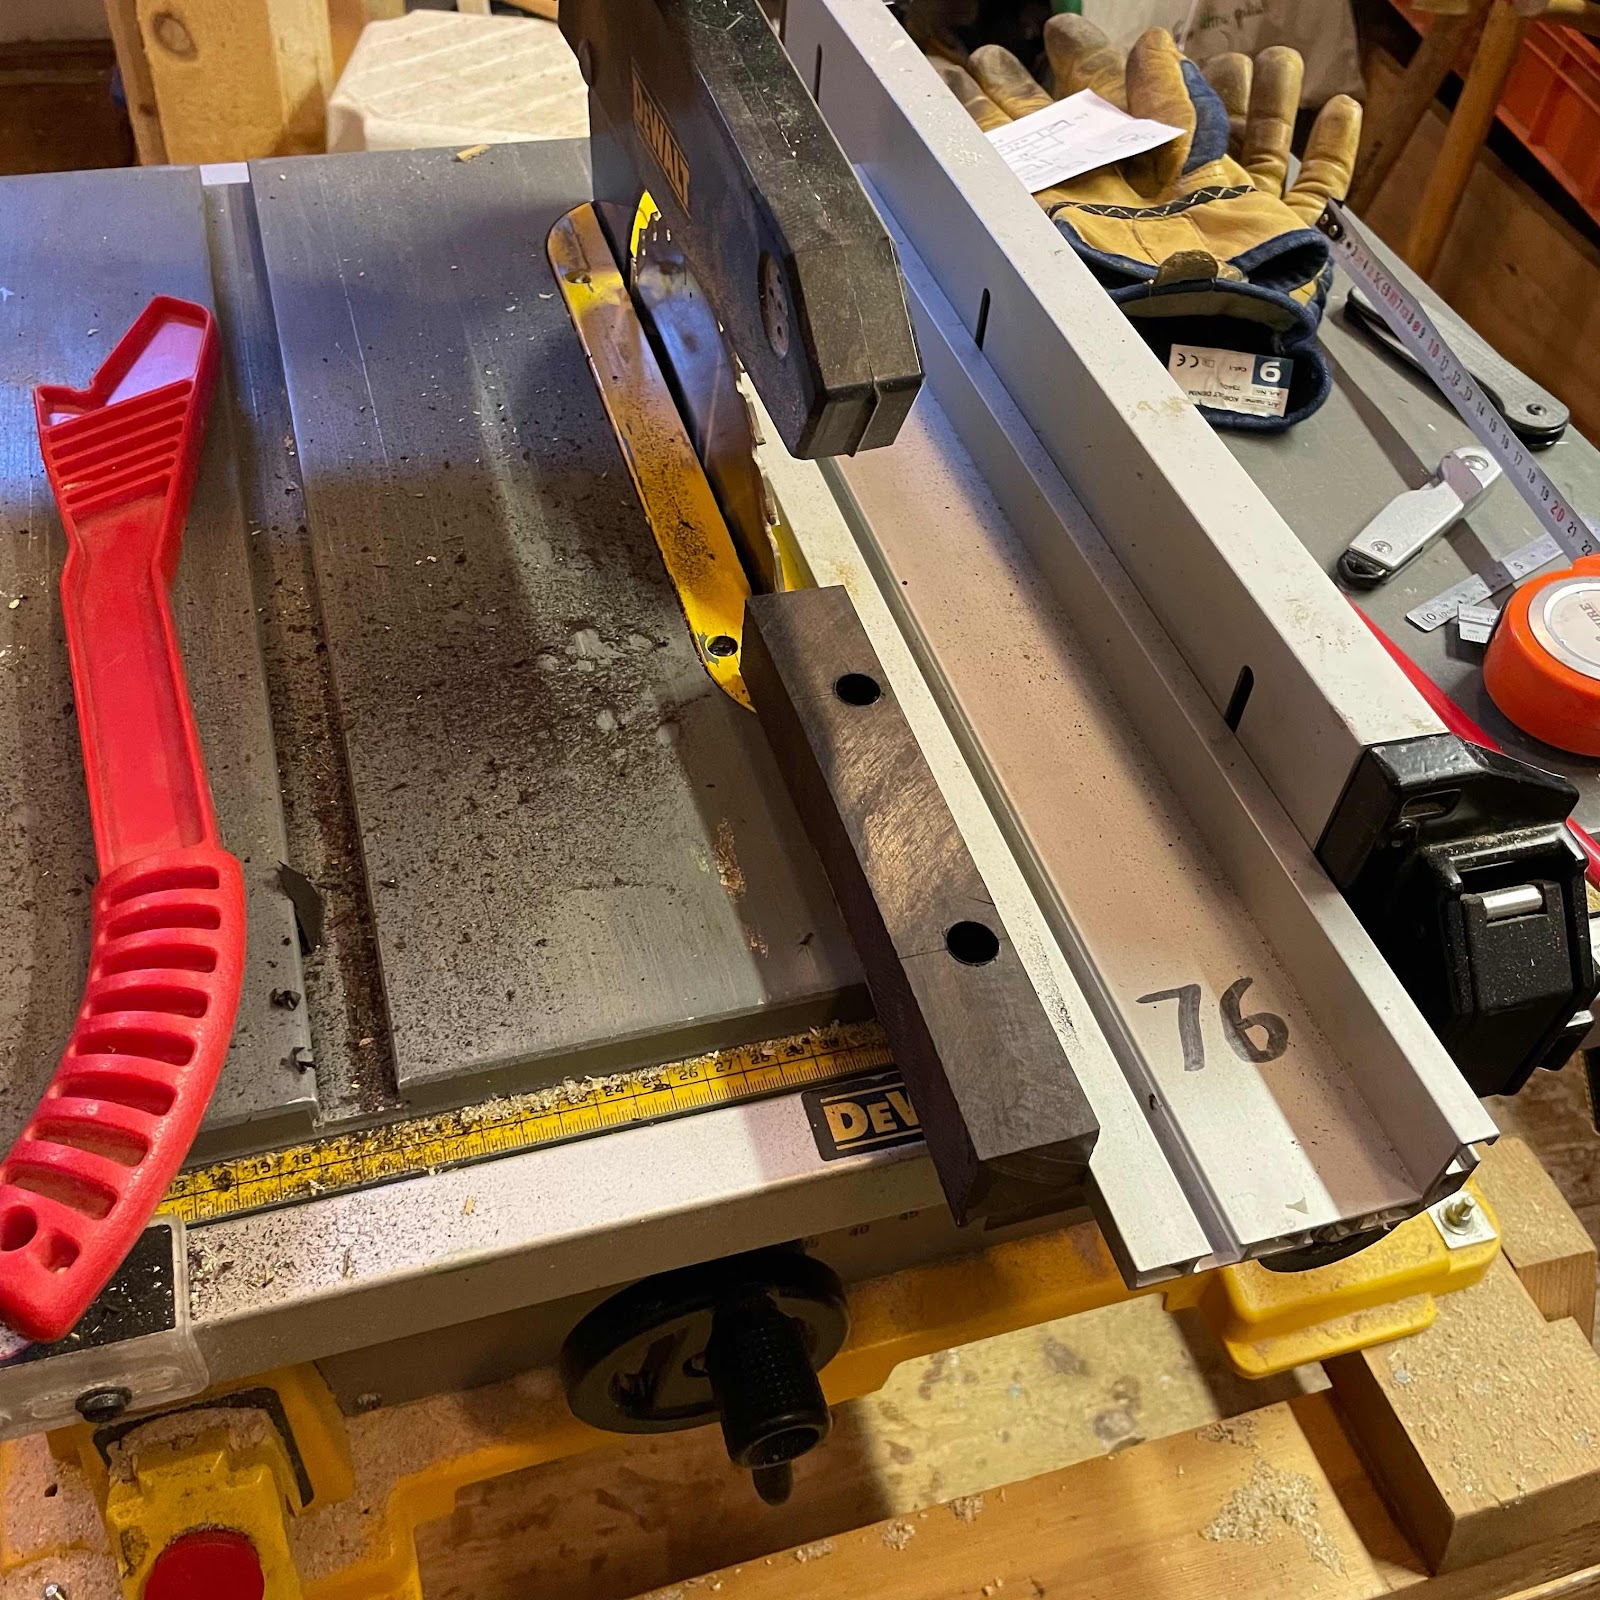
First I squared two sides of the chunk, then I drilled two 13 mm holes for the half-round grooves. Then I ripped it lengthwise. 


Like so. I cut it to length but kept it a couple of mm long, the reasoning being it’s better to have a slightly larger footprint to cover any boo-boos from removing the old one. 


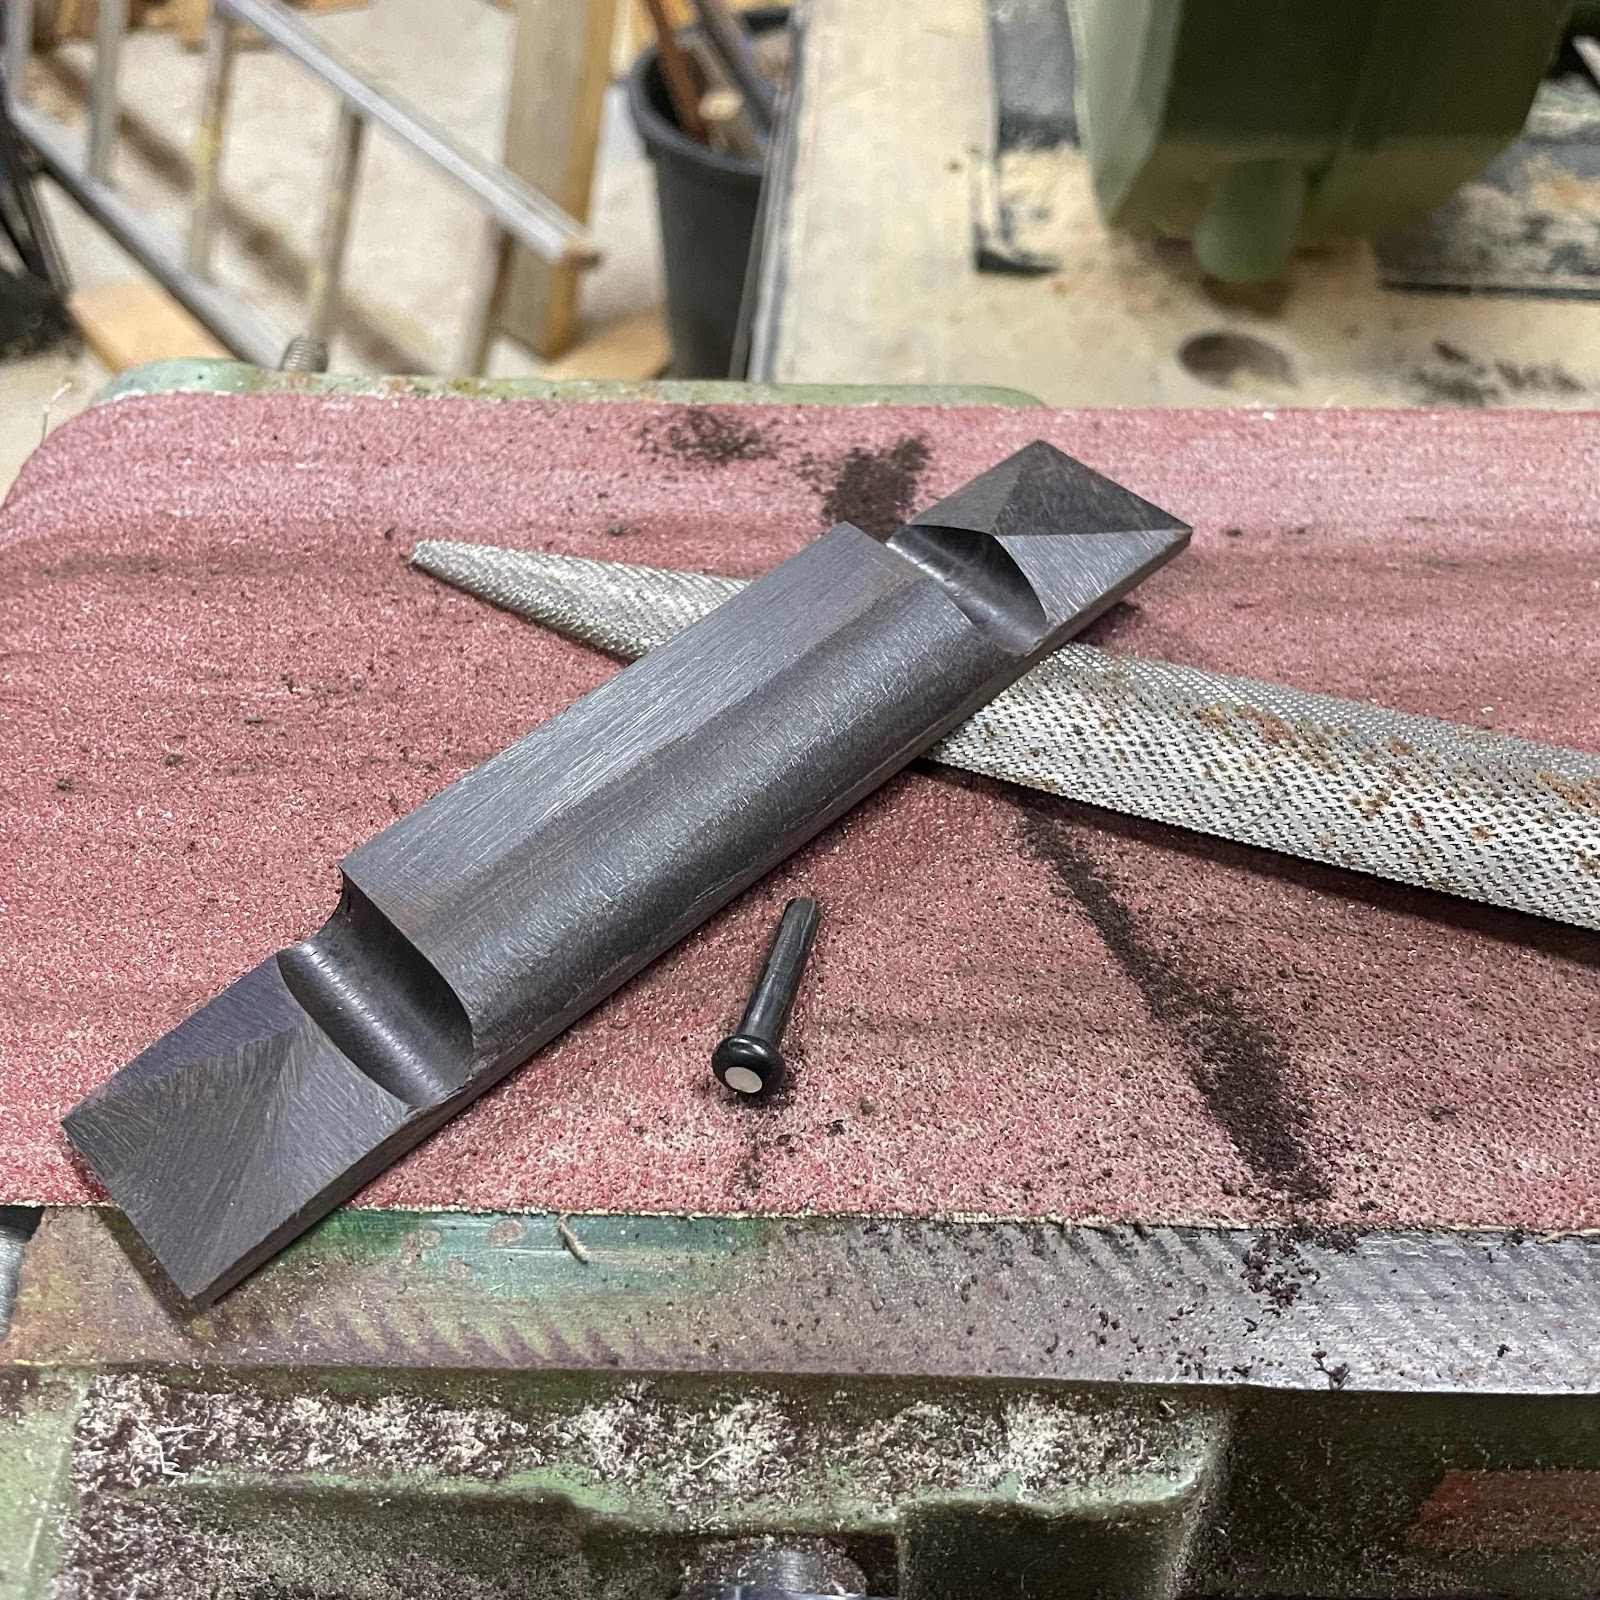
I tried to use a chisel to shape the three-sided pyramids but I could just as well have used the chisel on a piece of glass. So I roughed them out on the belt sander. I know! Show me a builder who’s made more derogatory remarks about abrasives than me and I’ll be impressed. 


Then to make amends I switched to a French handcut rasp, crazily expensive but for this, invaluable. 


And here’s where we’re at. I won’t go further without the old bridge beside me, but the heavy work is done and with the luxury rasp, a sharp file and some scrapers I can continue in the apartment. 


Saturday, November 27, 2021

Resawing shelves, continued

Back at the cottage with some time to spare, so I soldiered on with the kerfing plane. In this pic you can see the mini bench or table vise from Sjöbergs, makers of the fantastic workbenches. I have it mounted on the veranda with machine screw inserts so it fairly rigid, at least as rigid as the quite rickety house. 


One more pic to show you the surroundings. Even in bleak November weather, there is no place as beautiful as this archipelago. 


To make the kerfs in the ends of the board I needed a bigger vise so I relocated to the workshop where my bench and shopmade wooden vise resides. 


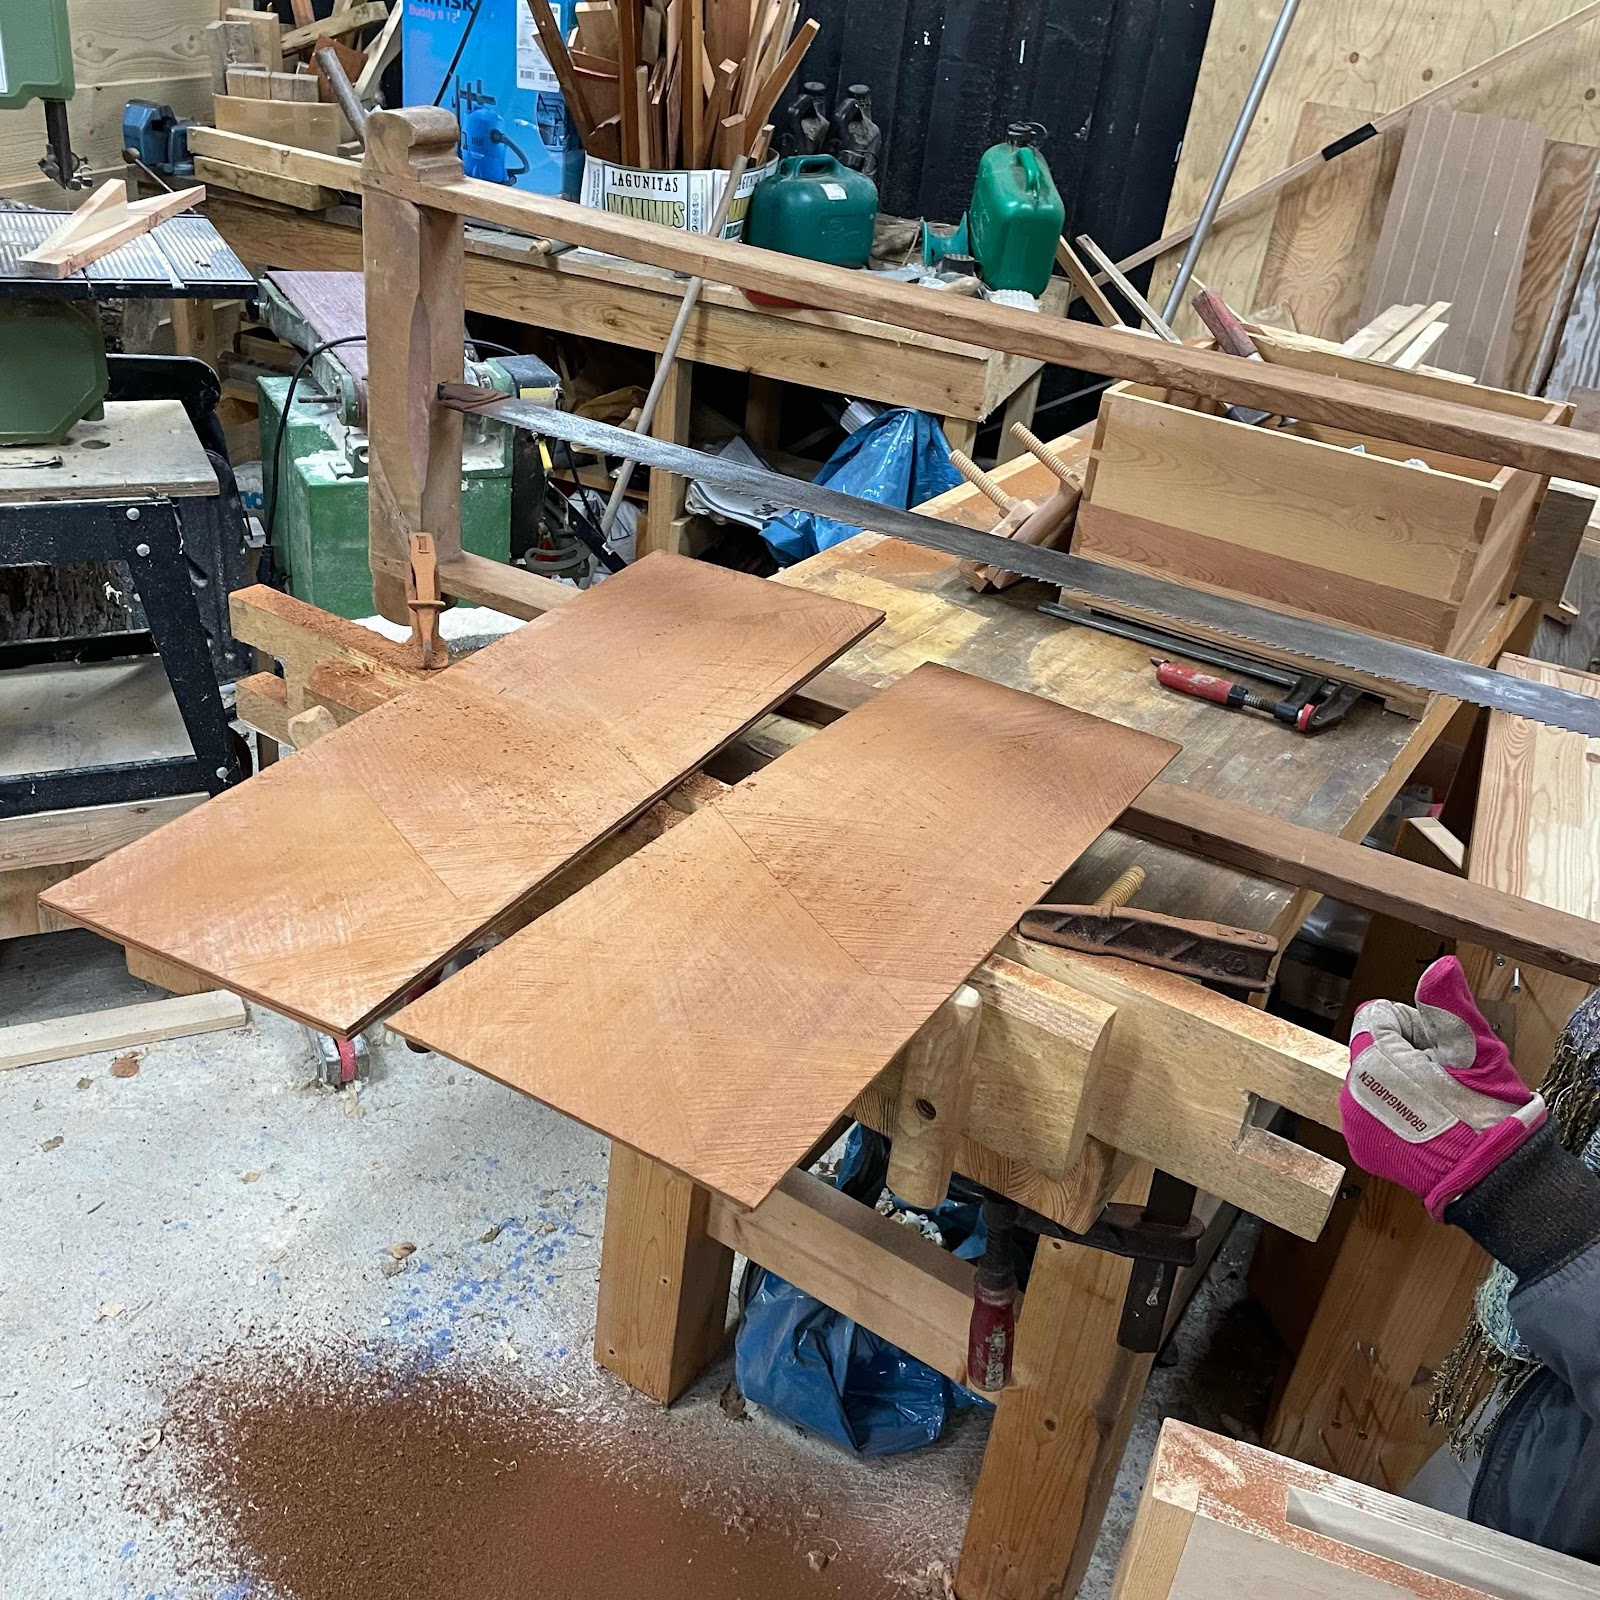
Once the board was slotted all around I enlisted my wife Ann to help me wrangle the humongous frame saw. It rips like crazy, and works especially well in dry mahogany. Walnut and cherry tend to steer the blade with the longer fibers but today the blade followed the kerfs just as intended. 


And the first slice is off the board. It took us around 40 minutes and we are still married so I count that as a total success. Maybe we’ll attack the next slice tomorrow, after hunting seafowl in the morning. 


Sunday, November 7, 2021

I’m alive, and the Apa is Arg!

Hell-o my friendly readers. Please forgive me for being absent for four months. As you may remember the workshop is packed in crates (and heaps) and other stuff is going on. We’ve moved to a new apartment, one of those bog standard ones with no workshop, and we’re building a new house nay an entire homestead. 

But when packing stuff away earlier this summer I stumbled upon that fine mahogany bookcase I got from a friend, and I’ve been longing to start working on it. So I chose two pieces with fine grain and cut the edges and ends square. Then I set the kerfing plane and started. 

First pic. Remember the frame saws? I built the wee one myself with a blade from Badaxe Toolworks. The huge one I bought at a flea market. 


Here you can see the grain. The length of the boards makes it possible to make one piece rims for sopranos, that is my preference these days. Tops and backs will of cöurse be one piece. 


Slicing off the bead at the front edge…


… and cutting the ends square. 


My shopmade kerfing plane takes a while to set up. I want to slice these into three pieces. 


The outer pieces will be 4 mm, the middle piece slightly thicker. This will give me some wiggle room. 


The cuts will go around all four edges to steer the frame saw blade, I will continue next time I’m at the cottage. 


And the homestead project then:


Monday, March 22, 2021

A speedy piccolo build

I got some mojo shock yesterday and really wanted to knock out a piccolo. 

I planed down the rim piece to 1.5 mm, it took a while but I didn’t feel like whipping out the drum sander. Plus I feel I connect to the wood when I use a hand plane, this time my Record no.5. 


The piccolo have such small radii that the rim needs to be thinner to bend well. It went alright, and any wonkiness I just blame on the original wee uke I made the templates from was anything but symmetrical. 


Keeping to hand tools I cut out the top and back with a coping saw that I got from a flea market. 


Soundhole, cut with my half kilo brass rosette cutter. 


End block went in yesterday evening. This morning I glued in the kerfed lining strips in the rim before I went to work so it would cure while I was away.


Next pic, the rim glued to the top on the solera. 


On to the neck! I planed the fretboard and the peghead surfaces flat and true to each other. On of the tasks I sort of wish took a while longer, because I enjoy planing. 


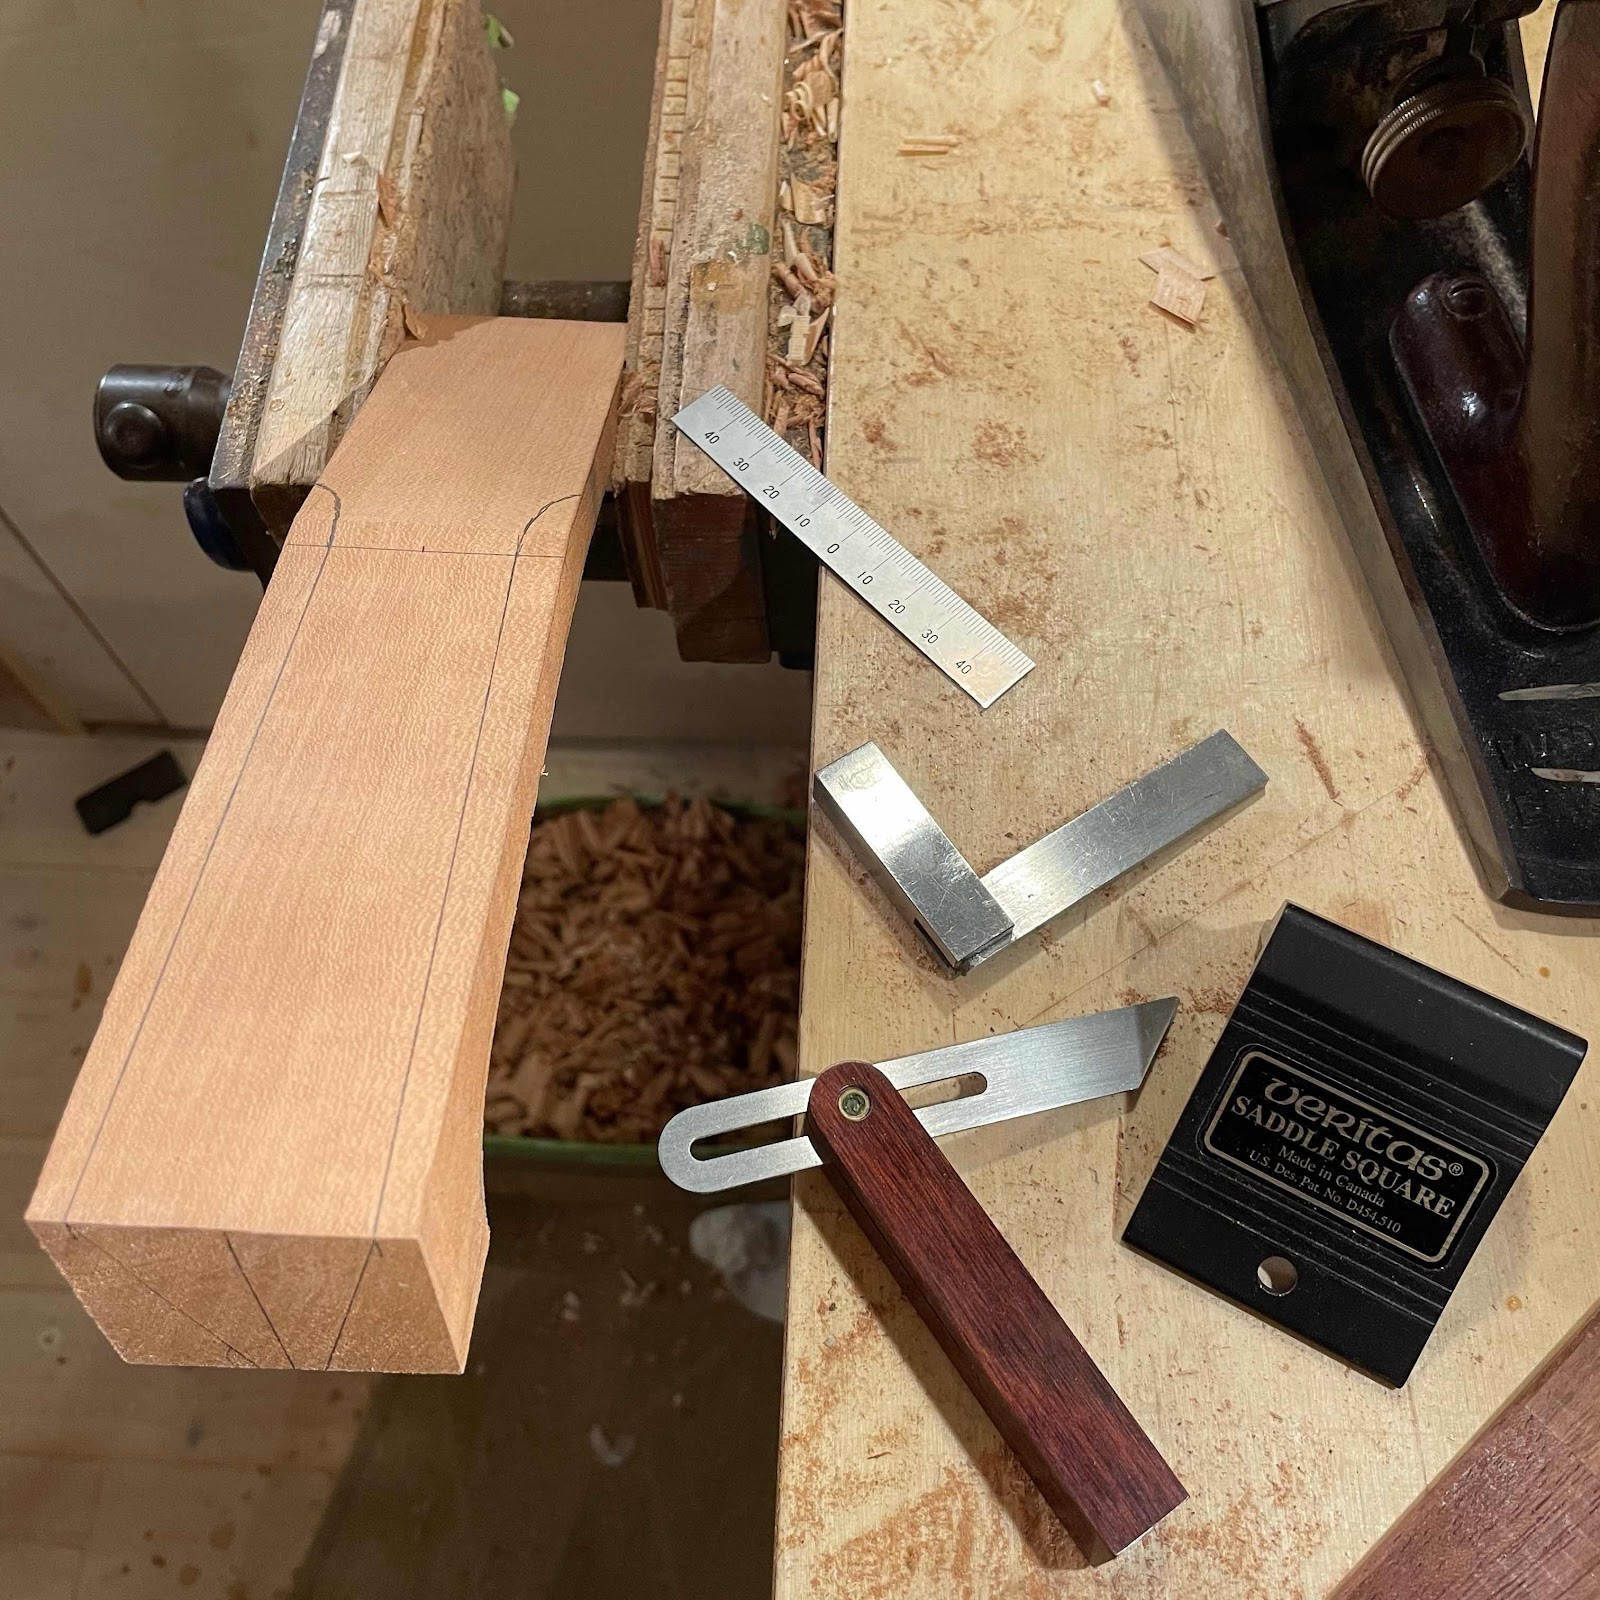
Marking out with a centre find rule, a machinist’s square, a sliding bevel and a saddle square. 


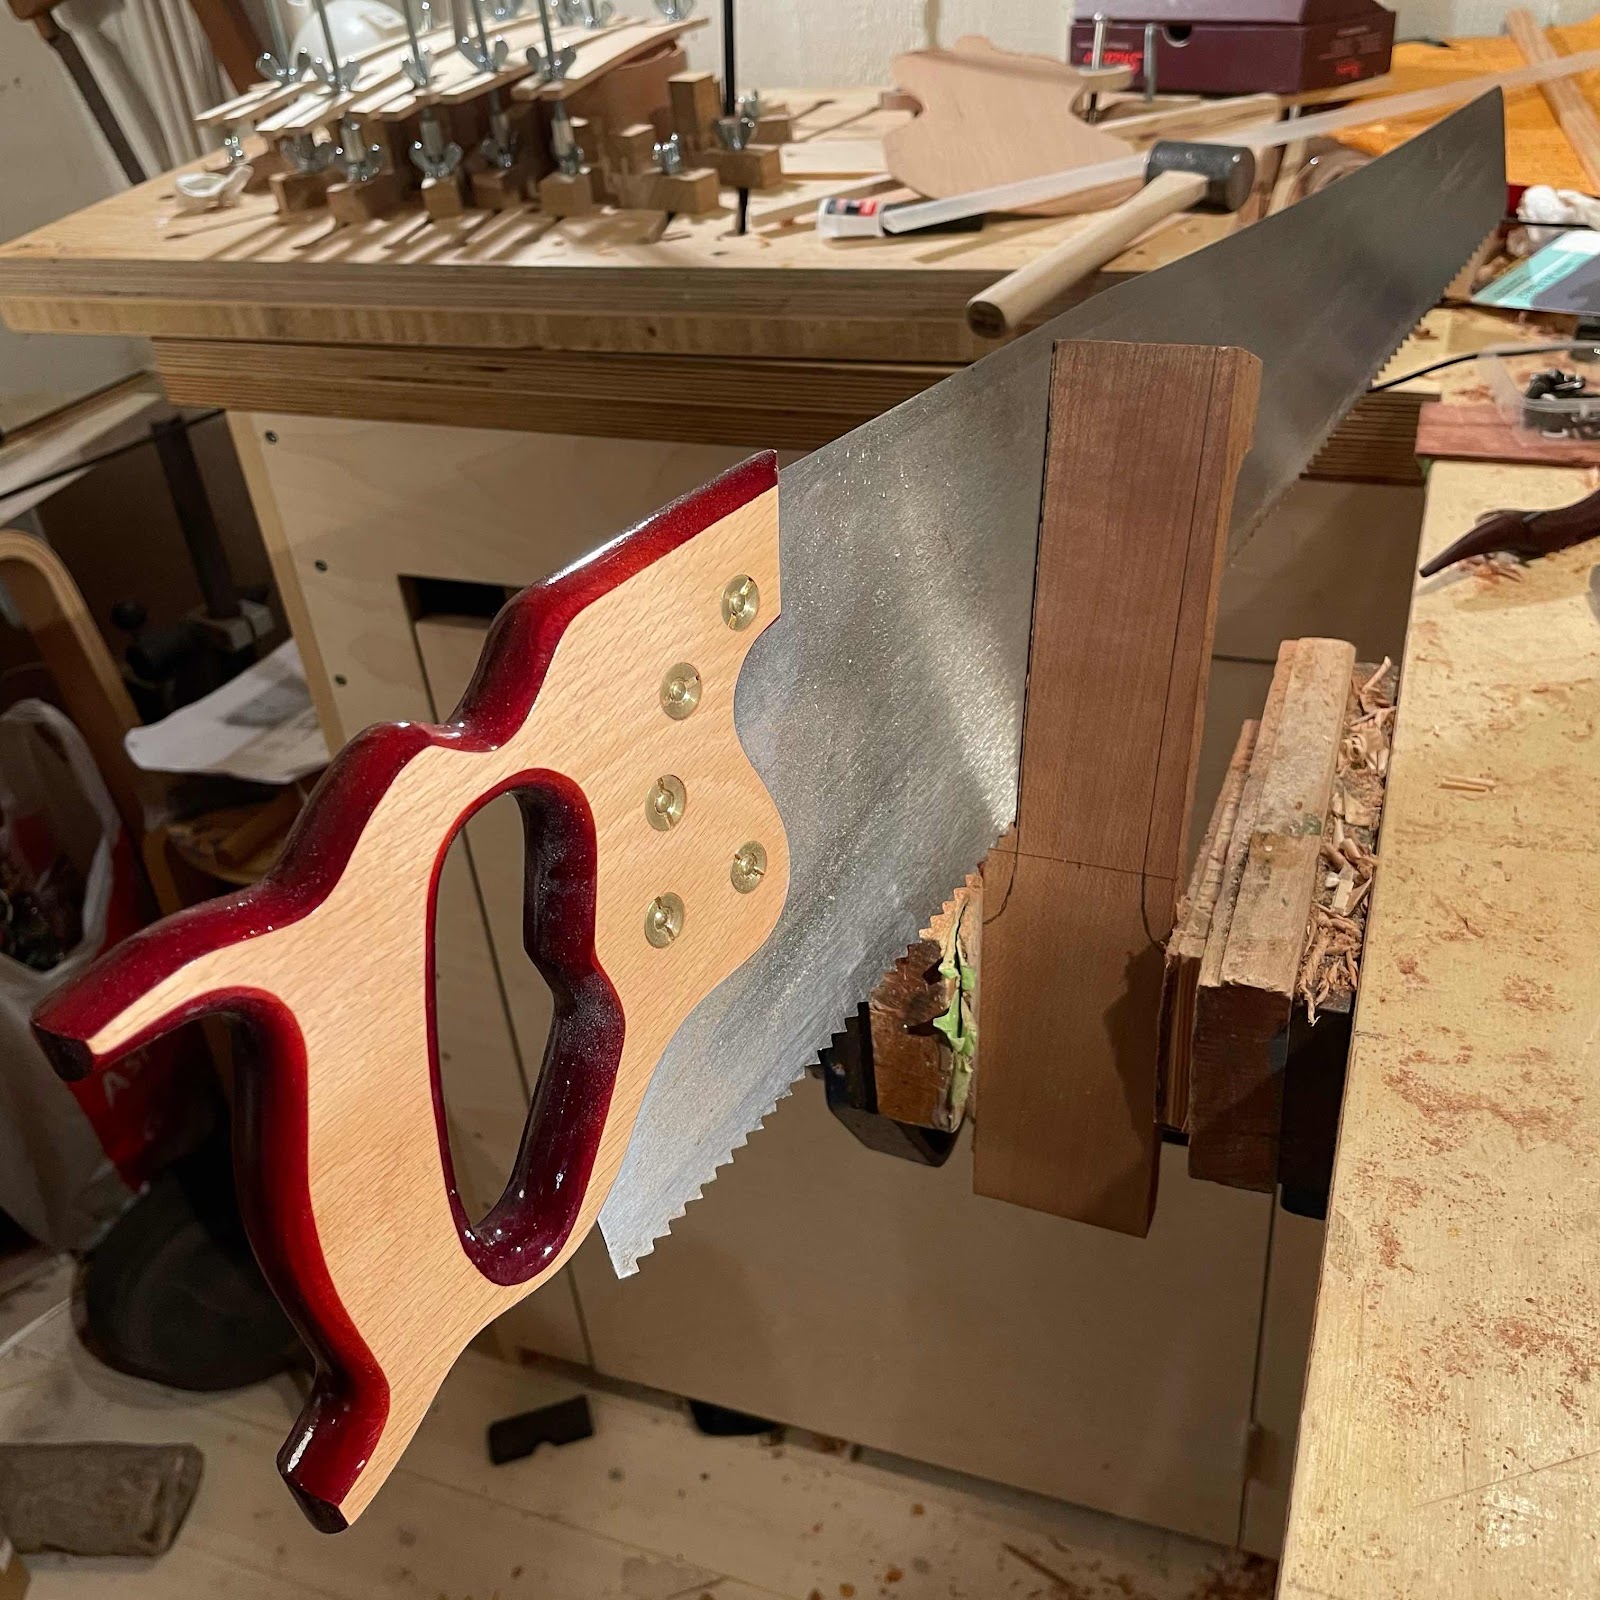
Then the Pax rip saw makes short work of taking it down towards width. 


A sharp Mora knife with a scandigrind wedge grind will cut through almost any wood in almost any direction, one exception being wenge which is slightly harder than glass. 


And carving the profile, here with my ancient Miller Falls cigar spokeshave. When it’s properly set up it is a uniqe tool, doing what no other spokeshave could. 


If I stayed upp all night, or stayed home from work tomorrow, this thing would be almost done on Wednesday. But I have other stuff to deal with and will leave it like this, at least until tomorrow morning.