Learning Ukulele 50 Sites Top 50 Ukulele Sites Argapa Ukuleles - one size louder: travel uke
Showing posts with label travel uke. Show all posts

Sunday, July 18, 2021

Travel uke completed, while travelling

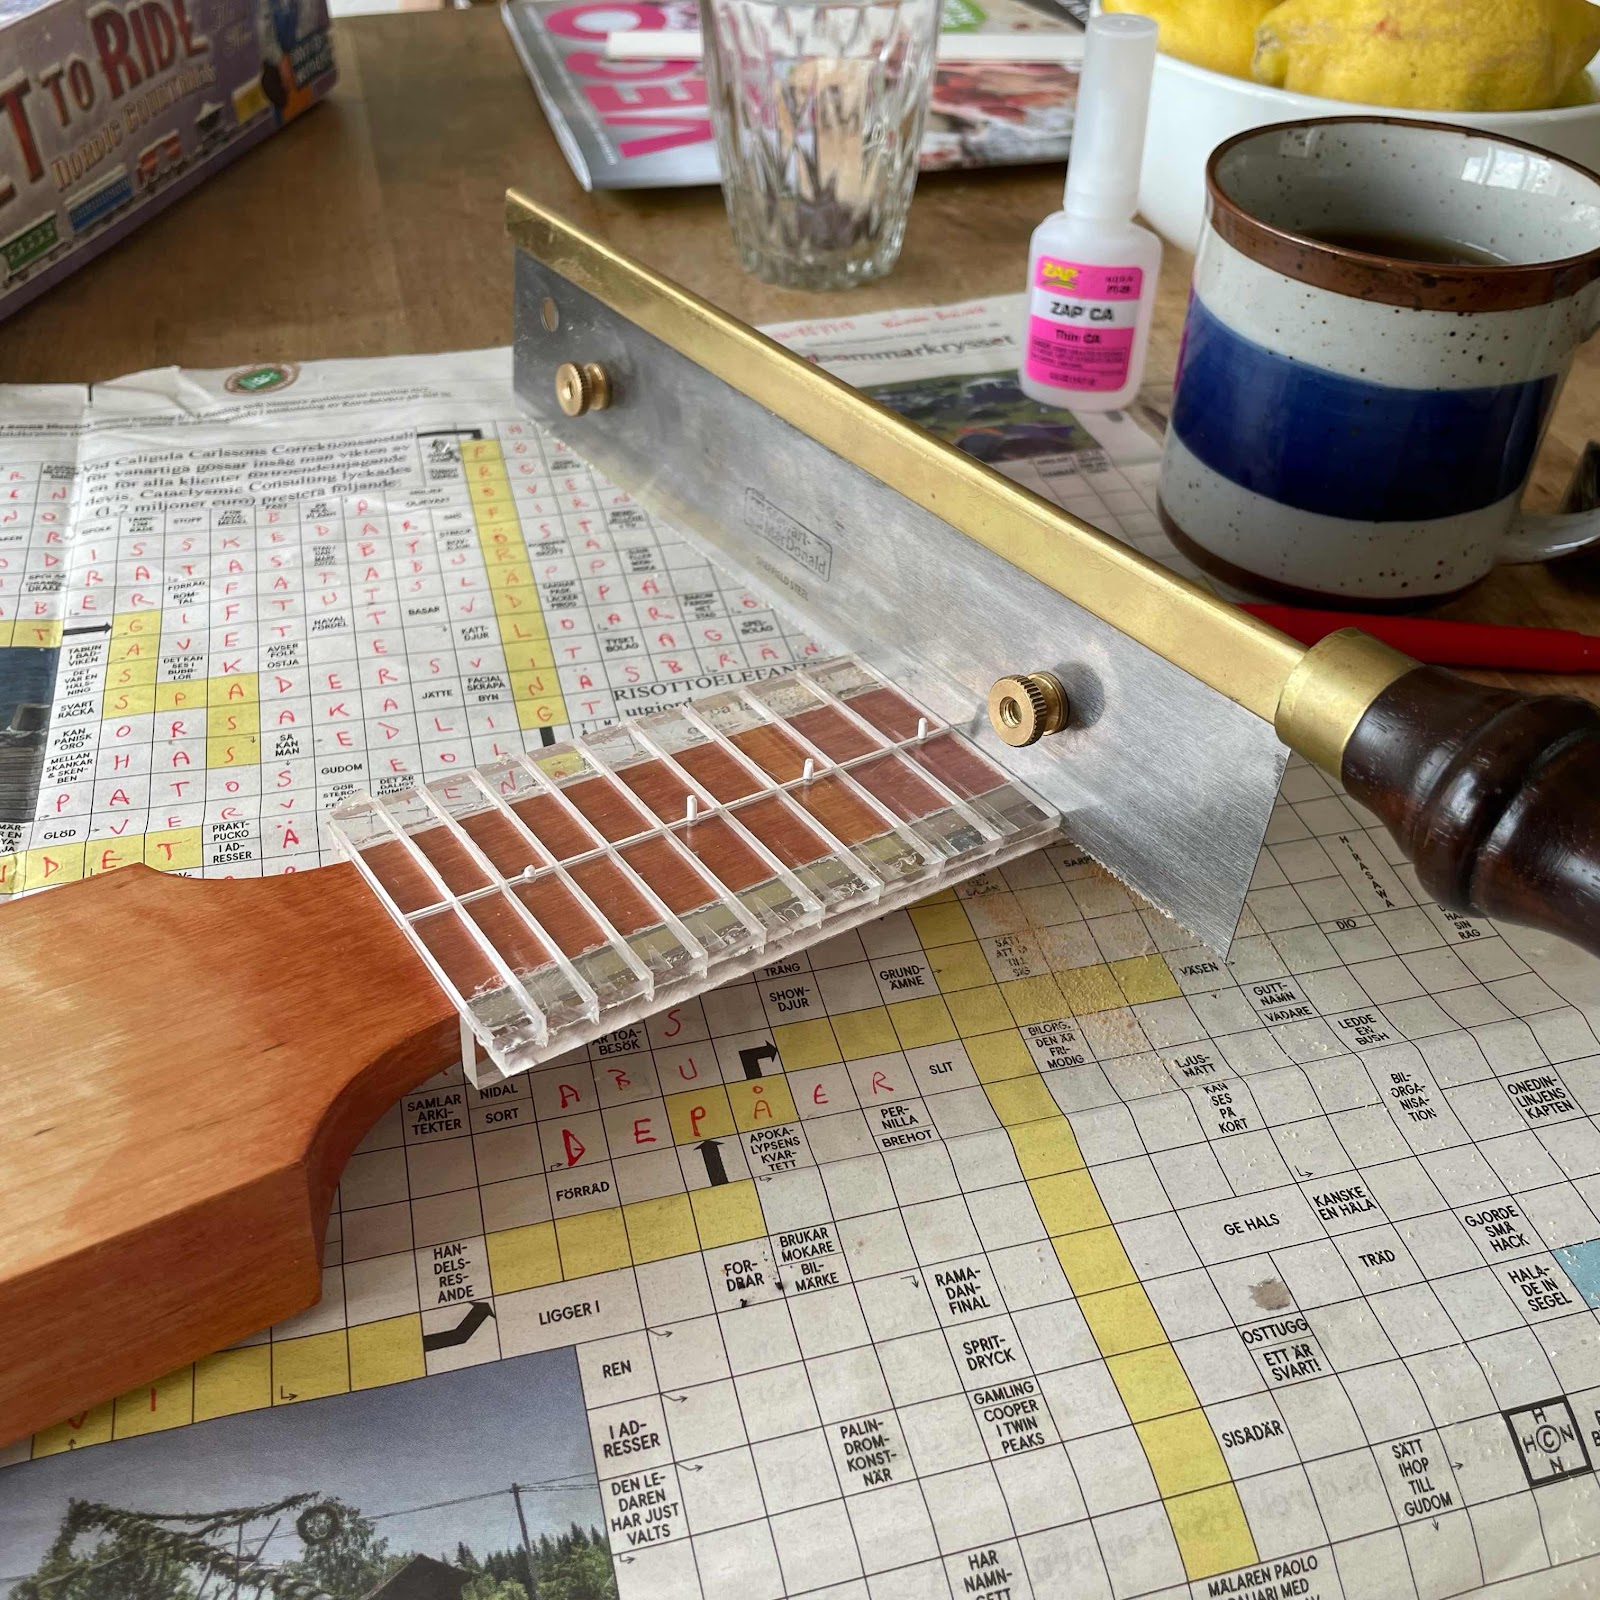
A few coats of shellac on the fretboard, and I noticed the shellac I brought is tinted red since the bass I made. Grr. It makes the alder look a bit like cherry. But let’s keep moving on. Holding the fret slotting jig with the styrene rod fret markers, I saw the slots. 


Then I press the frets in. Cut to length at with the ends rounded, because it would be impossible to shape them in situ like I would on a uke with a glued on fretboard. 
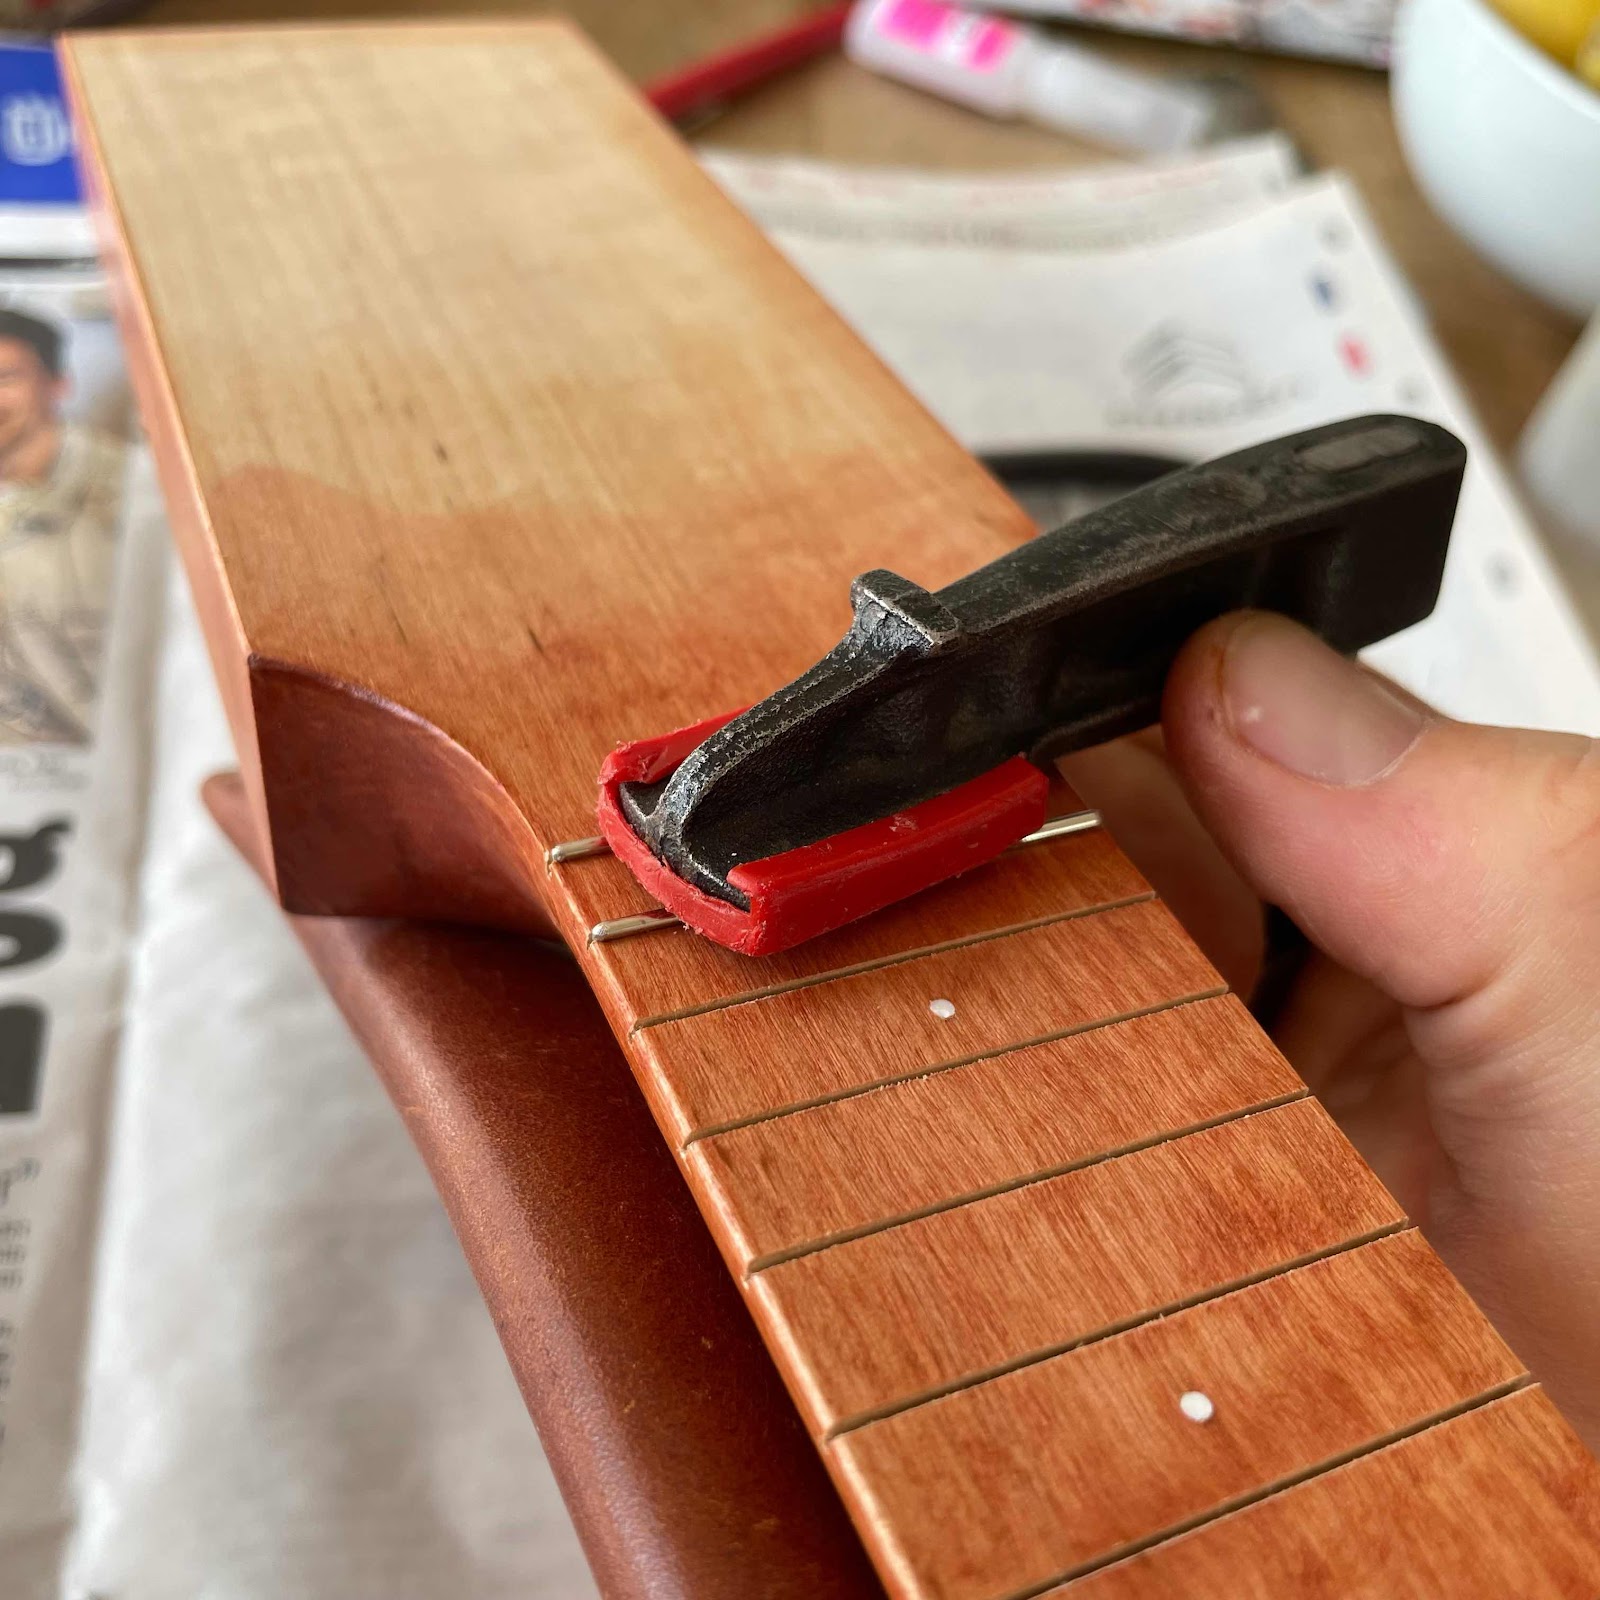


Ok. Not my proudest moment. Normally I’m quite good at securing the workpiece but this worked. 
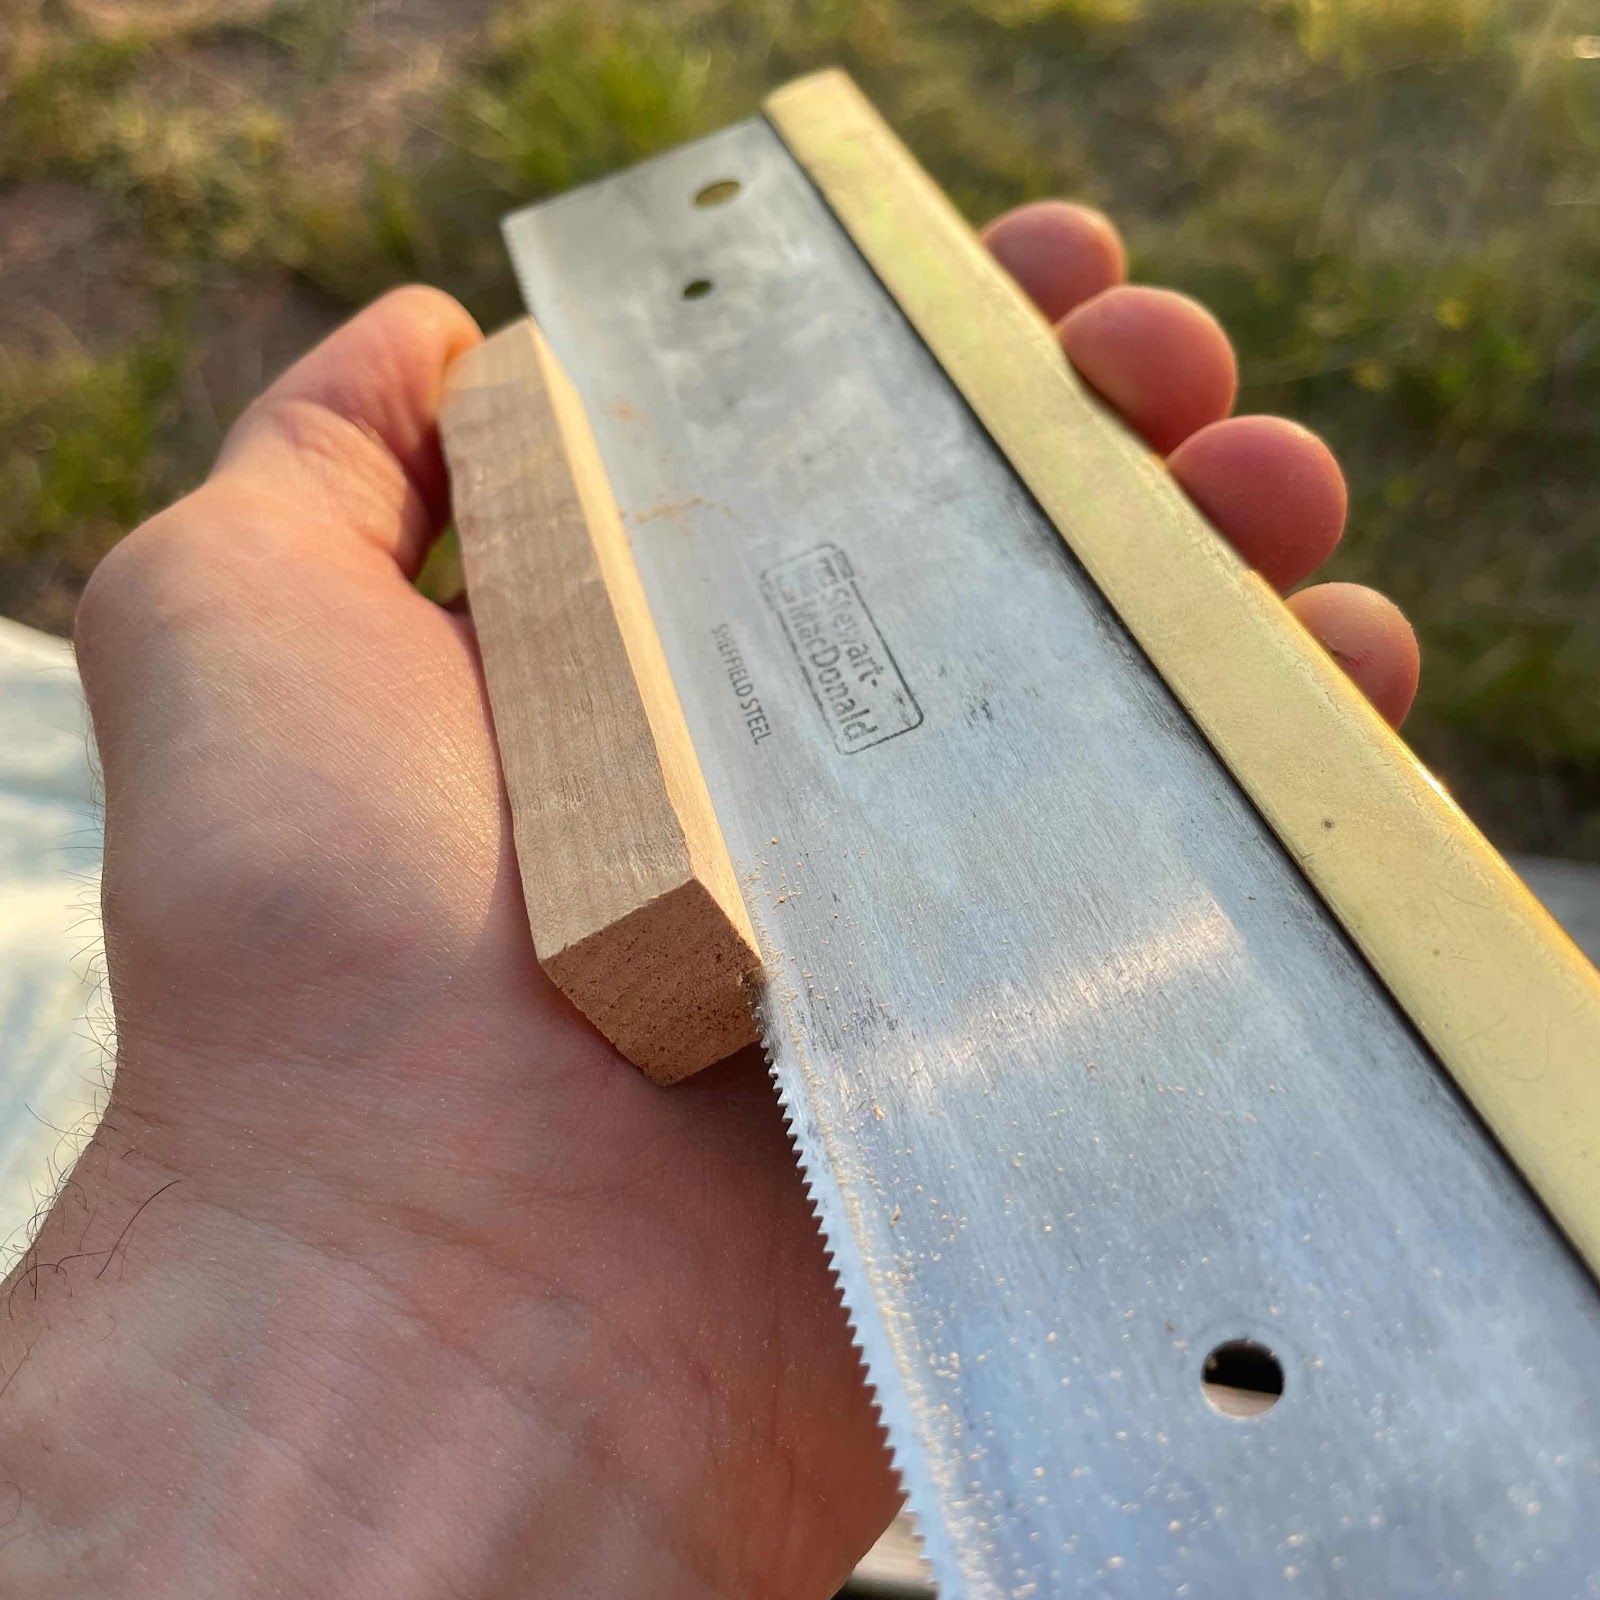


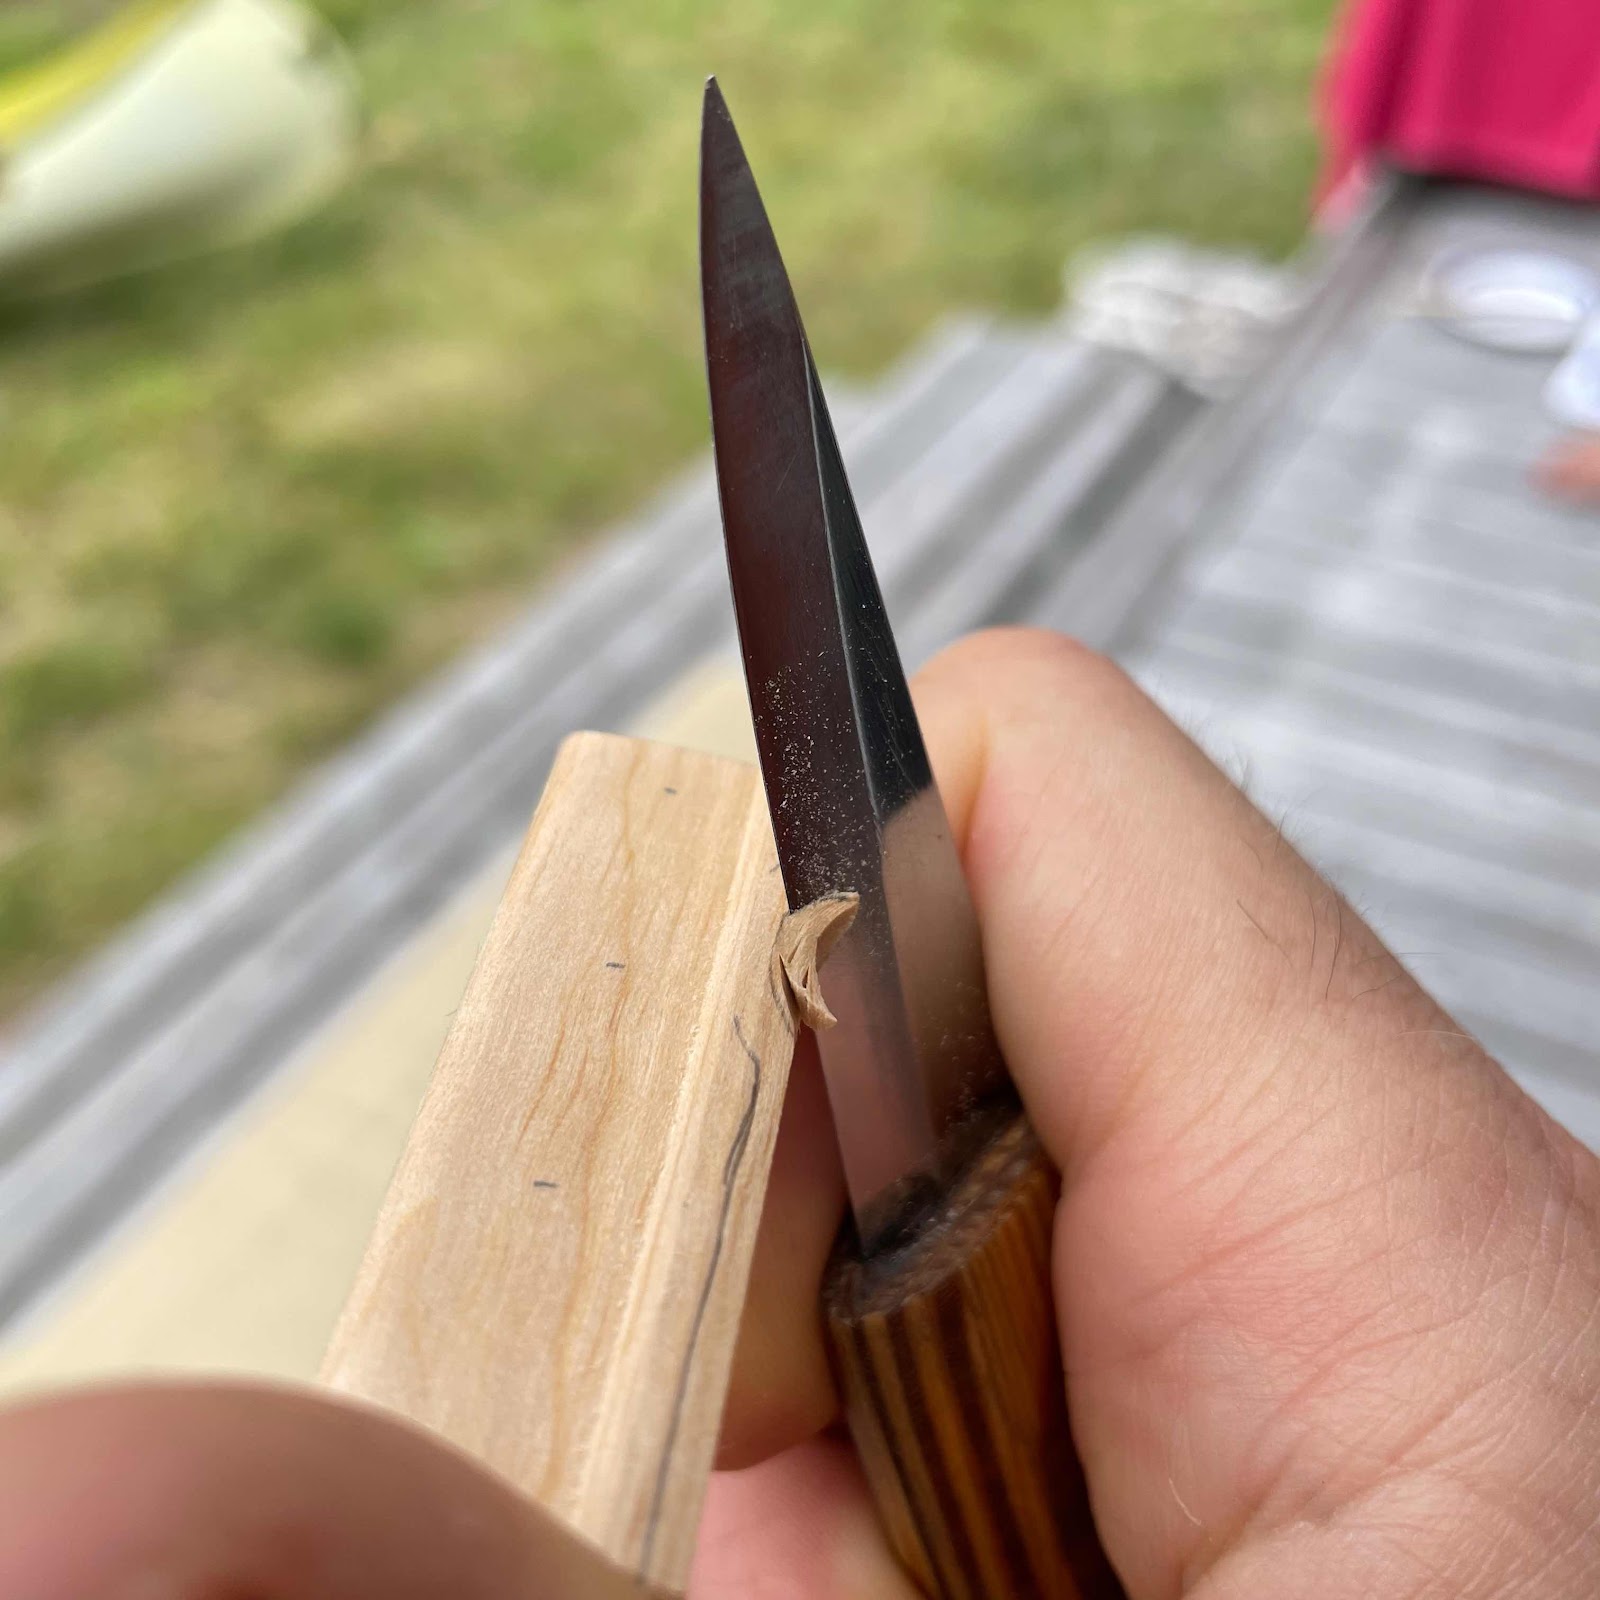
Continuing with a chisel and planes to get the profile. These bridges are tiny. 
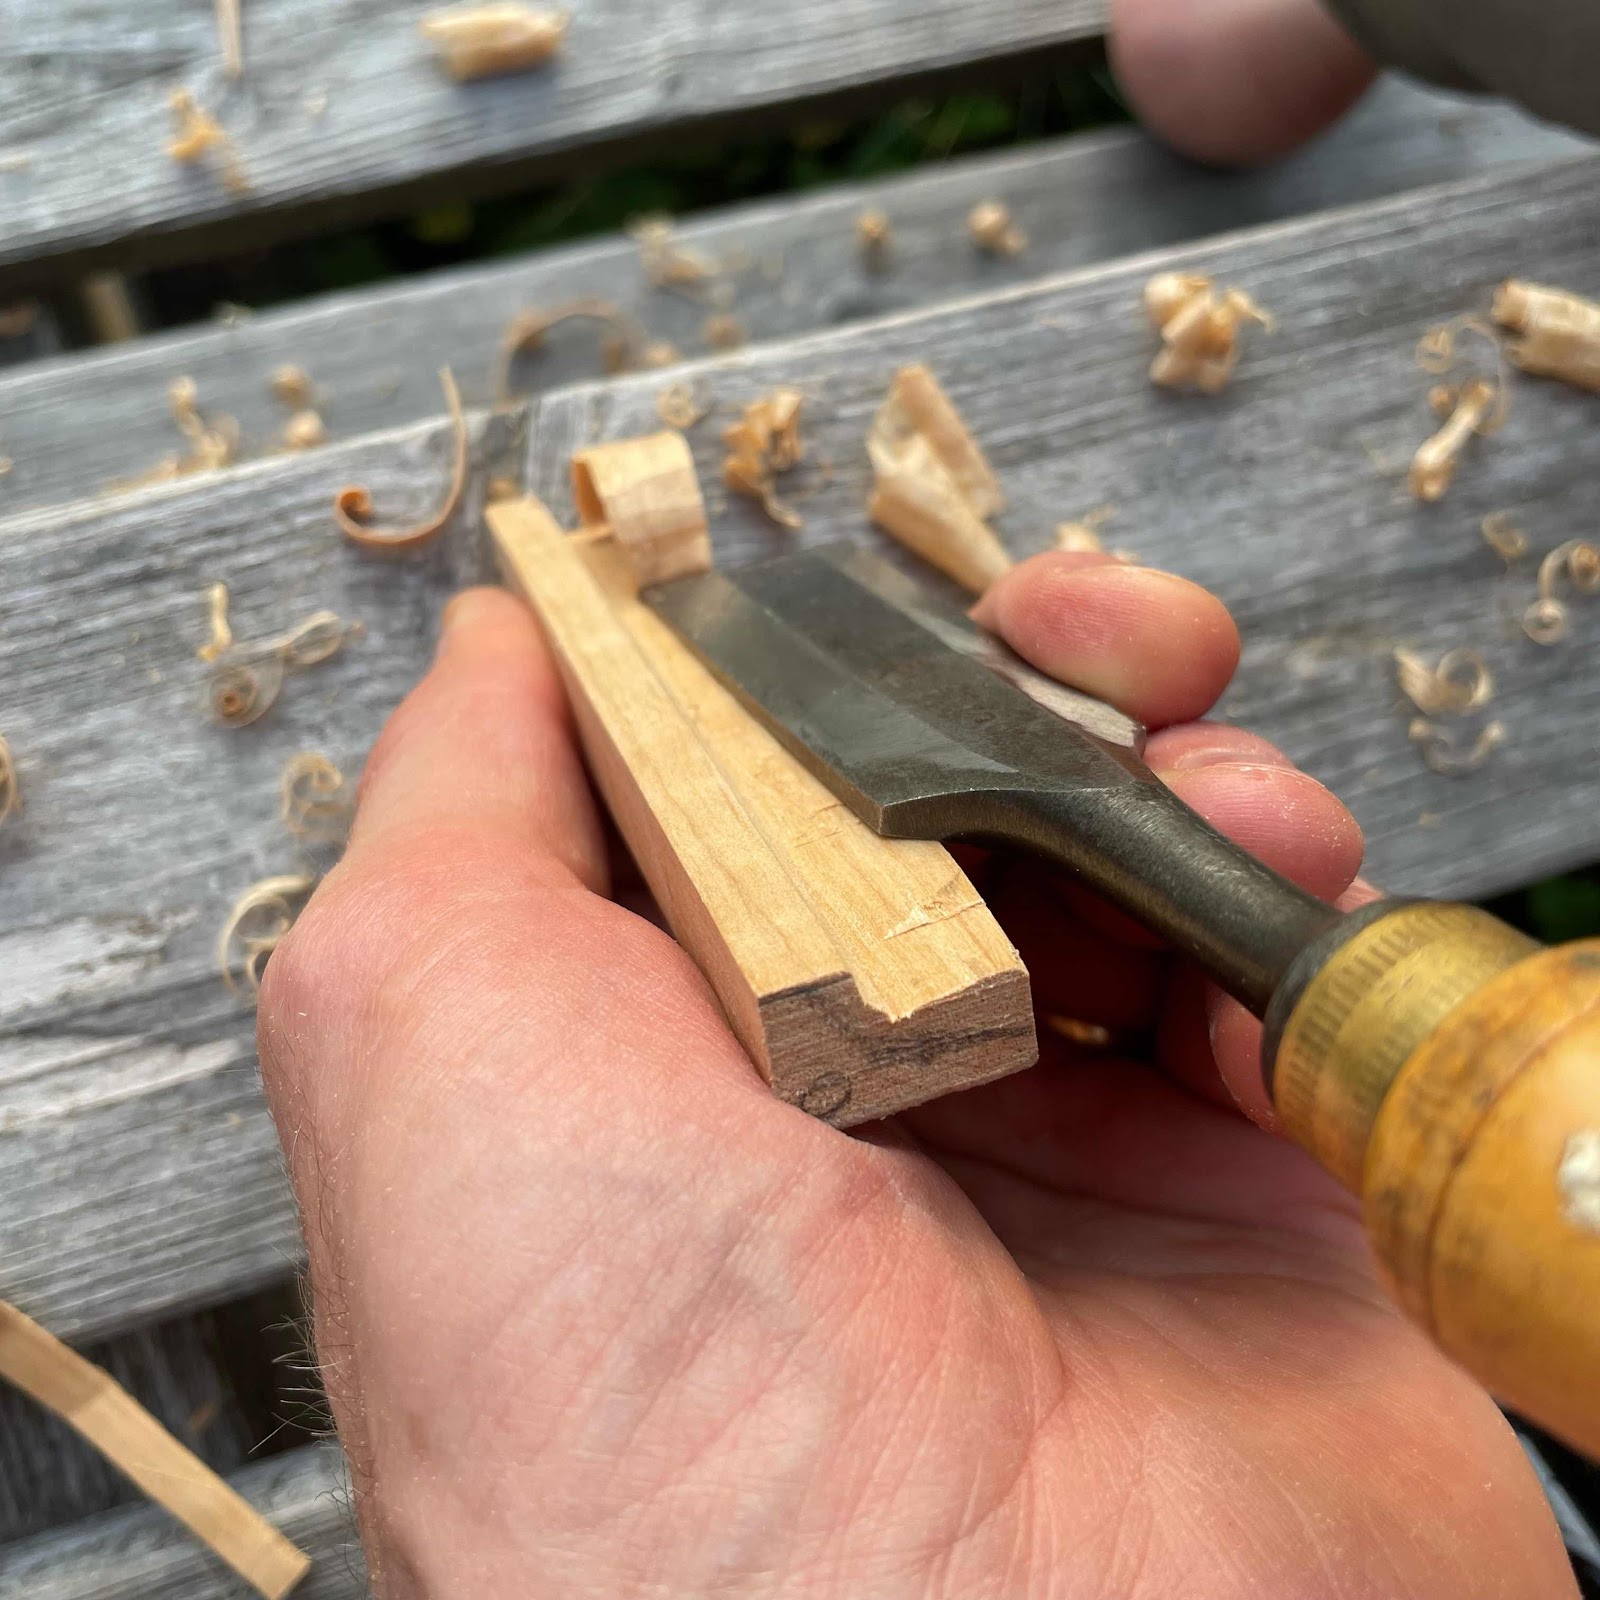


And compensating for the C-string. 


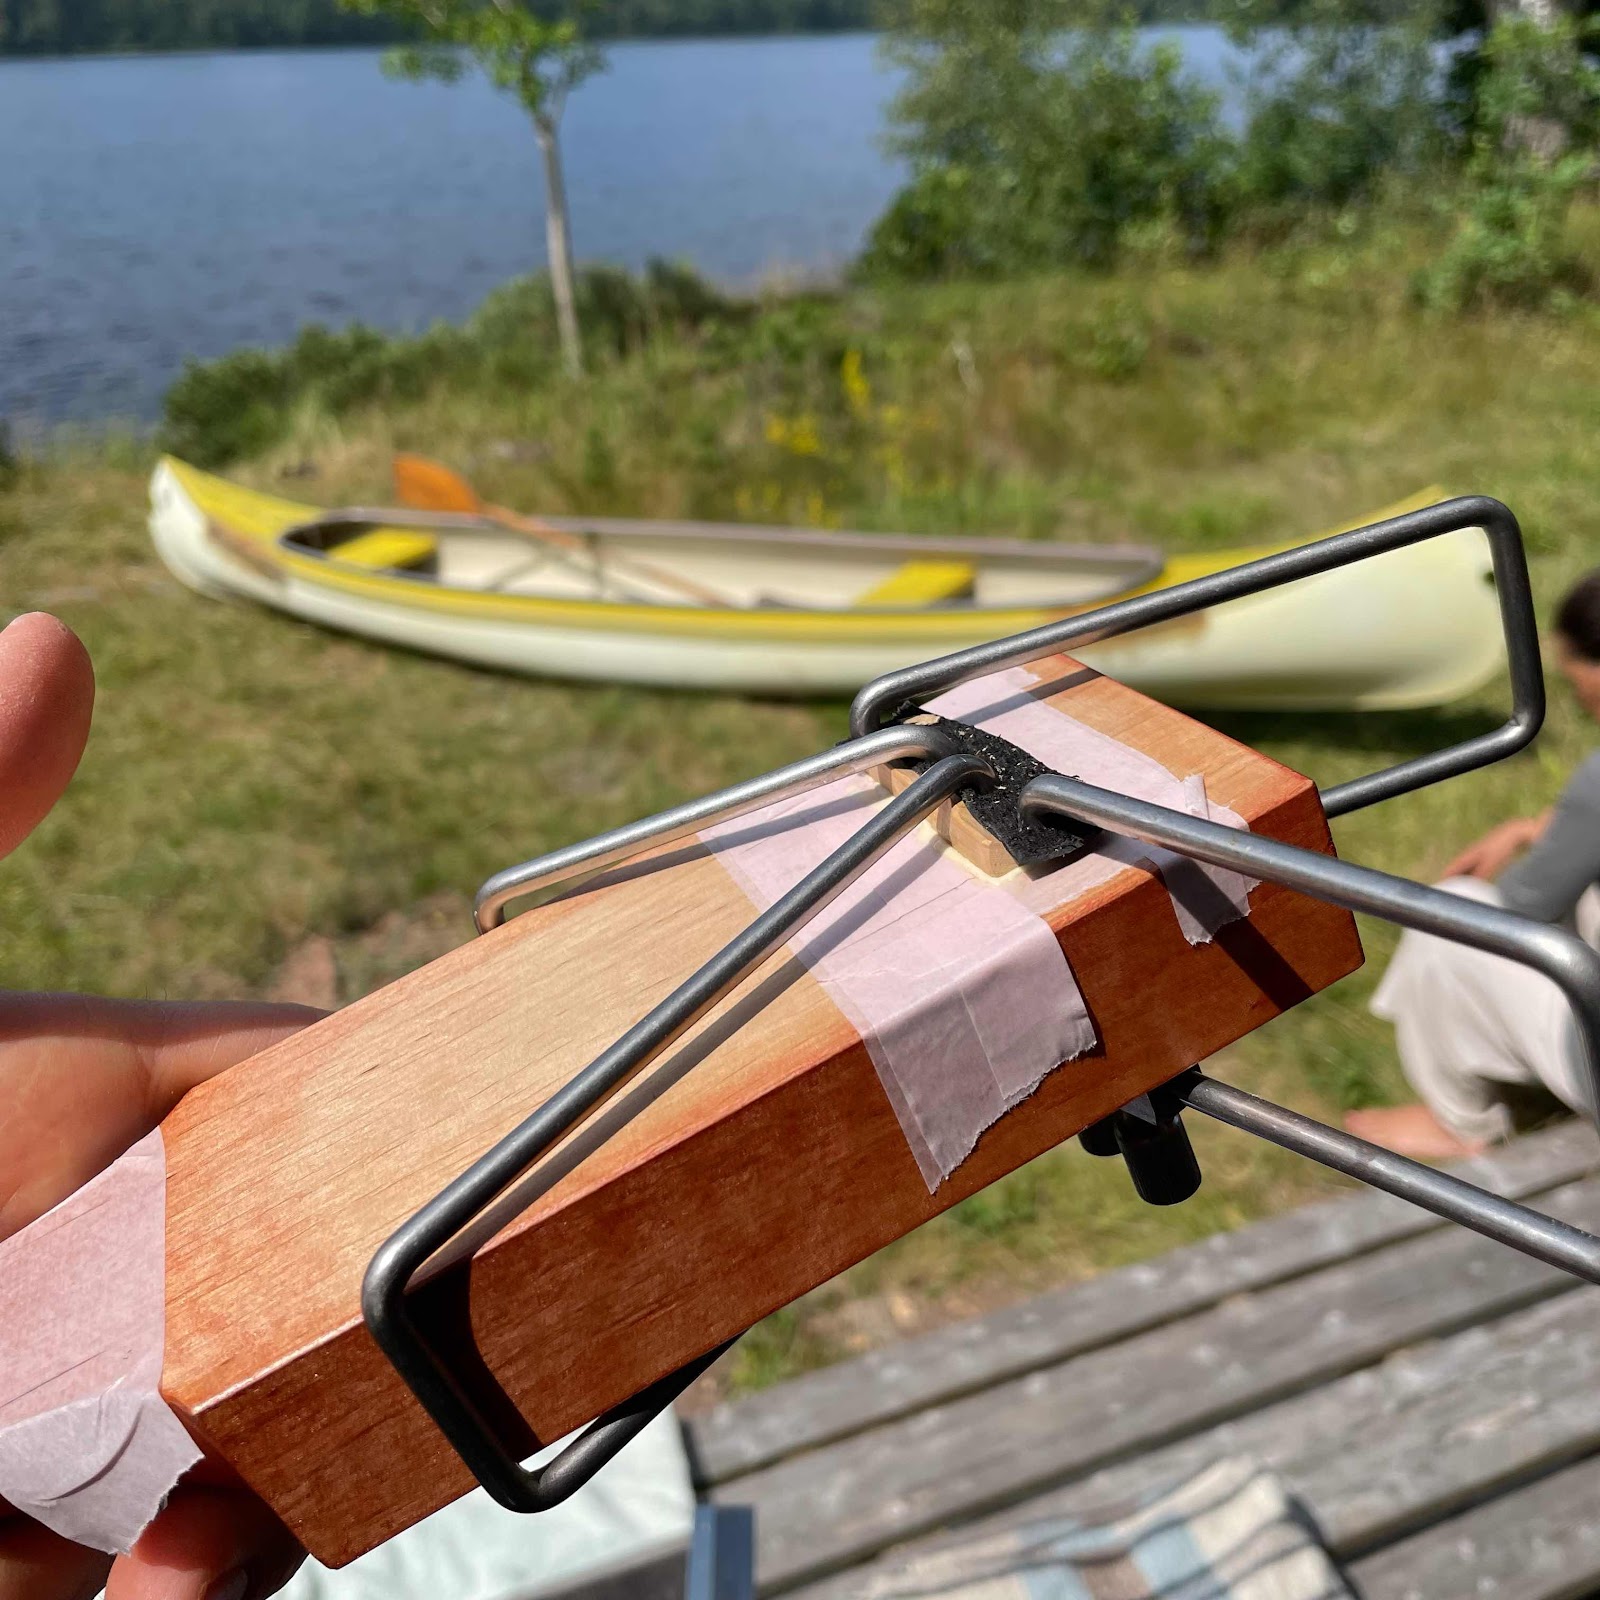
I put on masking tape in several layers to get some support that stops the bridge from sliding around. 


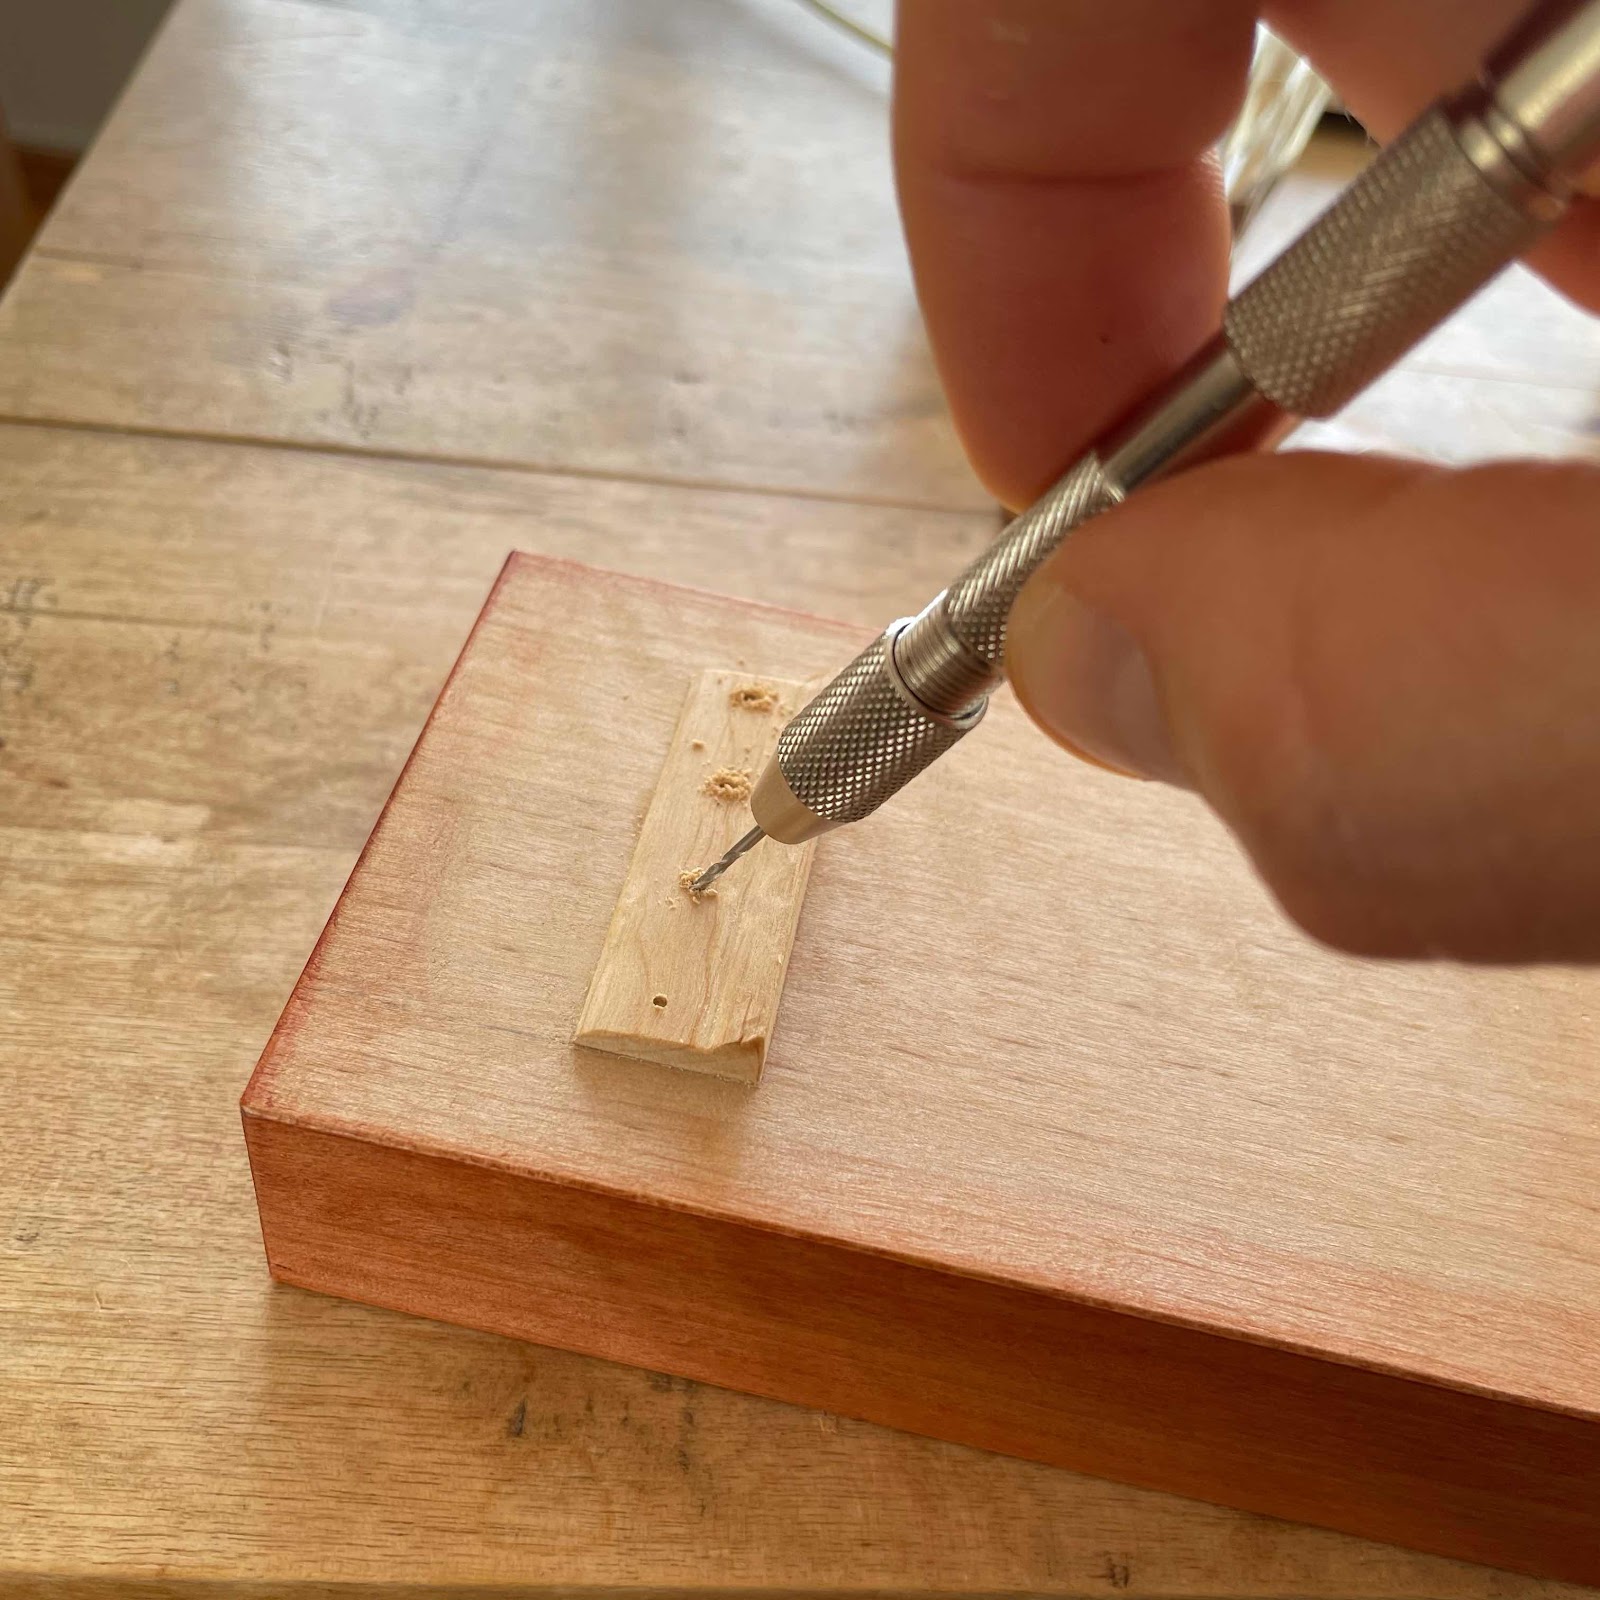
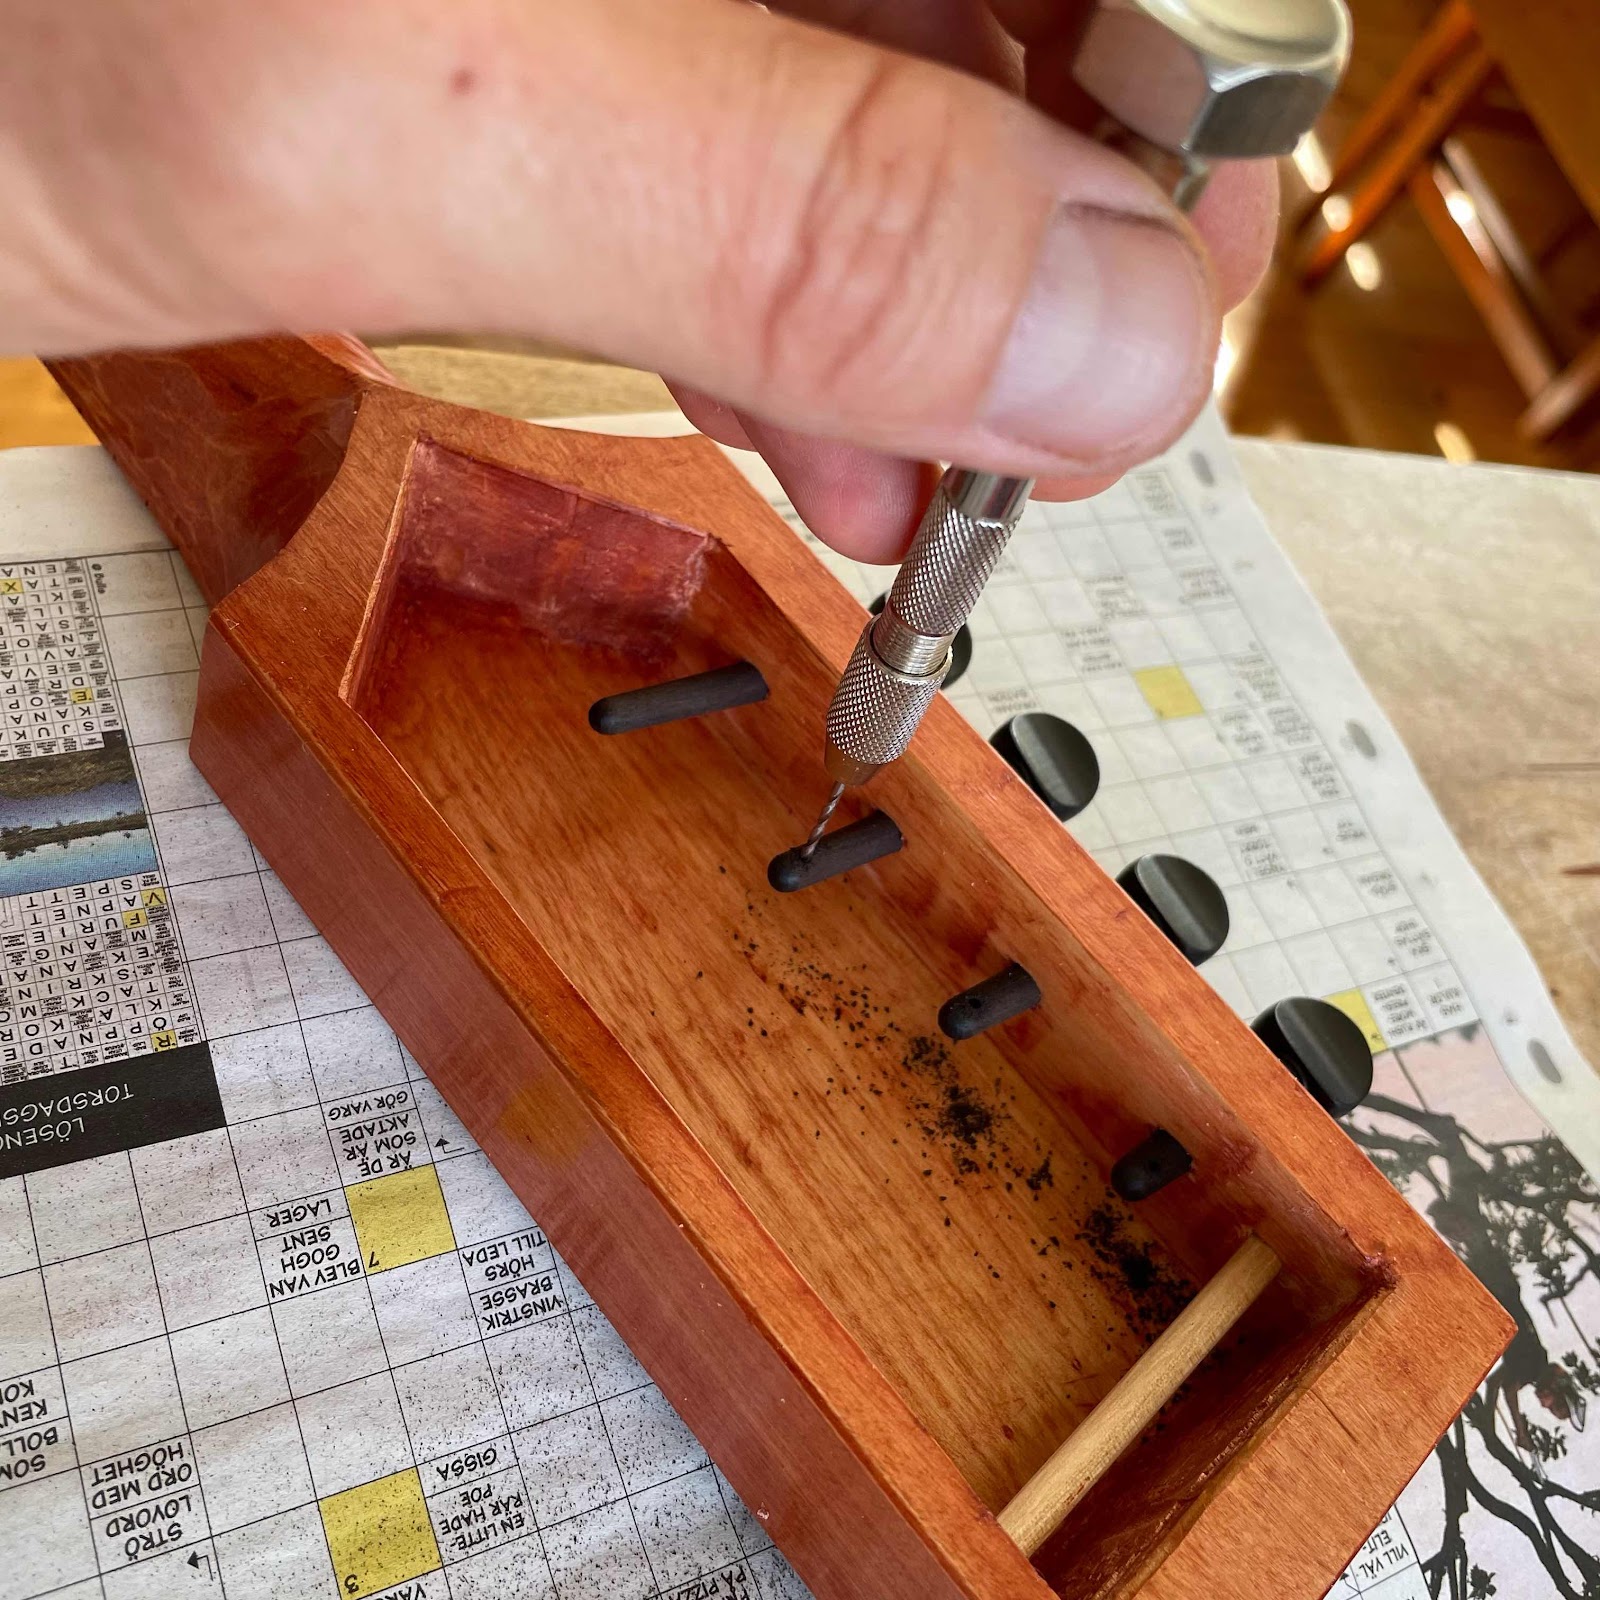
Drilling for the strings, the holes are angled the opposite way from the regular acoustic ukes where I want the strings to turn up in the soundhole. On these they must go around the carbon fibre tube below. 


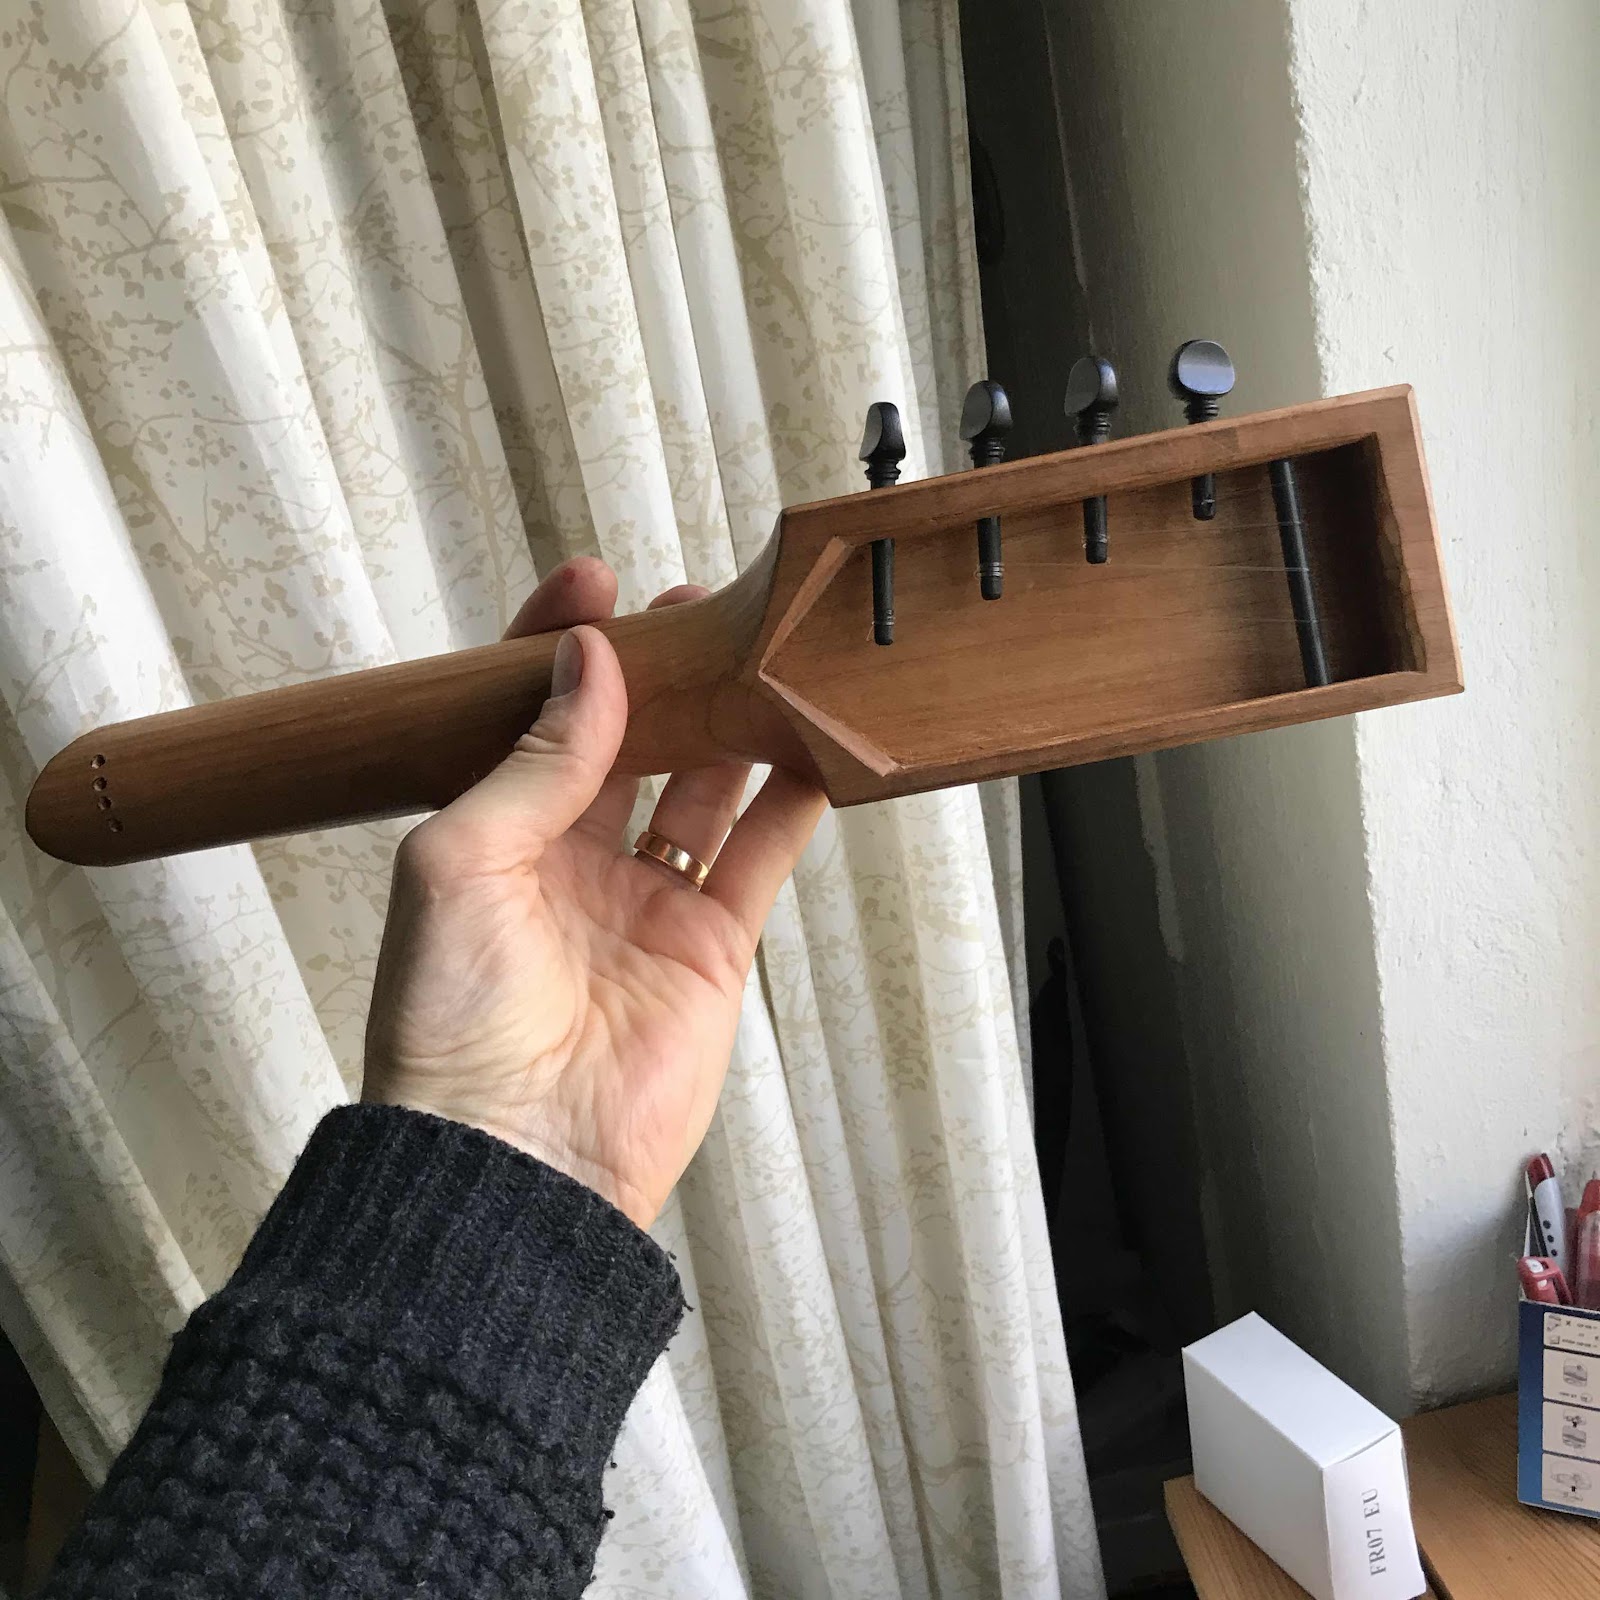
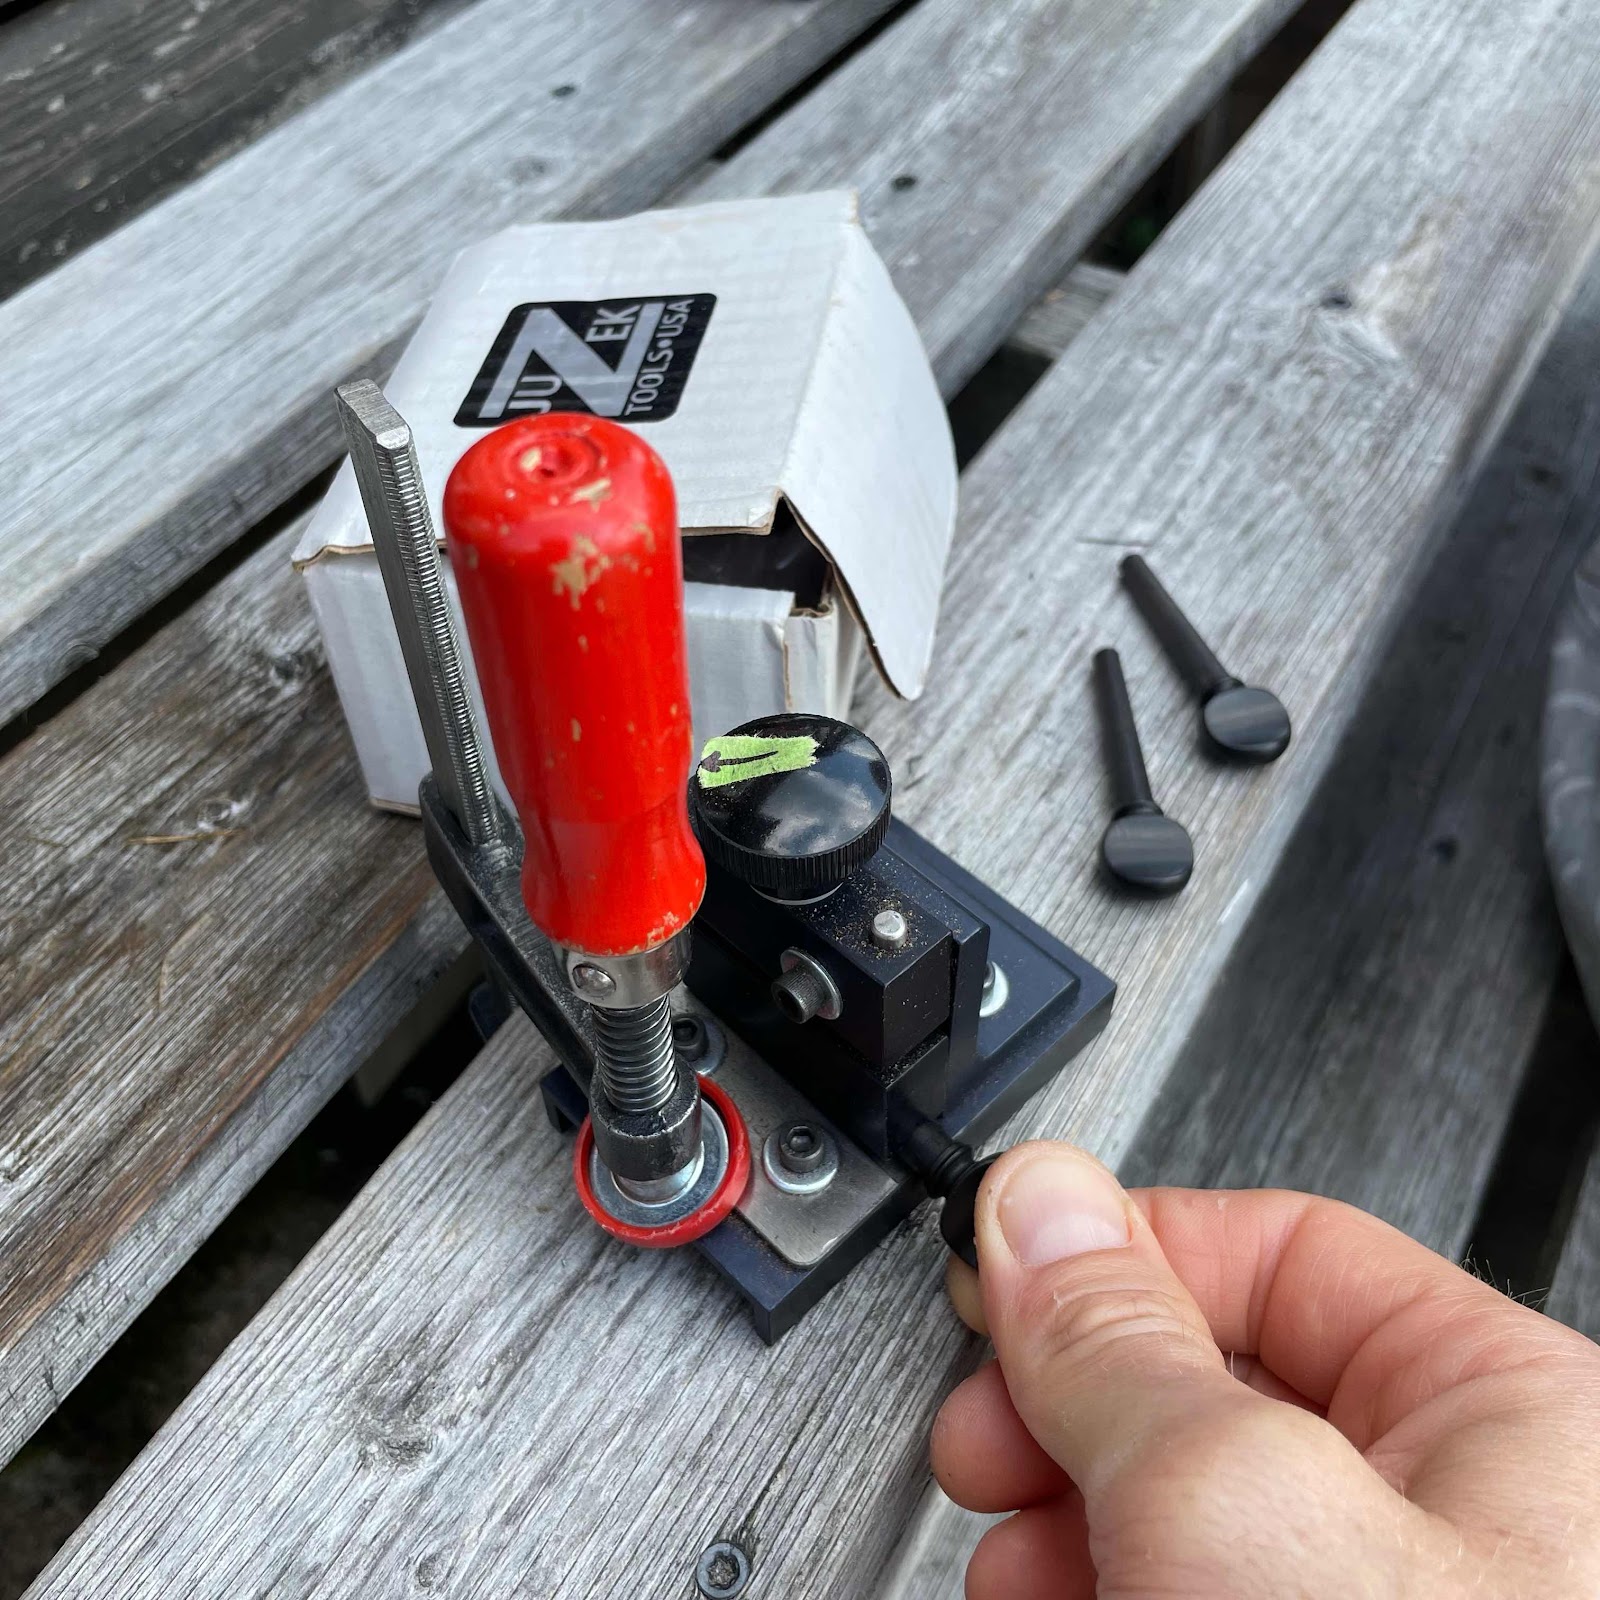
Then I shaped the pegs in the Juzek peg shaper. 


The pegs are in place, cut to length and get holes for the strings. Note the wooden rod at the back, I forgot to bring the carbon tube so I made a rod of birch. I thought it would be strong enough. 


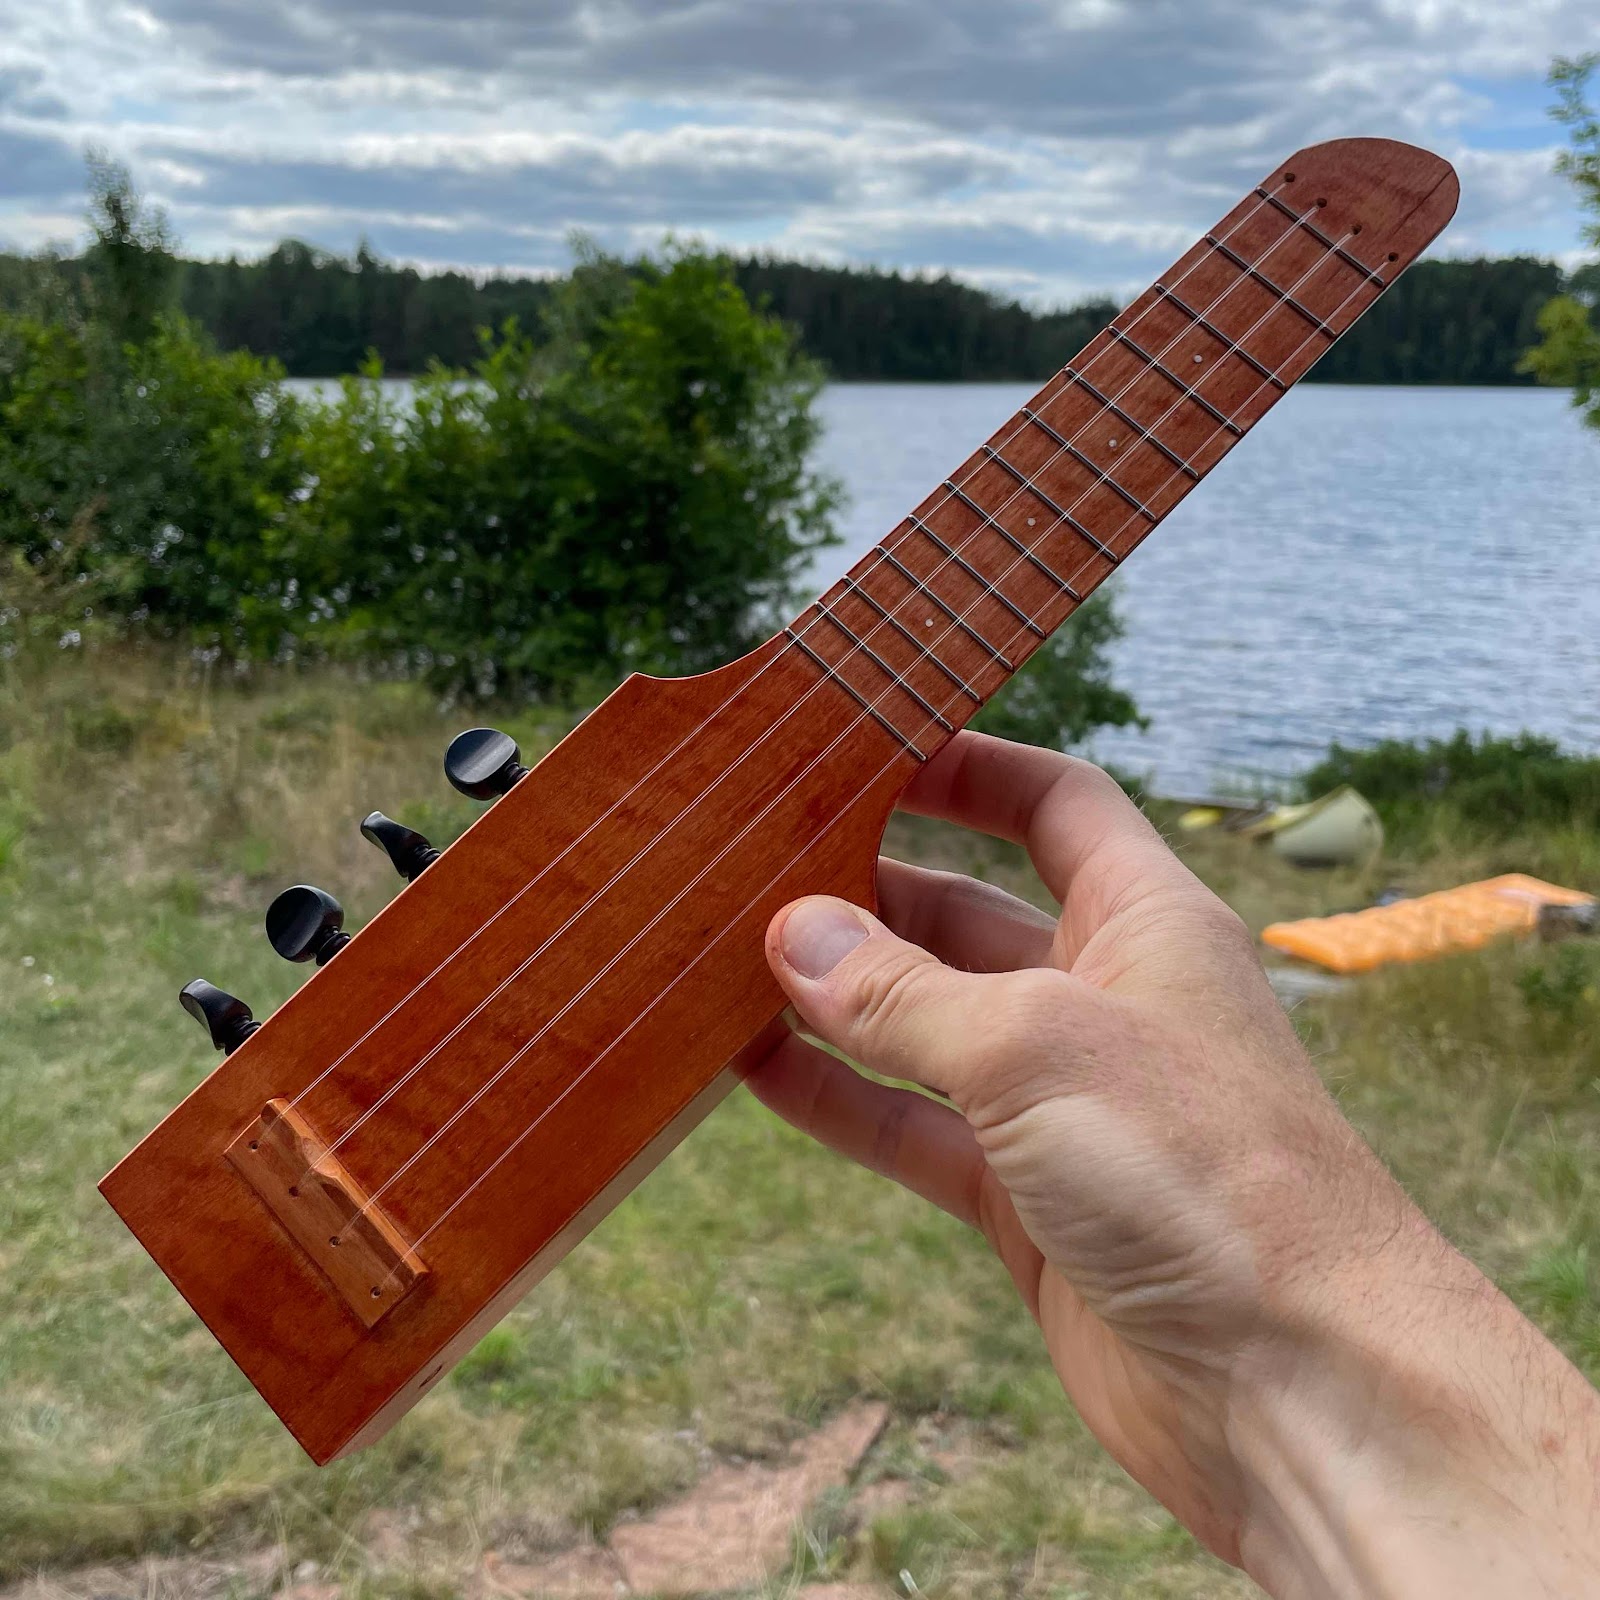
And here it is, after some more shellac. It turned out a bit rustic because of the limited selection of tools, but it is done. 


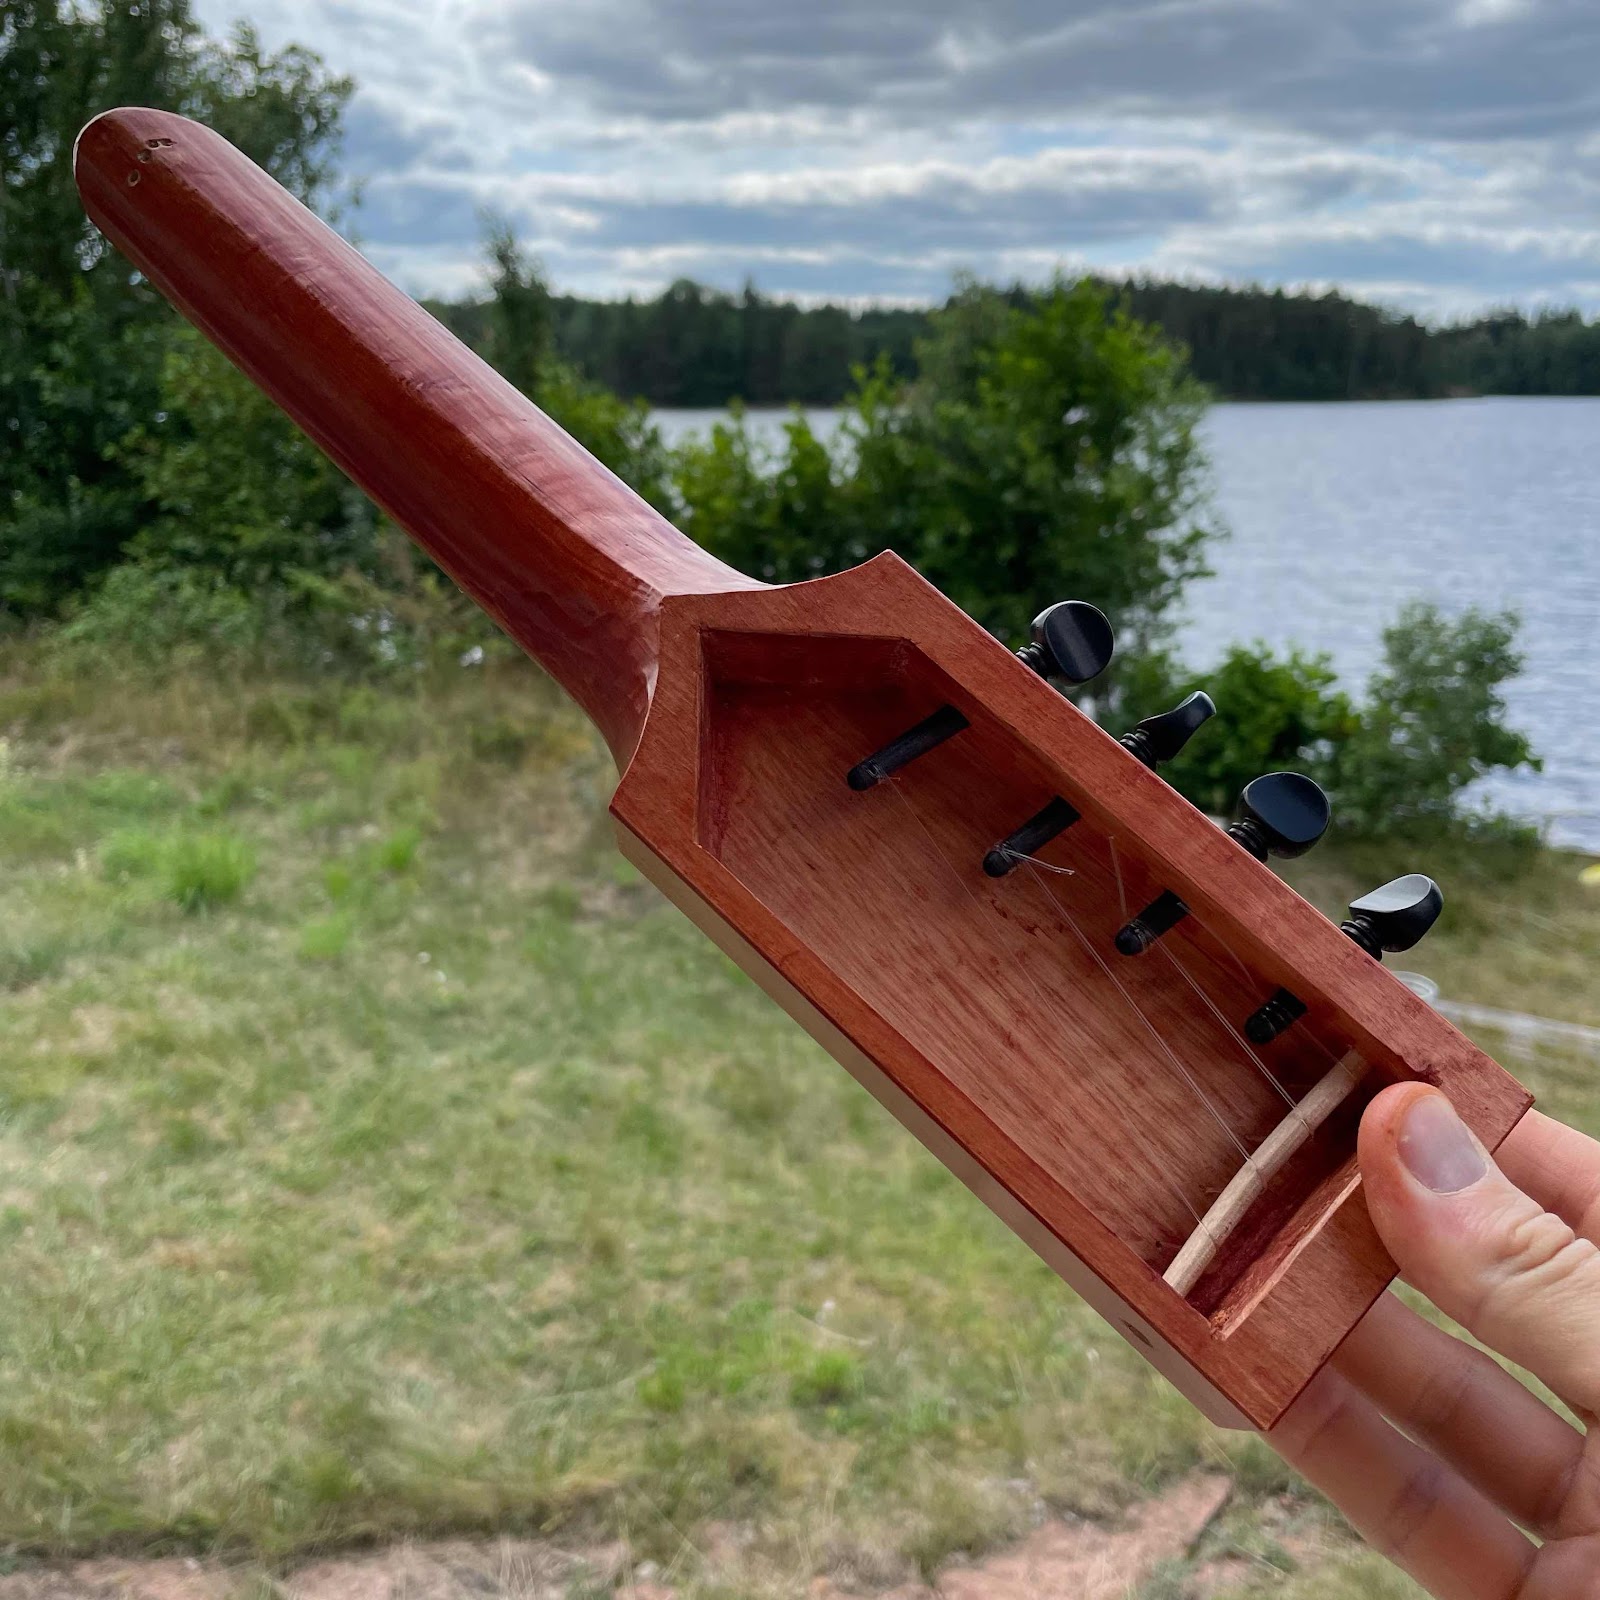
But the birch rod was a disgrace, look at it bending. I will change it to carbon as soon as I get back home. 


Thursday, July 15, 2021

Prögress as prömised

Before noon the front porch lies in shadow, which is perfect for me. I can’t stand the sun. 

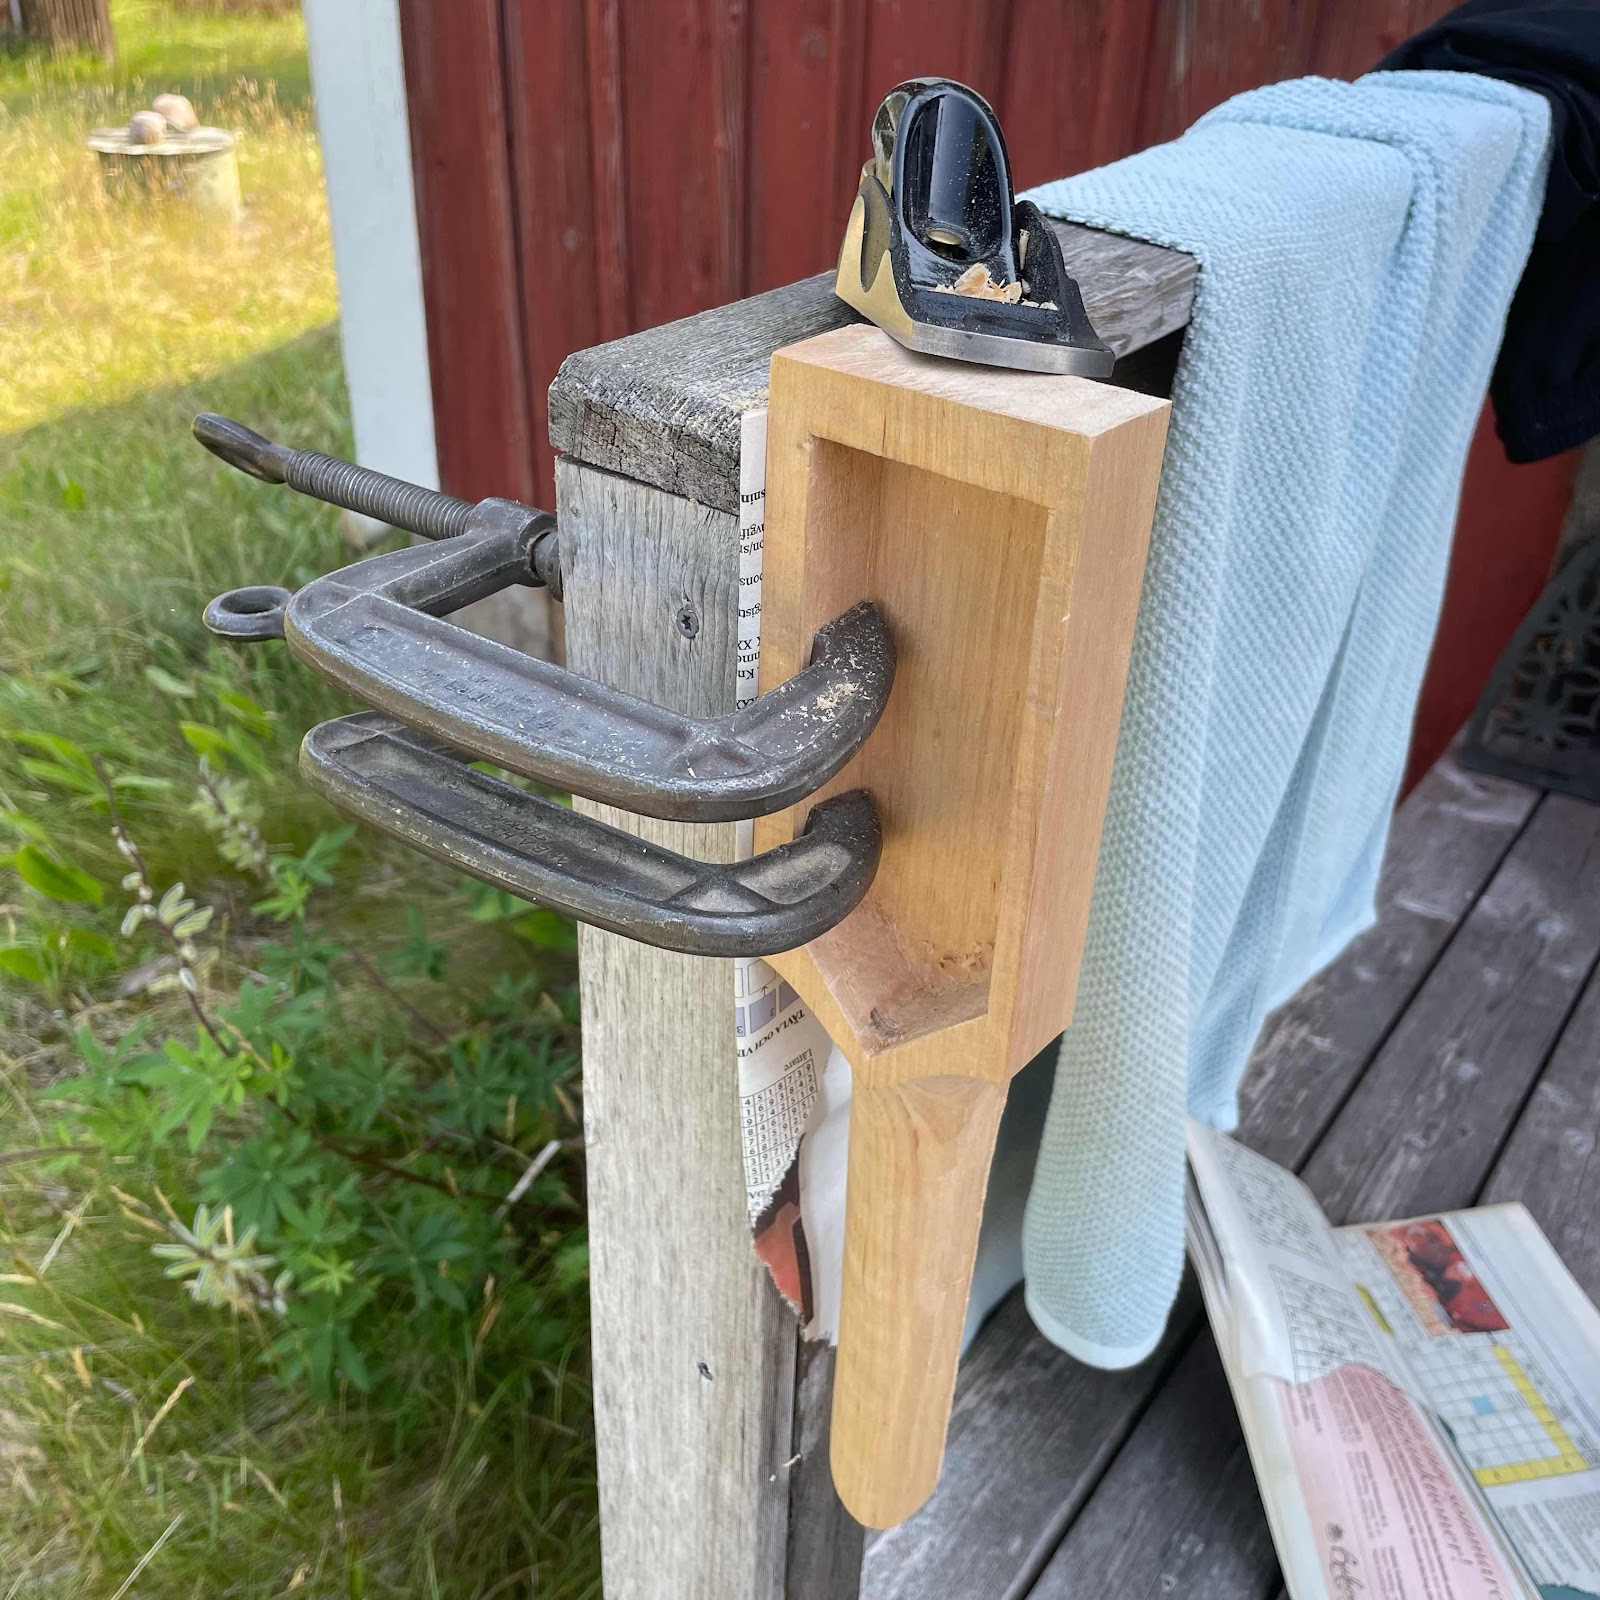
I started out by planing the sides with my Veritas apron plane. When it’s sharp and well set up it’s a remarkable tool. 


The same plane handles the endgrain nicely. The clamping method was ok but the available bit of railing was a bit rickety. 


Taking down the edges of the neck with a sharp Mora carving knife…


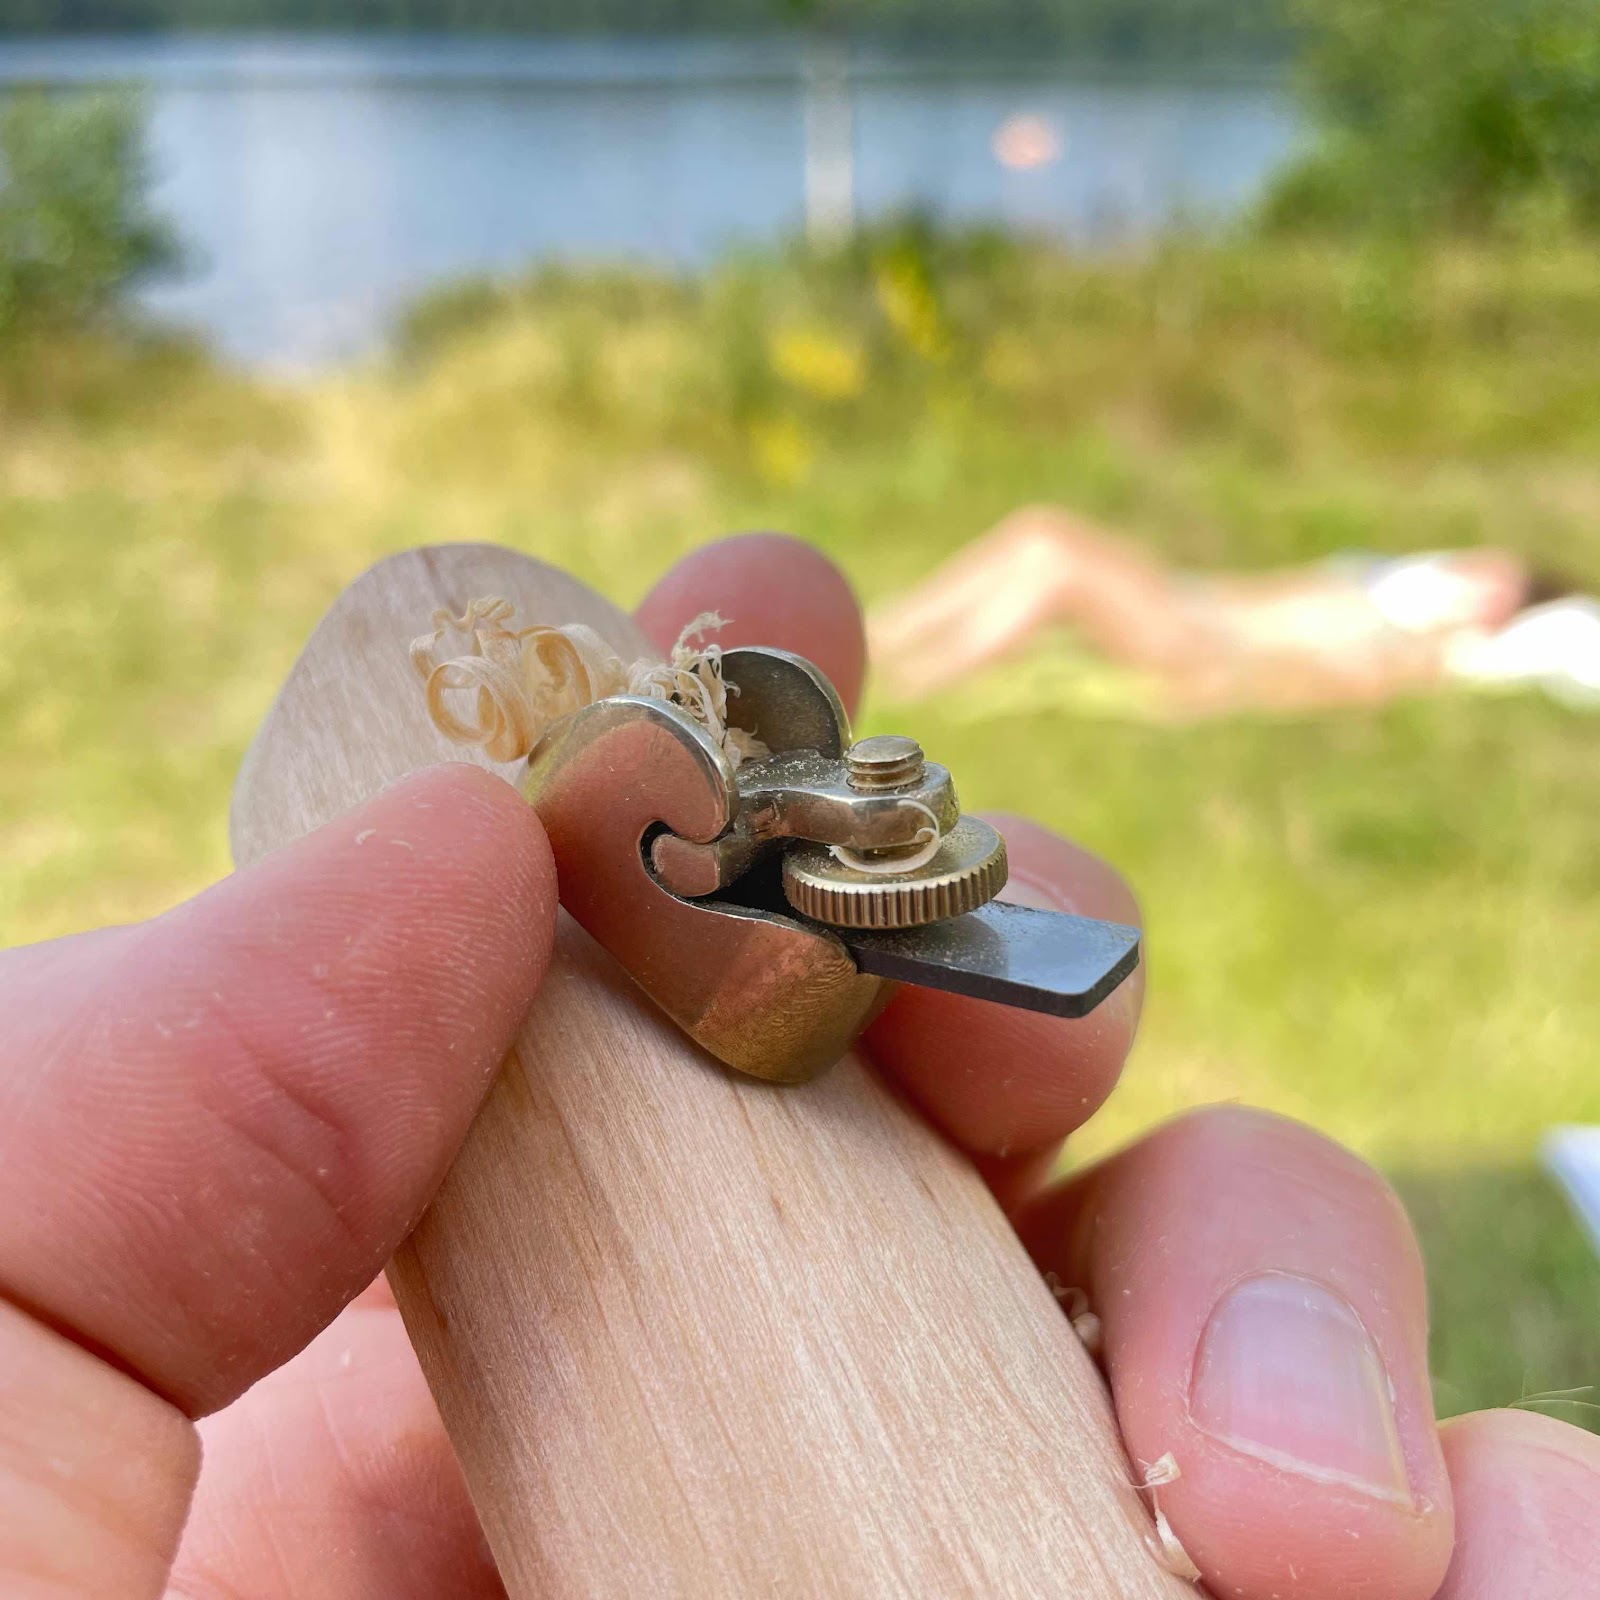
… and smoothing out the back of the neck with an Ibex thumb plane. 


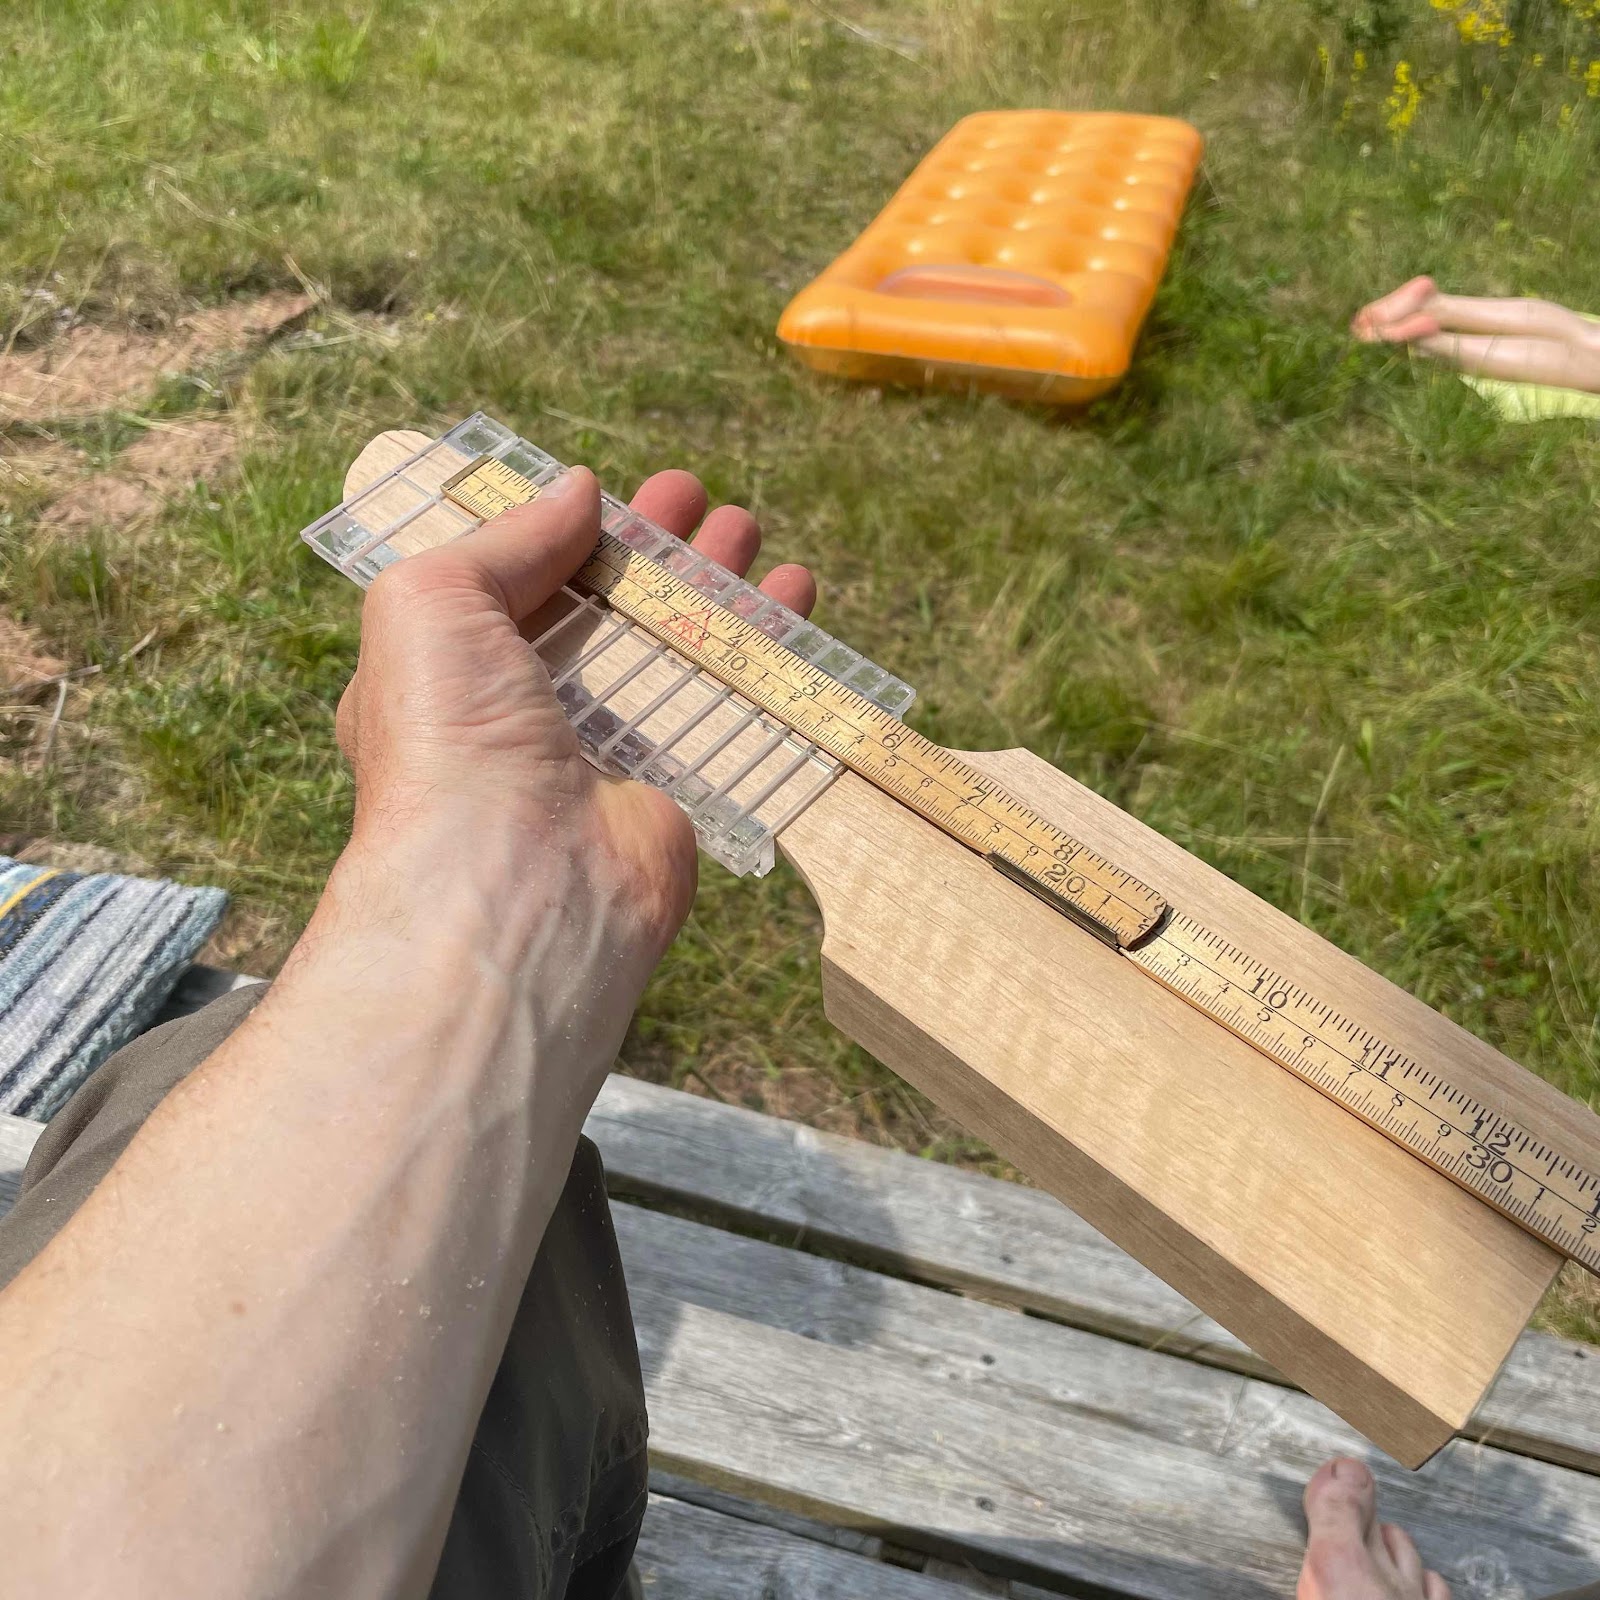
I check the width and taper with the fret slotting jig, in the pic it’s more or less ready for the next step which will be a few coats of shellac on the neck before slotting. 


I hope you catch the scenic backgrounds even though I try to keep my less industrious relatives out of focus. 

Wednesday, July 14, 2021

The improbable resurrection of the Argapanator

Well Hell-o and welcöme back to the twitching corpse that is the Argapa blogspot! All avid readers know of my predicament with the packed and stored workshop and the family moving to a new apartment. We actually managed to sell the old place and have spent a furious week painting and assembling wardrobes and shelves at the new place, but this week we’re at the second cottage - the wee one in Småland. 

As I was packing stuff yesterday my eyes fell upon the alder traveller blank from earlier this year, and I thought to myself… what a wonderful (and size-wise appropriate) project to bring along. 

So I quickly chose the handtools I deemed necessary and chucked them in a bag. 


Hopefully I remembered all that I’ll need, and most likely I won’t even use all of them. I laid them all out on an old baking tray to keep them off of the dinner table. Have a look. 


I’ll keep you posted on the progress, sorry I mean prögress. Mustn’t skip on the evil heavy metal-esque Viking letters. 

Friday, January 1, 2021

Happy new year etc, and updates

Fanx to all of you who’s been reading the blog, getting in touch and over all supported me and the beast that is Argapa ukuleles during 2020. Apart from some stuff it’s been a great year. 

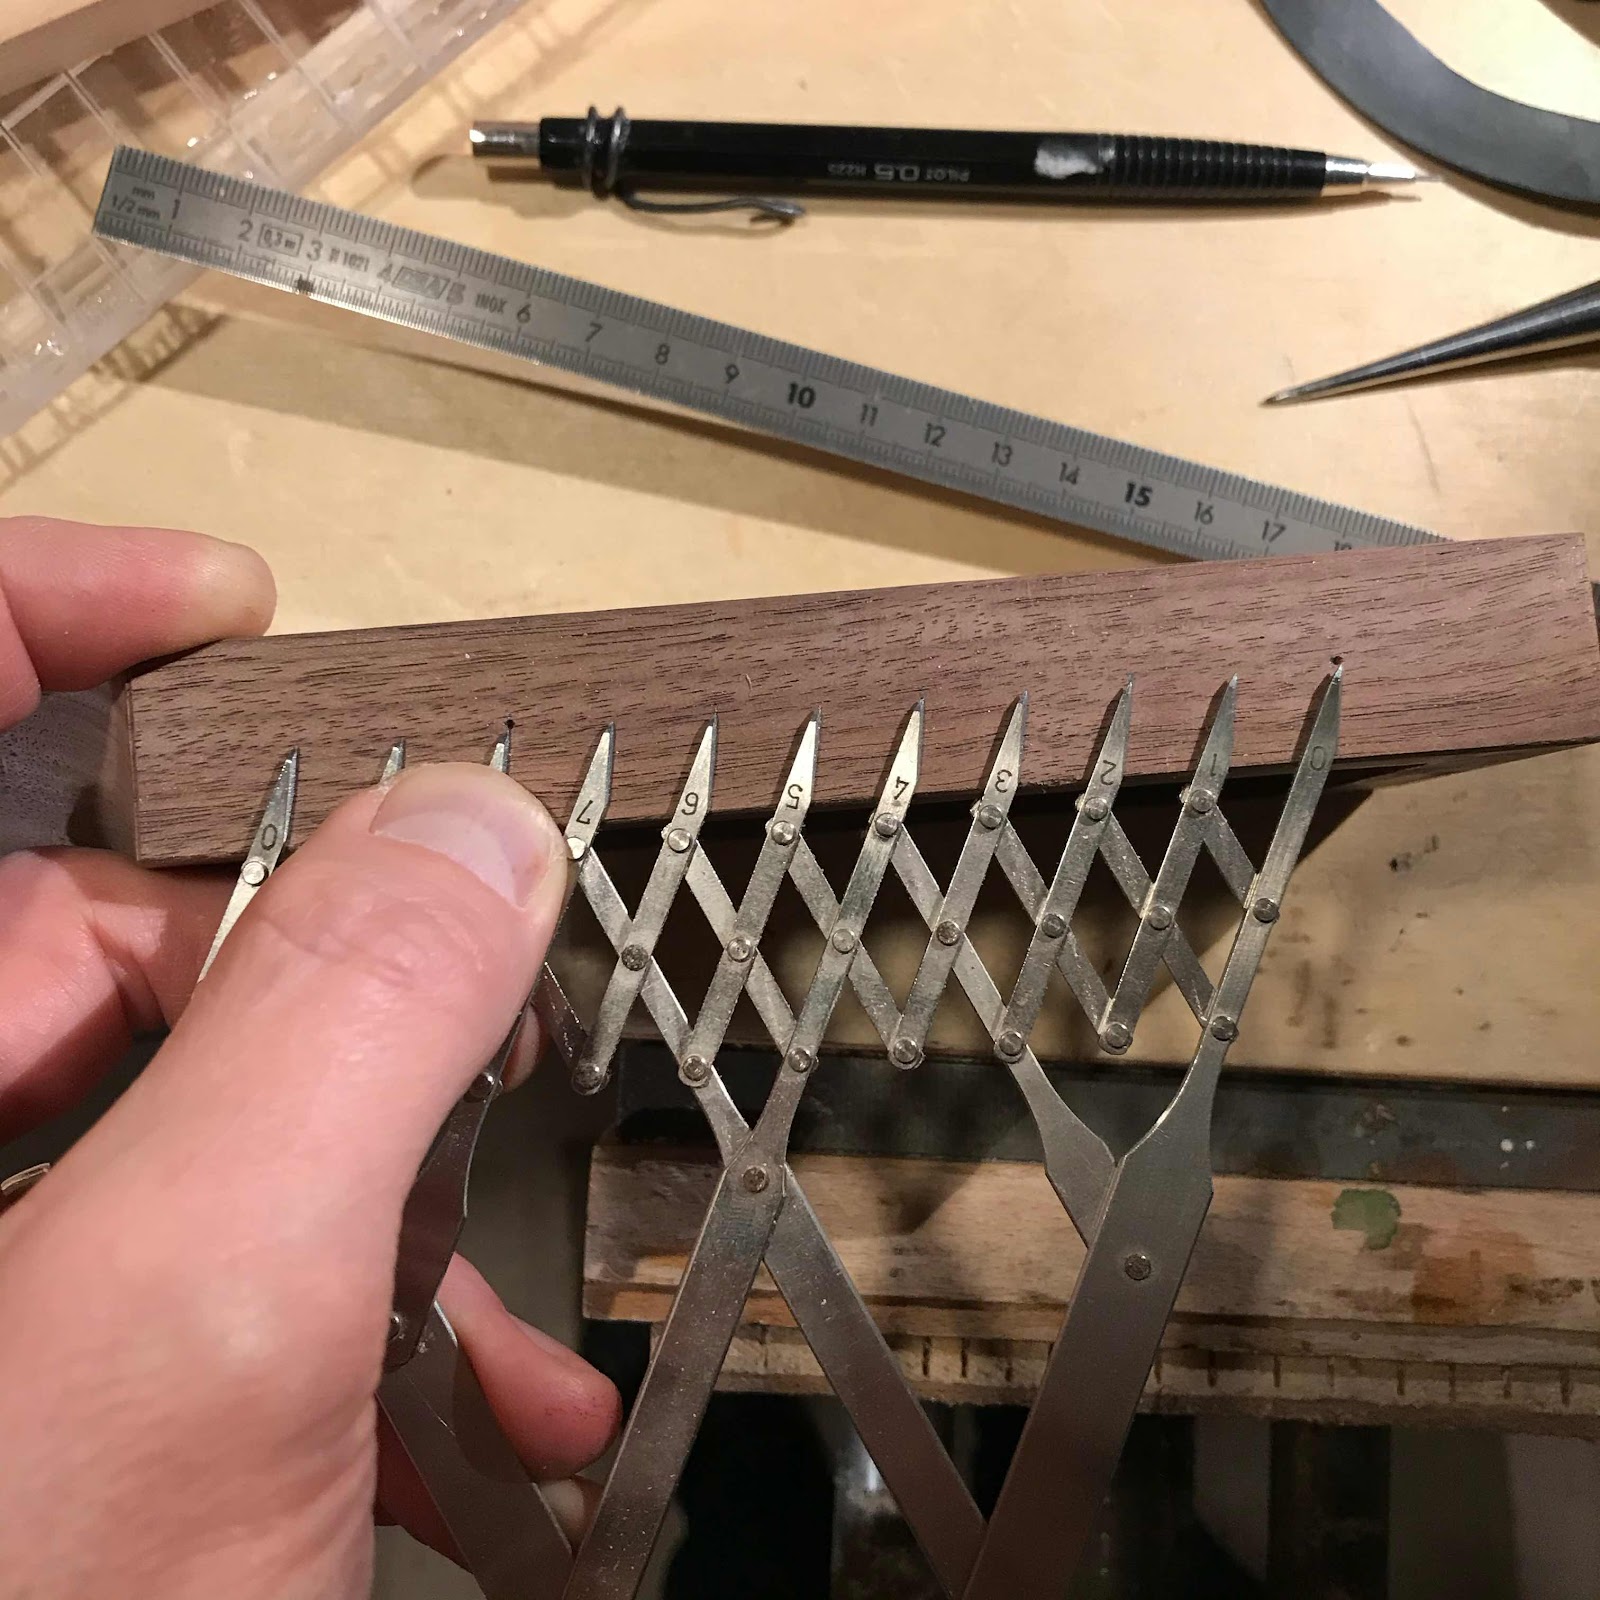
The first pic shows me dividing the distance between two points in four, I wanted the string guiding tube and the tuners to be equidistant. I failed for some reason despite the divider, but the tuners got correct in relation to each other. 


The tuner holes are angled, thanks to my super jig. Looking like scrap wood (it is scrap wood) it tends to get lost among pieces of scrap wood. But I found it. 


Then my Record shoulder plane was enrolled for making the bridge. When in doubt, use a larger plane. 


I had to leave the workshop to be with my family, it was after all Christmas Eve, but I brought glue and clamps and fixed the bridge in the living room. 


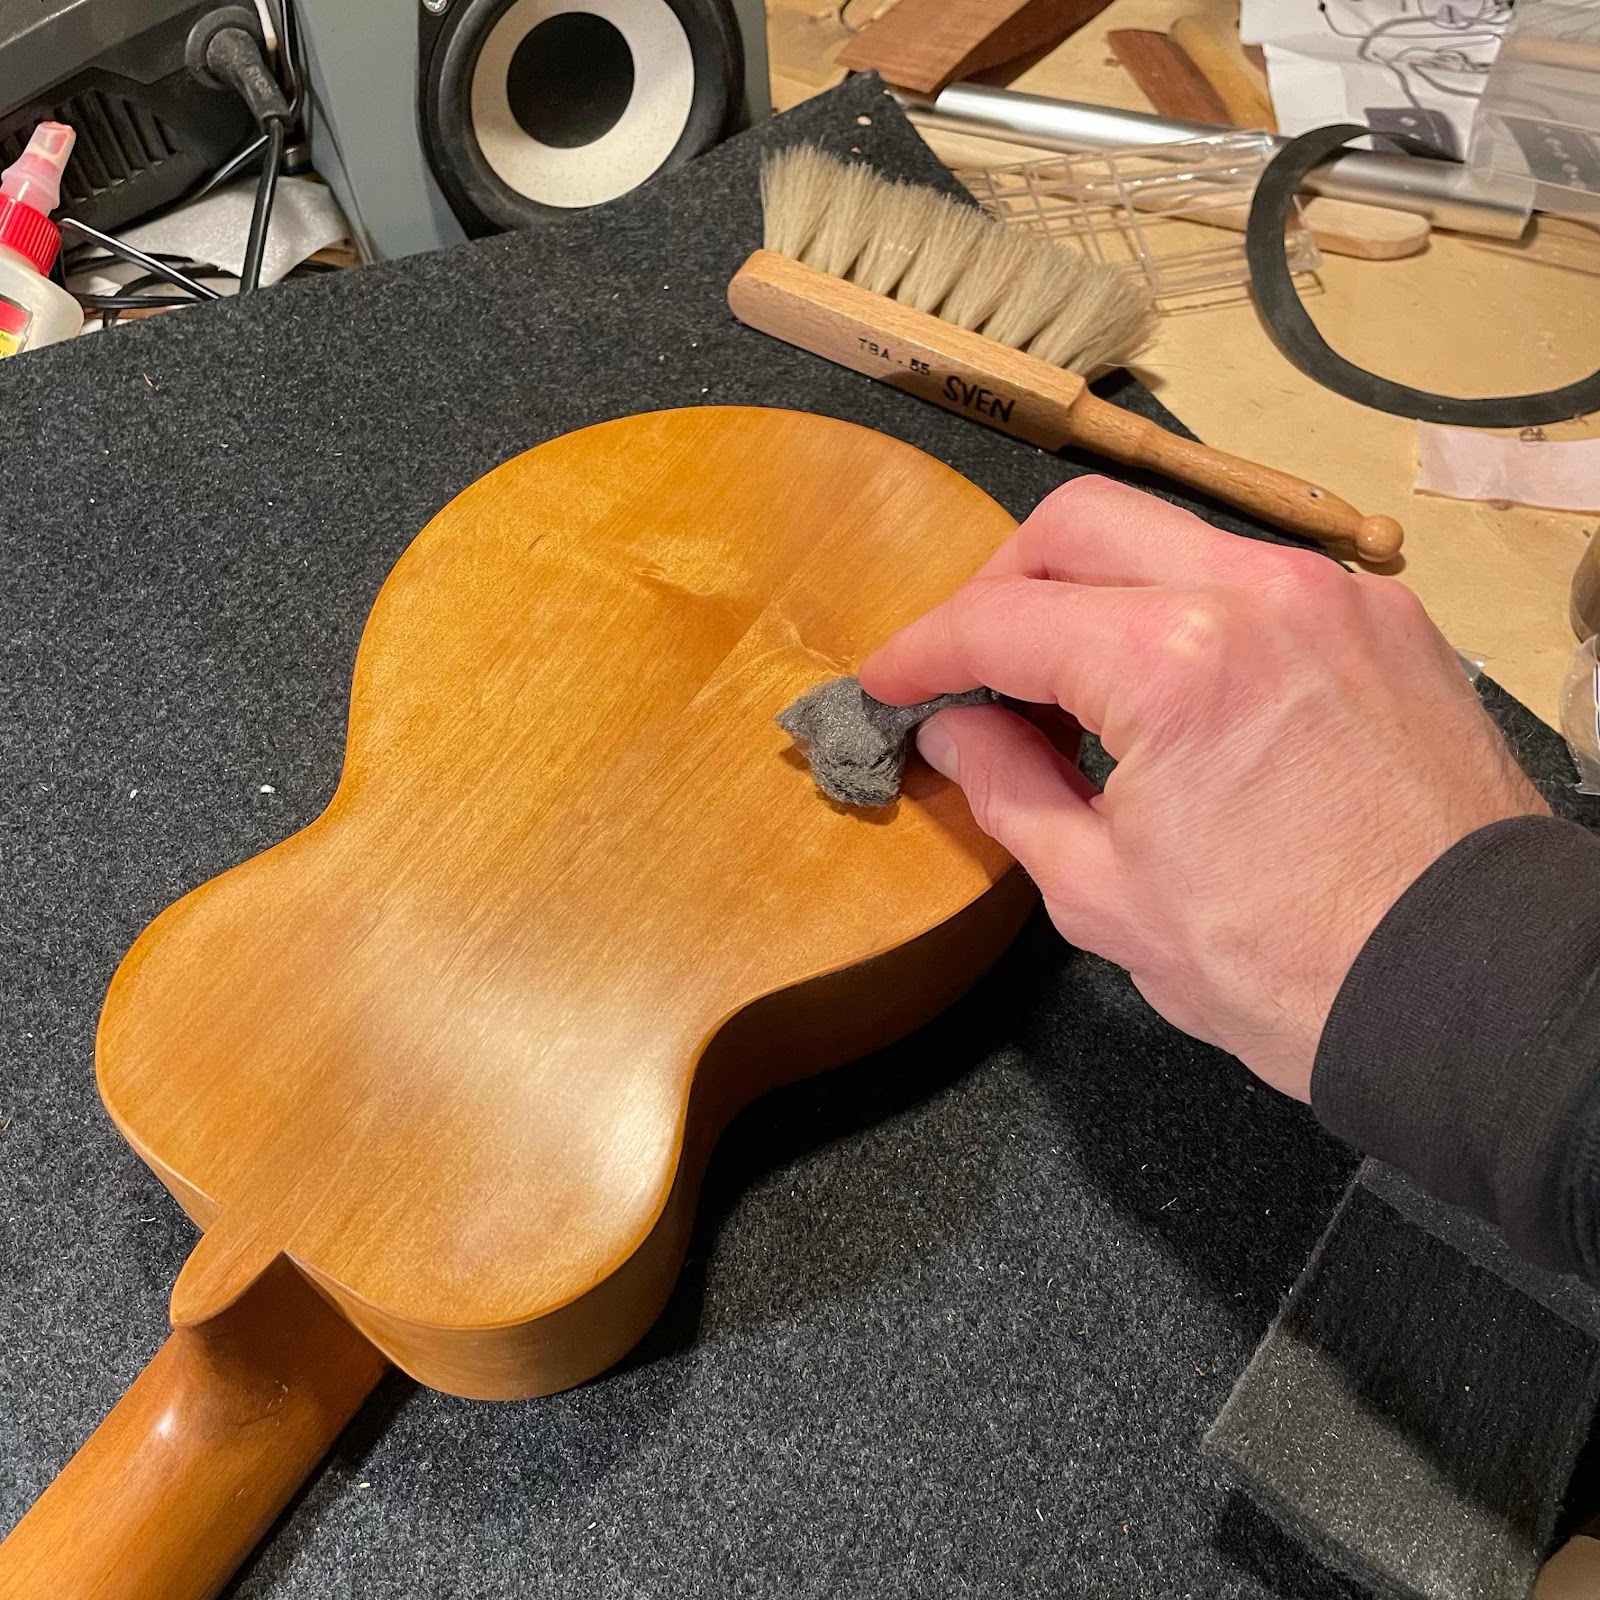
And the shellac then. It has hardened and I gave it a quick rub with fine steel wool to remove swirl marks and blend it all together. Once I’m happy with the satin look I reach for my Festool ROS...


... and get working with polishing compounds. Different foam pads give radically different results. I suspect a person could learn quite a lot about lacquer, sanding and buffing. If said person could be, you know, arsed. 


Happy new year! Nothing new will happen with Argapa ukuleles. And that’s the point. 

Wednesday, December 23, 2020

A new beginning at the end of the year

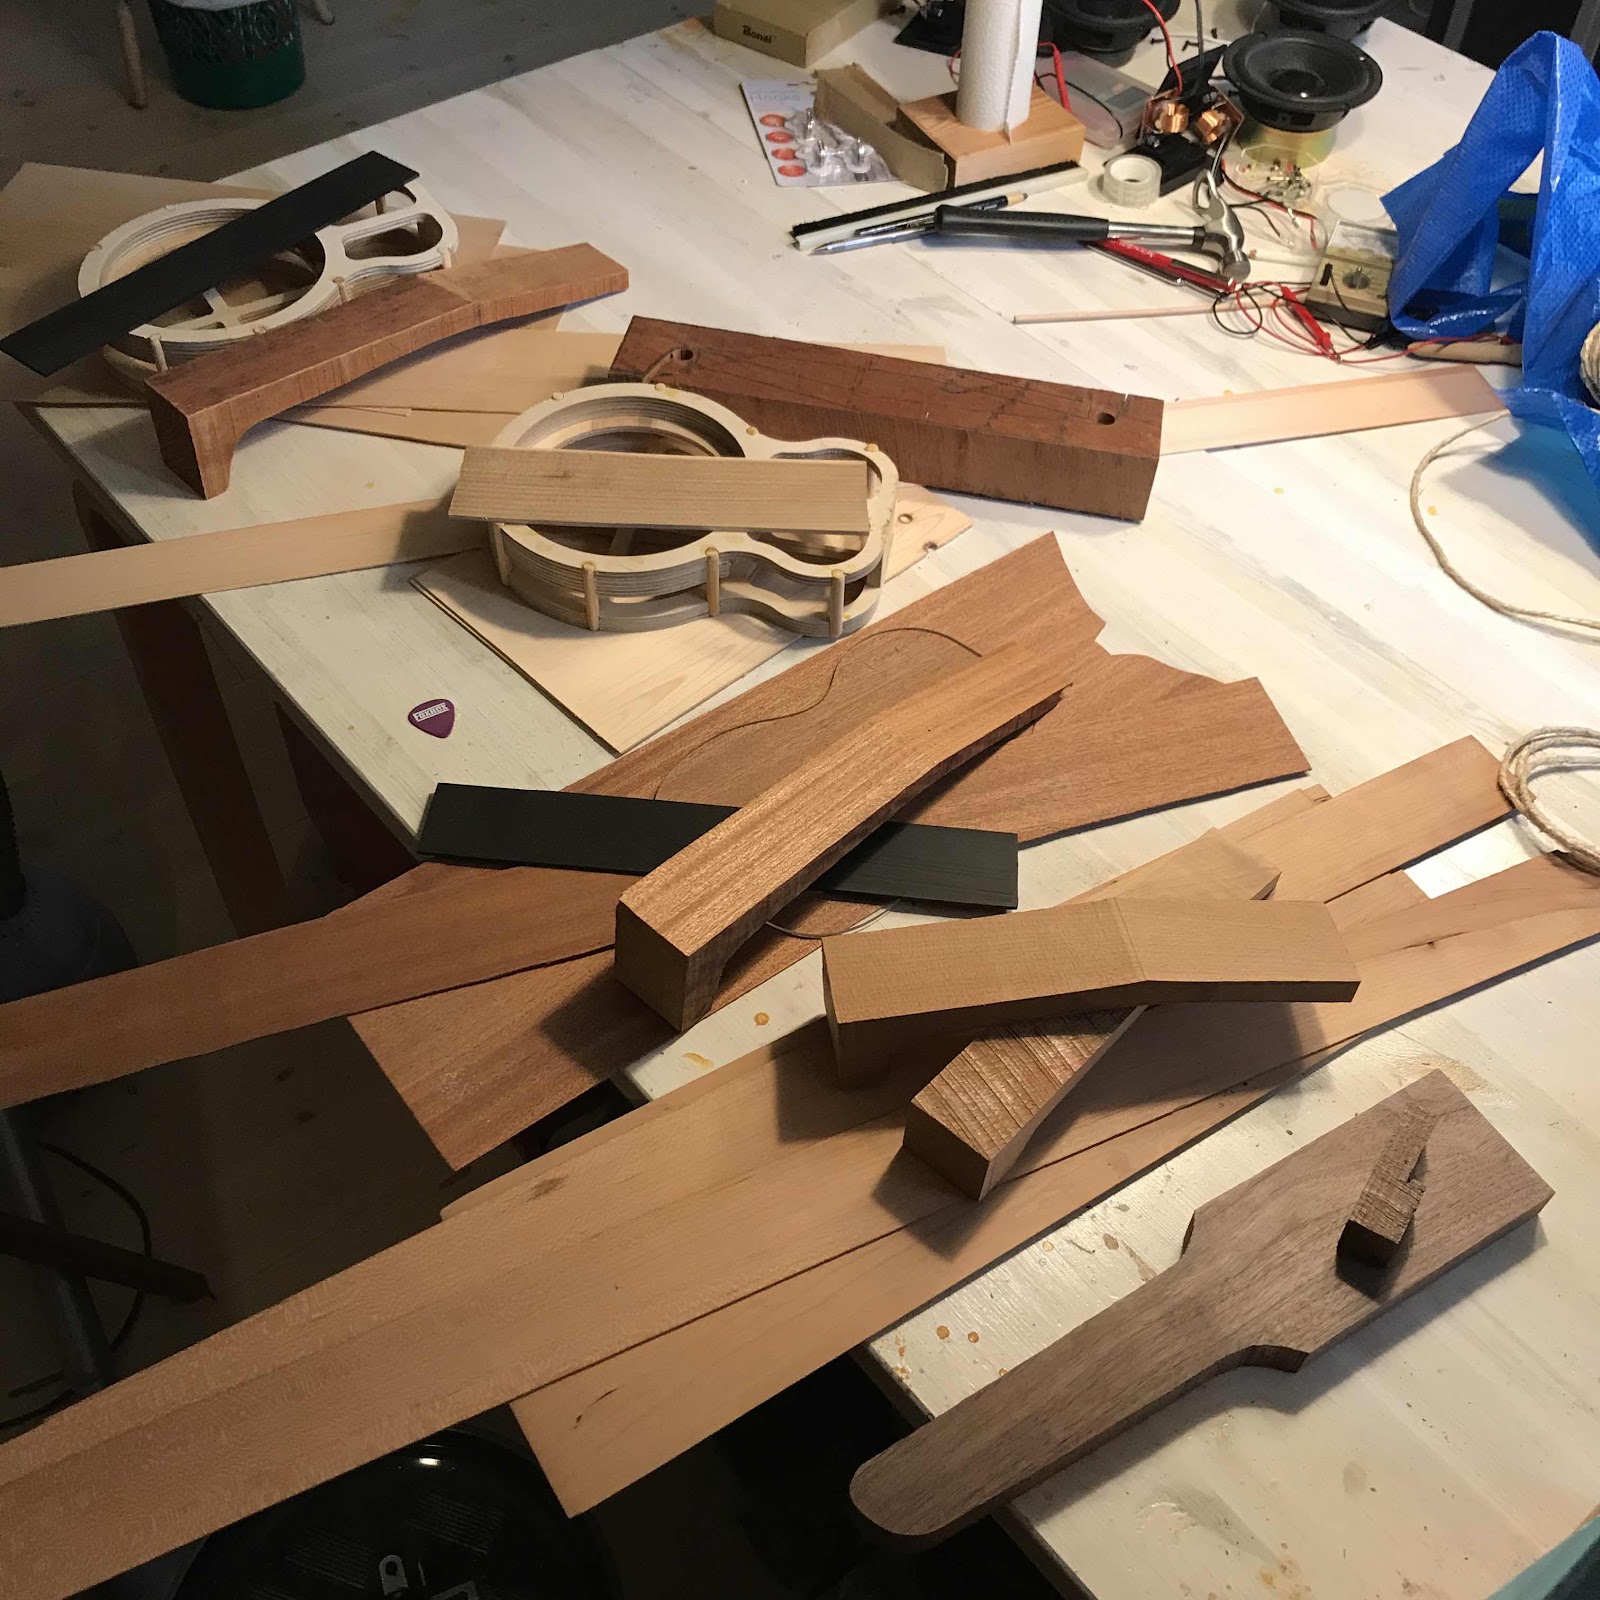
While I polish the ukes that are getting close to done I might as well start on a traveller. Not starting really, the blank is already hollowed out from the back. But I can start carving its neck, that’s fun. 

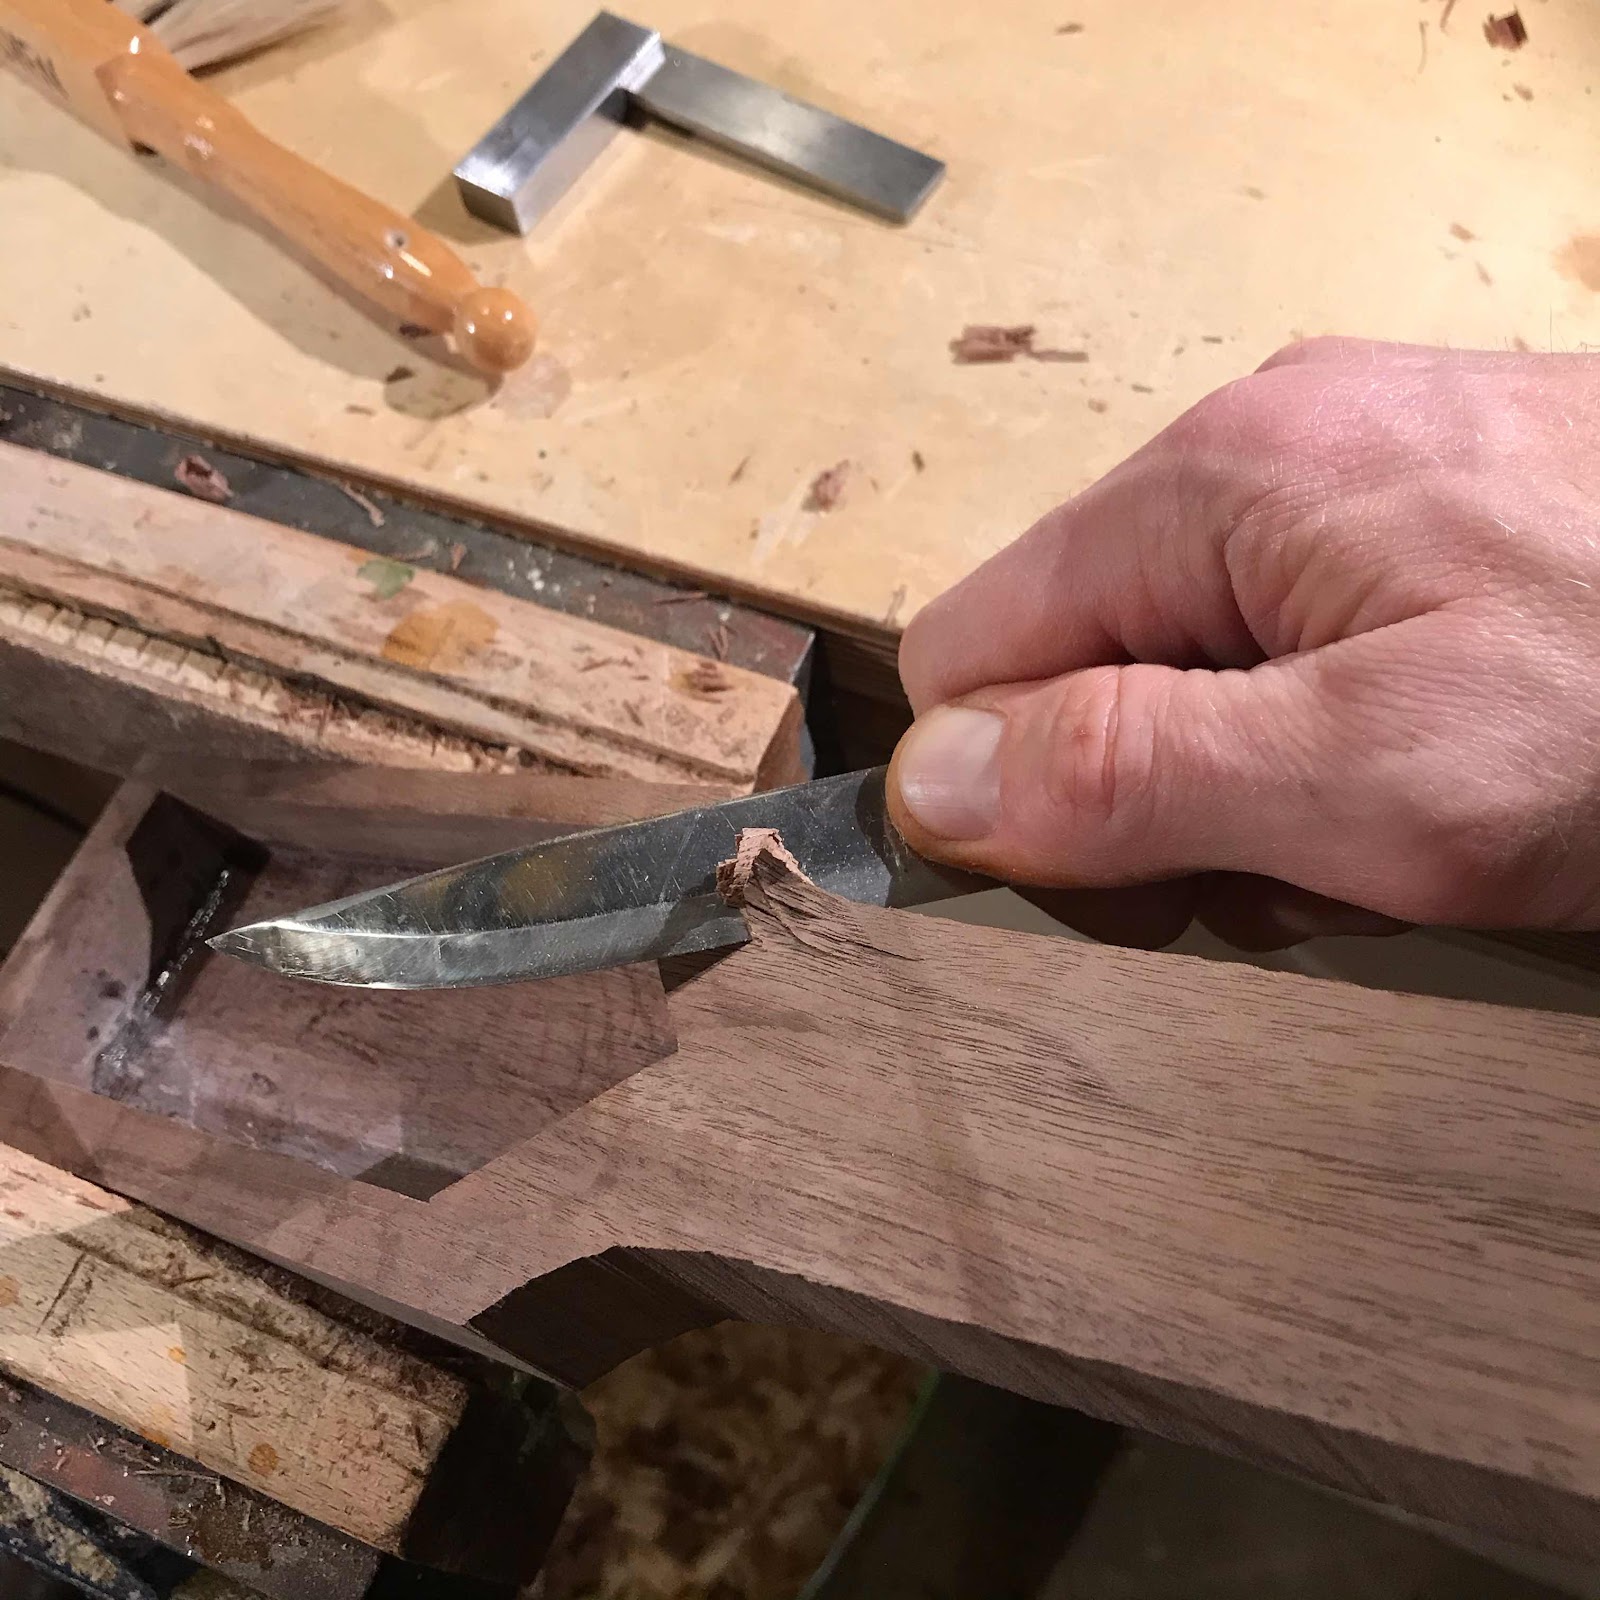
With a Mora knife I carve the entry point up at the heel end. I don’t have to make an exit point since there’s no head on these ukes. The walnut cuts like butter as long as the knife is sharp and the edge is of the scandigrind variety. 


There’s a lot of end grain going on up by the body but it’s no problem. One thing I do recommend is clamping whatever you’re carving securely to the bench. 


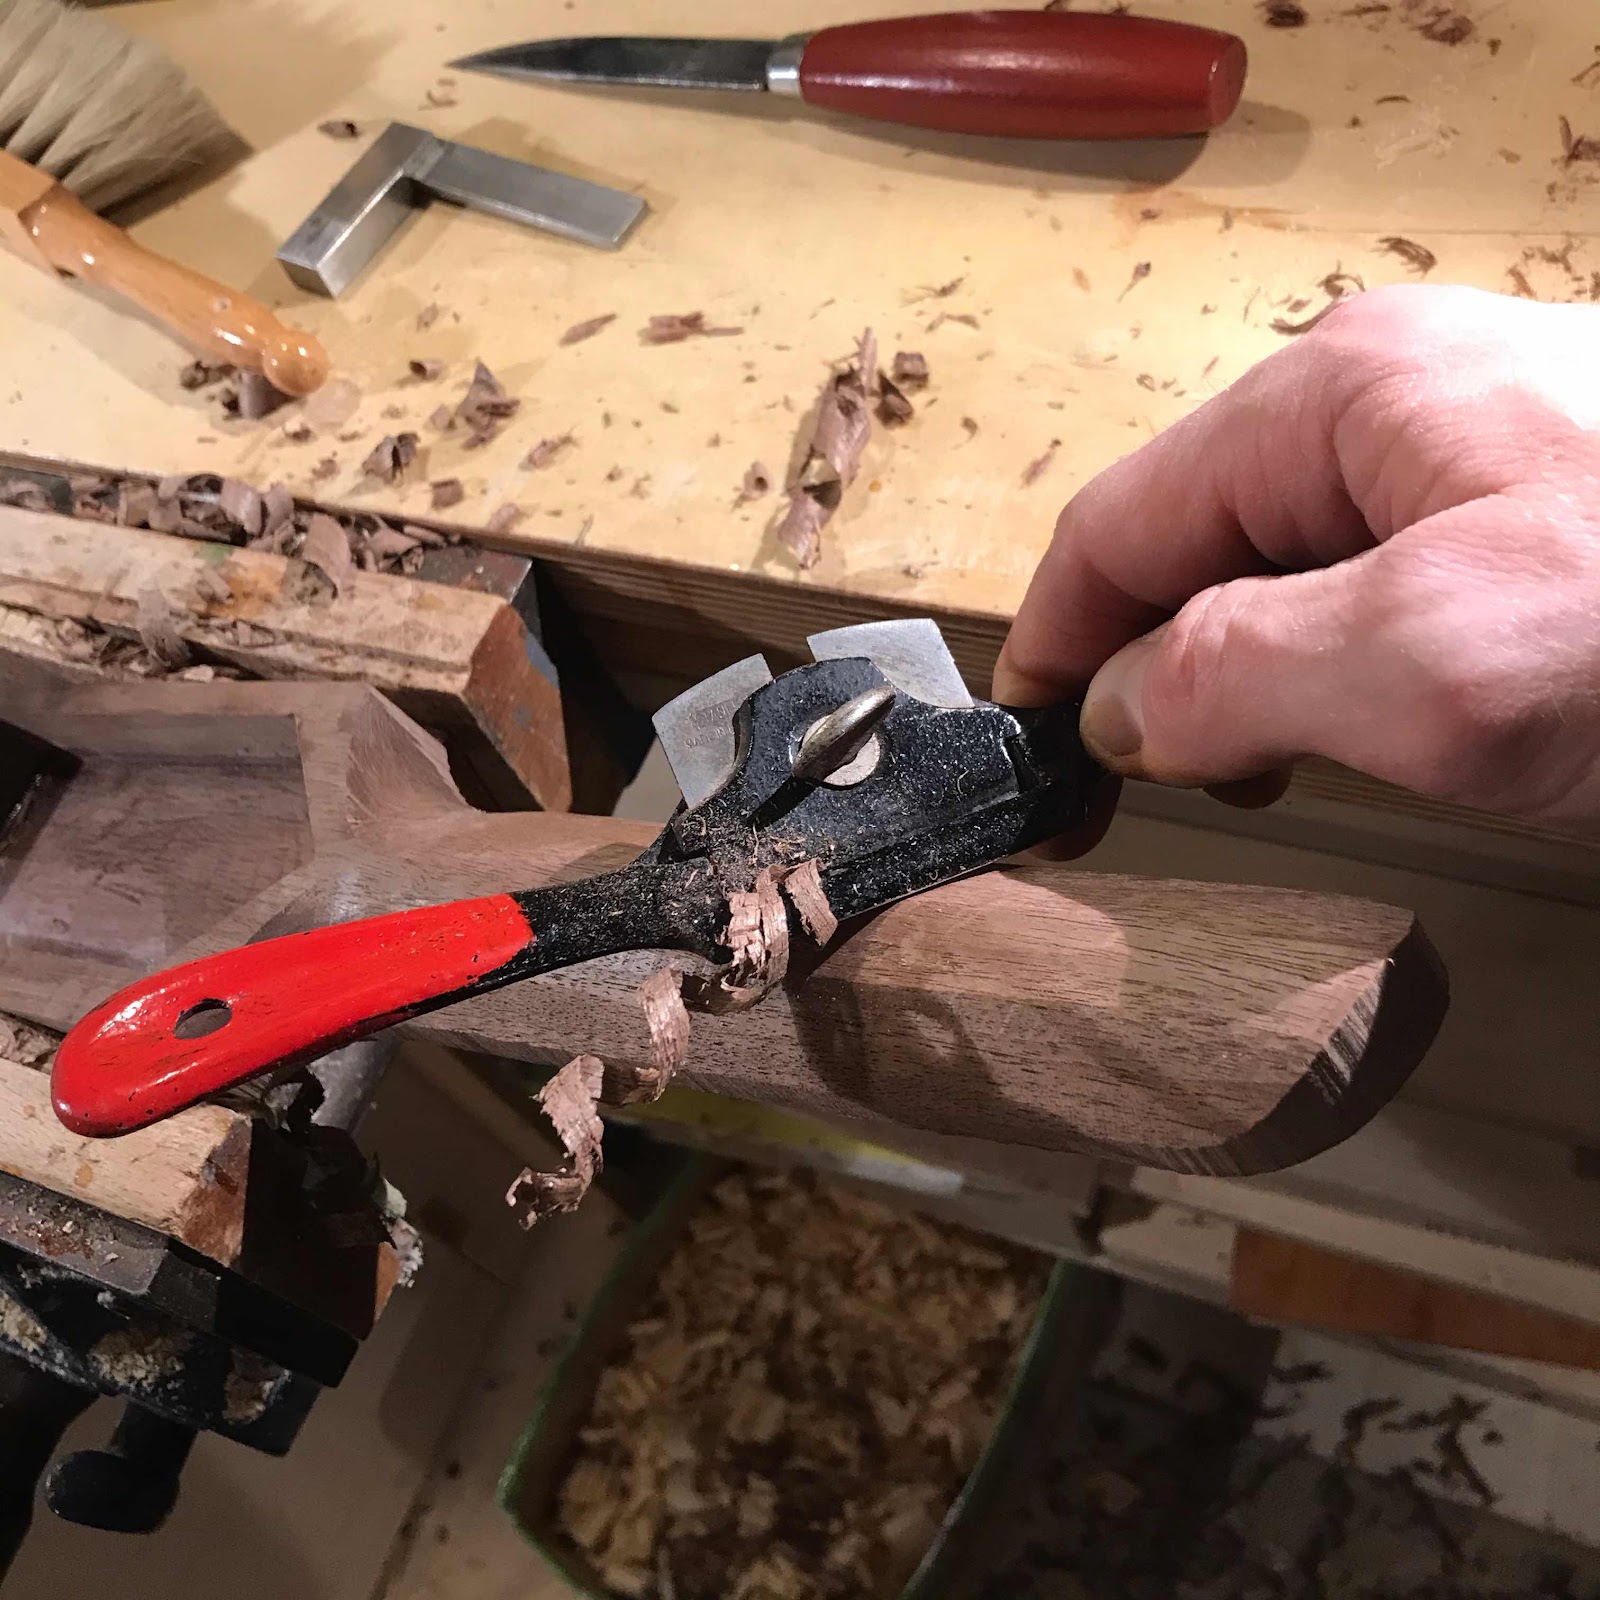
Then a few spokeshaves of different sizes make short work of shaping the neck. It takes about ten minutes but I wouldn’t mind an hour - this is my favourite task. 


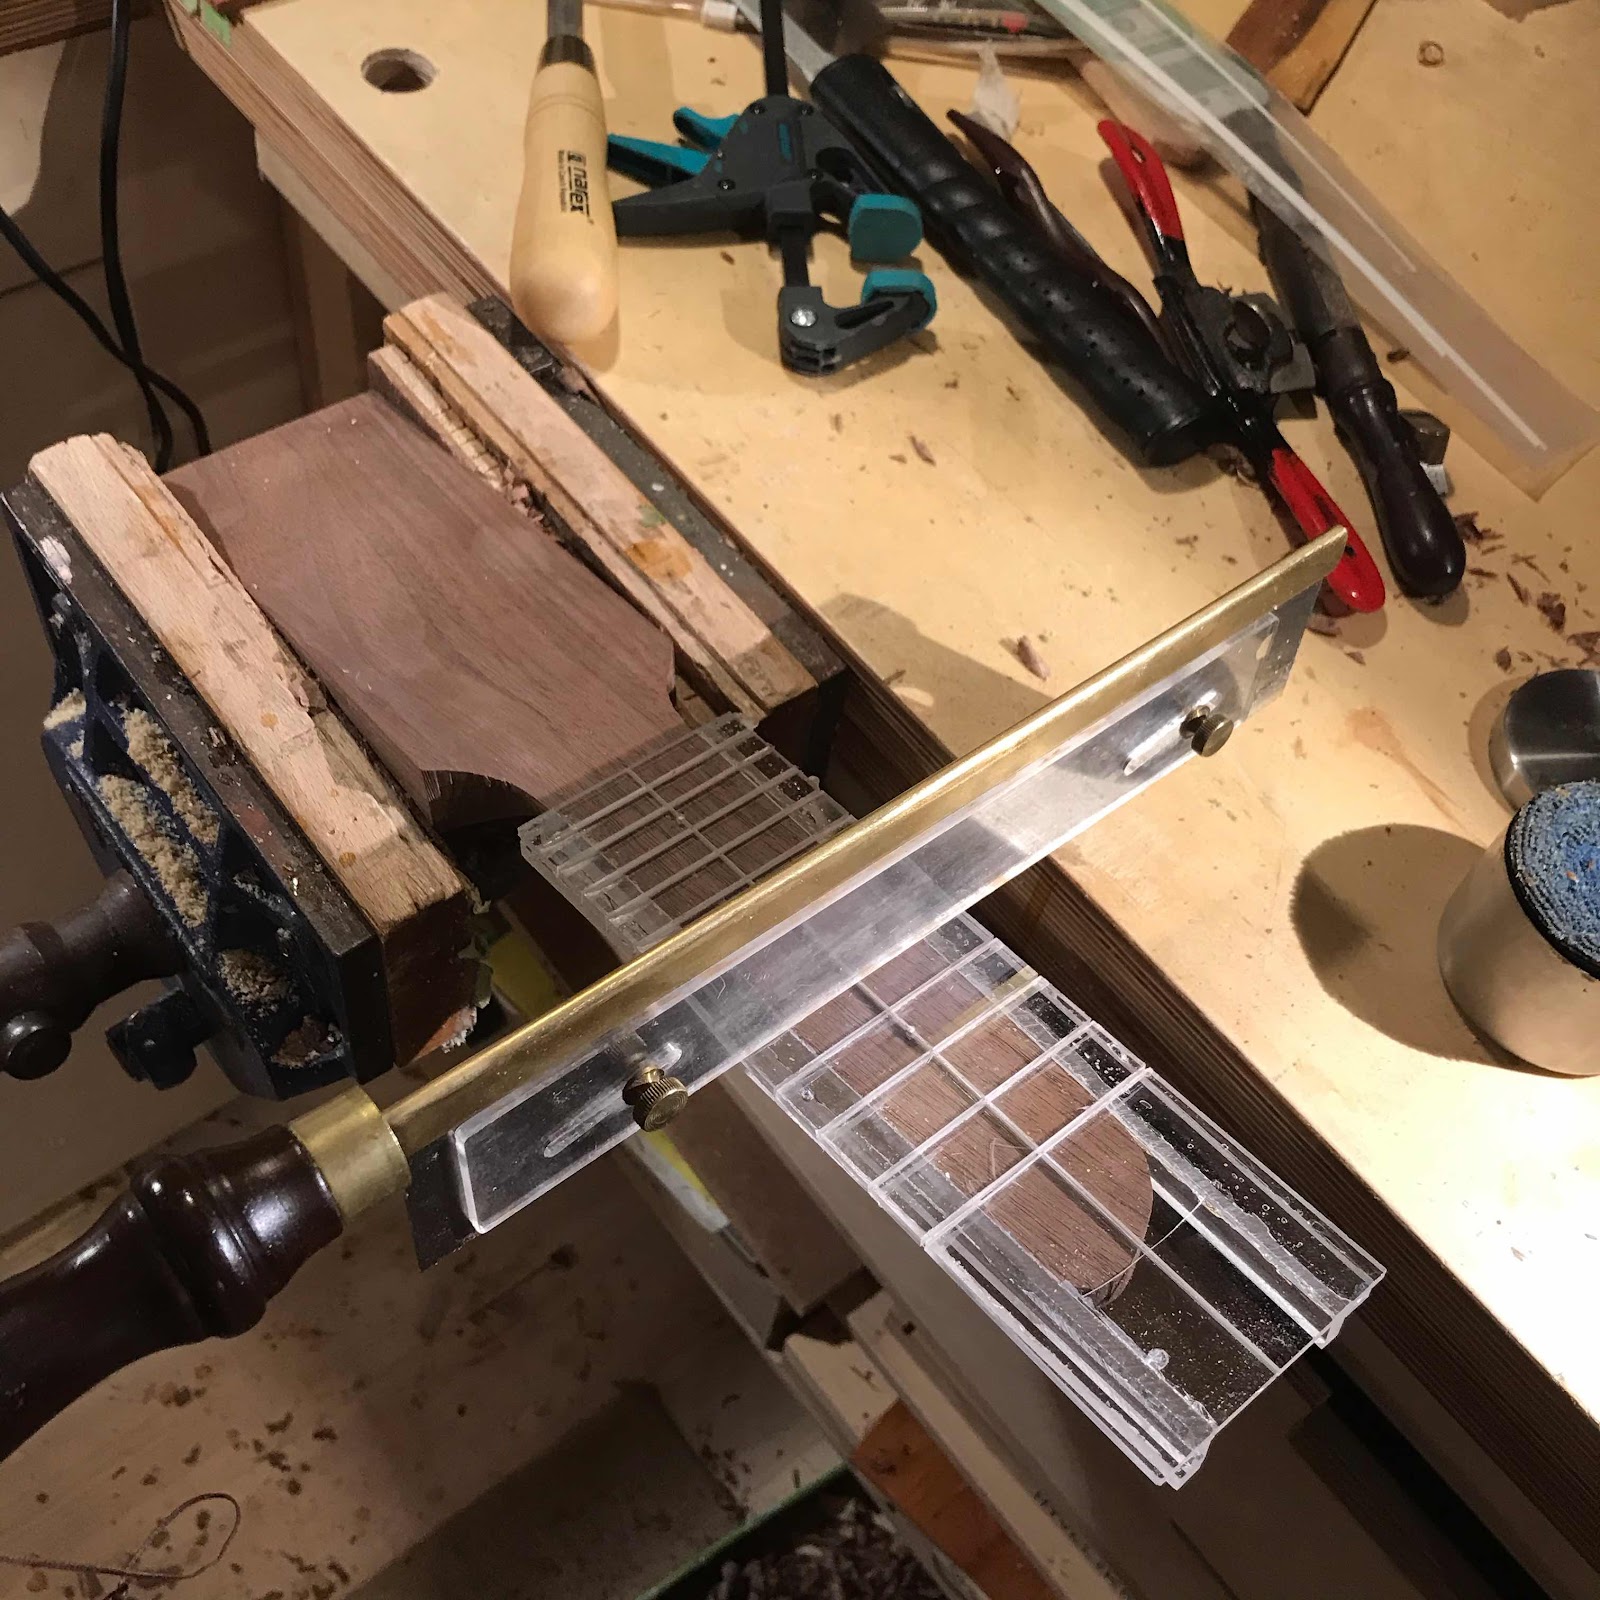
And I got to use my new fret slotting jig. The old one was a bit worn out and the first replacement I made turned out wonky. Which is really bad when it comes to a jig. For positioning frets. 


Friday, August 21, 2020

This season’s work

Bon soir! Last night I collected all the parts I need for the ukes I’m about to build. It is a diverse collection, and all might not be built. Three out of five (possibly six) are ordered. 


So, two resos. One of which will maybe have a longer scale length. One will most likely be of pine and the other of alder. 

Then a soprano for Li, my daughter and the light of my heart. She’s fond of my old number one so I will build her one very similar to that. 

I found some cherry and I want to build one or two piccolos. 

Last is a half finished walnut travel uke. I know just the bloke who needs one. 


Wednesday, July 8, 2020

This year’s exile chores

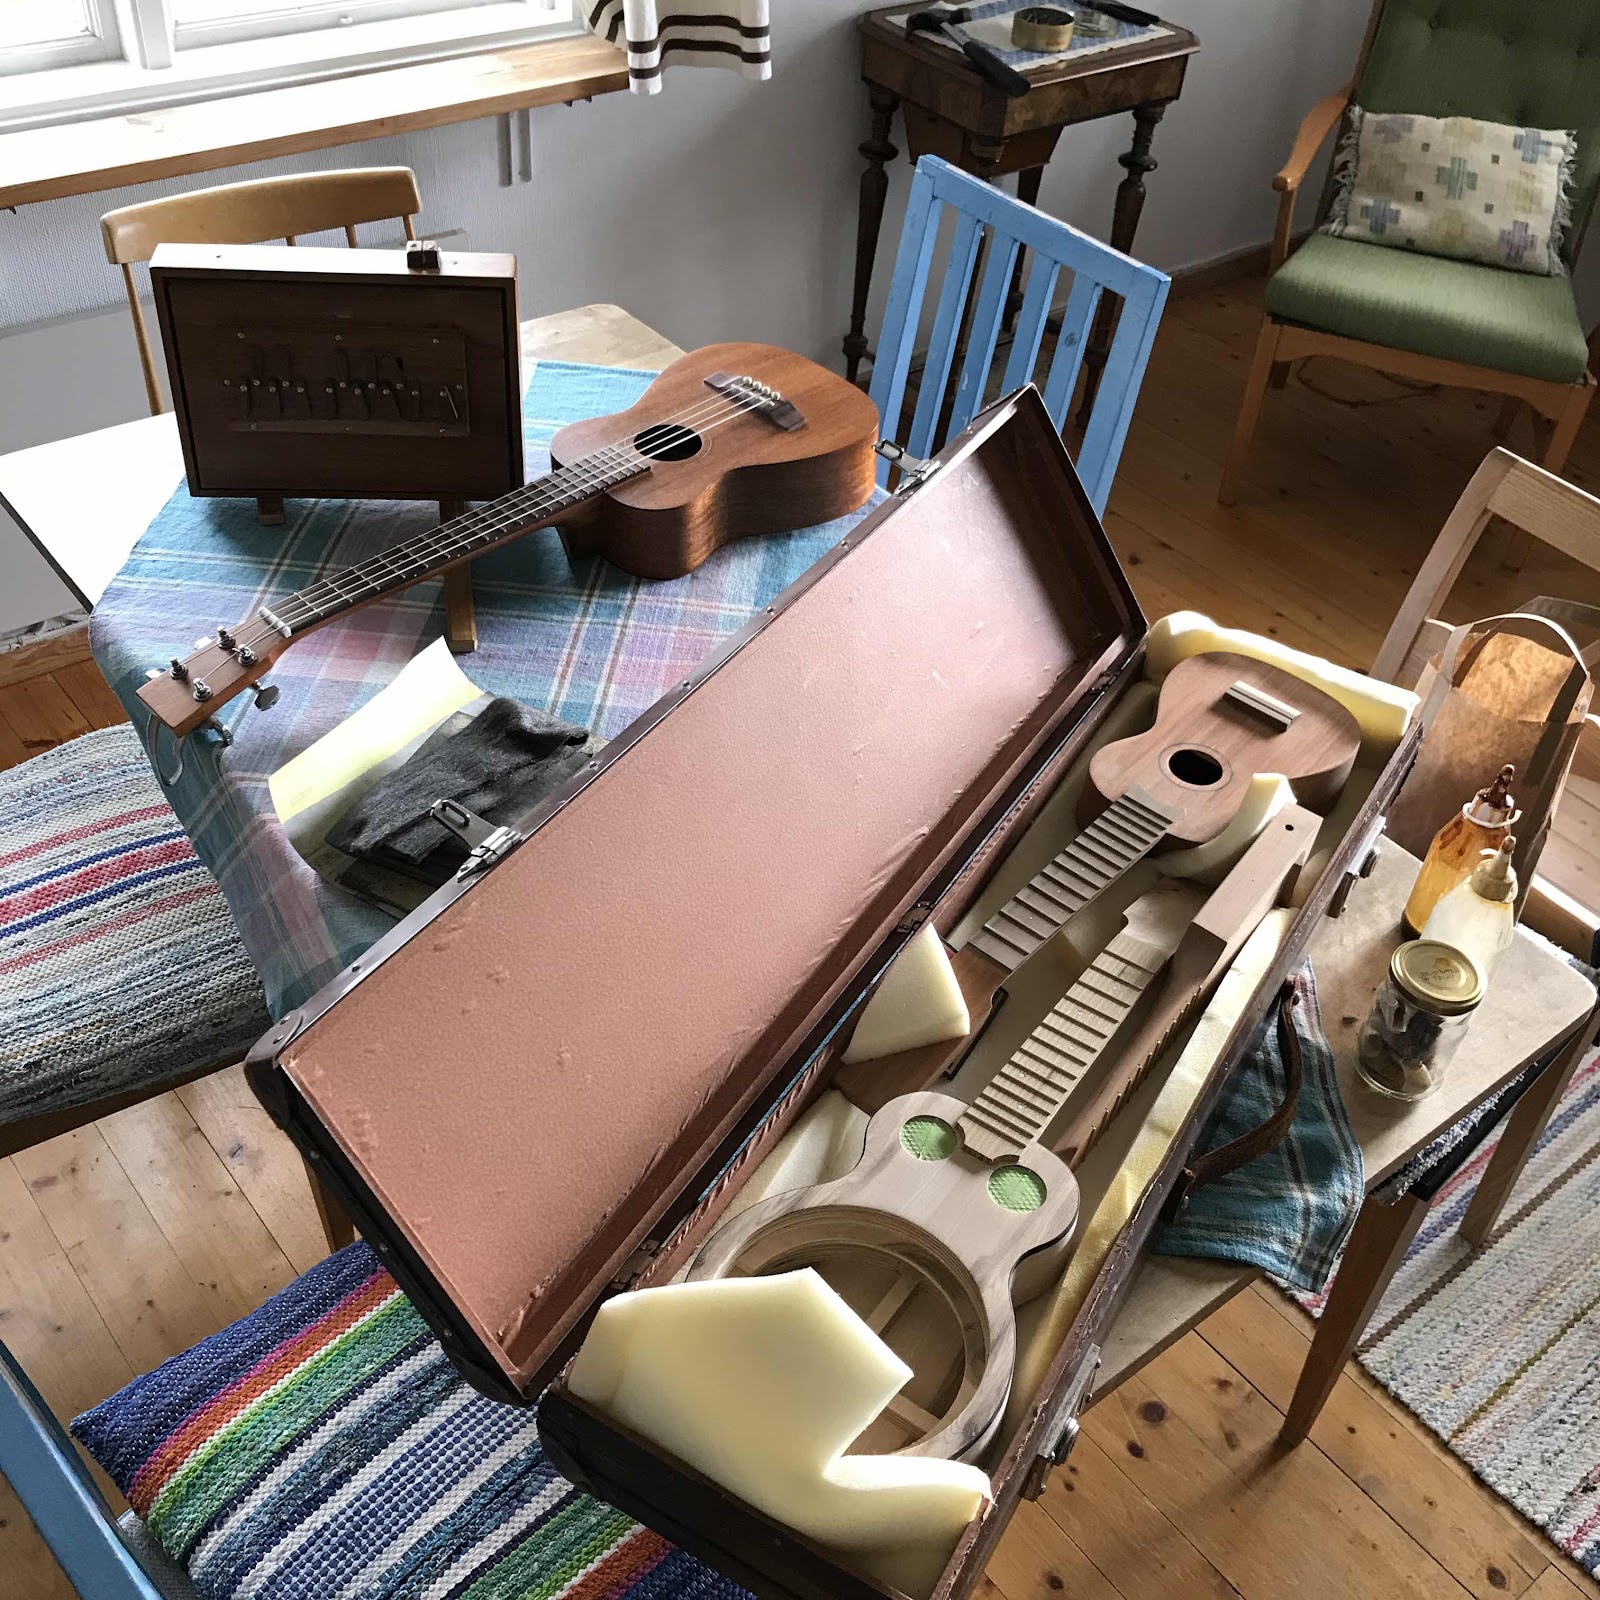
Well I got to the rickety cottage 350 km south of Stöckhölm, and with me I have the three ukes from the bench. A mad dash on Monday means I am at the finishing stage of all three, so I brought the shellac kit, some scrapers and also a couple of fret files. 

The ukes all fit in the weird bow case I found at a thrift store, behind them on the table are my wee bass from Tinguitar and the much loved shruti box. 


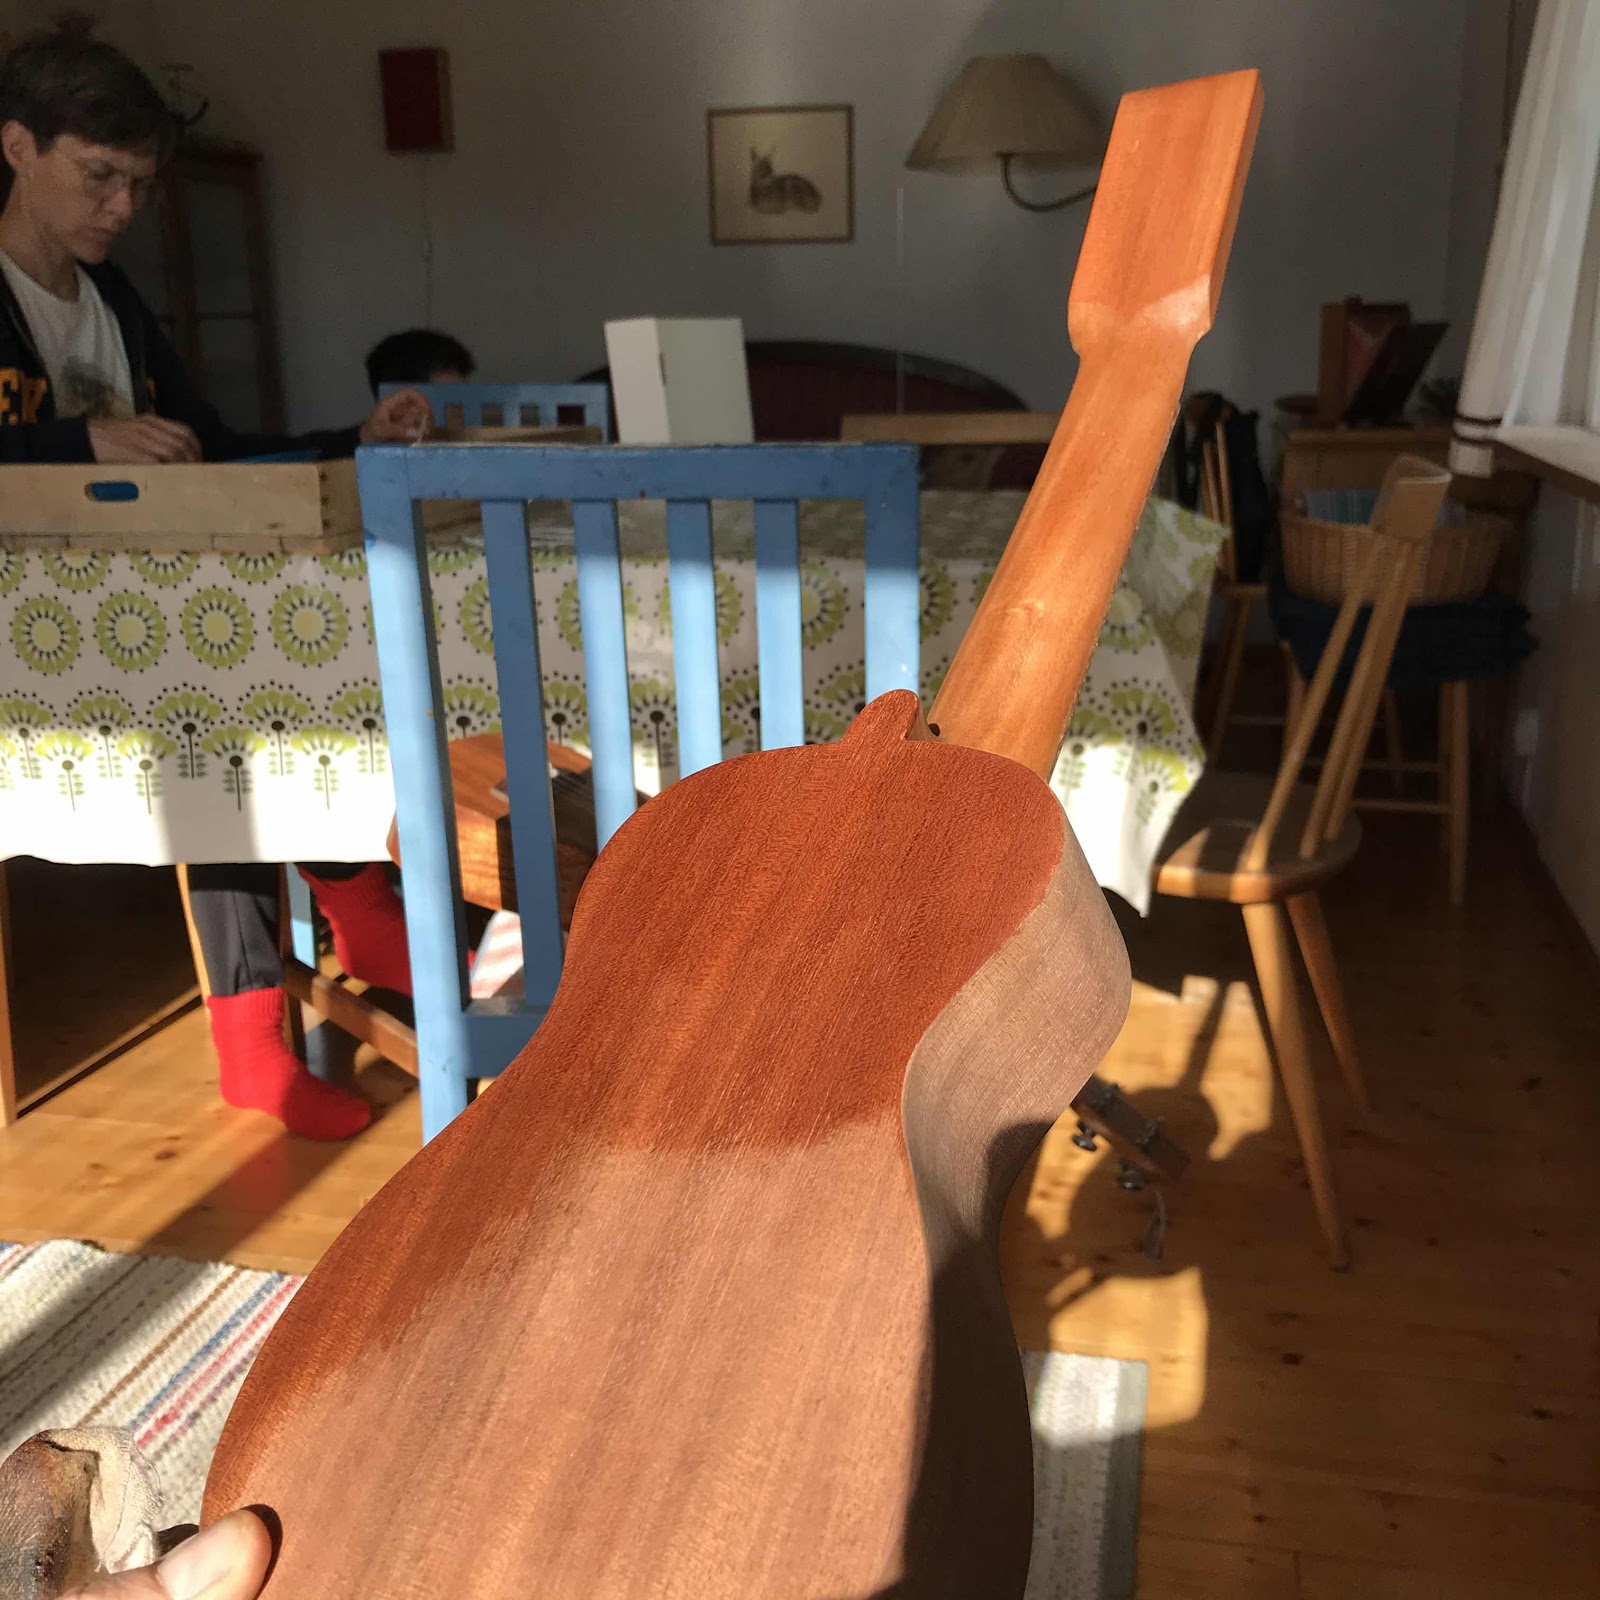
The first coat of shellac on the mahogany soprano. This never gets old. Never. 


And here it was last night, hung to dry. 


Quite late at night I started to level the frets on the reso. The daylight was almost entirely gone and the electricity in this cottage is a hot mess so I started by the light of a candle. 


When it came to crowning and rounding off the ends I had upgraded to three candles. It went ok I thought and was quite relieved this morning when I could confirm that. Both the three corner crowning file and the end dressing file come from Stewmac. A lot can be said of their pricing but I couldn’t do what I do without their tools. 


And then it’s coat after coat of shellac. I’m at four now and tomorrow I’ll give them a quick rubdown with steel wool and start to polish them with walnut oil on the muneca. That will build the finish quickly but I’ve come to the conclusion that I need a few coats on the wood before the oil comes. 


Friday, May 29, 2020

Oh err... three on the bench!

Well this is nice. Since starting that reso a while back I have picked up some steam, and now I have no fewer than three ukes on the bench. The reso, a travel uke, and an acoustic soprano bound for Bavaria. 

But I’m getting ahead of myself. We’ll take the reso first. The wood was resawn, the plates for the top and back were joined, and sanded together with the rim. 


Then I assembled the skeleton. The dowels are cut to 50 mm length and the neck block and a temporary spacer make sure it comes together the way it should. 


I didn’t take pics of bending the rim, sorry about that. But here’s me laying out the positions for the holes for the come and sound ports. 


Then I found one of the blanks I’ve prepared for the travel ukes and couldn’t keep from carving the neck on it. First the entry point with the two handled knife. 


Then the Stanley spokeshave - very effective. 


For the finer details I used my Millers Falls no.1, the cigar spokeshave. It’s weird and fiddly to setup but once you get it to work it does things no other tool does. 


And here are some of the parts for the soprano I’m making for a new and very polite customer who almost gave me the freedom to make whatever ukulele I wanted to build for him. We were definitely on the same page regarding specs so I’m convinced he’ll be happy. I’m using very old mahogany for this, and kept the sides quite thick. In the picture you see me gluing the neck block. 


Thursday, April 30, 2020

Yet another traveller finished

Another one is done! But I will backtrack just a bit to show you how I made the bridge. First pic is a wooden ruler resting on the zero fret and a 2.5 mm drill bit lying at the 12th. Then I measure the gap with a new Japanese wedge shaped ruler at the correct point. Tricky to hold in one hand in order to take the pic, but it shows around 6 mm. So fairly low. 


Then I cut a wee block from a slightly larger chunk of cherry. Rip saw, natch. 


These miniature planes from Veritas are great. Sold as novelties bu I use them a lot. This shoulder plane is my favourite but the wee router plane is great too. 


And clamping. Stages not shown include drilling for string rod and tuners, shaping tuners and reaming holes, and finishing. 

Also the hardest part of all, drilling the string holes above the zero fret. I can’t think of a jig for that so I do it freehand and hope for the best. 


Done. Front...


... back...


... and stamped. The ZS means it’s not been touched by sandpaper. All surfaces are made with sharp cutting tools. 


Oh, and this guy. Ambitiously carved and dyed towards the cherry red of yesteryear. 


I think it’ll be killer.