Learning Ukulele 50 Sites Top 50 Ukulele Sites Argapa Ukuleles - one size louder: Piccolo
Showing posts with label Piccolo. Show all posts

Tuesday, April 13, 2021

Piccolo done, Argapa #126

Howdy fans! Both of you. It’s been a couple of weeks since that initial burst of activity and during that time I have applied the shellac finish. First by slathering on several coats, then after levelling with steel wool and a wee scraper I started the polishing. First pic is from after wooling (nice wurd).
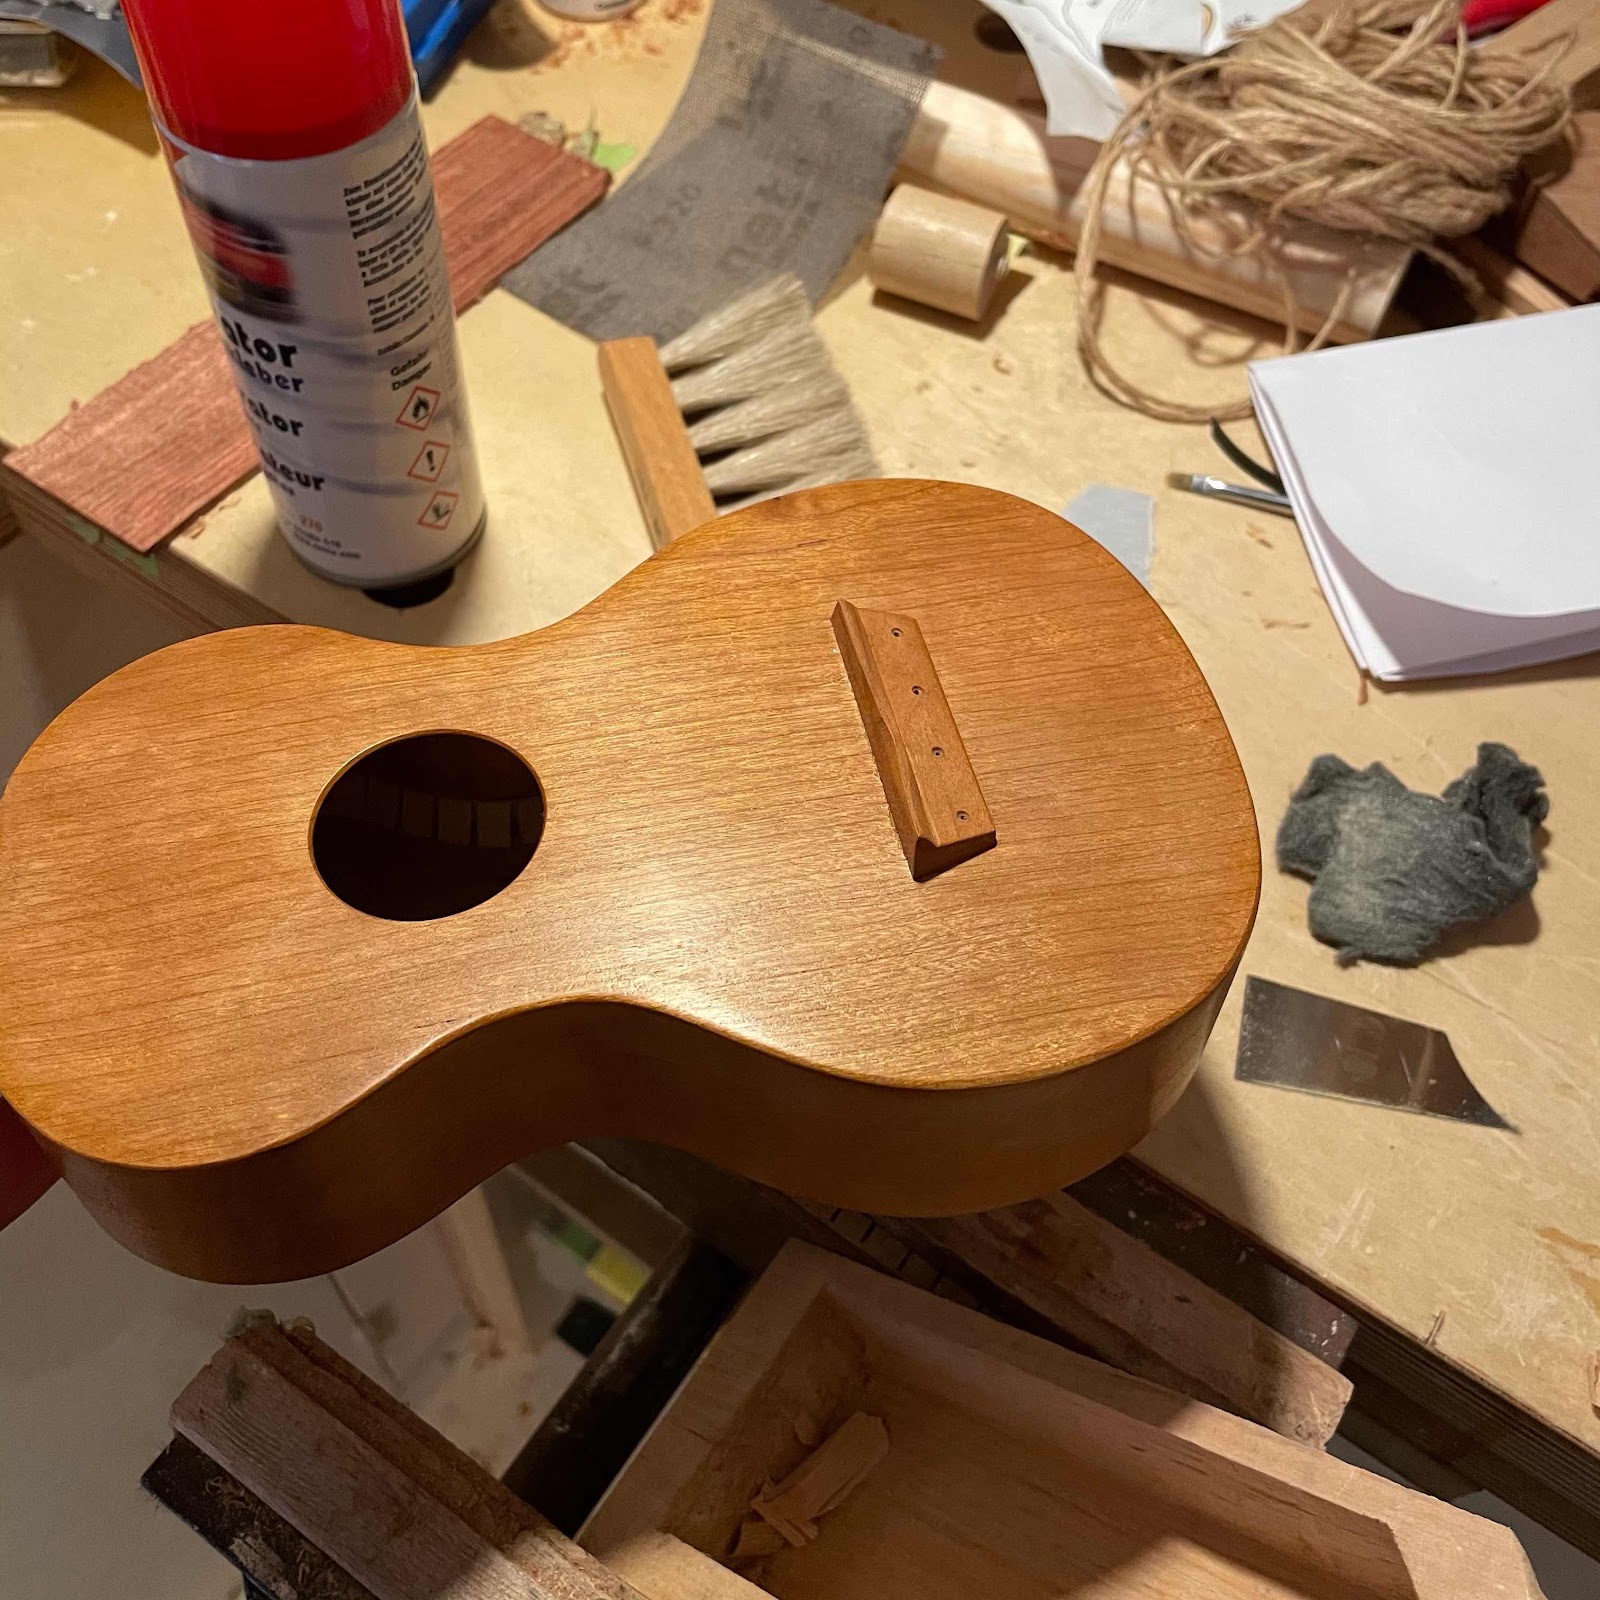


Halfway through the polishing process it starts to look quite good. I used walnut oil as the lubricant for the muneca, the theory being that it dries together with the shellac. Can’t prove it but it feels good. 


I dillute the shellac more for the later coats, getting a better shine as I get closer to the last buffing. 


Satisfied with the gloss I started preparing the pegs by refining the taper with my peg shaver / shaper. Super expensive piece of kit but a joy to use...
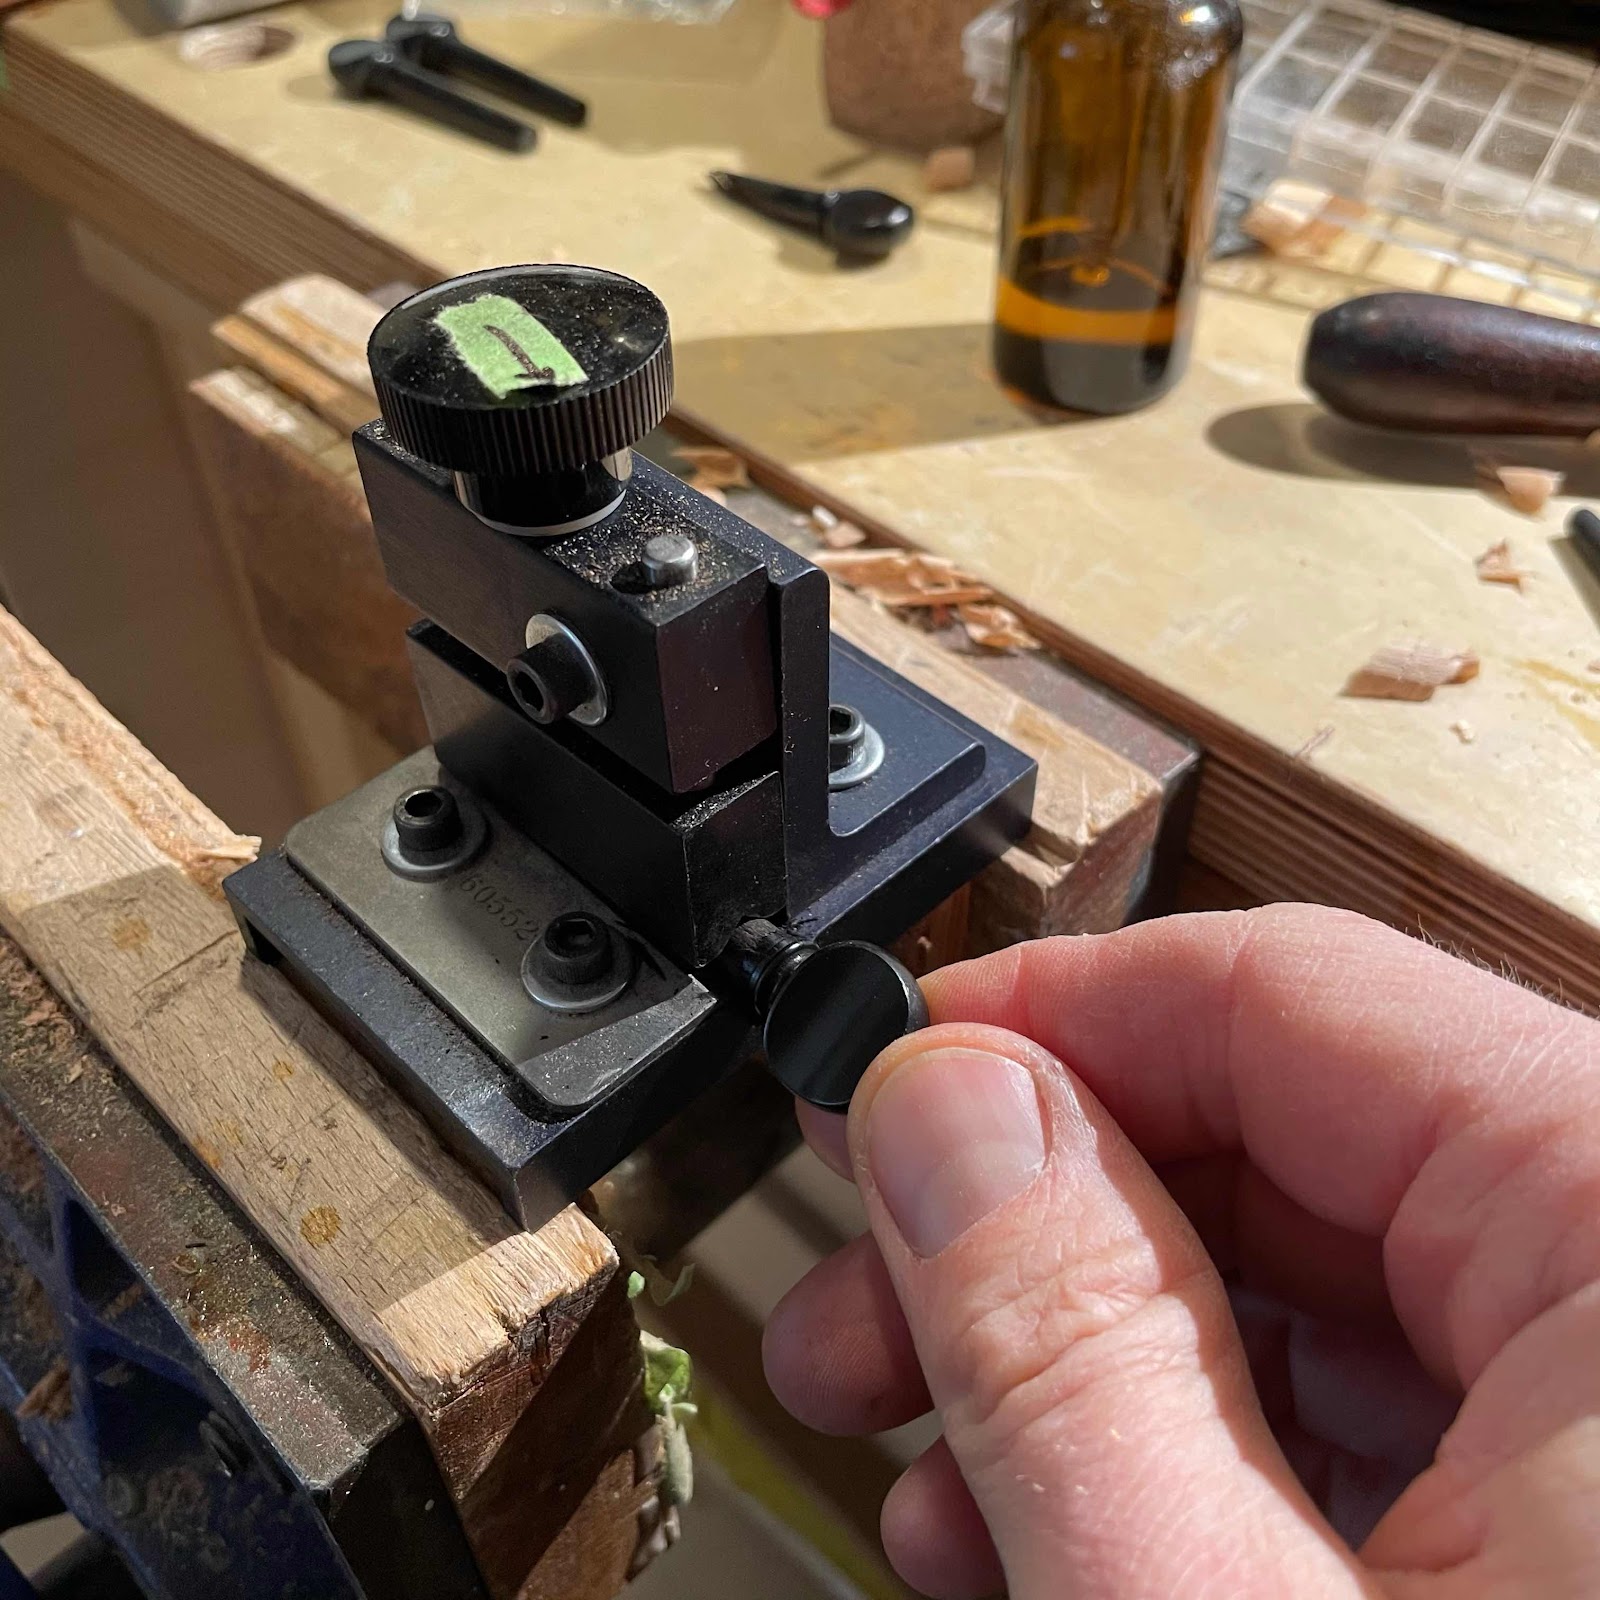


... on straight grained pegs. One in ten just gets stuck and sort of disintegrates after a couple of turns. Good thing my supplier botched my order and took in 40 sets instead of 40 pegs, and begged me to buy them all at a hefty discount, so I have some to spare. 


My wee reamer is a bit mutilated because reasons, but it’s light enough work not to demand a full length T-handle. 


I trim the pegs to the same height with my... peg height jig. The [late addition of a] piece of leather saves my thumb. 


The sawn off pegs gets another shave, this time in a dirt cheap crap sharpener. 


I just chamfer the edge in the sharpener, then I use a file to round the ends over. 


I drill string holes and countersink them with a tiny round wotsit, die grinder? Burr?


I was so pleased with the pegs I started stringing up before I remembered the nut, so with one string hanging from the bridge I quickly made a bone nut. In the pic you see the half pencil that, in theory, gives you the depth of the nut slots. 


And ta-daa, here it is. Strung up with the new brand of strings that I got. It turned out great, more symmetrical than other piccolos I’ve made and it sounds lovely. And one size louder of cöurse, so it equals a soprano from any other builder*. Only blemish is a mark in the waist from bending, but only Lemmy can make something perfect innit. 


*Please don’t tell any other builder I said that. 

Sunday, March 28, 2021

Frets and bridge

Yesterday morning I put shellac on the fretboard, but then we went to the cottage to do a bit of gardening. So I couldn’t crack on until tonight. I cut the frets to length and shape the ends before installing them, since I can’t really get to the when they’re in place. The drawback of an island style uke with no separate fretboard. 


The big challenge is to get the ends to line up. The treble side turned out fine this time. 


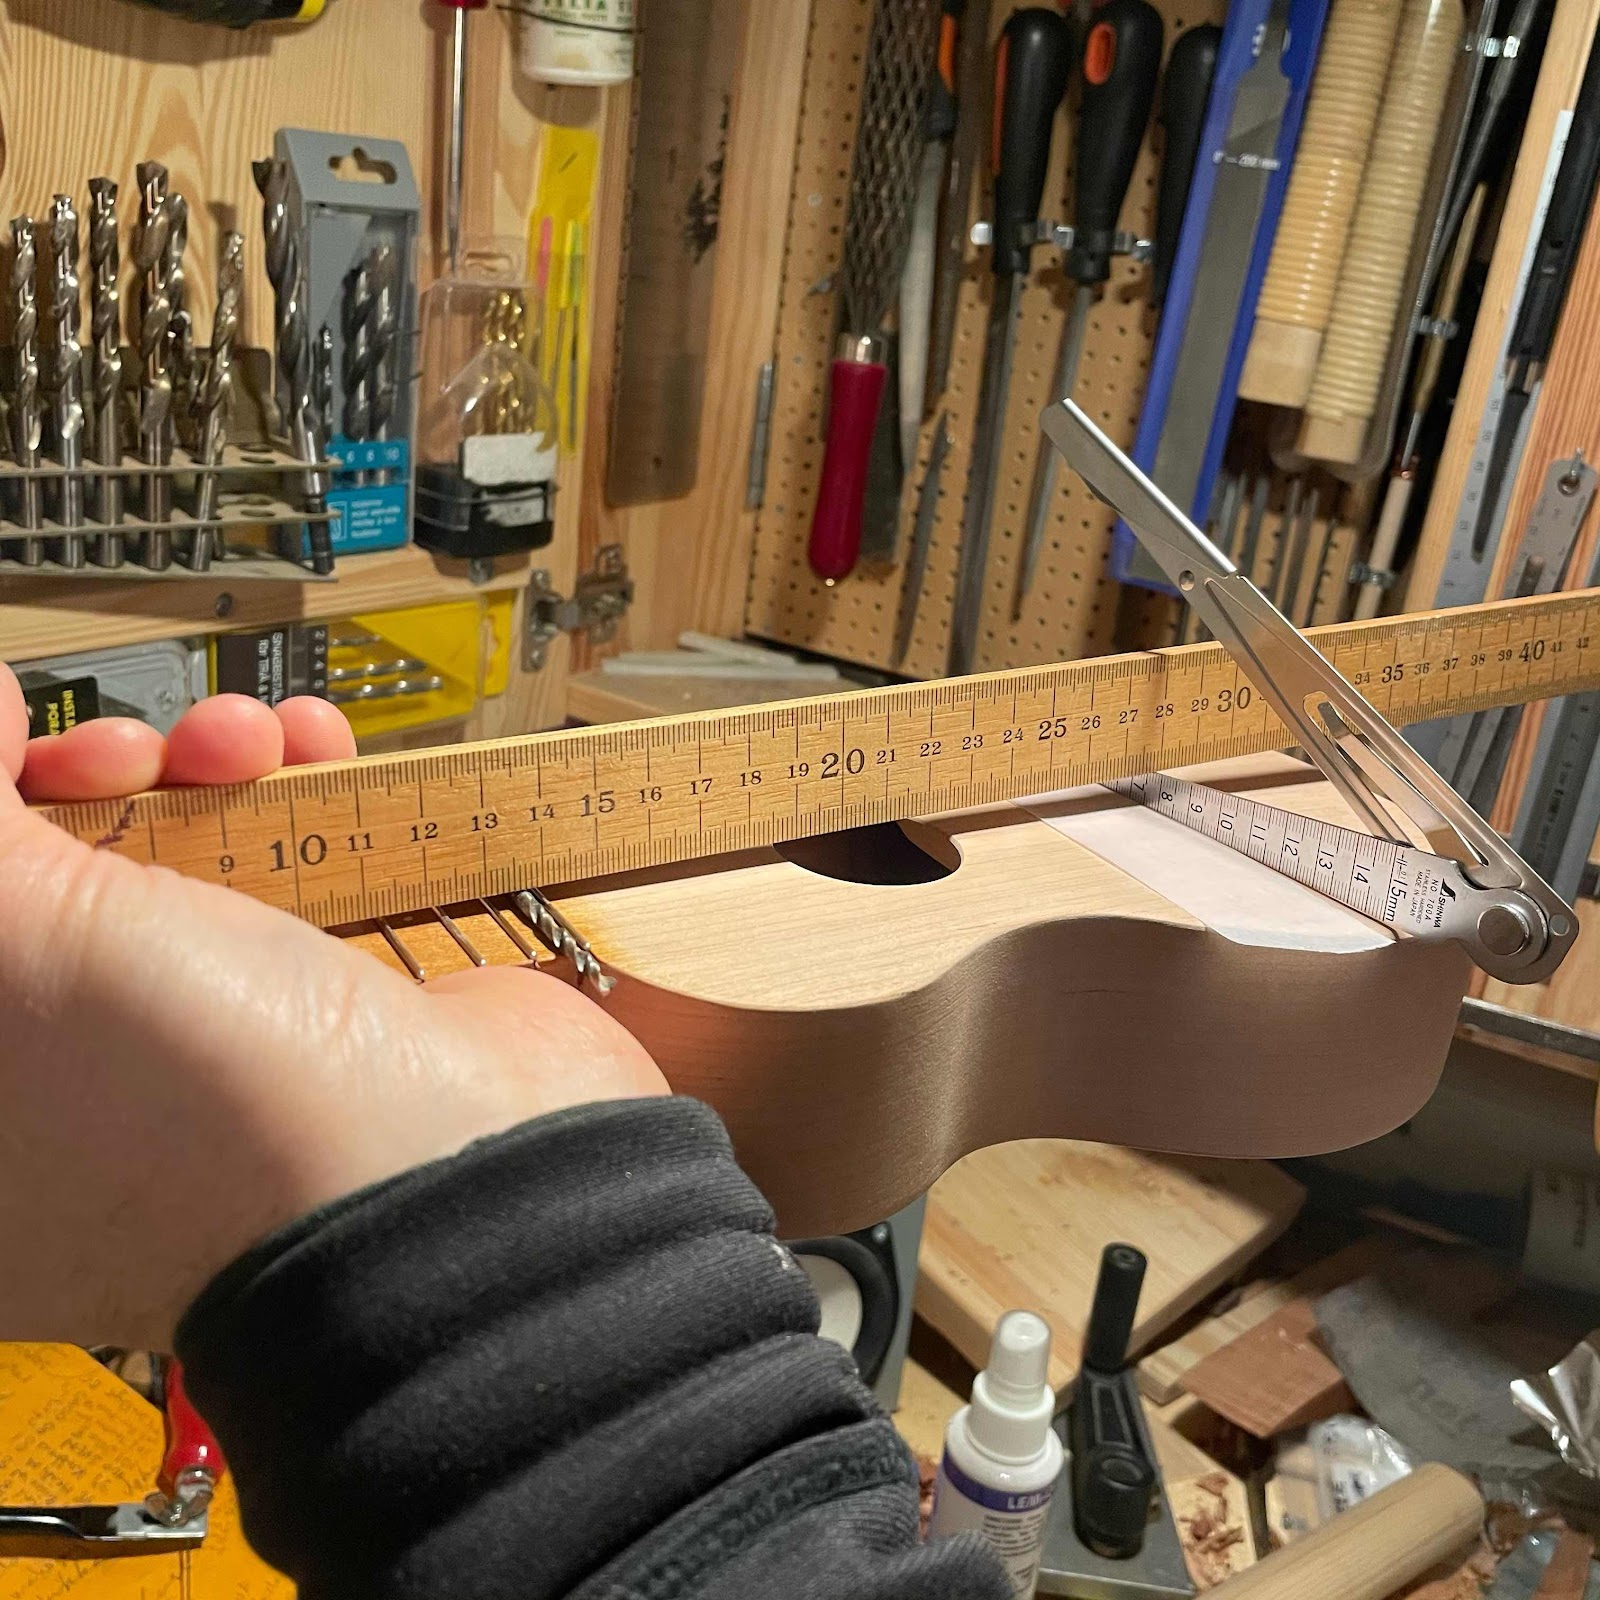
Then I measured for the bridge. Usually I have a length of roughly shaped bridge stock for these ukes but I couldn’t find it. So where could one find a suitable piece of cherry in this mess?


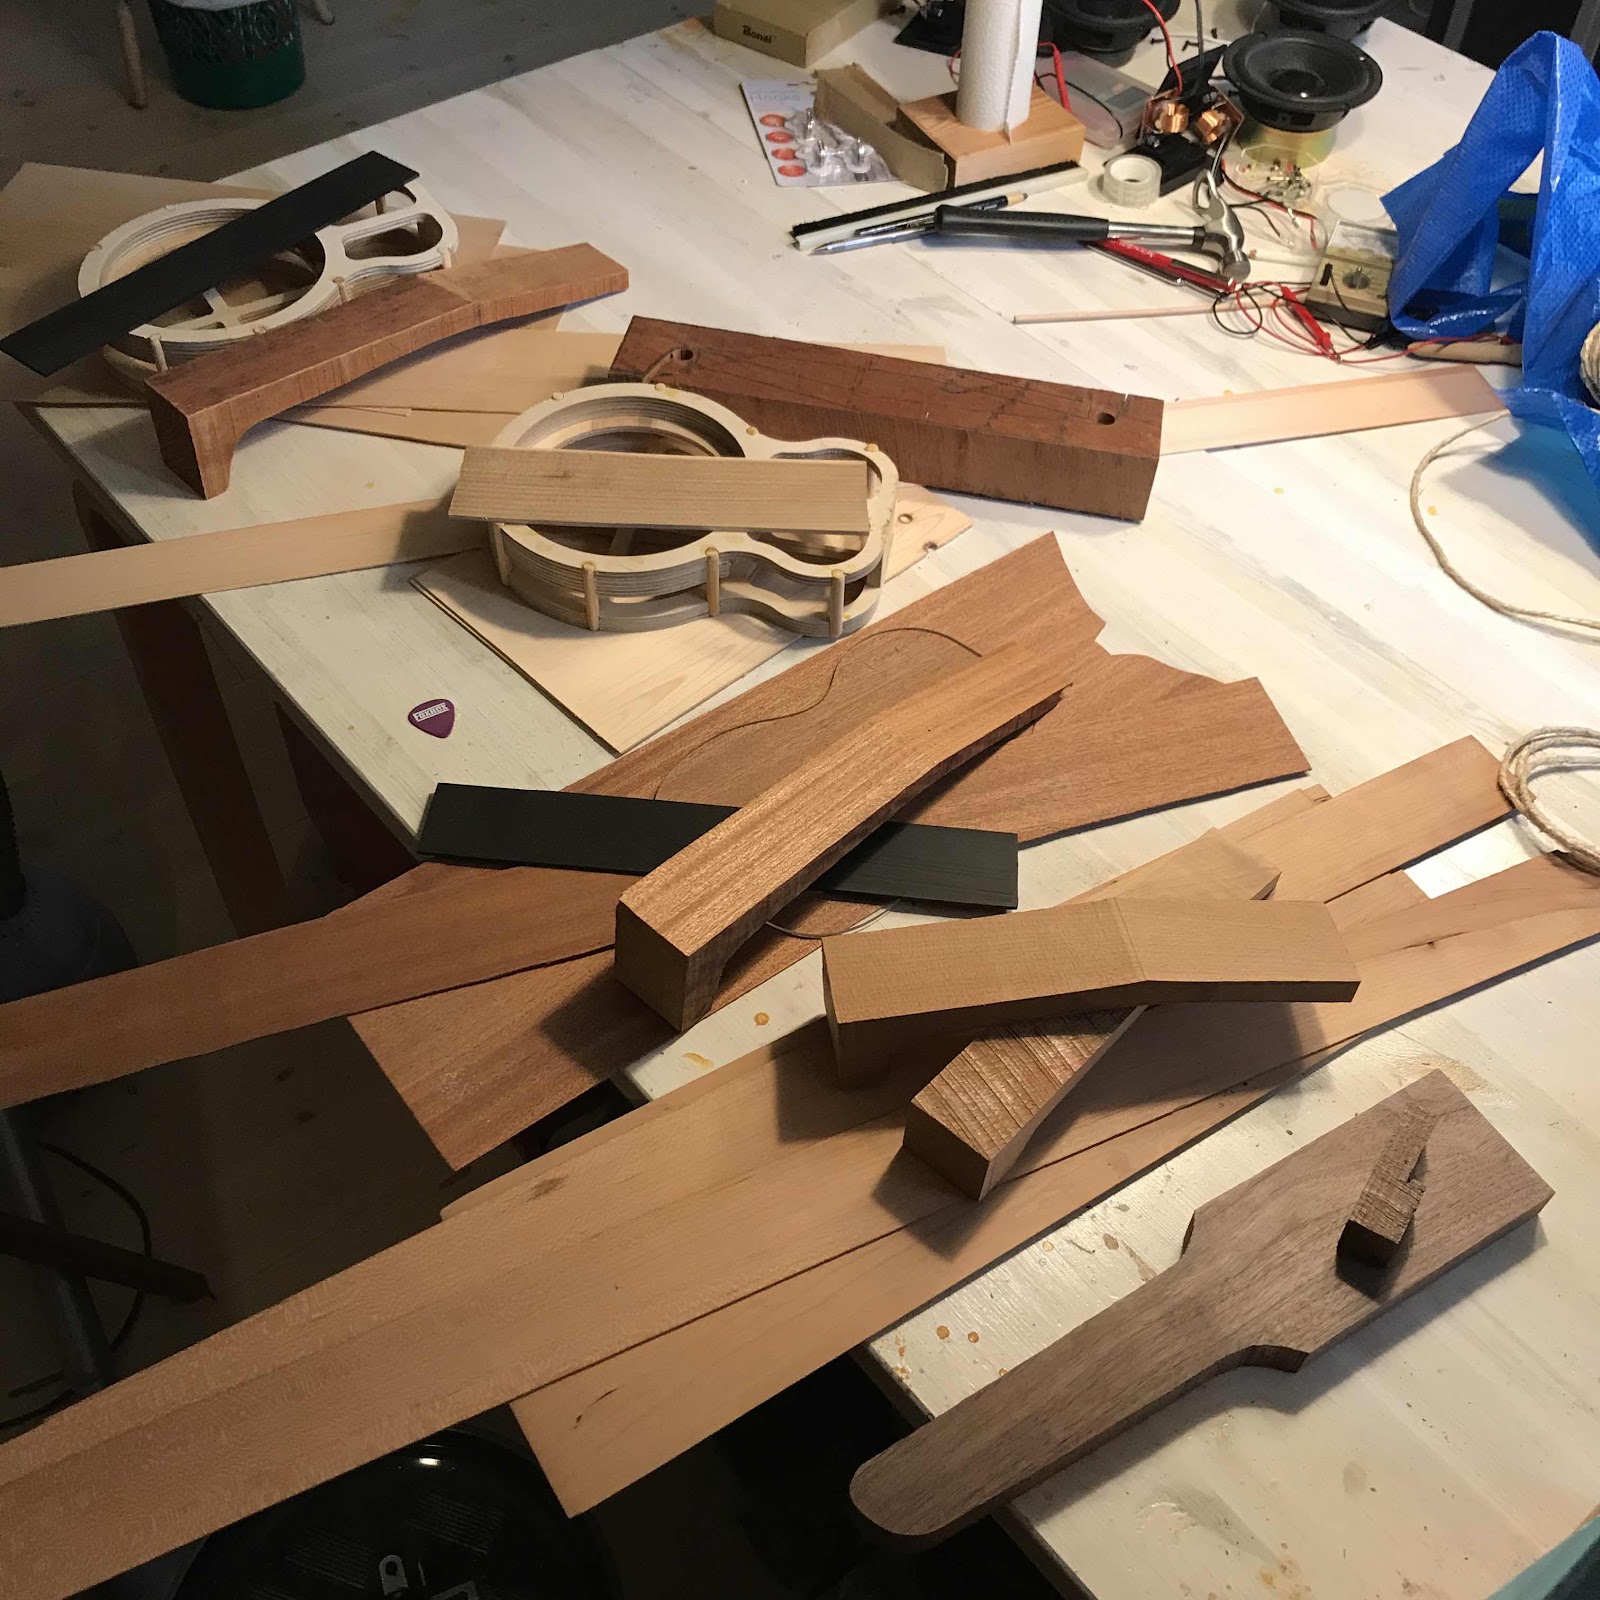
In the scrap bin of course. Remember these guys? The cut-offs from the neck blank, I get two of them every time. 


I planed the sides parallel then started on the cross section profile. 


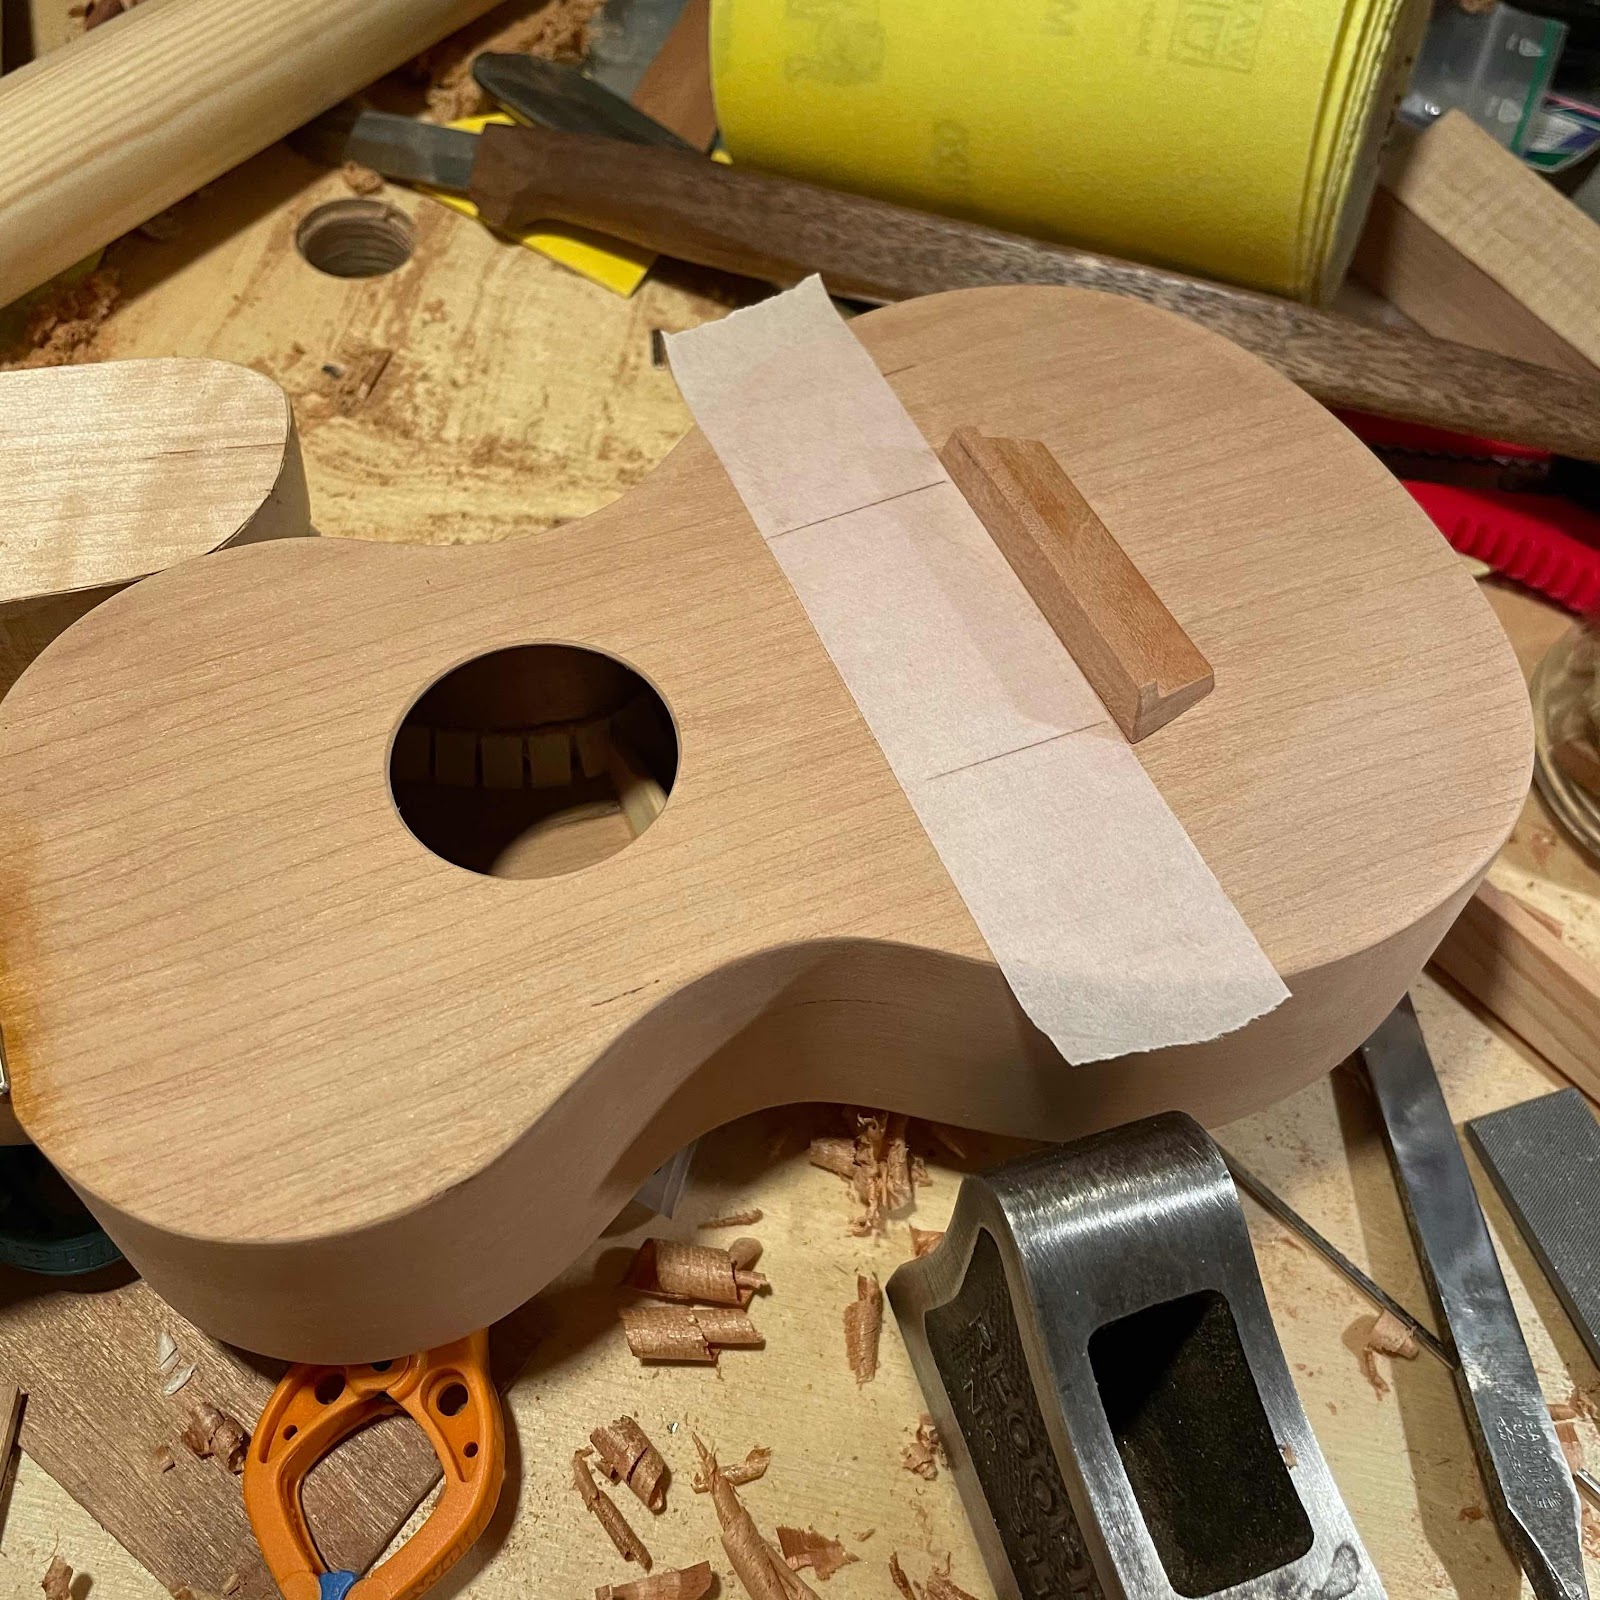
Trying it out for length and position. 


And on it went. Three f-hole clamps an a piece of guitar string to stop it from sliding around. 


While it was drying I drilled the holes for the tuners. Tomorrow I’ll start applying the shellac, that means progress will slow down a bit. But fear not! I found that traveller on the bench, in fact it is visible in the background of several pics. 


Thursday, March 25, 2021

Onwards and upwards

I managed to keep going. Last night I took the back braces down with a plane and the curved sanding dish, then I strapped the uke down on the solera and glued the back on. 


I use a caul to distribute the pressure and thin wooden slats to apply the right amount of force, and I left it over night. 


Then the 1 3/4” chisel shaves the edge down. I used a knife for some parts but the chisel is very versatile. Holding it like this gives me great control. 


To get at the glue and to even out any facets from the chisel, I use my multi-radius sanding block. Didn’t bother with the elaborate clamp for the sandpaper though, just reached for some tape. 


Tonight I started on the fret slots. The jig is held in place by the styrene rods that’ll become the fret markers. 


And I saw the slots with my Stewmac saw. 


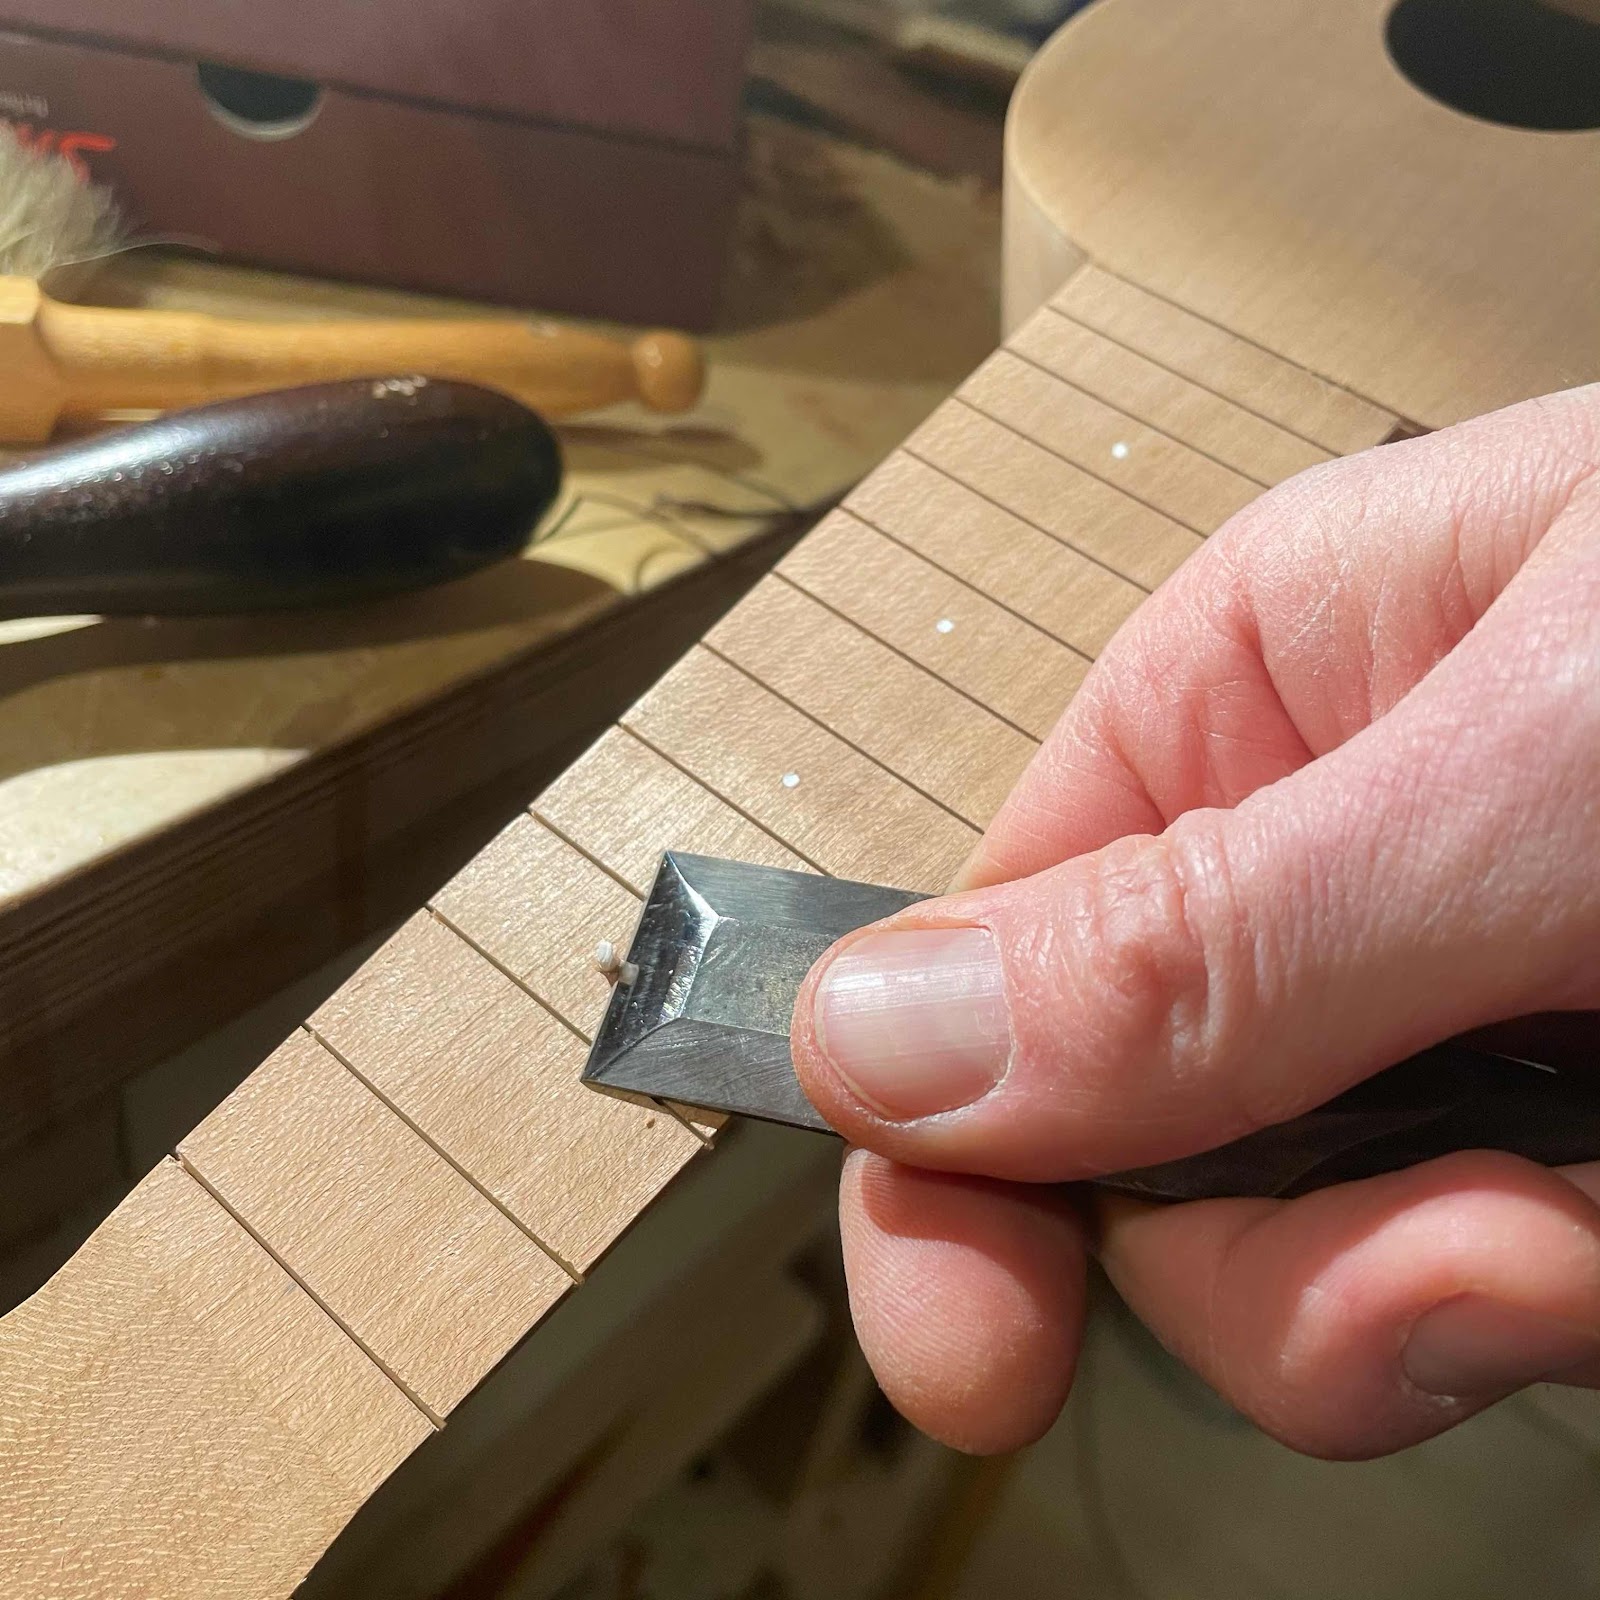
From rods to markers, then. Just a shave with a Berg chisel. 


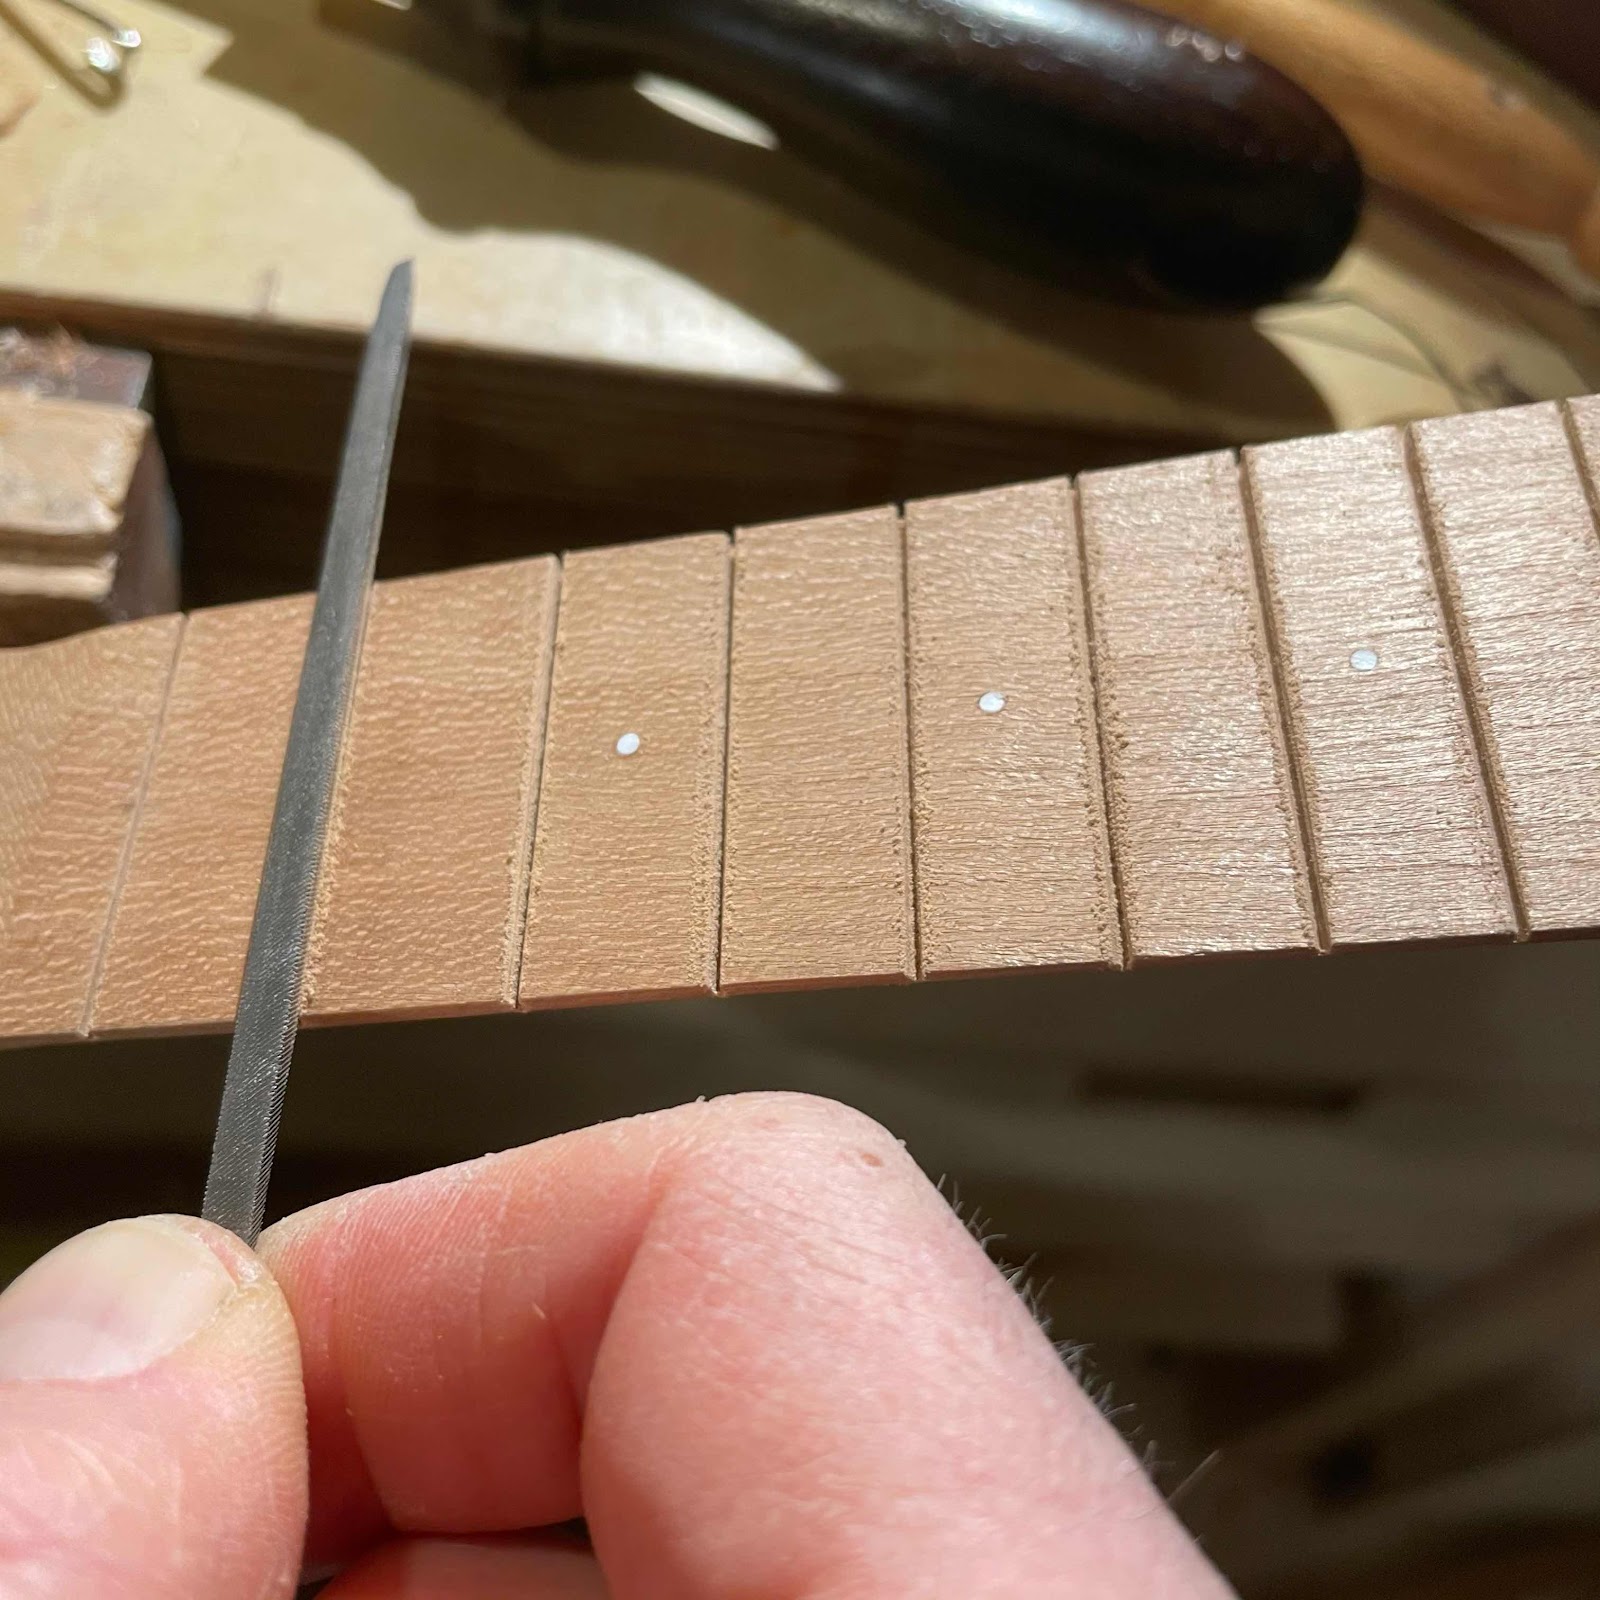
Before the frets go in it’s good practice to hit the slots with a triangular file. The fretwire will seat better and go in more easily. Just a couple of strokes in each slot. 


The last slot from sawing won’t house a fret, it’s the front edge of the nut shelf. The aforementioned Berg chisel plays ball, even cutting sideways through the grain it gives a perfect surface. 


Then I reached for the shellac. I always put a few coats on the fretboard before fretting and thought it was time. But it wasn’t - not everyone likes the smell so I can’t do that in the apartment before bedtime. Tomorrow morning it is. 

Wednesday, March 24, 2021

Rapid progress on the piccolo

Wednesday morning and we have moved on quite a lot. In the first pic I trim the overhanging top edge with a wide chisel, I never use a router for this. 


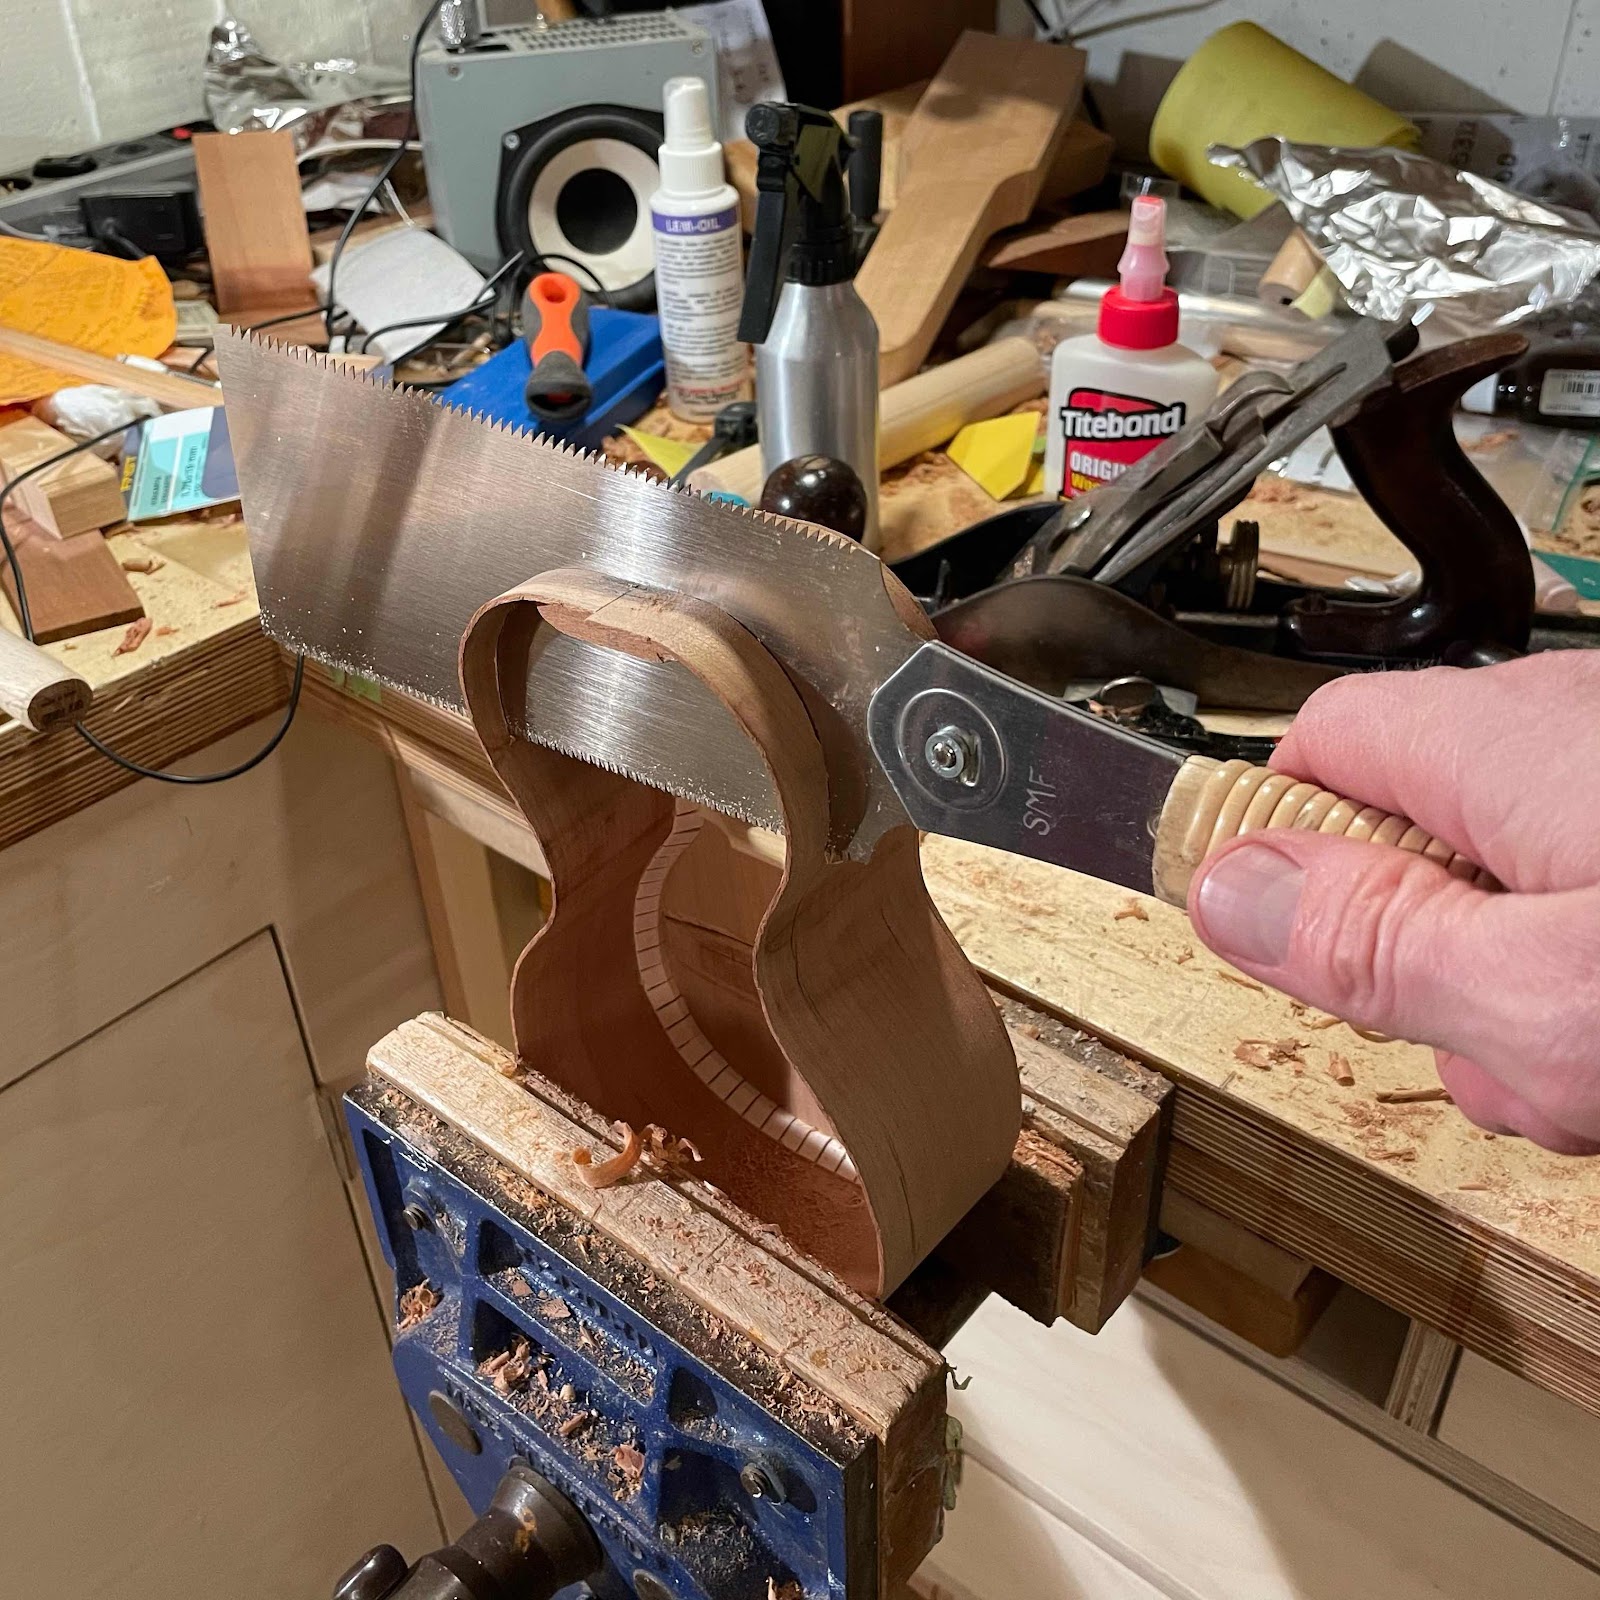
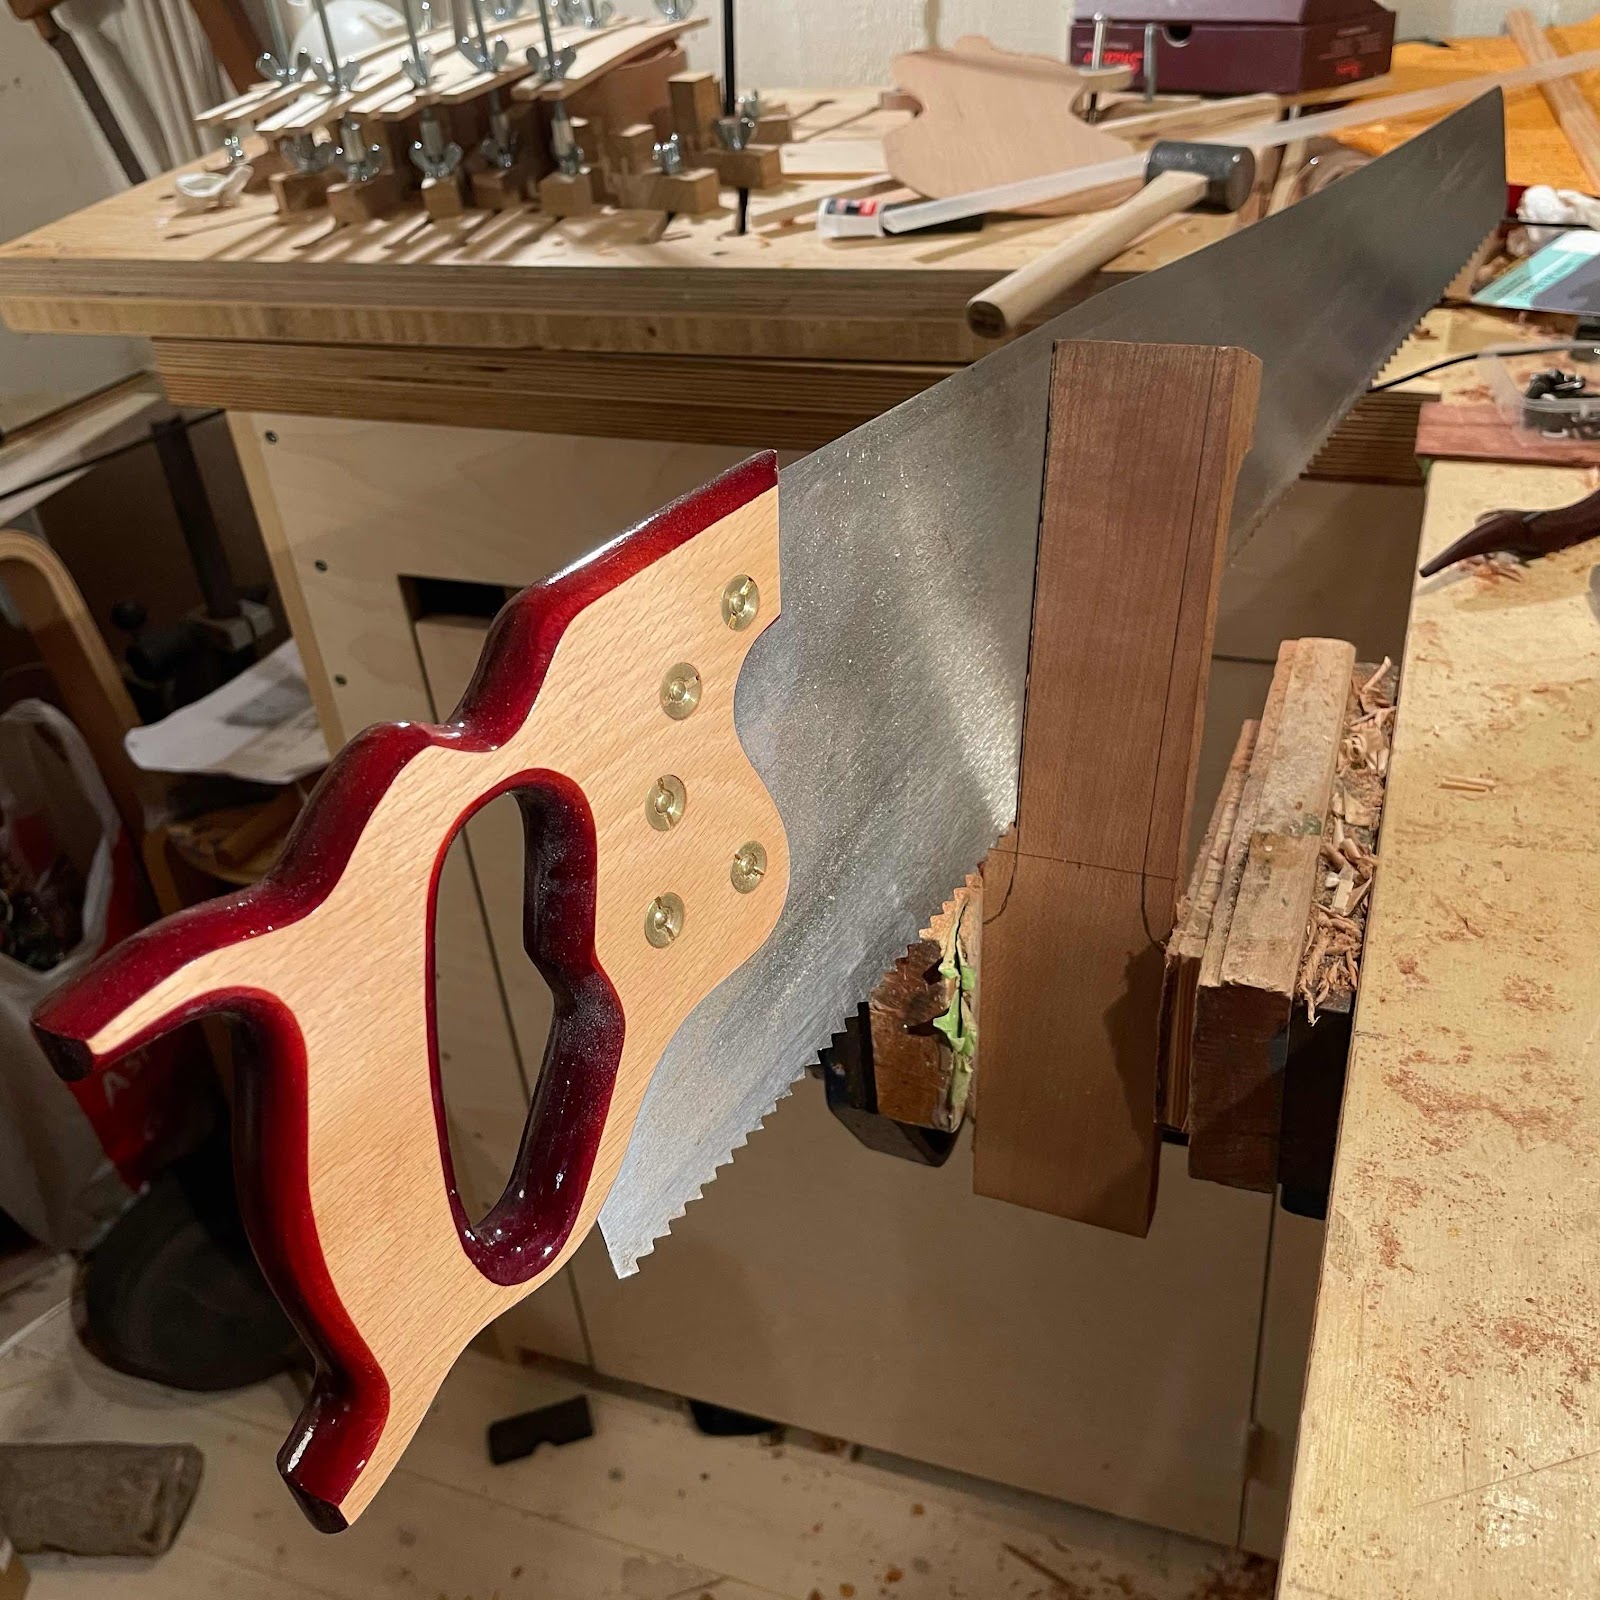
Moving on to the profile, I make the piccolos with a drastically curved back and take a shortcut getting there by hogging off the bulk with a Japanese saw. 


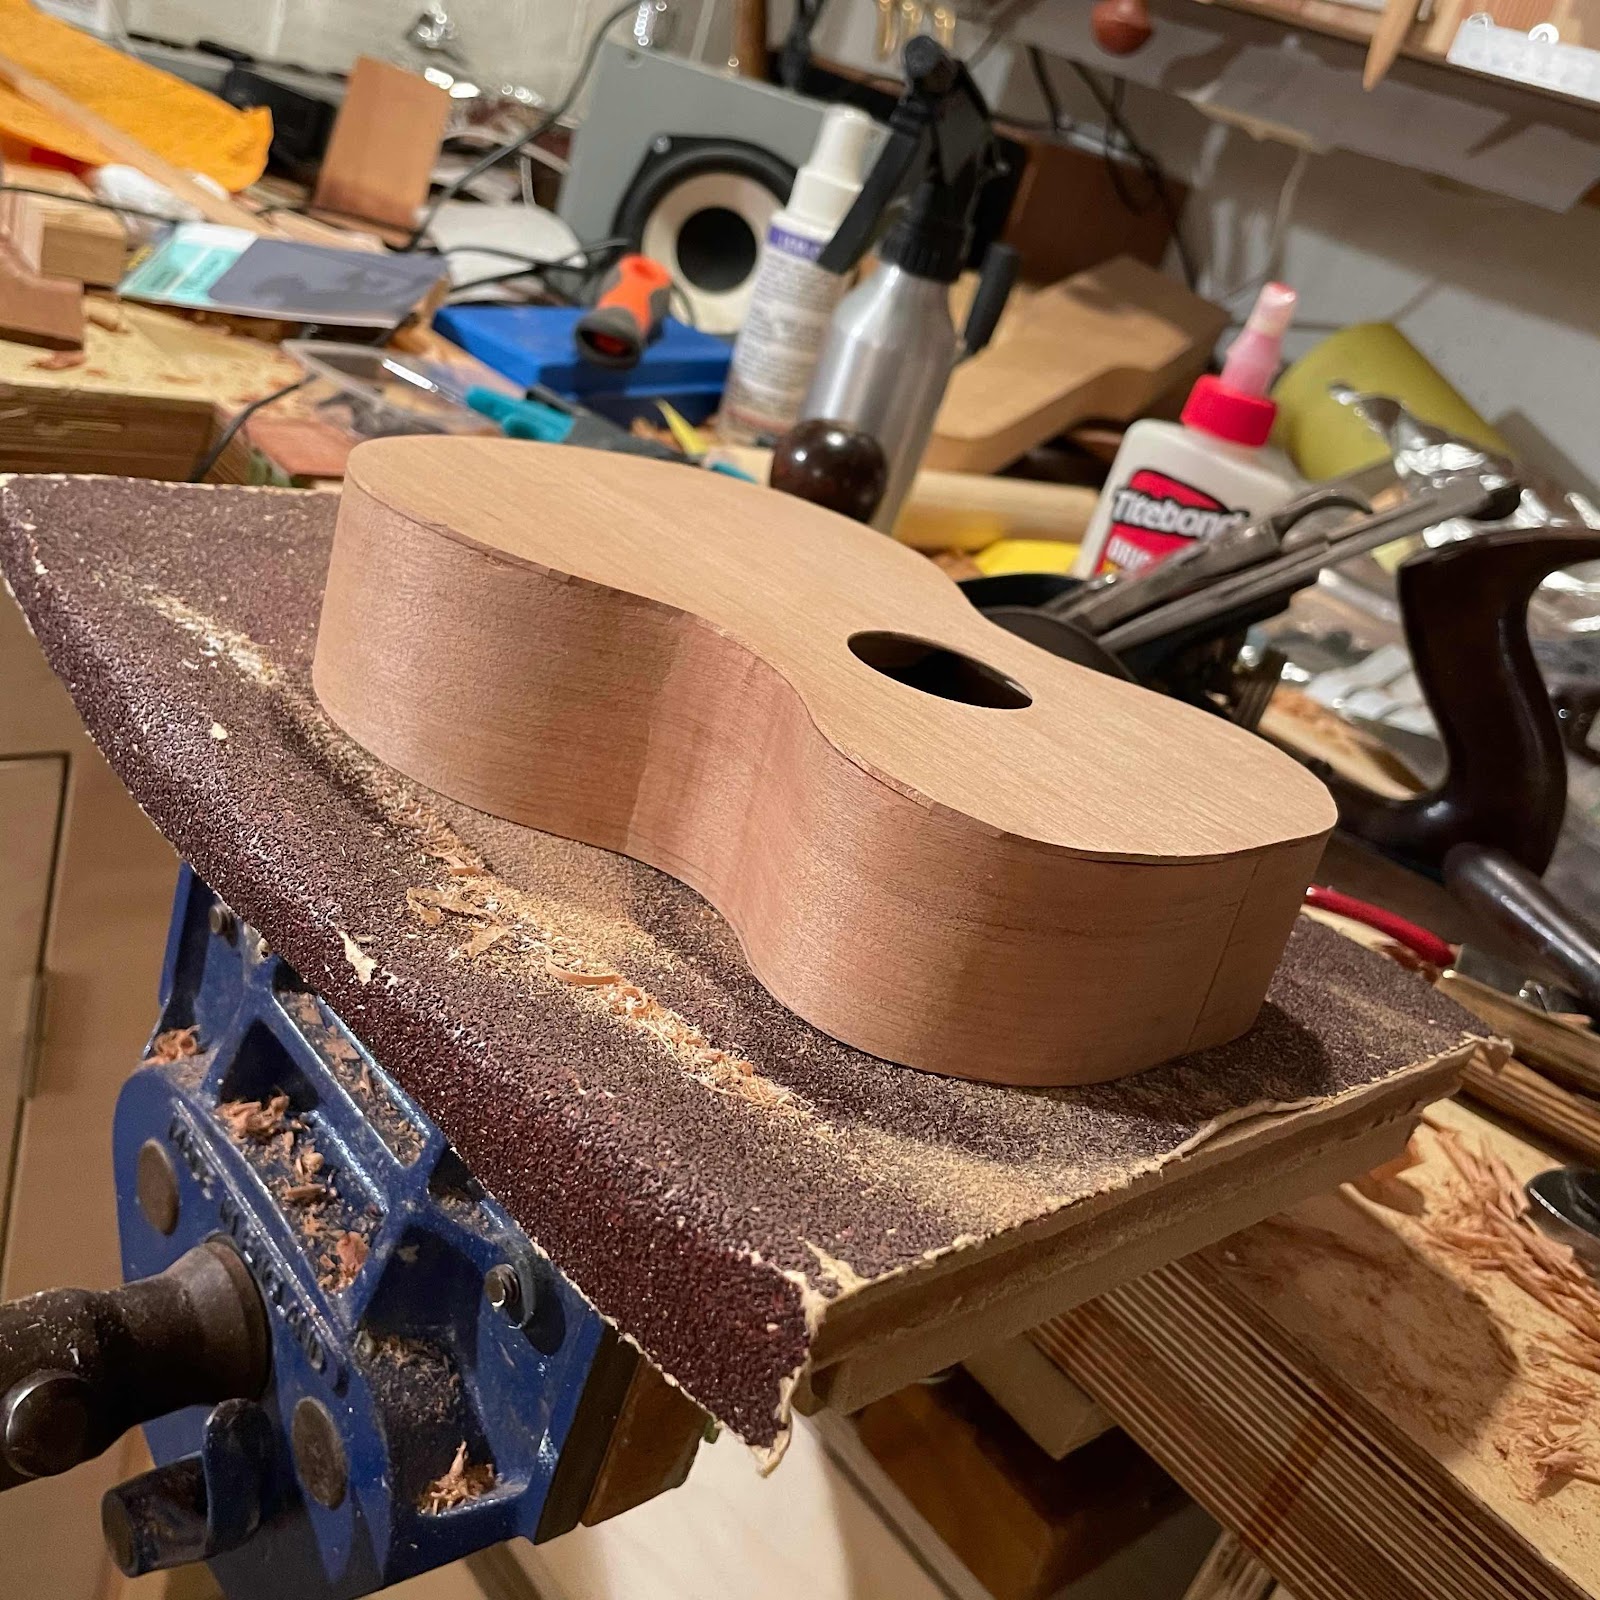
Then I refine the curve on a curved sanding dish with 40 grit paper. 


Kerfed lining strips in place, check for gaps and squeeze out with a mirror. 


And I work faster than I take the pics. Here the neck is aligned and bolted in place. 


And as it turns out, not that wonky at all!


This morning I prepared the back braces. The are wedge shaped in cross section and I make cuts in the kerfing to house them. 


And they were glued in place before I went to work. What’ll happen this evening? Will I fit the back?


Monday, March 22, 2021

A speedy piccolo build

I got some mojo shock yesterday and really wanted to knock out a piccolo. 

I planed down the rim piece to 1.5 mm, it took a while but I didn’t feel like whipping out the drum sander. Plus I feel I connect to the wood when I use a hand plane, this time my Record no.5. 


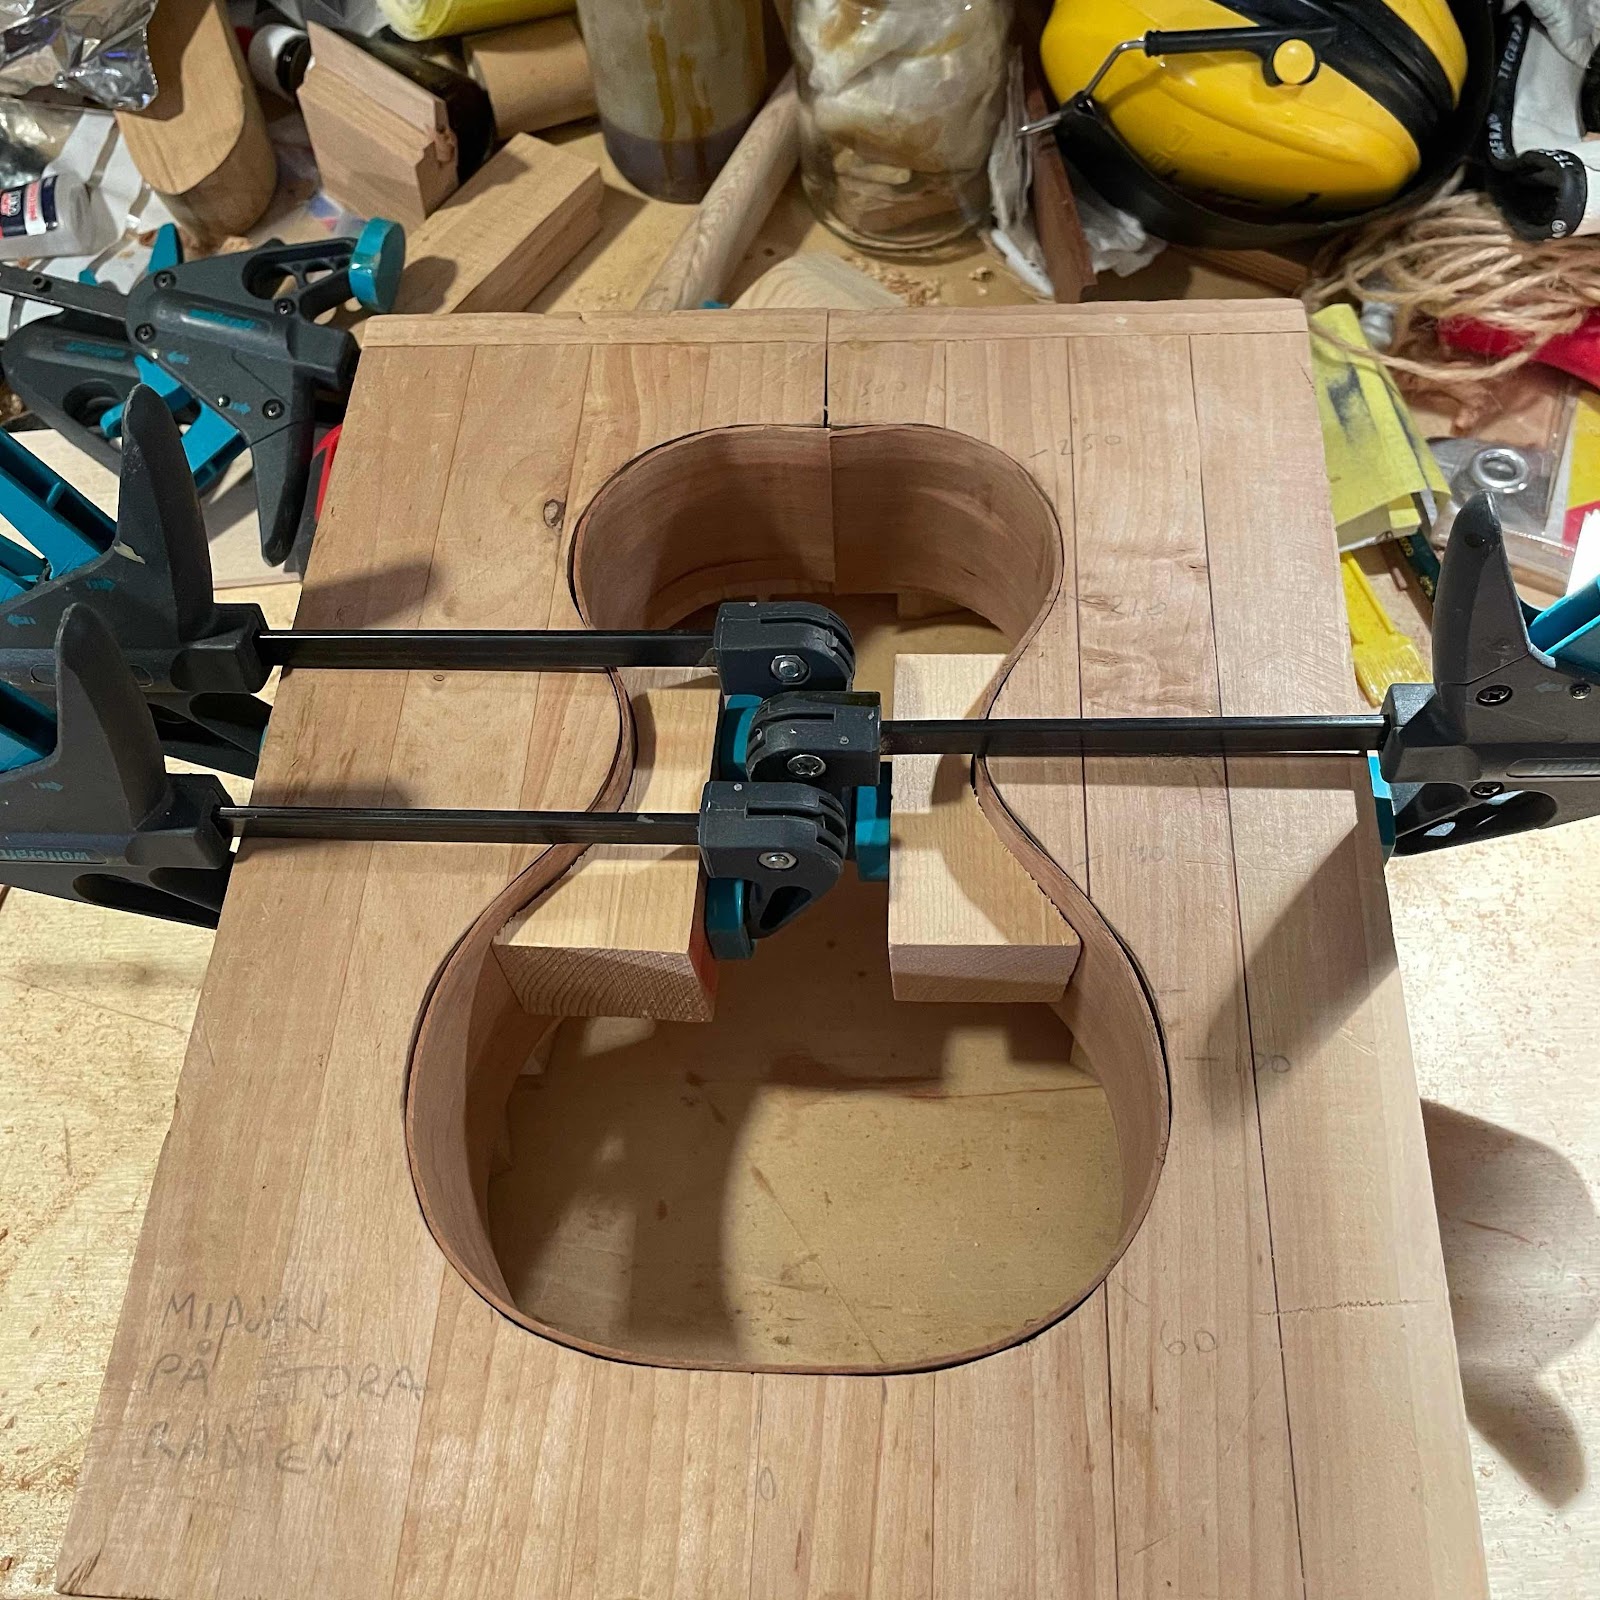
The piccolo have such small radii that the rim needs to be thinner to bend well. It went alright, and any wonkiness I just blame on the original wee uke I made the templates from was anything but symmetrical. 


Keeping to hand tools I cut out the top and back with a coping saw that I got from a flea market. 


Soundhole, cut with my half kilo brass rosette cutter. 


End block went in yesterday evening. This morning I glued in the kerfed lining strips in the rim before I went to work so it would cure while I was away.


Next pic, the rim glued to the top on the solera. 


On to the neck! I planed the fretboard and the peghead surfaces flat and true to each other. On of the tasks I sort of wish took a while longer, because I enjoy planing. 


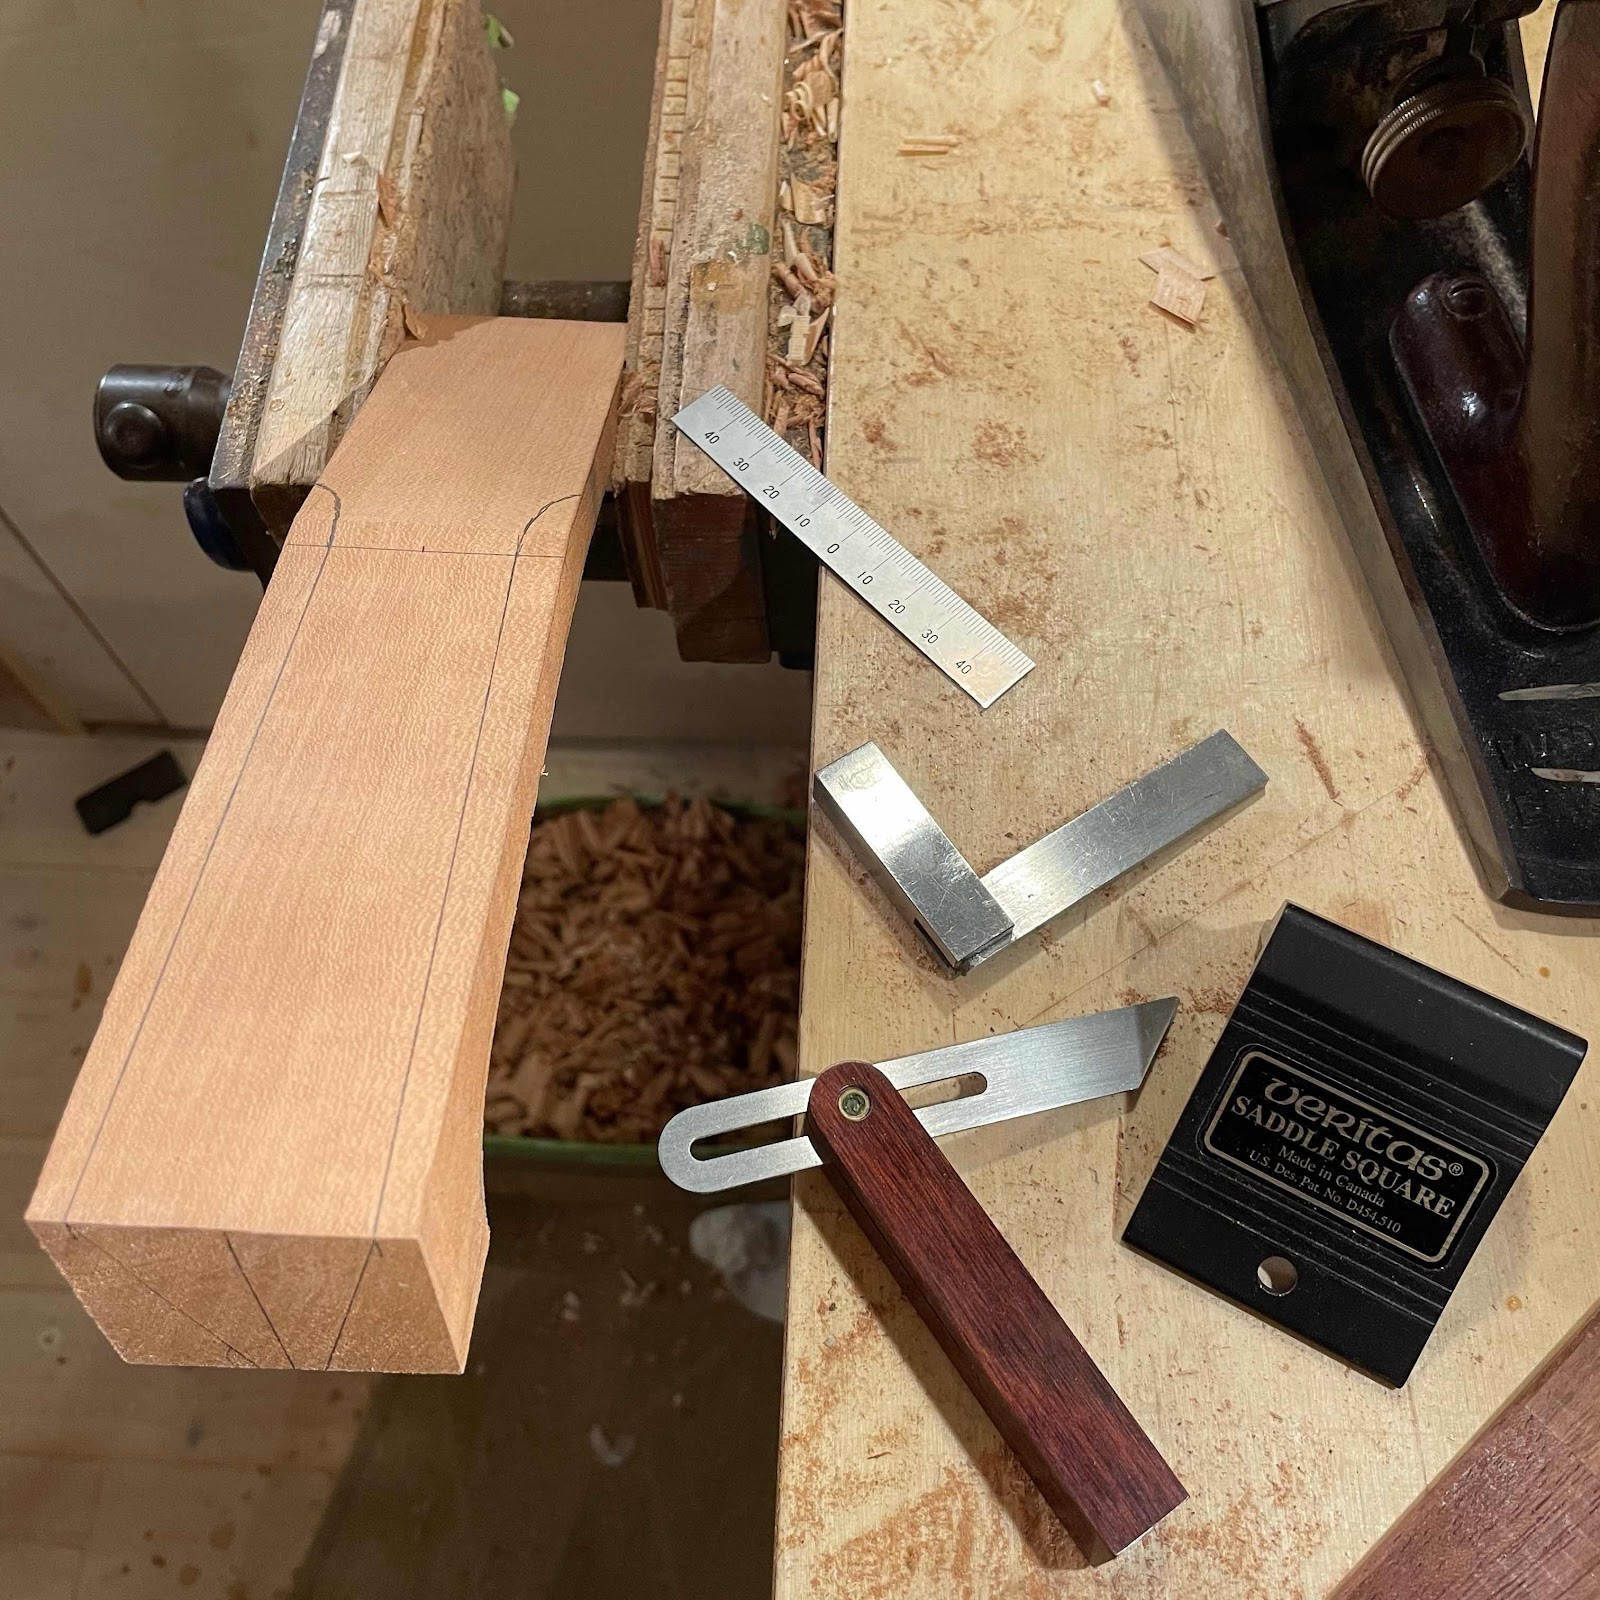
Marking out with a centre find rule, a machinist’s square, a sliding bevel and a saddle square. 


Then the Pax rip saw makes short work of taking it down towards width. 


A sharp Mora knife with a scandigrind wedge grind will cut through almost any wood in almost any direction, one exception being wenge which is slightly harder than glass. 


And carving the profile, here with my ancient Miller Falls cigar spokeshave. When it’s properly set up it is a uniqe tool, doing what no other spokeshave could. 


If I stayed upp all night, or stayed home from work tomorrow, this thing would be almost done on Wednesday. But I have other stuff to deal with and will leave it like this, at least until tomorrow morning. 

Friday, August 21, 2020

This season’s work

Bon soir! Last night I collected all the parts I need for the ukes I’m about to build. It is a diverse collection, and all might not be built. Three out of five (possibly six) are ordered. 


So, two resos. One of which will maybe have a longer scale length. One will most likely be of pine and the other of alder. 

Then a soprano for Li, my daughter and the light of my heart. She’s fond of my old number one so I will build her one very similar to that. 

I found some cherry and I want to build one or two piccolos. 

Last is a half finished walnut travel uke. I know just the bloke who needs one.