Learning Ukulele 50 Sites Top 50 Ukulele Sites Argapa Ukuleles - one size louder: 1/1/20 - 2/1/20

Tuesday, January 21, 2020

Travel uke, another one

I found a travel uke in the rubble on the bench, and thought I should finish it. Most of it is done in terms of shaping. This won’t be a zero sanding uke, the grain in the neck was quite strange and sandpaper was the only way out. Does this mean I can’t leave any knife marks? Hmm. 


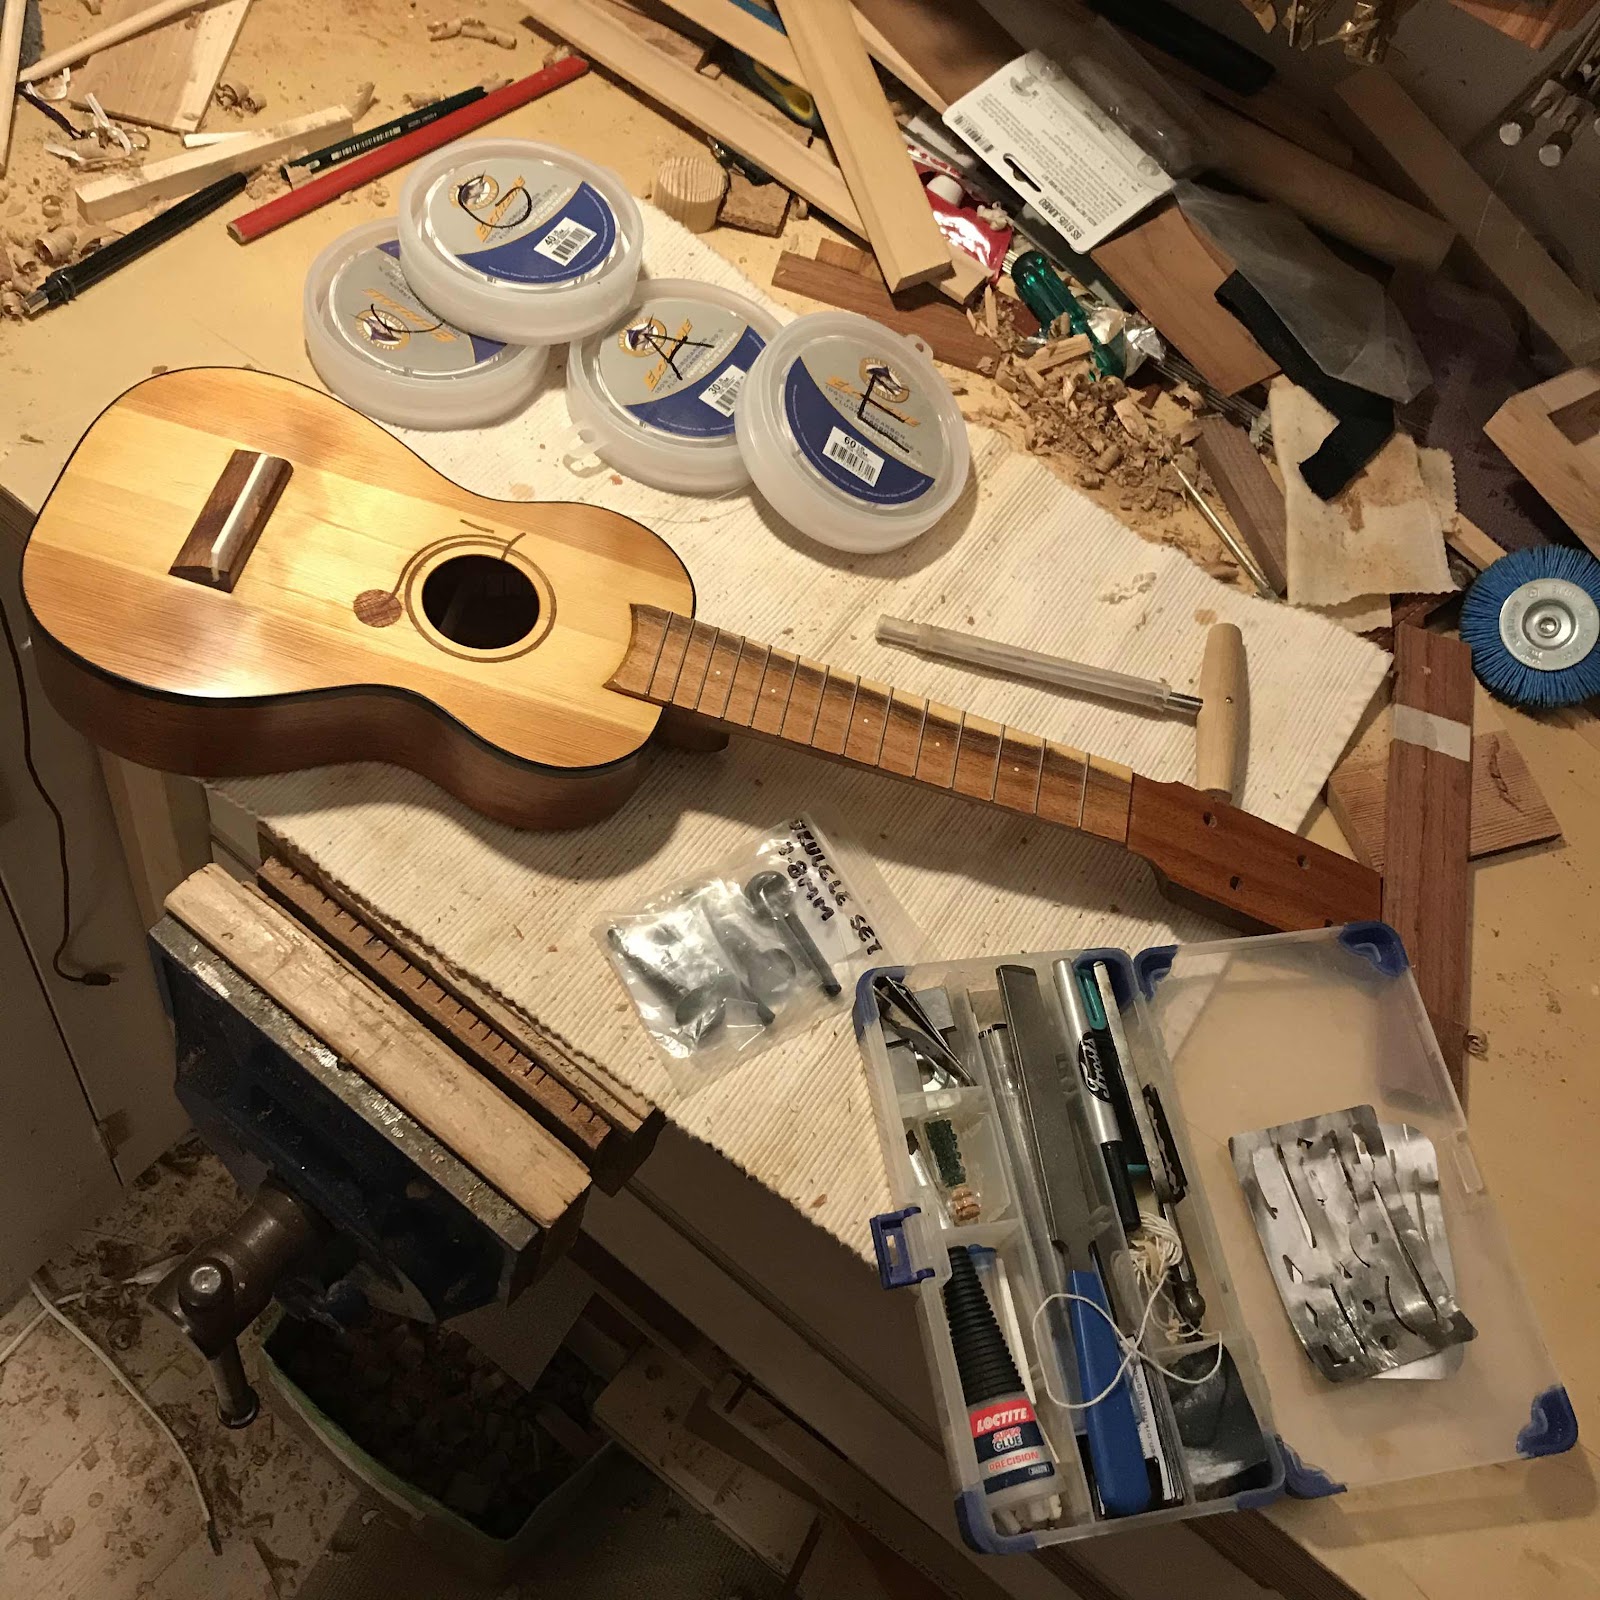
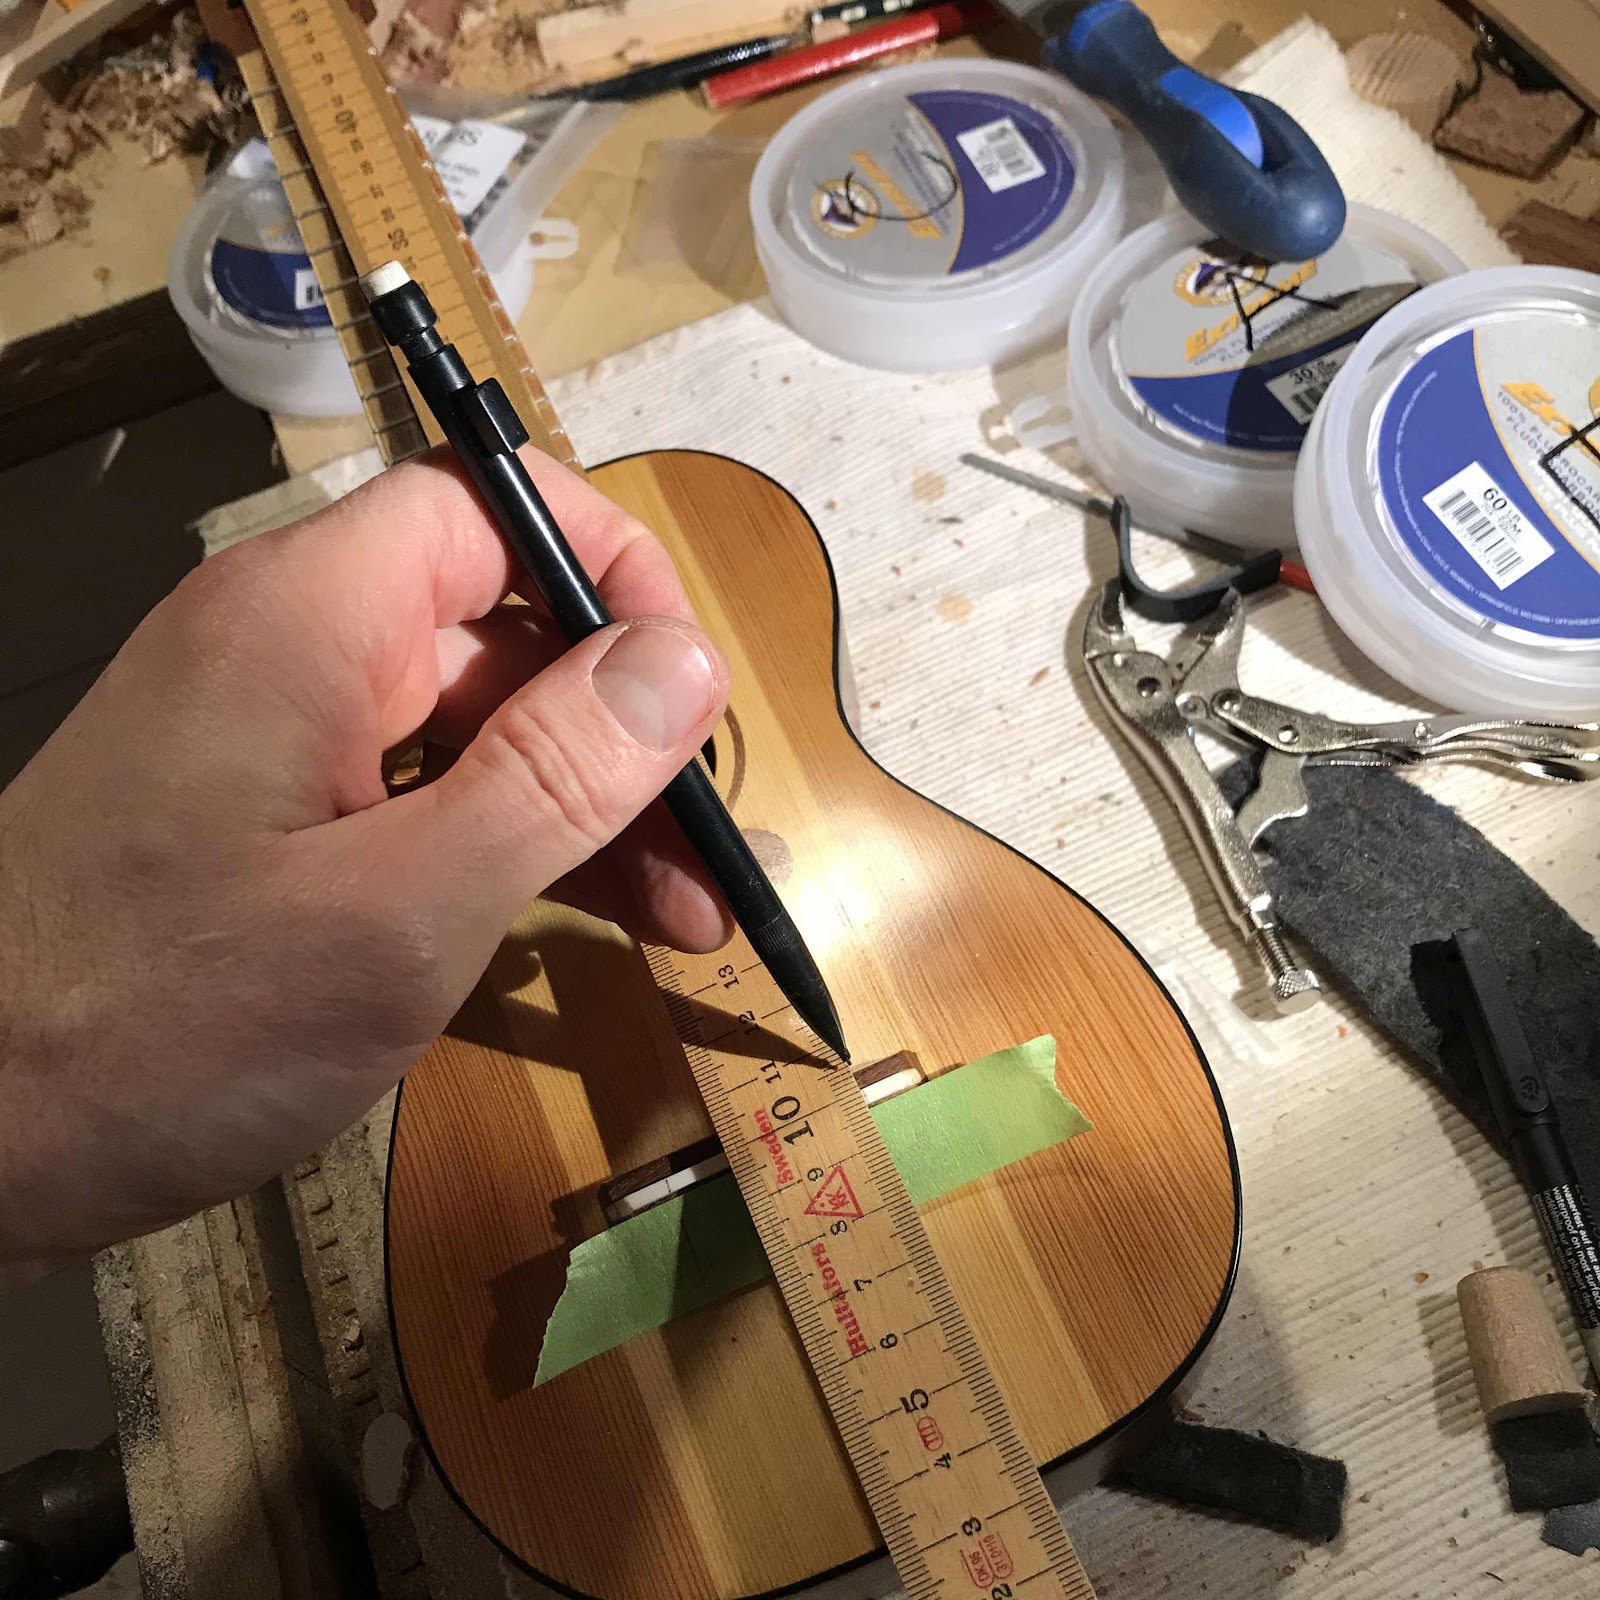
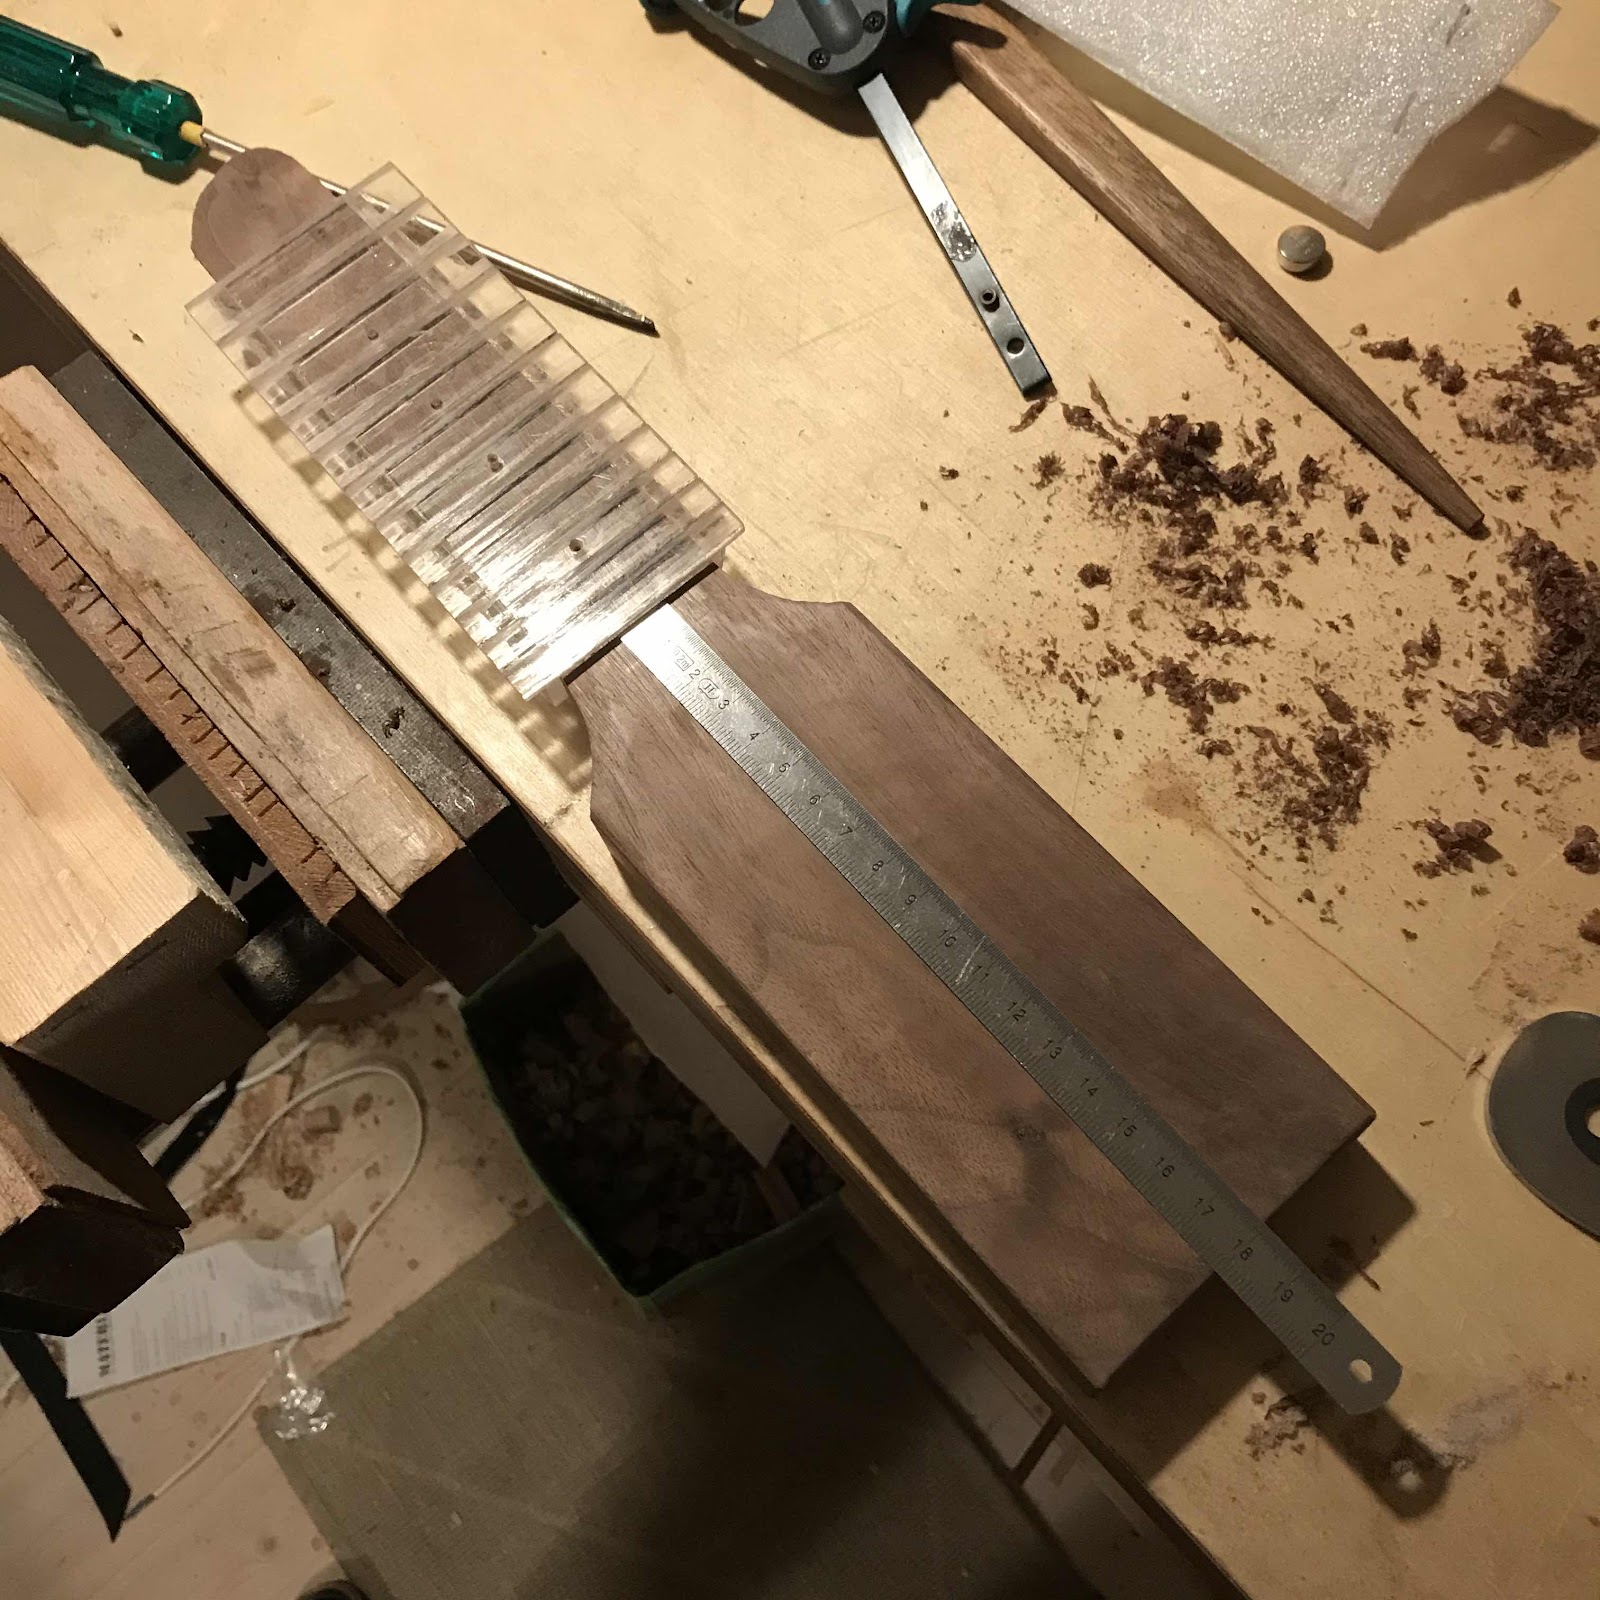
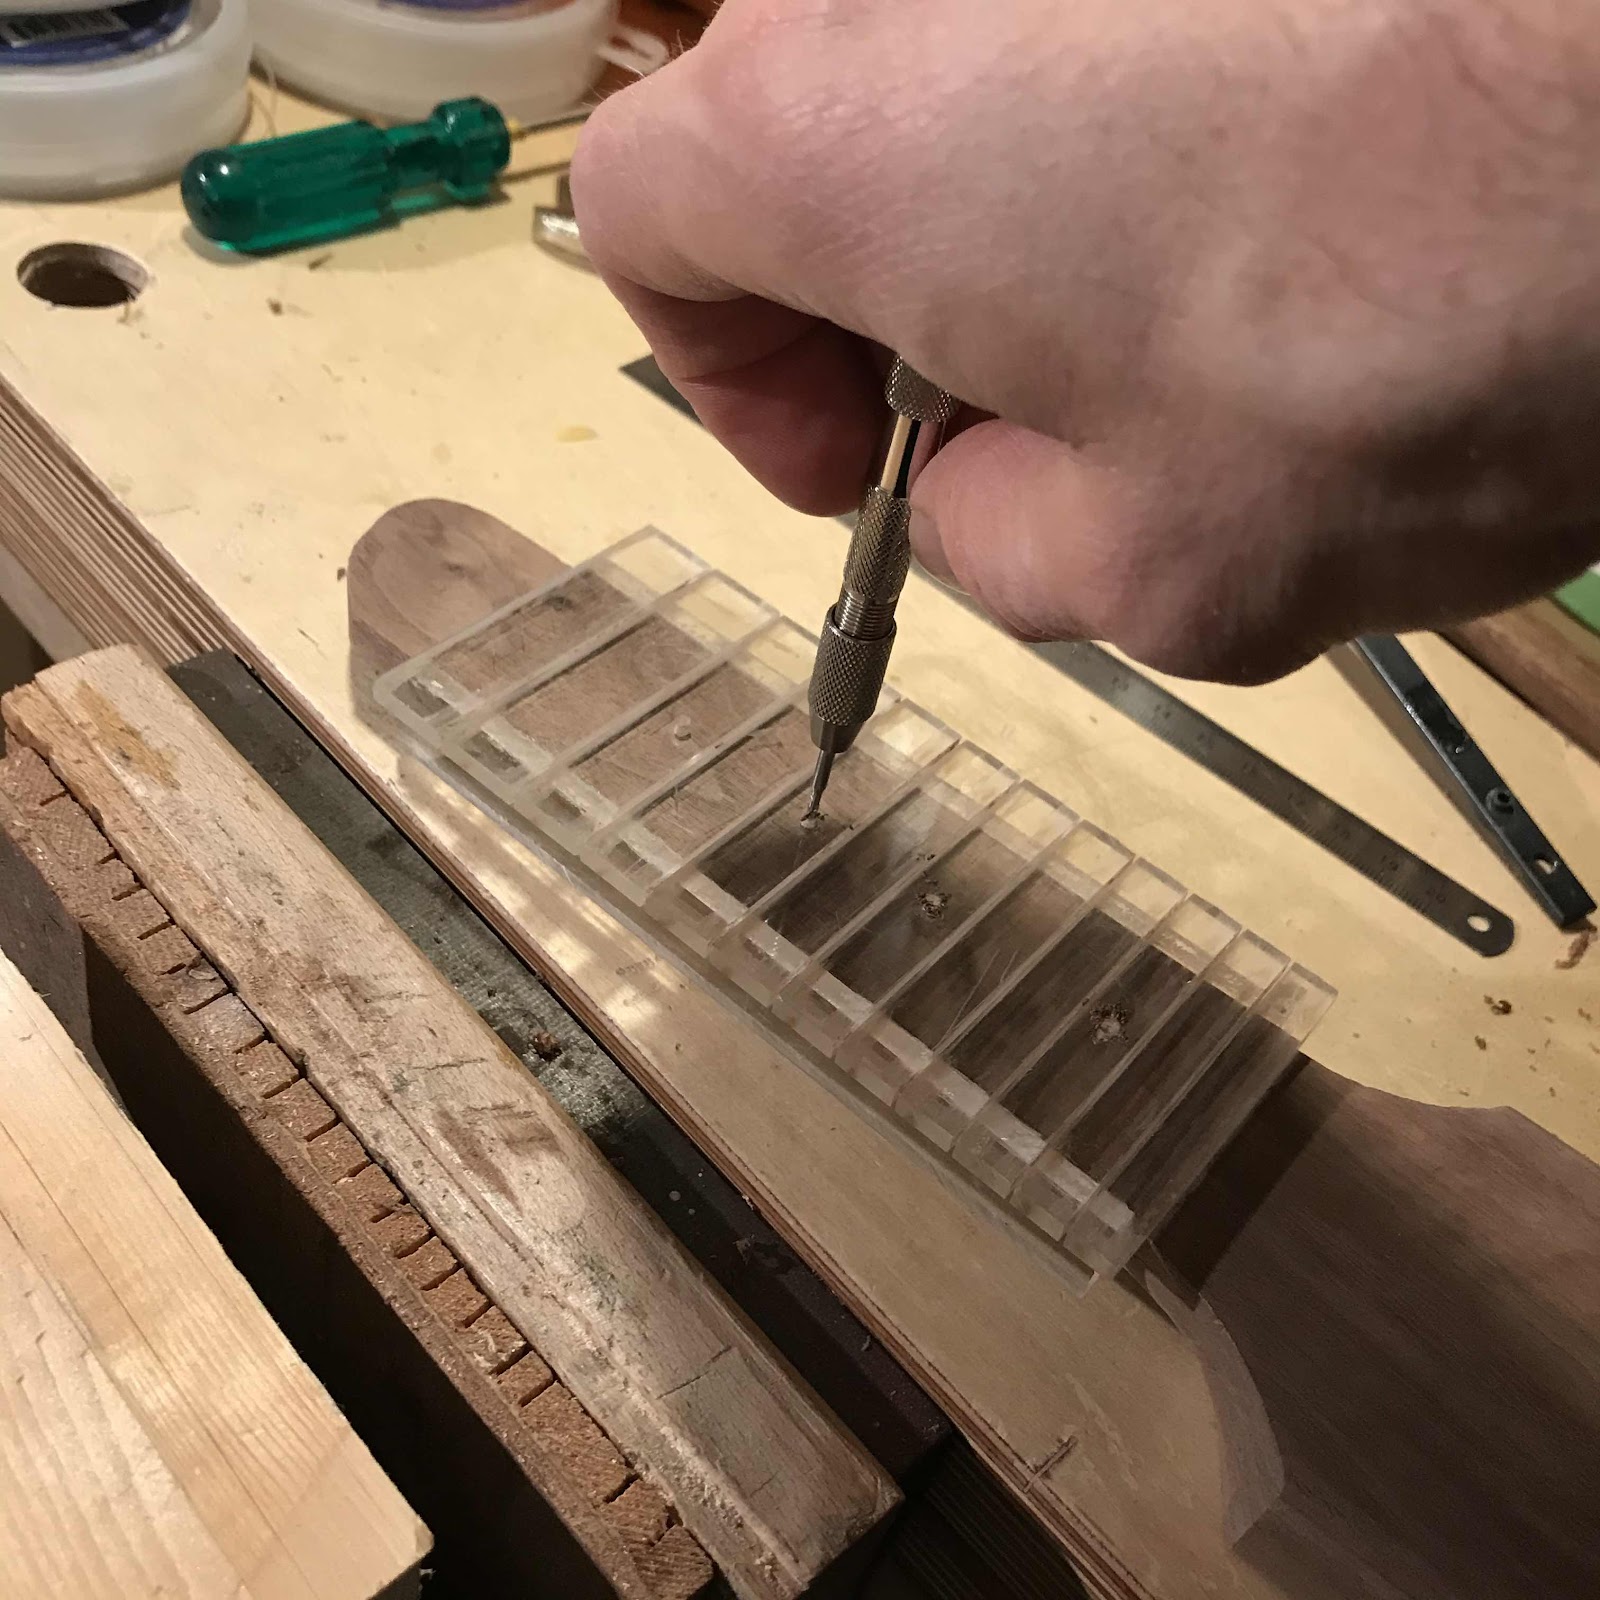
Checking the neck with the fret slotting jig confirmed the dimensions were good so I could crack on with slot cutting. But first I needed to fix the jig to the neck. 


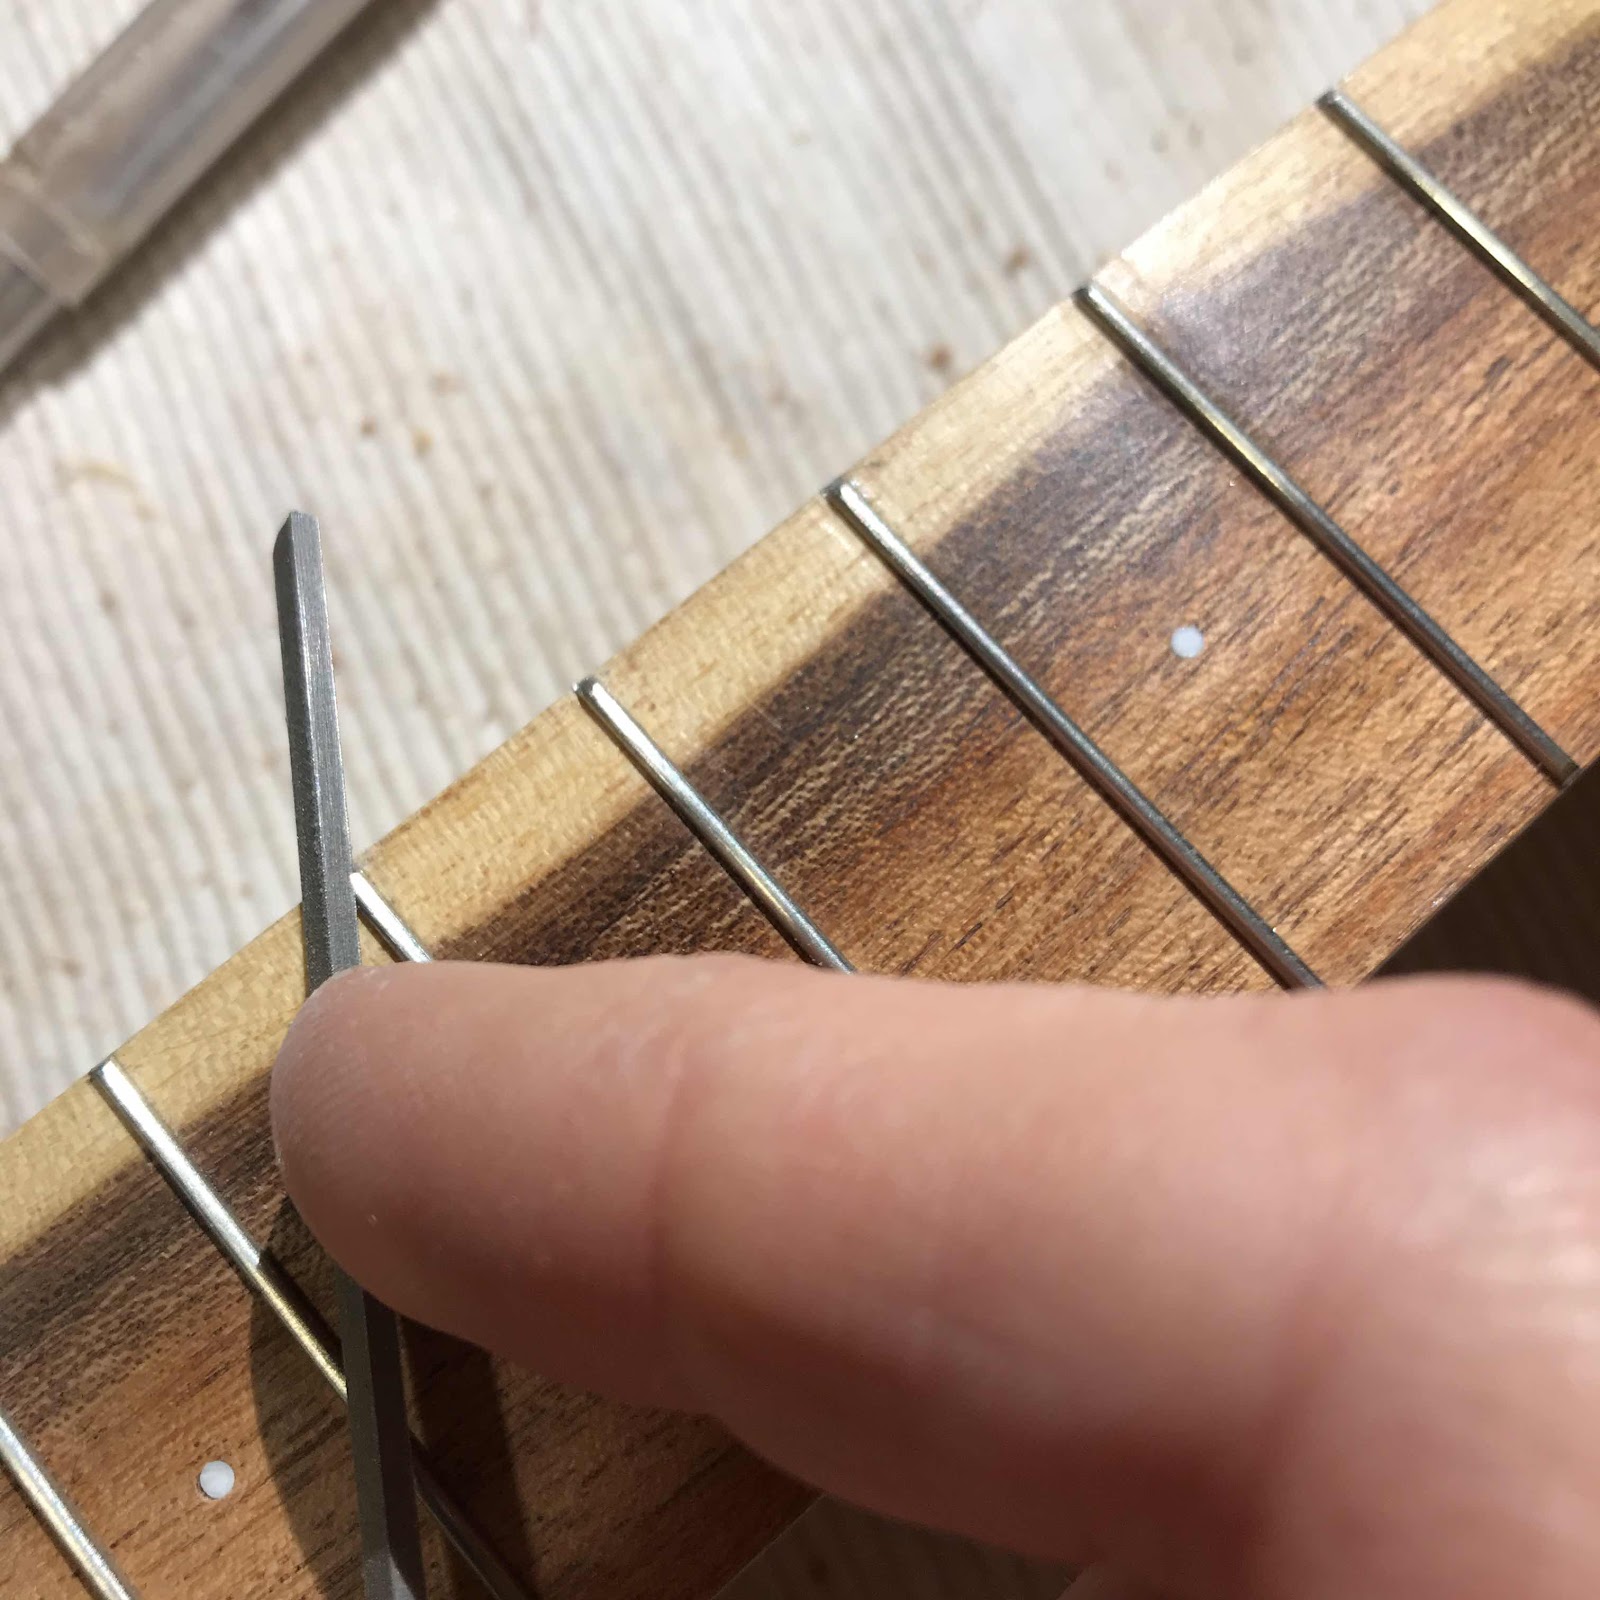
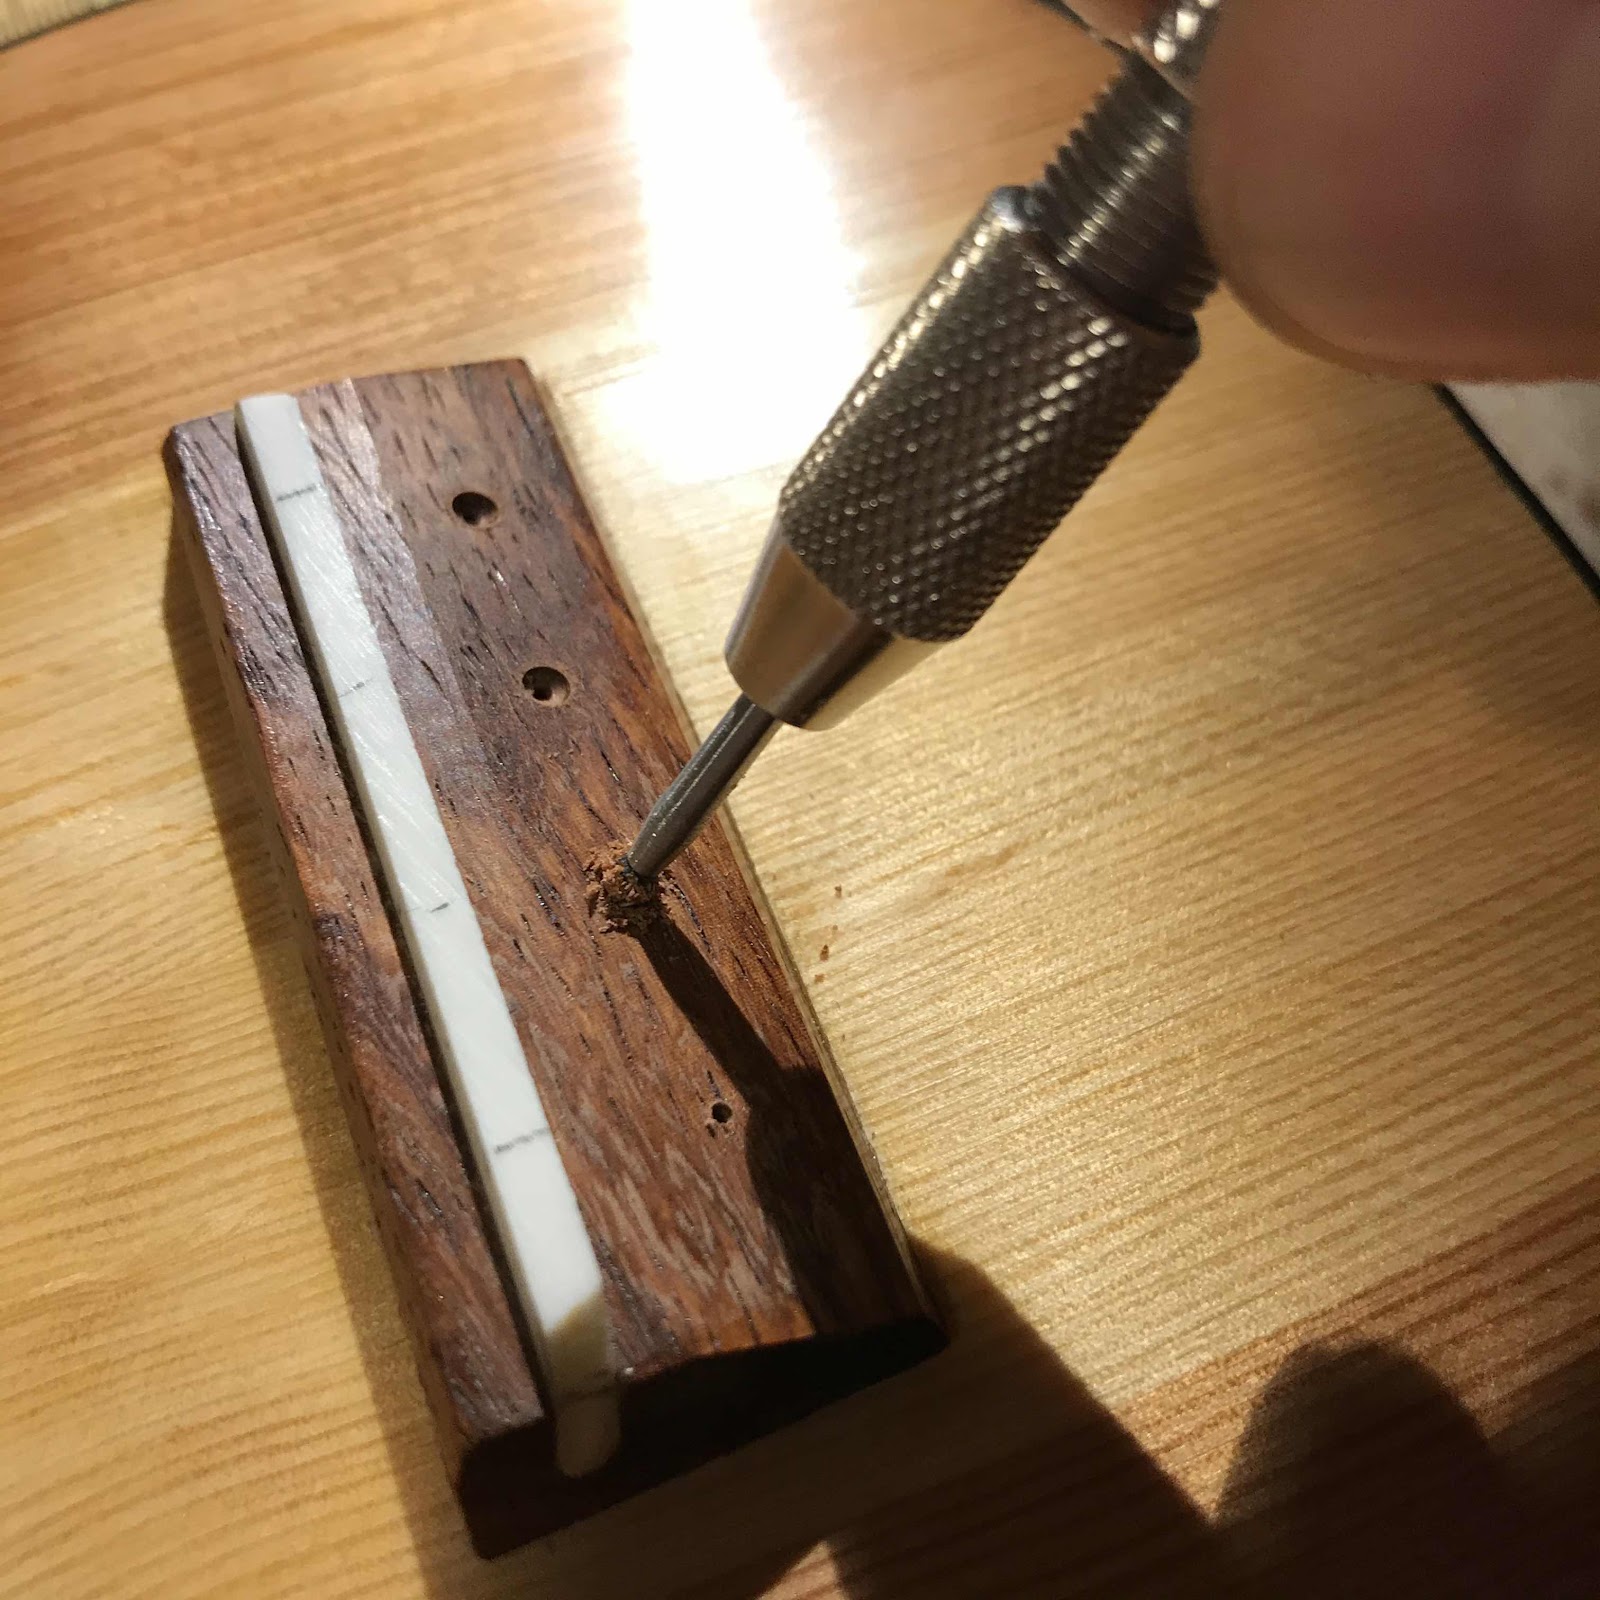
This I do with the future fret marker dots, still in rod form. I drill holes with a 1.6 mm drill in a pin vise...


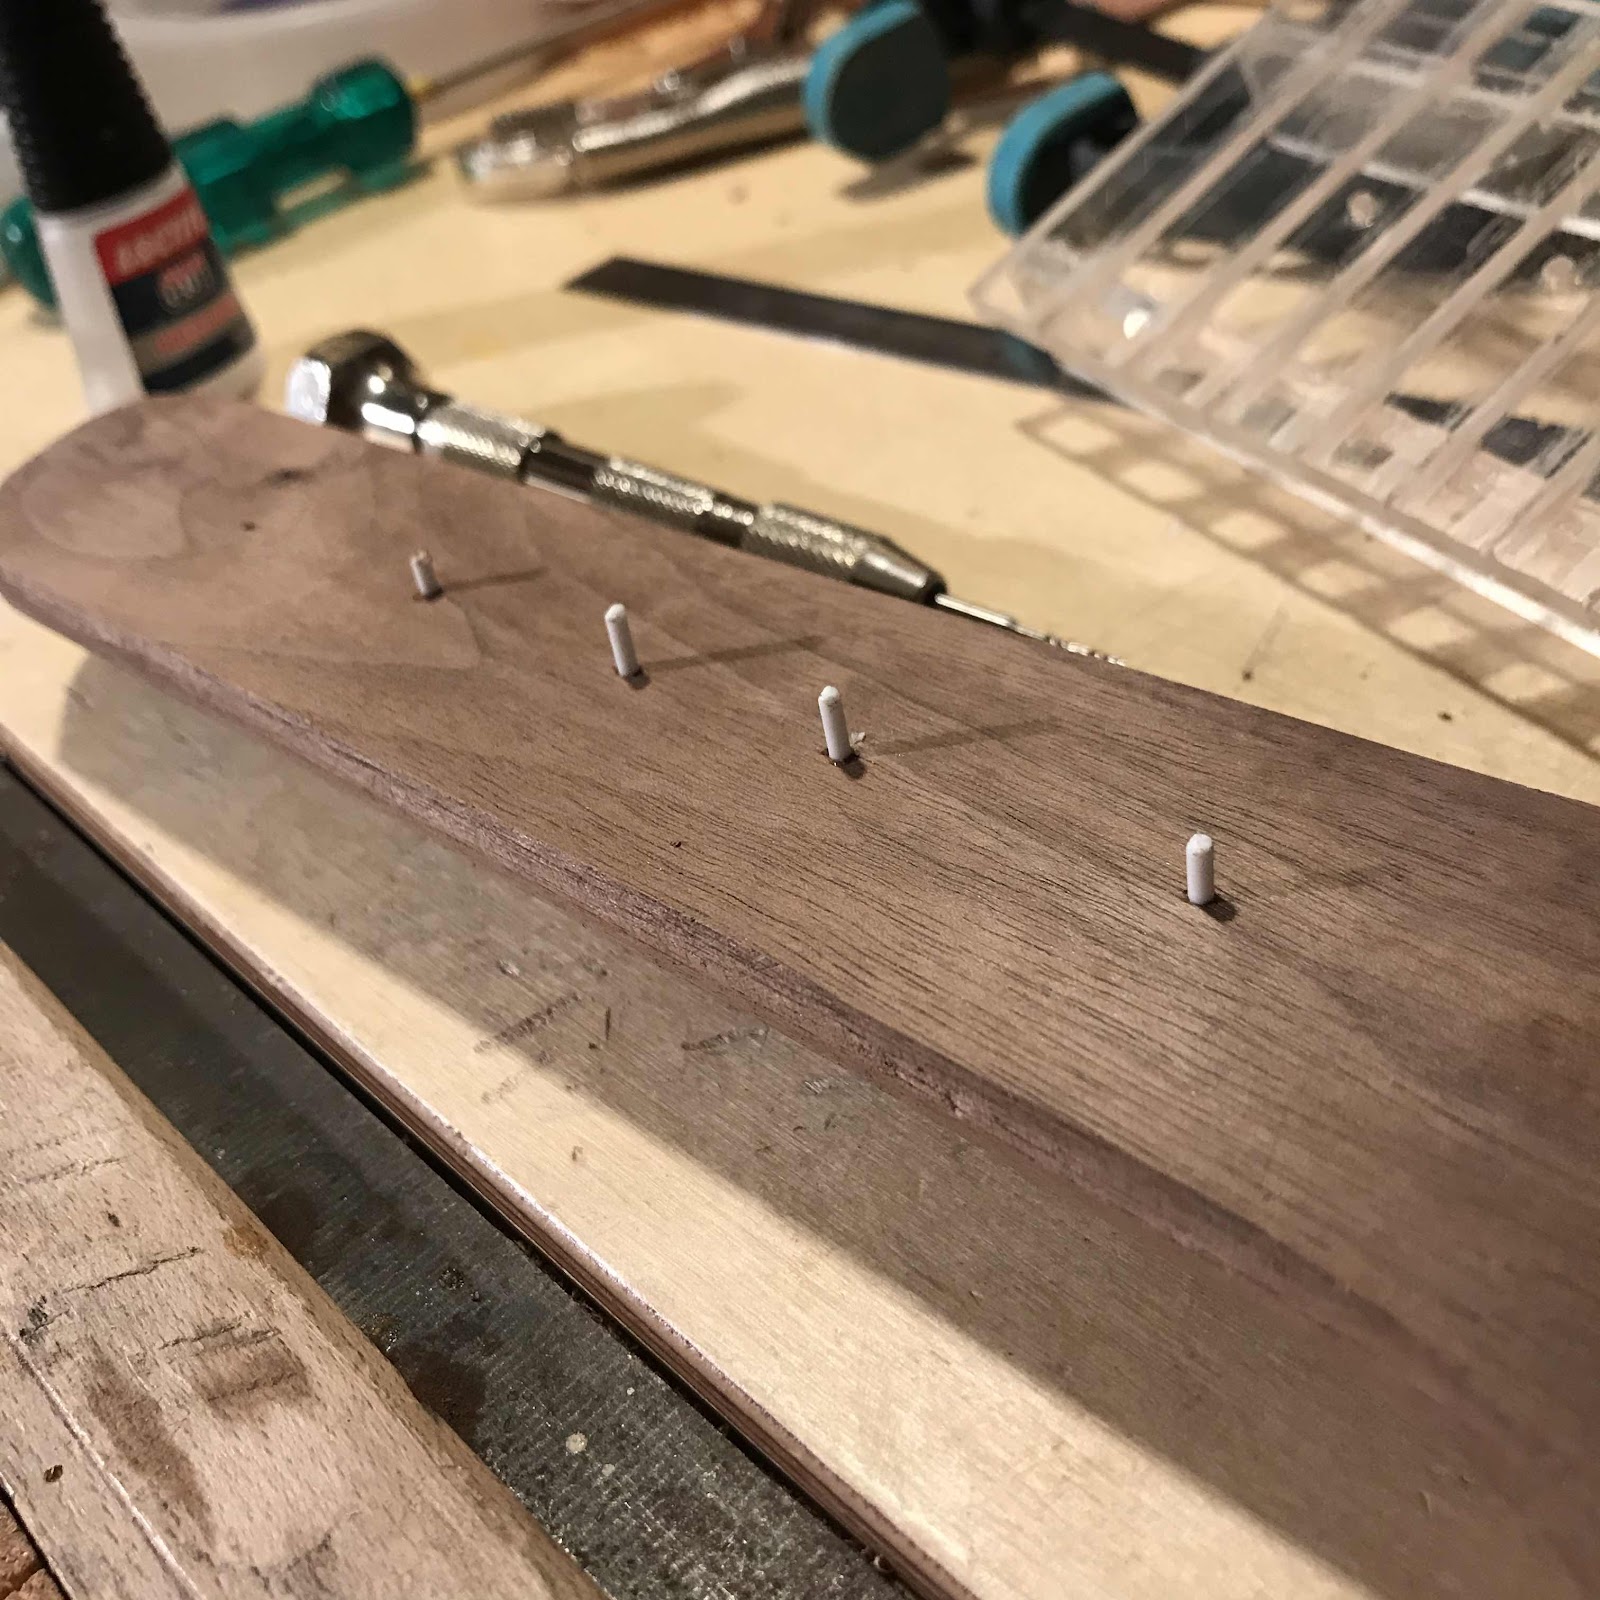
... and glue in the styrene rod from the model maker’s store. A store that is now closed, bastard e-commerce shutting down the shops of my youth. And bastard youtube keeping the young away from model making. 


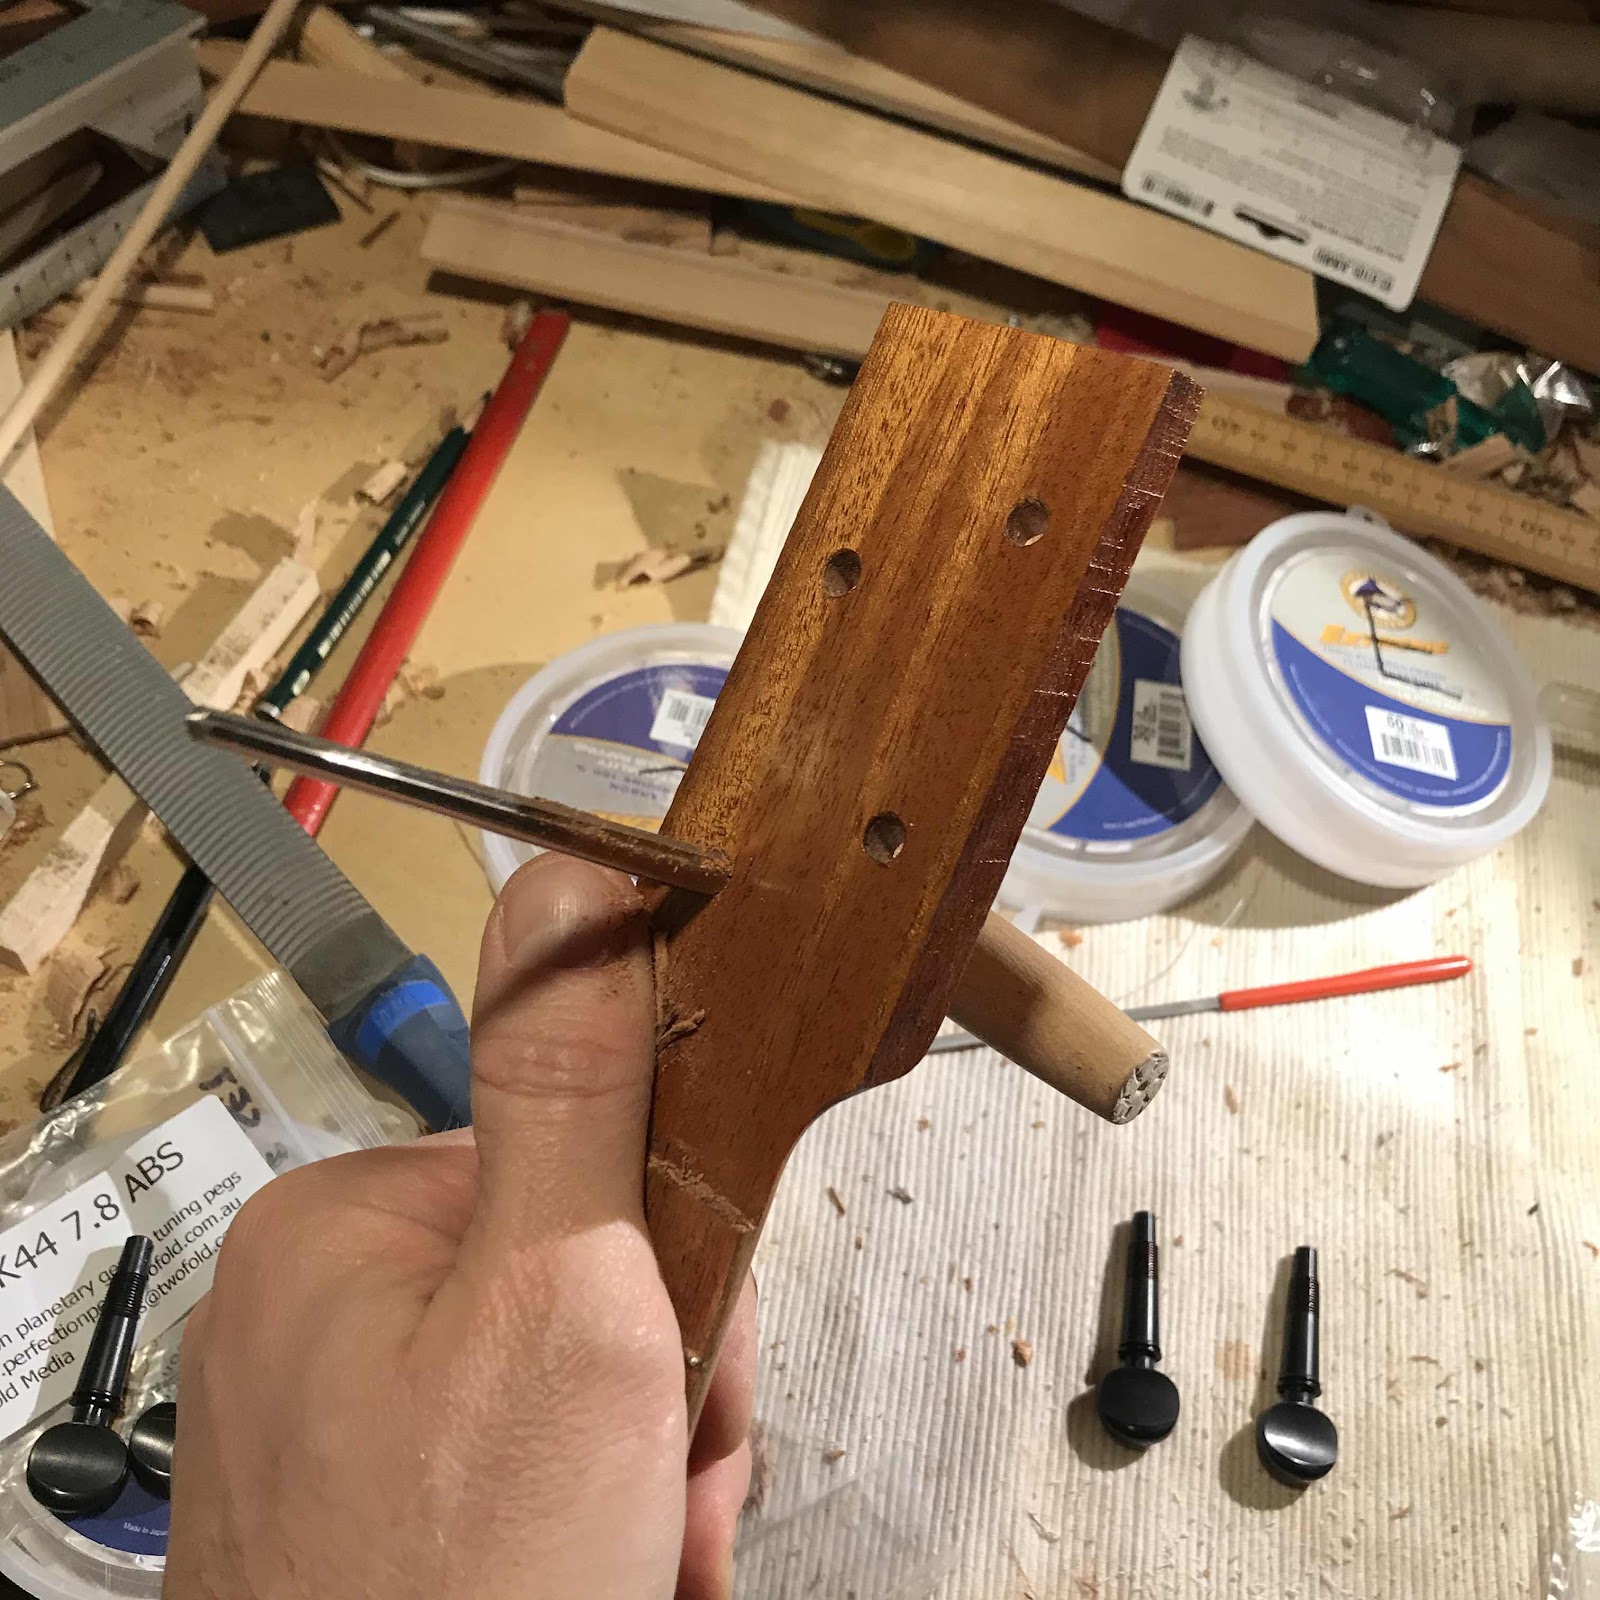
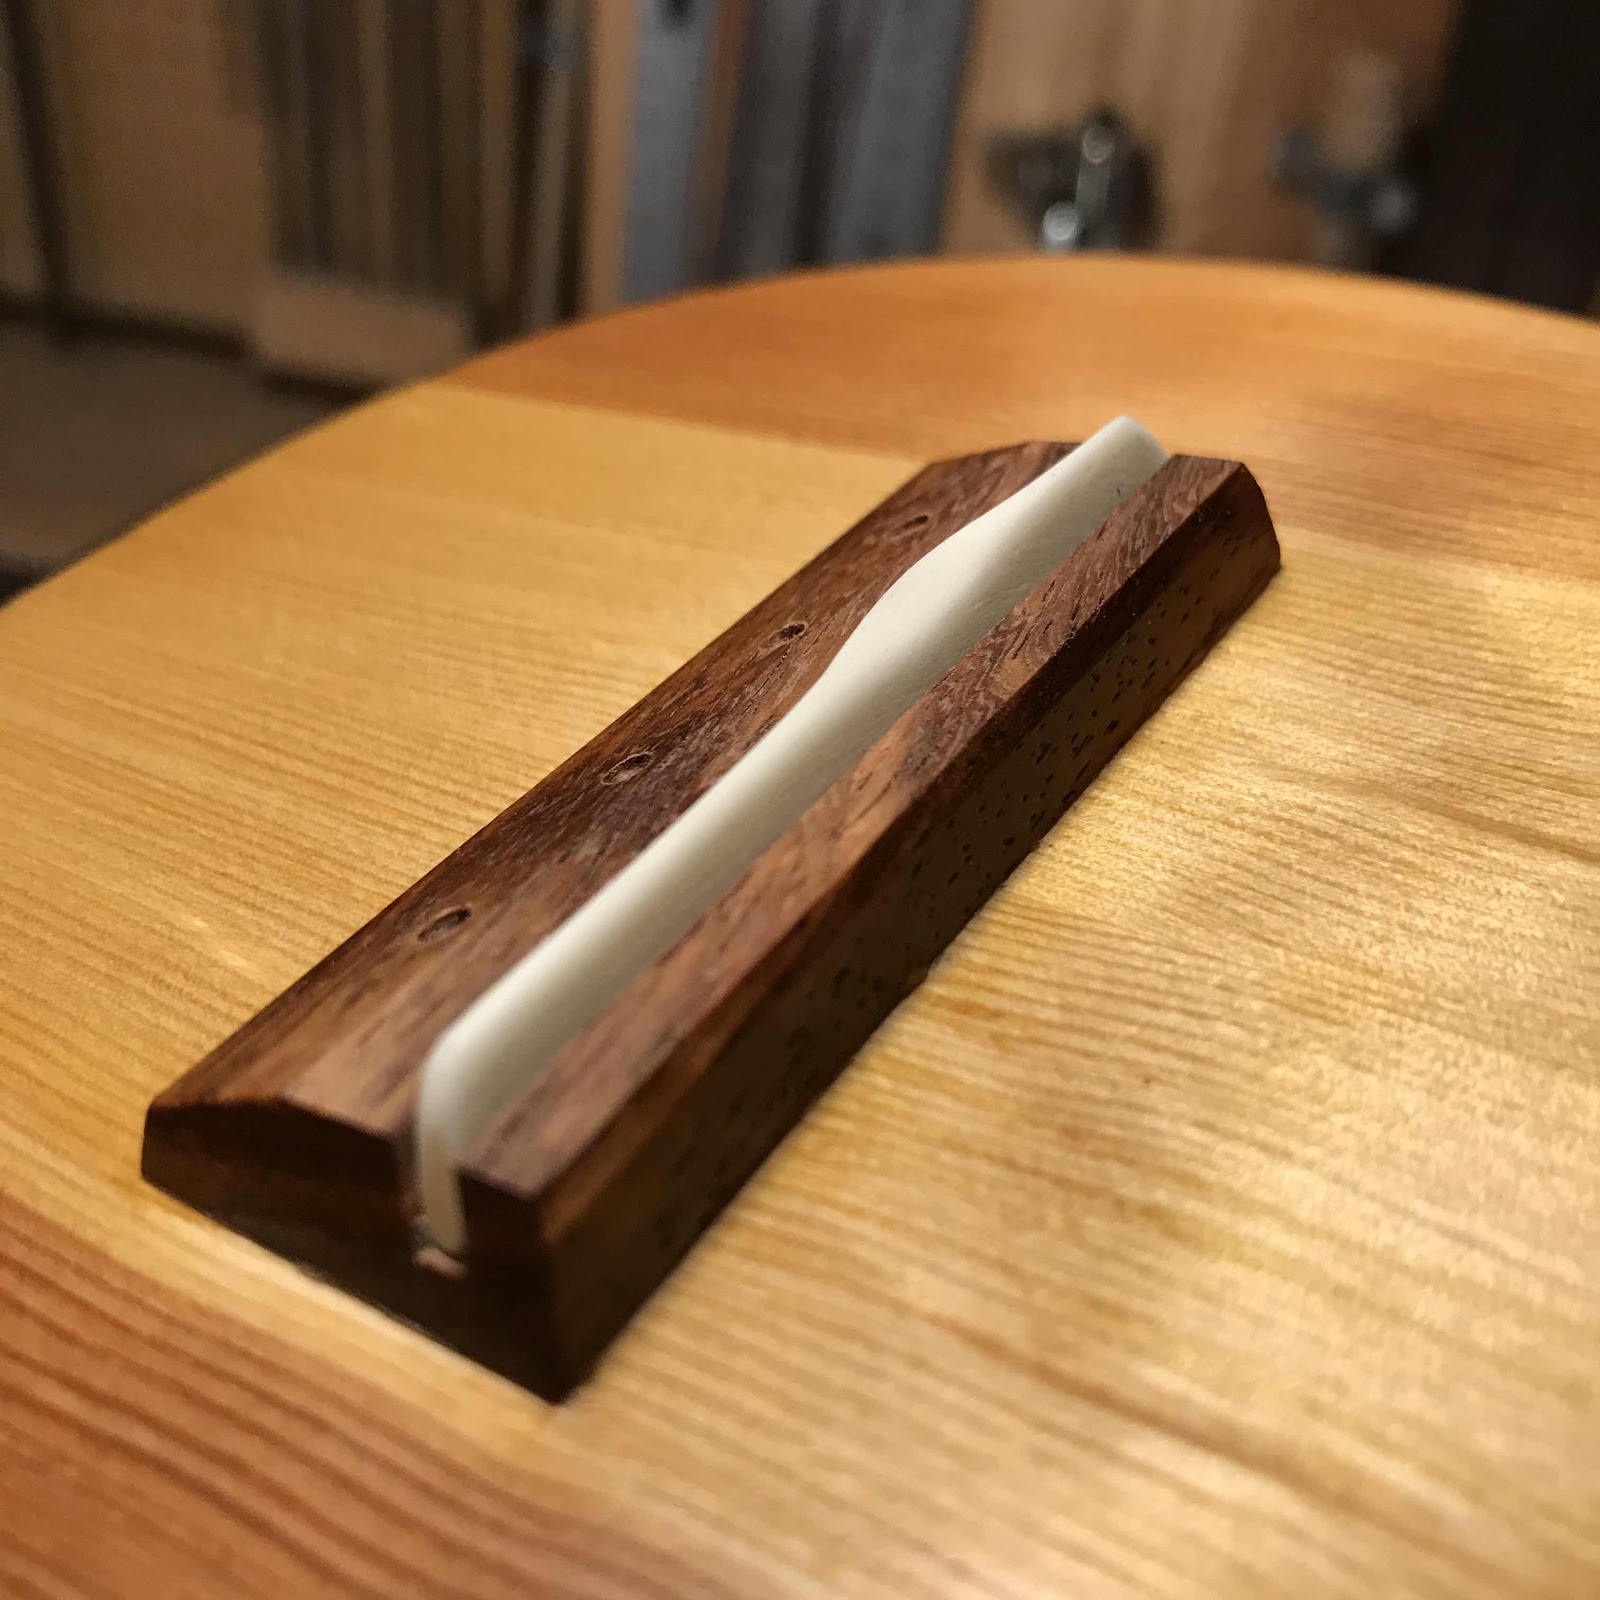
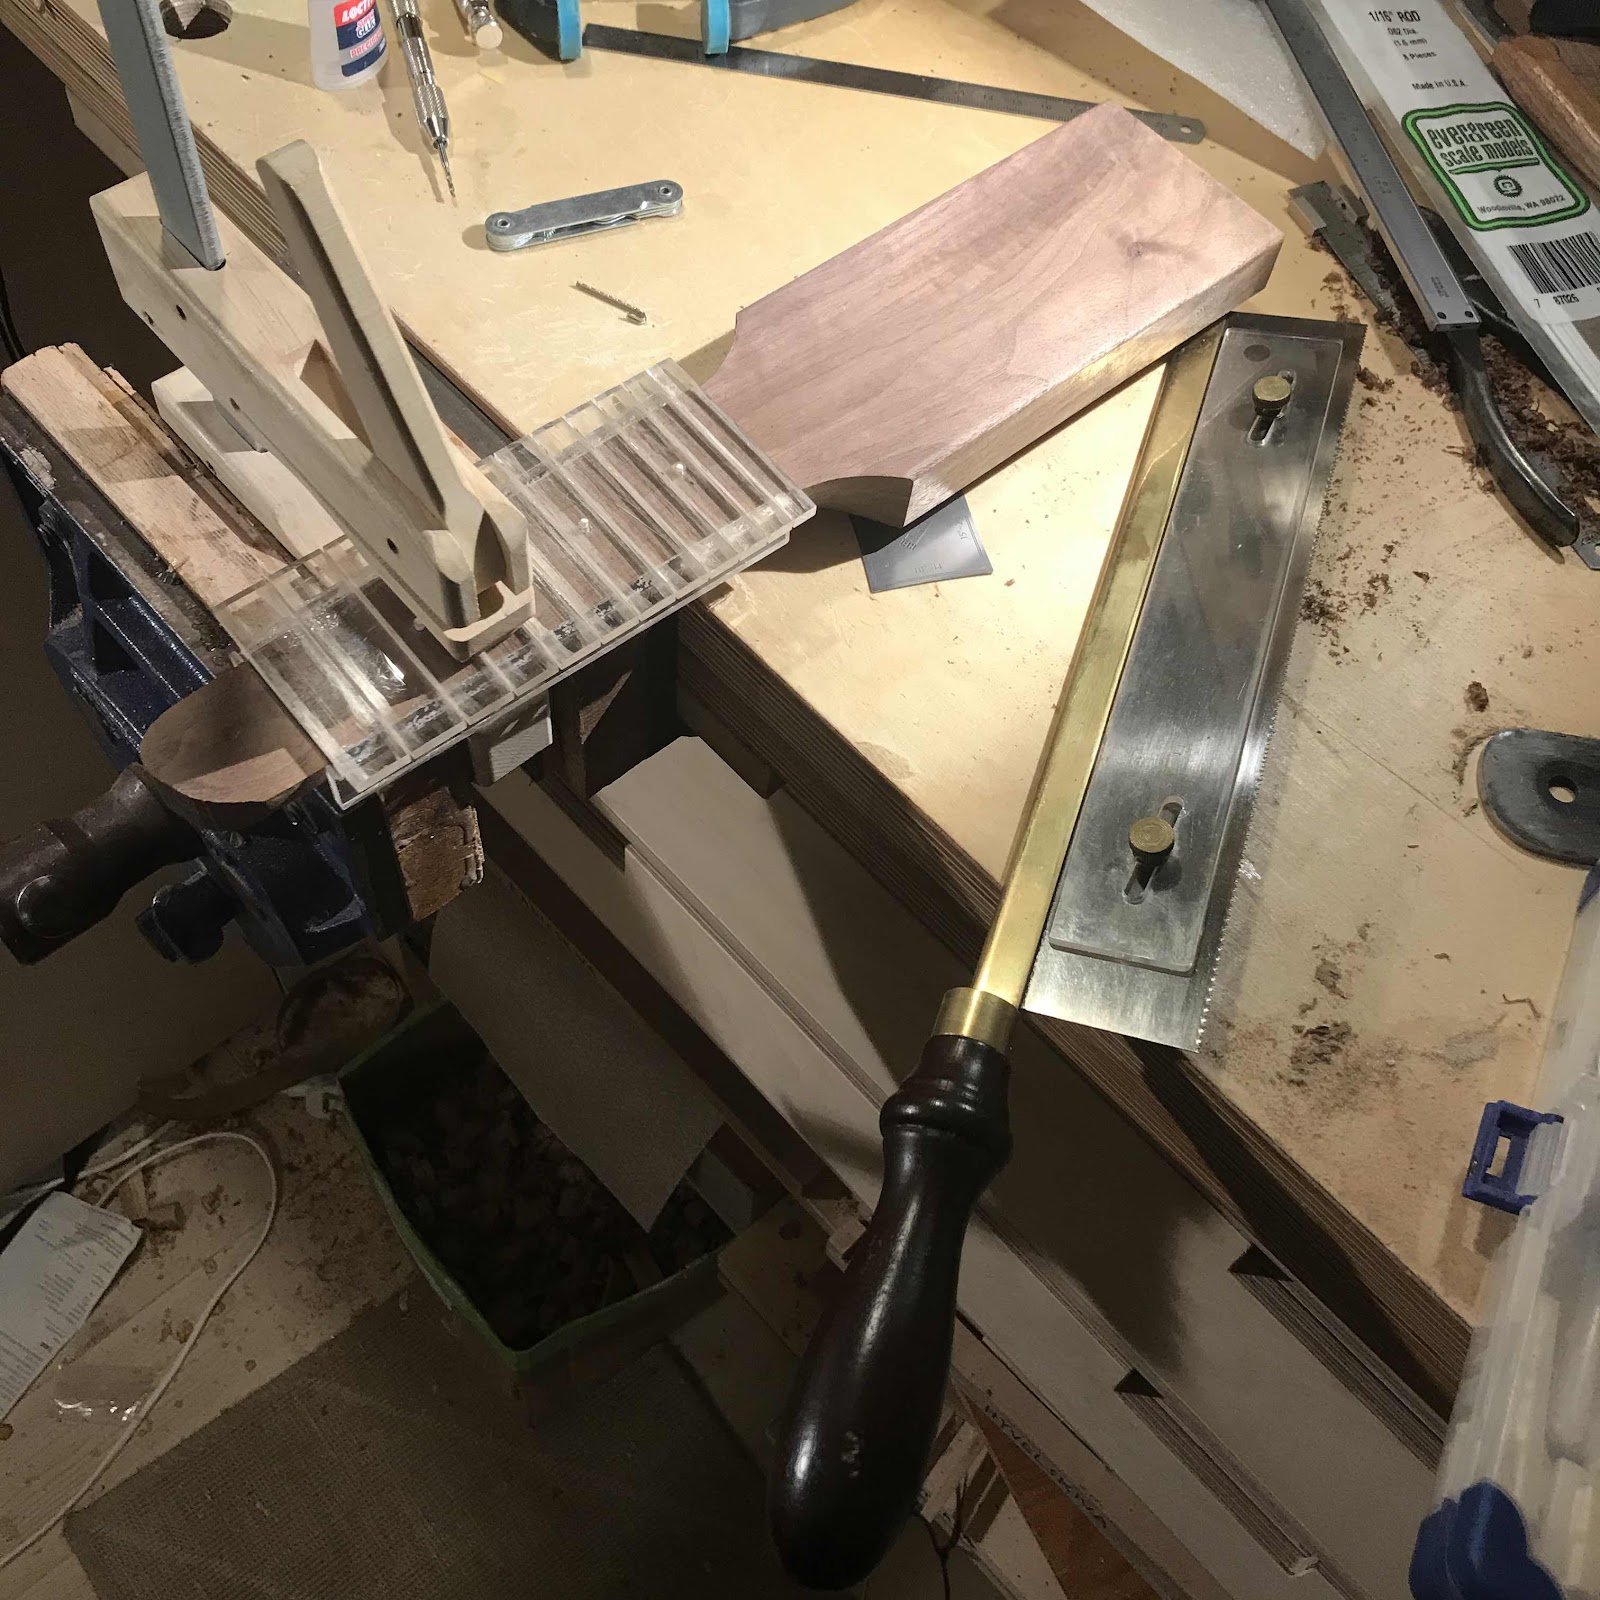
With the rods keeping the jig in place I found this way of keeping the uke in place. I use the same jig on my piccolos but they have headstocks with parallel sides that go in the vise. 


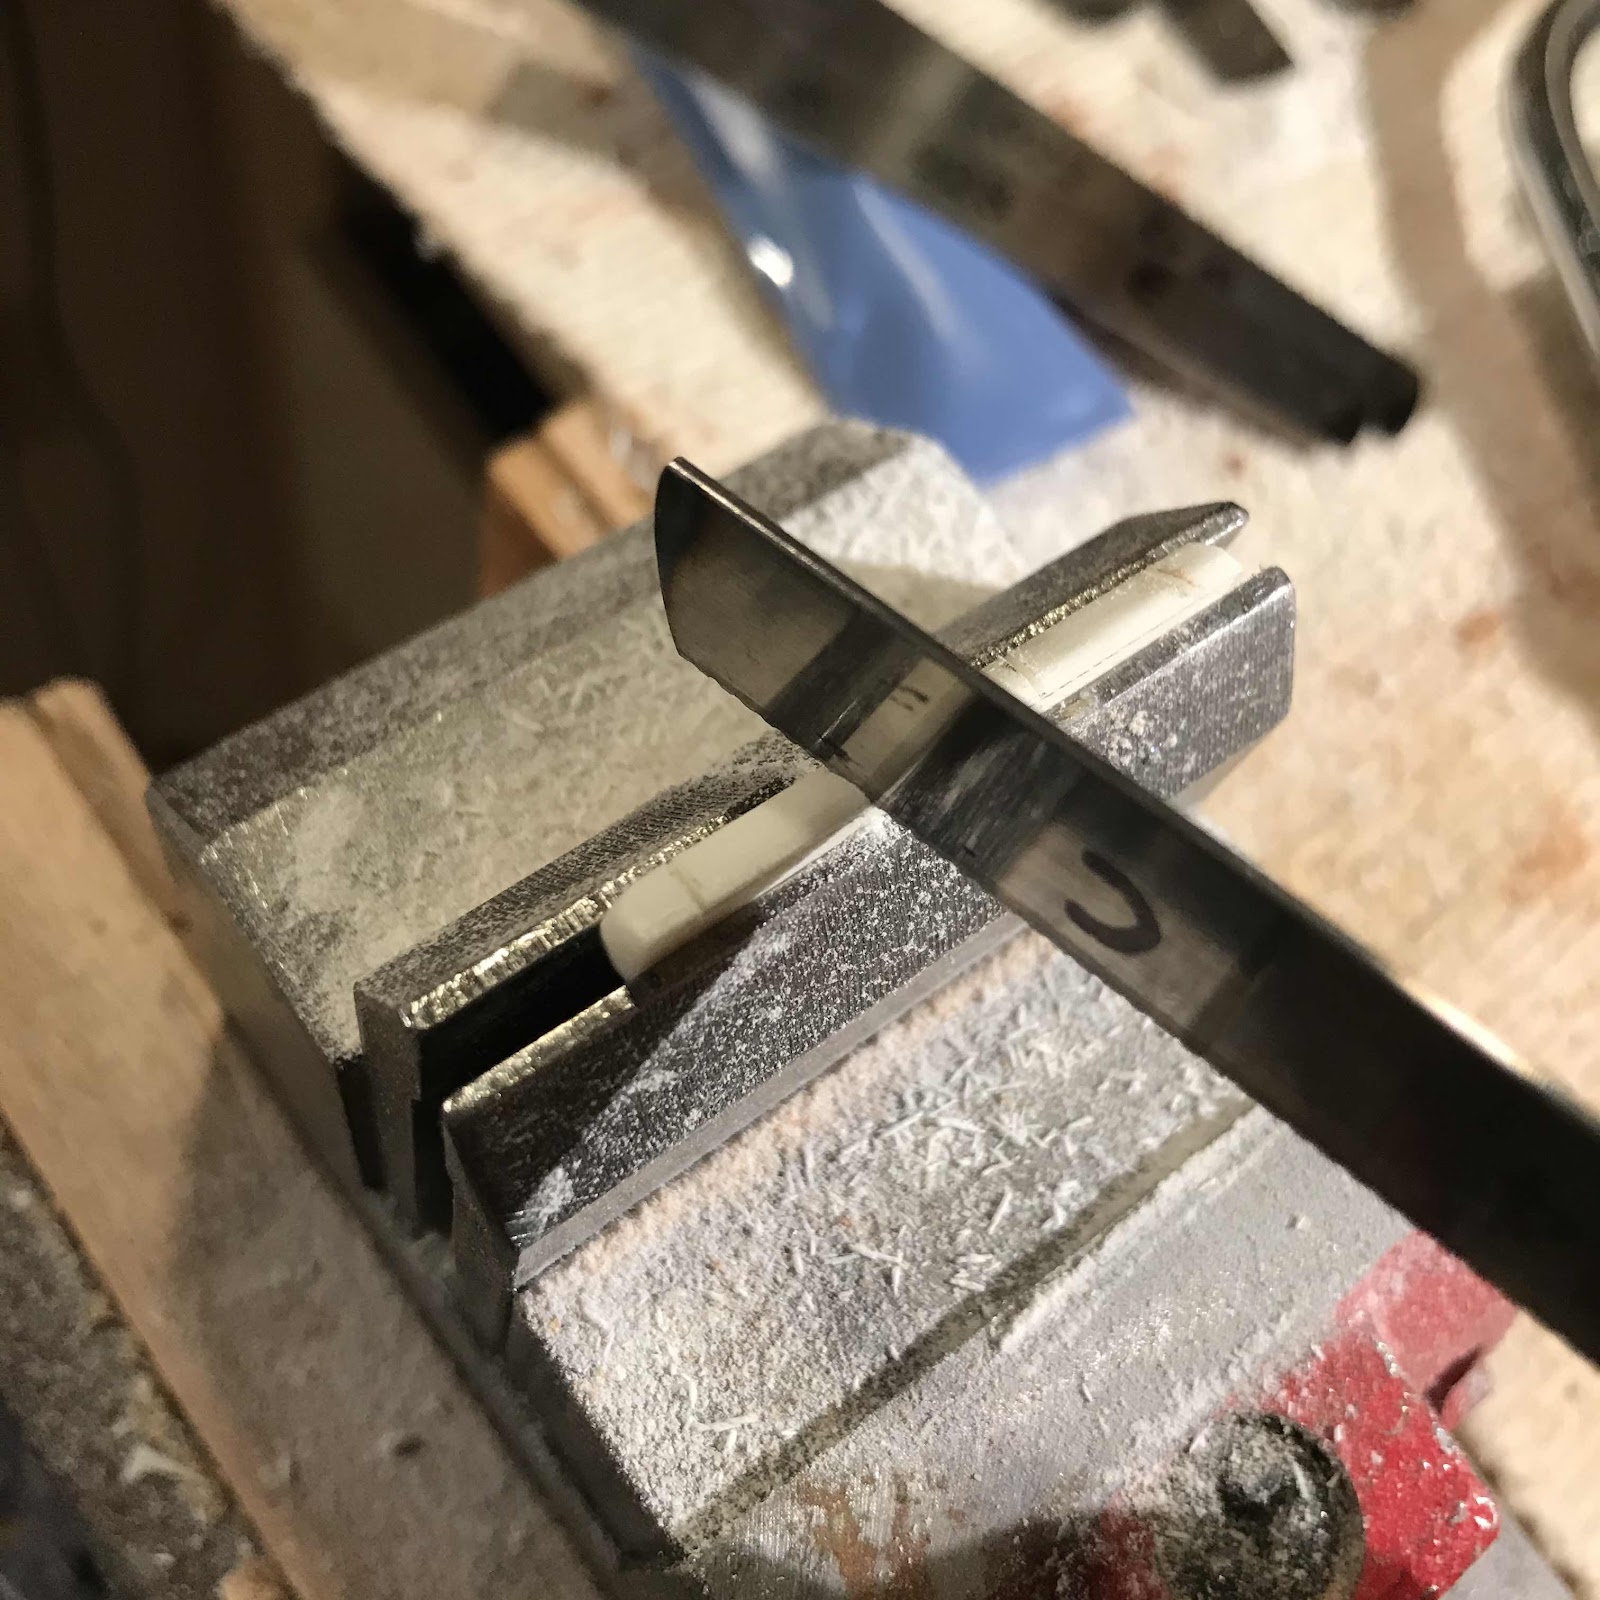
This is actually really hairy. If I cut the rods off too close to the surface in the first pass, the material buckles and create a small pit in the dot. I use multiple passes and shave off the last fraction with the chisel resting flat on the board. 


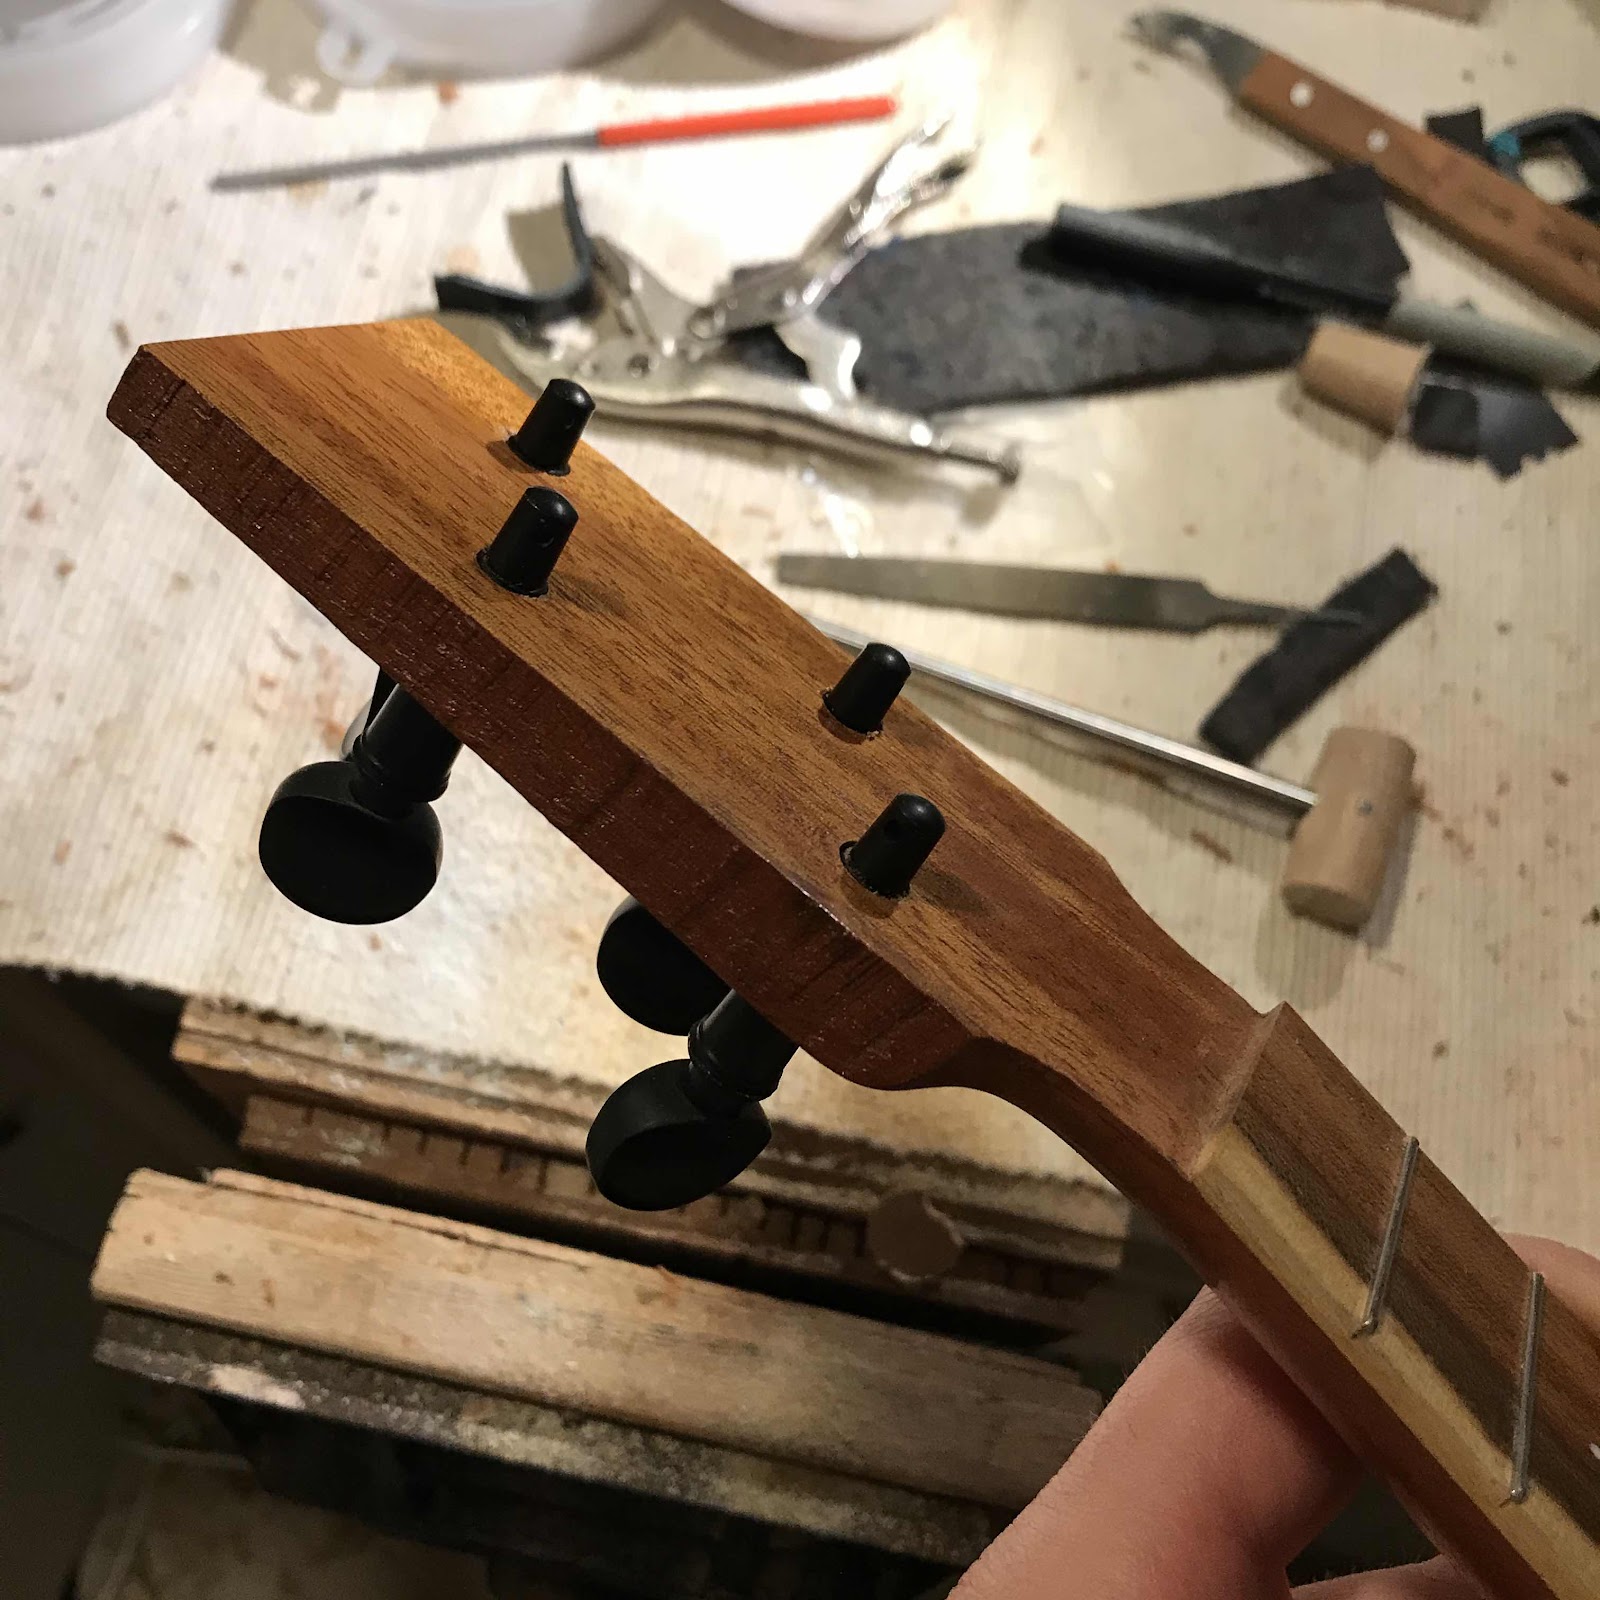
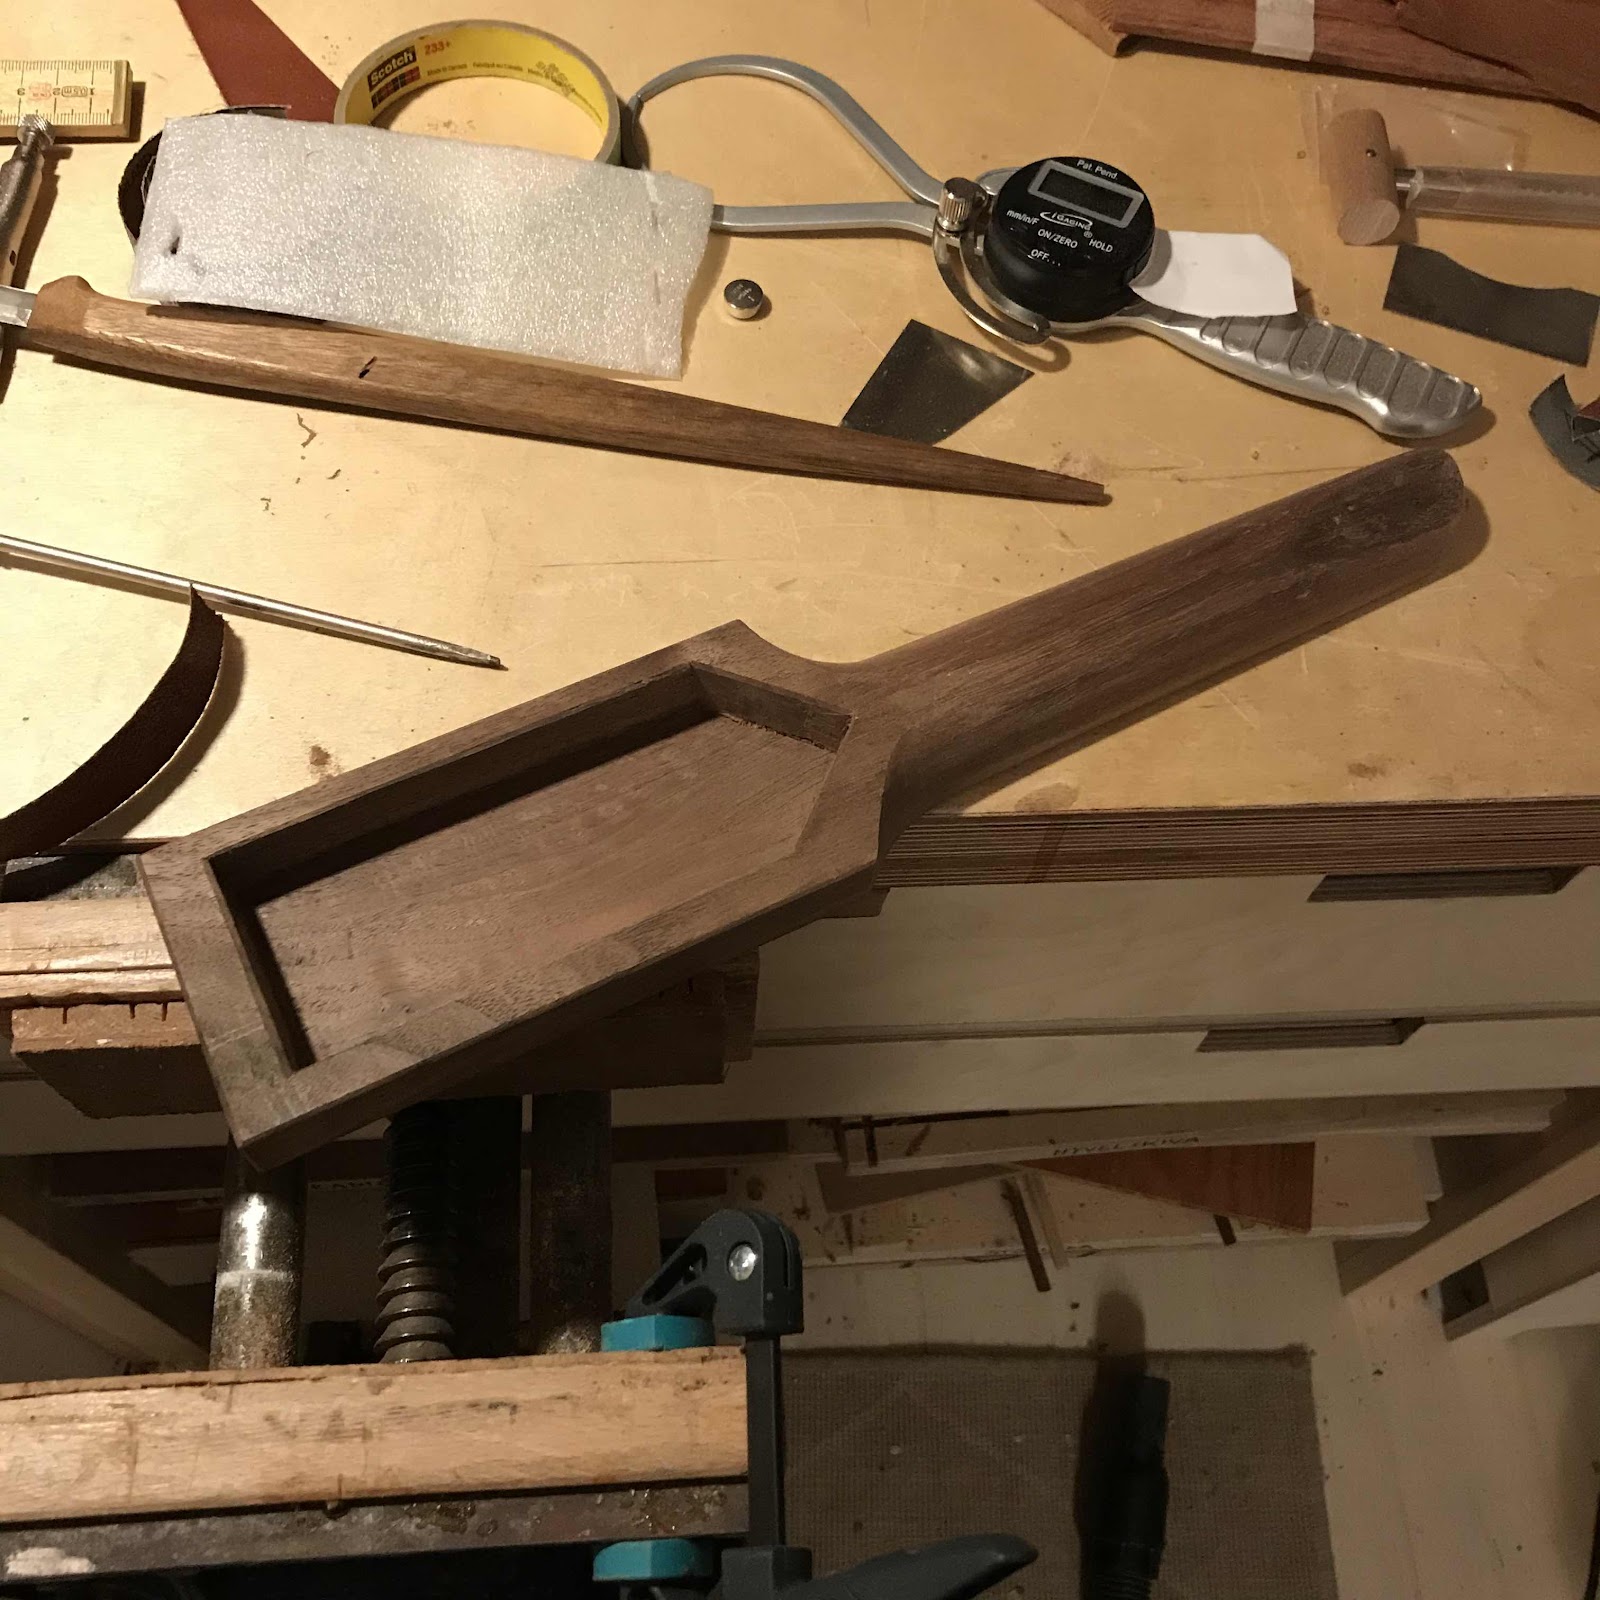
Speaking of pits, remember that difficult grain in the neck? I got some tear-out on the front so I put superglue in and hit it with accelerator. When I scraped it flush it doesn’t show a lot, and the small pit won’t catch the A string. 


Saturday, January 11, 2020

Argapa 116 finished

Good mooorning Vietnam..! Long time no see. This morning I set out to finish the one that’s been on the bench like forever. The shellac finish was finally good enough and has hardened. This is how I started out. 

Note the handle on the reamer. 


I rounded off hhe fret ends with the special file. Cost a lot of money that file, but it is a fine tool and worth every öre. 


Then I reamed the first hole for the peghed tuners. It is tricky to get the holes perfectly sized, thinks I. But I got there. 


Here it is with all four tuners installed. 

Note the handle on the reamer... after installing the first tuner the handle wouldn’t turn without hitting it. So I had to cut the handle shorter. No biggie but extremely annoying. Yes biggie actually. 


Then I marked out where to drill the string holes through the bridge, starting out with the A and G string positions. The inner two are marked with my Ken Timms divider, that I’ve shown you before. 


I countersink the holes with a wee round router bit in the pin vise. 


The bone saddle, compensated for the C string. I did some tweaking for the E string later too. 


I made the bone nut and filed the string slots with the aid of my nut vise. The same reasoning as for the fret end file applies to the vise - costly but worth it. 


The offset tuners and the scruffy peghead edges. They’re meant to remind Chris of me, his somewhat scruffy pal. 


And ta-daa! It is done. Bine inlay and all. It sounds big, or as we* say at Argapa: one size löuder. 


*I