Learning Ukulele 50 Sites Top 50 Ukulele Sites Argapa Ukuleles - one size louder: new neck joint
Showing posts with label new neck joint. Show all posts

Saturday, October 3, 2020

Neck joints

To get the necks in place I go through a number of steps. I’m very pleased since I remembered them all this time, and in order to boot. 

First I planed off the overhang at the neck end of the bodies. With a sharp and well set up block plane it’s easy. 


You know I put some relief into the face of the heel, otherwise this next step is tricky. It would rock and create a convex surface. I check that the centre line is square to the sanding plate, constantly. 
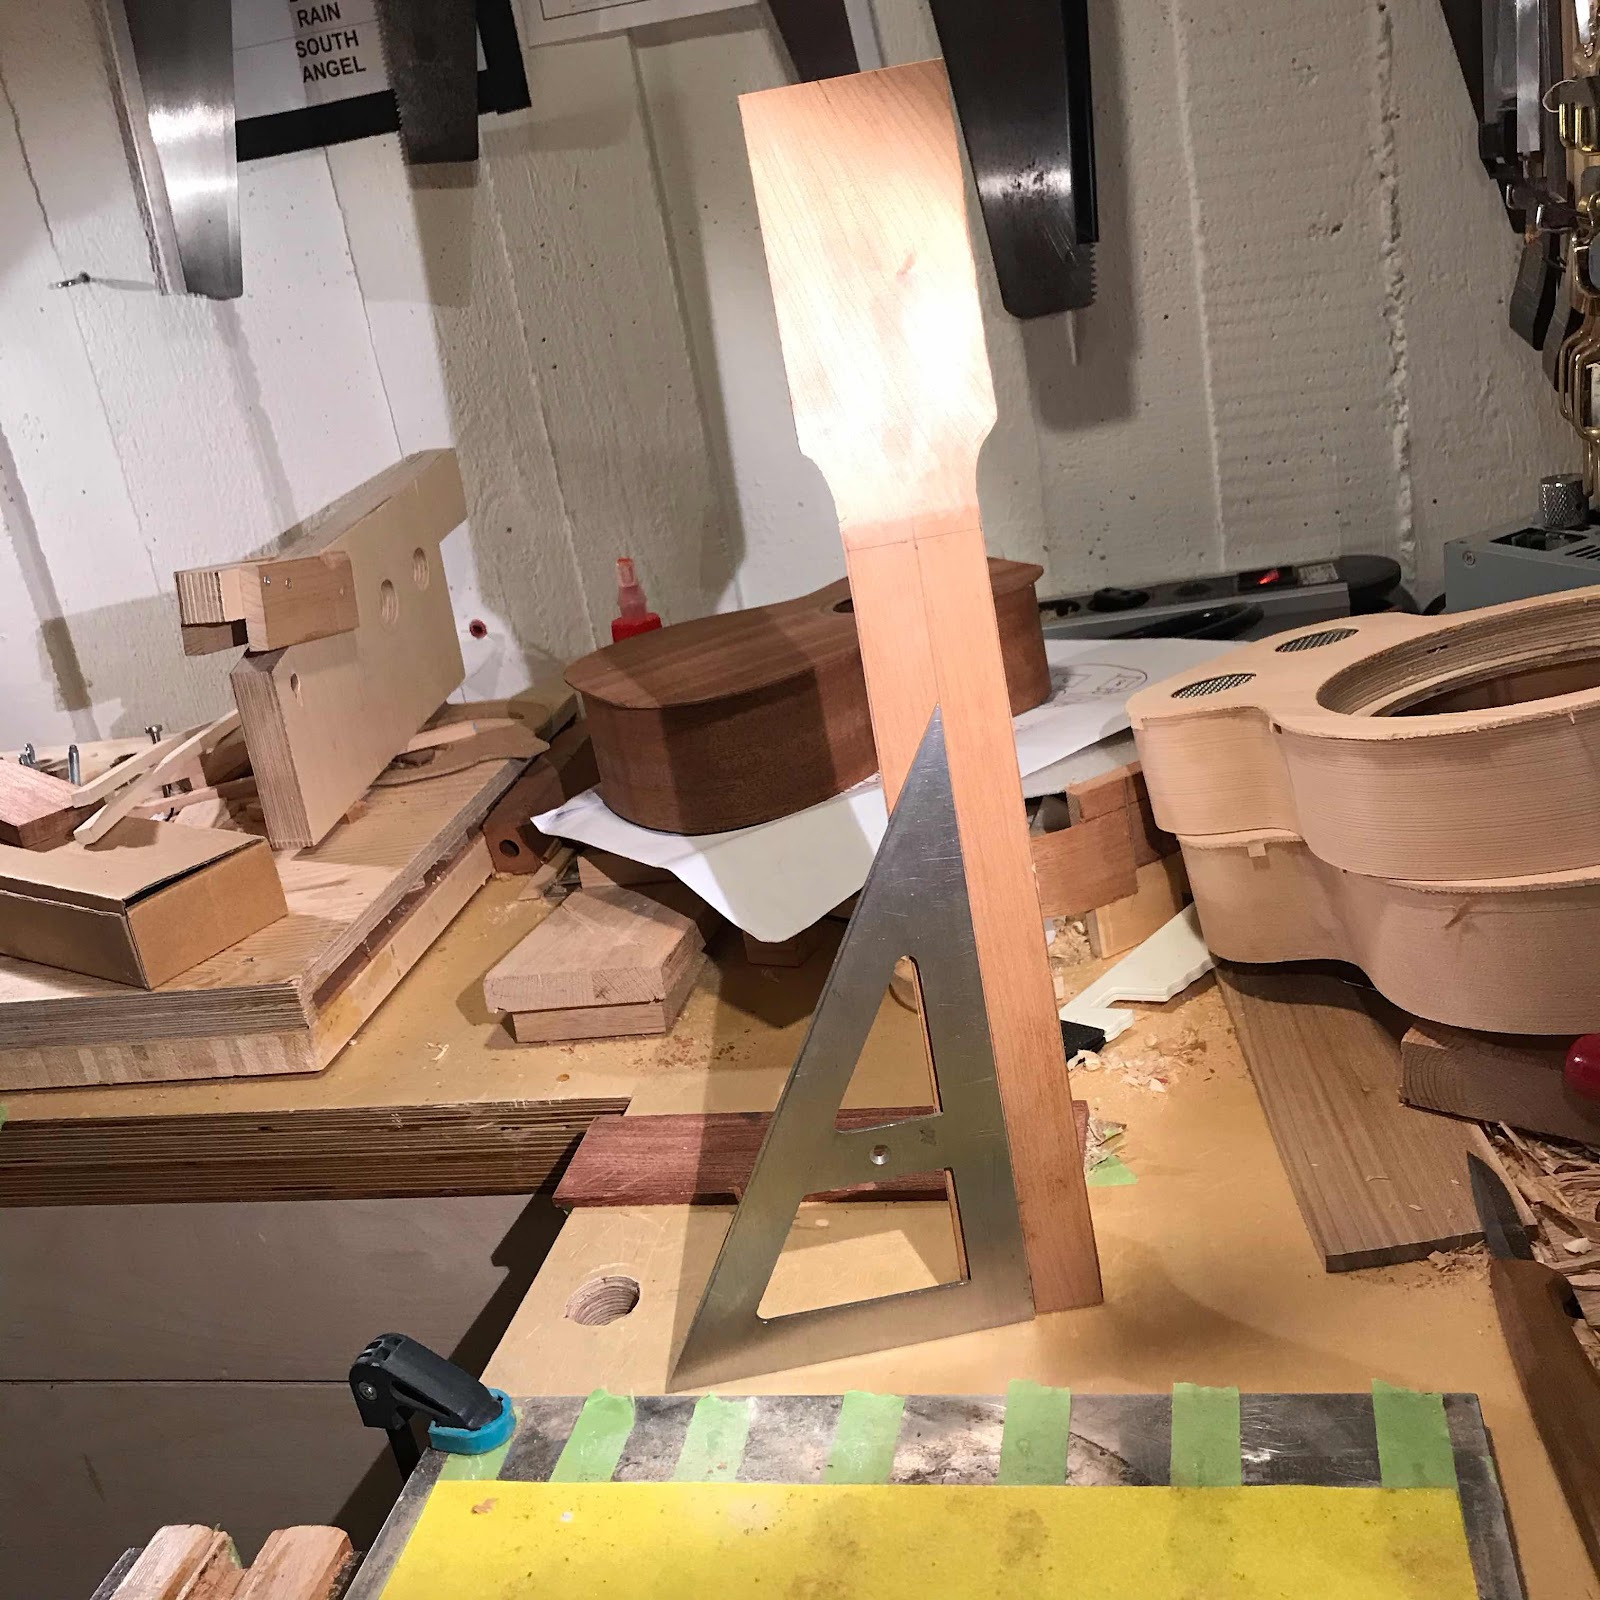


And the other angle, because of the height of the biscuit, saddle and cover plate. And the rigidity of the plywood skeleton, of course. I can set the neck angle on an acoustic by clamping the uke down with a shim under the neck when glueing on the back. Does that seem complicated? I’ll show you when I get there. 


Here you can see the relief, and the hole for the barrel bolt. X marks the spot for the screw. 


And marking out for the corresponding hole in the body. Measuring and drilling by hand is actually safer than using my jig. 


The resos, done. And as you can see on the mahogany neck I glued in the cross grain dowel, as I’m going for The New Argapa Neck Joint. 


Two holes in the body through the neck block, for the two wood screws that’ll hold the neck. 
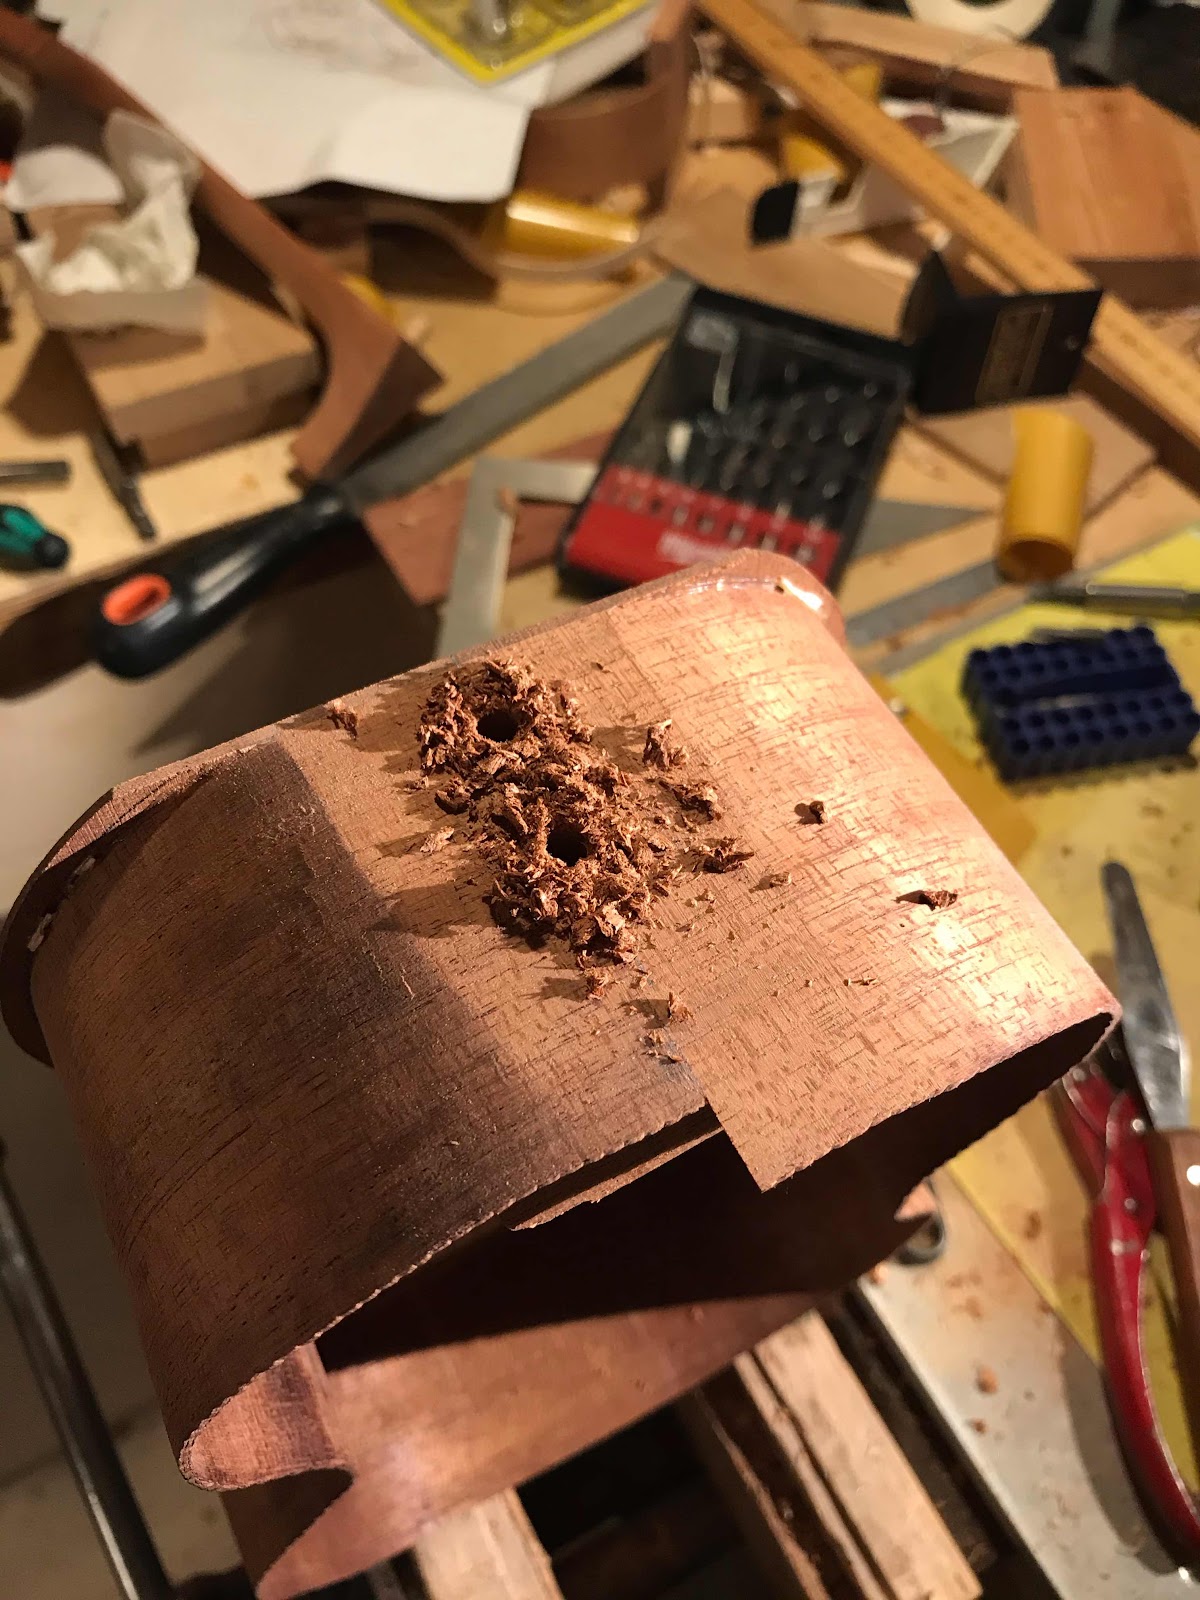


Glueing in a dowel seems stronger, I add a piece that will hold the screw threads better than the end grain. The barrel bolt connection is strong too but in it I remove material and put some strain on the end grain in the face [of the heel]. Maybe I should start using this method on the resos too. But then again, the back will always cover the heel and the fretboard will secure the neck at the top so probably screws of any kind are overkill. 


Saturday, February 9, 2019

New neck joint

Inspired by an exchange of posts at the ukulele underground forum, I decided to try a new neck joint. Hence the title of this post. One colleague described his method of screwing a hanger bolt into the heel and securing it with a nut inside the uke. A hanger bolt is straight and has a machine thread halfway and a wood thread at the other end. Some call it a lag bolt. 

To get the wood screw thread to hold in the end grain of the neck it’s wise to glue a dowel in. I chose an 8 mm beech dowel. Also I hadn’t a hanger bolt so I took two wood screws. 


I made a shallow slot to let excess glue come out, and the dowel went all the way down. 


Most steps were of course the same as always, here’s me relieving the face of the heel. Much easier to get a good match to the body this way even if most of the relief disappears in the next step...


... which is this. Draghing the body and the neck on the sanding plate, constantly checking the angles and the match between the surfaces. 


I fine tune the alignment with a strip of perspex with a scribed line. Aiming at good enough helps me reach perfect. 


I was going to set the uke on the solera to clamp it down but couldn’t be arsed, so I held it in an iron grip and drilled with my Proxxon and its angle attachment. I put one screw in place before drilling the second hole though so wasn’t overly reckless. 


And then it was done. A bit less stressful than drilling for the barrel bolt so I might use this method more in the future. It felt good to try on a uke that won’t leave the house in a while, it’s Li’s as you know.