Learning Ukulele 50 Sites Top 50 Ukulele Sites Argapa Ukuleles - one size louder: Completed instruments
Showing posts with label Completed instruments. Show all posts

Sunday, July 18, 2021

Travel uke completed, while travelling

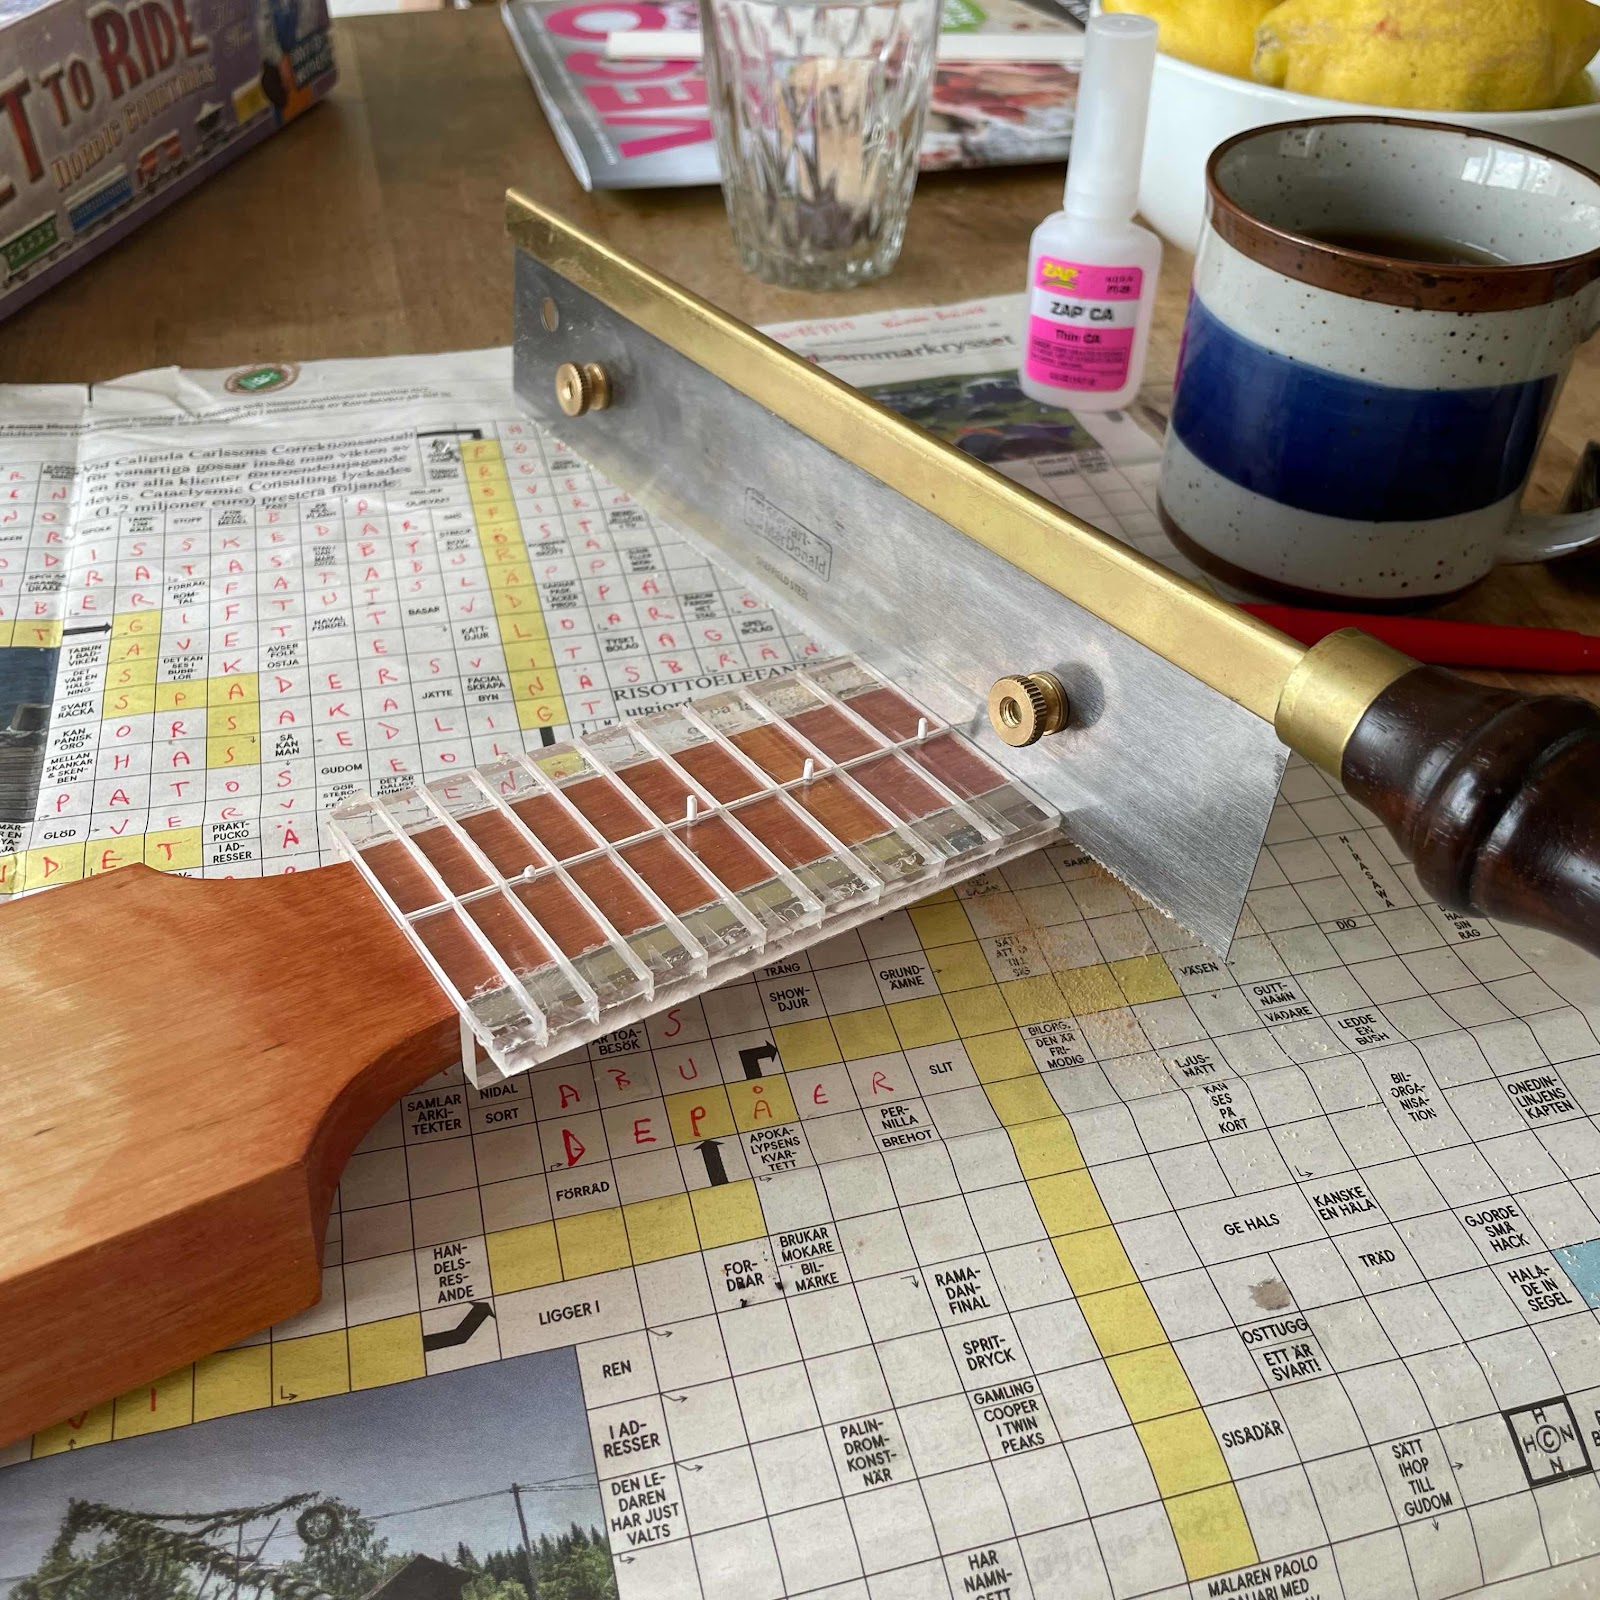
A few coats of shellac on the fretboard, and I noticed the shellac I brought is tinted red since the bass I made. Grr. It makes the alder look a bit like cherry. But let’s keep moving on. Holding the fret slotting jig with the styrene rod fret markers, I saw the slots. 


Then I press the frets in. Cut to length at with the ends rounded, because it would be impossible to shape them in situ like I would on a uke with a glued on fretboard. 
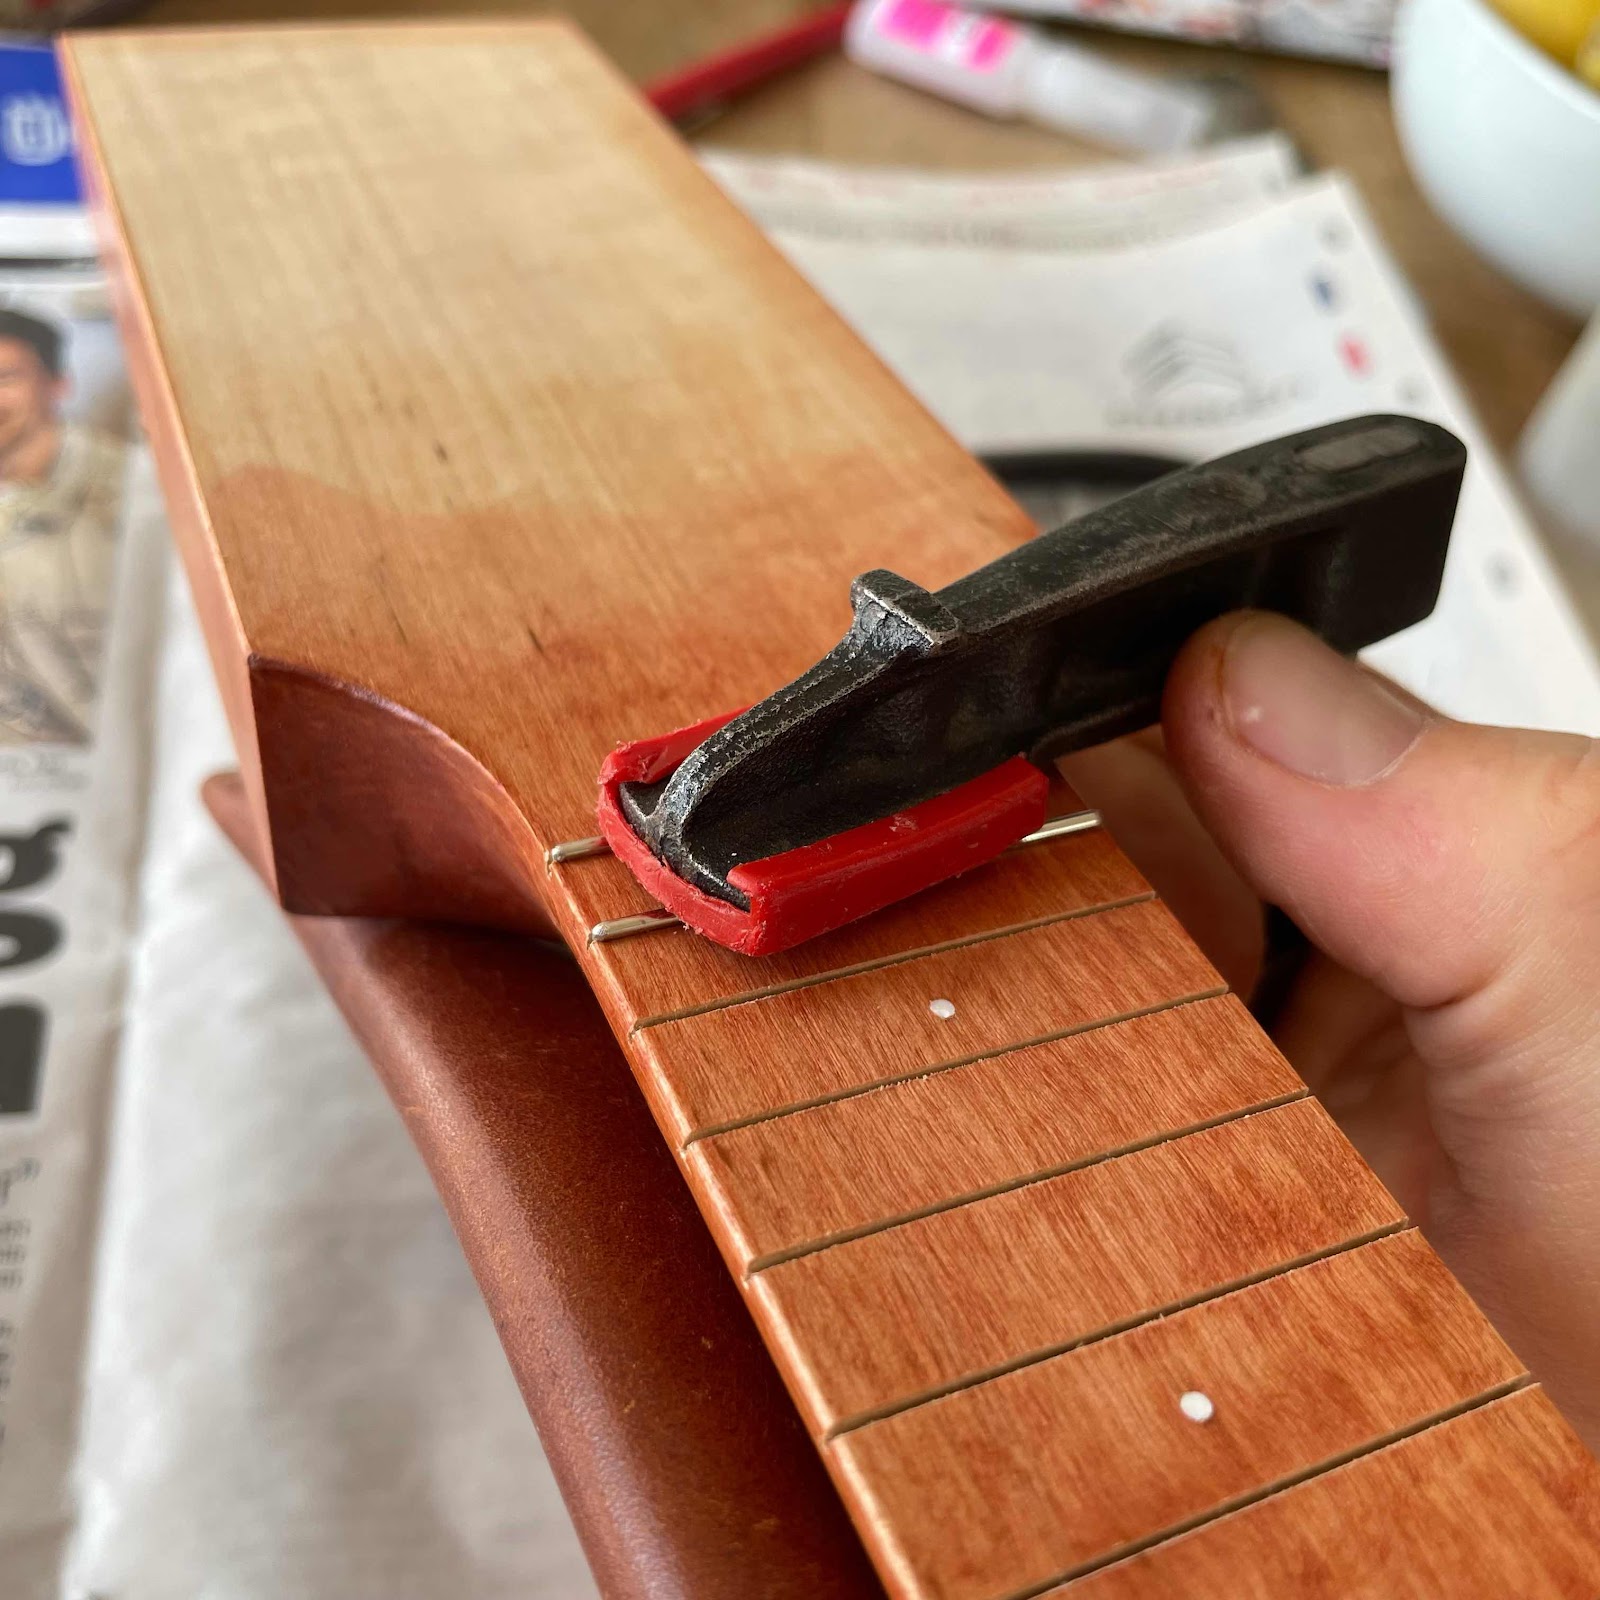


Ok. Not my proudest moment. Normally I’m quite good at securing the workpiece but this worked. 
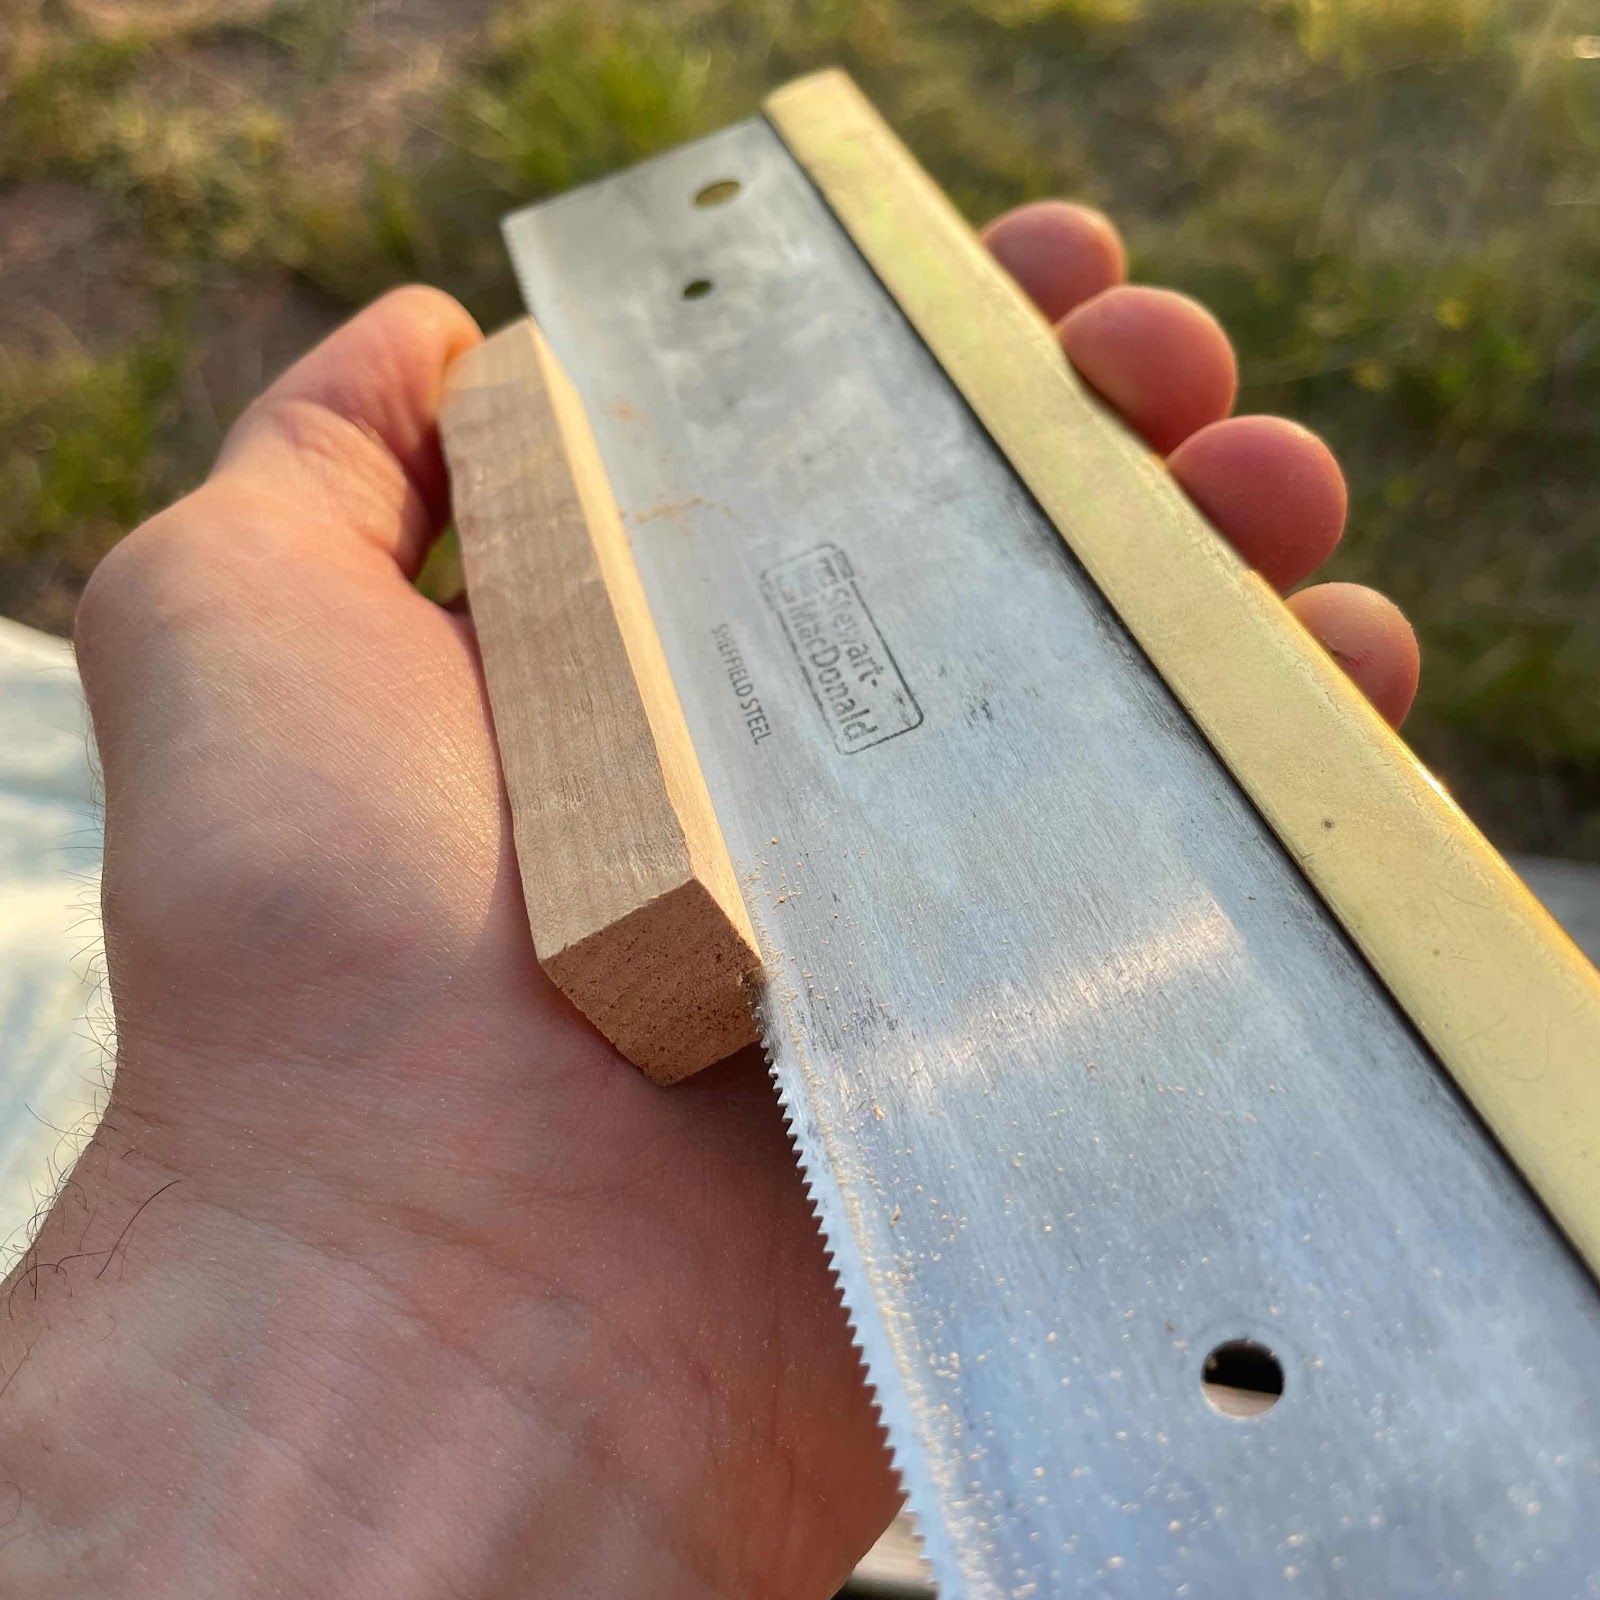


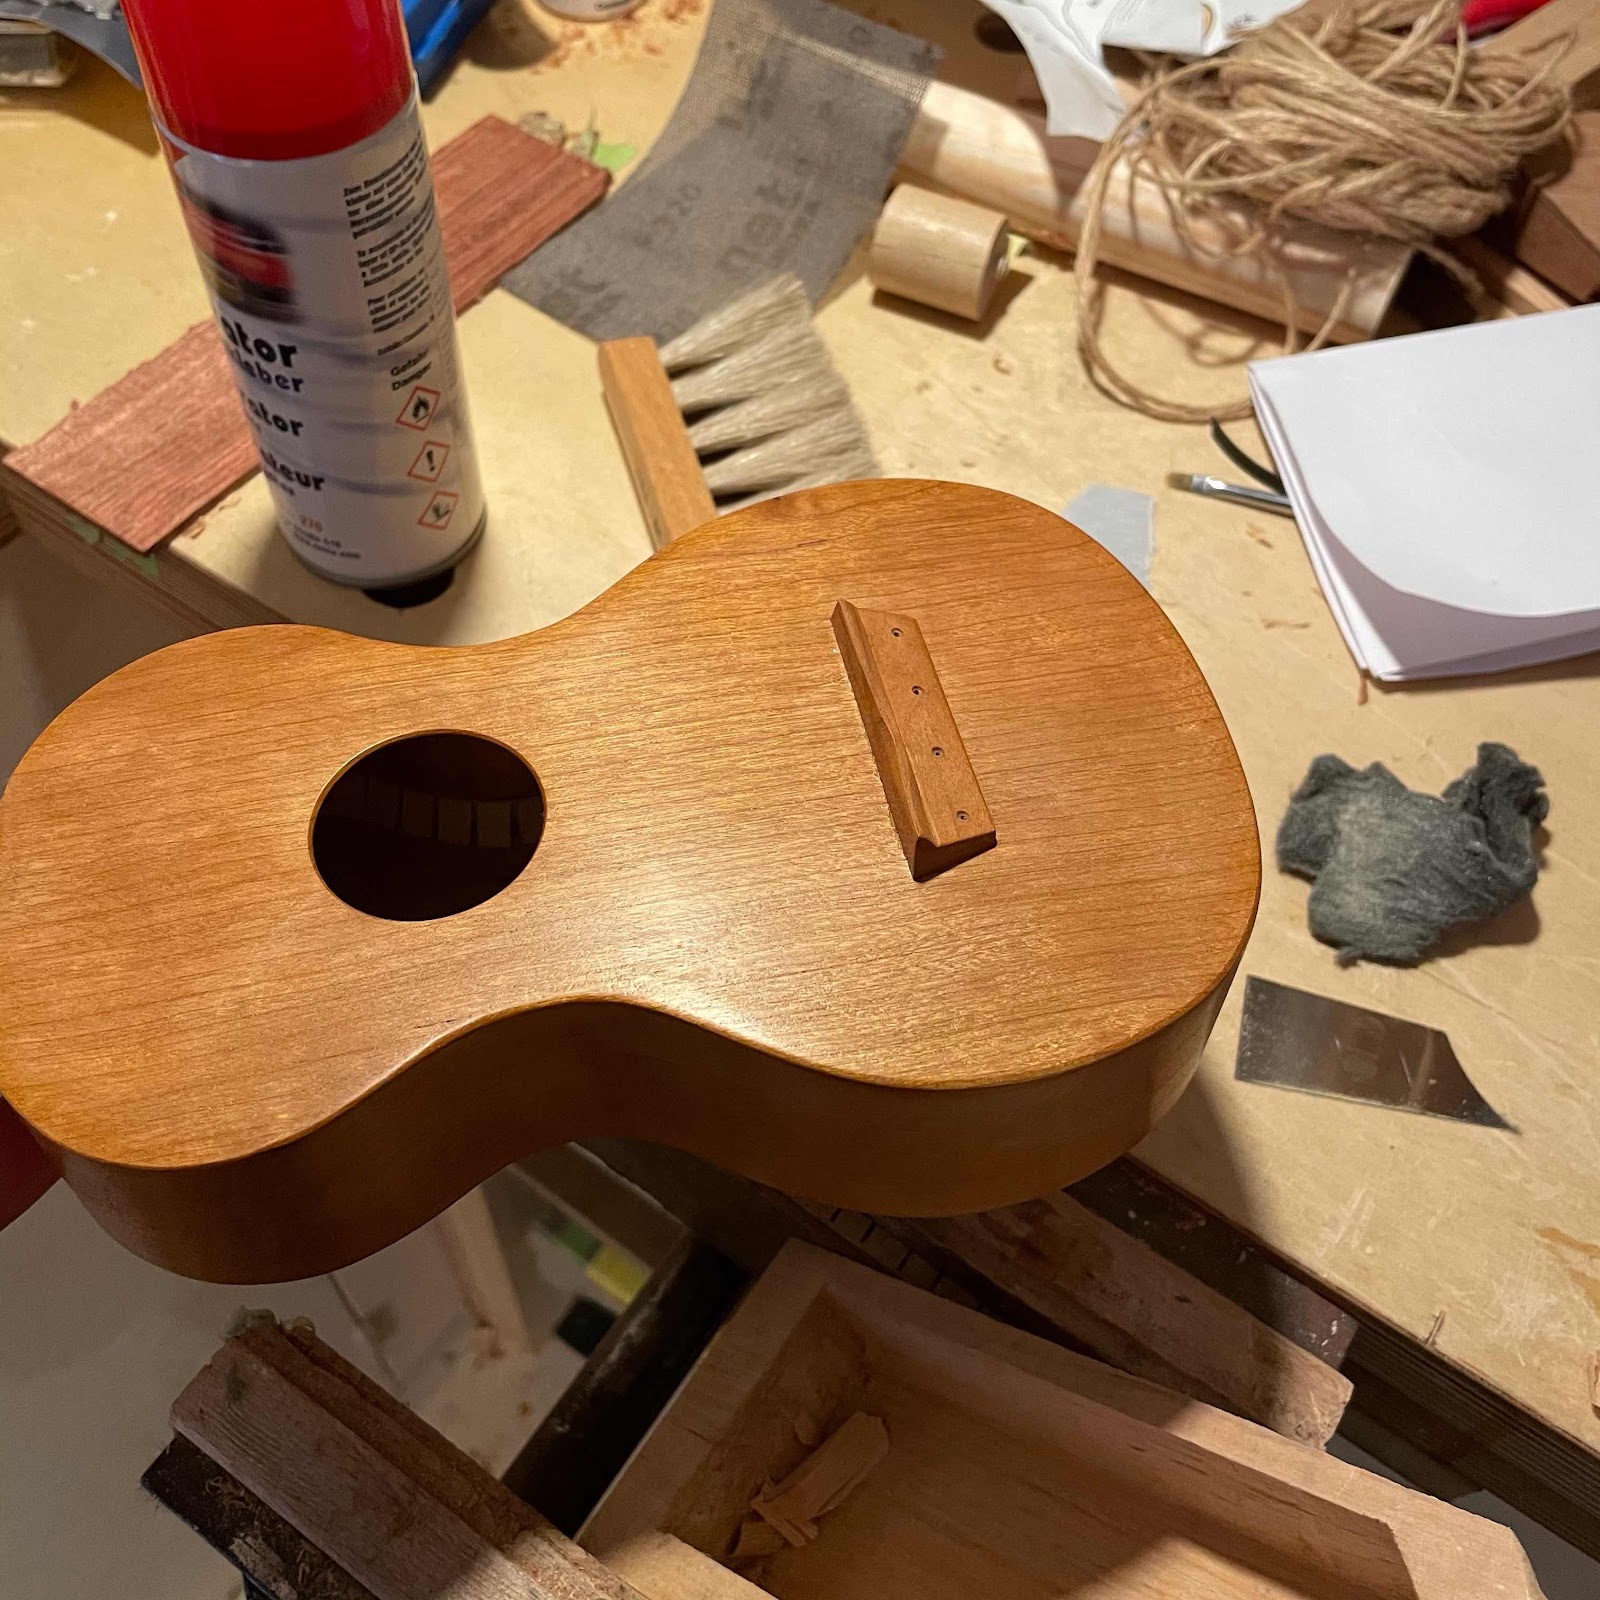
Continuing with a chisel and planes to get the profile. These bridges are tiny. 
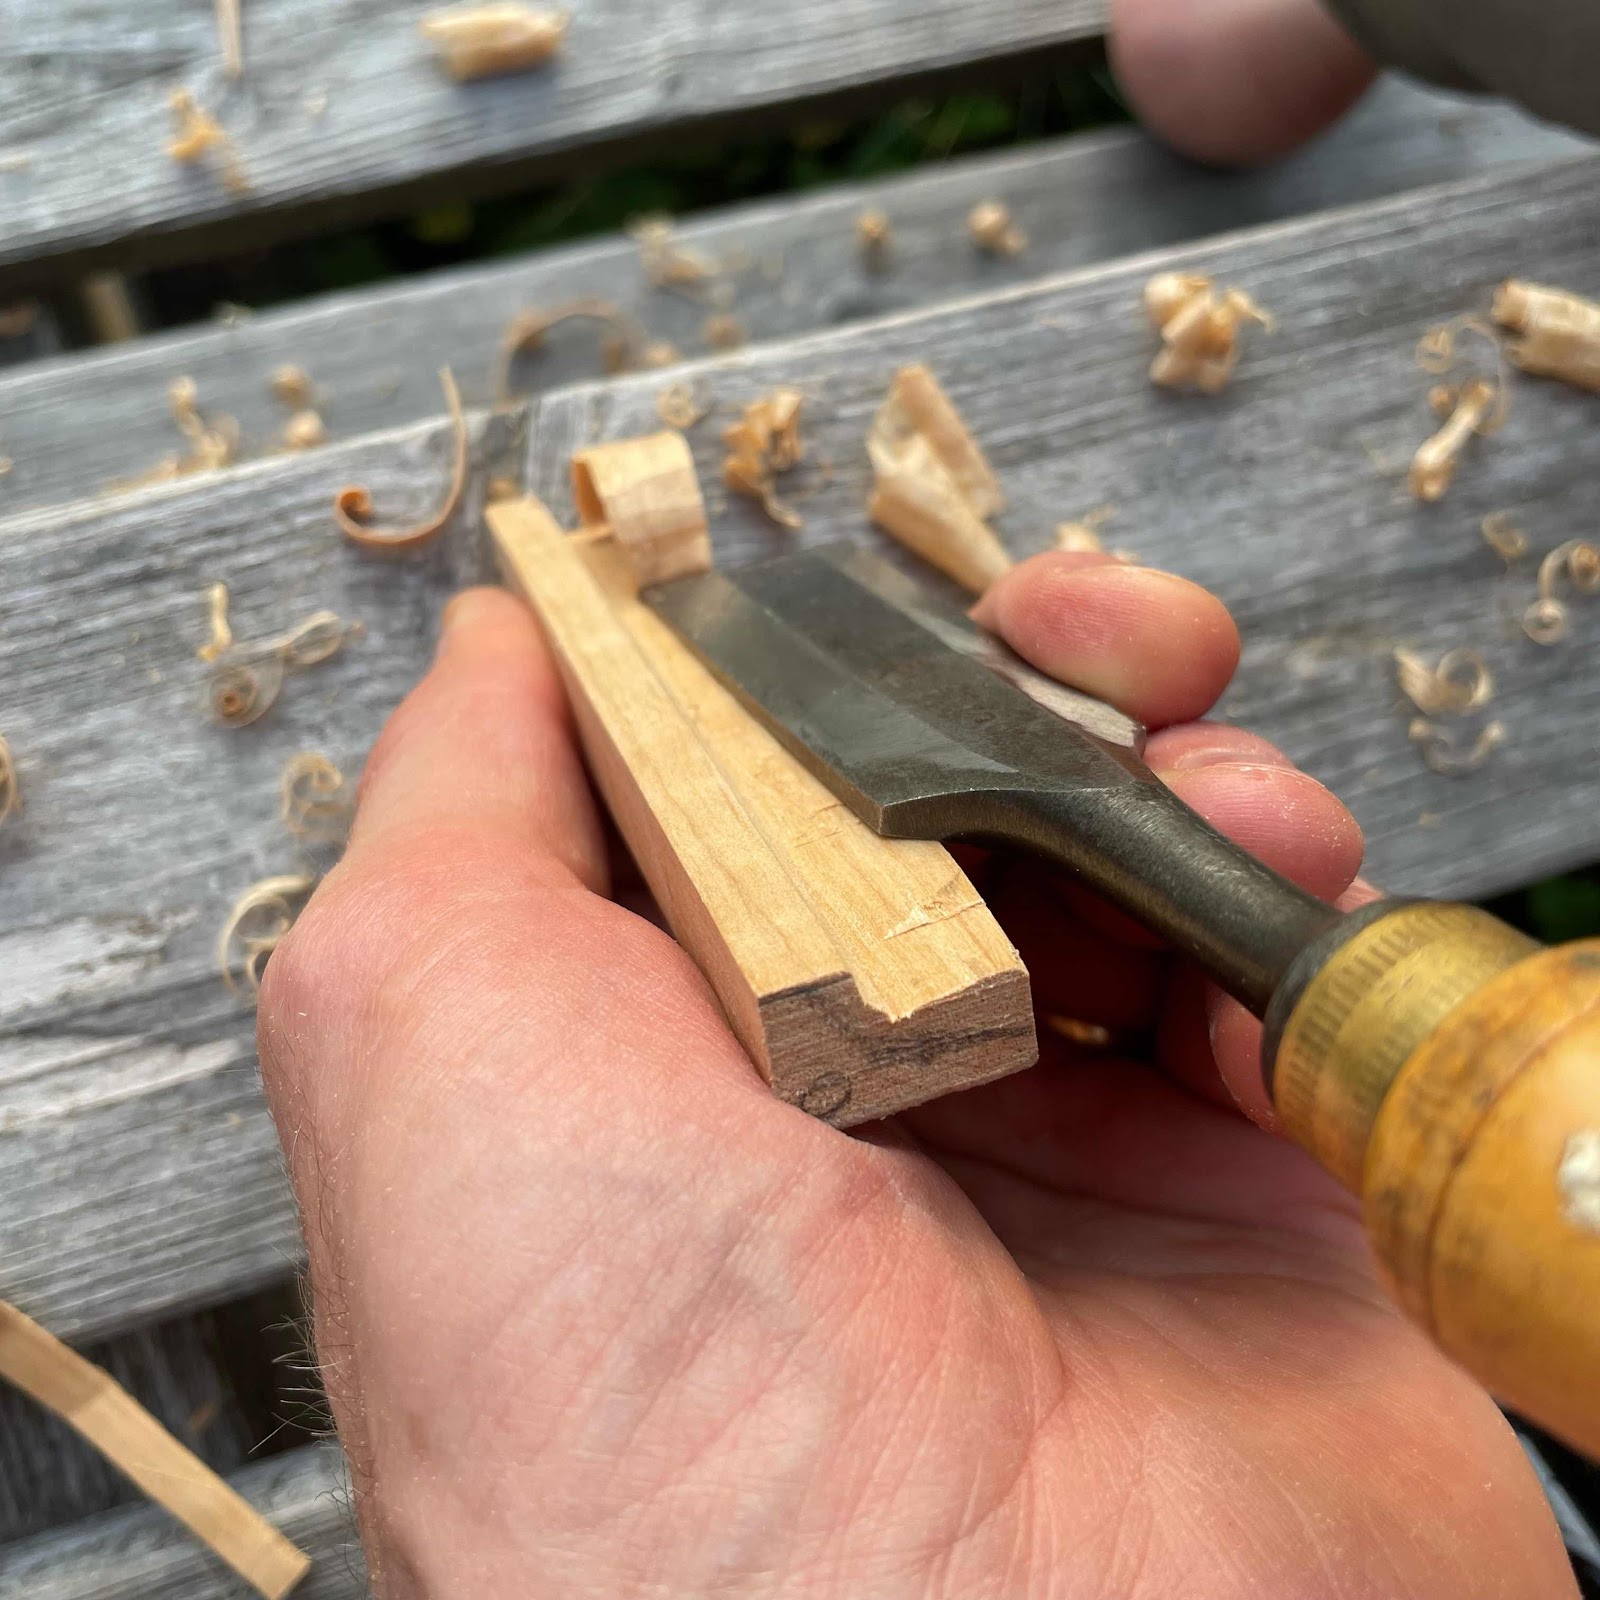


And compensating for the C-string. 
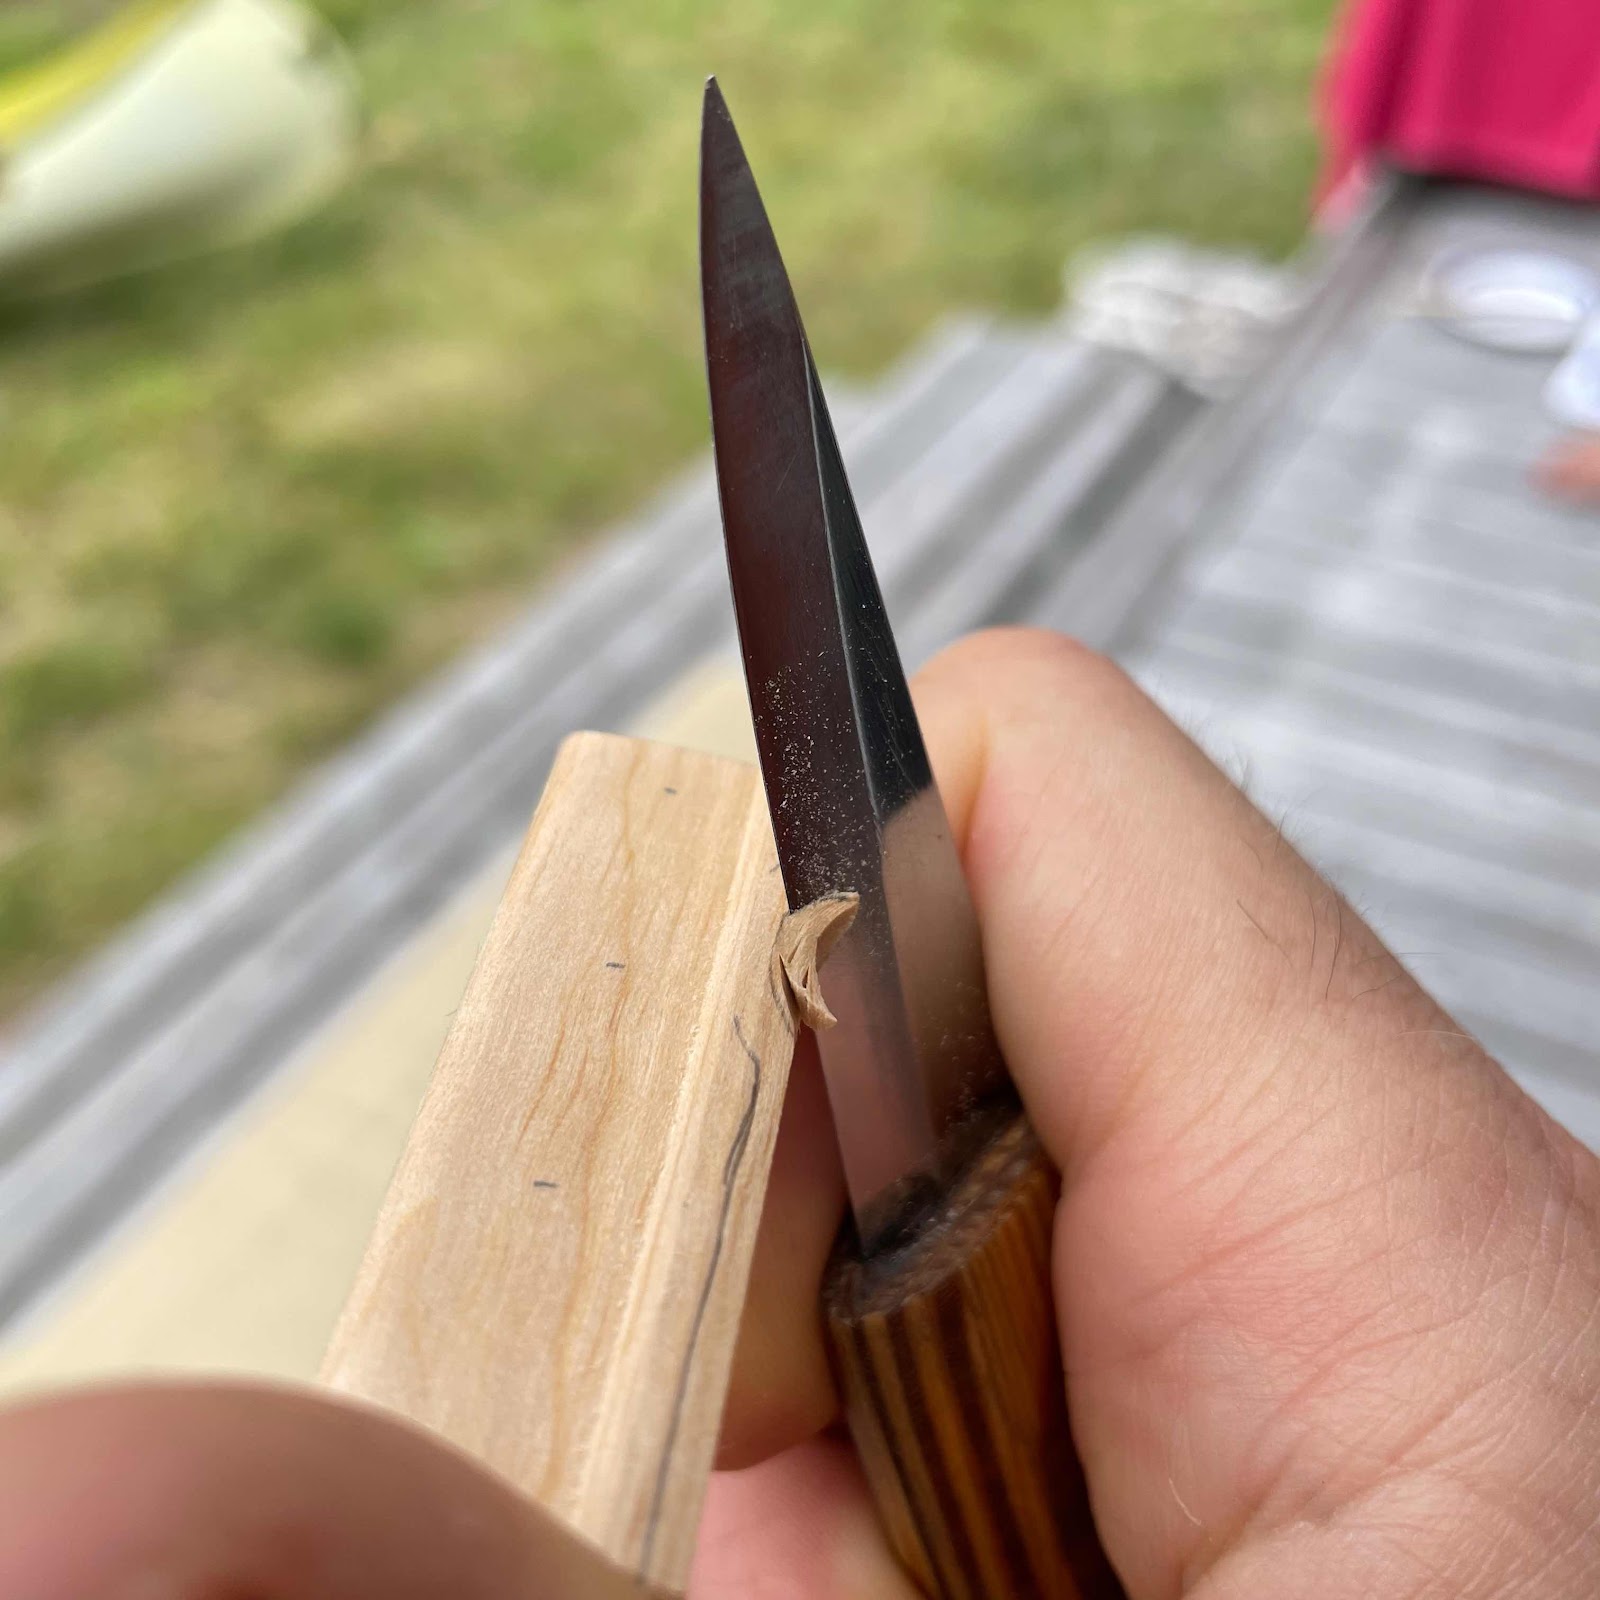


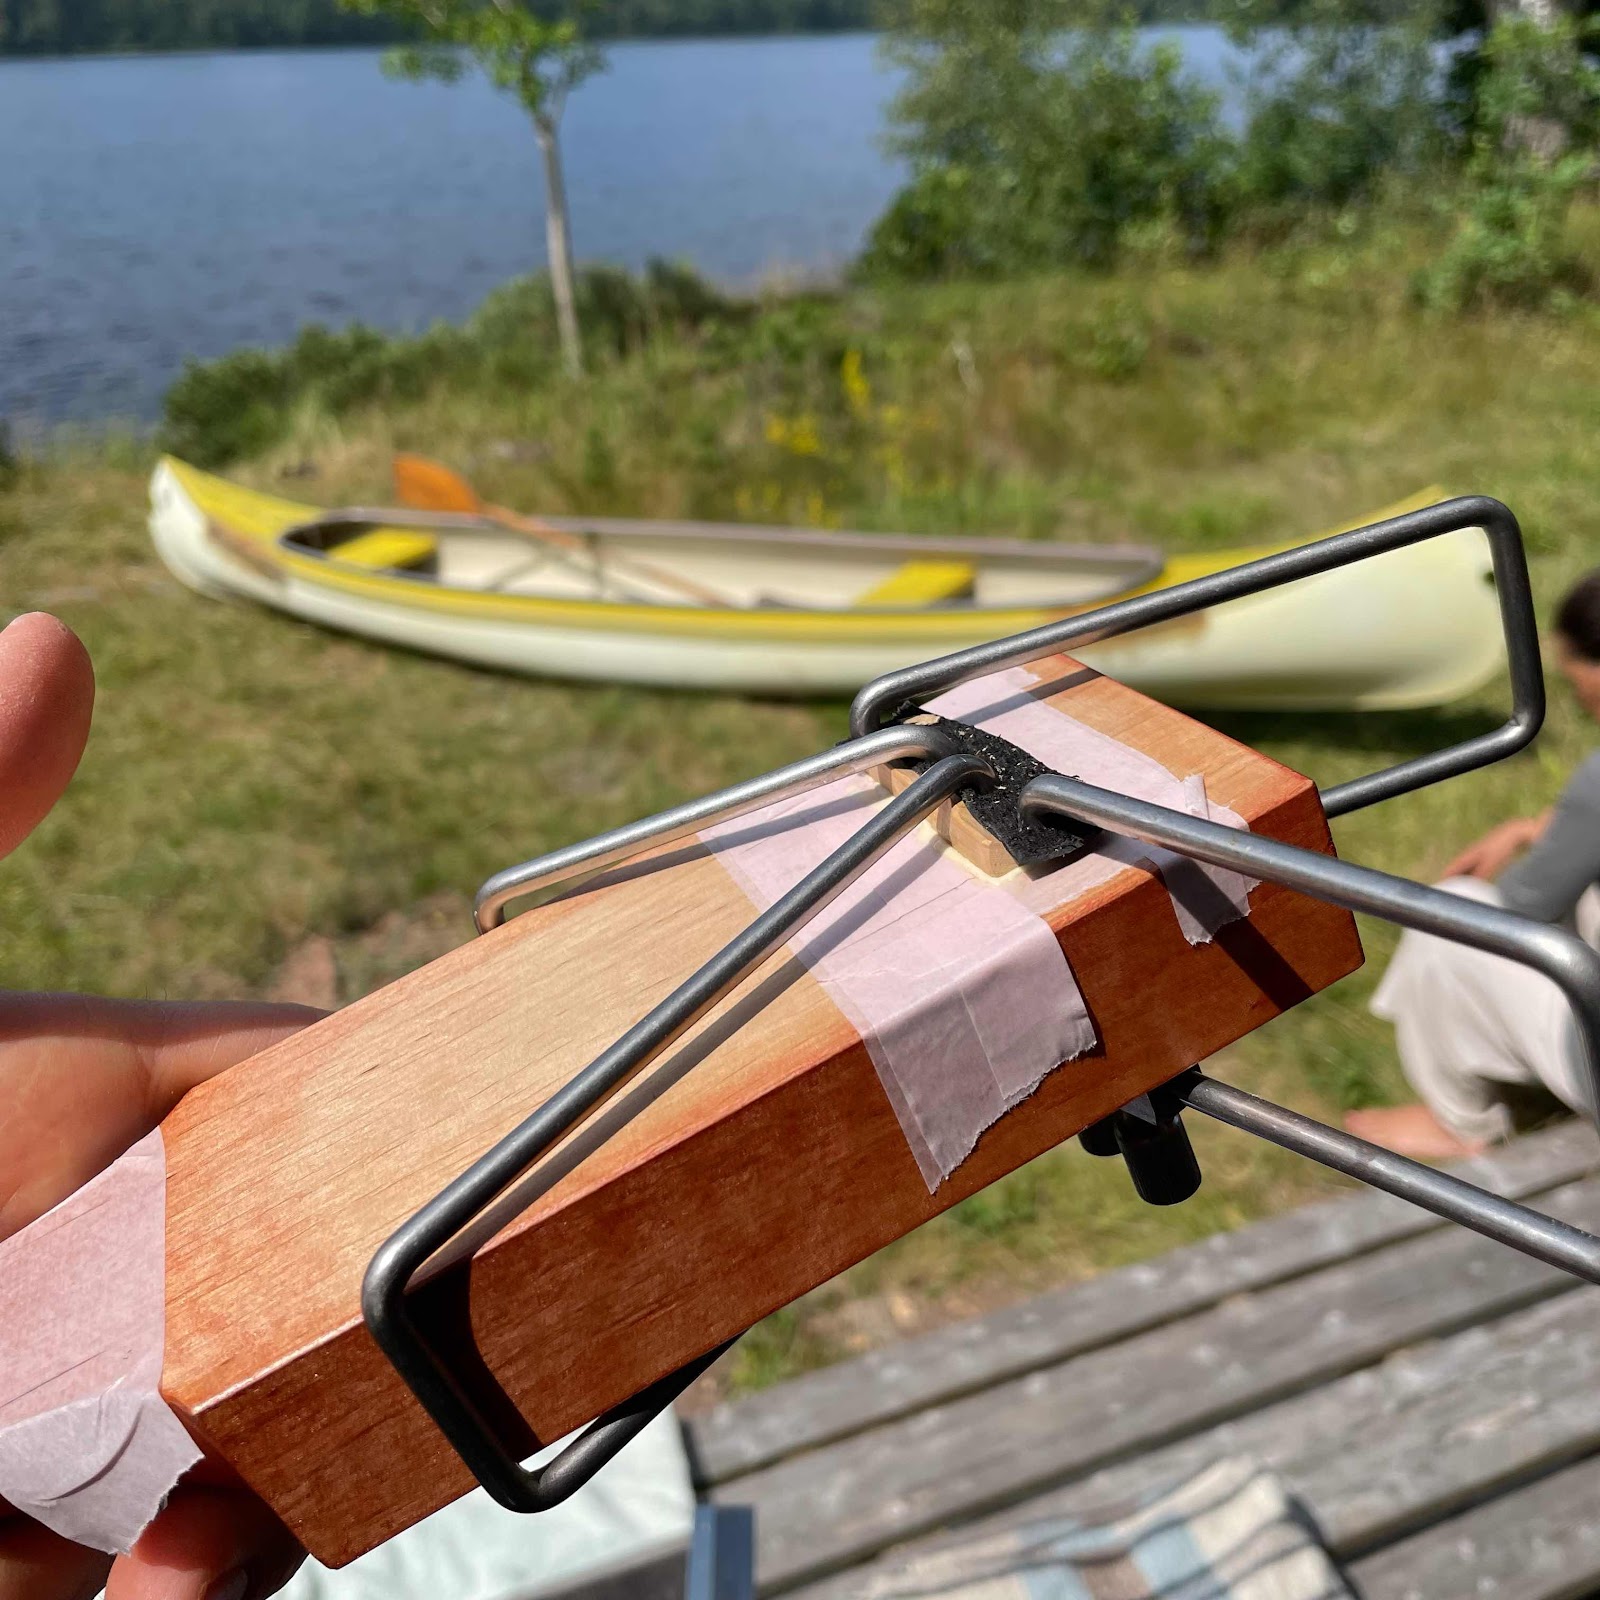
I put on masking tape in several layers to get some support that stops the bridge from sliding around. 


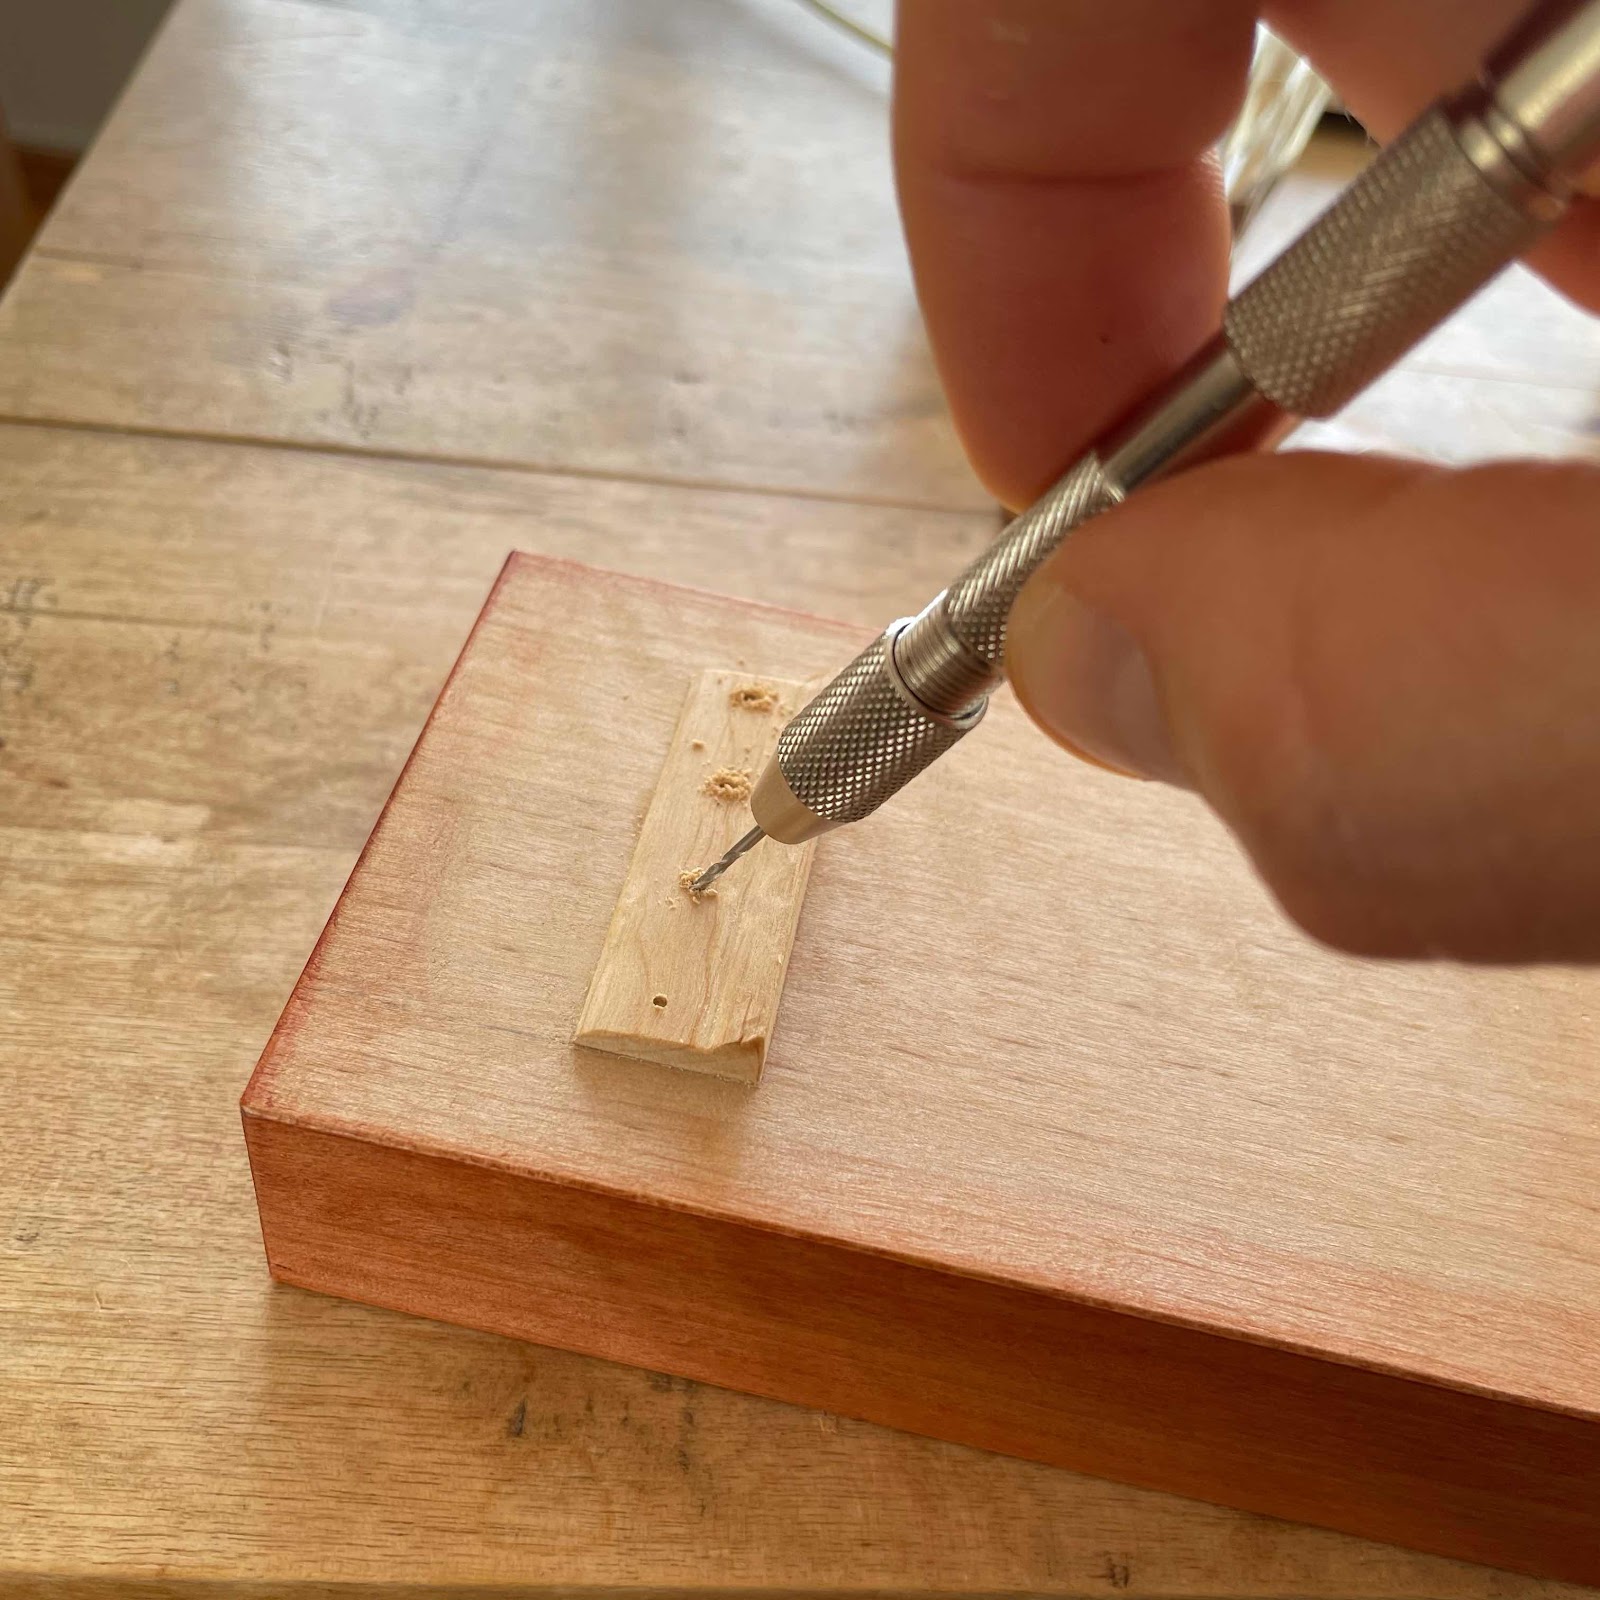
Drilling for the strings, the holes are angled the opposite way from the regular acoustic ukes where I want the strings to turn up in the soundhole. On these they must go around the carbon fibre tube below. 


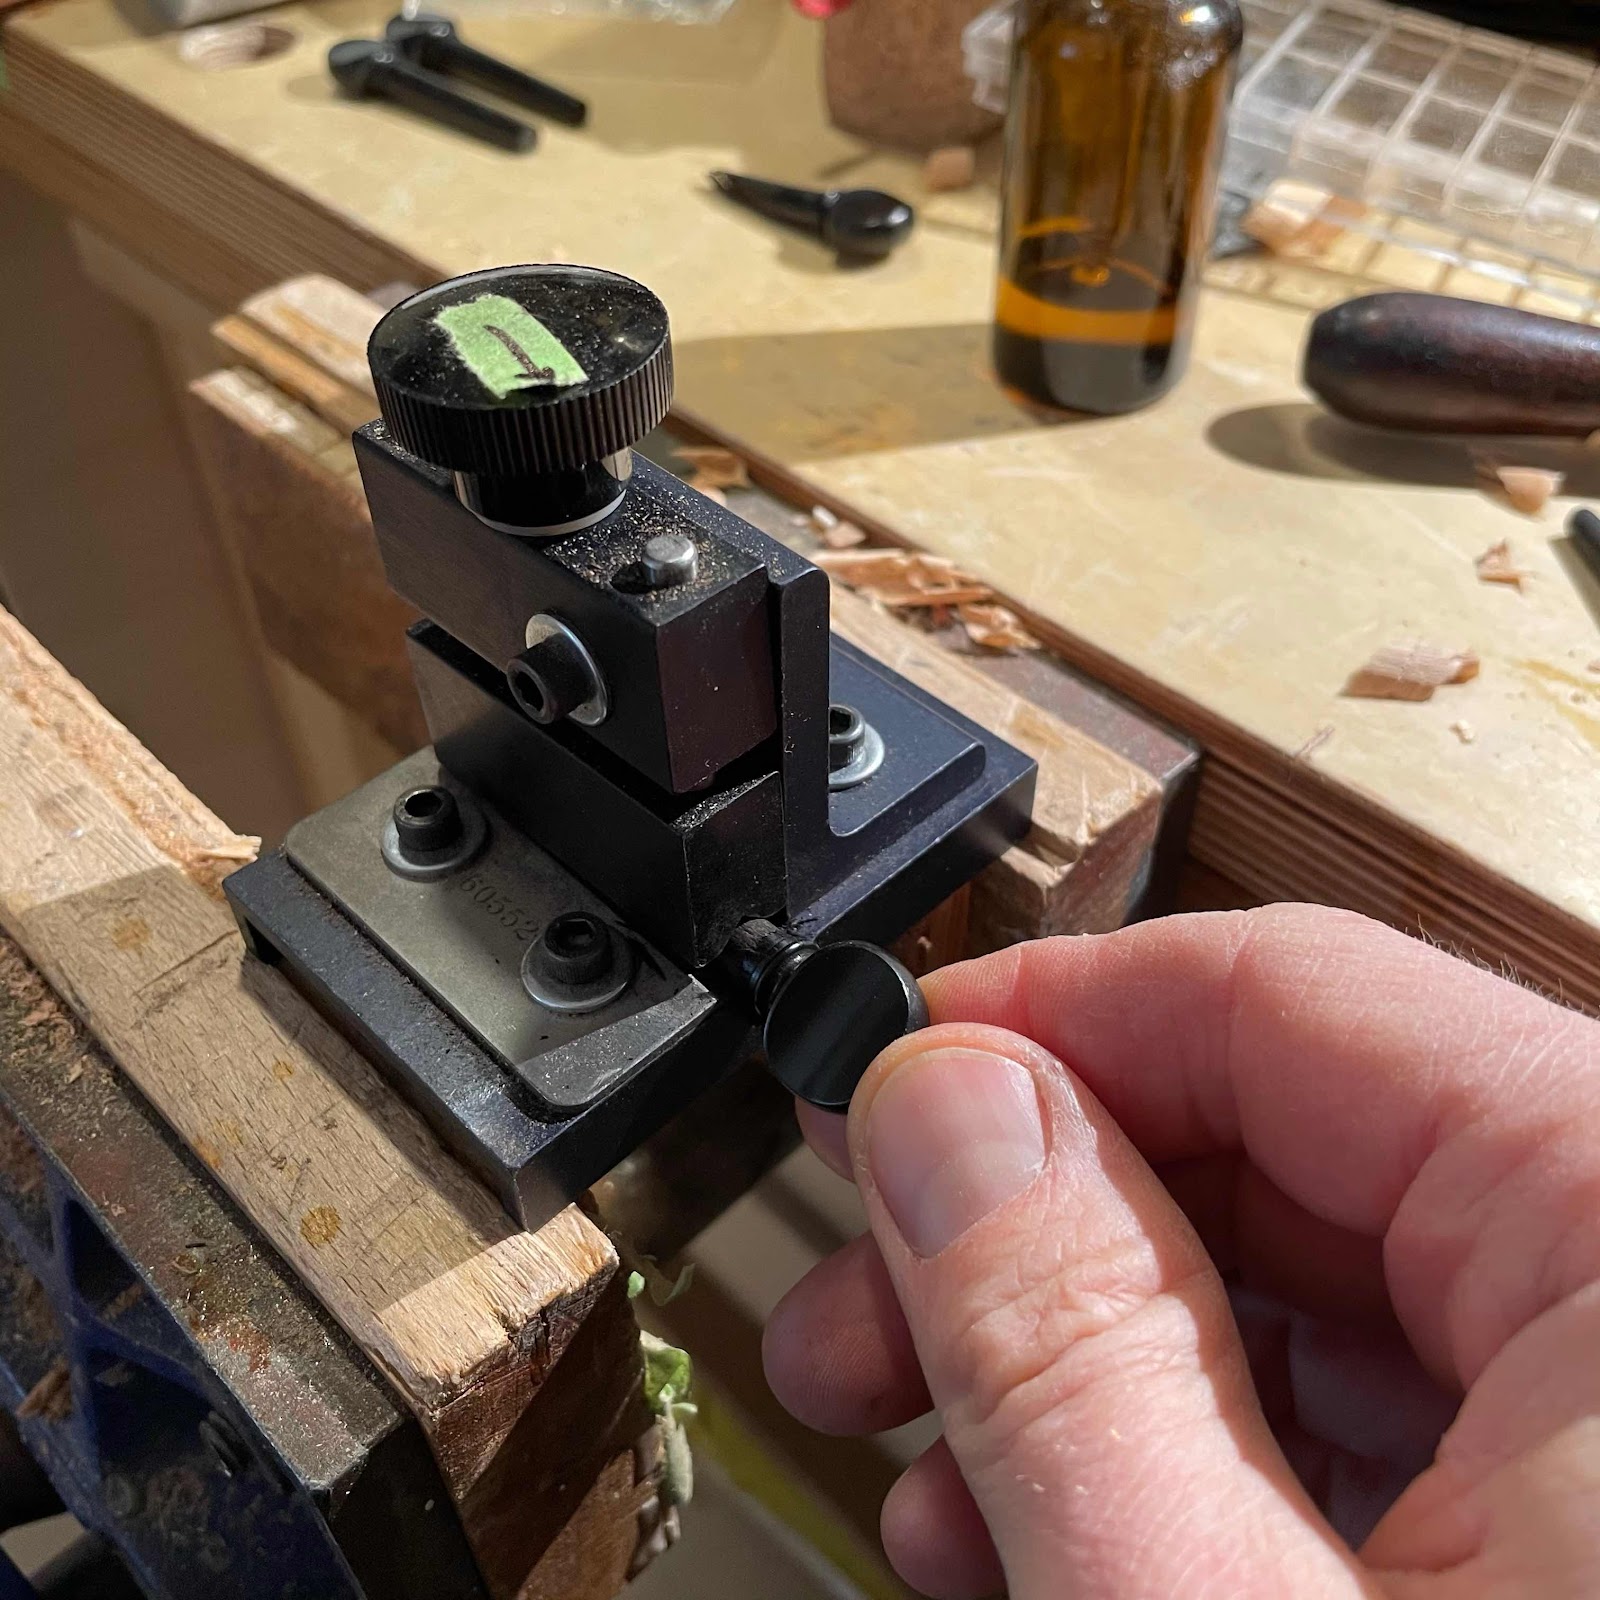
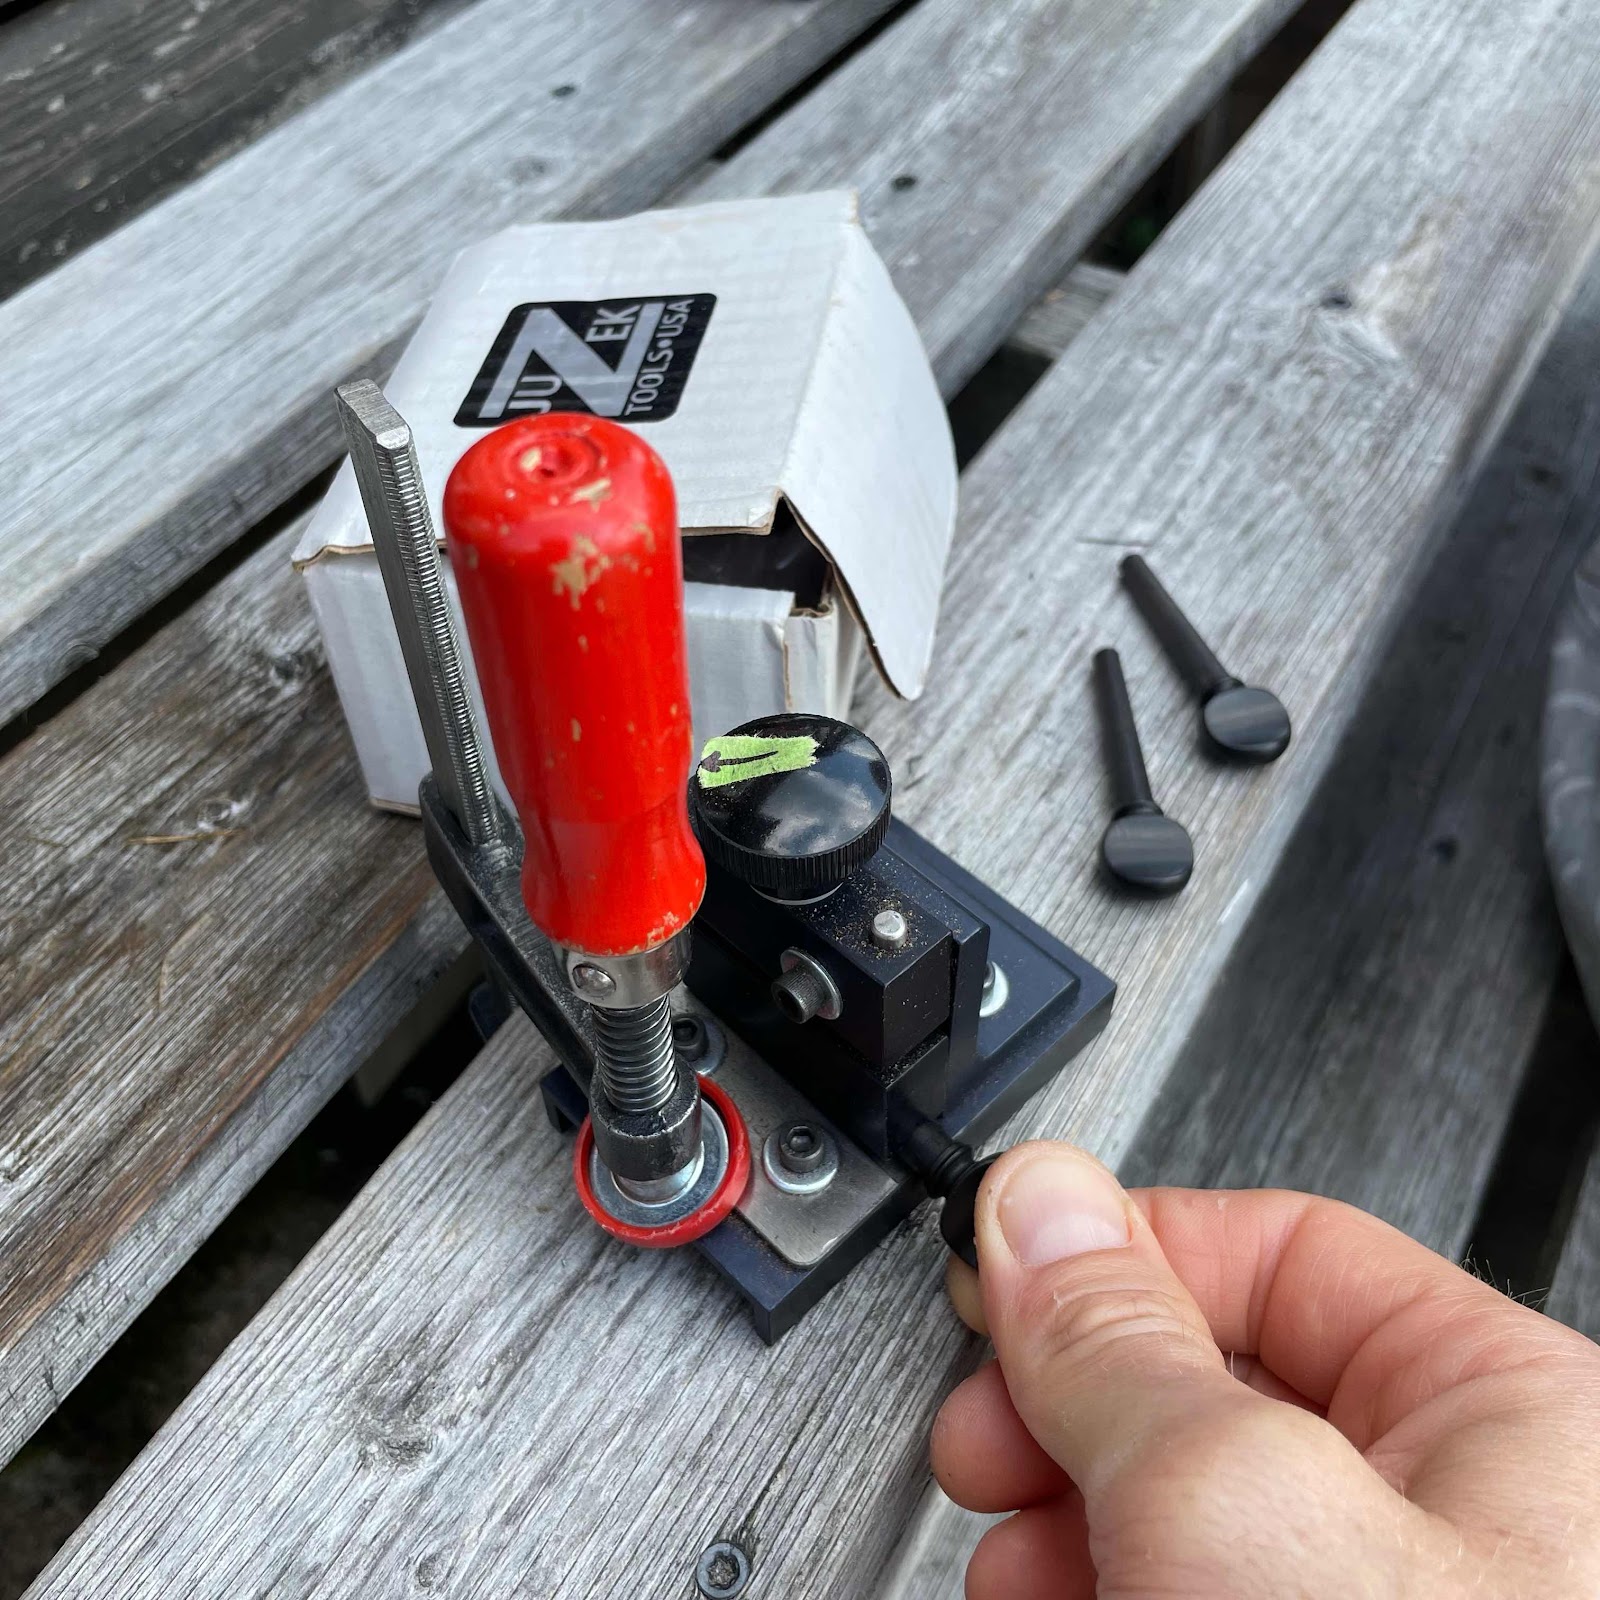
Then I shaped the pegs in the Juzek peg shaper. 


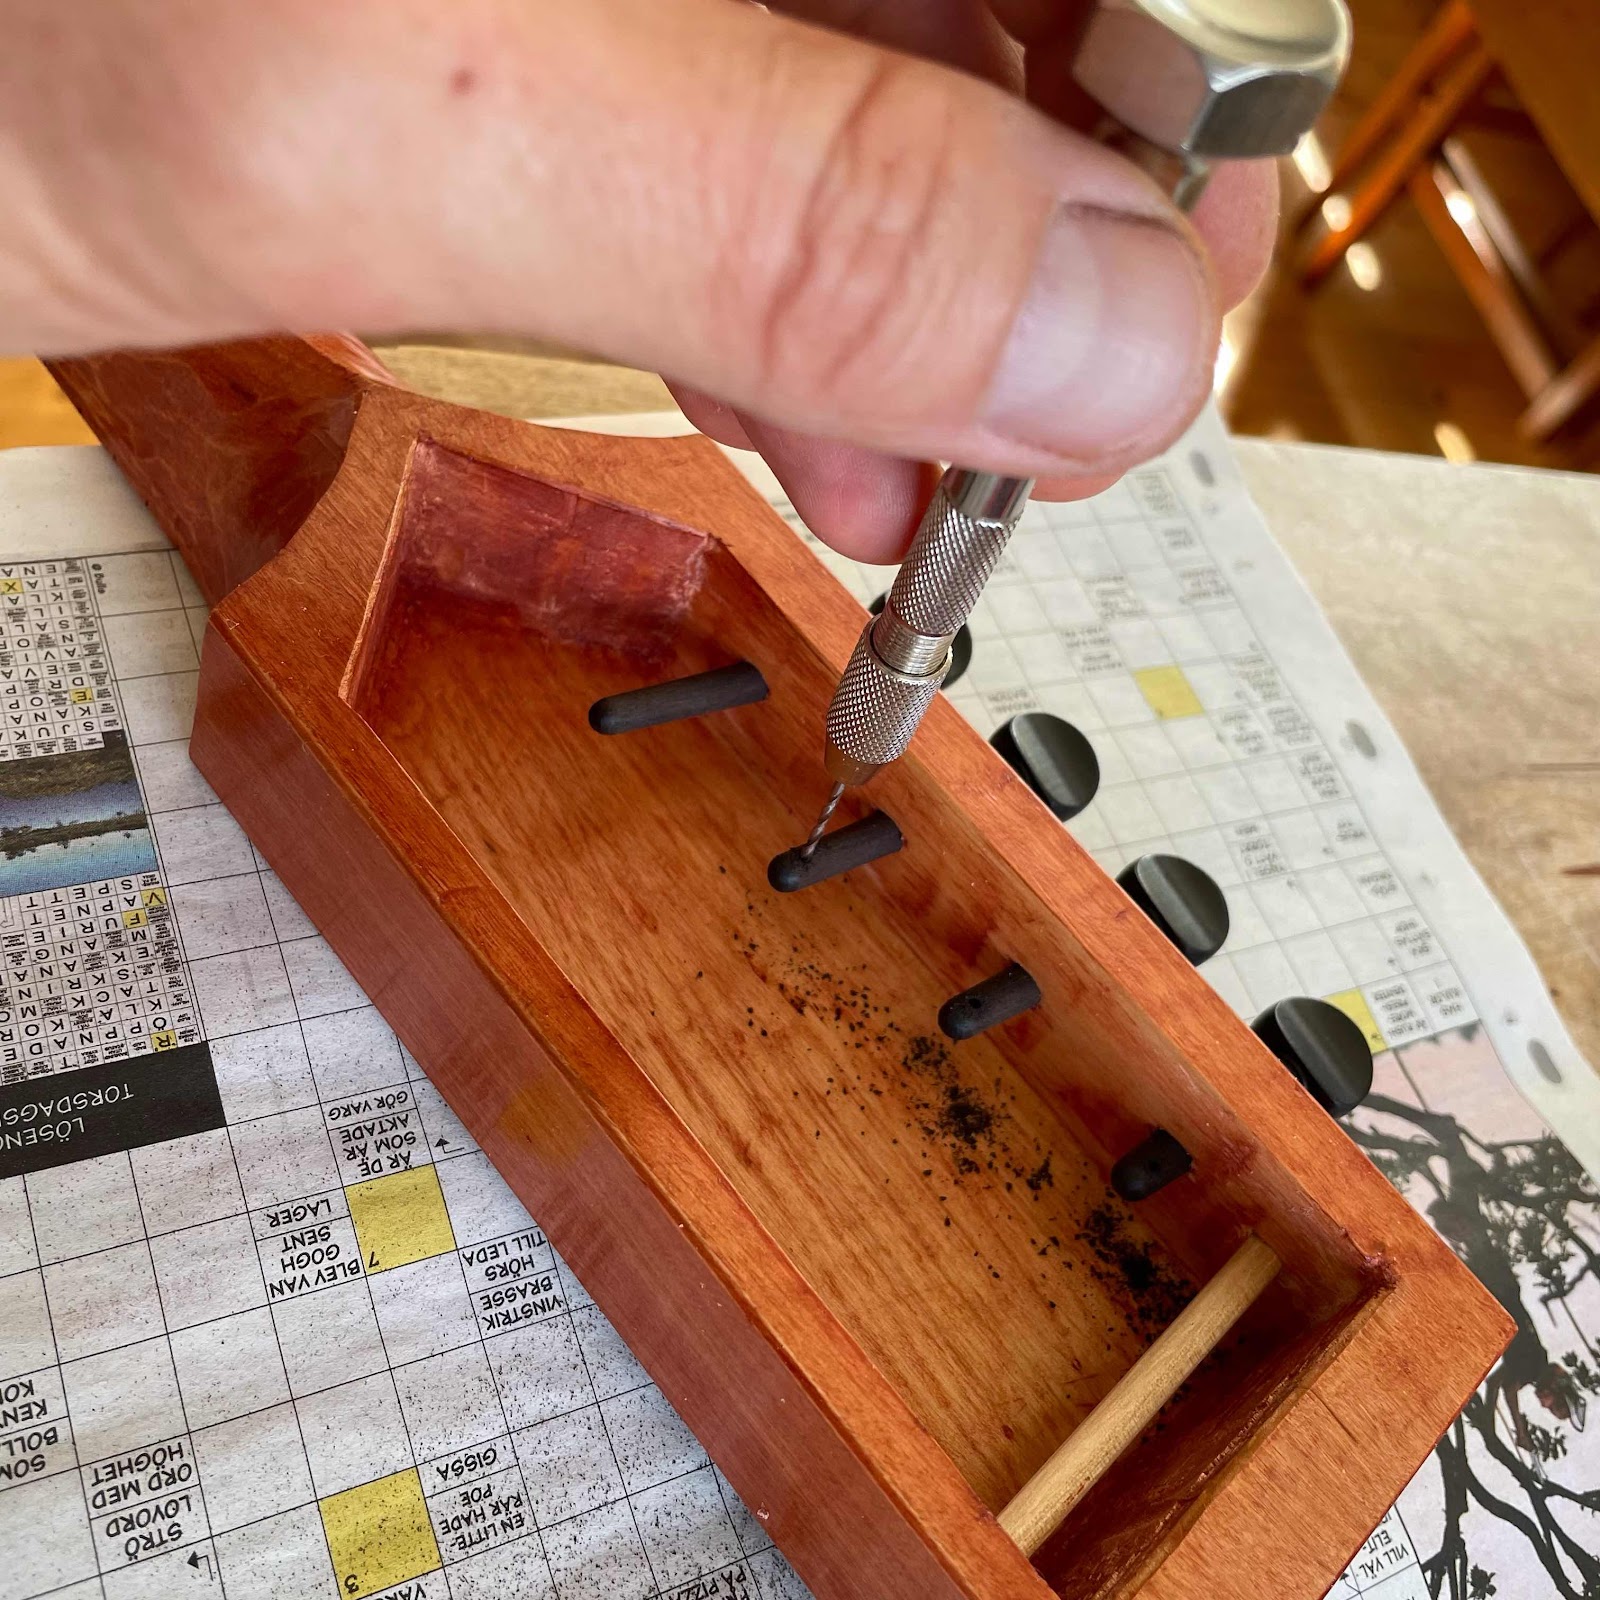
The pegs are in place, cut to length and get holes for the strings. Note the wooden rod at the back, I forgot to bring the carbon tube so I made a rod of birch. I thought it would be strong enough. 


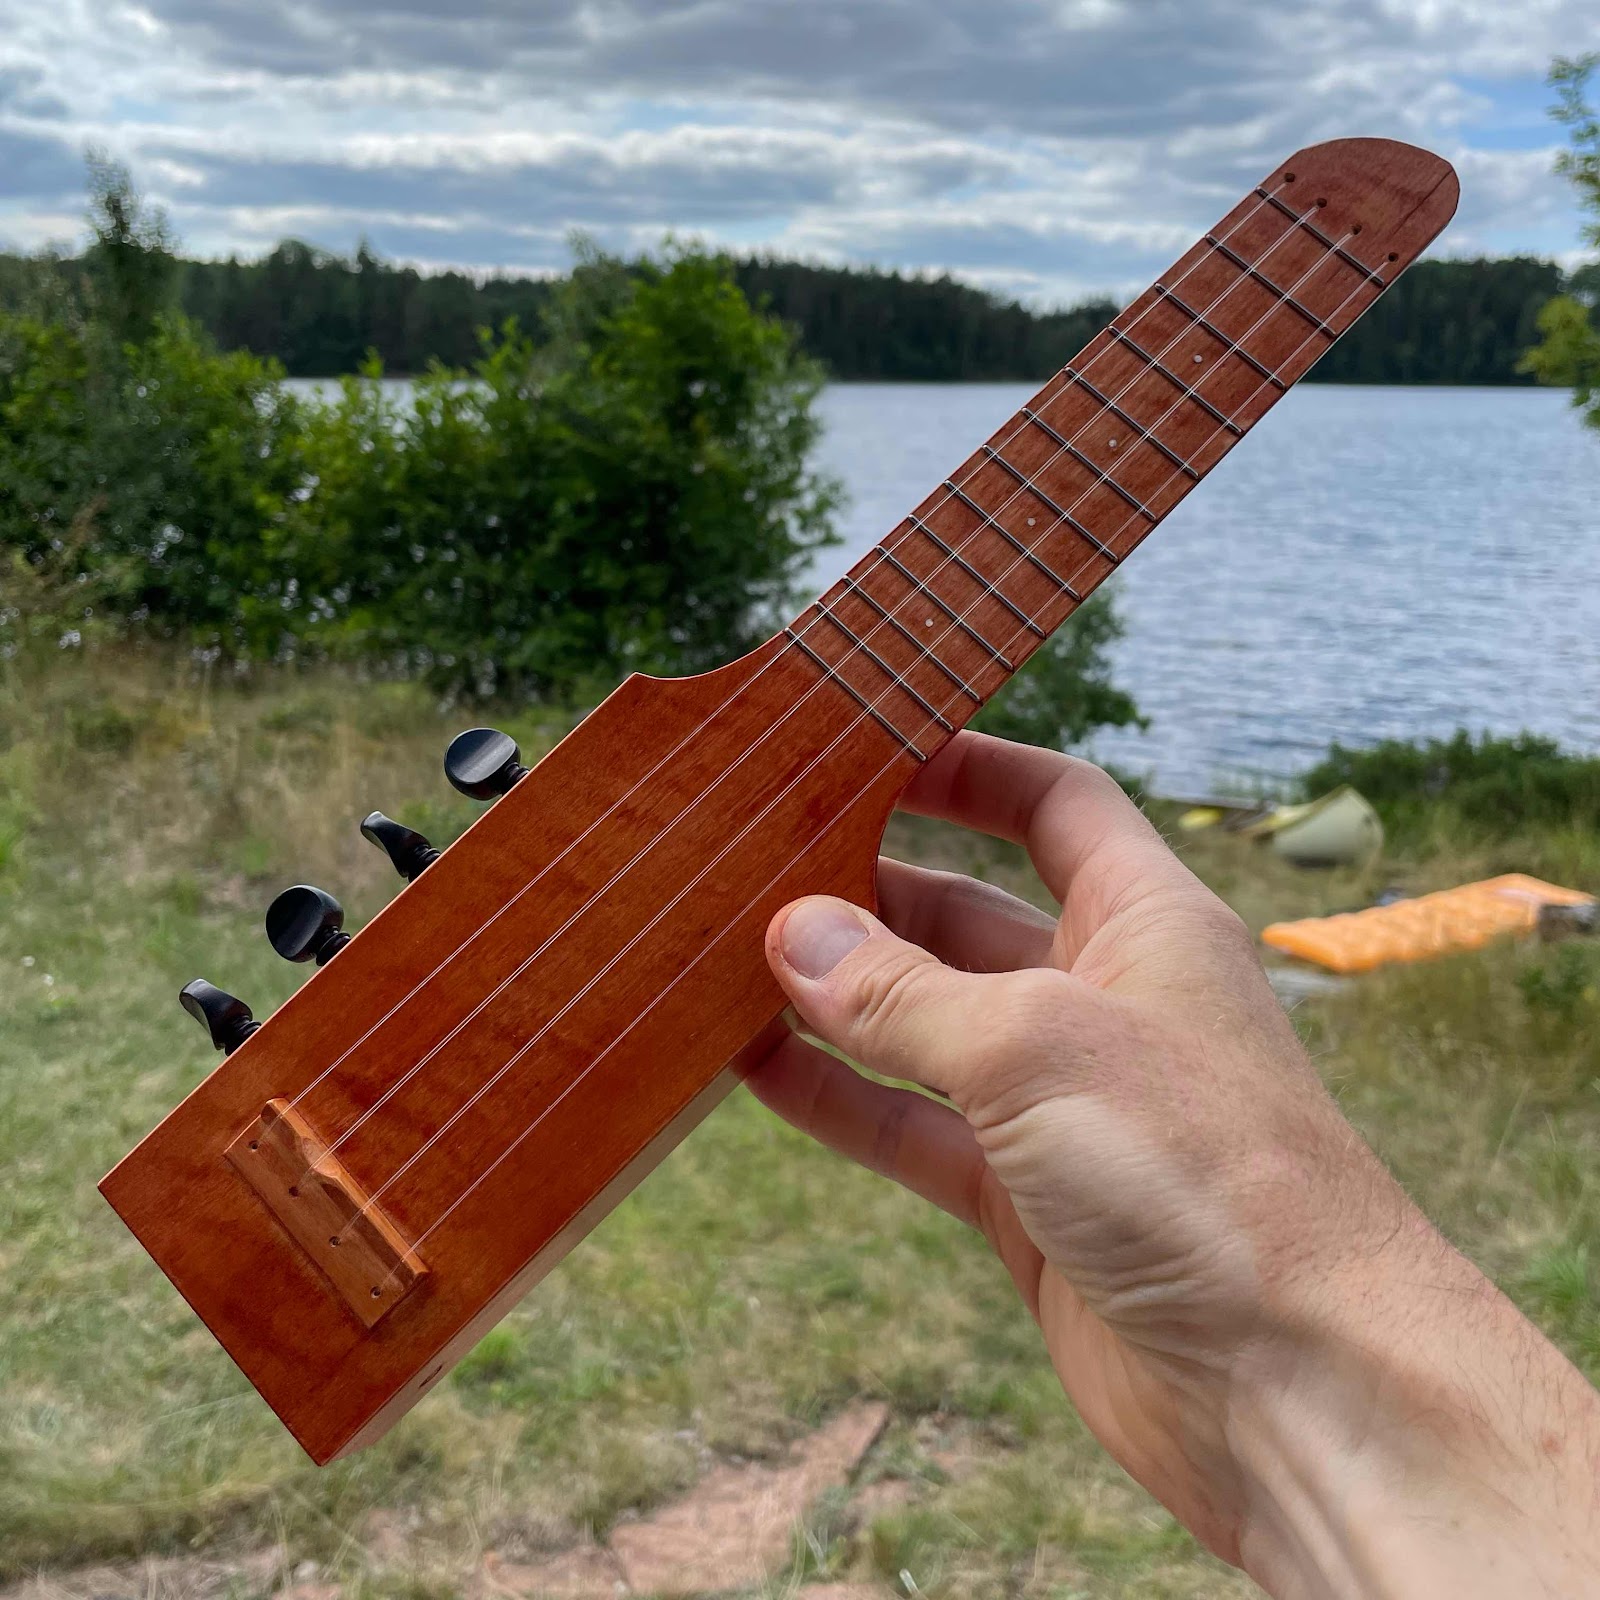
And here it is, after some more shellac. It turned out a bit rustic because of the limited selection of tools, but it is done. 


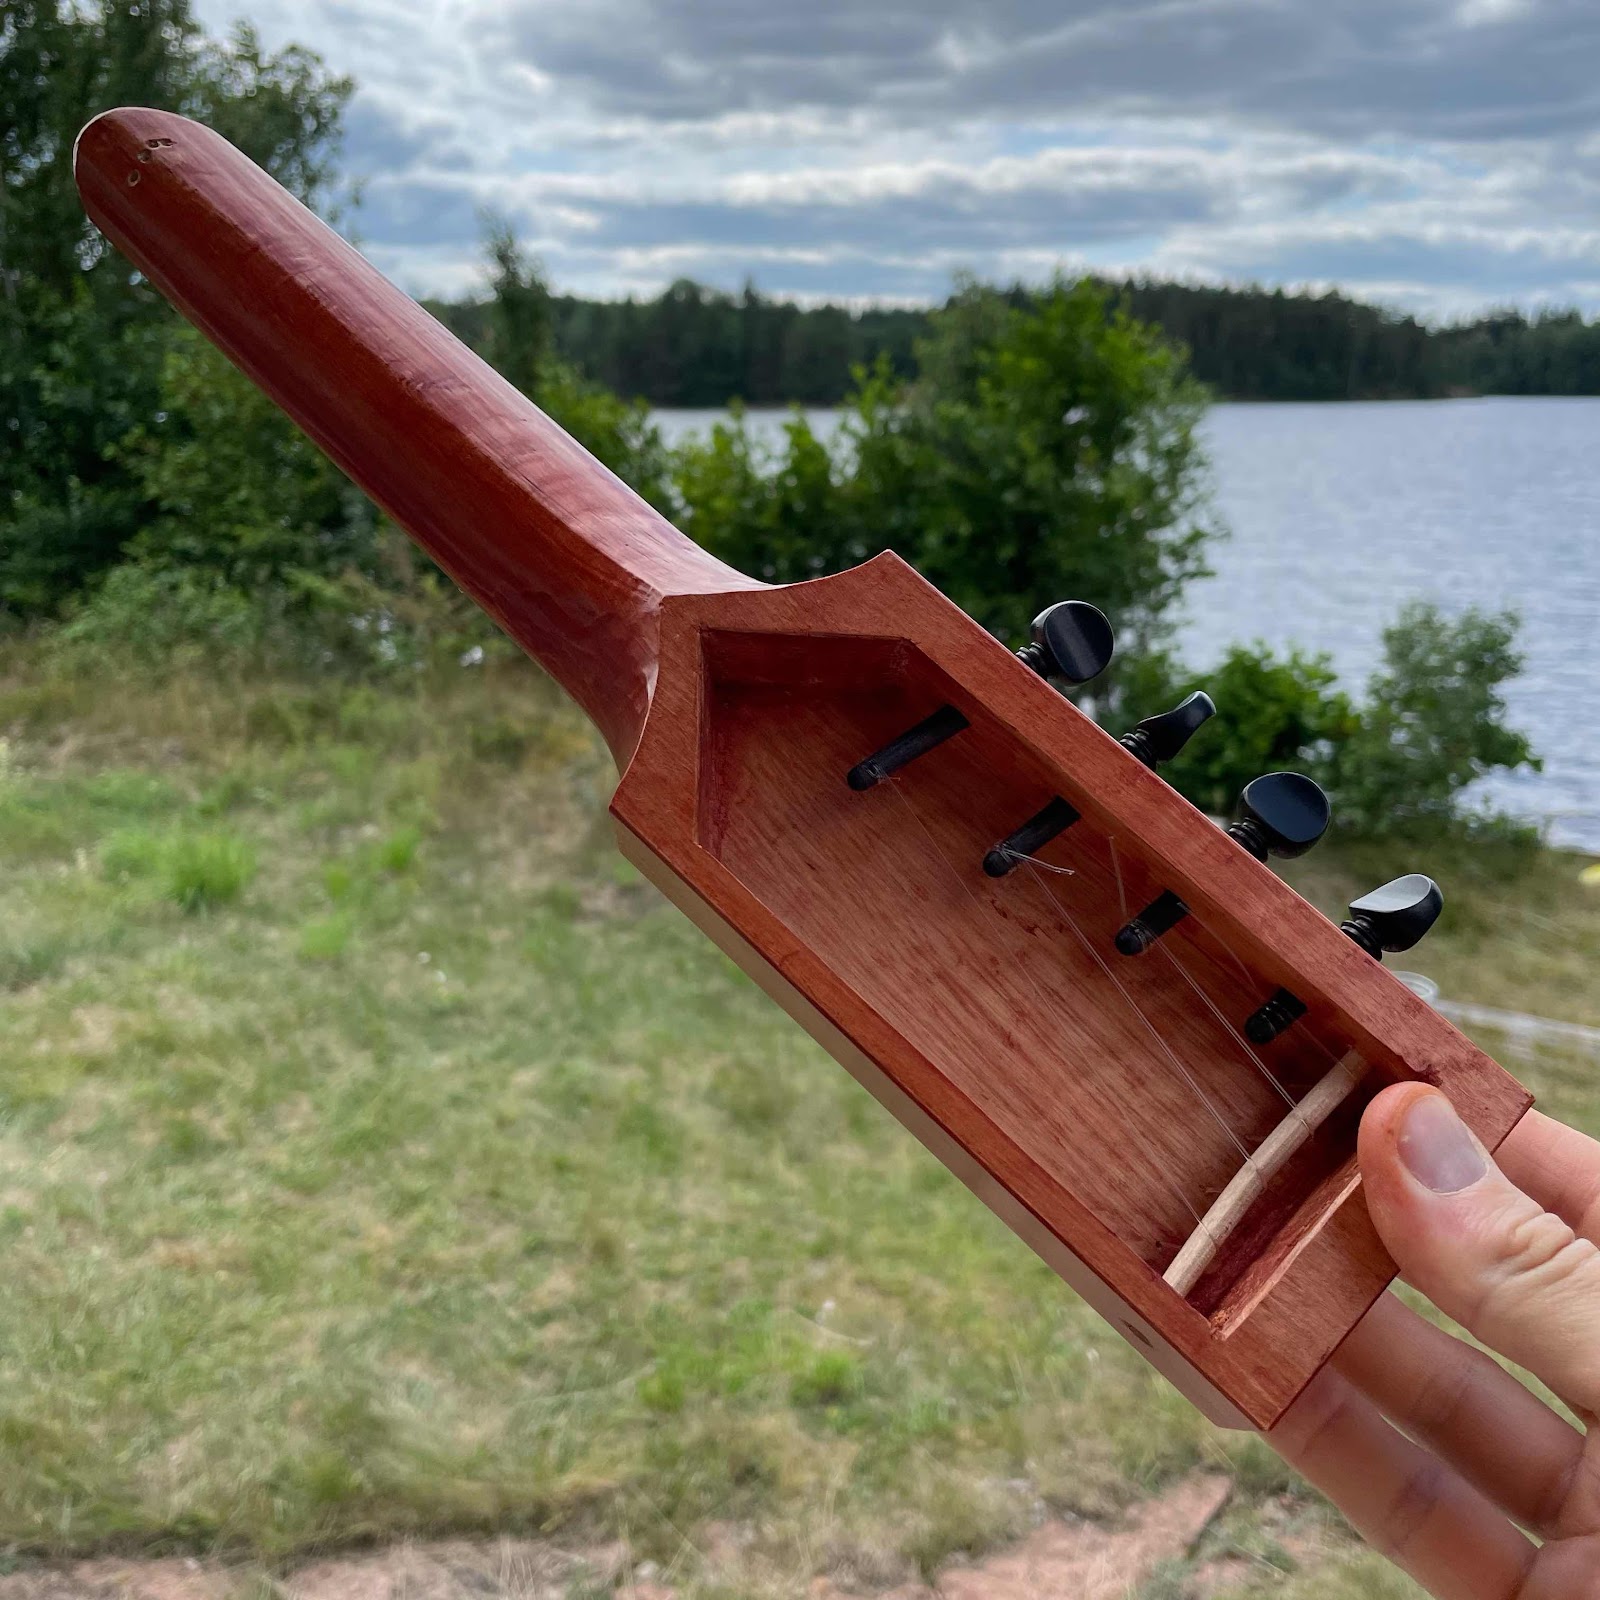
But the birch rod was a disgrace, look at it bending. I will change it to carbon as soon as I get back home. 


Wednesday, May 26, 2021

Good news / bad news

Well. Not a glimpse from me in over a month, what happened I suppose you ask. The truth is I’ve packed the greater part of my workshop in boxes and shipped them to the cottage. Most likely we’re moving to a smaller apartment to raise some much needed cash for the construction of a wee house. In time there’ll be a workshop there but in the meantime prögress will be slow here. 

But amidst the boxes and the chores of packning... I did build a bass guitar. Let’s look at some pics because I’m awfully pleased with the result. I was going to build the neck from scratch but before I could score som maple I found a decent 2nd hand neck so I used that one. 

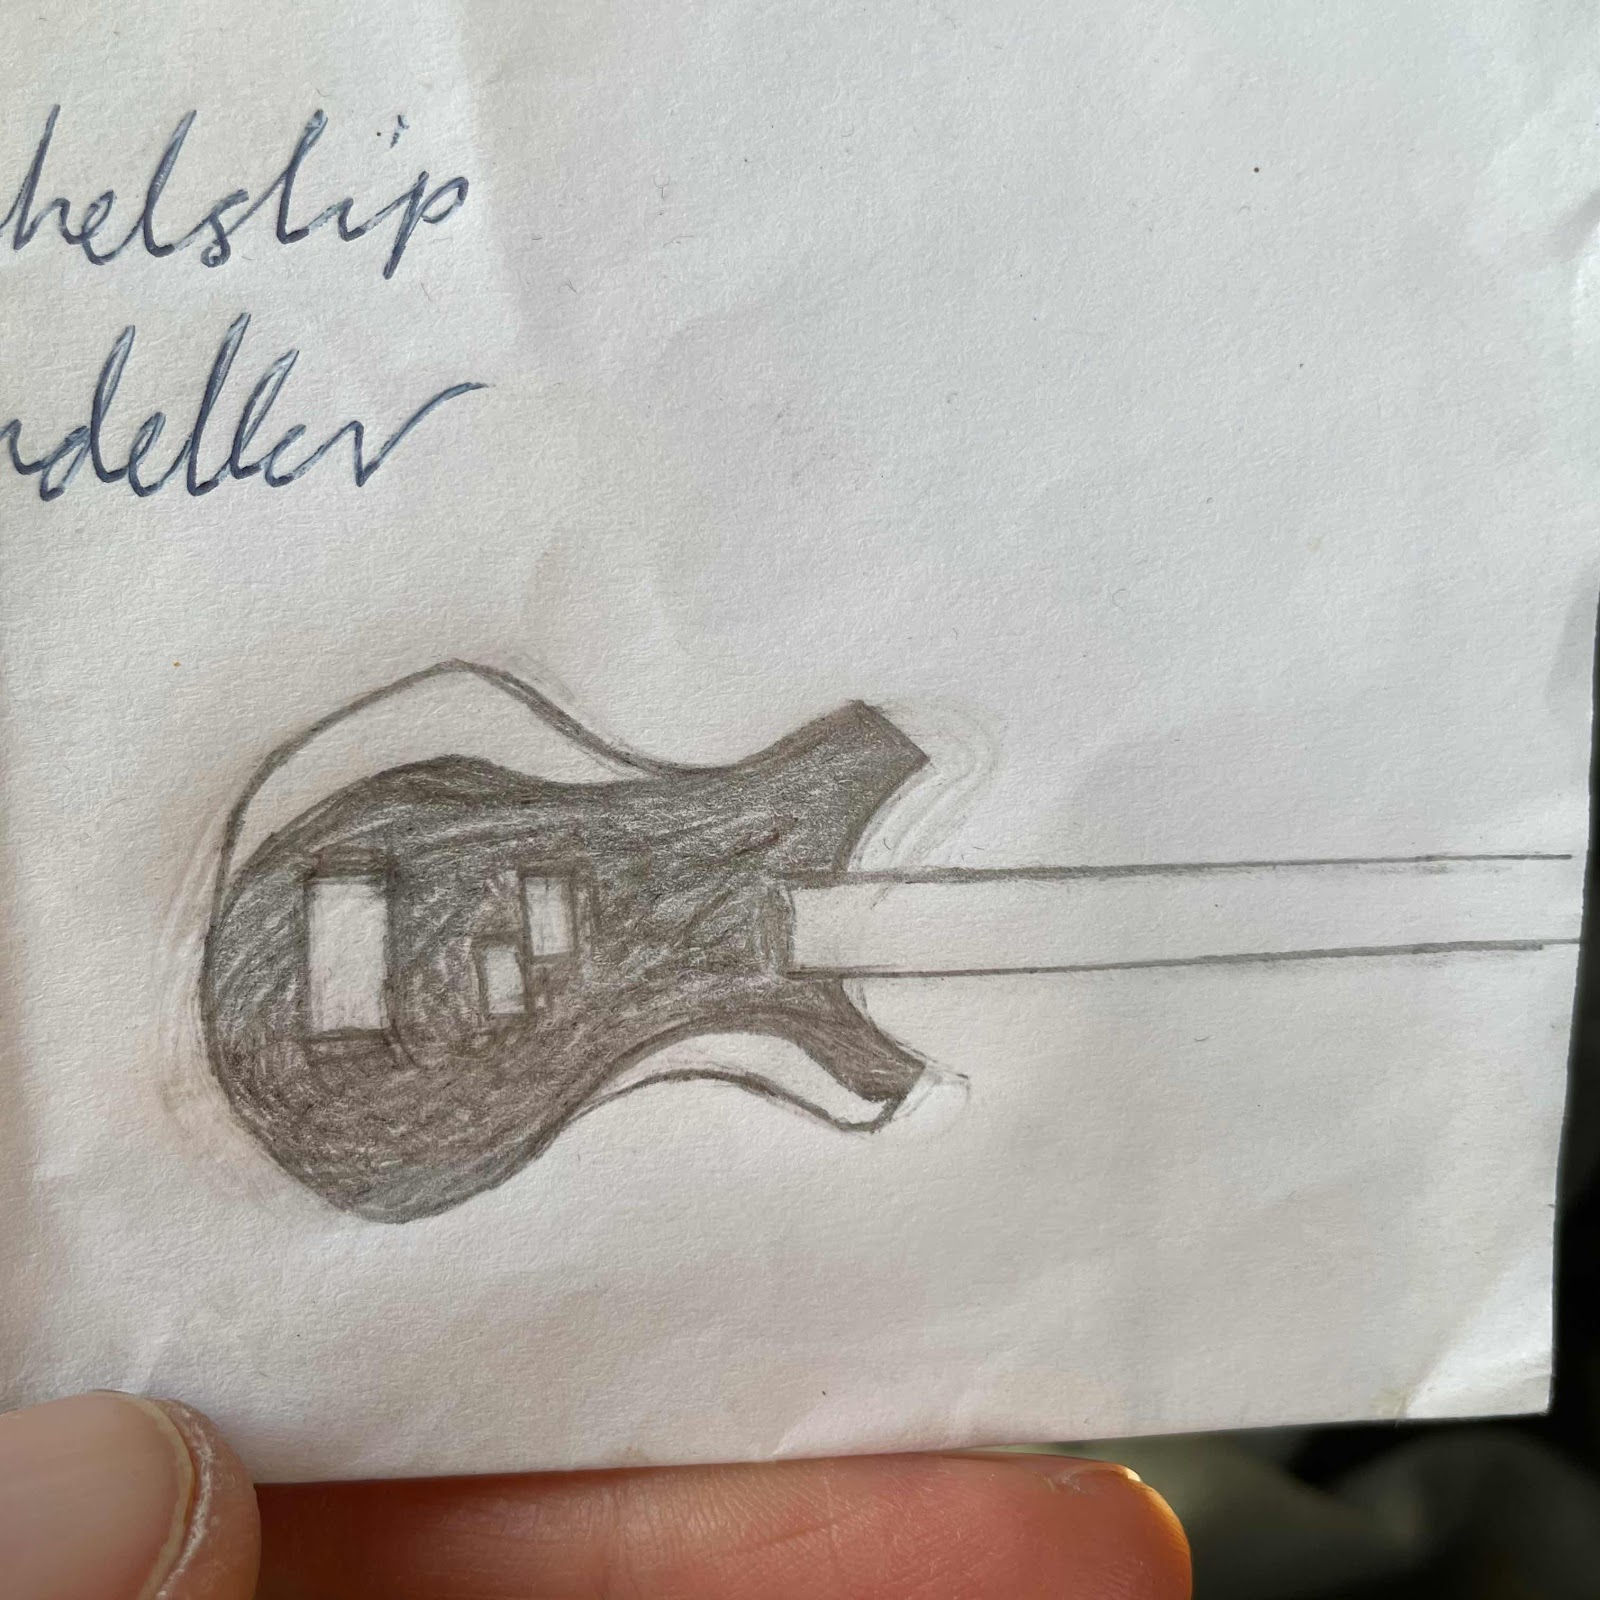
The sketch I made:


I had this really hairy piece of mahogany, severly damaged from the logging process but dry as bone. I figured I could extract the needed material, avoid the crushed part. 


And it worked, even though there wasn’t much extra material in the resulting blank. 


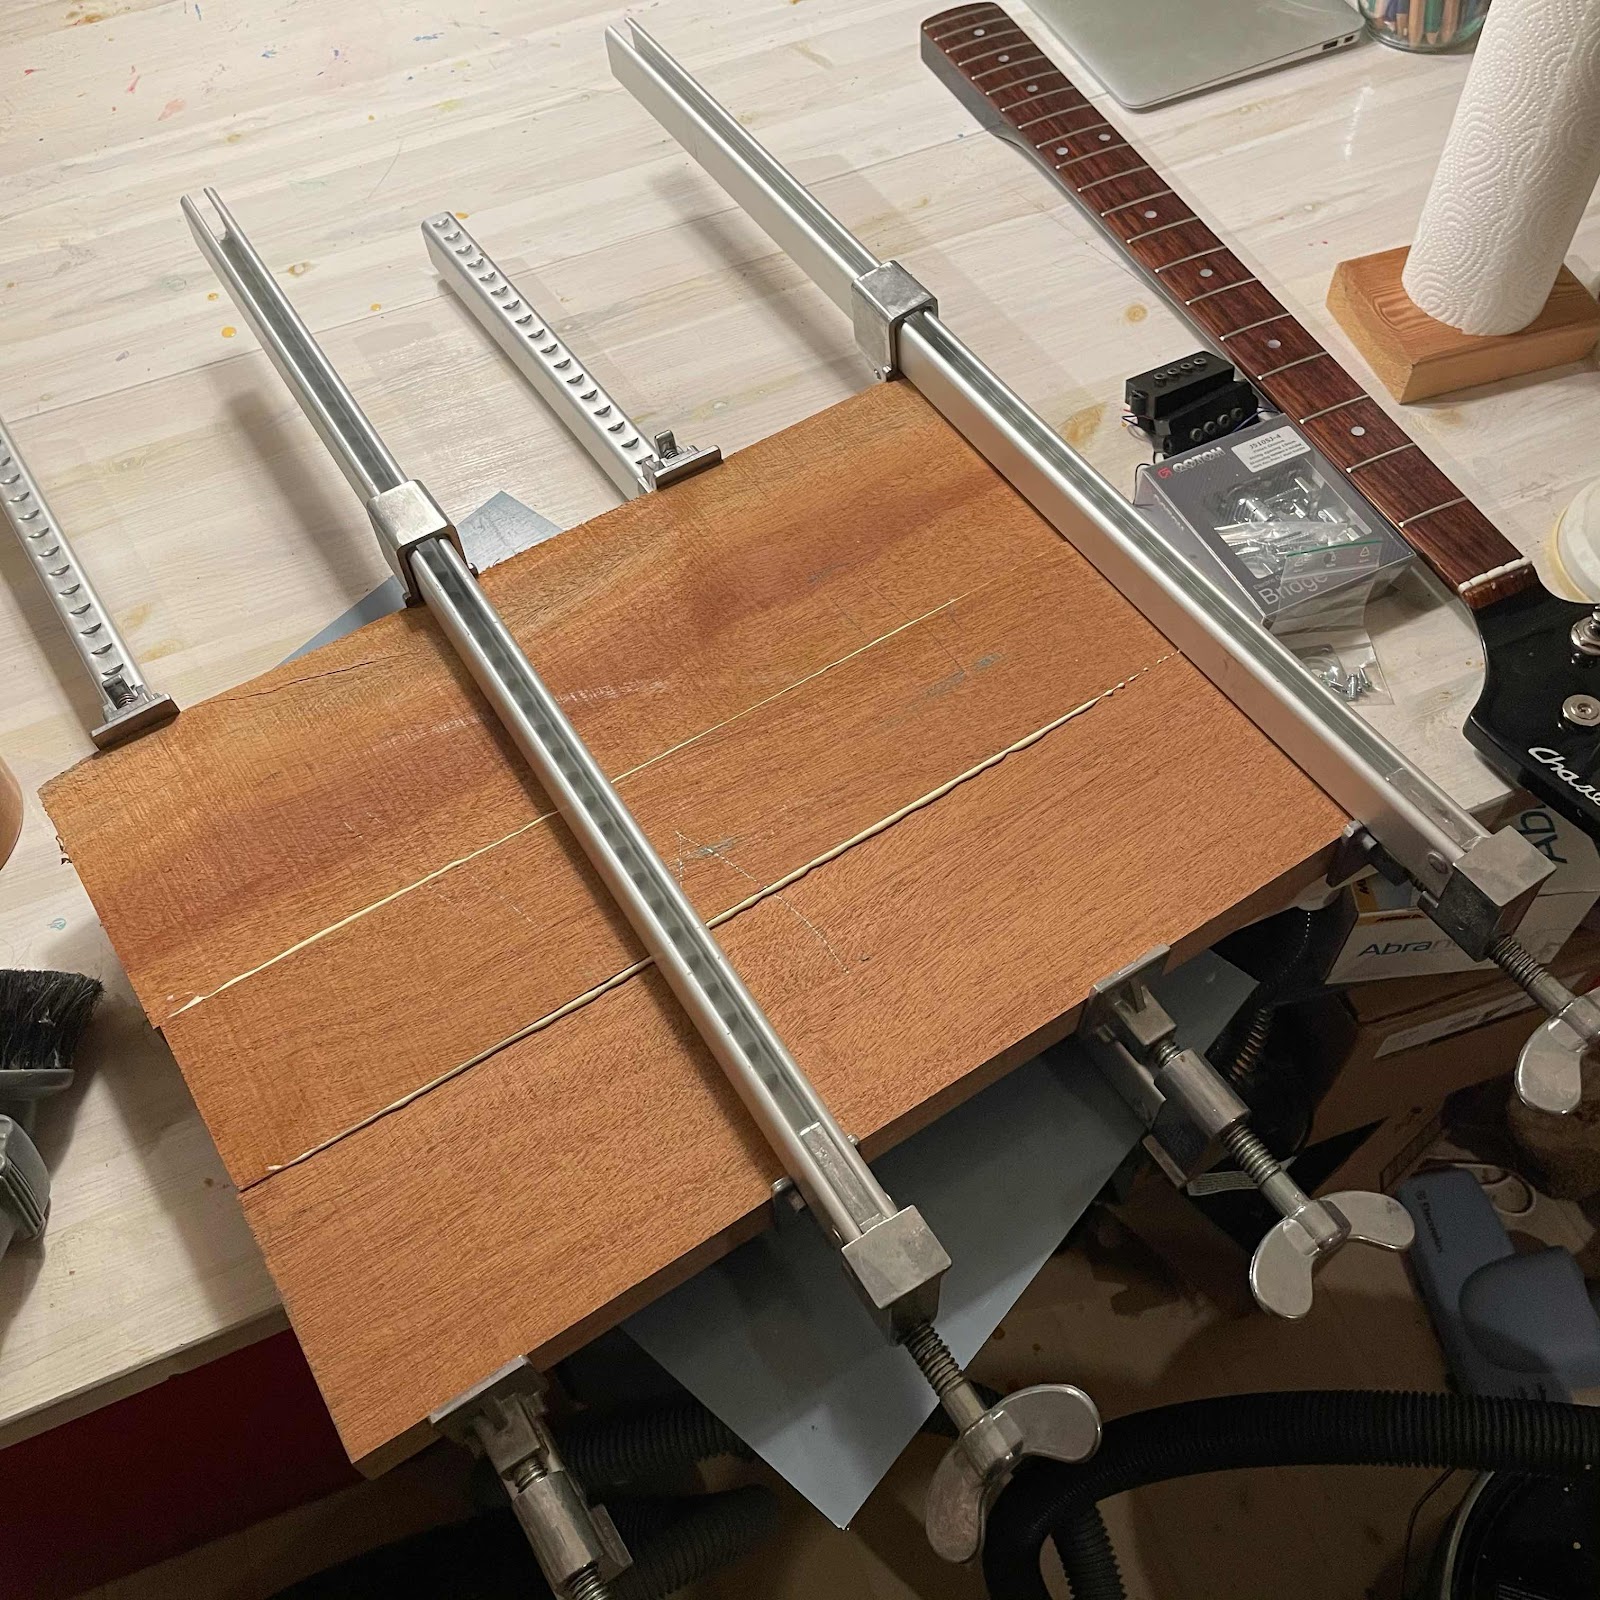
Glueing it up, I turned the pieces to get the grain direction balancing out possible movement. 


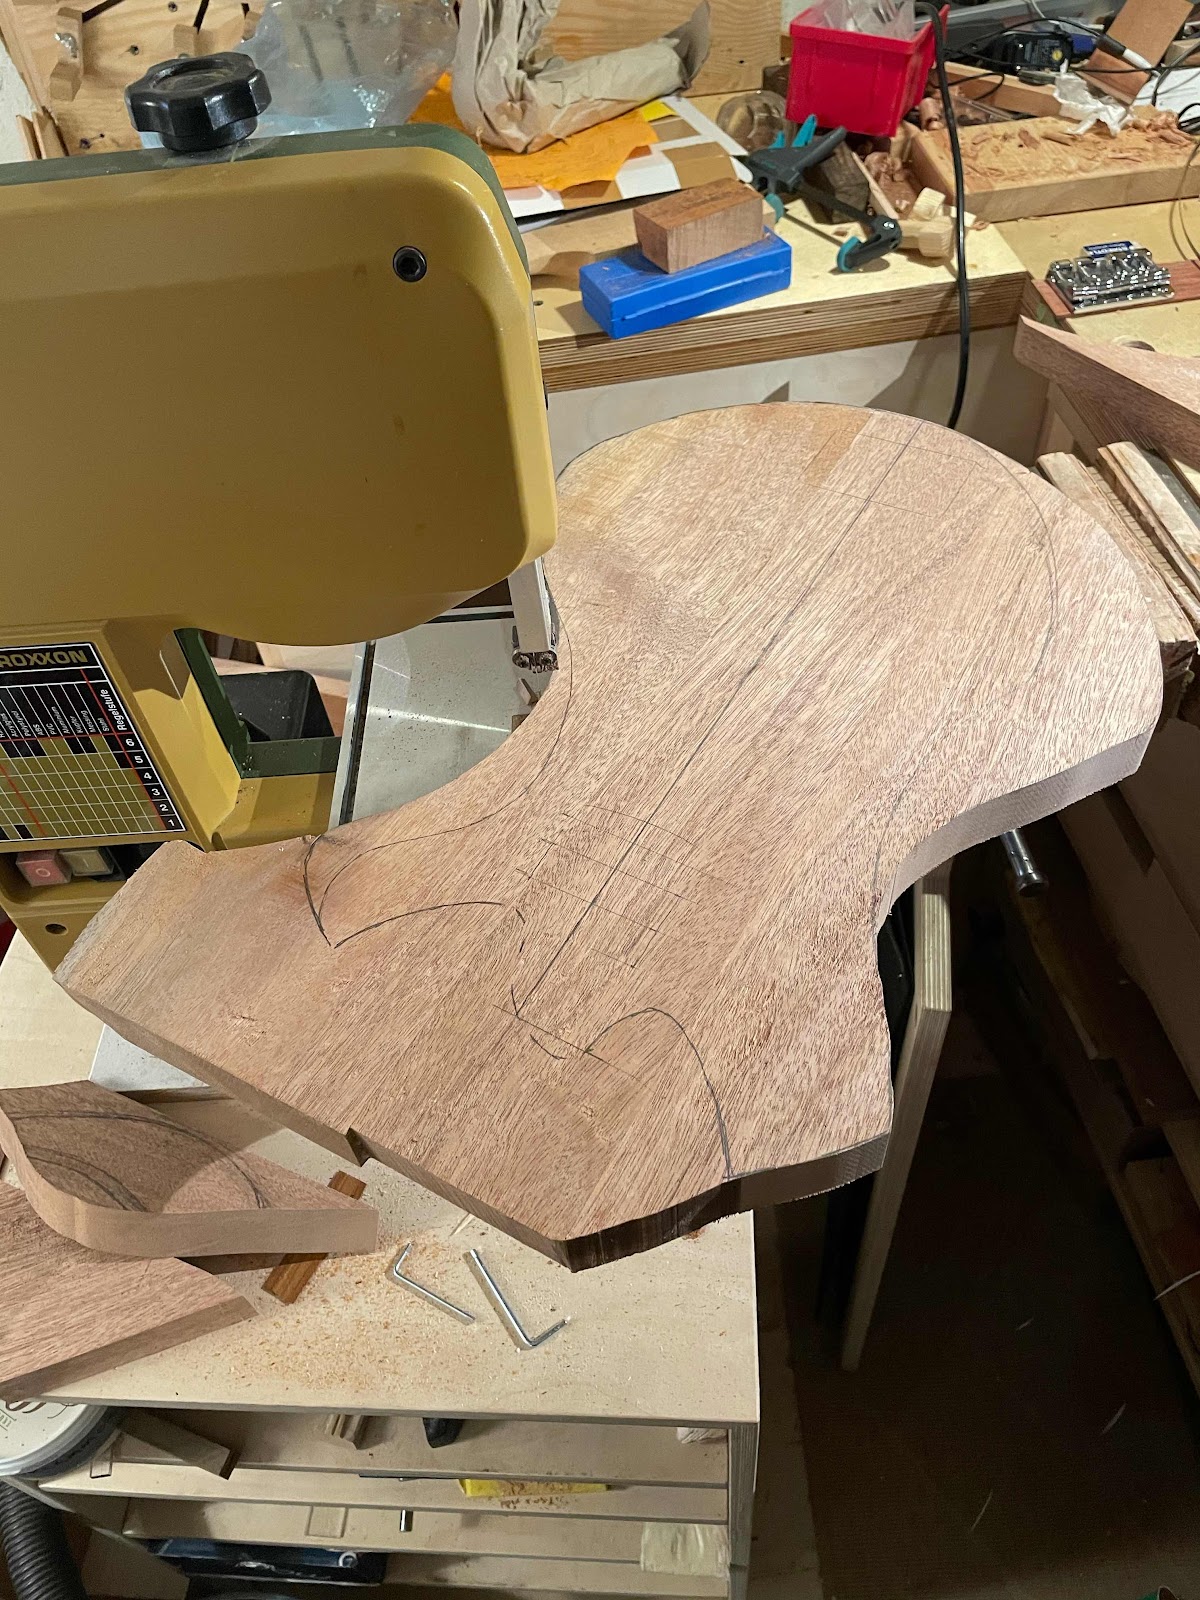
My wee Proxxon bandsaw did a sterling job, but not without complaints. 


Carving bevels, or an extended German carve. With the gouge sharpened to a ridiculous level it was quite easy. 


Fitting the pickup directly into the body. I allowed myself a millimeter or so around the edges, but it was a tight fit. After chiselling out the cavity I realized I swapped the position of the coils, compared to a P-bass. But Yamaha made some cool models in the 70’s with this layout so I’m with them. Apparently. 


The body turned out to bee too thin for a side mounted jack plate so I got a strat jack and mounted it inside out. 

And you are correct, there are no pots. So no volume, no tone control. 


Then I managed to mix red and brown stain to get almost the colour I wanted. I’m very pleased, as I already blurted. What’s more, I had a set of strings lying around so I used them. They were flat wound! What a peculiar feeling, but I actually like them a lot. 


AISLE B, BACH... as they say in the record store. 

Tuesday, April 13, 2021

Piccolo done, Argapa #126

Howdy fans! Both of you. It’s been a couple of weeks since that initial burst of activity and during that time I have applied the shellac finish. First by slathering on several coats, then after levelling with steel wool and a wee scraper I started the polishing. First pic is from after wooling (nice wurd).


Halfway through the polishing process it starts to look quite good. I used walnut oil as the lubricant for the muneca, the theory being that it dries together with the shellac. Can’t prove it but it feels good. 


I dillute the shellac more for the later coats, getting a better shine as I get closer to the last buffing. 


Satisfied with the gloss I started preparing the pegs by refining the taper with my peg shaver / shaper. Super expensive piece of kit but a joy to use...


... on straight grained pegs. One in ten just gets stuck and sort of disintegrates after a couple of turns. Good thing my supplier botched my order and took in 40 sets instead of 40 pegs, and begged me to buy them all at a hefty discount, so I have some to spare. 


My wee reamer is a bit mutilated because reasons, but it’s light enough work not to demand a full length T-handle. 


I trim the pegs to the same height with my... peg height jig. The [late addition of a] piece of leather saves my thumb. 


The sawn off pegs gets another shave, this time in a dirt cheap crap sharpener. 


I just chamfer the edge in the sharpener, then I use a file to round the ends over. 


I drill string holes and countersink them with a tiny round wotsit, die grinder? Burr?


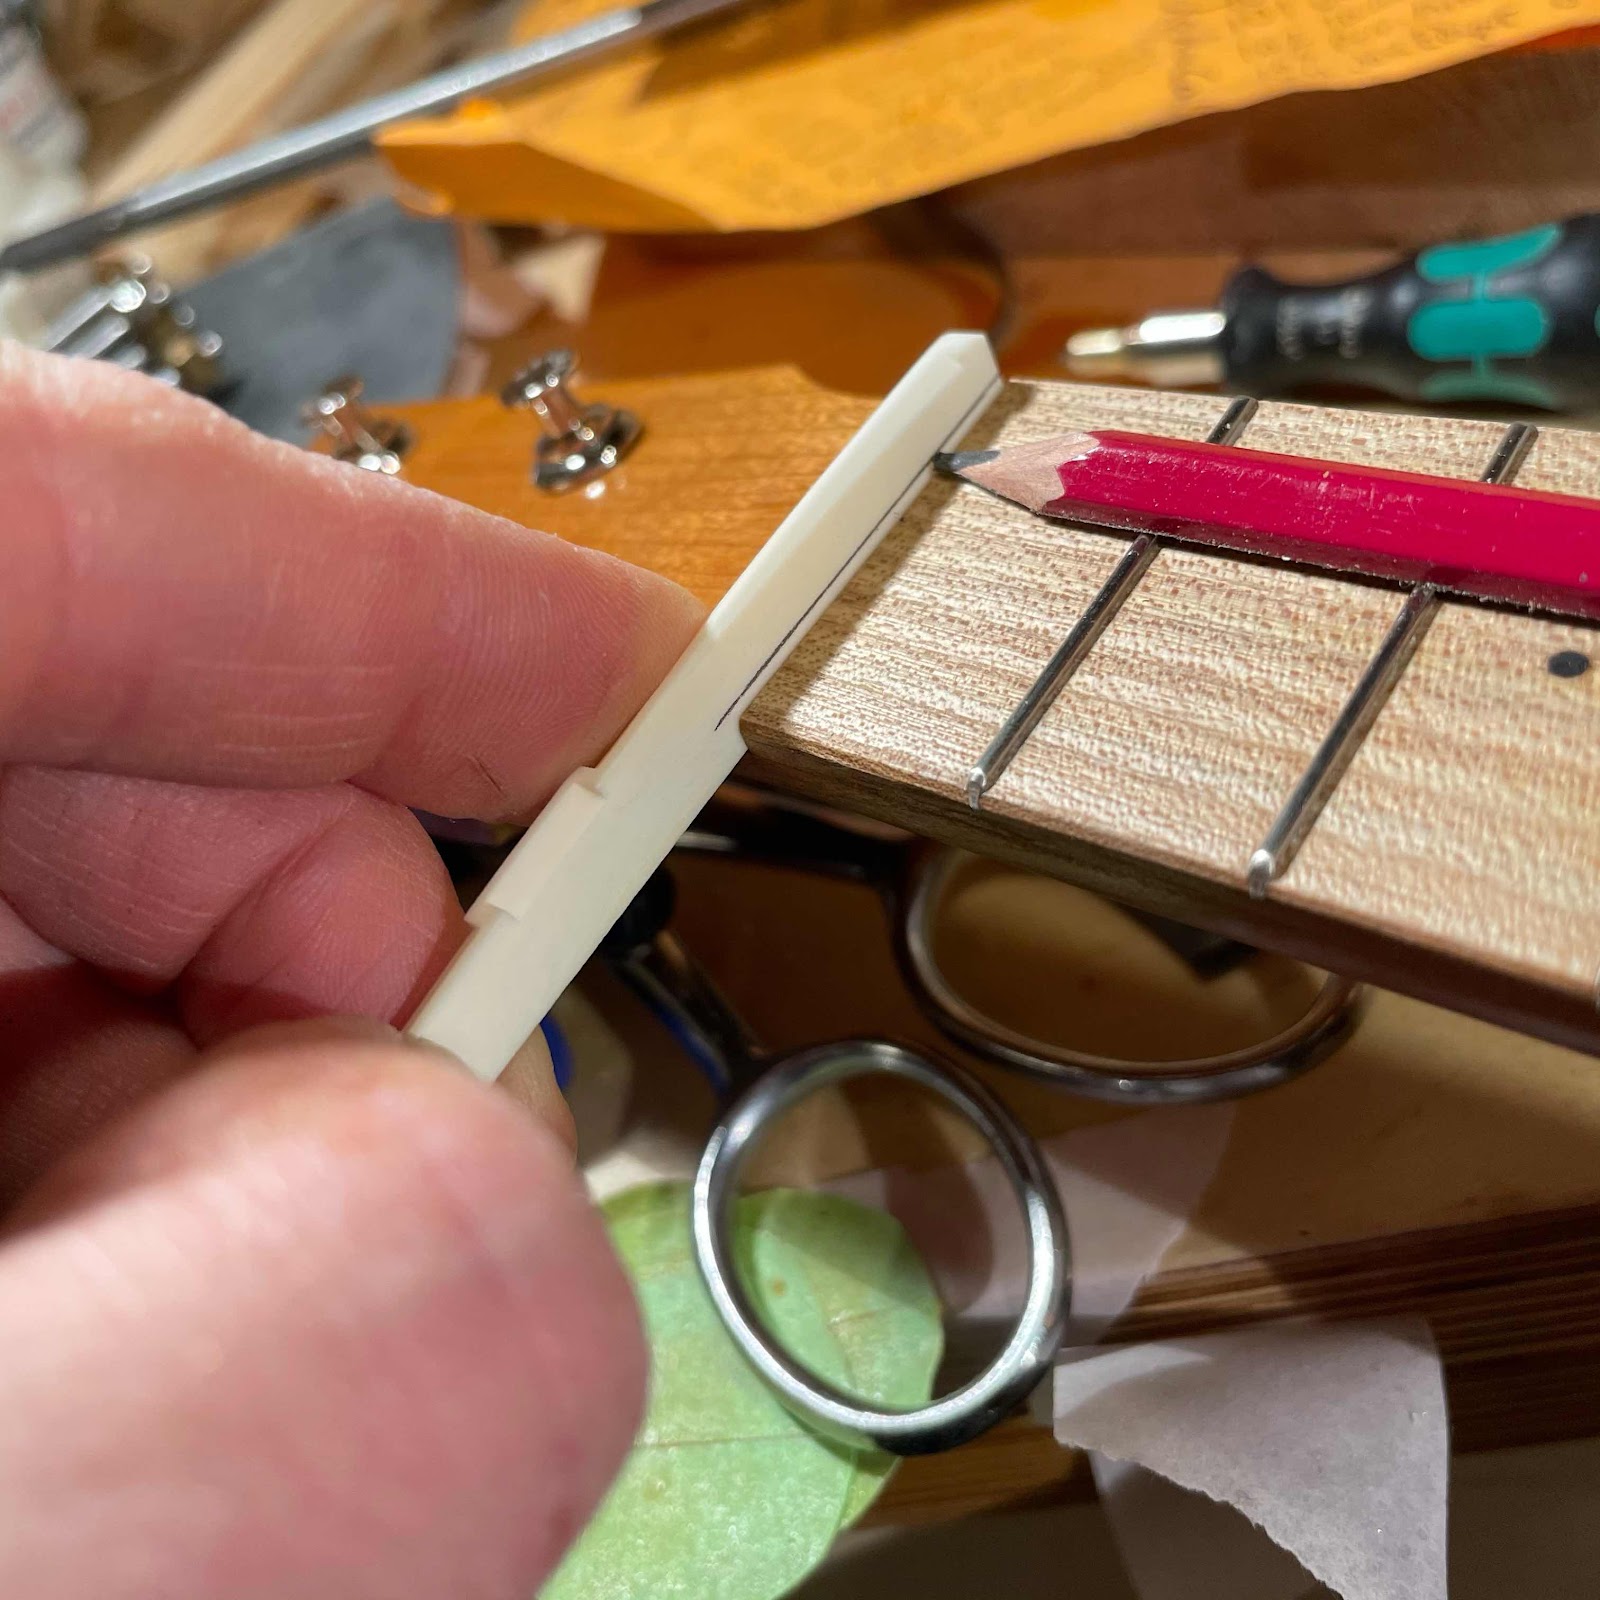
I was so pleased with the pegs I started stringing up before I remembered the nut, so with one string hanging from the bridge I quickly made a bone nut. In the pic you see the half pencil that, in theory, gives you the depth of the nut slots. 


And ta-daa, here it is. Strung up with the new brand of strings that I got. It turned out great, more symmetrical than other piccolos I’ve made and it sounds lovely. And one size louder of cöurse, so it equals a soprano from any other builder*. Only blemish is a mark in the waist from bending, but only Lemmy can make something perfect innit. 


*Please don’t tell any other builder I said that. 

Thursday, February 18, 2021

Video demo

Don’t know if it will show up here or not, but the link leads to a youtube vid of the two resos. 

Tuesday, February 9, 2021

Coverplates, nuts and strings

I feel it would be verging on cruelty to say we’re getting close to the finish line or something to that effect. Let’s just see where we end up at the bottom of this post. 

I have a template for marking the locations for the screw holes. This template is one of my finest achievements, I vividly remember the wonderful day when both halves of my brain lined up and fired the idea behind it. 


With the cone in the well and a 3 mm drill bit at the 12th fret I dial in the height of the saddle. The biscuit is fastened to the cone with a screw from underneath. 

The last batch of cones, coverplates, biscuits and saddles came from this great shop in England. I noticed today that they had included all screws, and those for the coverplate were much neater than the ones I used before. Yay! The shop was Drummond & Hammett (Kirk, obvs).


With the height sort of correct I mark for the string notches with my four point divider, made by Ken Timms. Ken is a master craftsman. 


Screwing down the coverplate I managed to capture an eerie presence on camera! I’ll give any ghost hunter a run for their money. 


For the nut I use bone. I ordered a bunch of guitar saddle blanks on ebay, but also got a bunch of ready made saddles in the package. Never mind, I use a quarter of each. In the pic the legendary half pencil gives me the depth of the nut slots, as it rides atop the frets. 


Bye bye, three quarters of a free bone saddle. You can see I saw to a line above what the half pencil gave me. 


Et voilà..! A nut. I angle the slots to give the impression I know what I’m doing. 


Then I brought the ukes, the fishing line, the glass beads and a rusty nail cutter upstairs because it is chilly [and cluttered] in the workshop. 

Are we getting close to the finish line yet?


Hell yes we are! A few tweaks in the nut slots and saddle notches and they should be good to go. 

I told the customers that I never expect payment before I string them up and see if they work. That will take me a day or two but I am optimistic. Even about that strange beast, the tenor reso. 


Wednesday, August 12, 2020

Videos of completed ukes


Progress on diverse projects

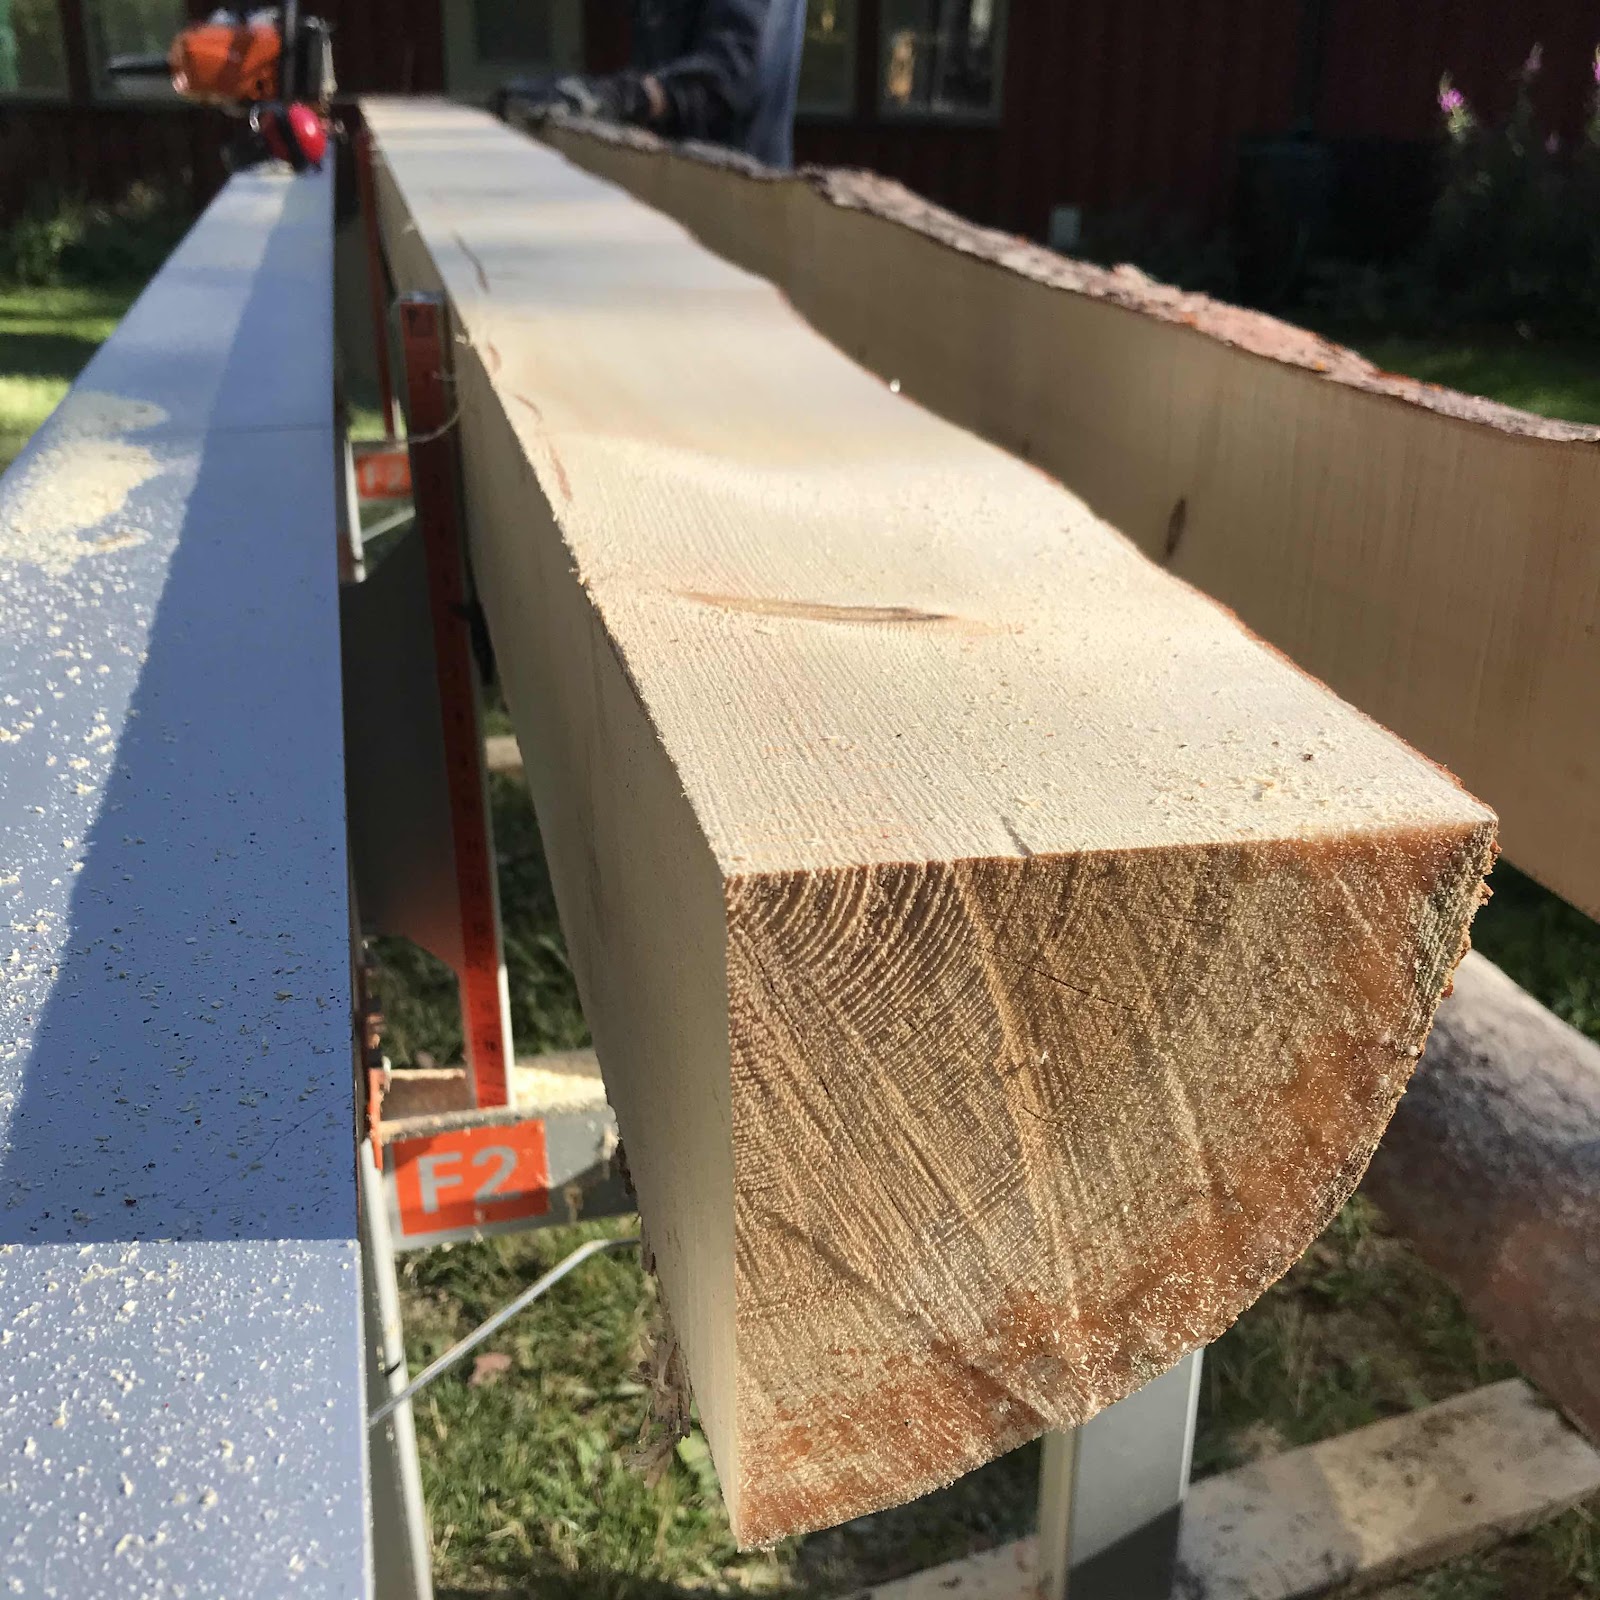
Sometimes I find the right tree in the wrong place. This fine fir tree was at the far side of the peninsula where my cottage lies, it went down in a storm and as we set out to sort some of the mess out I saw it was straight and with very fine grain count. 

But it was far to big to drag through the forest. So we towed it back with the boat. 


We (my brother and I) quartered it with the chainsaw mill. Look at that grain. Also, it reeks of turpentine from the pitch. 


Now it’s drying. See you in a few years. 

I can’t say I’ll use this for acoustic instruments, wood like this is better suited for windows and other parts. But who knows, a scrap piece or two might make it to a reso. 


And I finally shipped the three ukes I finished recently. The boxes look a bit tatty but that’s just the outer of two boxes with bubble wrap in between. 


So, onwards. I’ve been contacted by a pair of twin brothers in Scotland. They want resos, and one of them would like a tenor scale. I’m on the fence but might try - it would make direct comparisons more difficult. 

Both twins refer to the other as the evil one. I don’t know what to make of it, to play it safe I’ll have to please them both. 


Last pic is of the two skeletons. I still get a kick out of assembling these. 


Thursday, April 30, 2020

Yet another traveller finished

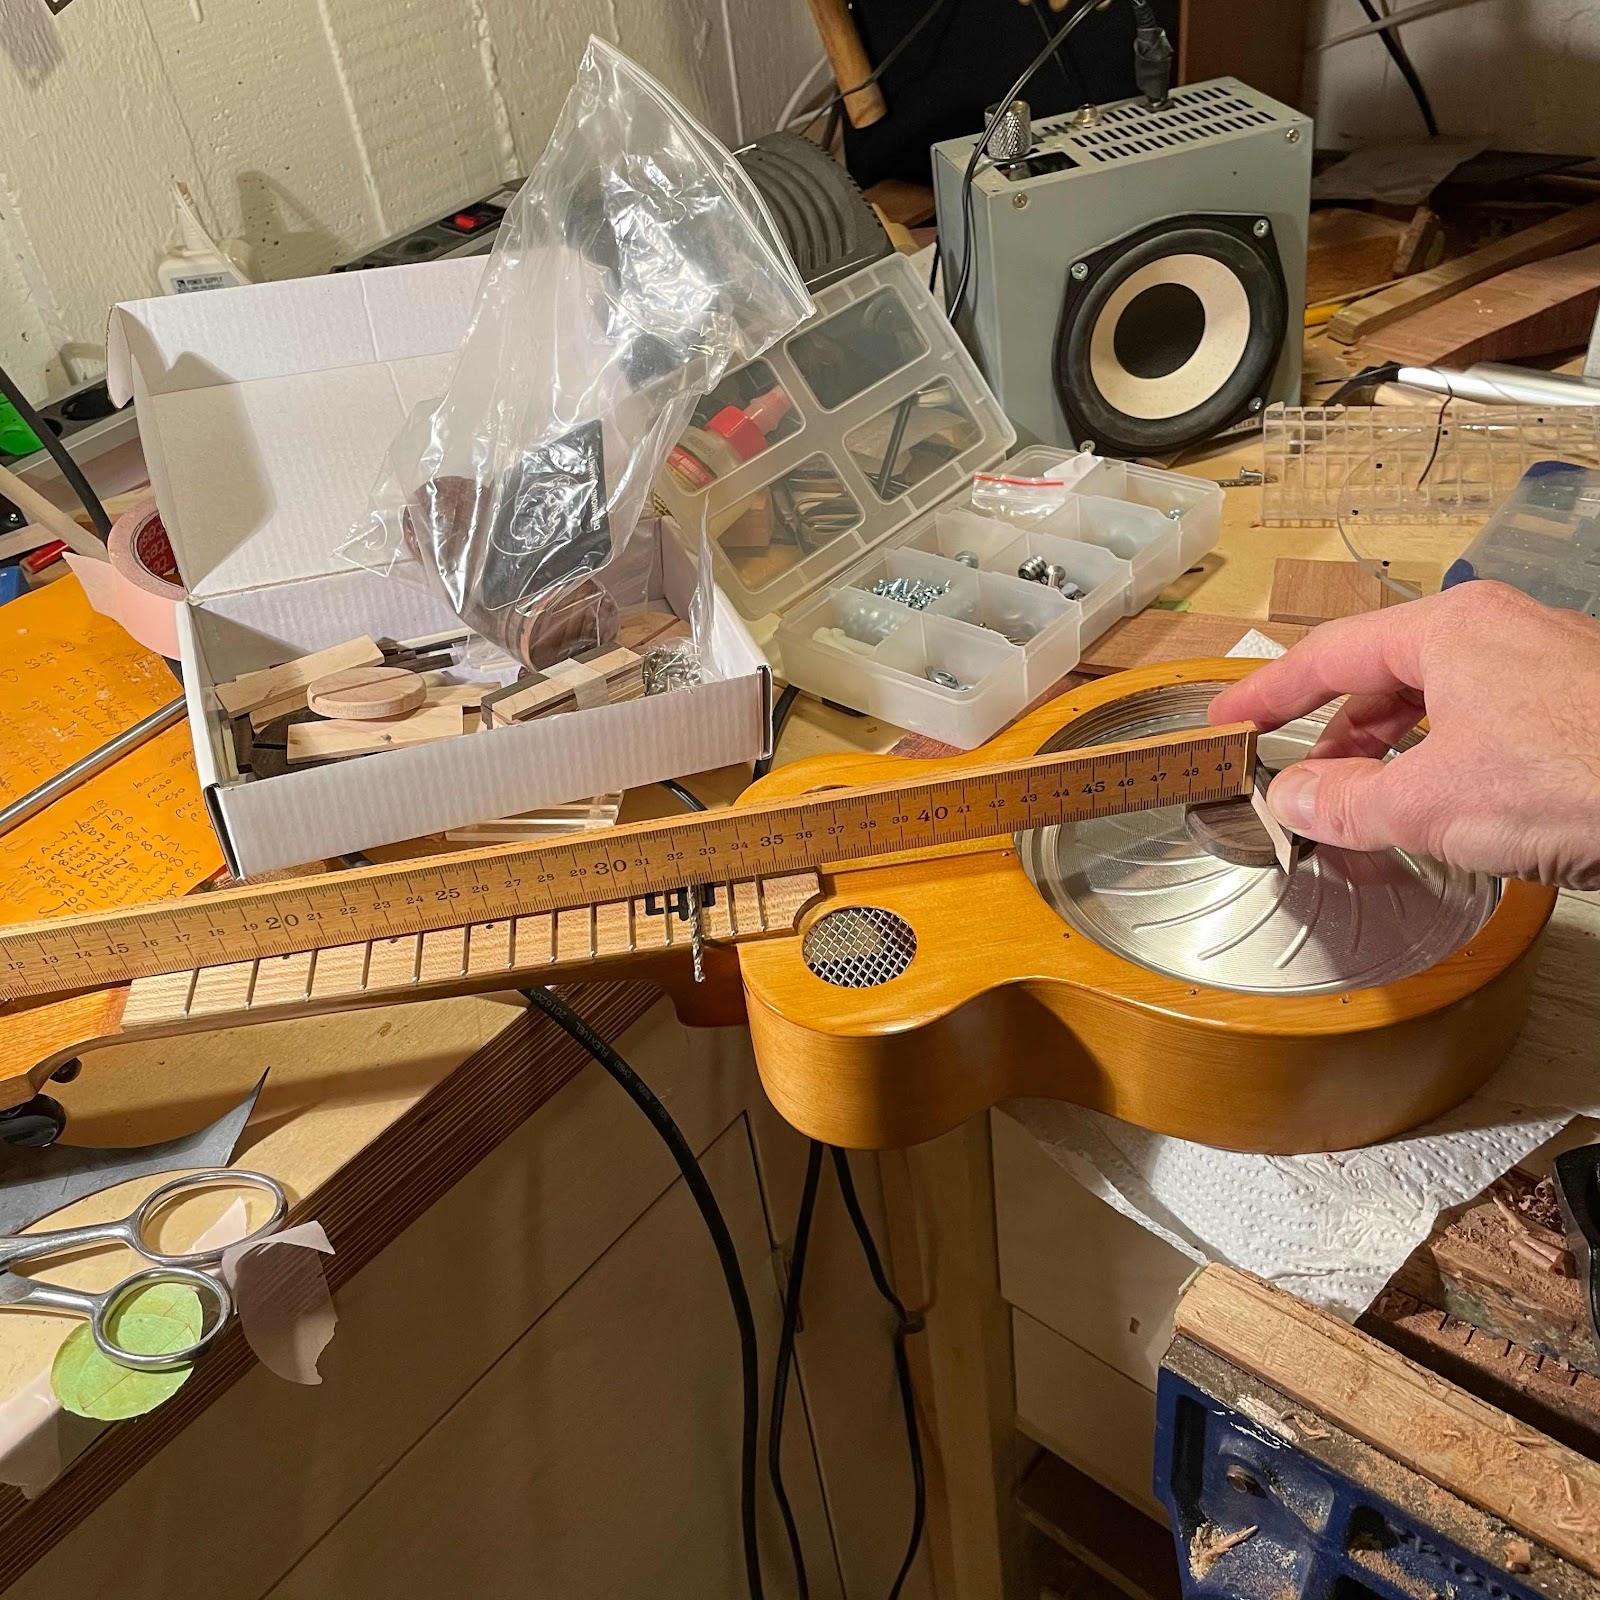
Another one is done! But I will backtrack just a bit to show you how I made the bridge. First pic is a wooden ruler resting on the zero fret and a 2.5 mm drill bit lying at the 12th. Then I measure the gap with a new Japanese wedge shaped ruler at the correct point. Tricky to hold in one hand in order to take the pic, but it shows around 6 mm. So fairly low. 


Then I cut a wee block from a slightly larger chunk of cherry. Rip saw, natch. 


These miniature planes from Veritas are great. Sold as novelties bu I use them a lot. This shoulder plane is my favourite but the wee router plane is great too. 


And clamping. Stages not shown include drilling for string rod and tuners, shaping tuners and reaming holes, and finishing. 

Also the hardest part of all, drilling the string holes above the zero fret. I can’t think of a jig for that so I do it freehand and hope for the best. 


Done. Front...


... back...


... and stamped. The ZS means it’s not been touched by sandpaper. All surfaces are made with sharp cutting tools. 


Oh, and this guy. Ambitiously carved and dyed towards the cherry red of yesteryear. 


I think it’ll be killer.