Learning Ukulele 50 Sites Top 50 Ukulele Sites Argapa Ukuleles - one size louder: 2020

Wednesday, December 23, 2020

A new beginning at the end of the year

While I polish the ukes that are getting close to done I might as well start on a traveller. Not starting really, the blank is already hollowed out from the back. But I can start carving its neck, that’s fun. 

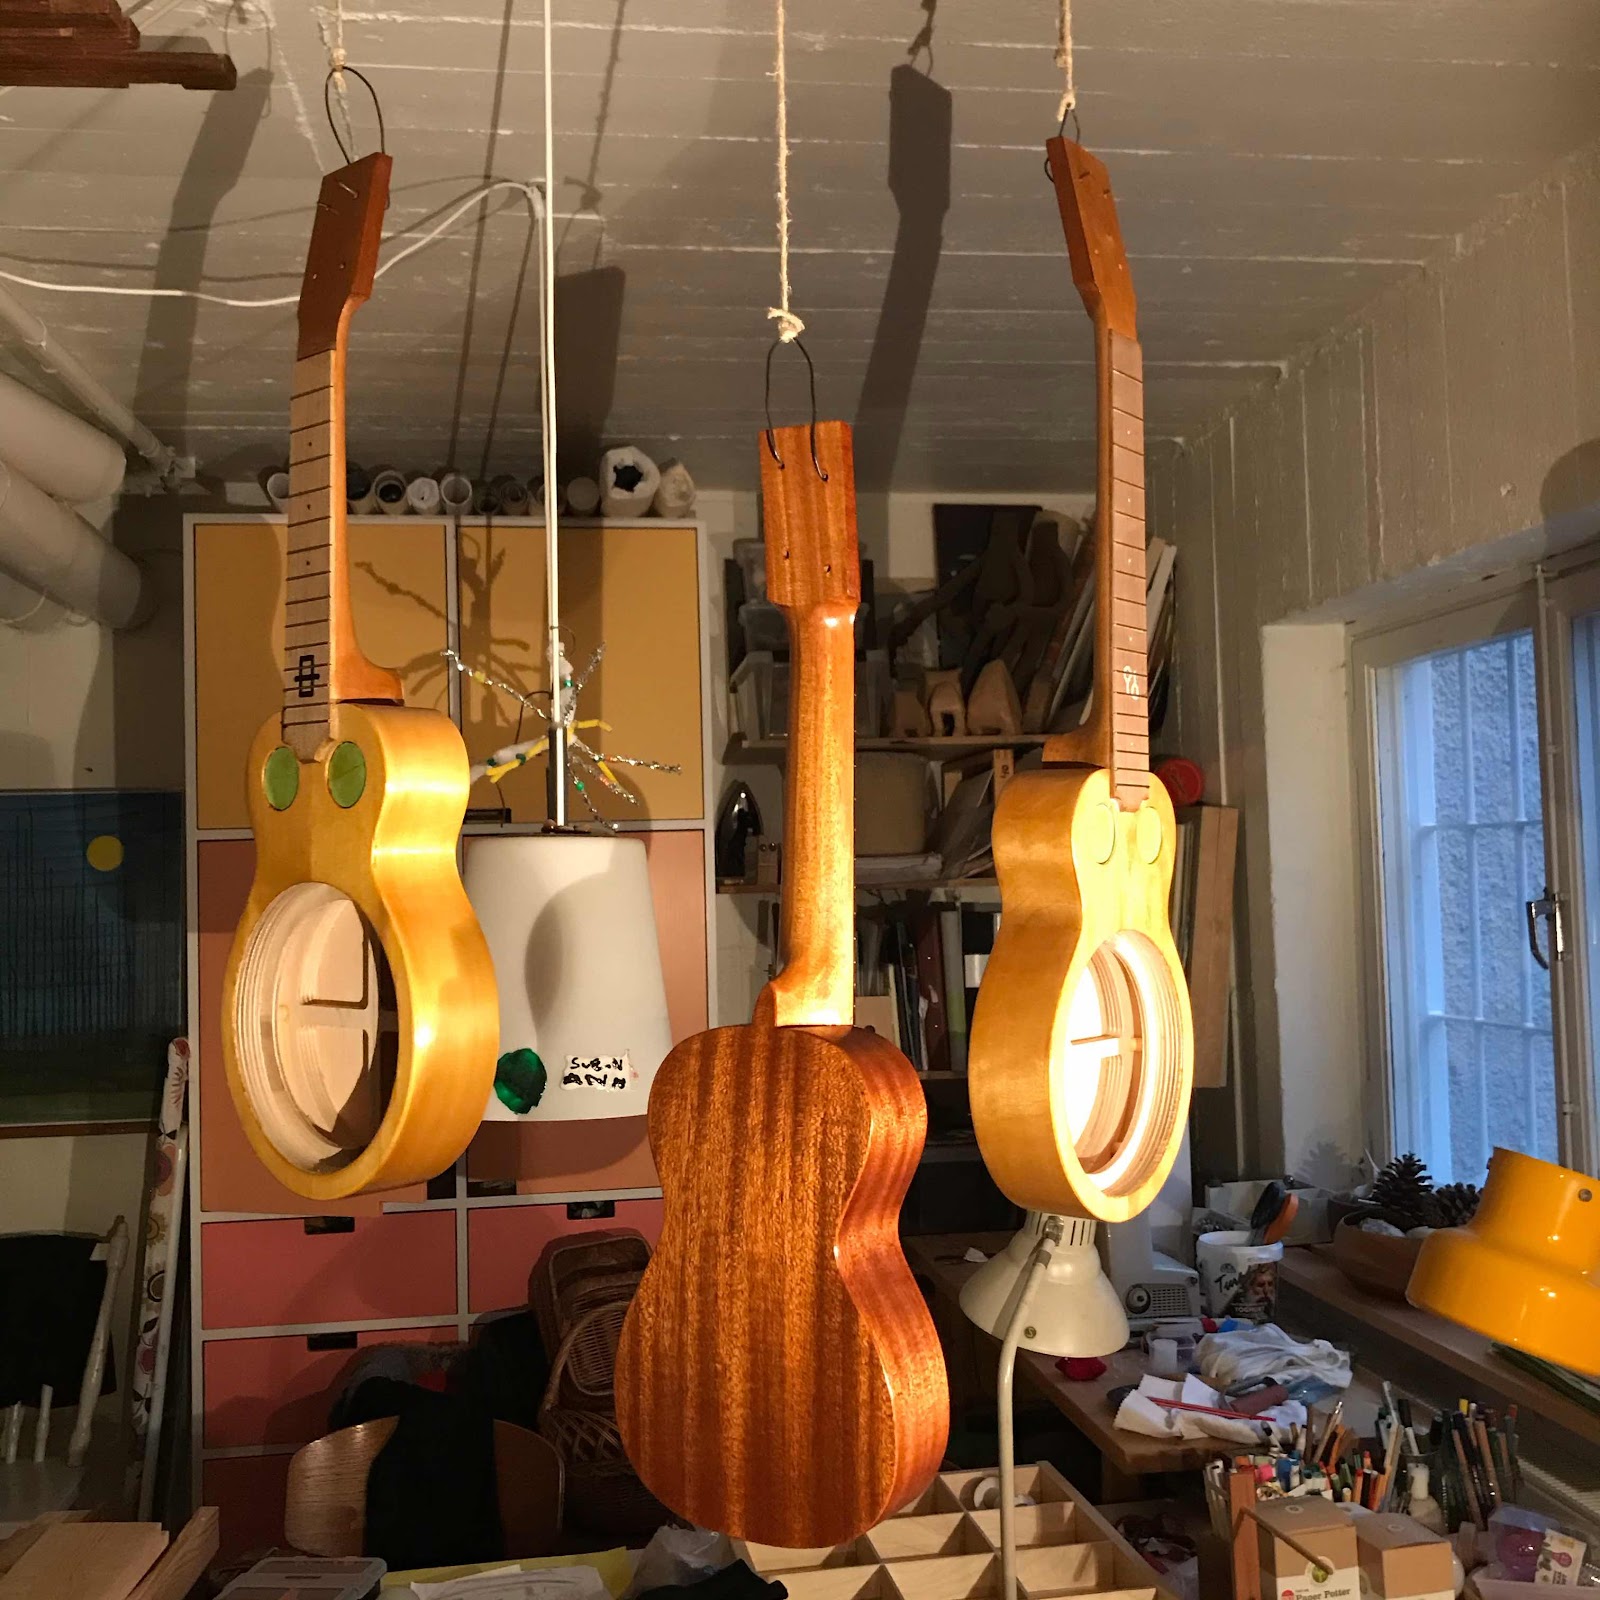
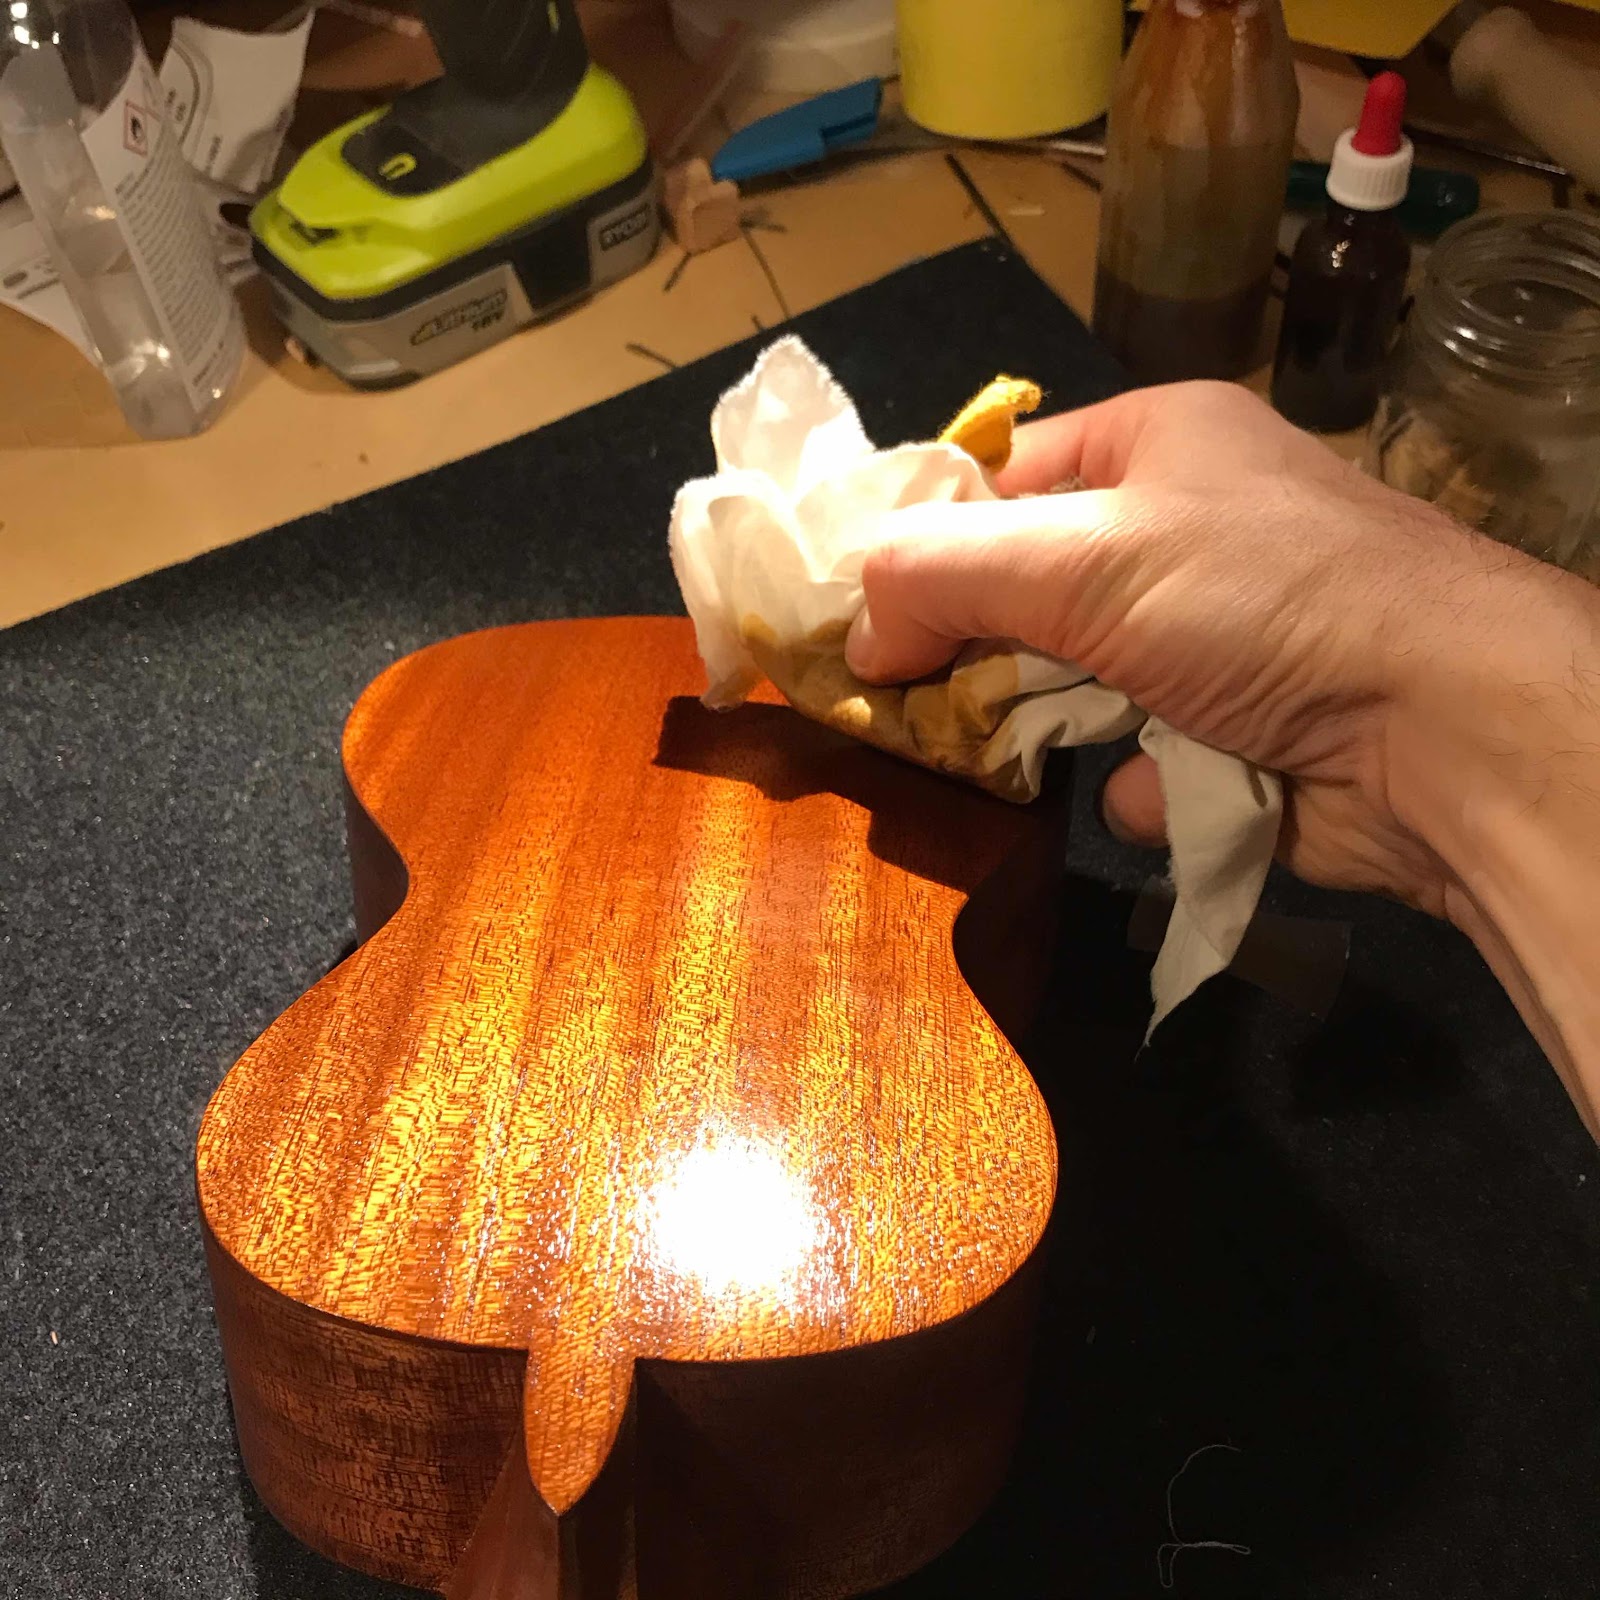
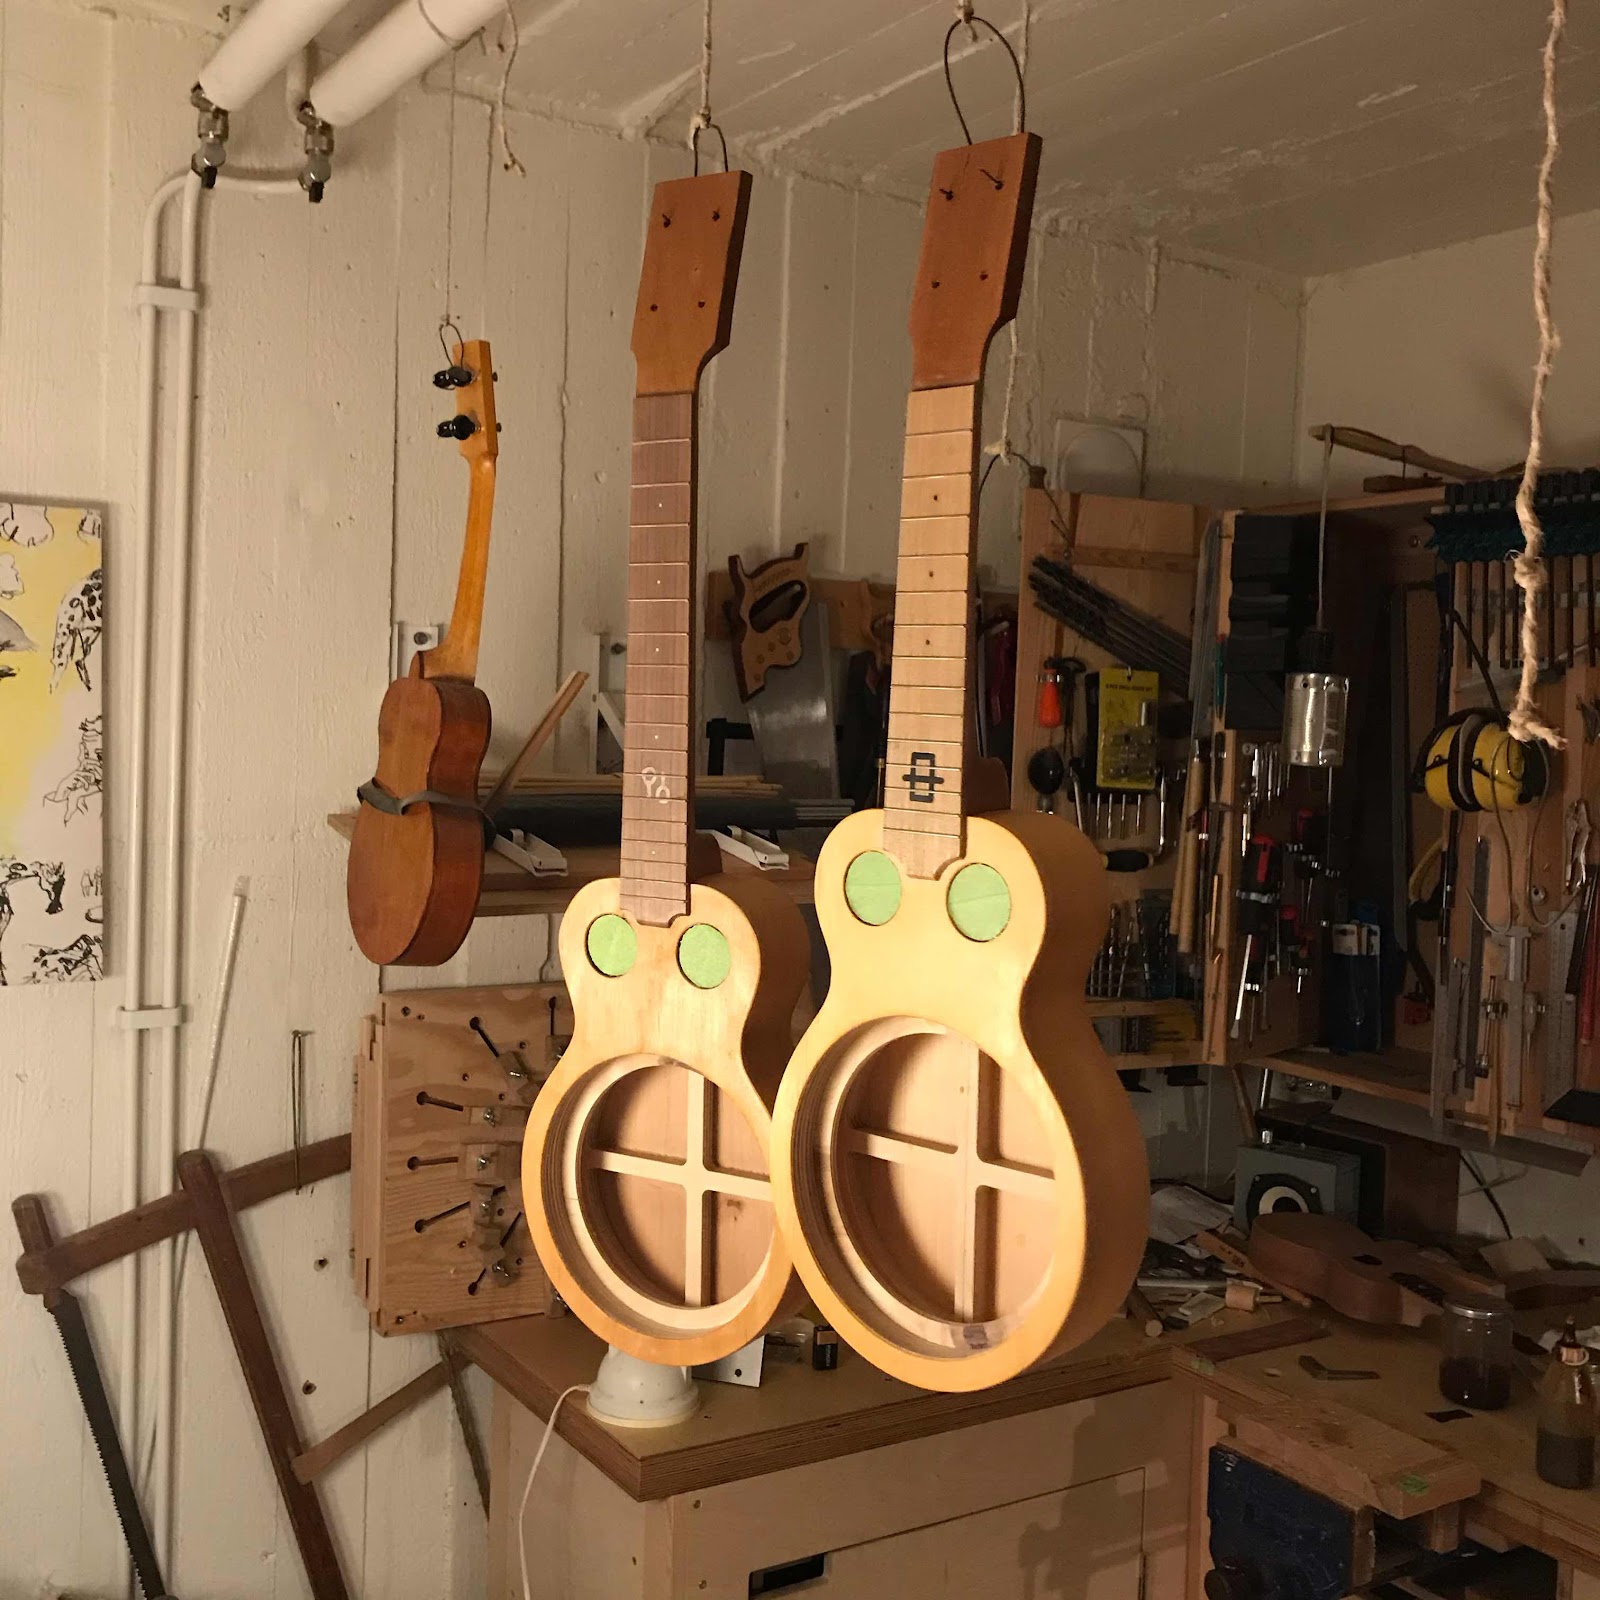
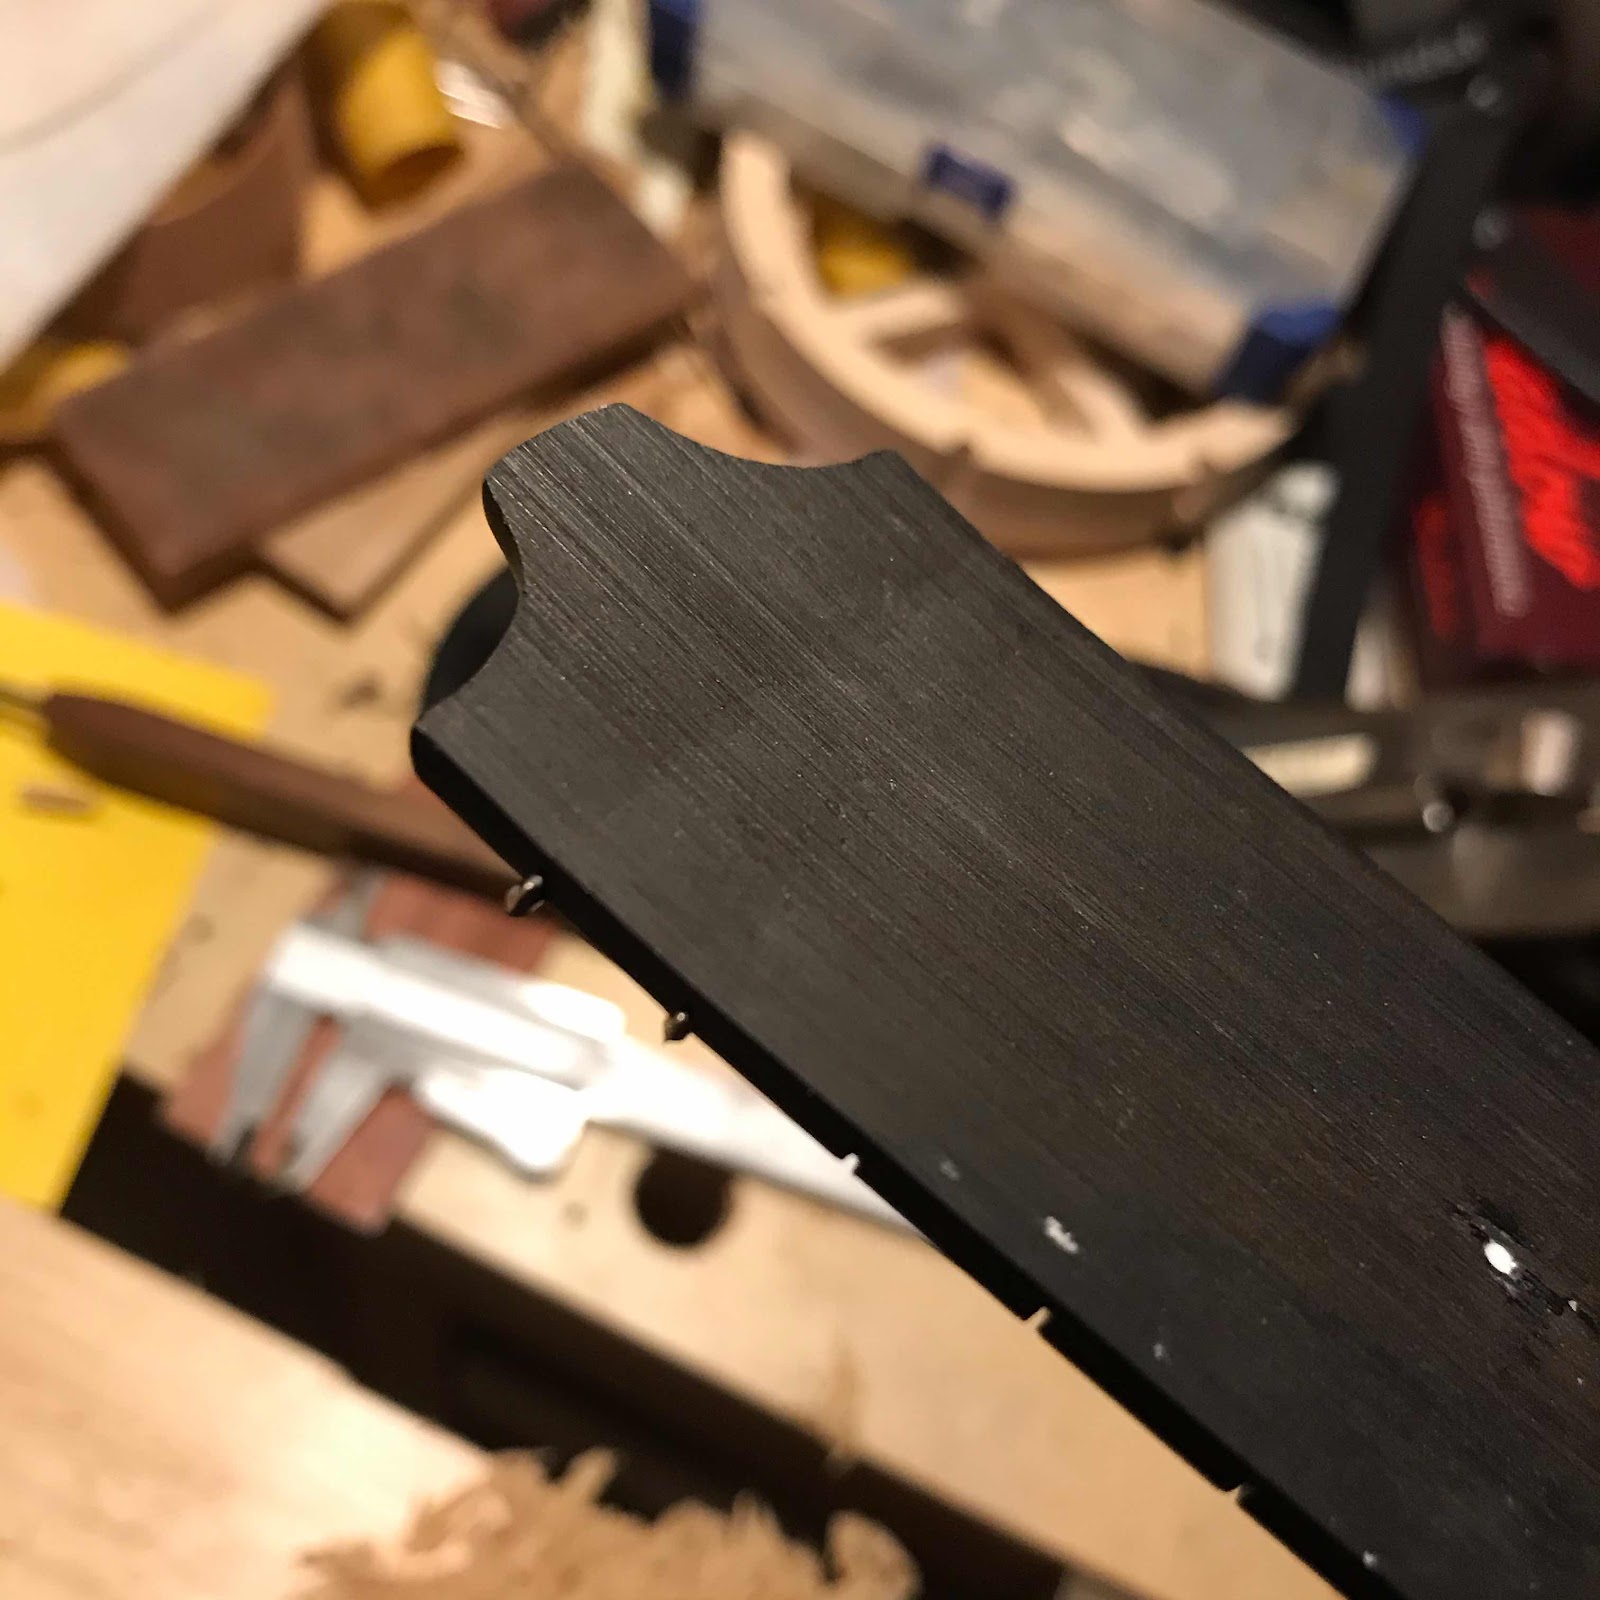
With a Mora knife I carve the entry point up at the heel end. I don’t have to make an exit point since there’s no head on these ukes. The walnut cuts like butter as long as the knife is sharp and the edge is of the scandigrind variety. 


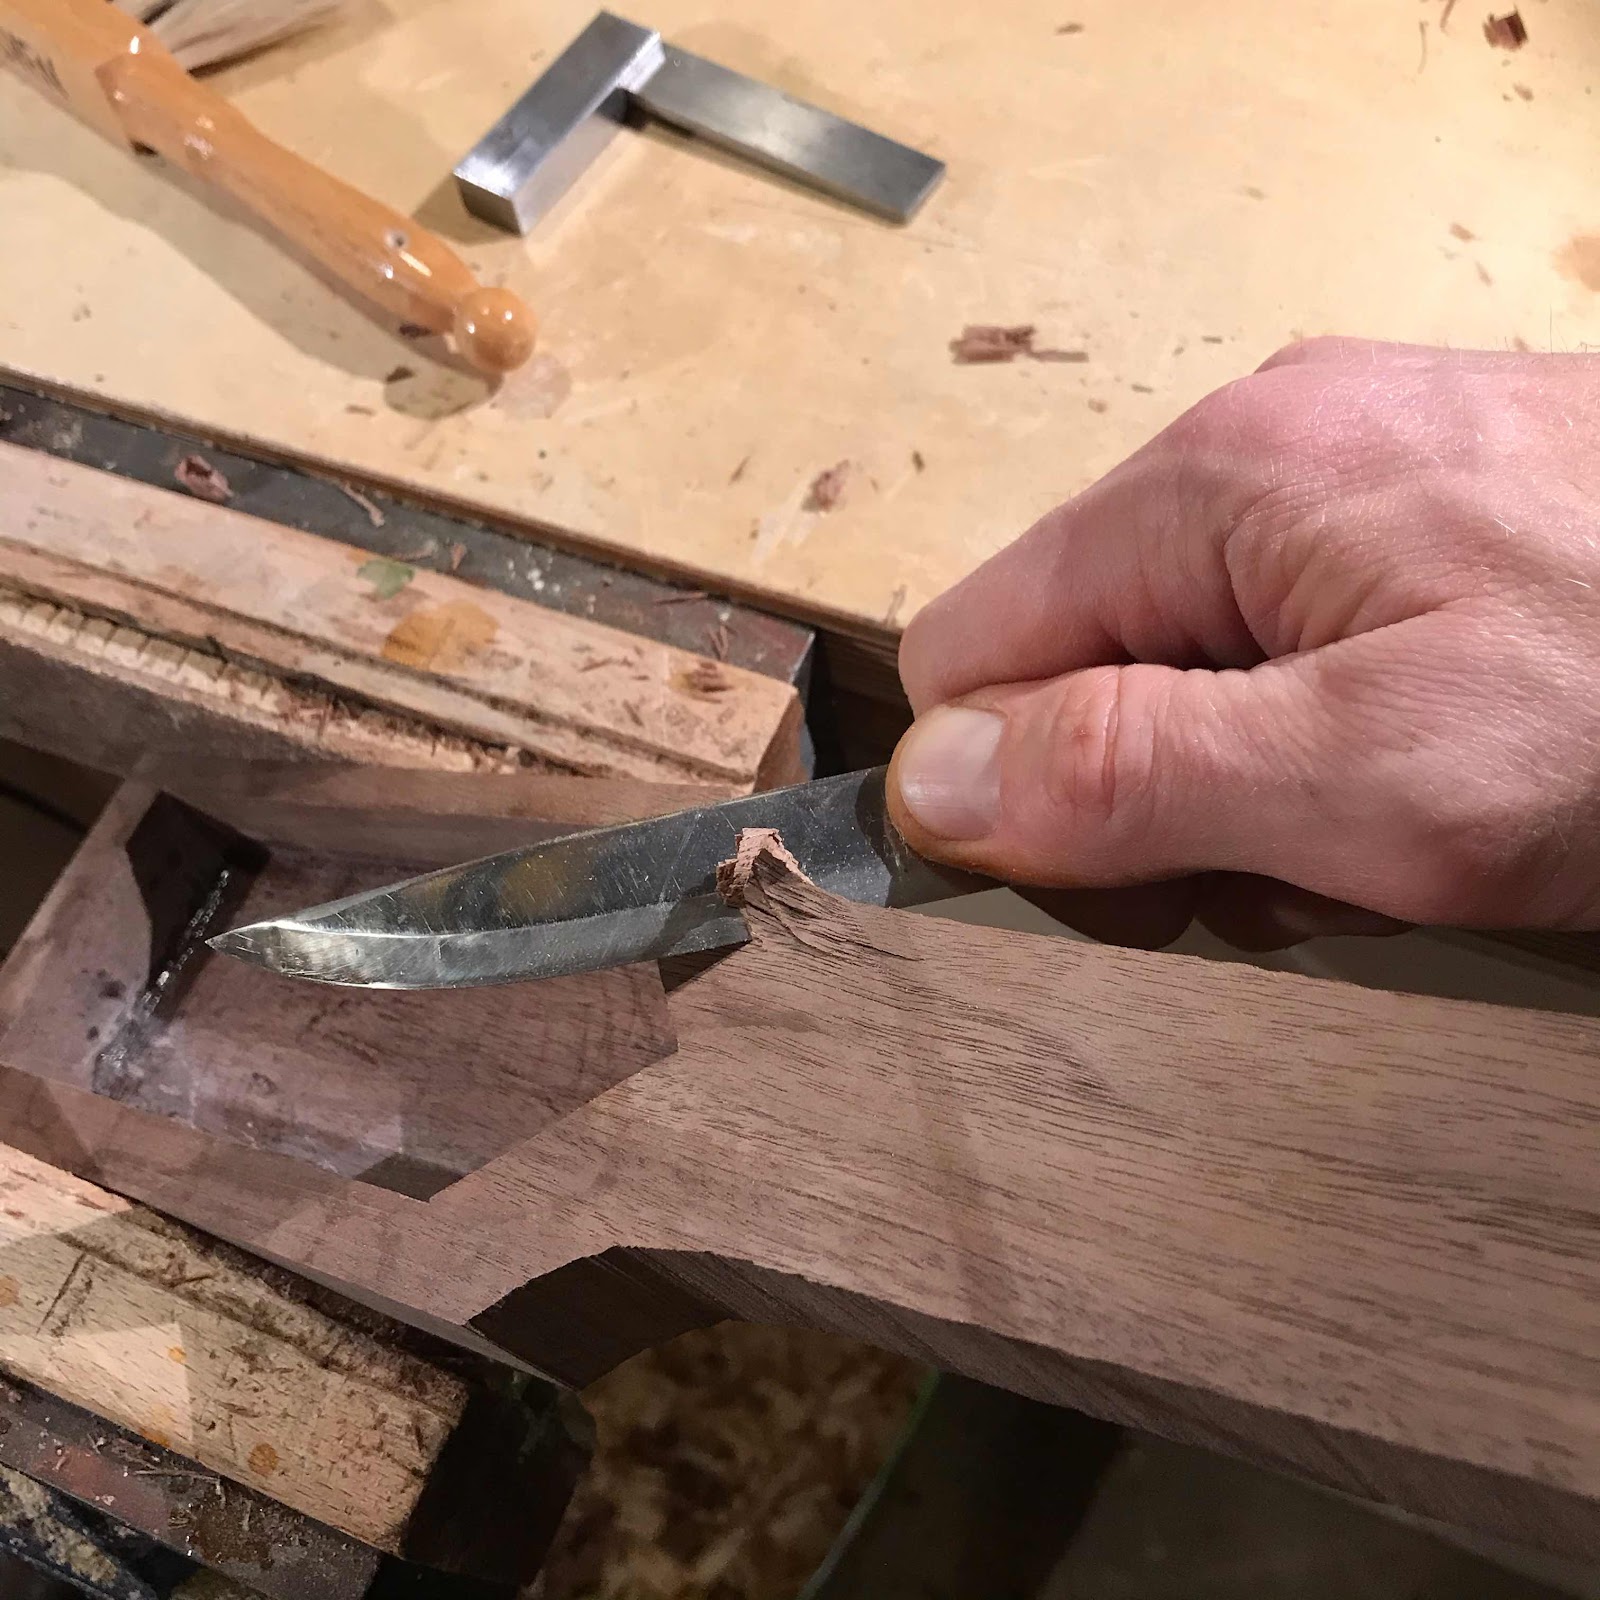
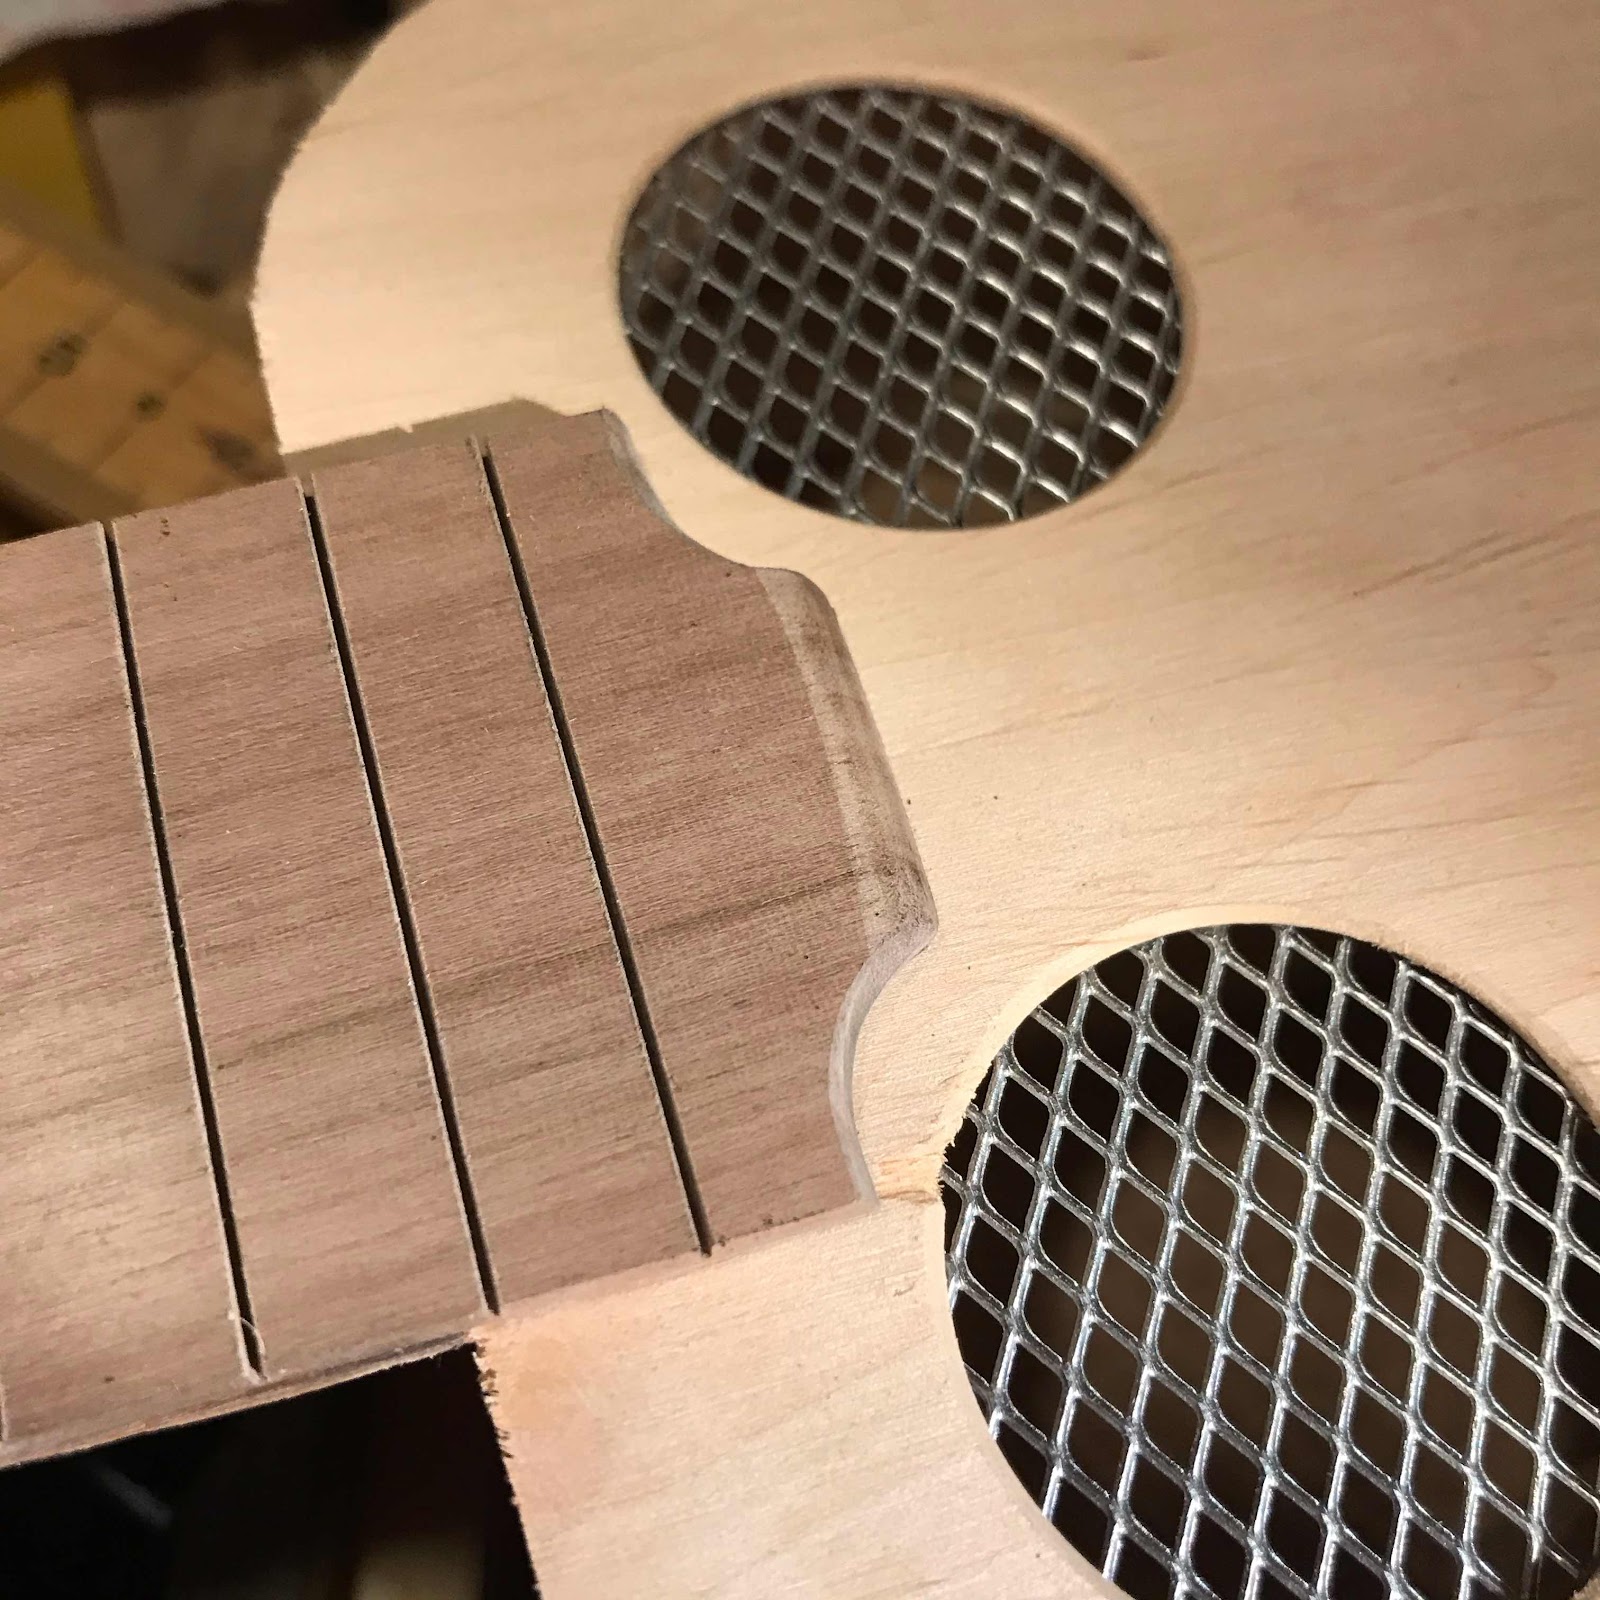
There’s a lot of end grain going on up by the body but it’s no problem. One thing I do recommend is clamping whatever you’re carving securely to the bench. 


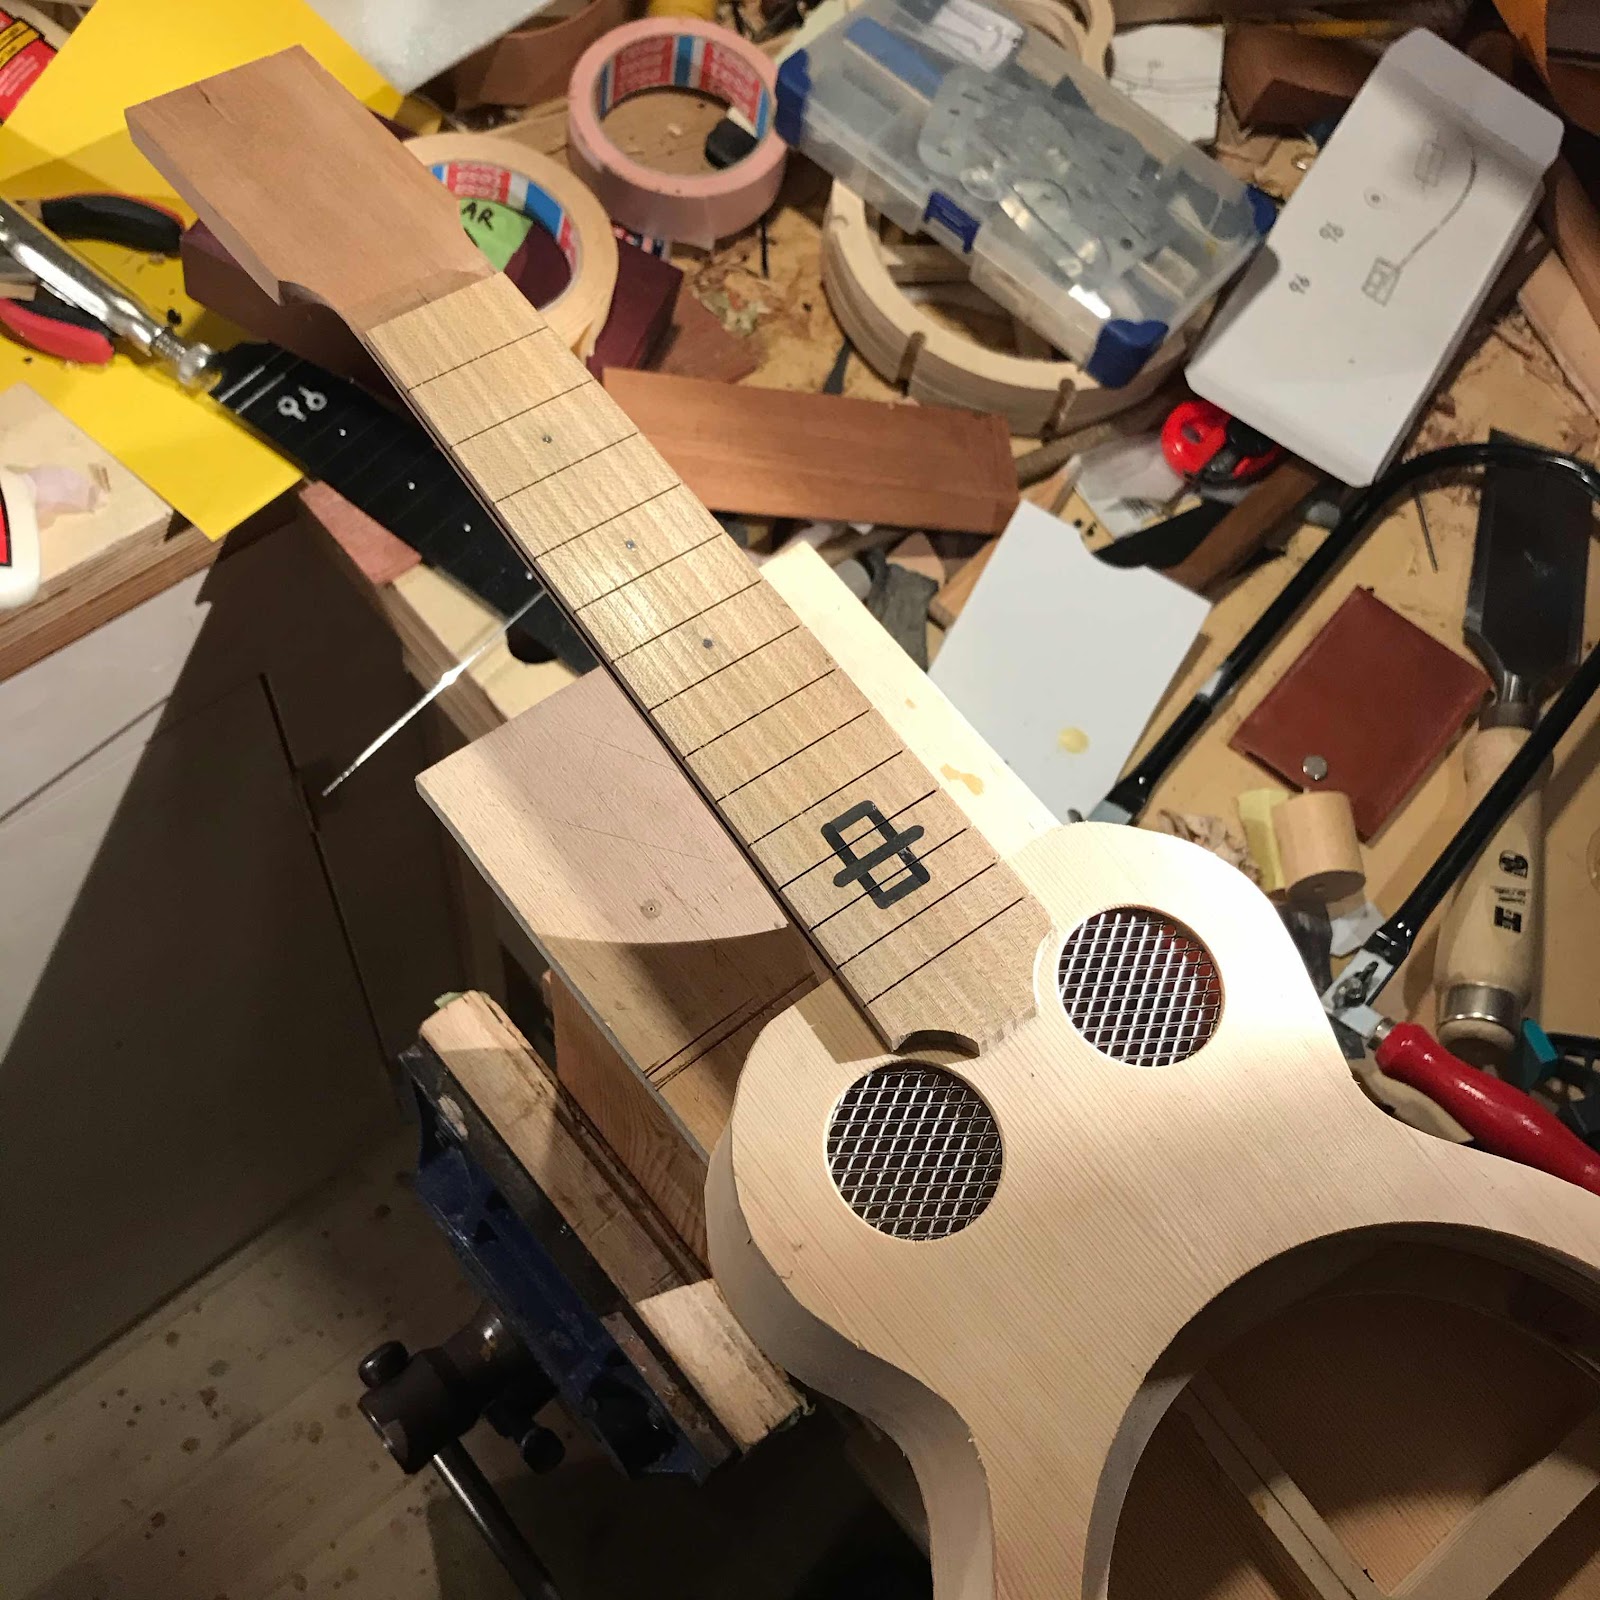
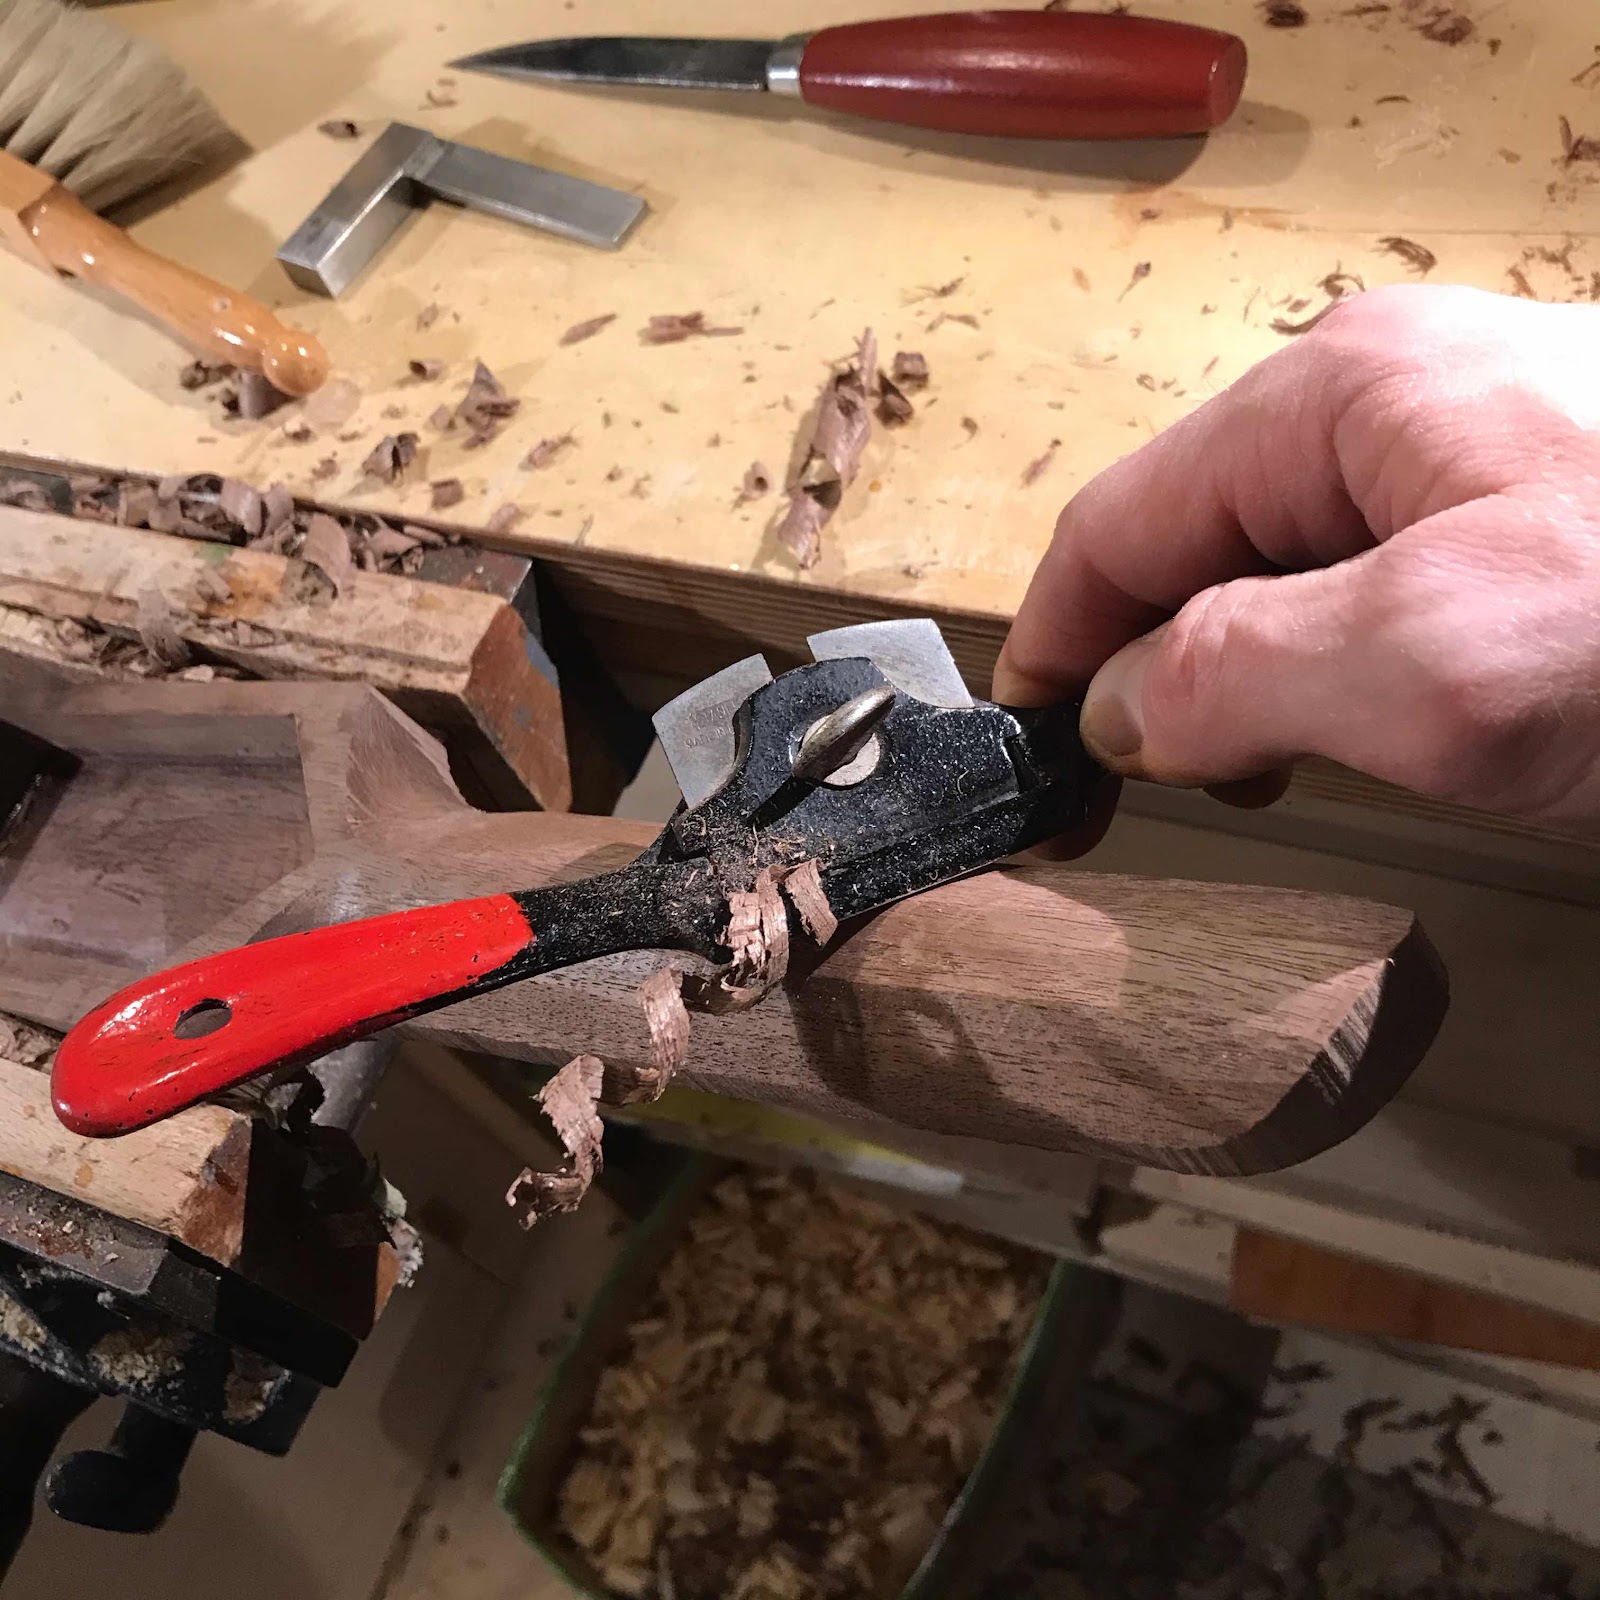
Then a few spokeshaves of different sizes make short work of shaping the neck. It takes about ten minutes but I wouldn’t mind an hour - this is my favourite task. 


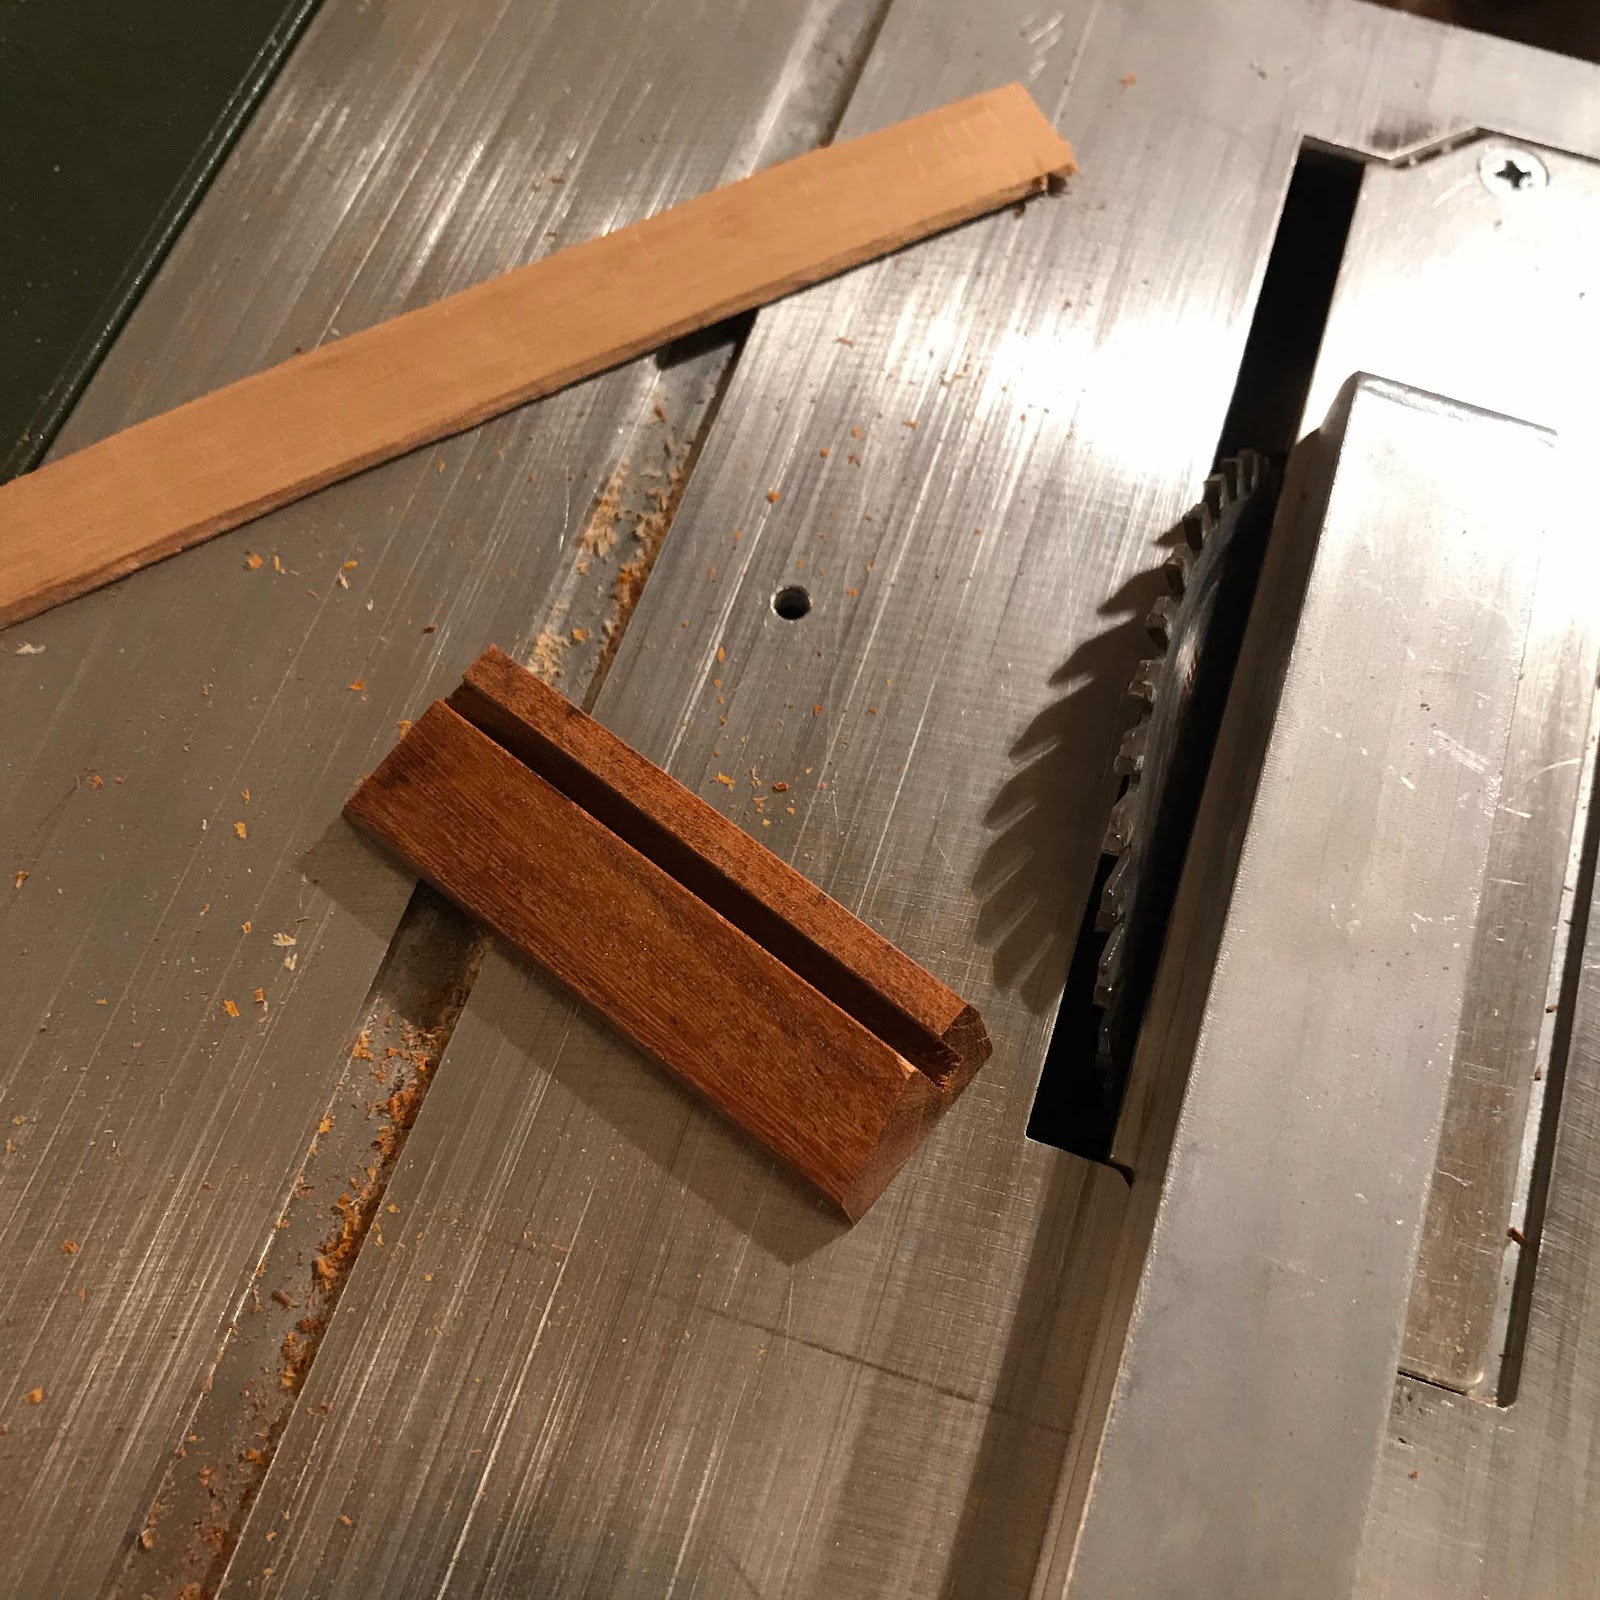
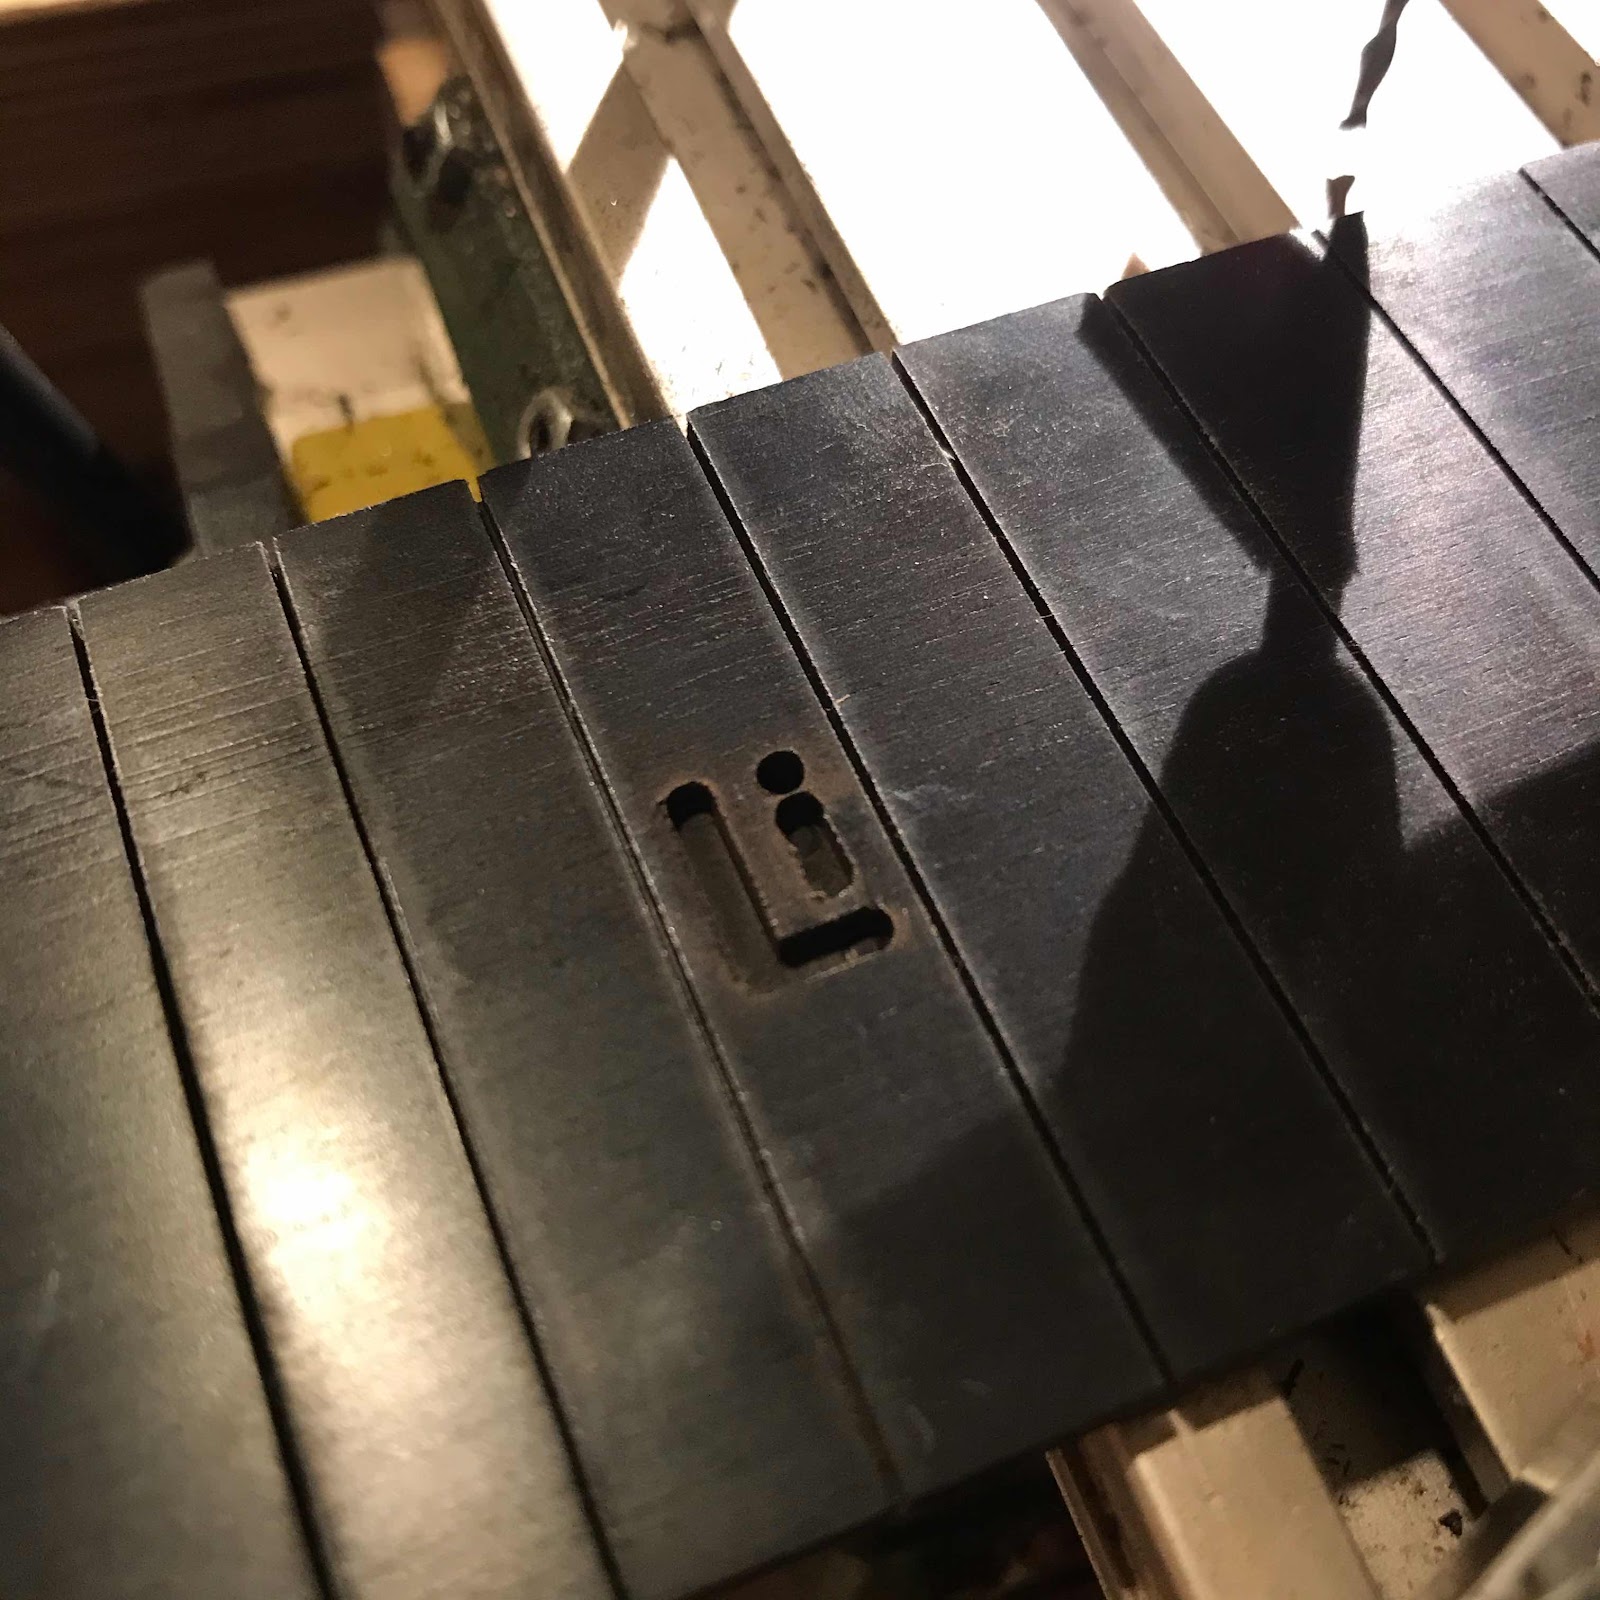
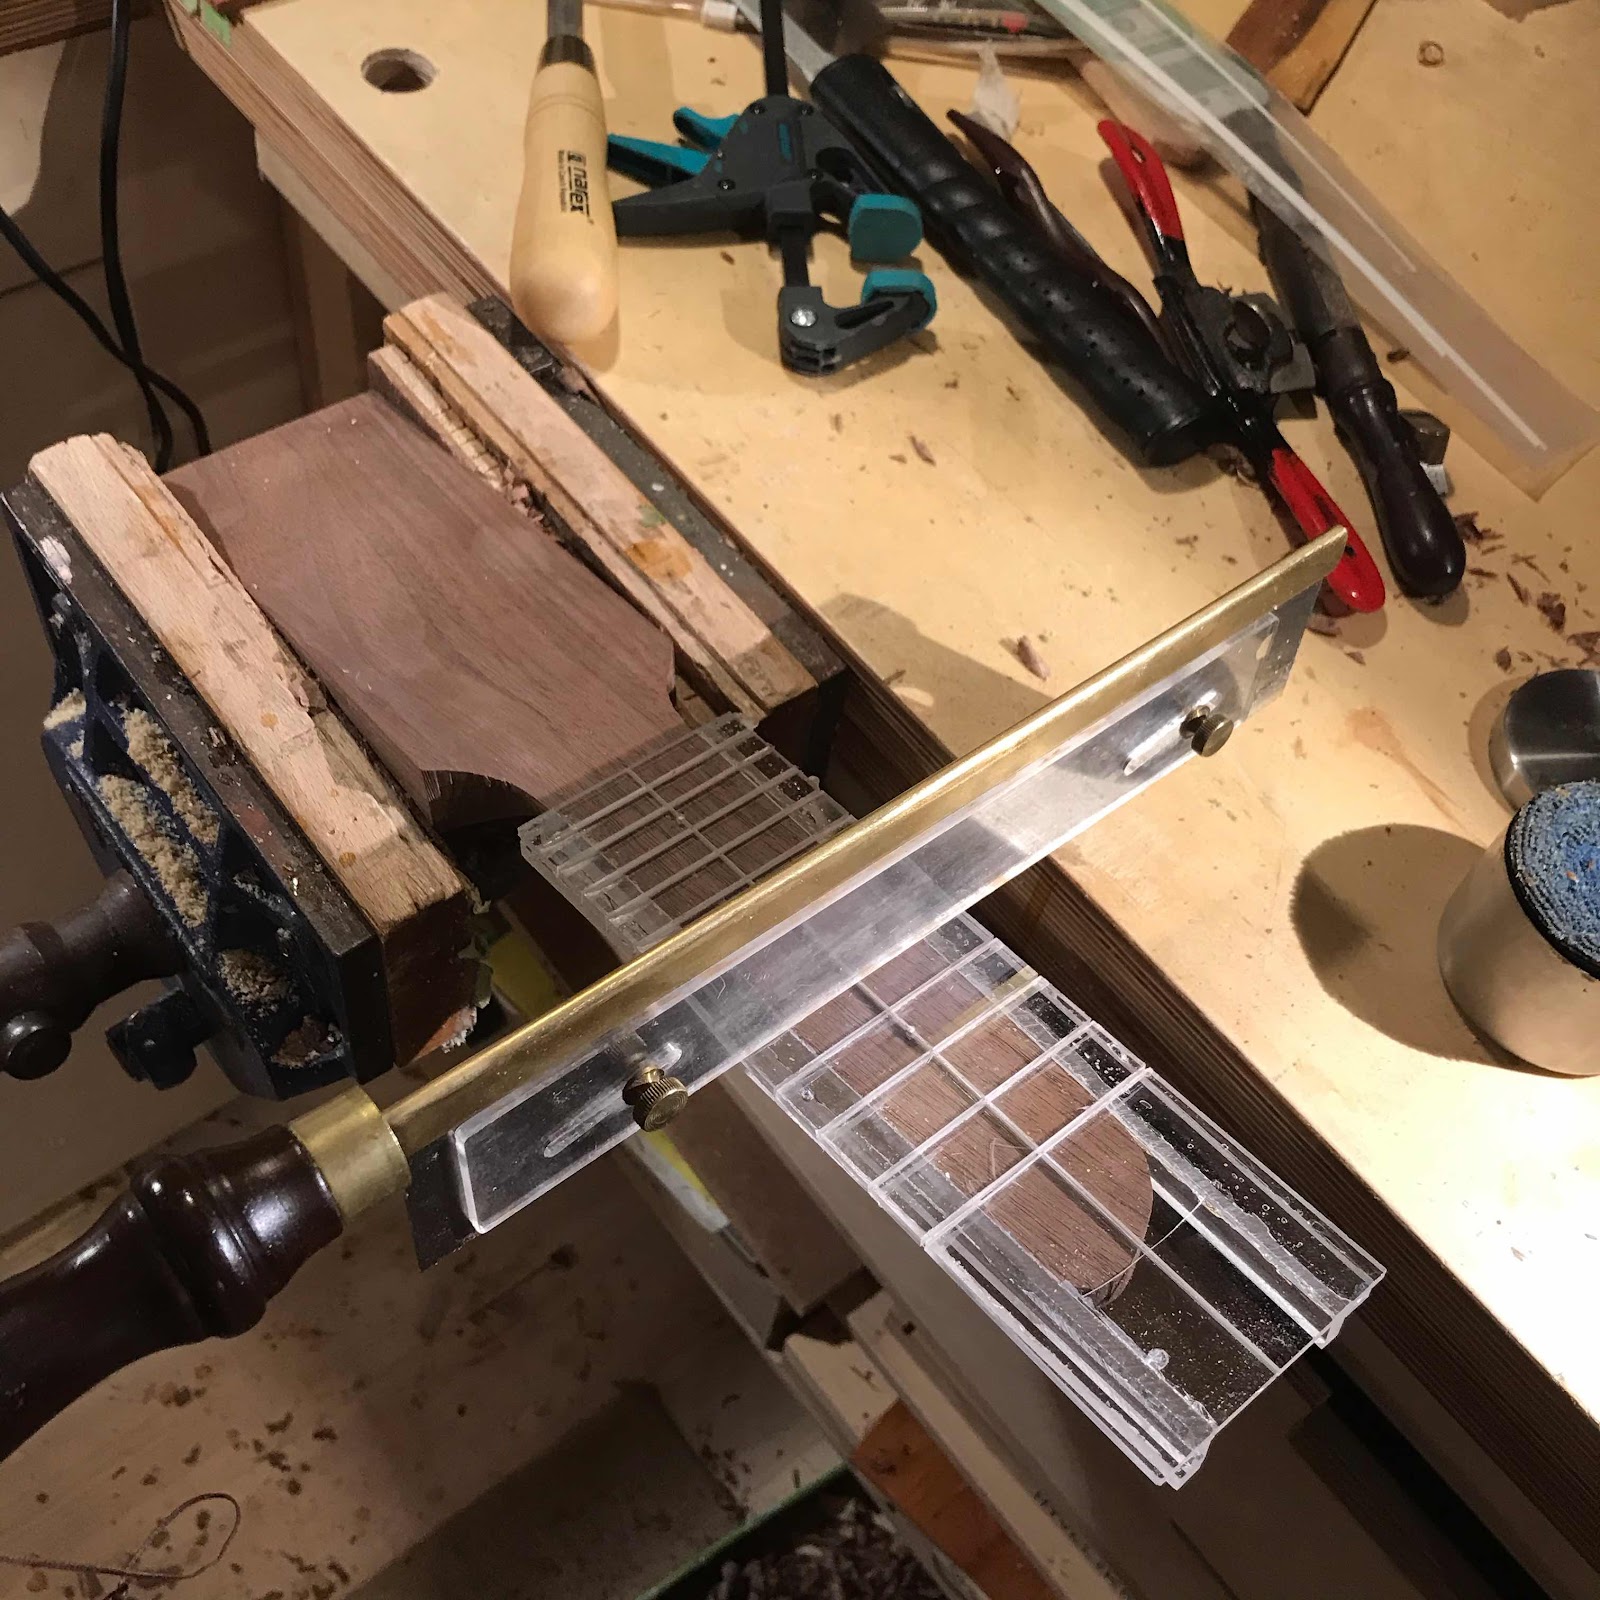
And I got to use my new fret slotting jig. The old one was a bit worn out and the first replacement I made turned out wonky. Which is really bad when it comes to a jig. For positioning frets. 


Saturday, December 19, 2020

Bridge and some polishing

I said in the last post that I made the bridge for the soprano. I chose a piece of ipé from that floor board sample from Buenos Aires, and went to town on the wee table saw. 


Setting the distance with a wooden ruler clamped to the neck, then low tack masking tape at the front and back edge of the bridge. 


And with the ruler next to the fretboard edge I draw lines that will aid me in positioning the bridge sideways. 


I use a piece of guitar string through two miniscule holes through the saddle slot and the top to stop things from sliding out of position. I didn’t take a pic of shaping the bottom of the bridge to match the curvature of the top, but I did that with a scraper. 

Do keep in mind the lack lustre appearance of the mahogany so far, if you grab the opportunity to despair now you’ll get a bit of a rush at the end of this post. 


And here’s a pic of the gang after tvree or four coats of shellac. Those first coats I apply quite liberalky without oil, they’ll form the base for the polishing later. How much later? Well the next pic maybe. 


This morning I started polishing with oil. I use walnut oil because I read somewhere that it dries. My tests of its drying properties have bern inconclusive at best, but for lubricating the pad it works really well. The other obvious choice is olive oil and I know for sure that won’t dry. 


And here’s Li’s soprano. That mahogany is very special. Still from the boards my dad bought in the 1960’s. 


Sunday, December 13, 2020

Getting there

We’re running out of stuff left to be done, what a relief. I won’t get the resos out before christmas I’m afraid, but not very long after. 

First pic shows my cheap skate version of the really nice fret press pliers that Stewmac sells. With it stuck in the vise I can get the frets in quite consistently. 


And when all frets were in on all three fretboards, I glued them on. Here’s the tenor getting its walnut fretboard, the soprano clamping caul worked for the last fourteen frets, obvs. 


Today I spent some time sanding and scraping. Small nooks need small scrapers, this one and a few others I made from a spent Japanese saw blade. The first coat of finish will mercilessly show all the flaws you miss so it’s a good idea to do this carefully. 

Not that flaws will be totally absent. It’ll be others than I think, that’s all. 


And here they are (were). Ready for finish... until I remembered the acoustic one needed a bridge. Oh well, the resos were ready for finish at least. 

And can you see I tidied the bench?


But were they ready for finish? Nah, pilot holes for the tuners are great for hanging them during the finishing process so I quickly drilled those. 


And here we go, let’s get some bug poo on these guys. The alder really comes to life, going from pale to a lustruous honey colour. The cherry in the necks goes from drab to drama too. I will show you more after a few more coats. 


And while they were drying I started on that bridge. But that’s something for next post I think. 


Saturday, December 5, 2020

New fretboard

Well sometimes things go south no matter how careful you are. The ebony fretboard for the soprano reso was first in line to get the frets pressed in, and it couldn’t take it. Maybe the slots were too narrow, the saw might need some extra set. Or maybe the wood was brittle and short grained. Hard to tell when it’s black. 

First pic shows the underside, with bends at the two fret slots I started with. 


So I thought about ways to remedy this but decided that a new fretboard was the only way out, forward or wherever, but south. 

I chose lilac, the hardest wood species in Swedish nature. My friend Ludvig gifted me a trunk of unusual diameter, and I have used it for a number of fretboards.  First I planed it with my* Stanley no.6.


Then I scraped it with a cabinet scraper that was actually sharp and in good shape. 


Then I made one edge straight, also with the no.6, and slotted it on the wee Proxxon table saw. I marked out the width at the nut and 12th and made the taper. You see my no.5 in the background, I used that to hog off most of the material and finished with the number 6. 


For the inlay I came up with another symbol for twins, and routed it out with my Proxxon drill/router. 


And I had a lot of ebony leftover... so I made sticks to go into the channel. 


And shaped them. That was a bit fiddly. In the pic I’ve started glueing them in. 


And the end result, I think it turned out better than the the first one. The dots on 3, 5 and 7 are 2 mm pencil leads. I covered the dots with dabs of superglue, hopefully that will keep it from rubbing off on the fingers. 


*My father might disagree so don’t discuss the no.6 with him. 

Monday, November 30, 2020

Fretboard ends

Hi gang! (Both of you.) I have been busy on many weekends since it’s hunting season in Sweden, but some progress is made. Li really liked the concept I use for the fretboard ends on resos, so she ordered a similar style for her soprano. In the pic I’m roughing out the shape with a coping saw. 


And the end result*.


The walnut fretboard of the tenor wanted a wee slope on the middle part. Would you believe I’m just now getting used to files? After more than 40 years of neglect and lack of respect. 


I place fret dot markers, and let two of the rods go through and into the neck to stop the fretboard from sliding around when I glue it in place. 


*The pun is always intended. And often arrived at after hard work and deliberation. 

Tuesday, November 17, 2020

Inlays, and woes

I got cracking on the inlays. Li gets her name at the 12th fret, the resos get a symbol that will sort of go over the 12th. I routed out the channels with my Proxxon router. 


And the wee symbol I chose for the twins’ fretboards. I routed those freehand and they turned out ok. 


Then I mixed some milliput and filled the cavities. I’ve done that before with great results, it turns hard and sort of bone white. It’s supposed to harden in 12 hours...


... but that old shite had gone old and turned to, you guessed it, shite. Here I am digging it all out after a week or so. I’ve since proceeded to fill with another material. Can’t believe the limited shelf life, I mean what’s six years?!


Thursday, October 29, 2020

Fretboards

I picked out ebony fretboards for the Li’s soprano and the soprano reso. The tenor reso gets a walnut fretboard. There were some scratches from the drum sander so I hit them with the Mirka vacuum sanding pad. 


Then I planed the edges with my Stanley no.6. This is important as it must fit along the edge of the template and be snug in the jig. 


And forget about double-stick tape. Last time I used it it messed up the surface of the template and the goo is still there. Now all cool luthiers are using the masking tape and superglue trick. Matching strips of tape on the piece and the jig, rub them down with something hard (most often the base of the glue bottle), then some drops of glue on one part and a shot of the accelerator spray on the other. Press together and it sticks stronger than double-stick tape and won’t leave sticky residue. 


The fret saw jig takes less than two hours to set up, but not way less. It was quite expensive and it’s cumbersome to use, and right after I bought it they made an upgraded version with roller bearings and thumb screw adjustments. I like the template but it needs two small strips of thin plywood wedged in to keep the setup rigid. You can see a strip in the top corner. 

So all things considered, not a great piece of kit I’m afraid. 


Doing the actual sawing takes 10 minutes. 


And speaking of fretboards - it’s no good keeping a bunch of faulty ones taking up space in the workshop. I got these from a well meaning dude in Italy six years ago, he’d bought them from a supplier but found the scale length to be shorter than what he wanted. So he sent them to me as I was dabbling with piccolos. But sadly they were crap, the frets were placed all wonky. 

So I put them to better use this weekend... 


... and grilled a side of ribs from a deer I bagged last week. 


Wednesday, October 21, 2020

Glueing and trimming (without a power router)

It was time to glue the back onto the soprano. After the braces were glued in I rubbed the whole assembly in the radius dish to get everything even. I chose to exaggerate the curve a bit so it’s more dramatic from end to end than it is from side to side. 


And the clamping strips. This setup works really well. Since it is a one piece back I didn’t bother with those small blocks to prevent slipping. No centre line to mess up this time. There are other advantages to one piece backs and soundboards of course, such as less work in preparing them and far better looks. 


The next day I started trimming the back to be flush with the rim. And what fun I had - a sharp Mora knife with its scandi-grind bevel takes an aggressive bite but lets me control the cut all the way through. 


Here it is on the alder reso, cutting off large sections in no time. 


And the pine reso. I mean, look at those curly chips. You see why this post devolved into what it became. 


Tuesday, October 13, 2020

Back at it*

*Are the puns getting a bit much? I’m just getting started. 

I took down the sides to match the desired curves and clamped the uke down on the solera. I want the geometry to be correct for ghe next steps, before the stability of the shell is completed. Then I glued in the kerfed lining strips. In the pic you can see how I check the glue squeeze out with a mirror. 


After planing down the kerfed lining to the sides I made notches for the back braces and installed them, of cöurse using my Japanese brass clamps. 


Then I turned to the resos. I planed the heel down with my Veritas apron plane, a very versatile tool. 


To get the backs properly in place I glue individual tentalones around the body to stop it from sliding around. This is less important if I have a one piece back, but good practice when I have a book matched back with a seam in the middle. 


I cut the backs out, roughly. It’s much easier to clamp it all together if the overhang is less. 


And again using the two of them to clamp each other, with a layer of foam in between. That gives me pressure across the whole surface, and I can see the right amount of squeeze out in the sound well. 

Next up is fretboards for the resos, and the back goes onto the sop.