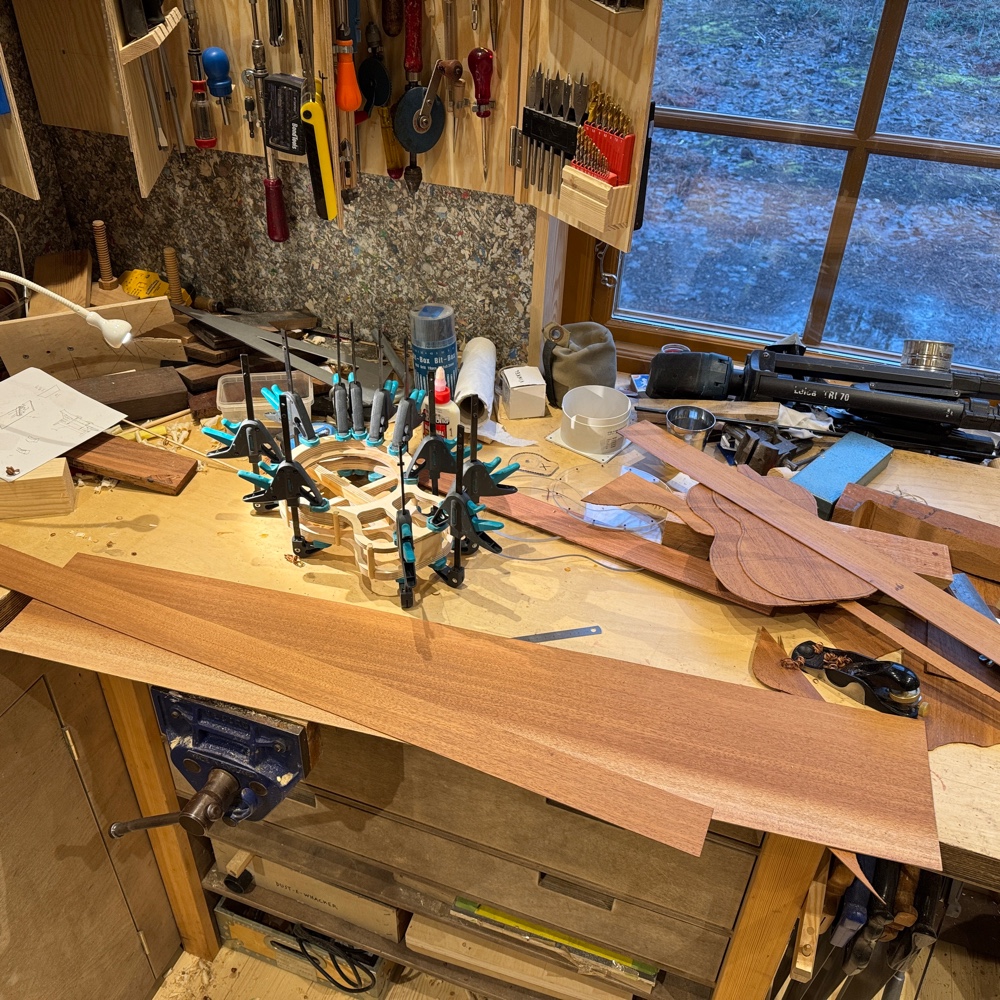
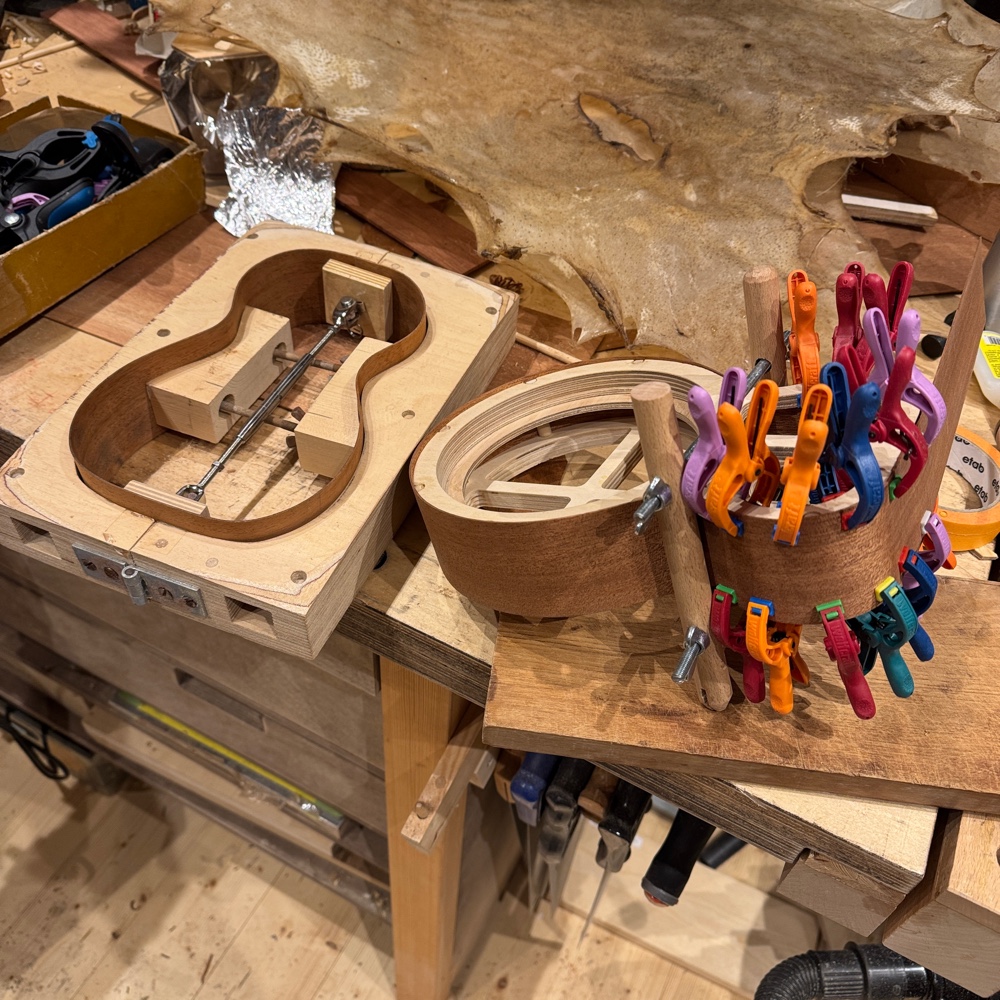
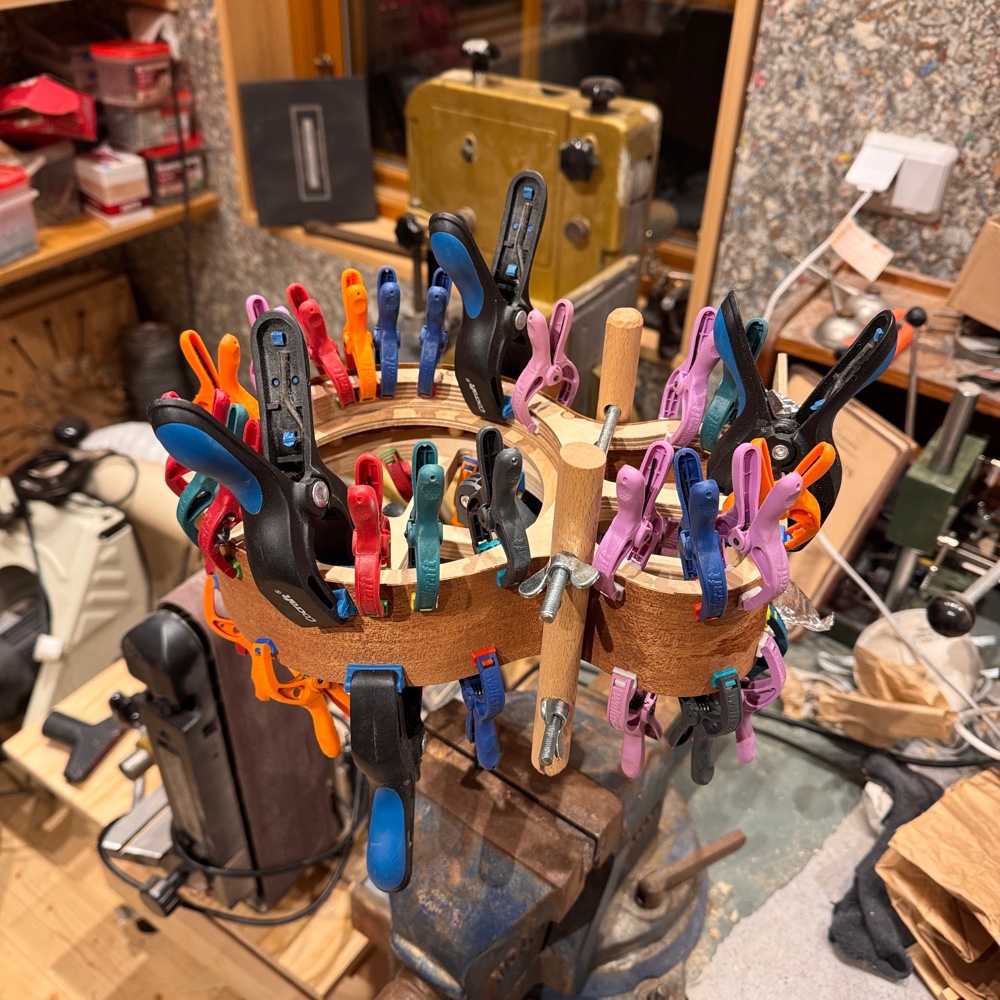
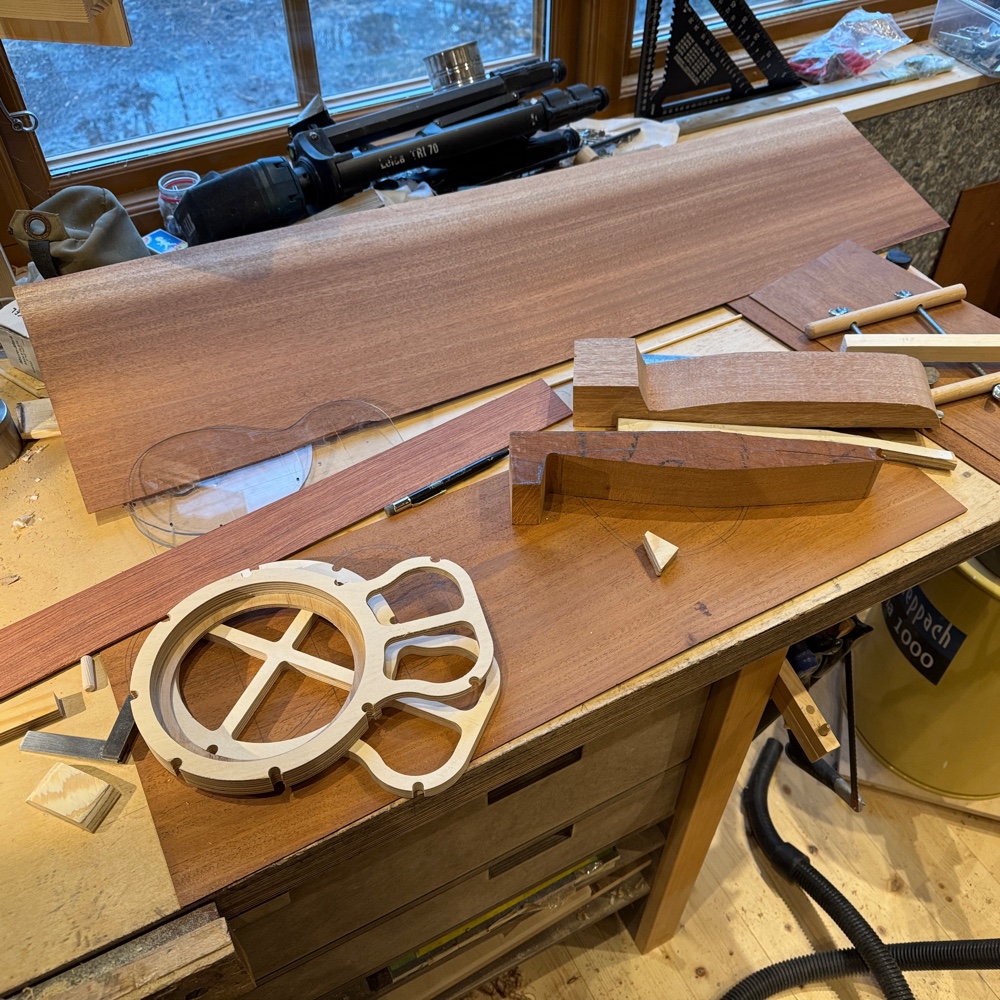
Or as we say more often: hiya. The itch is coming back and it can’t all be ticks can it now. I delved into the stash and emerged with mahogany and parts for a reso skeleton.
Building a better world, uke by uke.
This is my building diary. I build ukuleles in my apartment workshop. I try to label the posts, so if you're interested in anything in particular you might find it by clicking the labels.
Feel free to contact me if there is anything you want to ask, or even better; tell me.
Showing posts with label All mahogany sops. Show all posts
Wednesday, April 15, 2026
New ukes started
Once more unto the breach, dear friends, once more.
Bending did not go smoothly. This is ancient wood and it is brittle, I actually had to bend the soprano rim back to straight again and shave a bit more off with the drum sander. Now it’s a bit thin, maybe I’ll secure it with transverse cleats. I’ll give it a think.
Etiketter:
All mahogany sops,
resonator,
side bending
0
kommentarer
Thursday, July 16, 2015
Vacation works
In the cottage, in the middle of the vacation, we find the old book press and the wannabe luthier eager for some action. I've shown this before but here's a pic of a resonator skeleton coming together.
Then I decided to finish the mahogany soprano I've been busy with, you know the one with the oil finish.
I started out by shaping the violin tuning pegs in my peg shaper, from Juzek tools and bought from www.metmusic.com, which is a very good webshop for parts and tools. I only recently mastered the tool but now I won't install tuners without it.
Then reaming out the holes to fit the tuners. I chose to have the C- and E-string tuners a bit further in, it makes sense when you see it.
When all tuners are seated I cut them off from the front with a spacer board. Note the piece of leather that catches the saw instead of my thumb doing it.
Of course a back saw like this one isn't great for flush cuts but I brought a minimium set of tools out here. And it worked well enough.
Then I round over the ends of each tuner. This can be done with a file but I didn't bring a file so I carved them. Files are boring as well, don't you agree?
Then some holes and strings and what do you know, it's done. Hard on the heels of number 1; number 29; number 84 and a few others made from this very special wood it already sounds great.
As a side note, when I tuned it I set the A-string at exactly 440 Hz. By ear, and that's a first for me.
Monday, July 6, 2015
Oil finish, and a total recall step by step
I'd put on a few coats of Tru oil on this mahogany soprano, but I wasn't 100 percent pleased with the surface. Maybe I should have sanded a bit more before finishing, I think a shellac finish would have filled some of the imperfections but the oil brought them out. Since I'm not in a rush I decided to hit the surface with some 400 and then 600 grit sandpaper.
The surface got dull, of course, and I quickly got rid of some problems. Then I remembered a method I learned long ago, and even used a couple of times. That is to apply the oil with some high grit sandpaper, thus creating a slurry of sorts which should fill the pores. So I went ahead and did just that.
Then I remembered more - the slurry you get with Tru oil differs from the one you get with Danish oil, and that was what my wife used when she told me about the method. My slurry got very sticky and covered the uke with a grime that built a thick cover. Just like last time! When I told myself it would indeed be the last.
But finally I recalled the last bit of hidden information in my once fully operational brain. Last time I was able to rescue the uke by rubbing it vigorously with a rag. So pretending to myself that this was the plan from the start I got a rag, and my phone for taking a few pics for this blog.
Ready? In the first pic you can see the top with some of the grime remaining, north of the soundhole and the fretboard extension.
Now rubbing. It doesn't take long but you need to rub hard. The area next to my thumb is now shiny.
And would you have thunk it, the slurry did fill the pores and the rubbing left the surface with a great lustre. (As it did last time, I remember now.)
But the pic, what a fugly perspective. I'll add one more for balance.
Here it is, with a bit of the cottage interior in the background.
Since this strange method does give results, would I recommend it? Would I use it again (even if I remember more of the process than I did today)?
No, I wouldn't recommend it. To much hard work, and I wouldn't want to recommend a process demanding such force being put on a fragile uke.
Yes, I might use it again. If I wanted to use Tru oil for some reason and my surfaces weren't prepared enough. I know it works and I know what it takes. And a good oil finish rivals a shellac finish in both looks and feel.
Etiketter:
All mahogany sops,
Finish
0
kommentarer
Wednesday, July 1, 2015
Oil finish, again
July is traditionally the slowest month on this wee blog, but we get off to a good start with the post I forgot to make yesterday. The second single plank all mahogany soprano had leapt forward despite me being off to the far side of the world, the fretboard is on, the bridge is too and now I've whipped out the Tru oil for the first time in ages. You all know my persistant struggle with shellac but the buyer of this uke asked for an oil finish so I thought it would be fun to re-visit the process.
And once the whole uke was rubbed down I let it dry. I gave it a second coat this morning but now I'll wait a bit longer. The humidity level makes the oil cure slowly.
But first, here's a pic of the bridge being clamped.
Then I applied the first coat of oil, a very light coat.
Etiketter:
All mahogany sops
0
kommentarer
Monday, June 22, 2015
A quick report before bailing out
You're not supposed to complain about your day job, I know. But sometimes I whine a bit. Today I leave for Buenos Aires to work for a week. I don't mind the travelling but I miss my wife a lot when I'm away, and my kids too. And nothing happens in the Argapa cave for a while but that's alright taking into account the speed with which I've made the second mahogany soprano during the last few weeks.
Here's a pic of ye olde number one, the raffle uke and the next soprano coming together.
Adios!
Etiketter:
All mahogany sops
0
kommentarer
Monday, June 15, 2015
Carving a mahogany neck
Carving necks - my favourite part of building. You can use all manners of methods for shaping necks and which tools you use to remove wood won't matter. What is important is what wood you decide to keep. That said, I use sharp hand tools. First I make two angled cuts length wise. I didn't take a pic but you can see the offcuts to the right in this pic. Then I take a small contour plane (similar to a spokeshave) and start working the edges. But really, I should have done what you see in pic #2 first.
And that is to remove some material near the headstock so the spokeshave has an exit at the end of the cut. A sharp whittling knife is good for this but I know others use rasps. I never use rasps.
The back of the headstock needs planing. This time I used a tool I bought on ebay where it was listed as a "luthiers plane". I suspect it's a spokeshave with the handles cut off, but since it takes a nice thin shaving I don't care what it is or was.
More contour planing. The V-shape is established.
And the whittling knife is again used to shape the heel. With a sharp knife I can do pretty much anything, and I never get surprised by where the knife goes.
And here it is. I'll scrape it with concave scrapers and sand out most marks but as I have shown, sandpaper isn't really necessary. This was all done in around 25 minutes, much too fast for an enjoyable task.
Etiketter:
All mahogany sops,
Neck carving
0
kommentarer
Tuesday, June 9, 2015
Demo of two new ukes
Will it show up? Will it move..? If it does, well then here is a rough video where I sound a bit like a bad guy in a WWII movie. I'll take a few nice pics of them in daylight for another post, but for now...
Enjöy.
Sunday, June 7, 2015
Saddle of bone
Yesterday I took a great, and as it turned out the final, leap forward. Both the reso and the all mahogany soprano are finished and strung up.
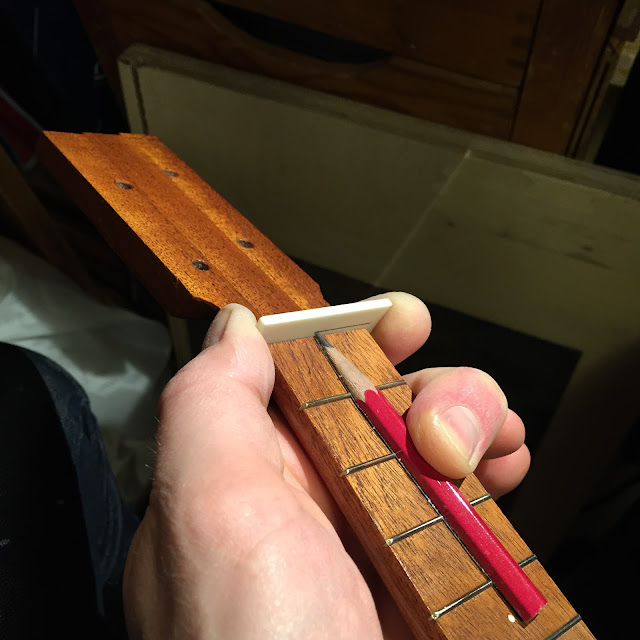
And I made the nut too, check out the half pencil used for getting the approximate height of the string slots.
But I did want to make a post about making the saddle for the acoustic soprano. Well the reso is acoustic too but the wooden one then. So here are the pics of that job, the glamour shots and a video demo will come in a bit.
Once the saddle blank fits the slot I draw some lines and go at it with a wee hacksaw. Usually I make the slot to fit a specific bone blank to avoid thinning the blank. That's just tedious. A quick rub down to smoothen the surface is then enough.
The saddle slot is angled on a true Argapa, so the top of the saddle is angled too. The top is parallel to the soundboard so all strings have the same height even if the compensation will leave the C-string slightly longer than the rest.
But looking at it now, the pic doesn't show the angle that well.
And since this is an honest warts and all blog, I won't keep the next pic from the public eye and mind. The bastard blank sort of blew up!
A new blank was called in and cut to length and height. (And sanded to fit the slot that was perfect for the now broken blank but too tight for the new one.)
Height is checked, adjusted and checked again. A few times. Then the positions for the outer strings are marked.
I use Ken Timms' divider to set the location for the holes, and the swoop of the compensated saddle. When I drill the holes I angle them toward the soundhole.
And the finished nut. I leave a bit more material at the top than you usually see on guitar nuts since it's quite easy to pop a string out when you play Devil music with lots of bends.
Etiketter:
All mahogany sops
0
kommentarer
Thursday, May 28, 2015
On the subject of pores
I'm on the fence about going for a flat shiny finish, or a shiny finish with semi filled pores. A flat finish could quite easily be achieved by rubbing with powdered chalk, my alternative to pumice. But the nooks and corners are hard to get to and might be more visible against an otherwise flat surface. Oh well, pics will show this better won't they.
As it was this morning.
You can see the subtle V-shape of the neck which I now prefer.
And then a couple of close ups in an attempt to show you the pores. They are a bit more visible in reality.
What do you think? Beautiful enough? Or should I go for a more professional job on this one. I honestly don't know what I prefer anymore.
Etiketter:
All mahogany sops,
Finish
0
kommentarer
Saturday, May 23, 2015
Finishing
Sorry for not posting, the day job's been intense. Here's a report on the finishing procedure.
As you might remember, I now give my ukes heavier first coats of shellac. And then I scrape most of it off again. Sometimes this will fill the pores, if not it's an excellent base for filling said pores with chalk (which I use instead of pumice).
At this time I have yet to decide if the mahogany soprano I'm making for the raffle at Hollesley will get the chalk treatment. But it did get scraped yesterday.
Looks bad now, but this is only in preparation for the polishing.
The top. Note that the bridge and the fretboard is also mahogany, from the same board as the rest.
Etiketter:
All mahogany sops,
Finish,
Resonator batch production
0
kommentarer
Thursday, May 14, 2015
Fretting and glueing fretboards
The all mahogany soprano doesn't get a fancy inlay. It's destined for the raffle at Hollesley (inshallah) so I lack a name of the future owner and I did want a clean minimalist look so mother of pearl shards were out too.
But it will get frets (I have a cunning plan for a uke without fretwire but that'll require an ebony fretboard).
So, first step is drawing a triangular needle file along each slot to knock the edges off. This will let the frets be seated both easier and better.
With my jerry rigged fret press I press the fretwire down, cutting the length off after each slot is taken care of.
Then I clamp the board in a wooden vise and use a single cut file to get all the ends down to the edge of the board. I think the technique is called draw filing and it is faster than the way I did it before; dragging the fretted board across a sanding board. It's important to keep the pressure on the file uneven, more is required at the high end where there are more frets.
Clamping with a rubber hose, easy and a lot more fun than clamps. And we're only in this for the fun, remember? Drugs and money seem scarce.
A maple caul with grooves for the frets keeps the pressure on the fretboard rather than on the frets.
The only downside to the hose is it presses out, smears and distributes excess glue so I had a lot of cleaning up to do. Ideally I would have removed the hose after an hour, cleaned the glue before it set hard, and then put the hose back on. But by the time that first hour had passed I was at the office.
But they're good now. Next up is holes for tuners, a bridge for the acoustic, and then finishing with shellac.
Etiketter:
All mahogany sops,
Resonator batch production
0
kommentarer
Friday, May 8, 2015
Fretboard report
A shorter than usual post, just a pic of the slotted and tapered fretboards for Simon's reso and the raffle soprano.
Etiketter:
All mahogany sops,
Resonator batch production
0
kommentarer
Friday, April 24, 2015
Making solid linings
Of course I could have made kerfed lining strips from the board I'm using, but solid linings are pretty cool and I have them on my number one which serves as the blueprint for this build.
And the sides I bent were pretty wide so the material was at hand. I didn't post bending pics but I can tell you the wood bent like butter.
I sliced the lining strips off on the mini table saw.
The waist was fun.
Etiketter:
All mahogany sops
0
kommentarer
Tuesday, April 21, 2015
Single plank ukuleles
Ye olde mahogany that I resawed a couple of weeks ago will make a couple of sopranos first. In the spirit of old number one they will be made entirely from the same board, and on at least one of them everything will be mahogany. Maybe the other one will get a rosewood fretboard, I haven't decided yet.
So the first pic is of me planing braces. I made them triangular on the bandsaw but they need some cleaning up.
Etiketter:
All mahogany sops,
Tools,
Wood
0
kommentarer
Subscribe to:
Posts (Atom)