Learning Ukulele 50 Sites Top 50 Ukulele Sites Argapa Ukuleles - one size louder: Zero sanding
Showing posts with label Zero sanding. Show all posts

Thursday, April 30, 2020

Yet another traveller finished

Another one is done! But I will backtrack just a bit to show you how I made the bridge. First pic is a wooden ruler resting on the zero fret and a 2.5 mm drill bit lying at the 12th. Then I measure the gap with a new Japanese wedge shaped ruler at the correct point. Tricky to hold in one hand in order to take the pic, but it shows around 6 mm. So fairly low. 


Then I cut a wee block from a slightly larger chunk of cherry. Rip saw, natch. 


These miniature planes from Veritas are great. Sold as novelties bu I use them a lot. This shoulder plane is my favourite but the wee router plane is great too. 


And clamping. Stages not shown include drilling for string rod and tuners, shaping tuners and reaming holes, and finishing. 

Also the hardest part of all, drilling the string holes above the zero fret. I can’t think of a jig for that so I do it freehand and hope for the best. 


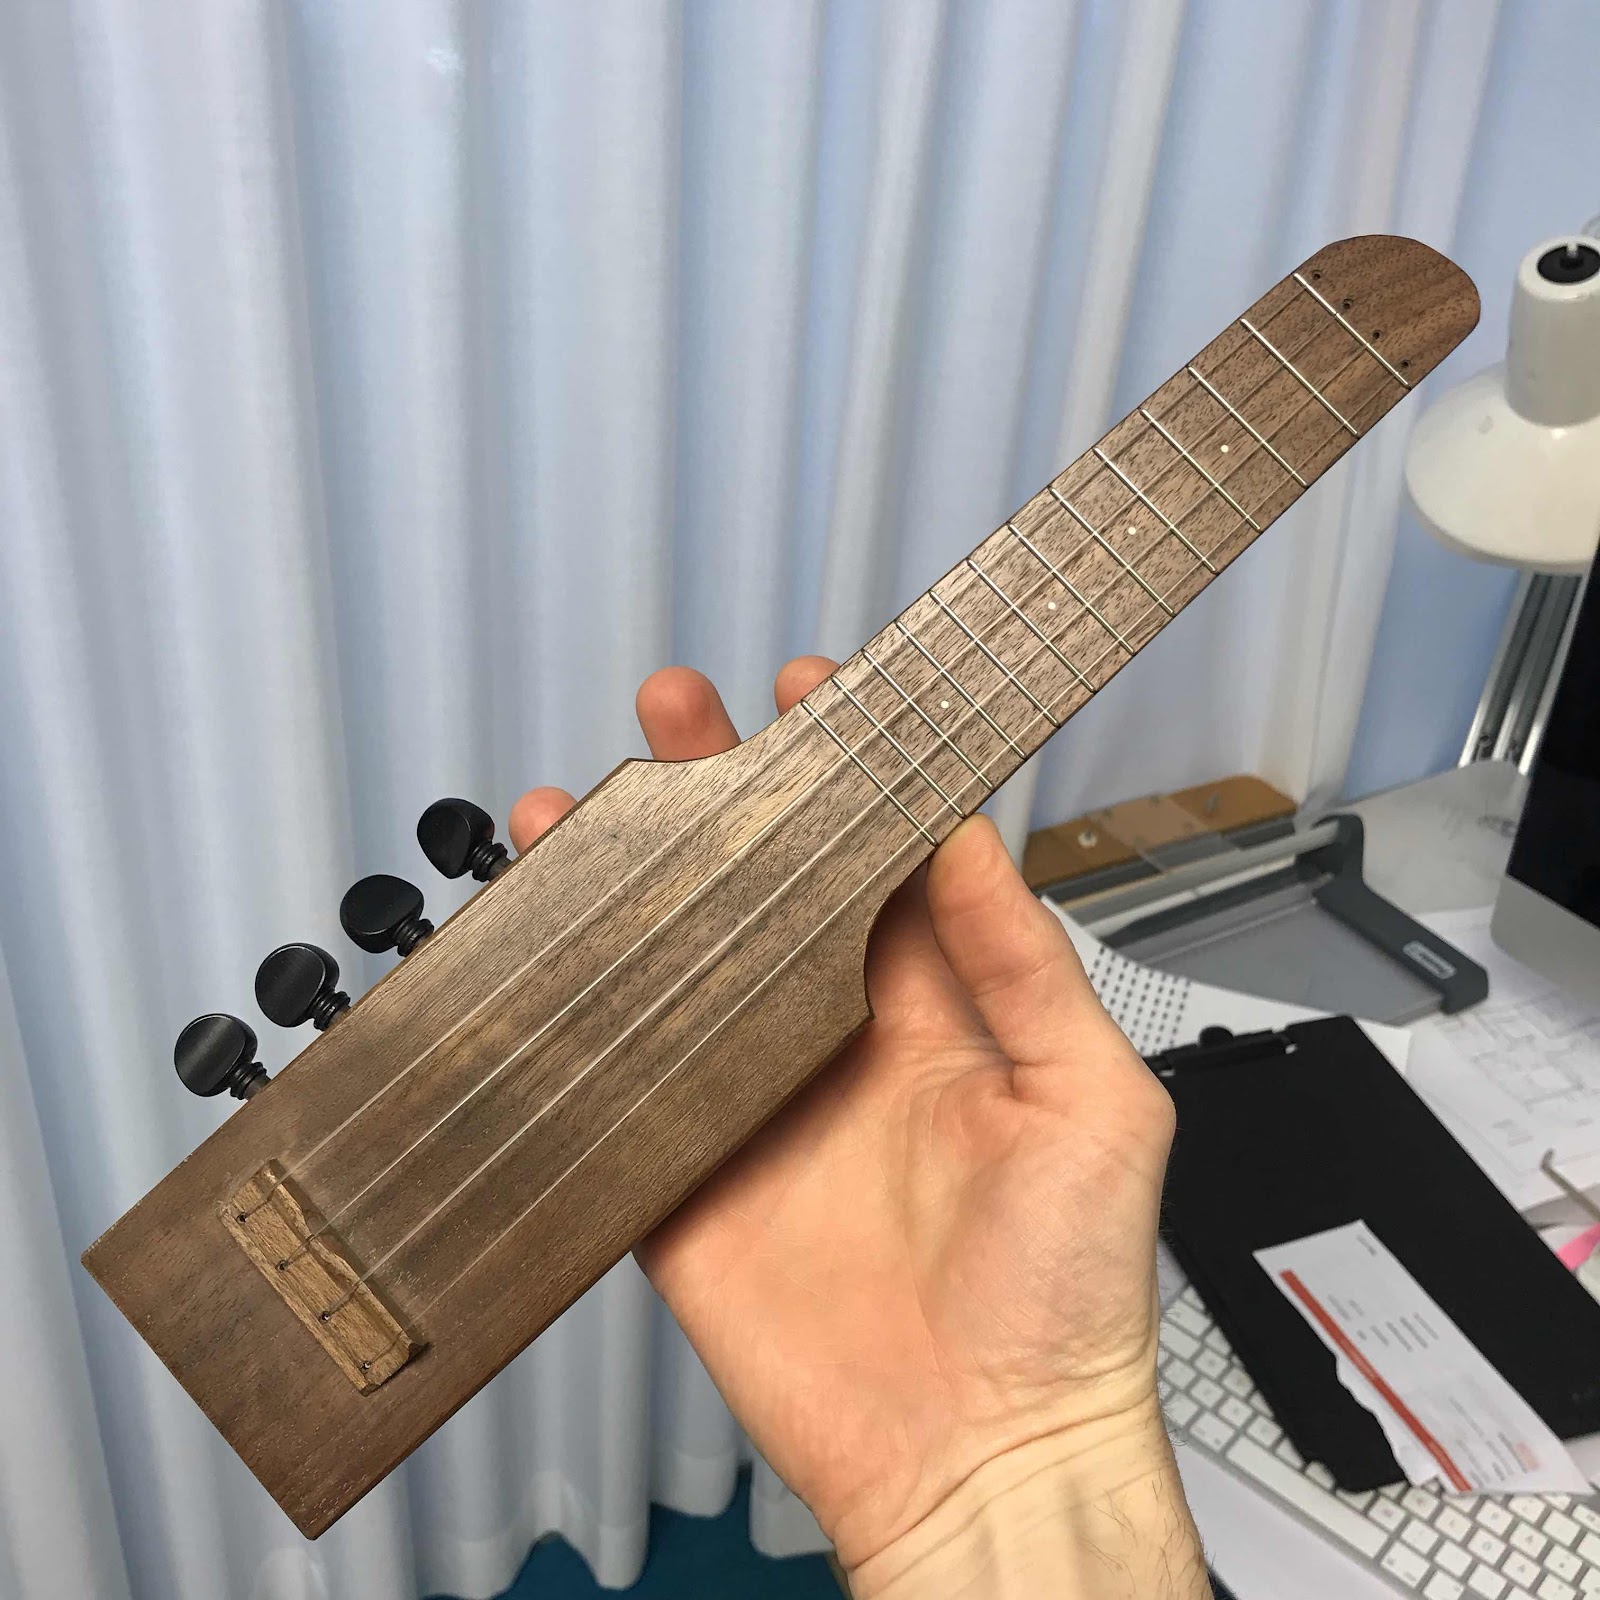
Done. Front...


... back...
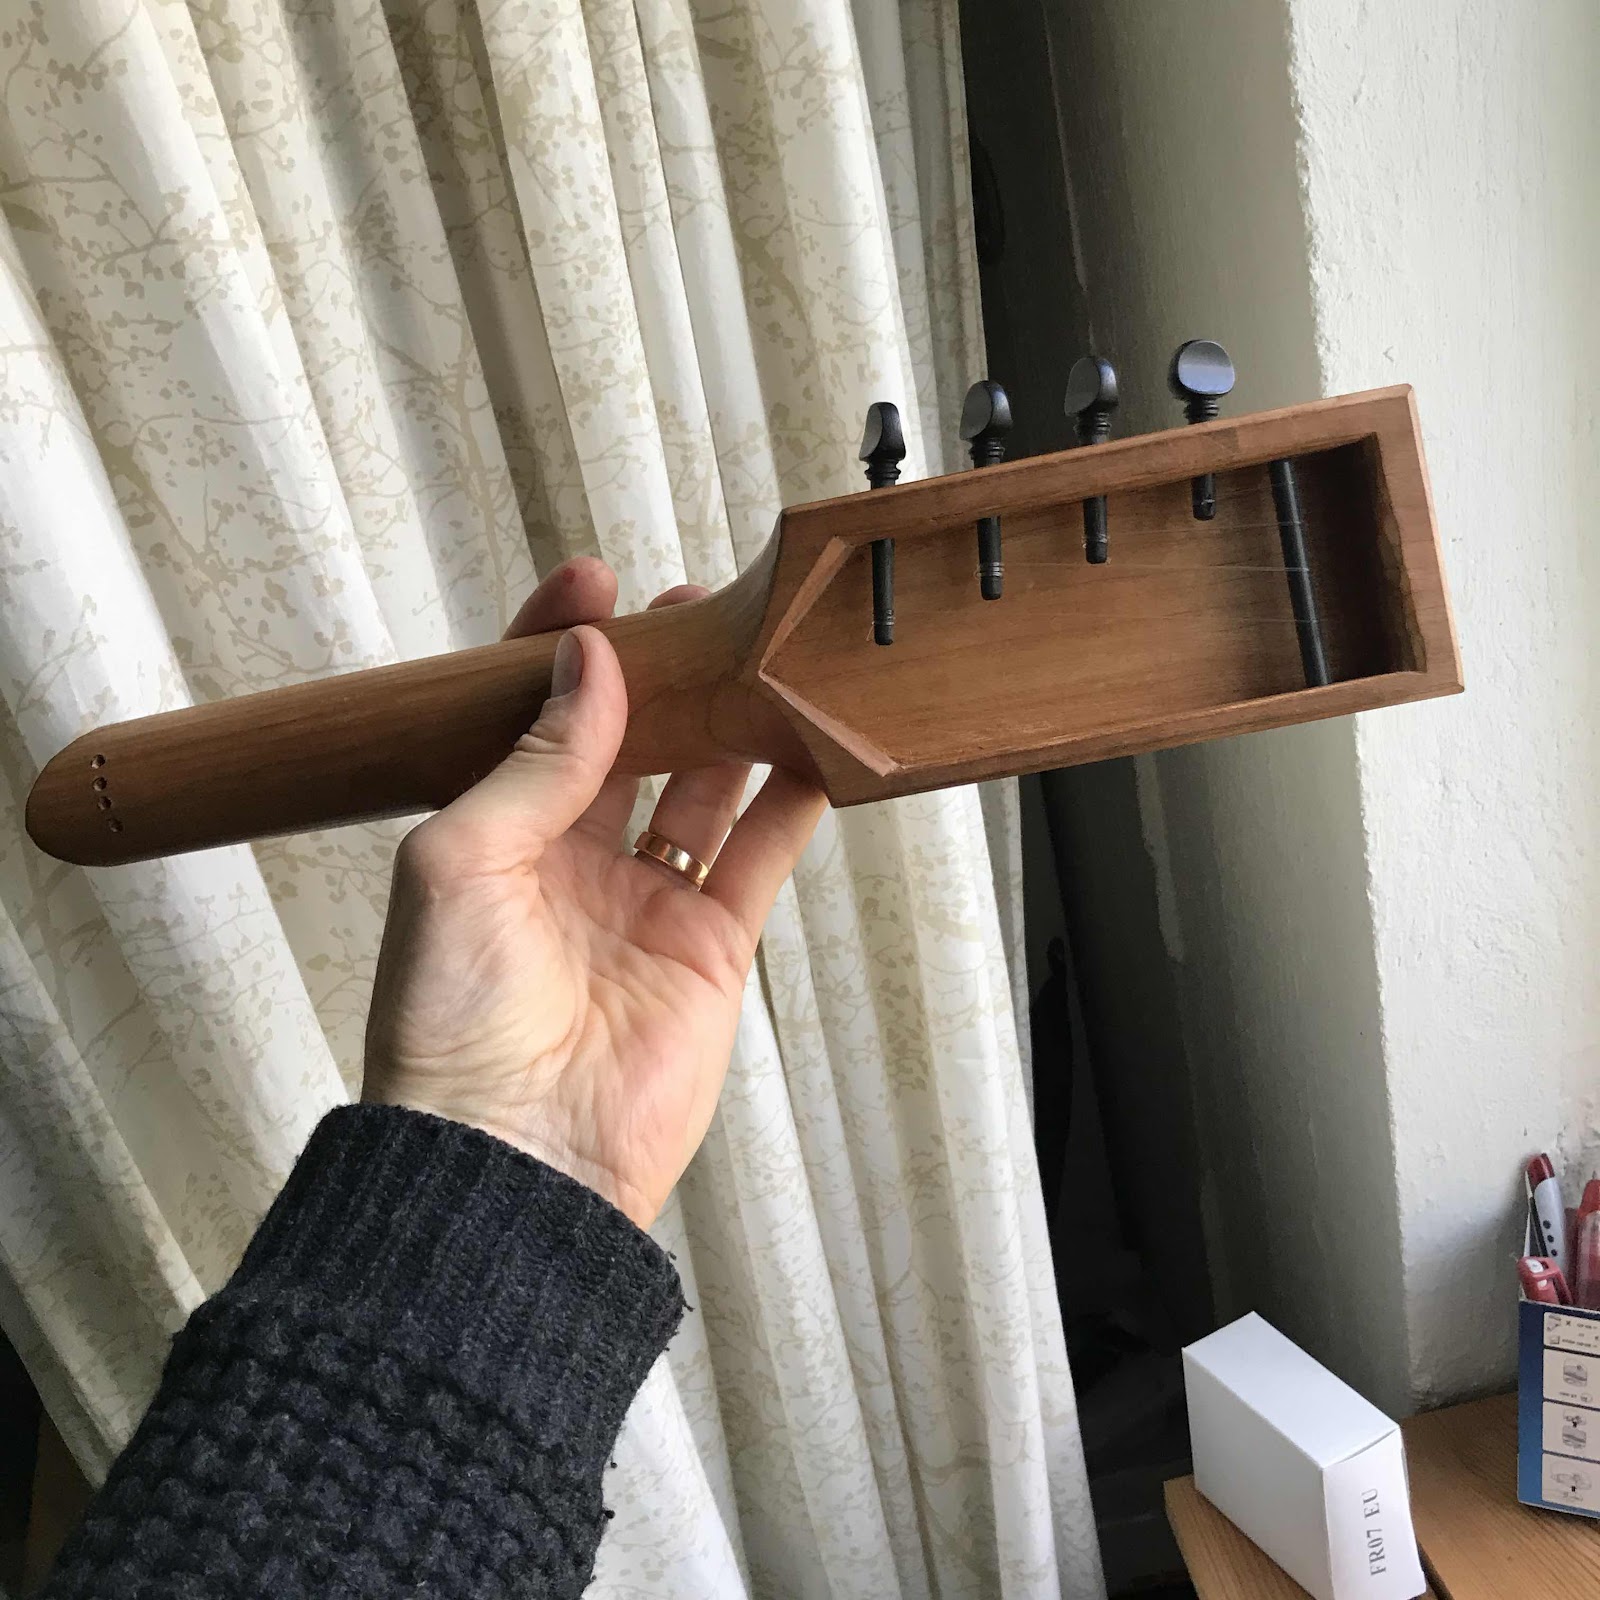


... and stamped. The ZS means it’s not been touched by sandpaper. All surfaces are made with sharp cutting tools. 


Oh, and this guy. Ambitiously carved and dyed towards the cherry red of yesteryear. 


I think it’ll be killer. 


Tuesday, June 4, 2019

More prögress on the travellers

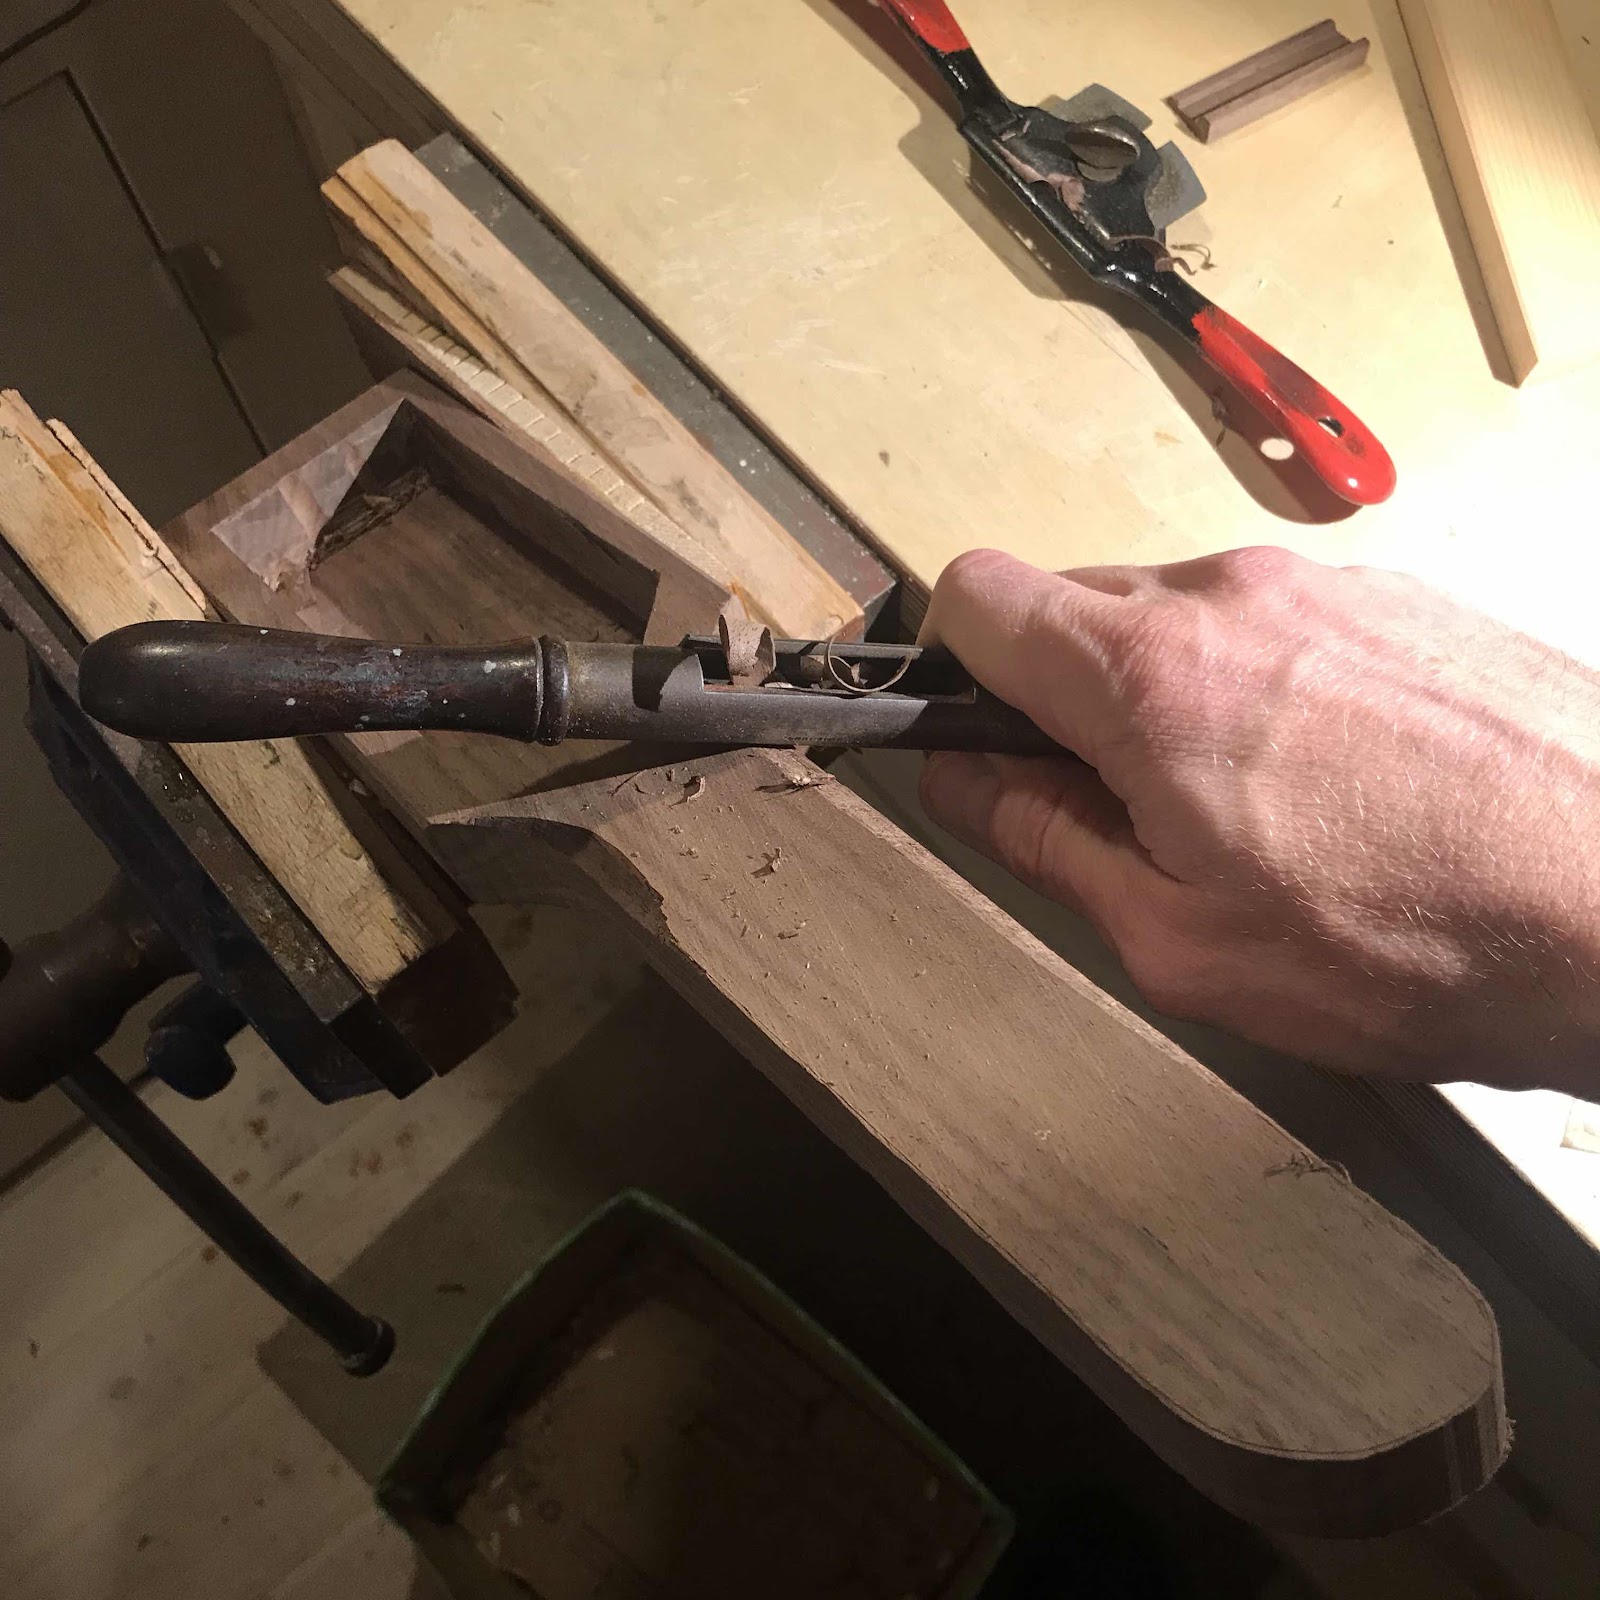
I finished the travel uke you’ve seen me working on, but instead of taking pics I wrapped it up for shipping! Stupid, I know, but it meant I had to crack on with the other I have on the bench. Starting out by carving the neck, I opted to skip the entry point carve and go directly for some spokeshave action.

In the pic you see my Miller’s Falls cigar spokeshave, a cylindrical kind that is extremely fiddly to sharpen and set up. In fact I haven’t had that much success with it before, but this time my mindset must have been just right because it worked wonderfully. The point of the cigar shape is of course that you can do very tight inner radii curves.


And it leaves a fine surface. This’ll go into the zero sanding series.


The straight Stanley spokeshave and the Little Victor plane also helped, can’t remember if the small wooden spokeshave saw any action. In the pic it’s hiding under the wooden rule.


But later that day I thought better than I did in the morning and unravelled the packing on the finished Argapa 114. Just to show you.


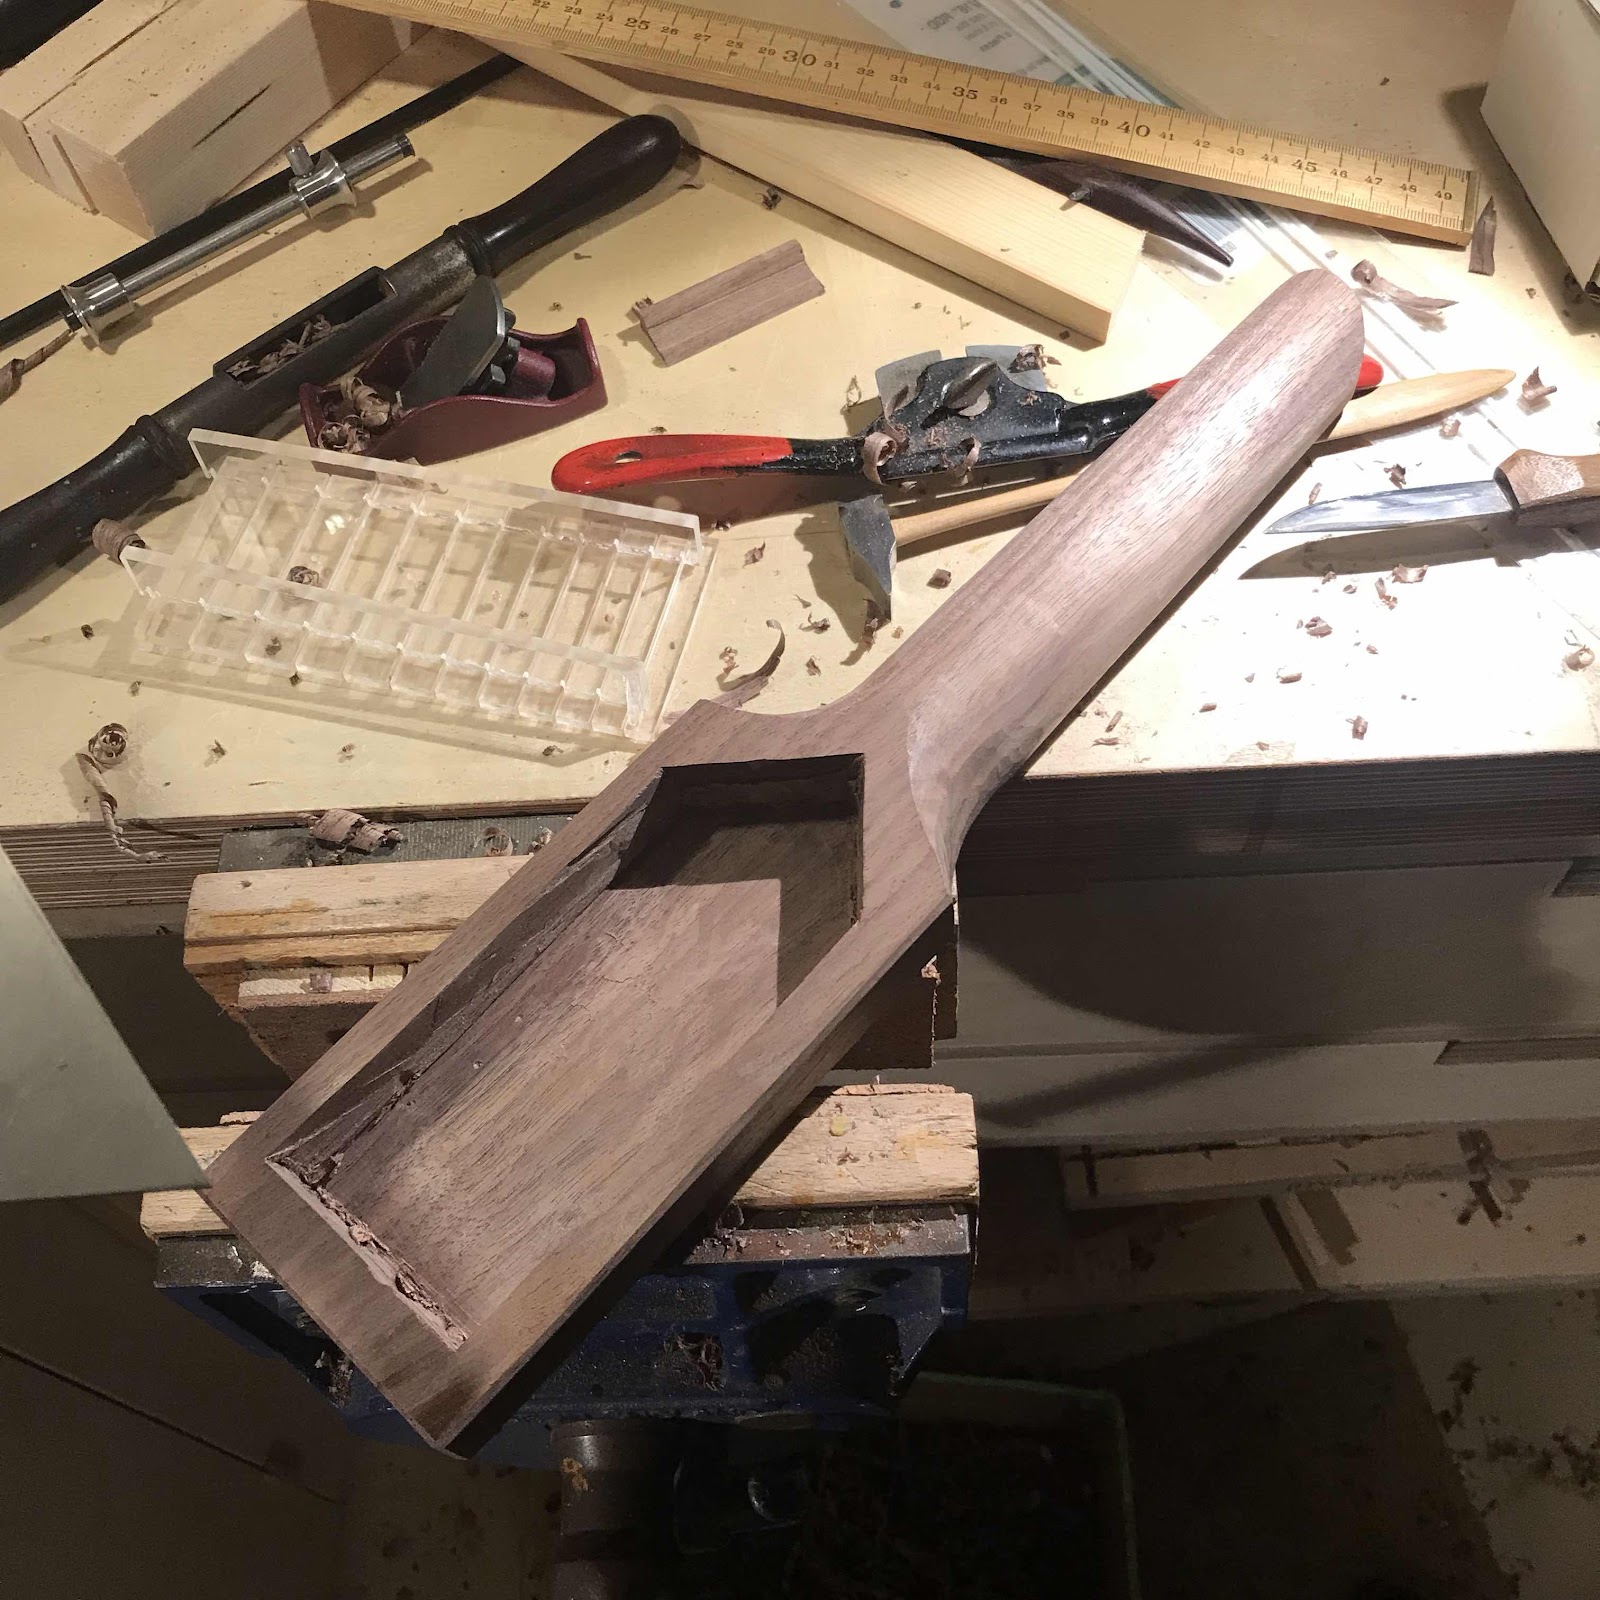
The hollowed out backside is a bit rough. I need a spear point blade for my Record router, I imagine it would cut more cleanly.


The last two pics were taken at the office btw. You won’t find carpet like that at home. 

Monday, June 11, 2018

Piccolo, back glued on

Just a quick report of what I did this morning before running off to the office. 

I clamped the piccolo on the workboard with the matching solera insert. I shim the neck to get the correct angle, this is held by the back. Determining the height of that shim was very complicated so I store it in a safe place. 


With a mdf caul I clamp the back with slats of wood geld down by long screws with wingnuts. 


And after clamping I check for squeeze out around the body with a mirror. 


Saturday, June 9, 2018

Mock lute soundboard and piccolo assembly

Having done the back of the mock lute I started on a spruce soundboard. I needed to access the innards of the body to reinforce some seams of tricky geometry, that’s why I build backwards this time. 

A sharp number 4 plane with a cambered blade rushes through the wood as if it was a thick dairy product. Butter or cheese. 


Then I made the rosette channel with my rosette cutter, easily the coolest tool I ever invested [rather heavily] in. Two cuts with a knife-like blade, then some routing with a narrow chisel blade. 


I bent a mahogany strip on my secondary bending iron. It’s a huge soldering iron with a tip for, I think, de-horning cows. It gets crazy hot really fast so I have it plugged in for a couple of minutes tops. 


After some fiddling it fit, the strip is 0.5 mm so four turns to fill the 2 mm slot. 


I glued with thin, and after that medium ca glue. Here’s me paring it down once the glue is dry. With a Narex paring chisel. 


Bracing in the go bar deck, after this pic I added a single brace across the bridge patch to secure the dome in the soundboard. 


And some miniature plane action. Of cöurse!


While the glue on the rosette dried I marked out a centerline on the cherry piccolo, and matched the neck to the body. Avoiding sandpaper means you have to have sharp scrapers so I had to build a sharpening jig for my Stewmac ultimate scraper. 


And here it is after assembly. The still square lute soundboard behind it reveals the jumbled timeline, but hey - it’s my blog and you can cry if you want to. 


Sunday, April 15, 2018

Another zero sanding piccolo

I had yet another request for a cherry piccolo, by someone who promised to play tango music on it. How could I say no. I couldn’t, and thought it’d be nice to bring it to MUMF in May, finished or half finished. 

The pieces I had kicking about were very uneven both in shape and in thickness. So I set out with scrub plane, jack plane and a few more planes. The jack plane has a new replacement iron from Hock and cut just beautifully. Of course it made me want to do this zero sanding style. 

It’s tricky to clamp the piece down so I used my planing board with stopping strips at two edges. 


I shot for 1.6 mm thickness. When it’s this thin it may want to buckle and crack so I put a lot of my albeit wee body weight on the plane. 


Then I marked out the contours for the front and back. A transparent template makes it easy to line it up with the grain direction. The outer line is drawn with a washer, offsetting the mark an exact distance all around. 


Then the long piece for the rim. This is even more difficult, you can only clamp the back end or it will buckle and shatter. I had to use a small block plane to get at the spots where the clamp was, going almost against the grain. 


But it was a success, 1.6 - 1.7 mm over the entire length and a surface almost as hard and shiny as a piece of glass. So I bent the rim on the iron and put it in the mould. 


Then after the rim had sat for a couple of days I reversed two clamps to spreader clamps and forced open the slot at the top of the mould, enough to get a saw in to cut the rim to length. 


I grabbed an offcut from the travel uke and ripped it to get an end block. I need to set the teeth of this saw, it tends to bind in the kerf. 


My wee bench hook is great for cutting and squaring small parts. Here I use it as a shooting board to plane the ends of the block. 


And here it is, glued and clamped in place. Now I’ll take a break to do some shopping, pack a bag and go to Africa for a few days. Day job is still painfully necessary. 


Saturday, April 7, 2018

Traveller mk II completed

Of course I use the regular wooden violin pegs for the traveller, but the geometry makes it a bit different. The pegs need to be both thinner and longer to work, you’ll see why in a bit. 

To get them to a consistent taper I use the peg shaper, an advanced sharpener not unlike those for pencils. In this case I went further to get them thinner too. 


And why do I need them thin then. It’s because of my reamer, to get a larger hole it would need to go further in and it can’t of course, the width of the soundbox prevents that. I could cut my reamer off but don’t want to mess with an expensive tool. 


Here they are, the pegs. Before I cut them to length. To the right is the carbon fibre tube that guides the strings. It’s not perfectly perpendicular to the sides. I guess it’s true then, only Allah can achieve perfection. 


Here it is next to the OG, number 102. This new one is number 105, I really should pick up the pace. You can see the extra bit at the nut end, it really does help and makes it a lit easier to play first position chords (which means playing at all in my case).


And from the back. If I ever build another I will make the recess first, then cut the board to length and width. I must remember that. 


As it wasn’t ever touched with sandpaper I included the code ZS for zero sanding. This uke will be for sale at or after MUMF in May. 


Wednesday, April 4, 2018

Travel uke mk II, cont.

Worked on two different ukes in parallel yesterday, but will again limit the blogging to just the travel uke. 

First pic shows the carved neck. It was very different to carve one without heel and headstock; and not easier. For some reason the end was hard to get straight so I was glad I hadn’t cut it to length before carving. And I decided to keep it as a zero sanding project, all surfaces shaped with blades.


... which of course made it hard to finish the surfaces on the inside. But scrapers got me quite close. The soundboard ended up being 1.5 - 1.7 mm. 


Then I cut the neck to length. Keeping a few centimeters above the zero fret was my main incentive for building this, so I hope I kept enough. 


Carving the end grain with a sharp knife gives it a glassy surface I’d never get with sandpaper. Others might of course, I just never developed the patience needed for going through the grits up to several thousands. 


Here I’m cutting off the aris along the neck edge with another knife, leaving a minute chamfer. The difference is hardly seen but instantly felt. 


Then sawing the fret slots. This is where I worked on another piccolo as well, and I took some pics of installing the fret markers on that. But that’ll be in another post. 


Looking at the thin wall of end grain wood at the butt I was worried it was weak. It was too uneven to glue in a piece of veneer so I sealed the outside with shellac and poured in some superglue on the inside. Maybe it’ll help. 


Here it is, fretted. And the other uke as well, the all mahogany piccolo. I continued by planing a tiny bridge for the traveller, 5 mm high to give me 2.5 mm clearance above the 12th fret. 


The bridge and the string through holes. I lined the holes with lengths of brass tube, or shorts really. It was very very fiddly - they’re only as long as the soundboard is thick!


And the holes at the nut end, or zero fret in this case. These holes go through the neck at angles, I got three of them right and the fourth right-ish. 

To finish this one I only need to install the carbon fibre tube and the tuners, then some more shellac.