Learning Ukulele 50 Sites Top 50 Ukulele Sites Argapa Ukuleles - one size louder: 10/1/20 - 11/1/20

Thursday, October 29, 2020

Fretboards

I picked out ebony fretboards for the Li’s soprano and the soprano reso. The tenor reso gets a walnut fretboard. There were some scratches from the drum sander so I hit them with the Mirka vacuum sanding pad. 


Then I planed the edges with my Stanley no.6. This is important as it must fit along the edge of the template and be snug in the jig. 


And forget about double-stick tape. Last time I used it it messed up the surface of the template and the goo is still there. Now all cool luthiers are using the masking tape and superglue trick. Matching strips of tape on the piece and the jig, rub them down with something hard (most often the base of the glue bottle), then some drops of glue on one part and a shot of the accelerator spray on the other. Press together and it sticks stronger than double-stick tape and won’t leave sticky residue. 


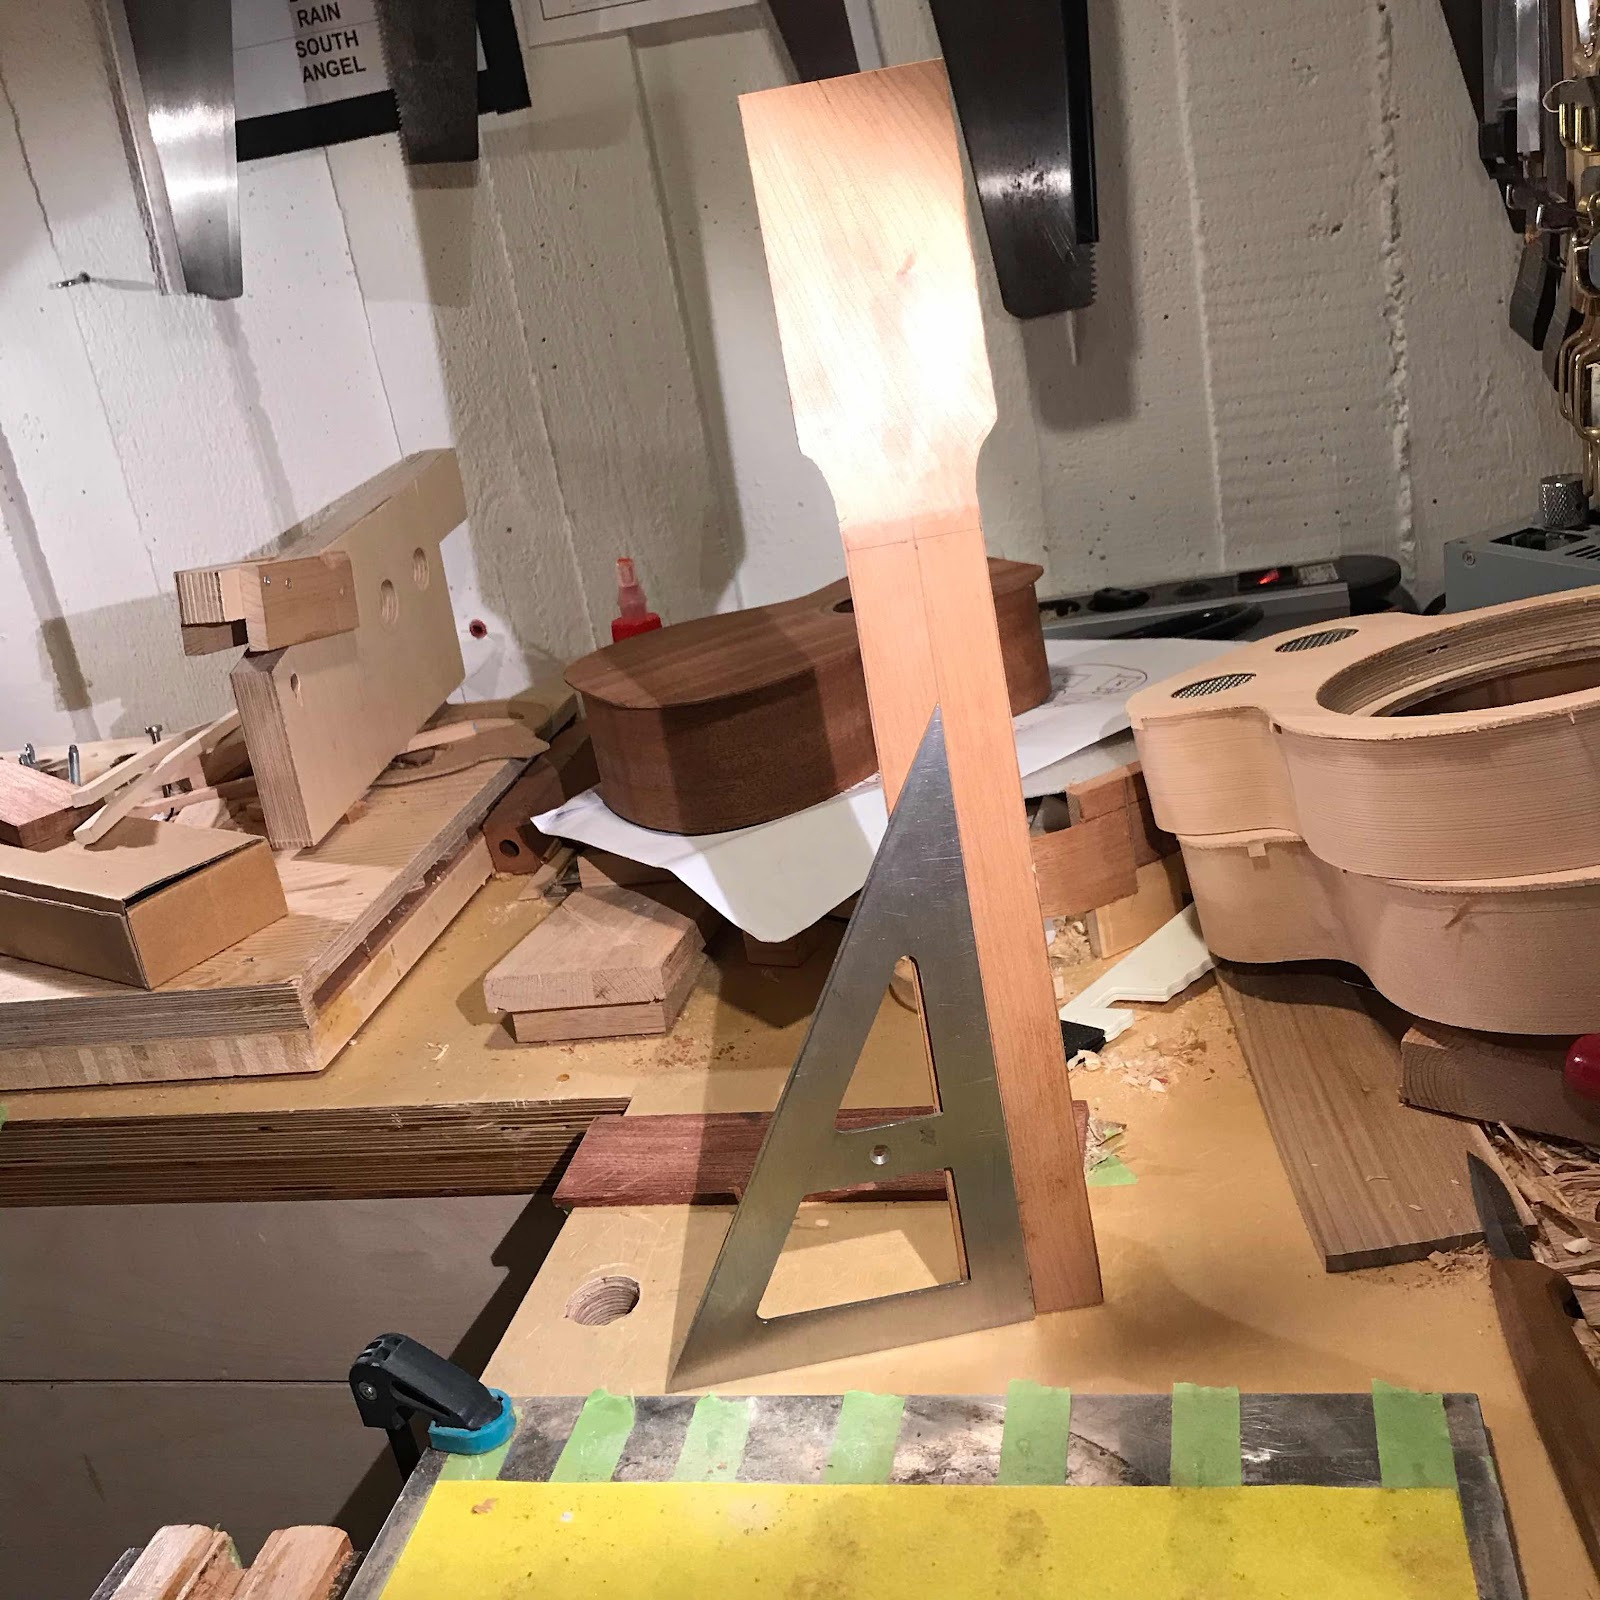
The fret saw jig takes less than two hours to set up, but not way less. It was quite expensive and it’s cumbersome to use, and right after I bought it they made an upgraded version with roller bearings and thumb screw adjustments. I like the template but it needs two small strips of thin plywood wedged in to keep the setup rigid. You can see a strip in the top corner. 

So all things considered, not a great piece of kit I’m afraid. 


Doing the actual sawing takes 10 minutes. 


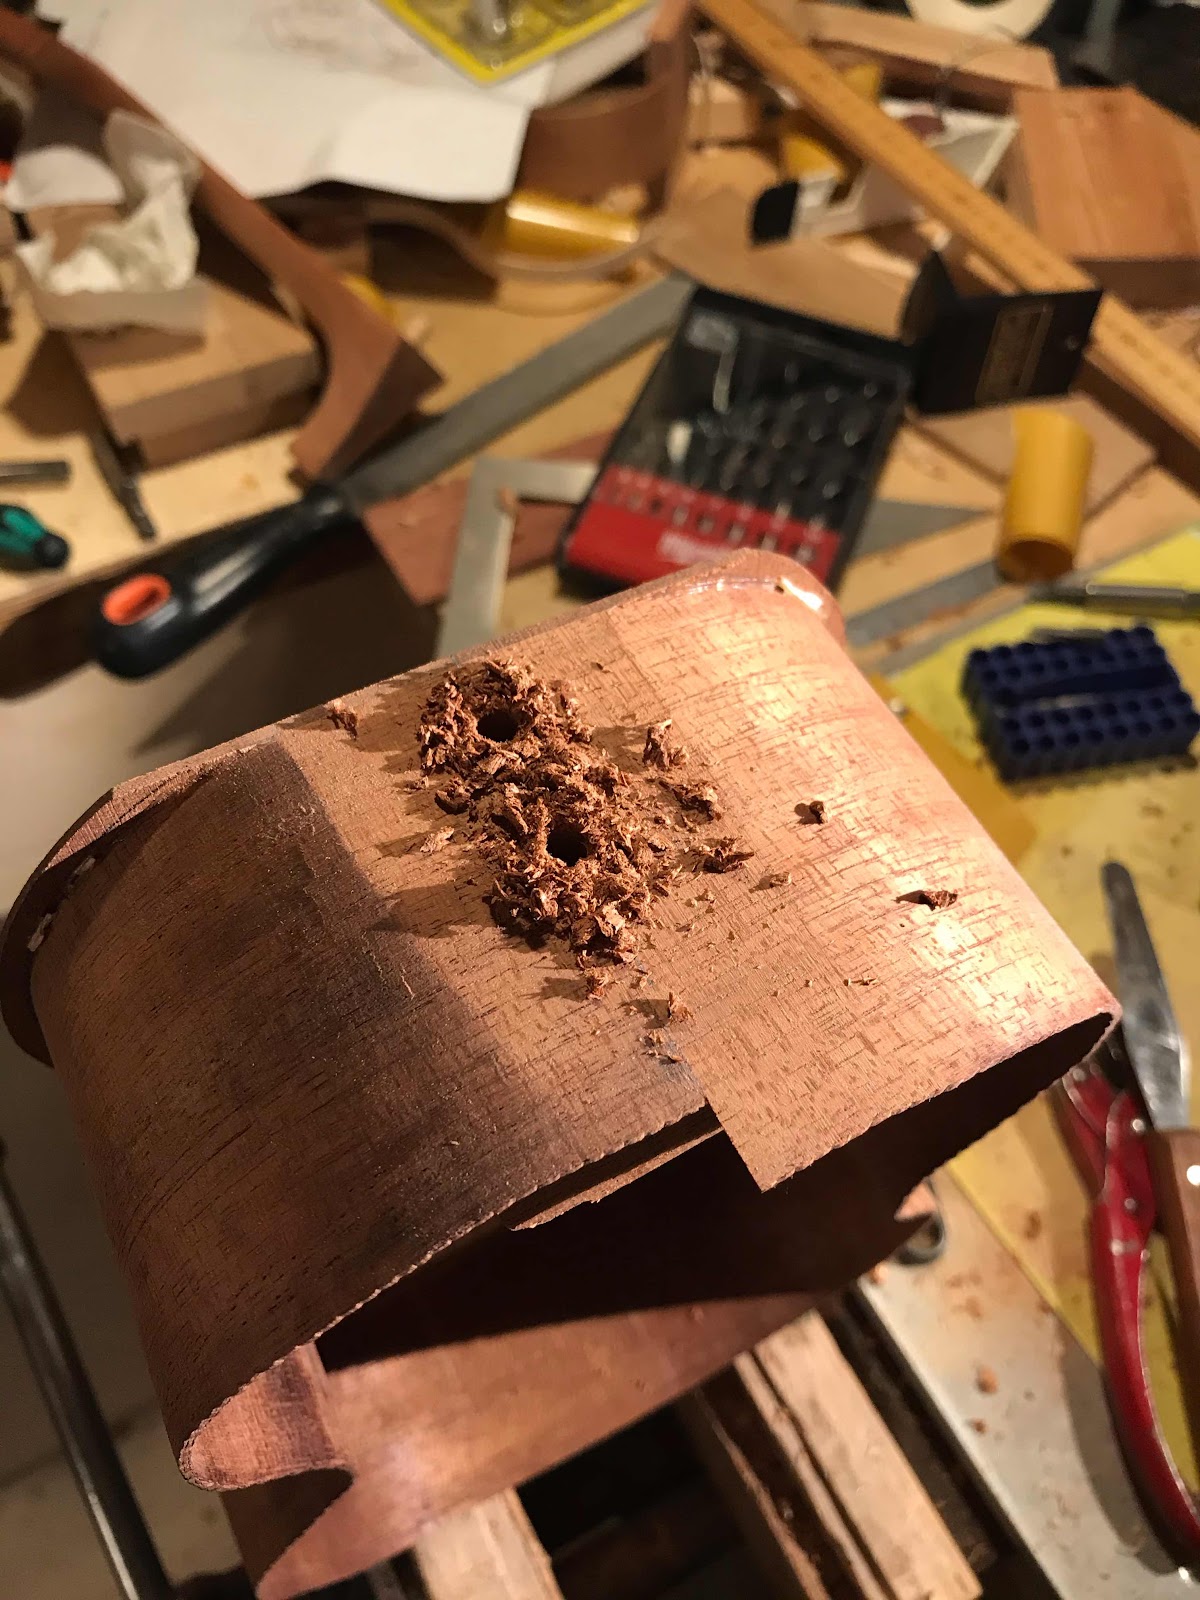
And speaking of fretboards - it’s no good keeping a bunch of faulty ones taking up space in the workshop. I got these from a well meaning dude in Italy six years ago, he’d bought them from a supplier but found the scale length to be shorter than what he wanted. So he sent them to me as I was dabbling with piccolos. But sadly they were crap, the frets were placed all wonky. 

So I put them to better use this weekend... 


... and grilled a side of ribs from a deer I bagged last week. 


Wednesday, October 21, 2020

Glueing and trimming (without a power router)

It was time to glue the back onto the soprano. After the braces were glued in I rubbed the whole assembly in the radius dish to get everything even. I chose to exaggerate the curve a bit so it’s more dramatic from end to end than it is from side to side. 


And the clamping strips. This setup works really well. Since it is a one piece back I didn’t bother with those small blocks to prevent slipping. No centre line to mess up this time. There are other advantages to one piece backs and soundboards of course, such as less work in preparing them and far better looks. 


The next day I started trimming the back to be flush with the rim. And what fun I had - a sharp Mora knife with its scandi-grind bevel takes an aggressive bite but lets me control the cut all the way through. 


Here it is on the alder reso, cutting off large sections in no time. 


And the pine reso. I mean, look at those curly chips. You see why this post devolved into what it became. 


Tuesday, October 13, 2020

Back at it*

*Are the puns getting a bit much? I’m just getting started. 

I took down the sides to match the desired curves and clamped the uke down on the solera. I want the geometry to be correct for ghe next steps, before the stability of the shell is completed. Then I glued in the kerfed lining strips. In the pic you can see how I check the glue squeeze out with a mirror. 


After planing down the kerfed lining to the sides I made notches for the back braces and installed them, of cöurse using my Japanese brass clamps. 


Then I turned to the resos. I planed the heel down with my Veritas apron plane, a very versatile tool. 


To get the backs properly in place I glue individual tentalones around the body to stop it from sliding around. This is less important if I have a one piece back, but good practice when I have a book matched back with a seam in the middle. 


I cut the backs out, roughly. It’s much easier to clamp it all together if the overhang is less. 


And again using the two of them to clamp each other, with a layer of foam in between. That gives me pressure across the whole surface, and I can see the right amount of squeeze out in the sound well. 

Next up is fretboards for the resos, and the back goes onto the sop. 


Saturday, October 3, 2020

Neck joints

To get the necks in place I go through a number of steps. I’m very pleased since I remembered them all this time, and in order to boot. 

First I planed off the overhang at the neck end of the bodies. With a sharp and well set up block plane it’s easy. 


You know I put some relief into the face of the heel, otherwise this next step is tricky. It would rock and create a convex surface. I check that the centre line is square to the sanding plate, constantly. 


And the other angle, because of the height of the biscuit, saddle and cover plate. And the rigidity of the plywood skeleton, of course. I can set the neck angle on an acoustic by clamping the uke down with a shim under the neck when glueing on the back. Does that seem complicated? I’ll show you when I get there. 


Here you can see the relief, and the hole for the barrel bolt. X marks the spot for the screw. 


And marking out for the corresponding hole in the body. Measuring and drilling by hand is actually safer than using my jig. 


The resos, done. And as you can see on the mahogany neck I glued in the cross grain dowel, as I’m going for The New Argapa Neck Joint. 


Two holes in the body through the neck block, for the two wood screws that’ll hold the neck. 


Glueing in a dowel seems stronger, I add a piece that will hold the screw threads better than the end grain. The barrel bolt connection is strong too but in it I remove material and put some strain on the end grain in the face [of the heel]. Maybe I should start using this method on the resos too. But then again, the back will always cover the heel and the fretboard will secure the neck at the top so probably screws of any kind are overkill.