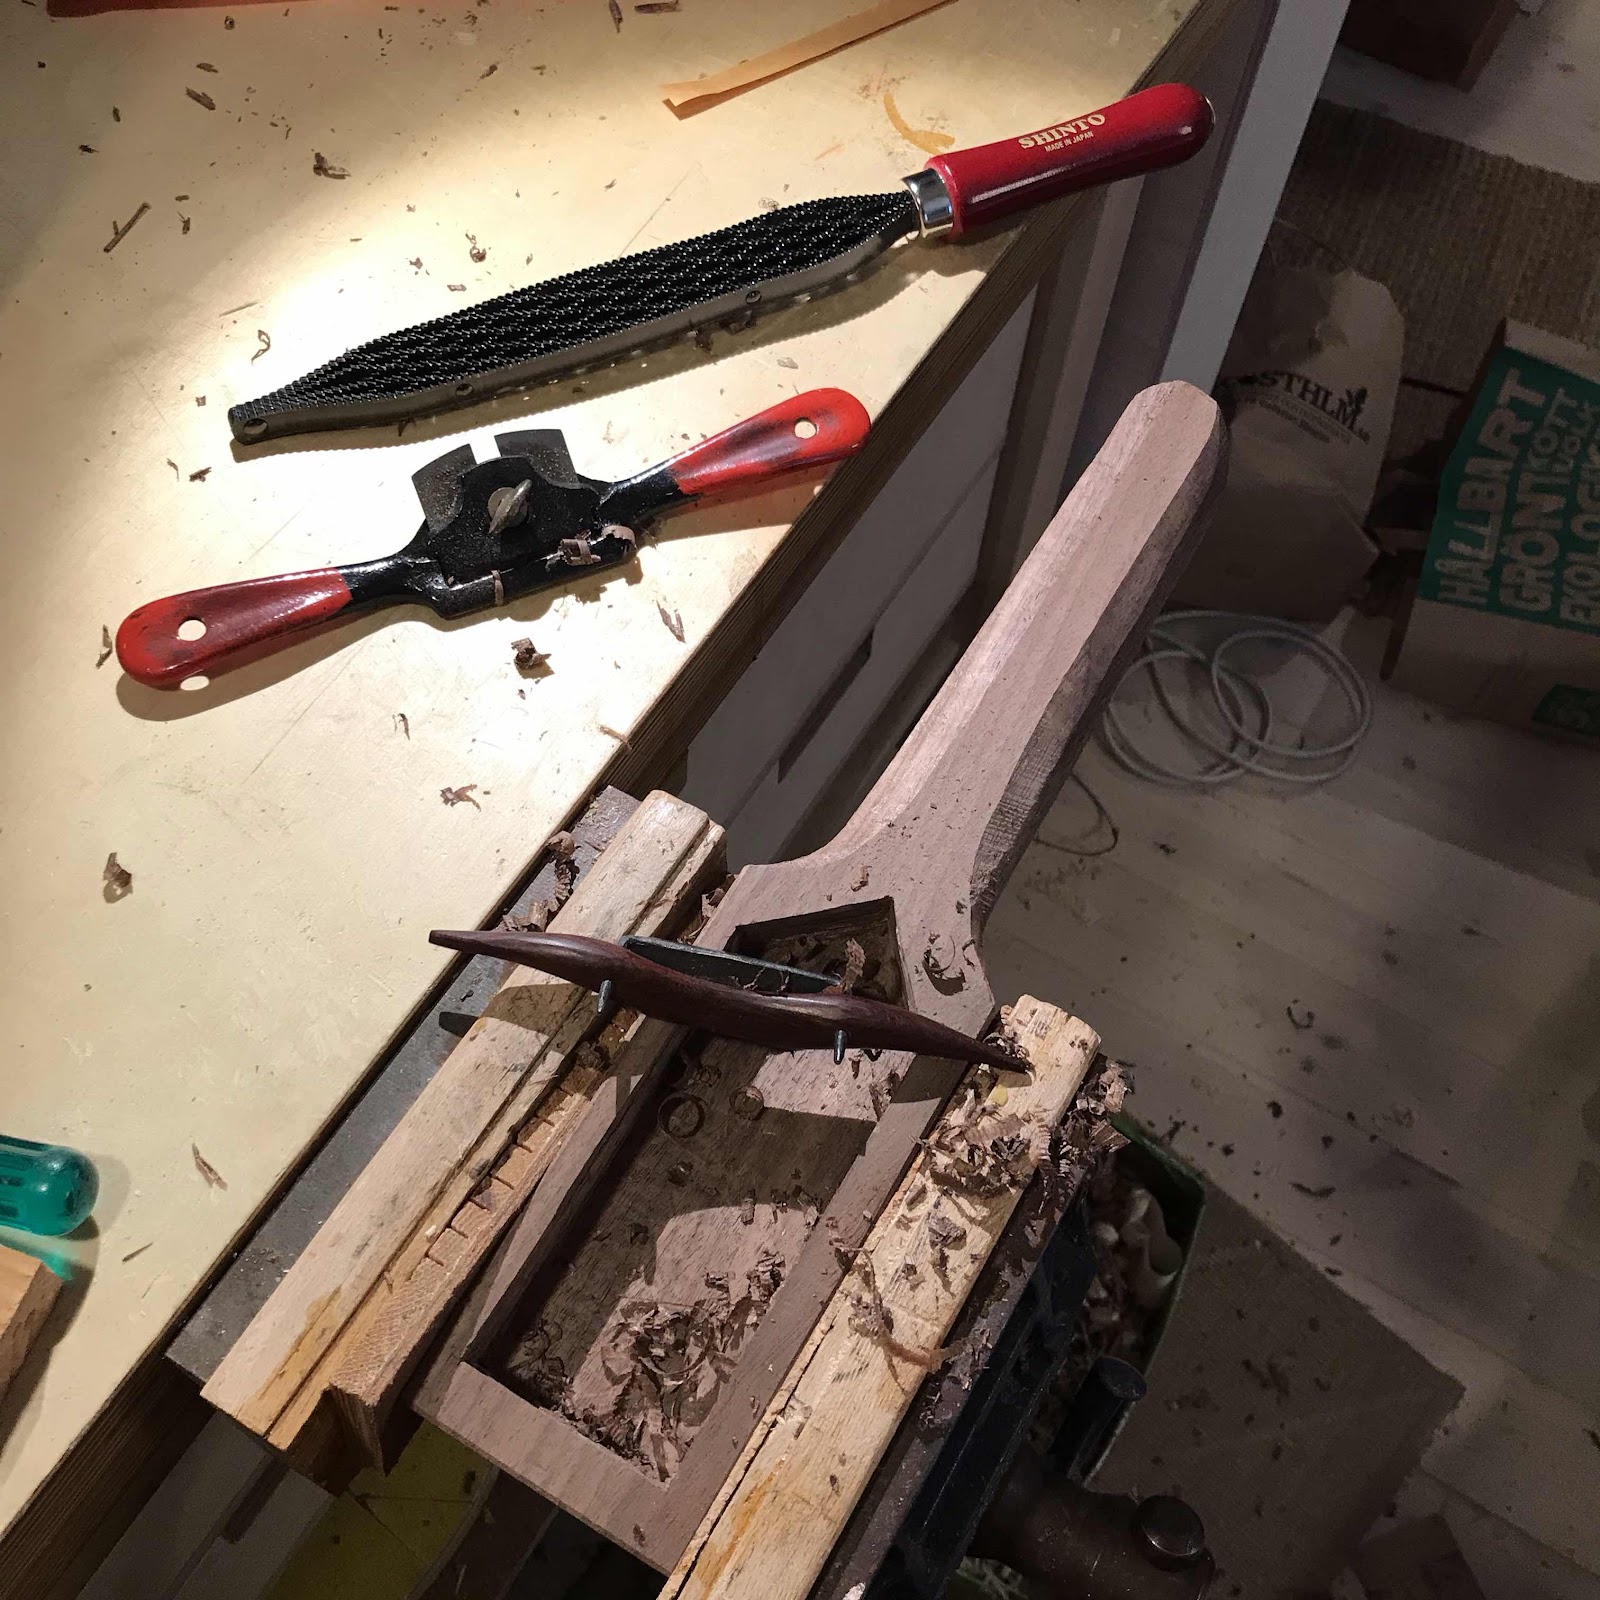
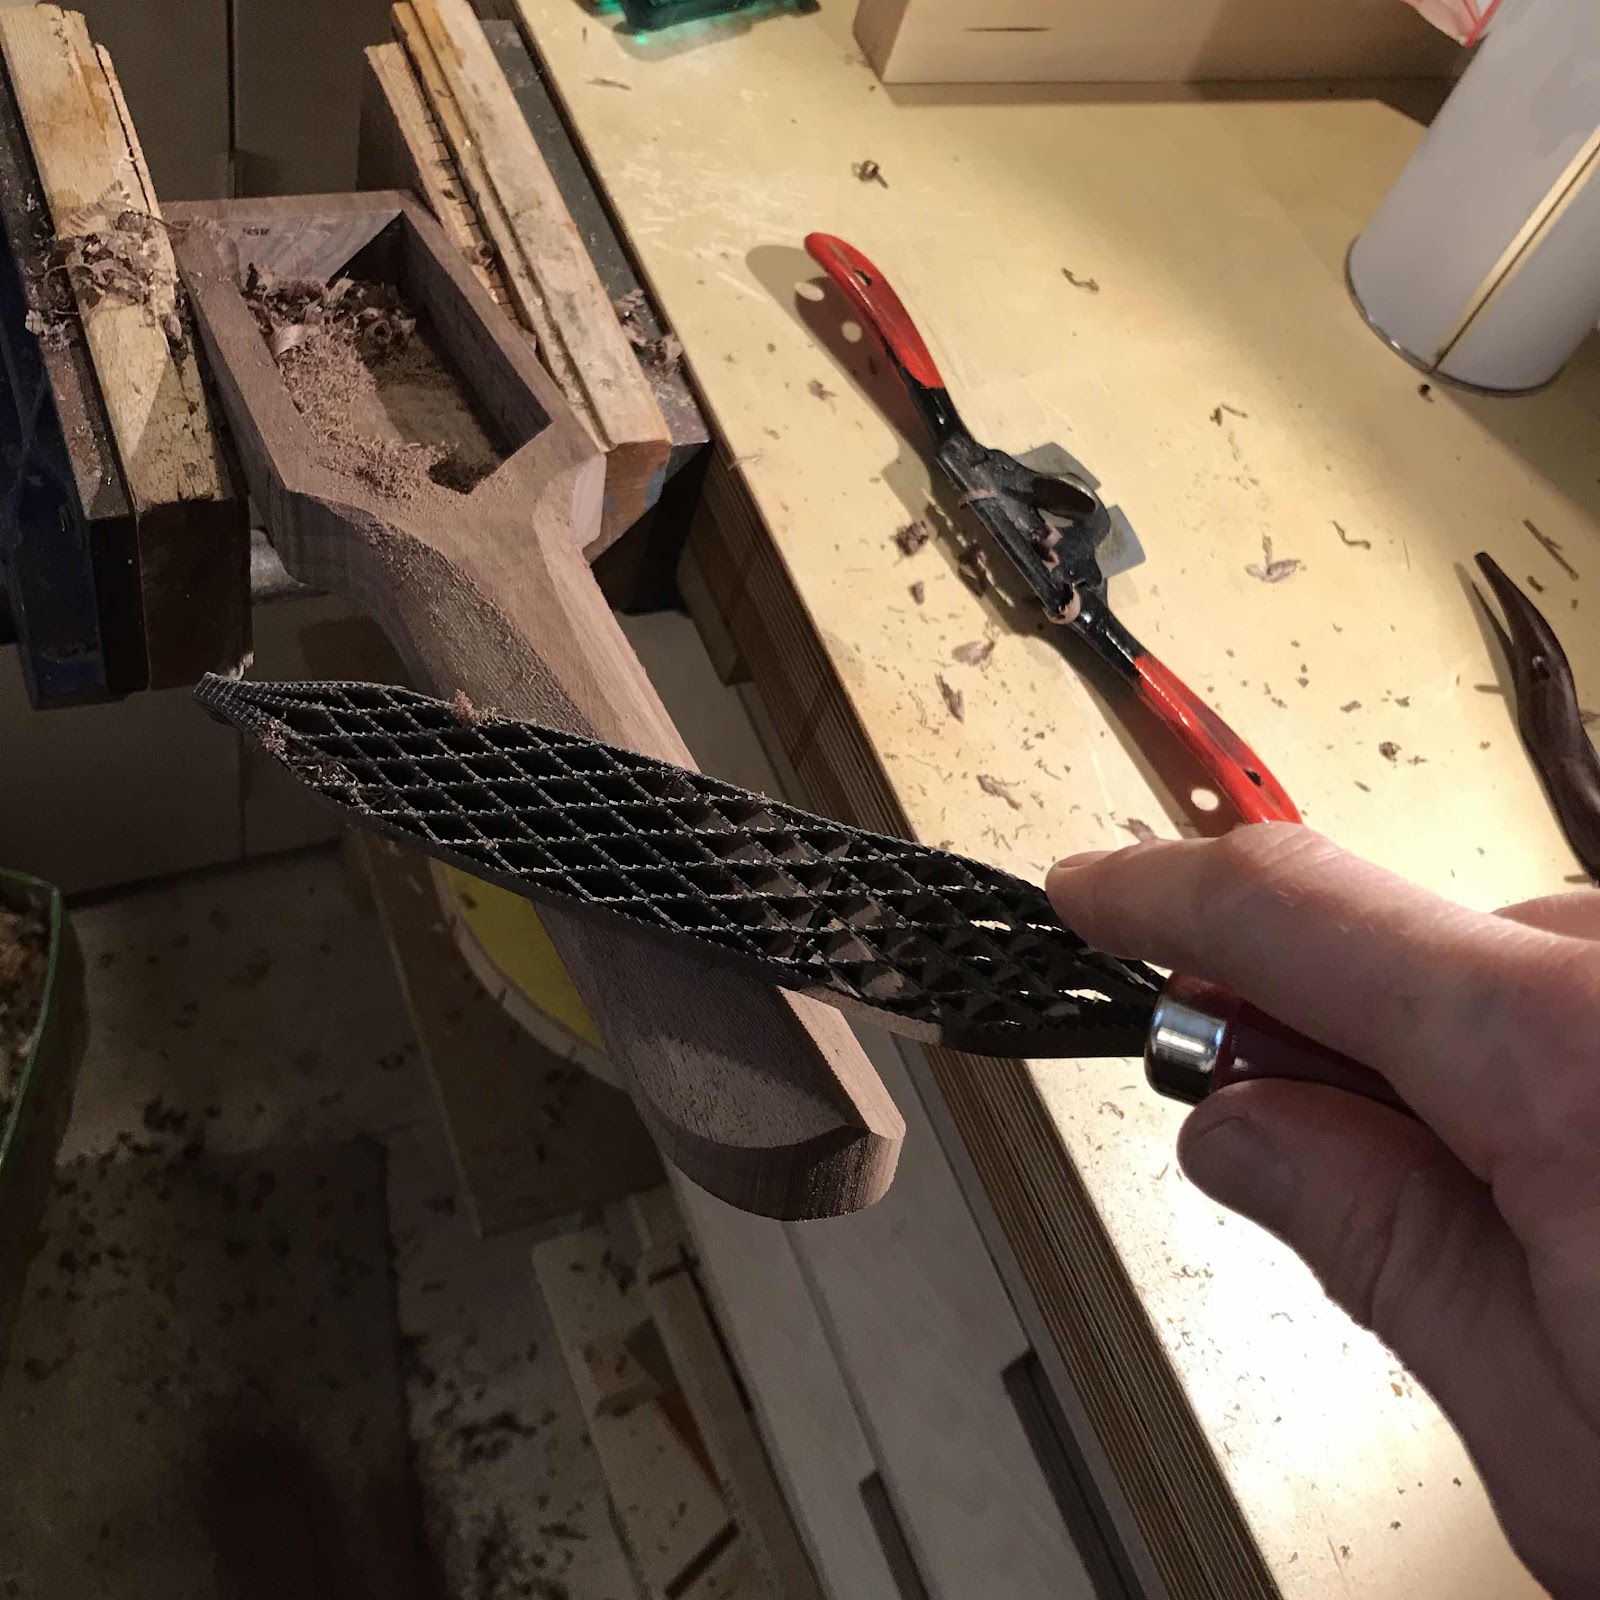
The first travel ukes I made had a fairly intricate arrangement for passing the strings through the soundboard behind the bridge. I used bits of a tiny brass tube and made ferrules. It was hell. So for this I quickly invented a new bridge with a thin part behind the ridge to double up the wood there, hopefully eliminating the need for ferrules.
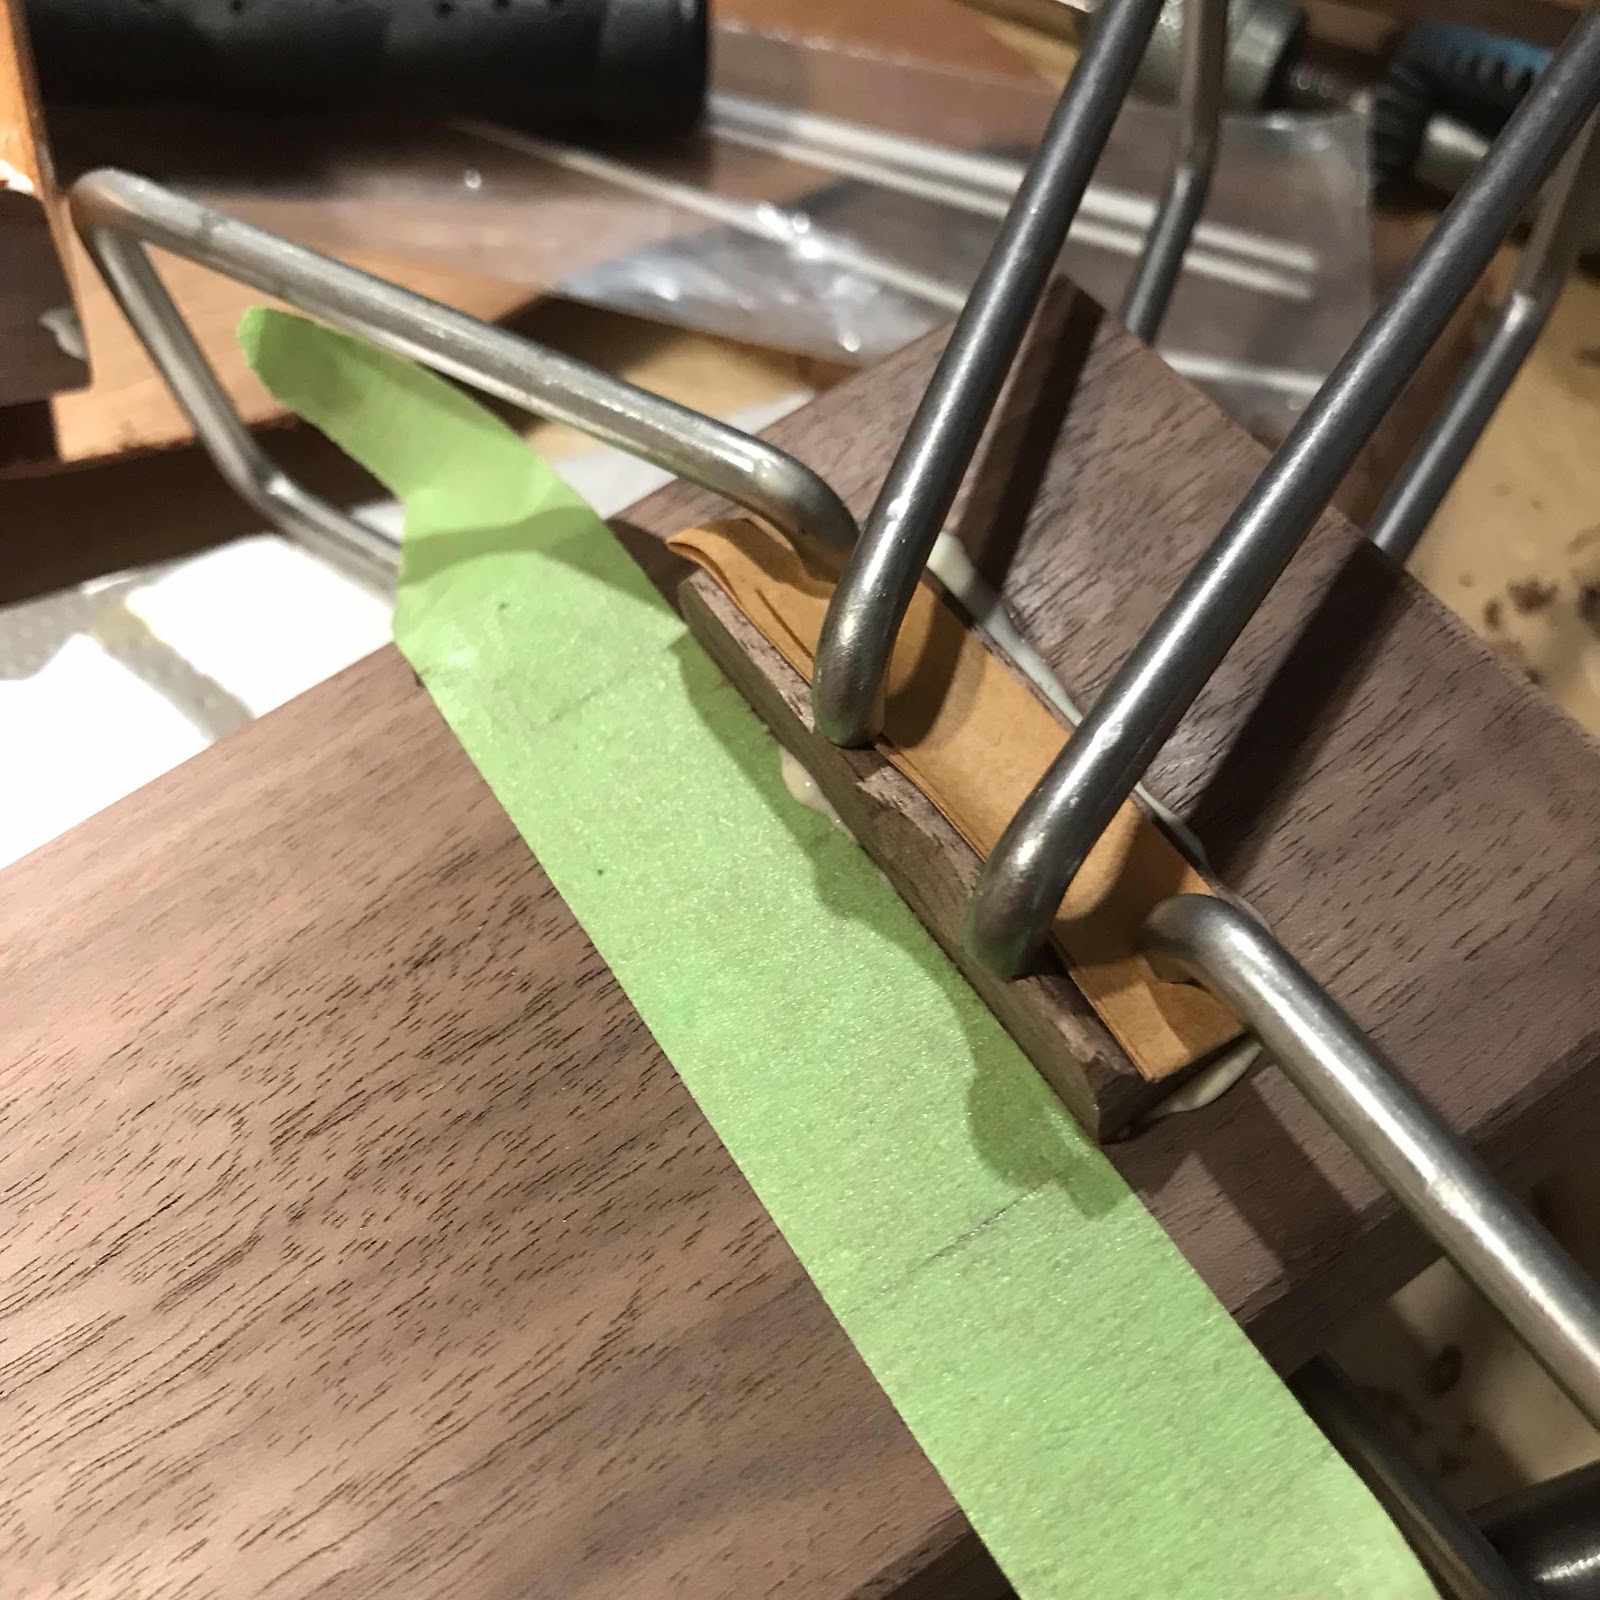
It’smore visible here. The small ledge is for aligning the holes and to avoid having a visible super thin edge meet the soundboard. I don’t know. I’m making it up as I stumble along.
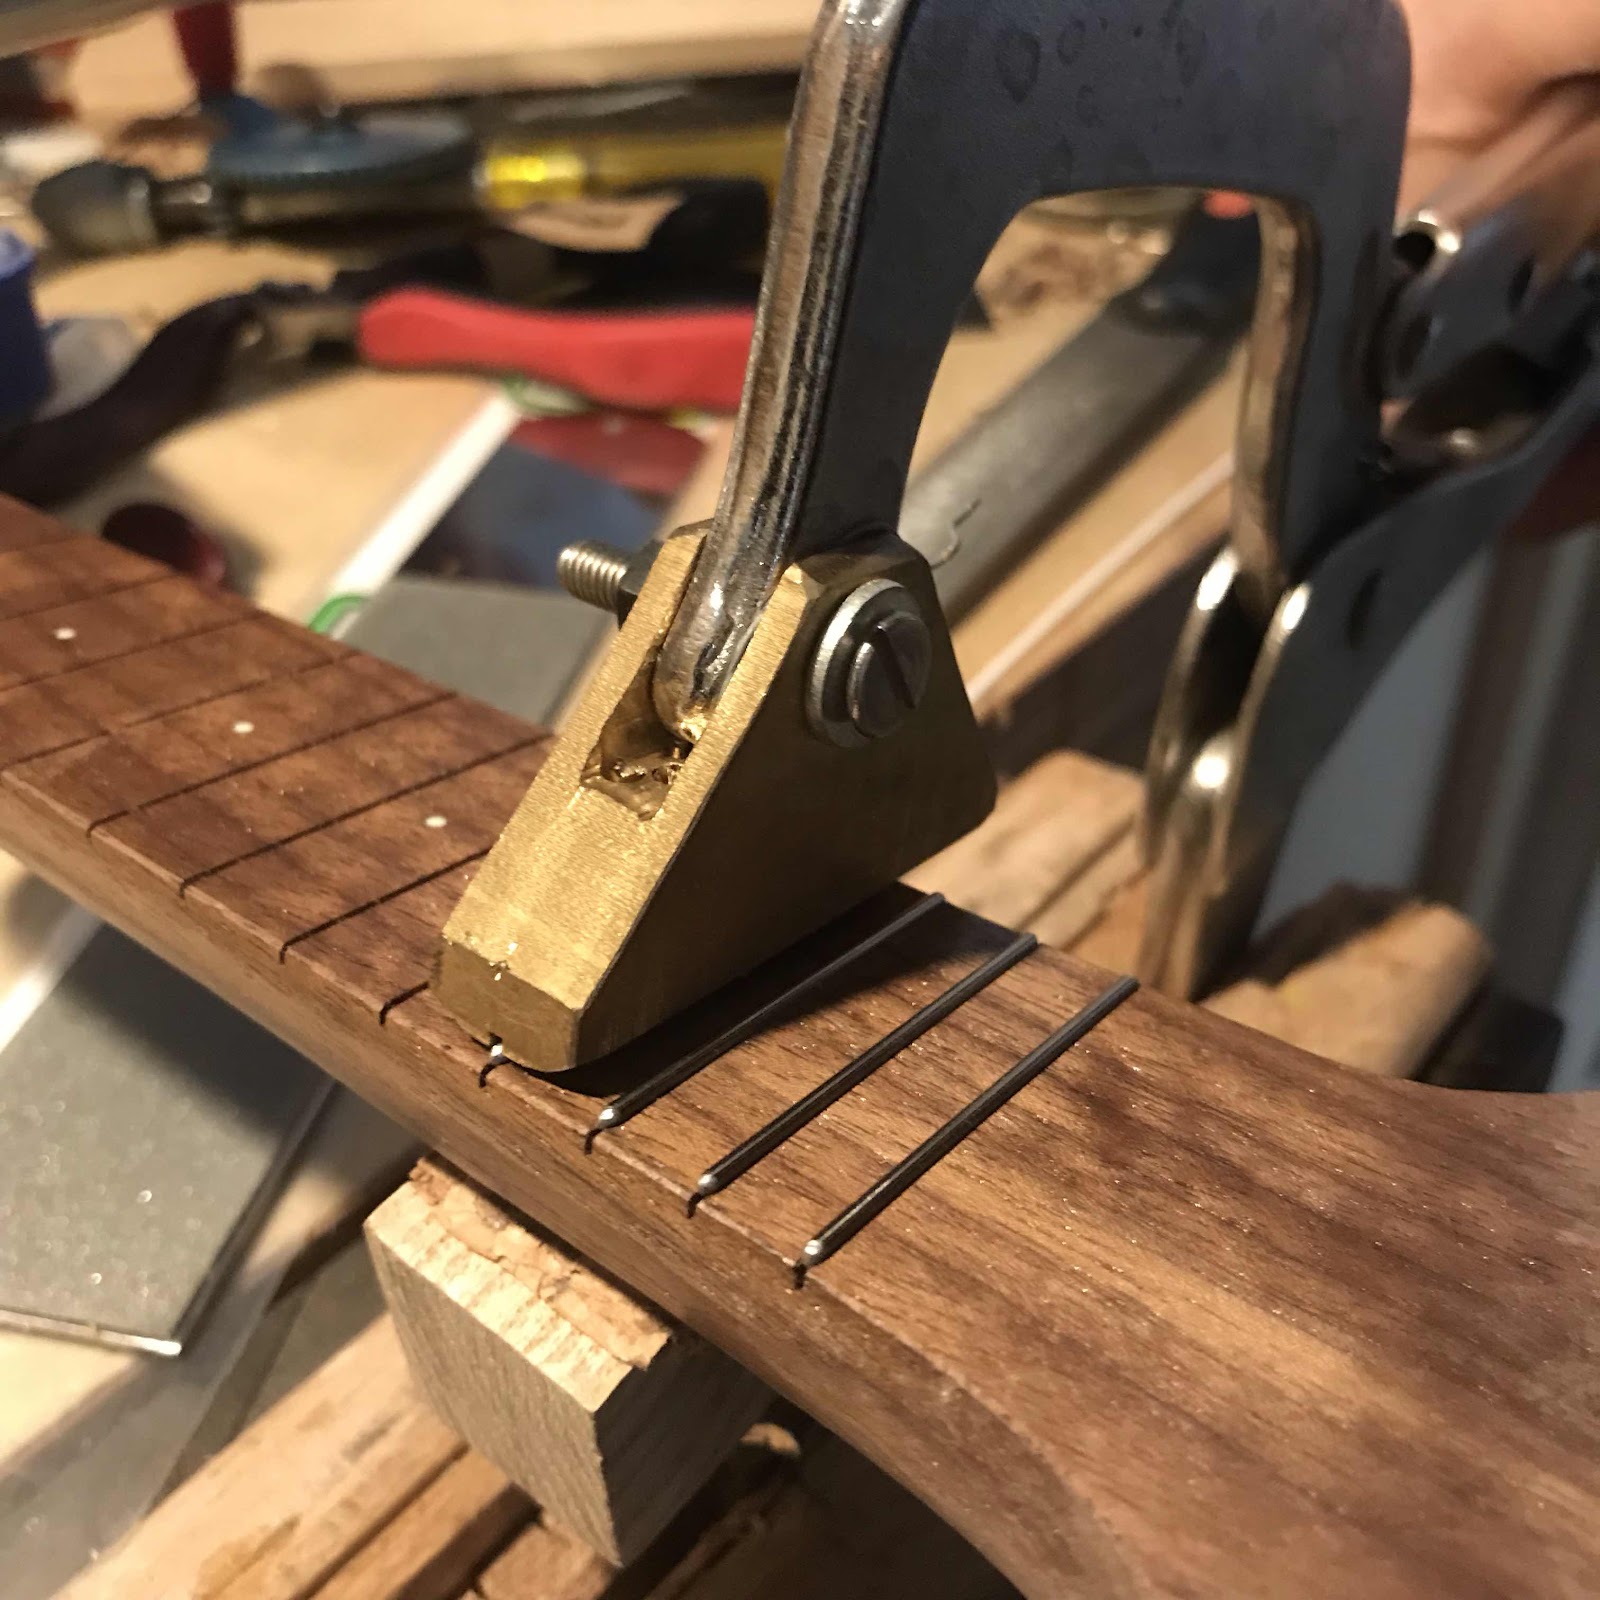
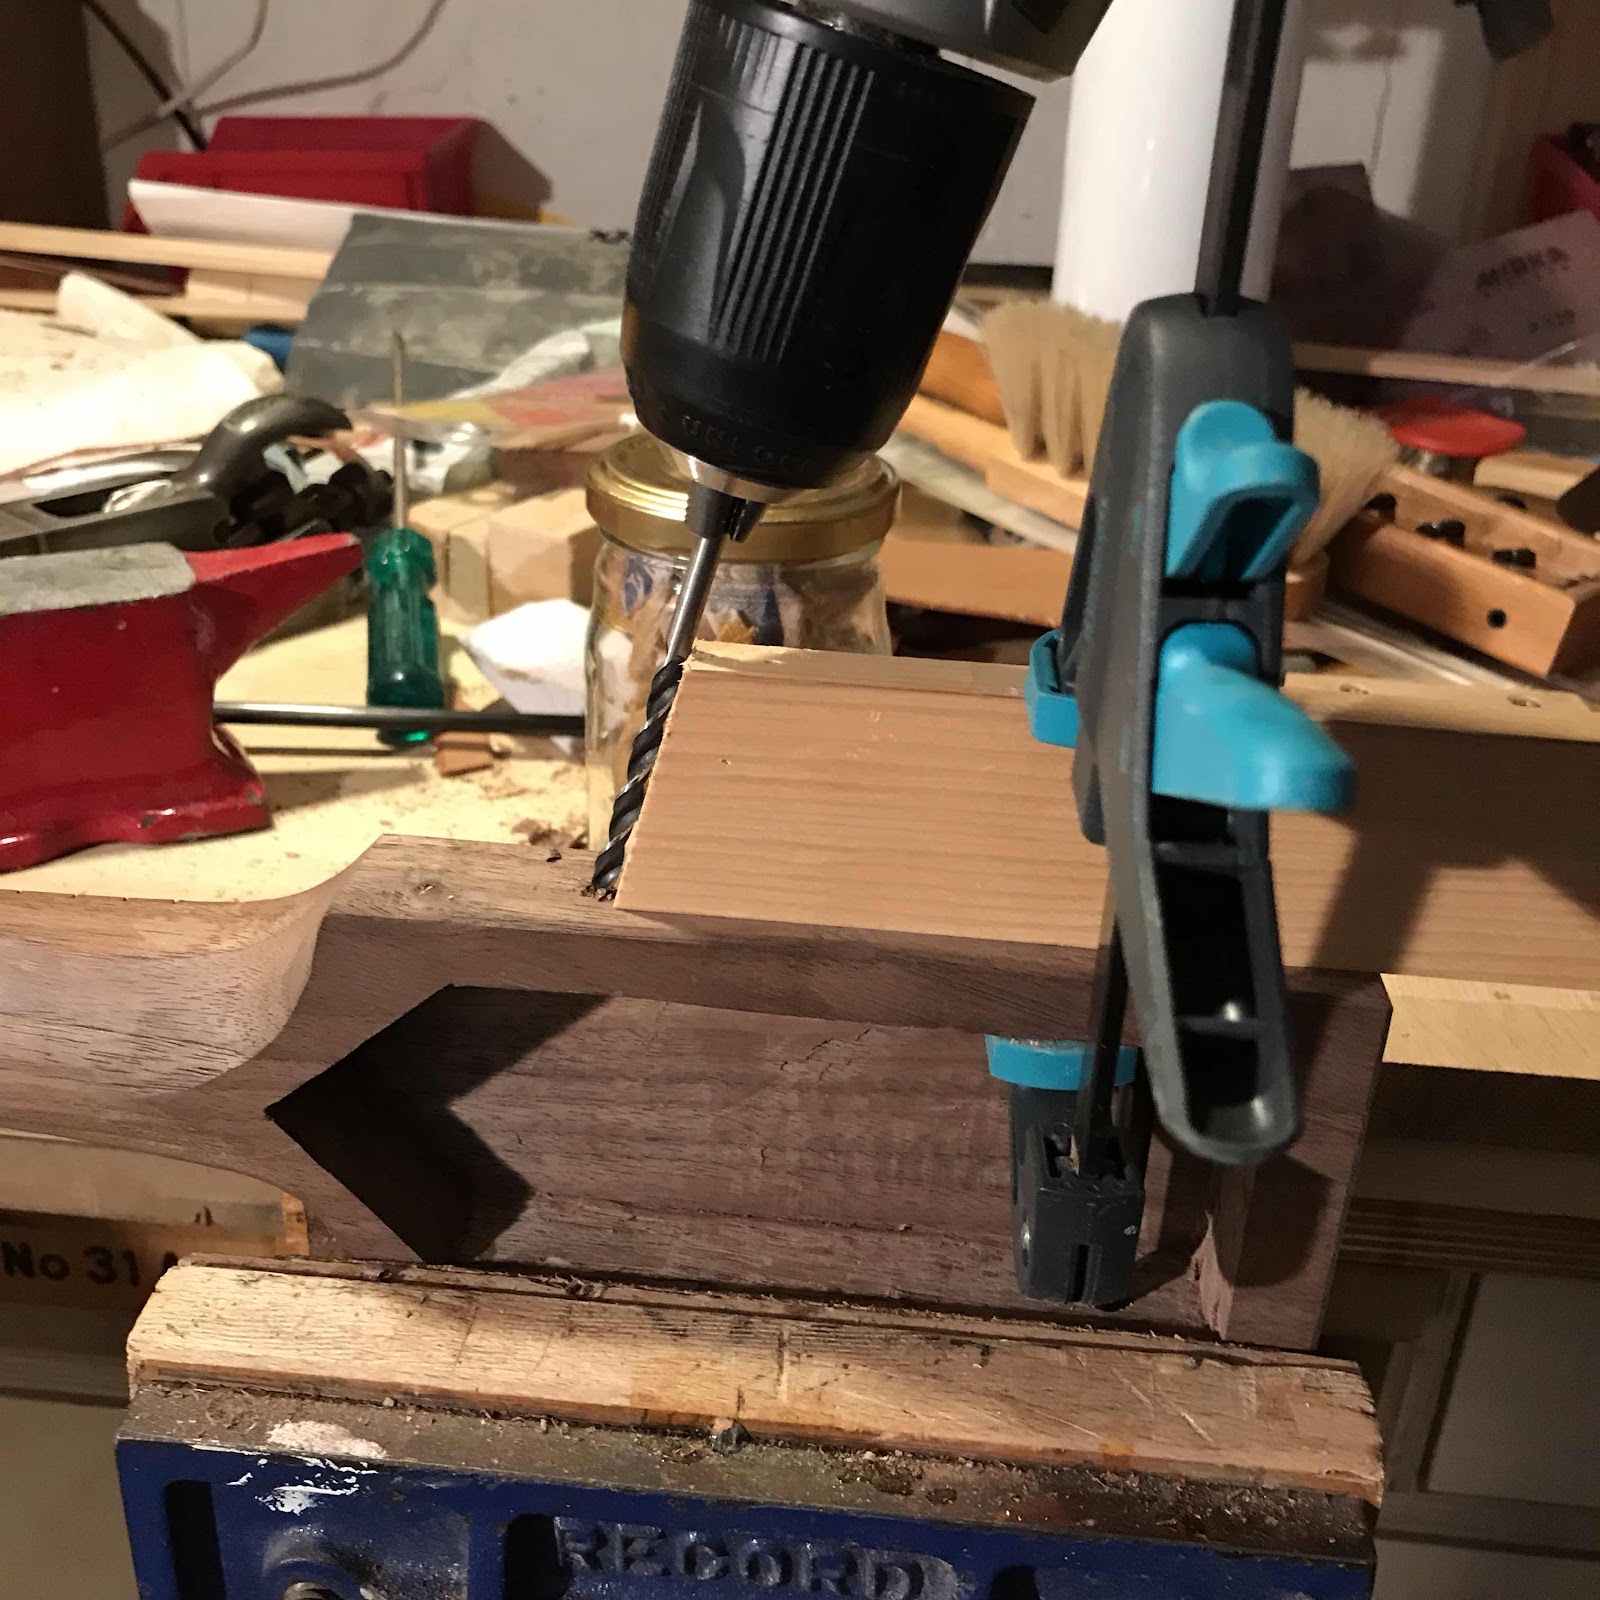
Then I made holes for the tuners. I even made a guide block to steer the drill. To the right of the clamp you might be able to spot the carbon fibre tube that’ll turn the strings.
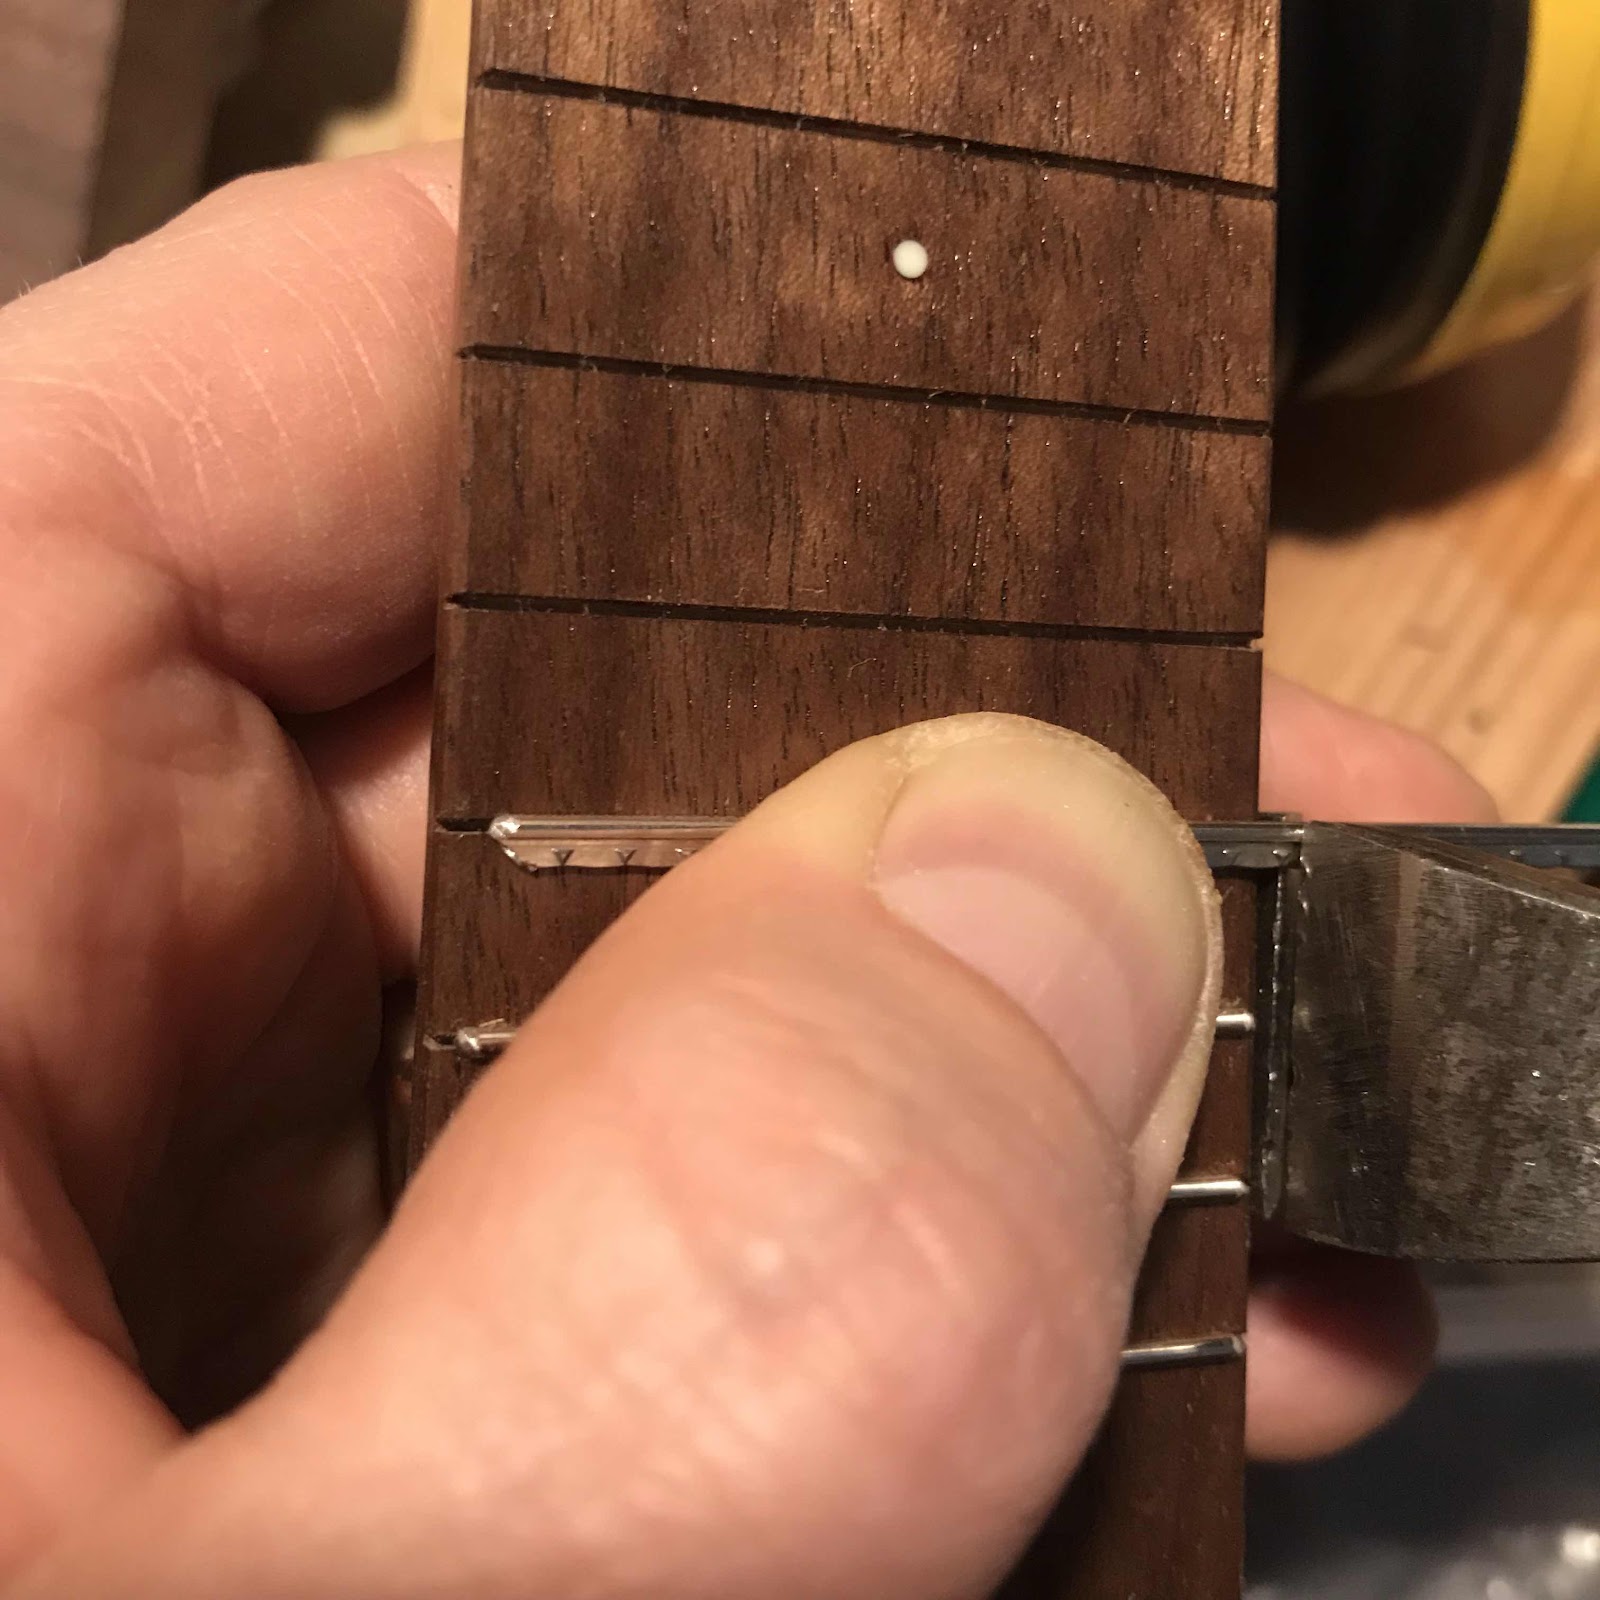
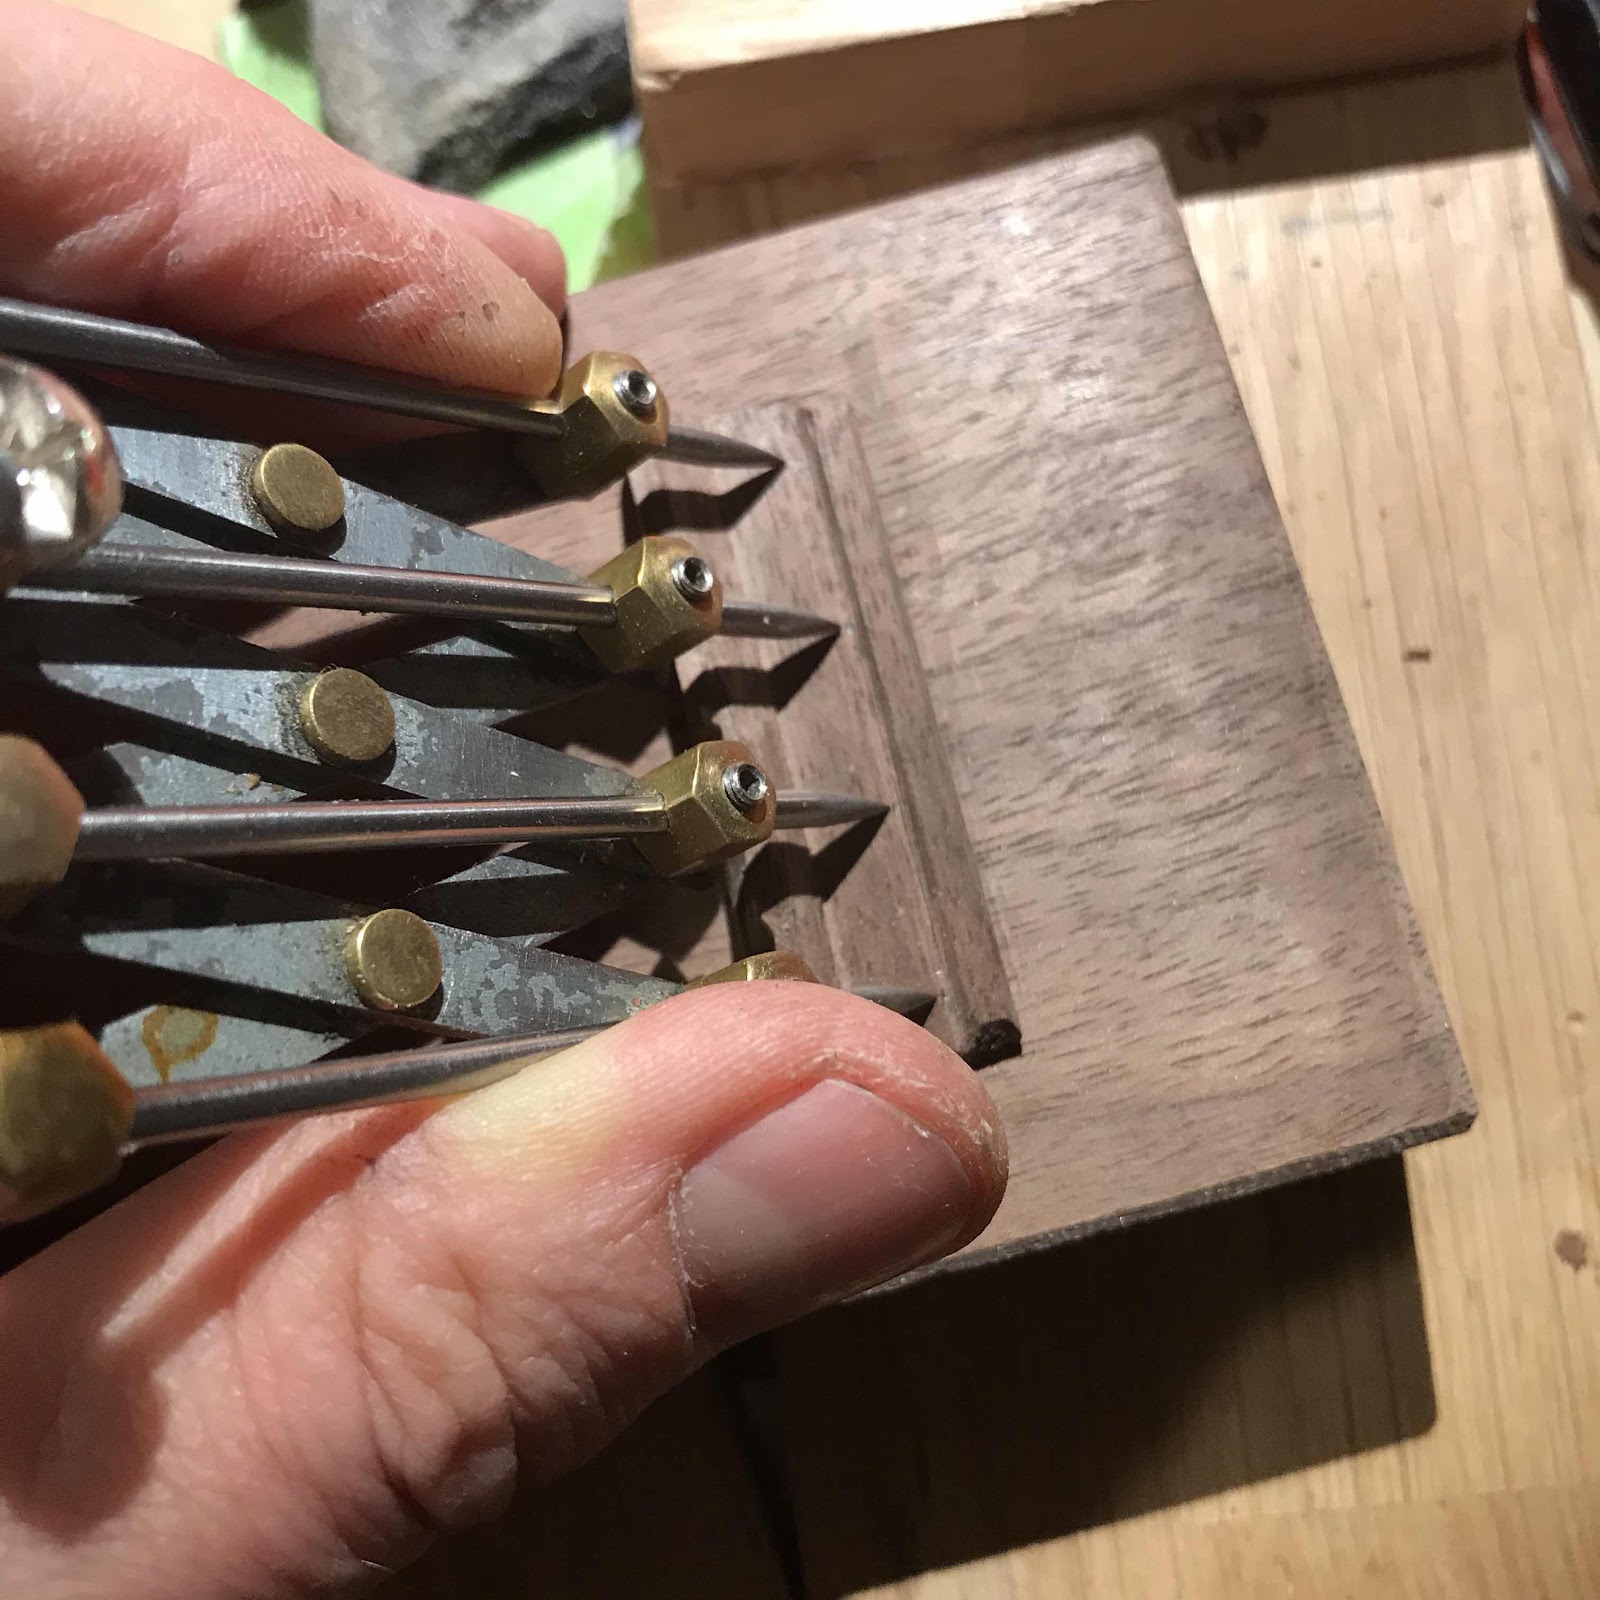
The inside width determines how far in I can push the reamer. It’s not very far so I have to shave the pegs down more than I would on a regular headstock, the thickest part of the pegs is only 6.2 mm.
It’smore visible here. The small ledge is for aligning the holes and to avoid having a visible super thin edge meet the soundboard. I don’t know. I’m making it up as I stumble along.
Then I made holes for the tuners. I even made a guide block to steer the drill. To the right of the clamp you might be able to spot the carbon fibre tube that’ll turn the strings.
The inside width determines how far in I can push the reamer. It’s not very far so I have to shave the pegs down more than I would on a regular headstock, the thickest part of the pegs is only 6.2 mm.
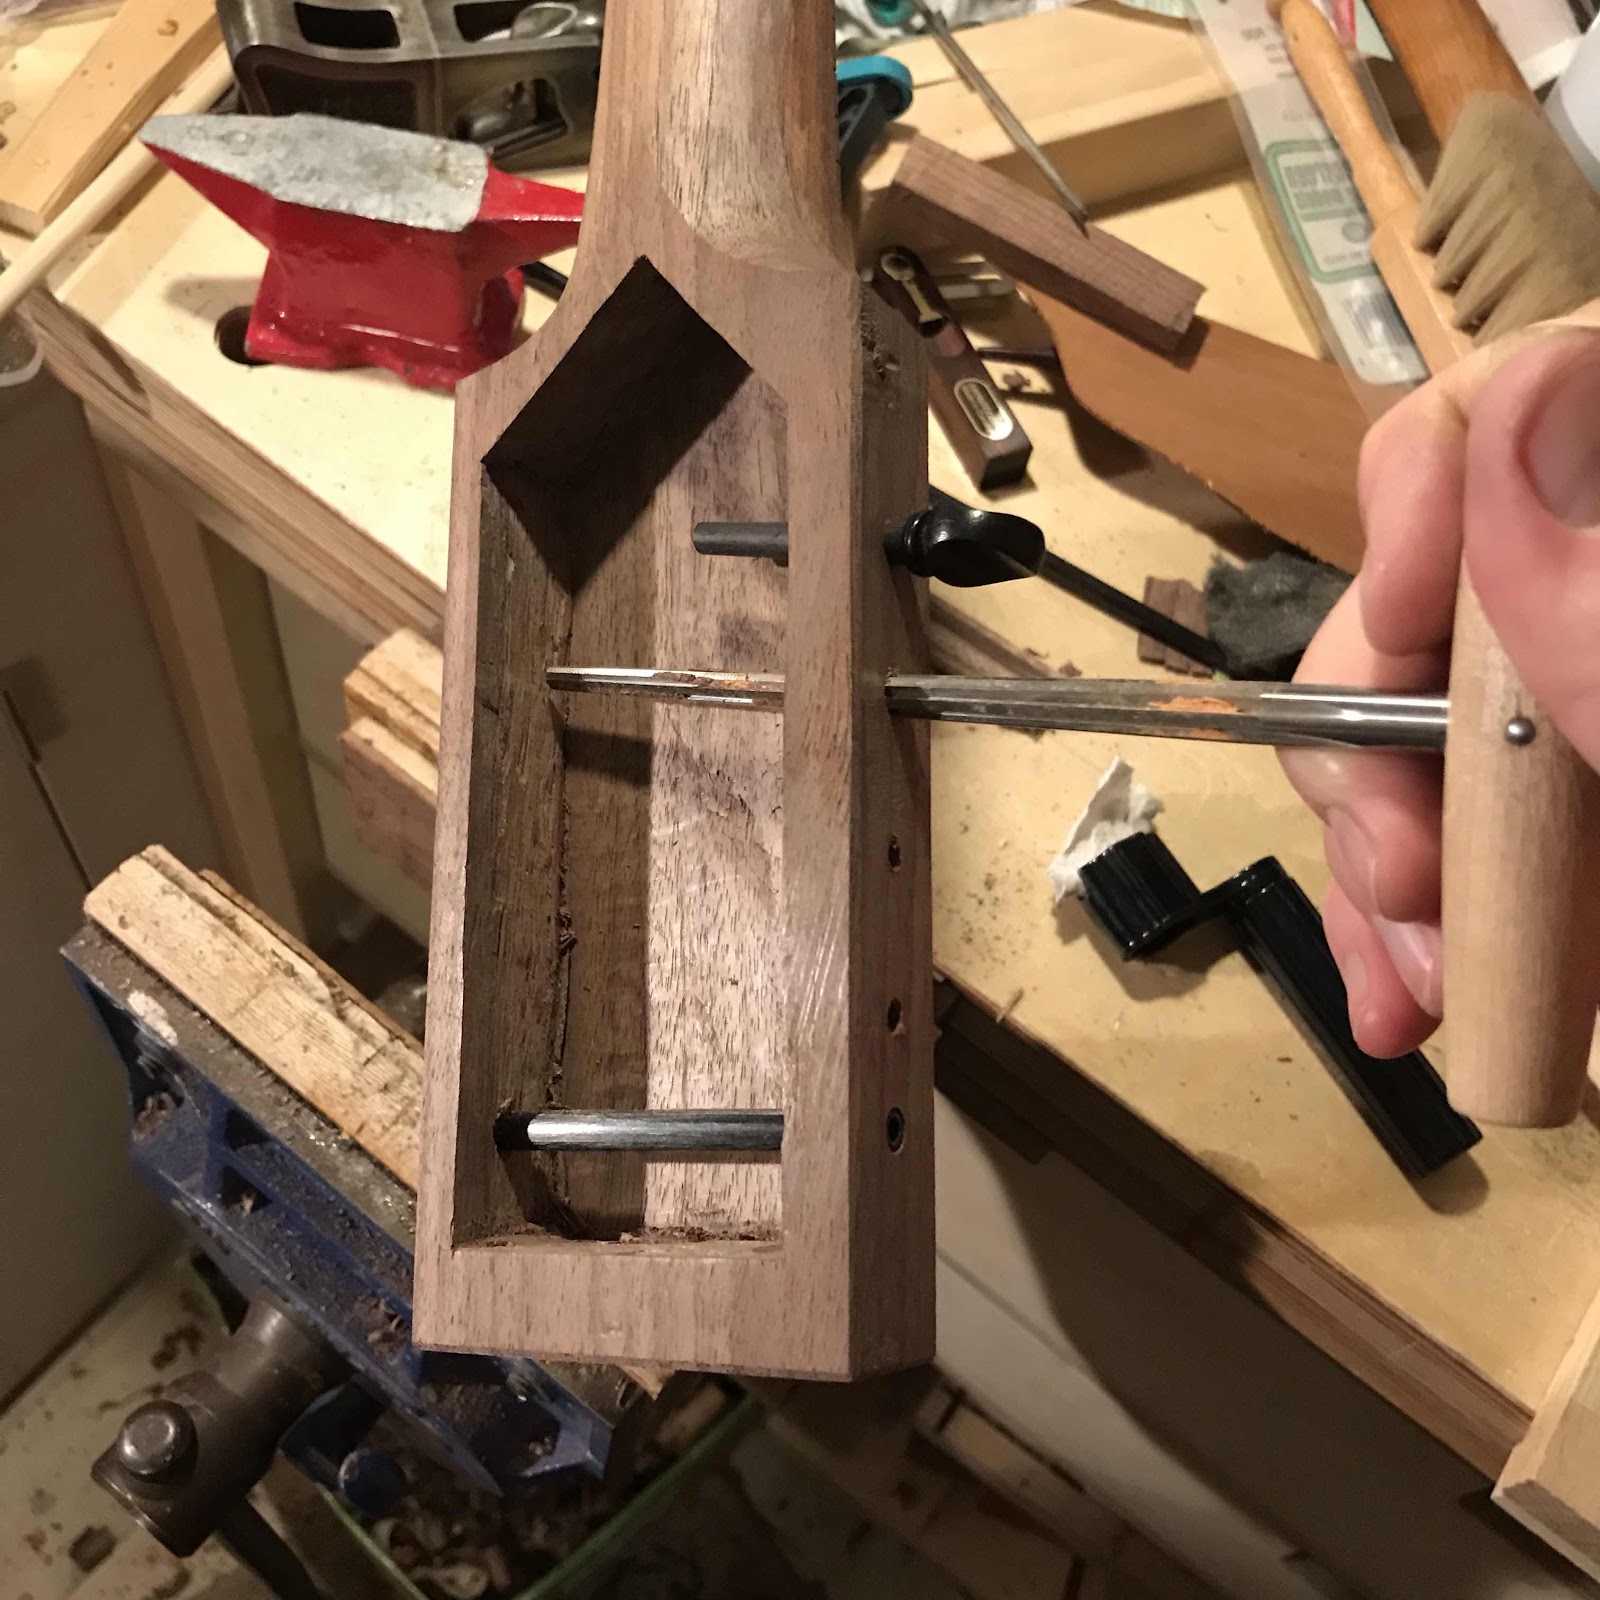
Here the carbon tube is more visible as well.
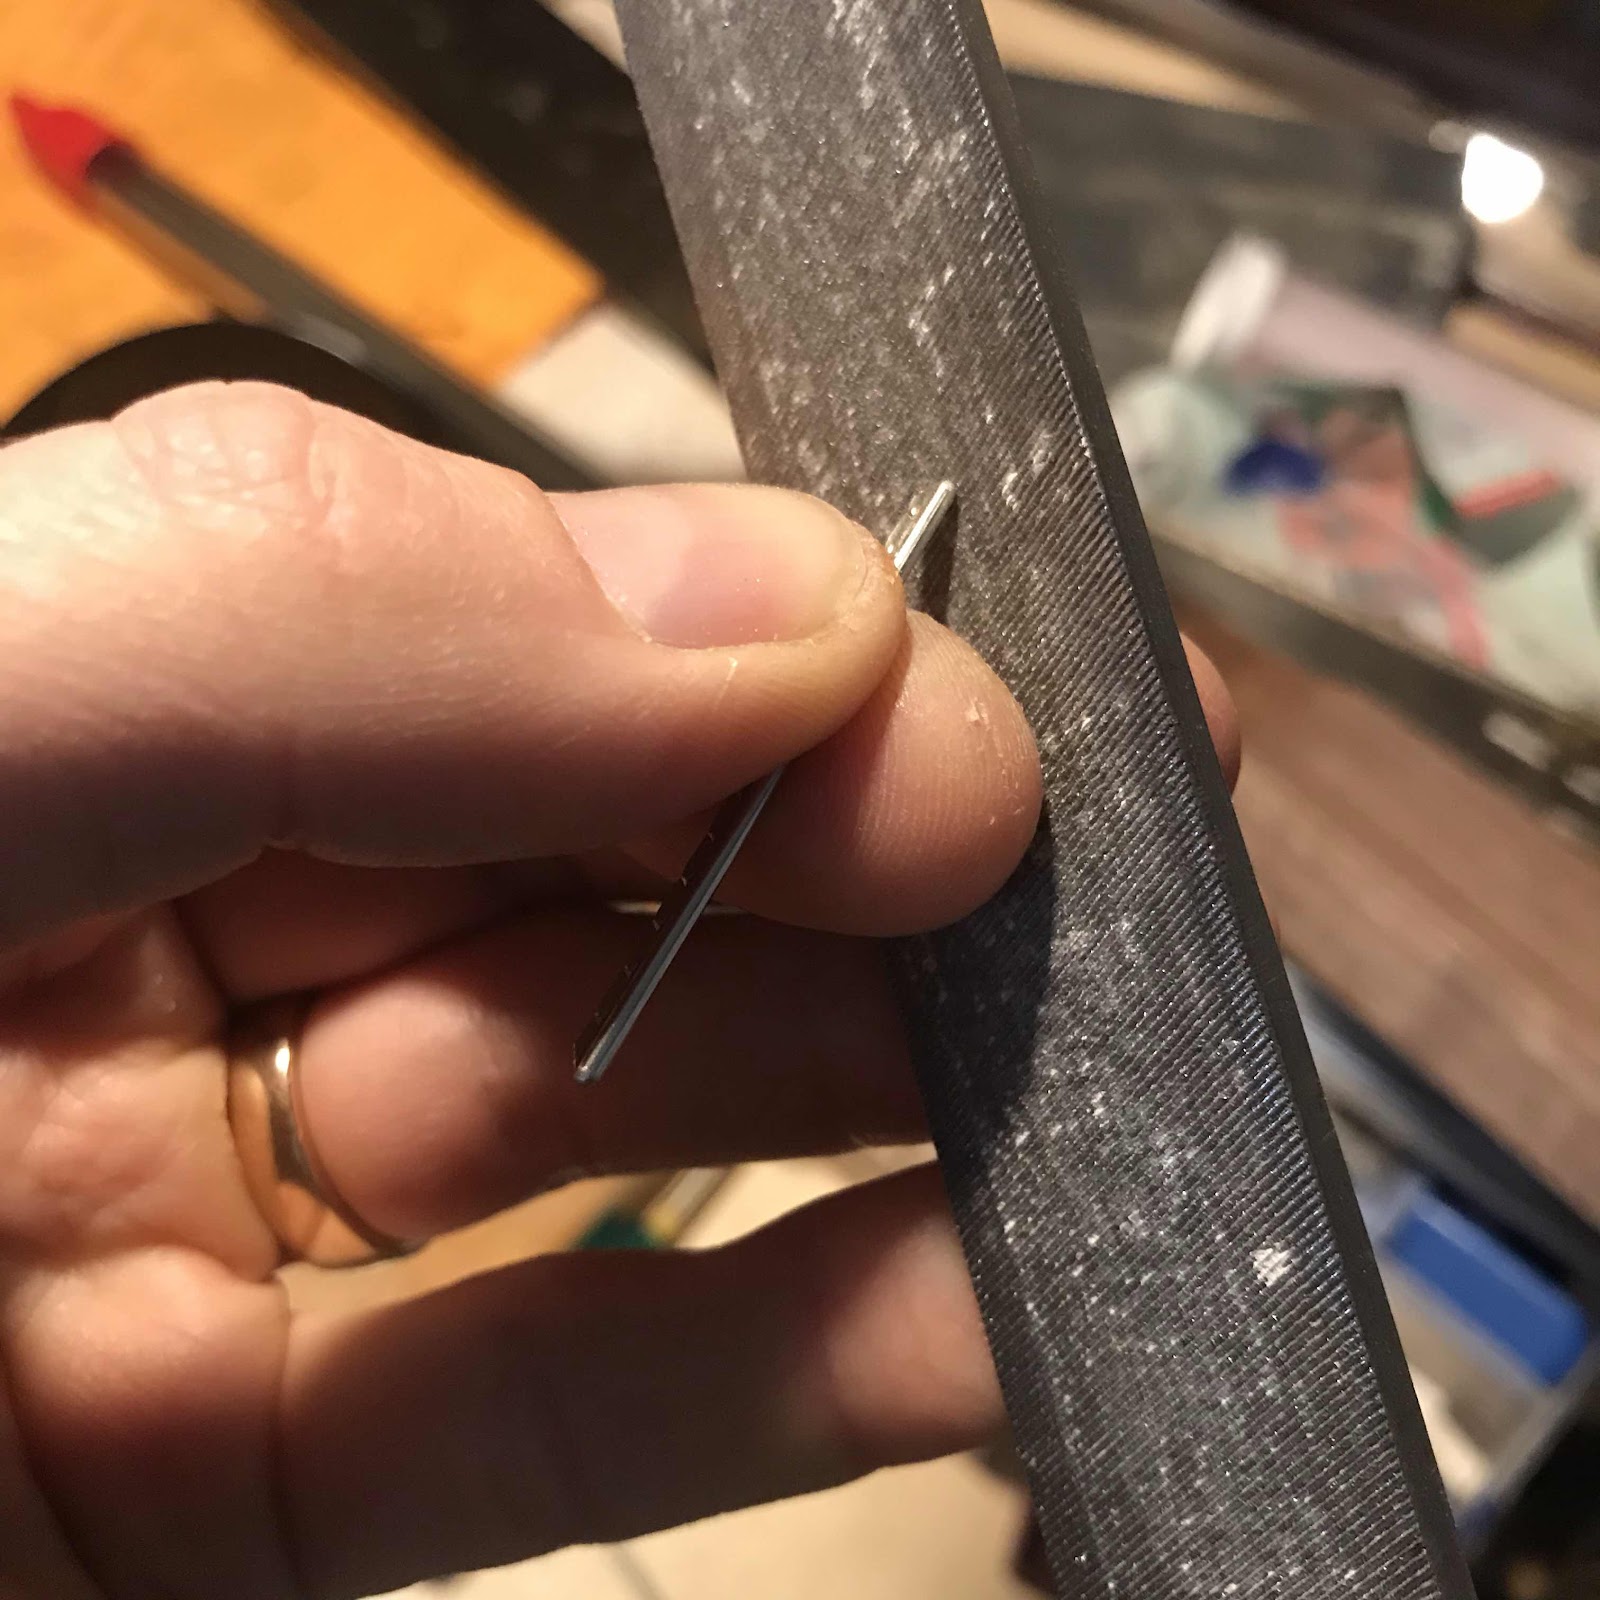
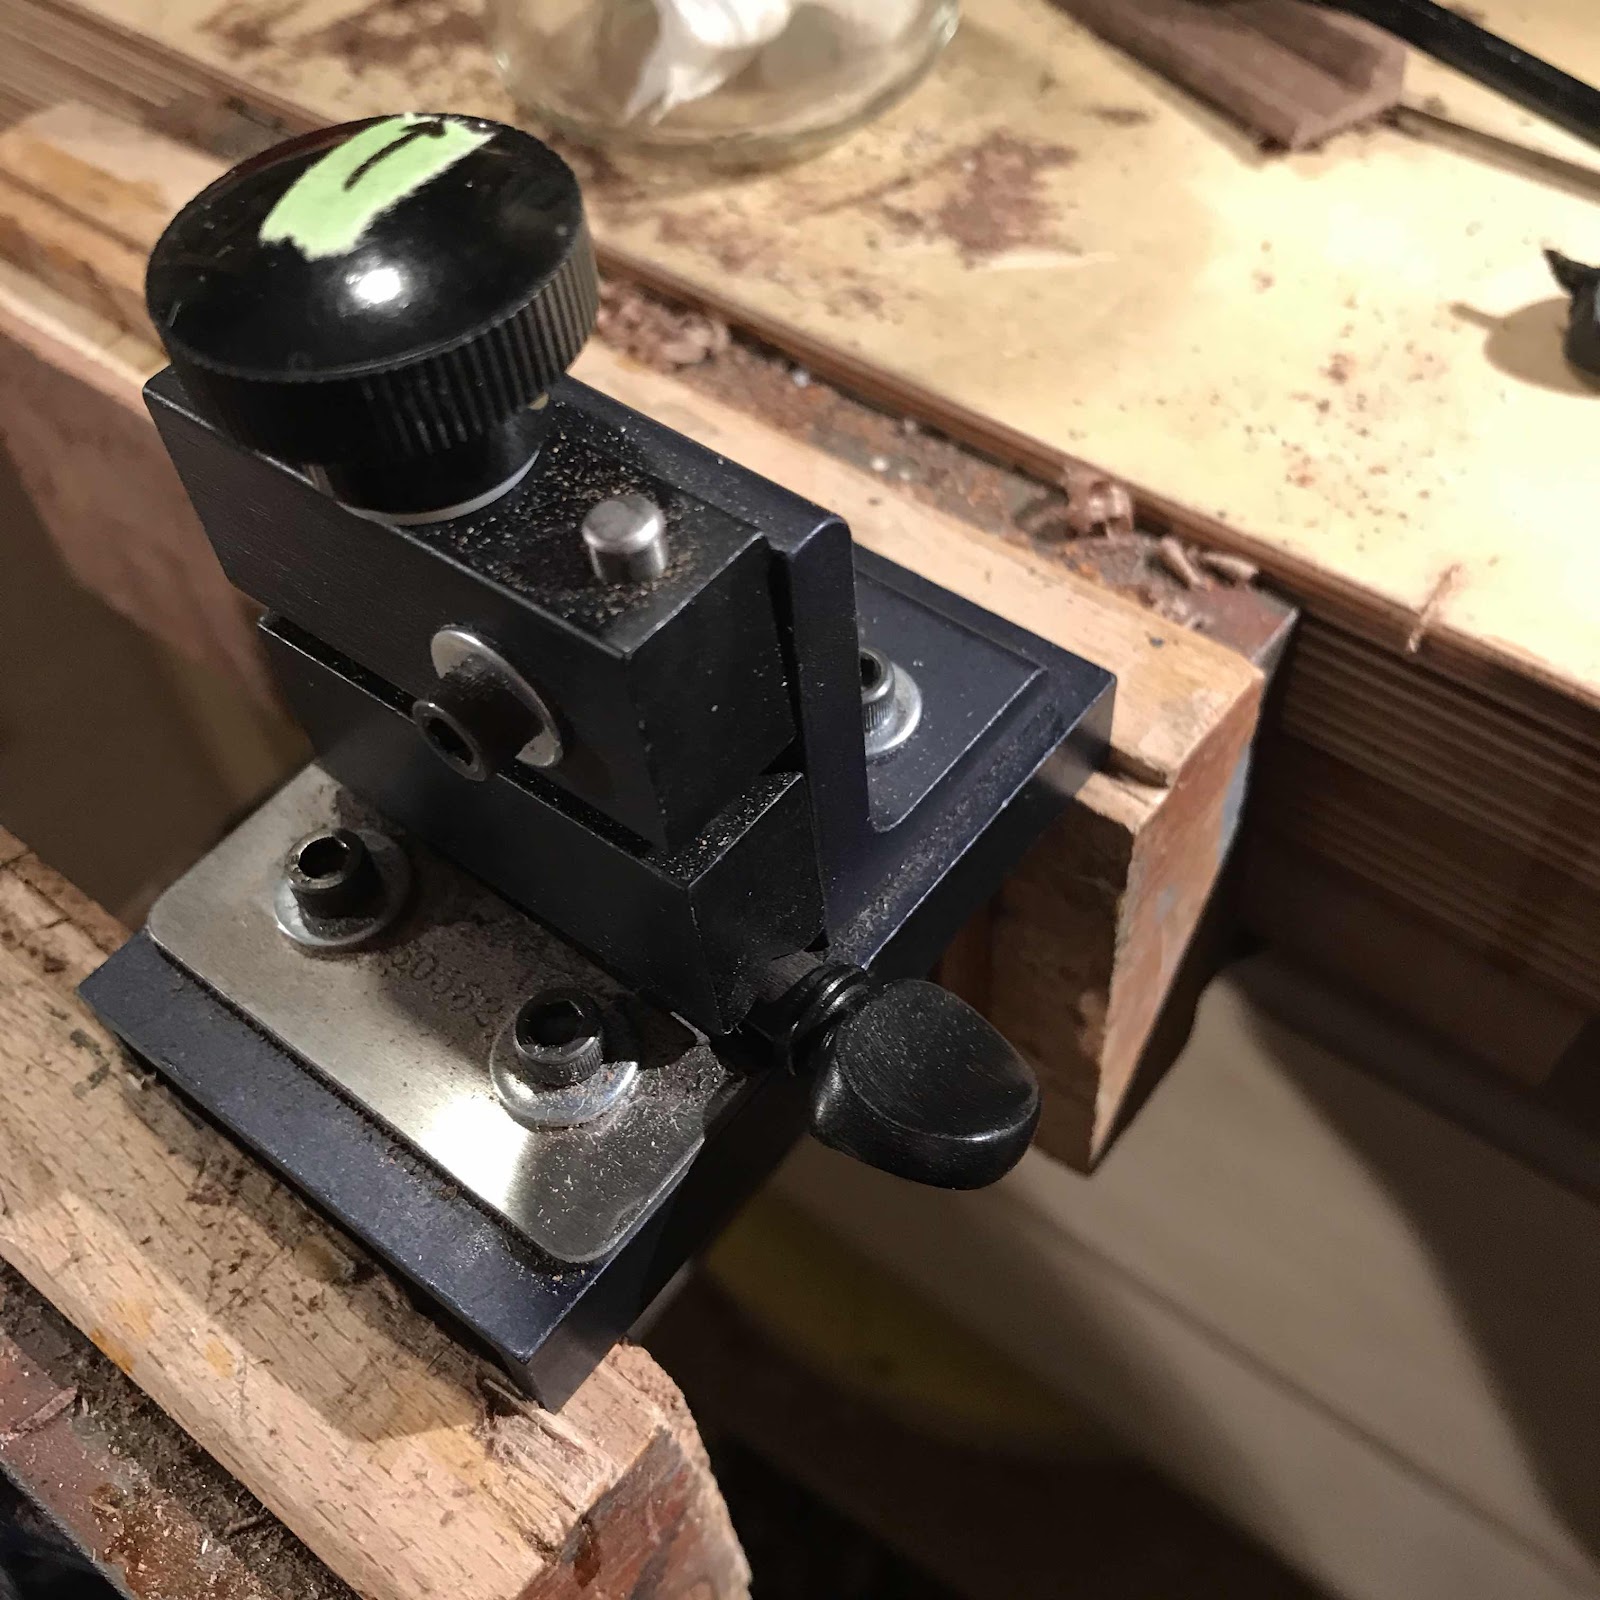
Buy quality, cry once - my Juzek peg shaver made short work of taking the pegs down. Only one caught and shattered, I guess the batch was good with fairly straight grained pegs. I need to get more of them, and would you have guessed: it’s cheaper to get them from metmusic in New York than in the violin store here in Stockholm. The reamer and shaver are both from there too.
Buy quality, cry once - my Juzek peg shaver made short work of taking the pegs down. Only one caught and shattered, I guess the batch was good with fairly straight grained pegs. I need to get more of them, and would you have guessed: it’s cheaper to get them from metmusic in New York than in the violin store here in Stockholm. The reamer and shaver are both from there too.