Learning Ukulele 50 Sites Top 50 Ukulele Sites Argapa Ukuleles - one size louder: 11/1/19 - 12/1/19

Monday, November 11, 2019

Bridge made with handtools

I found a scrap piece of rosewood and decided to shape it with only hand tools. So I cut it to rough dimensions. 


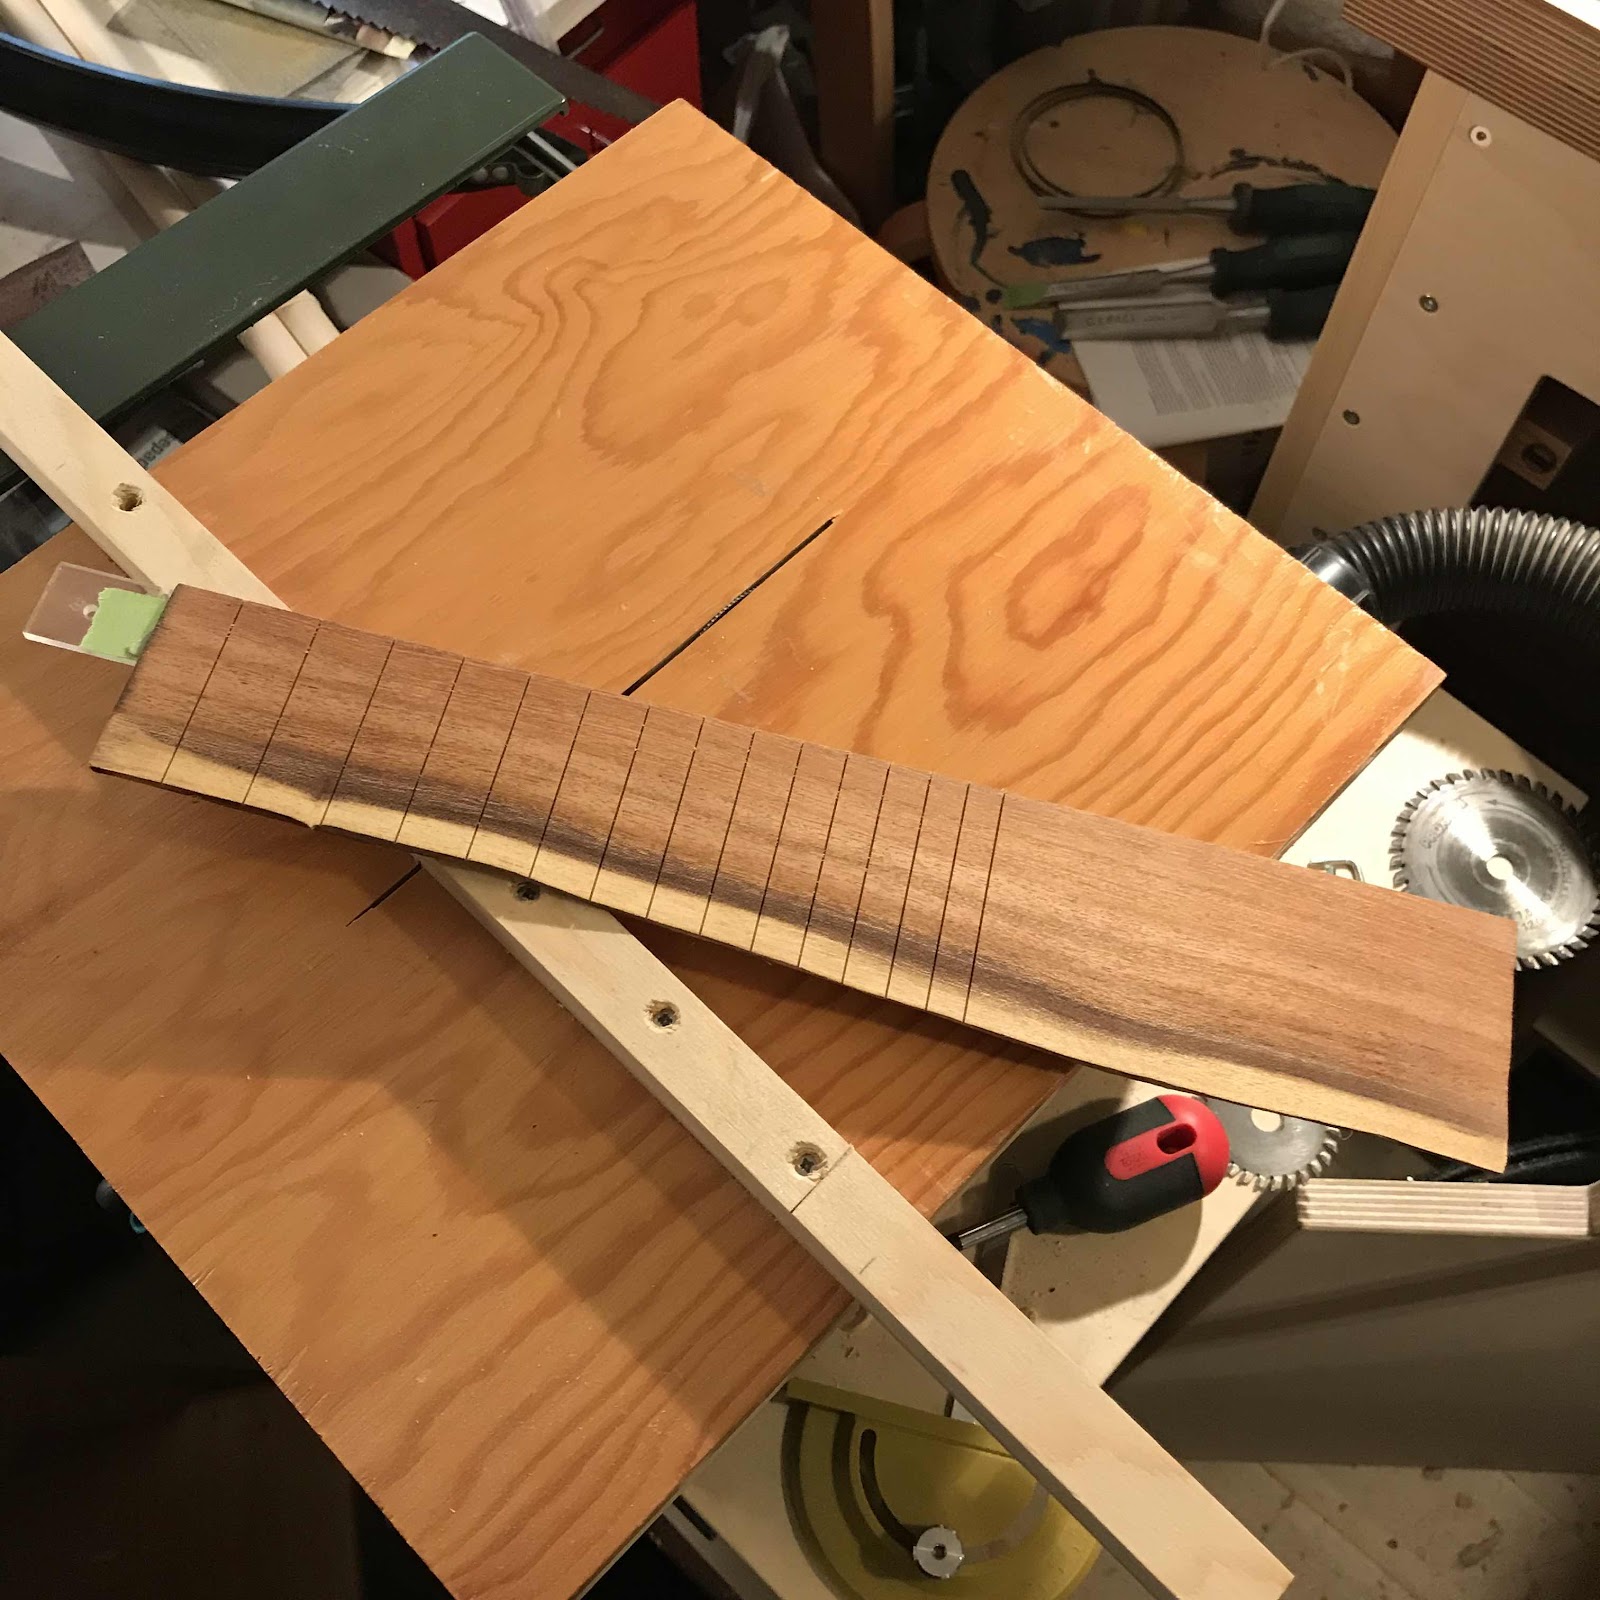
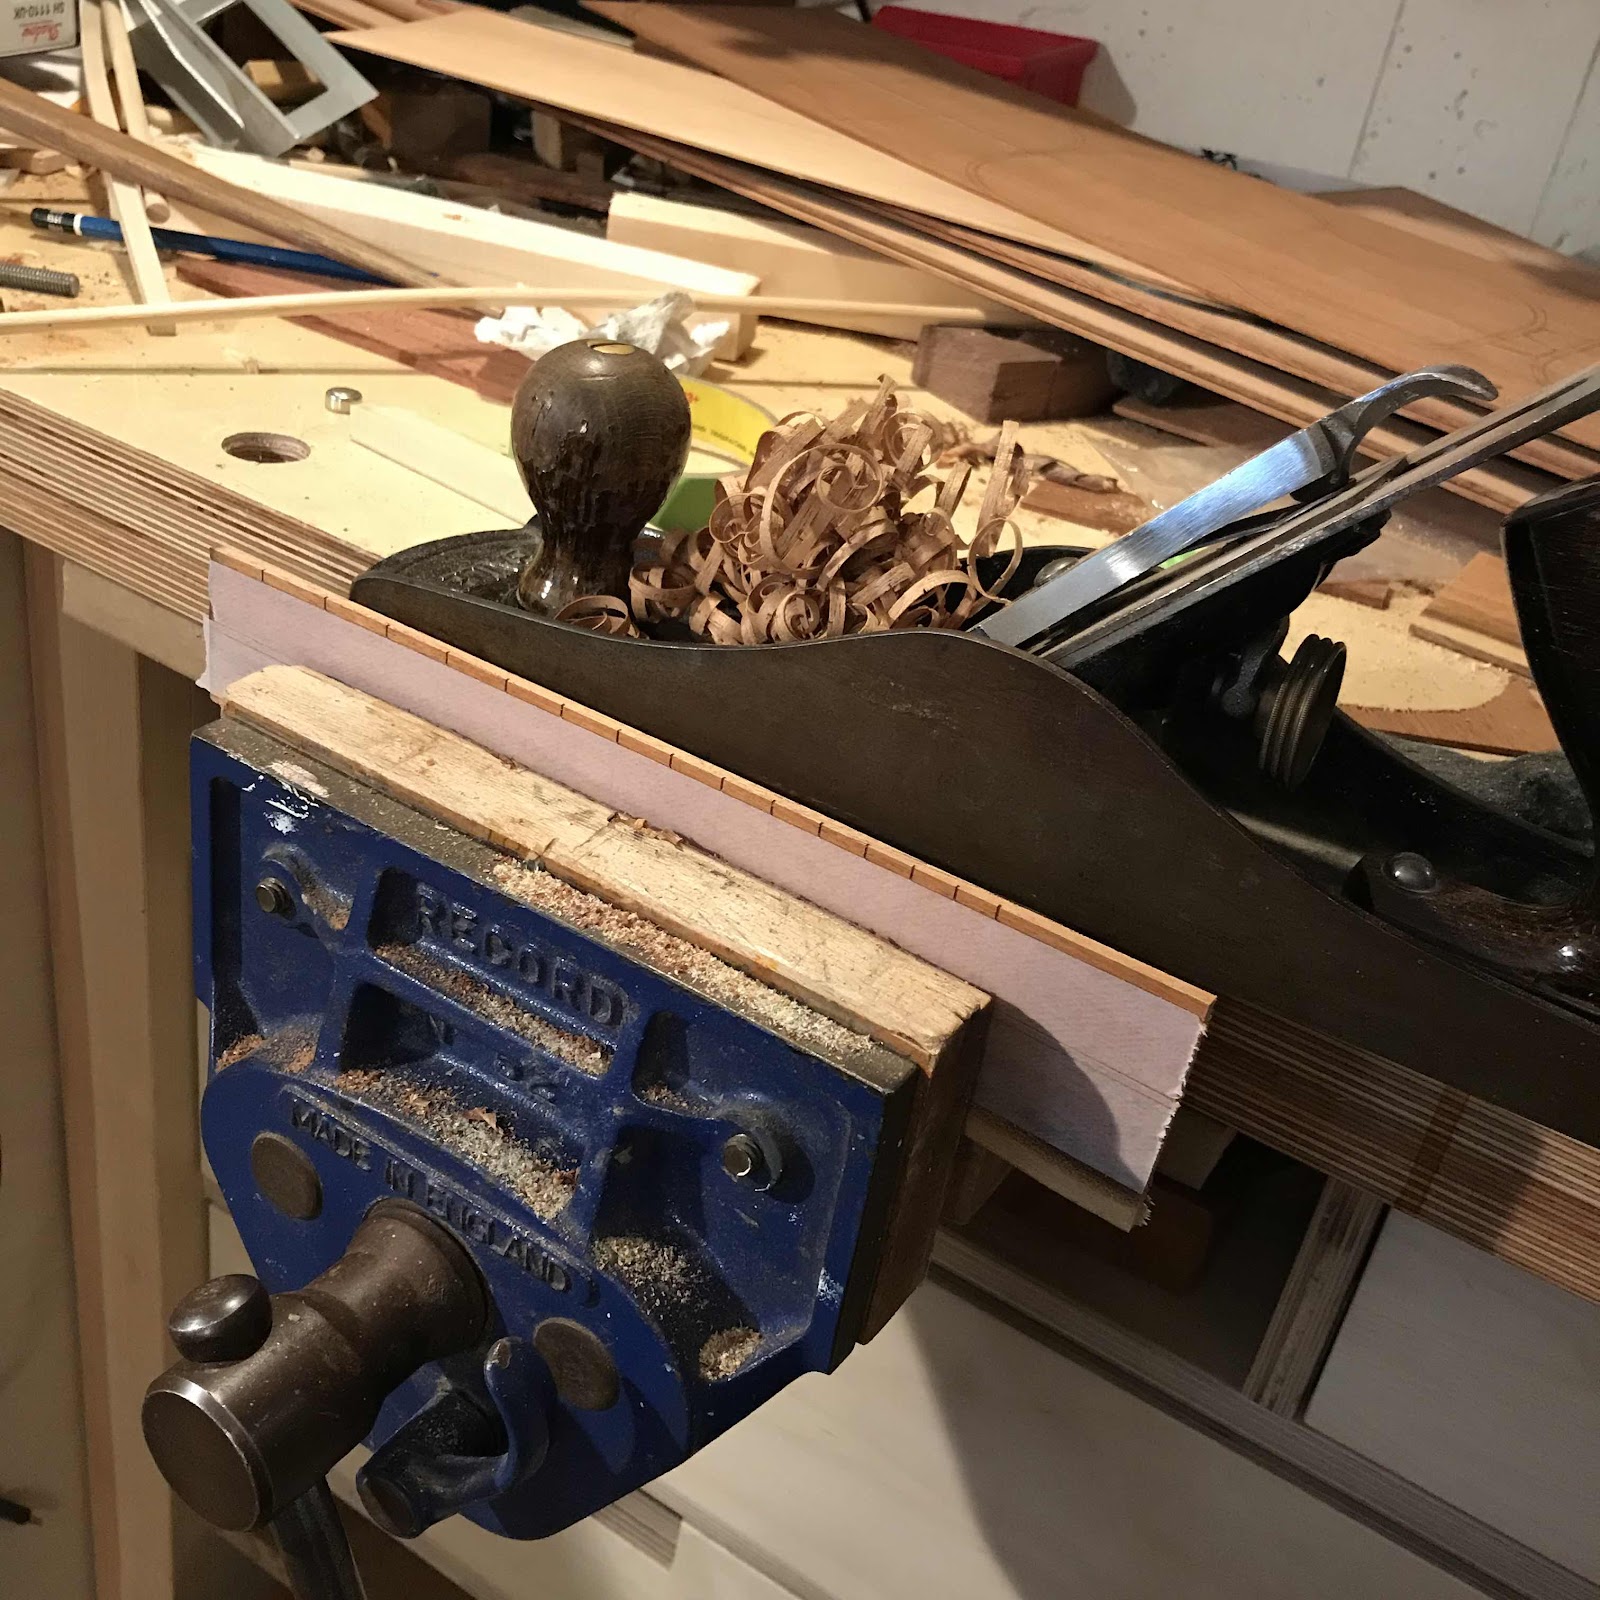
And planed it flat. It’s no use trying a smaller plane for smaller pieces, I prefer a hefty one. 


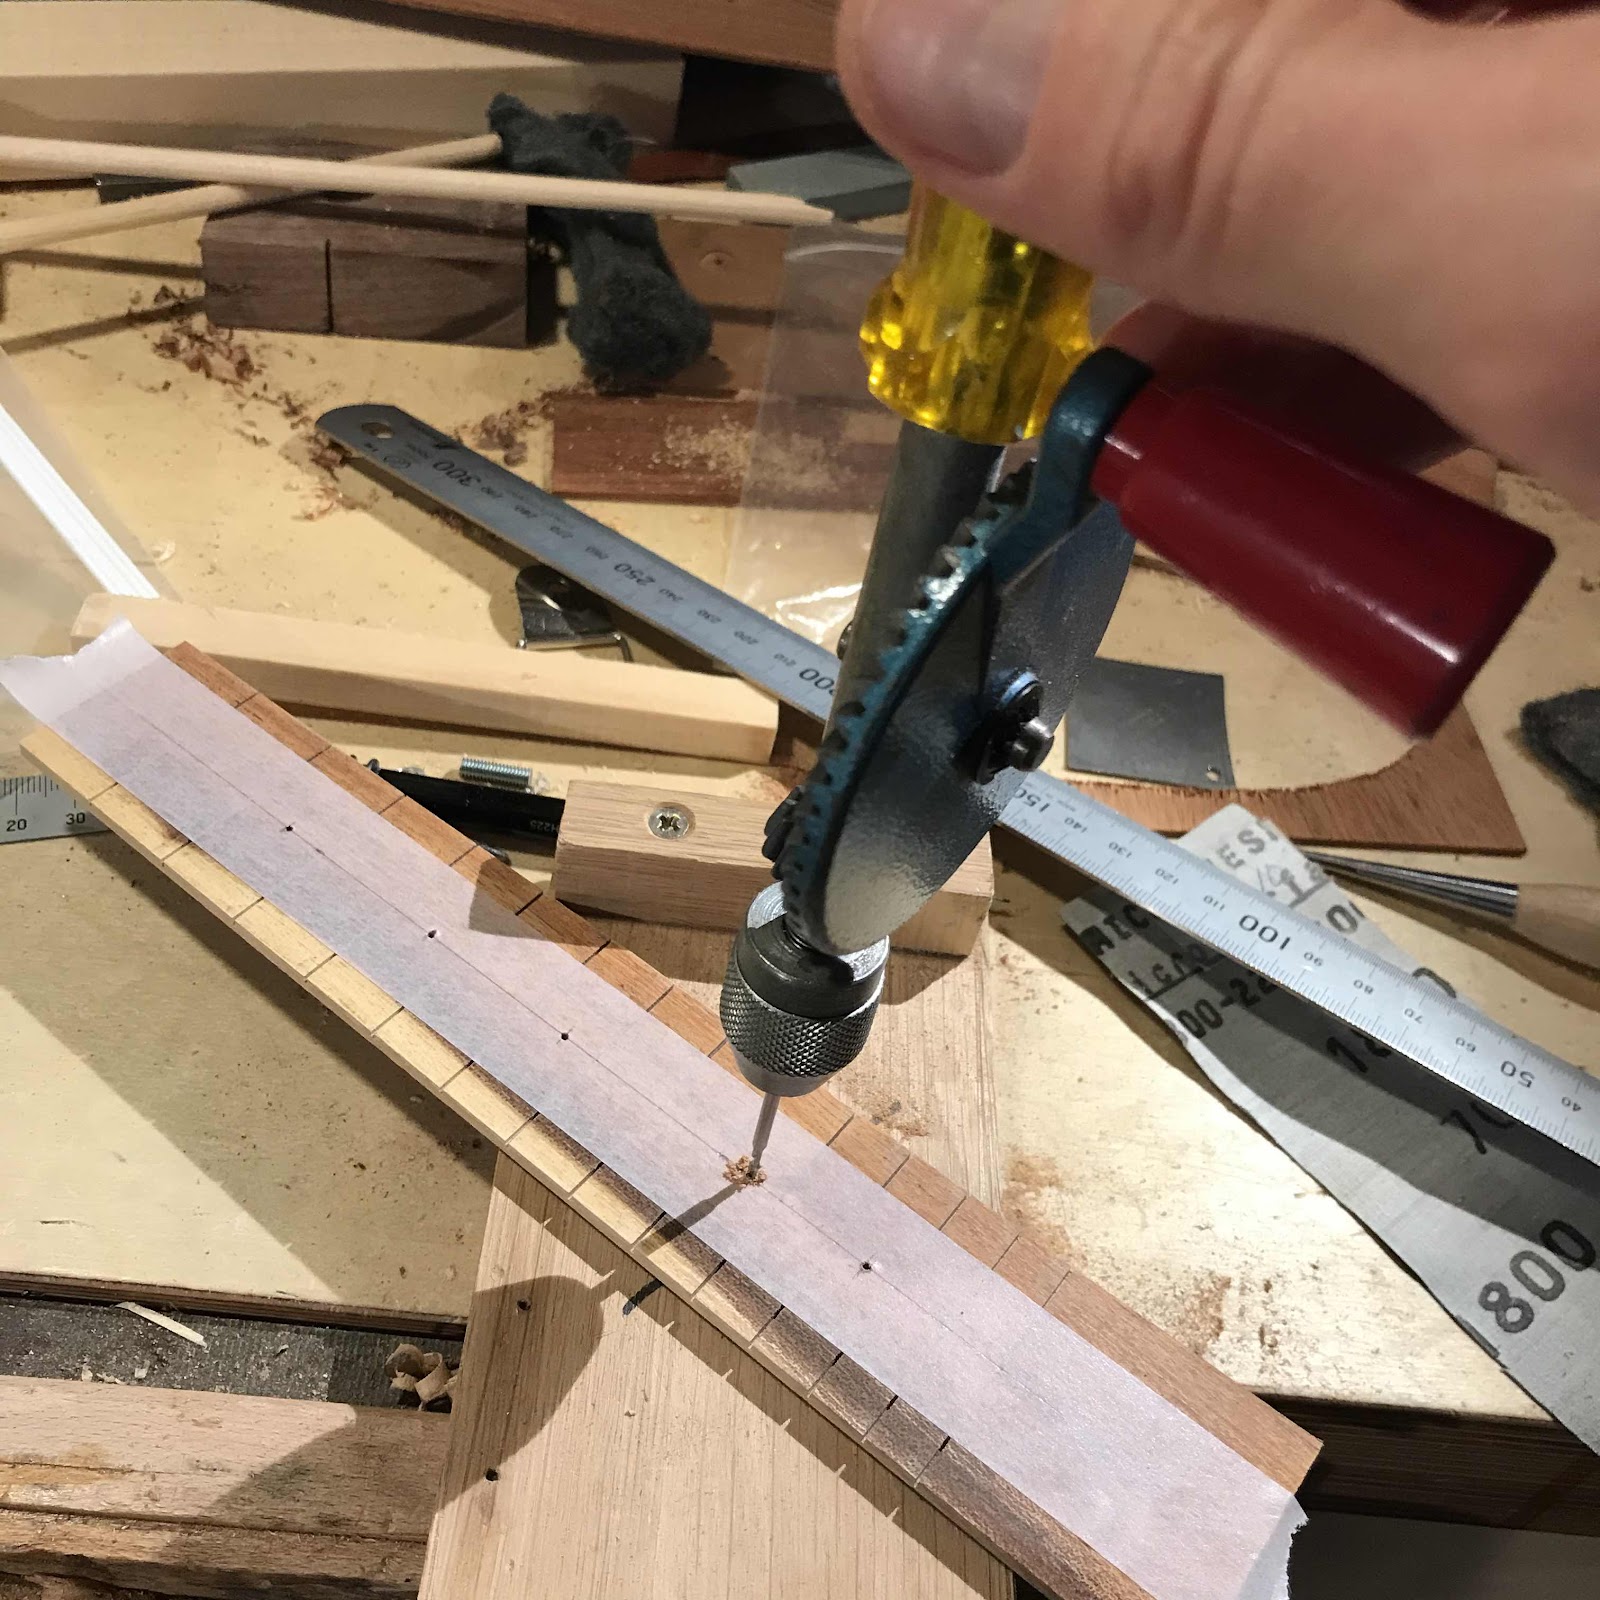
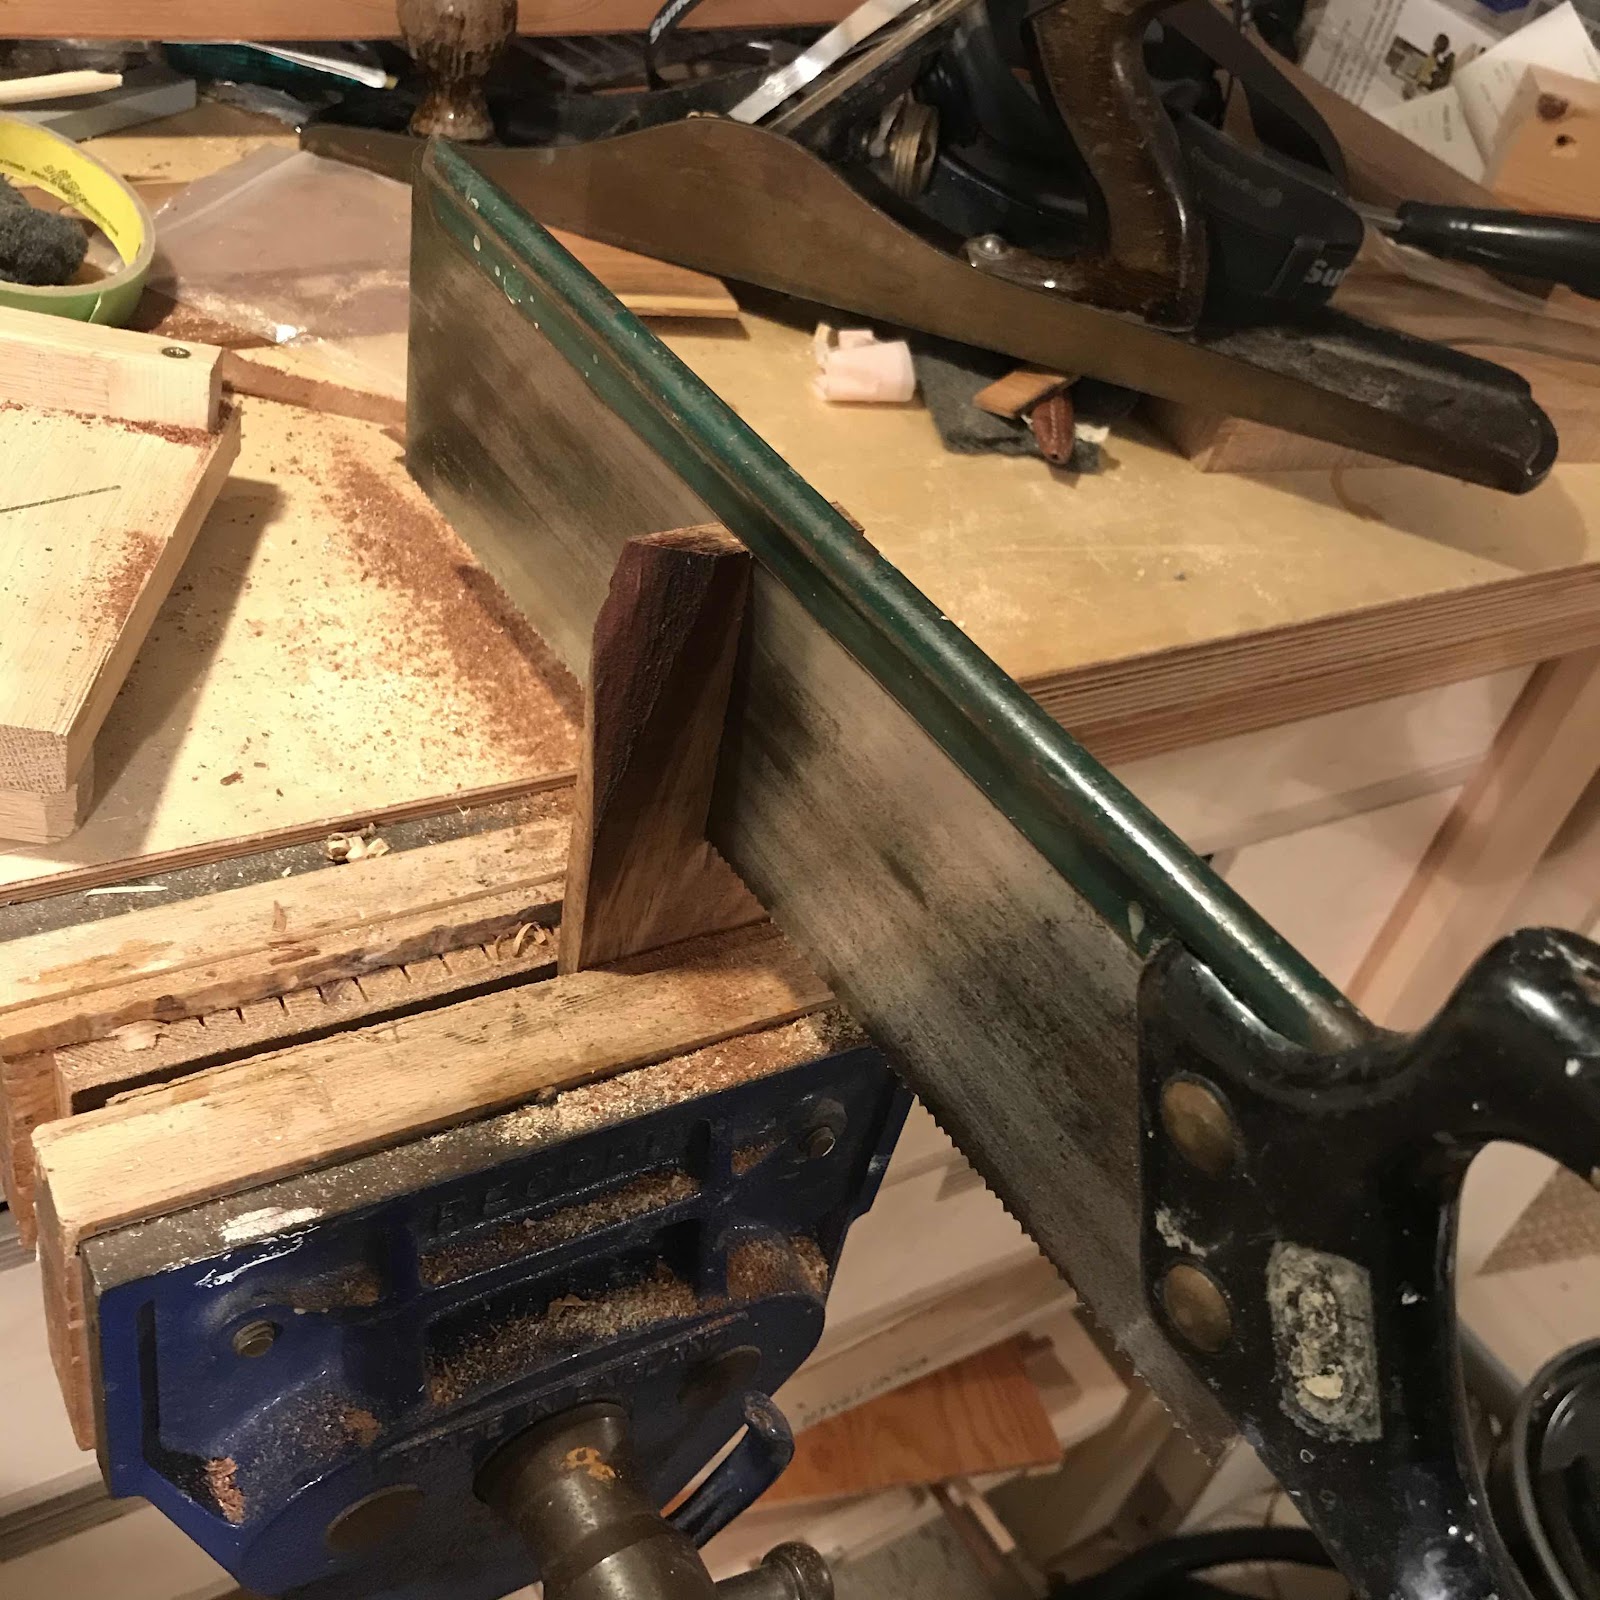
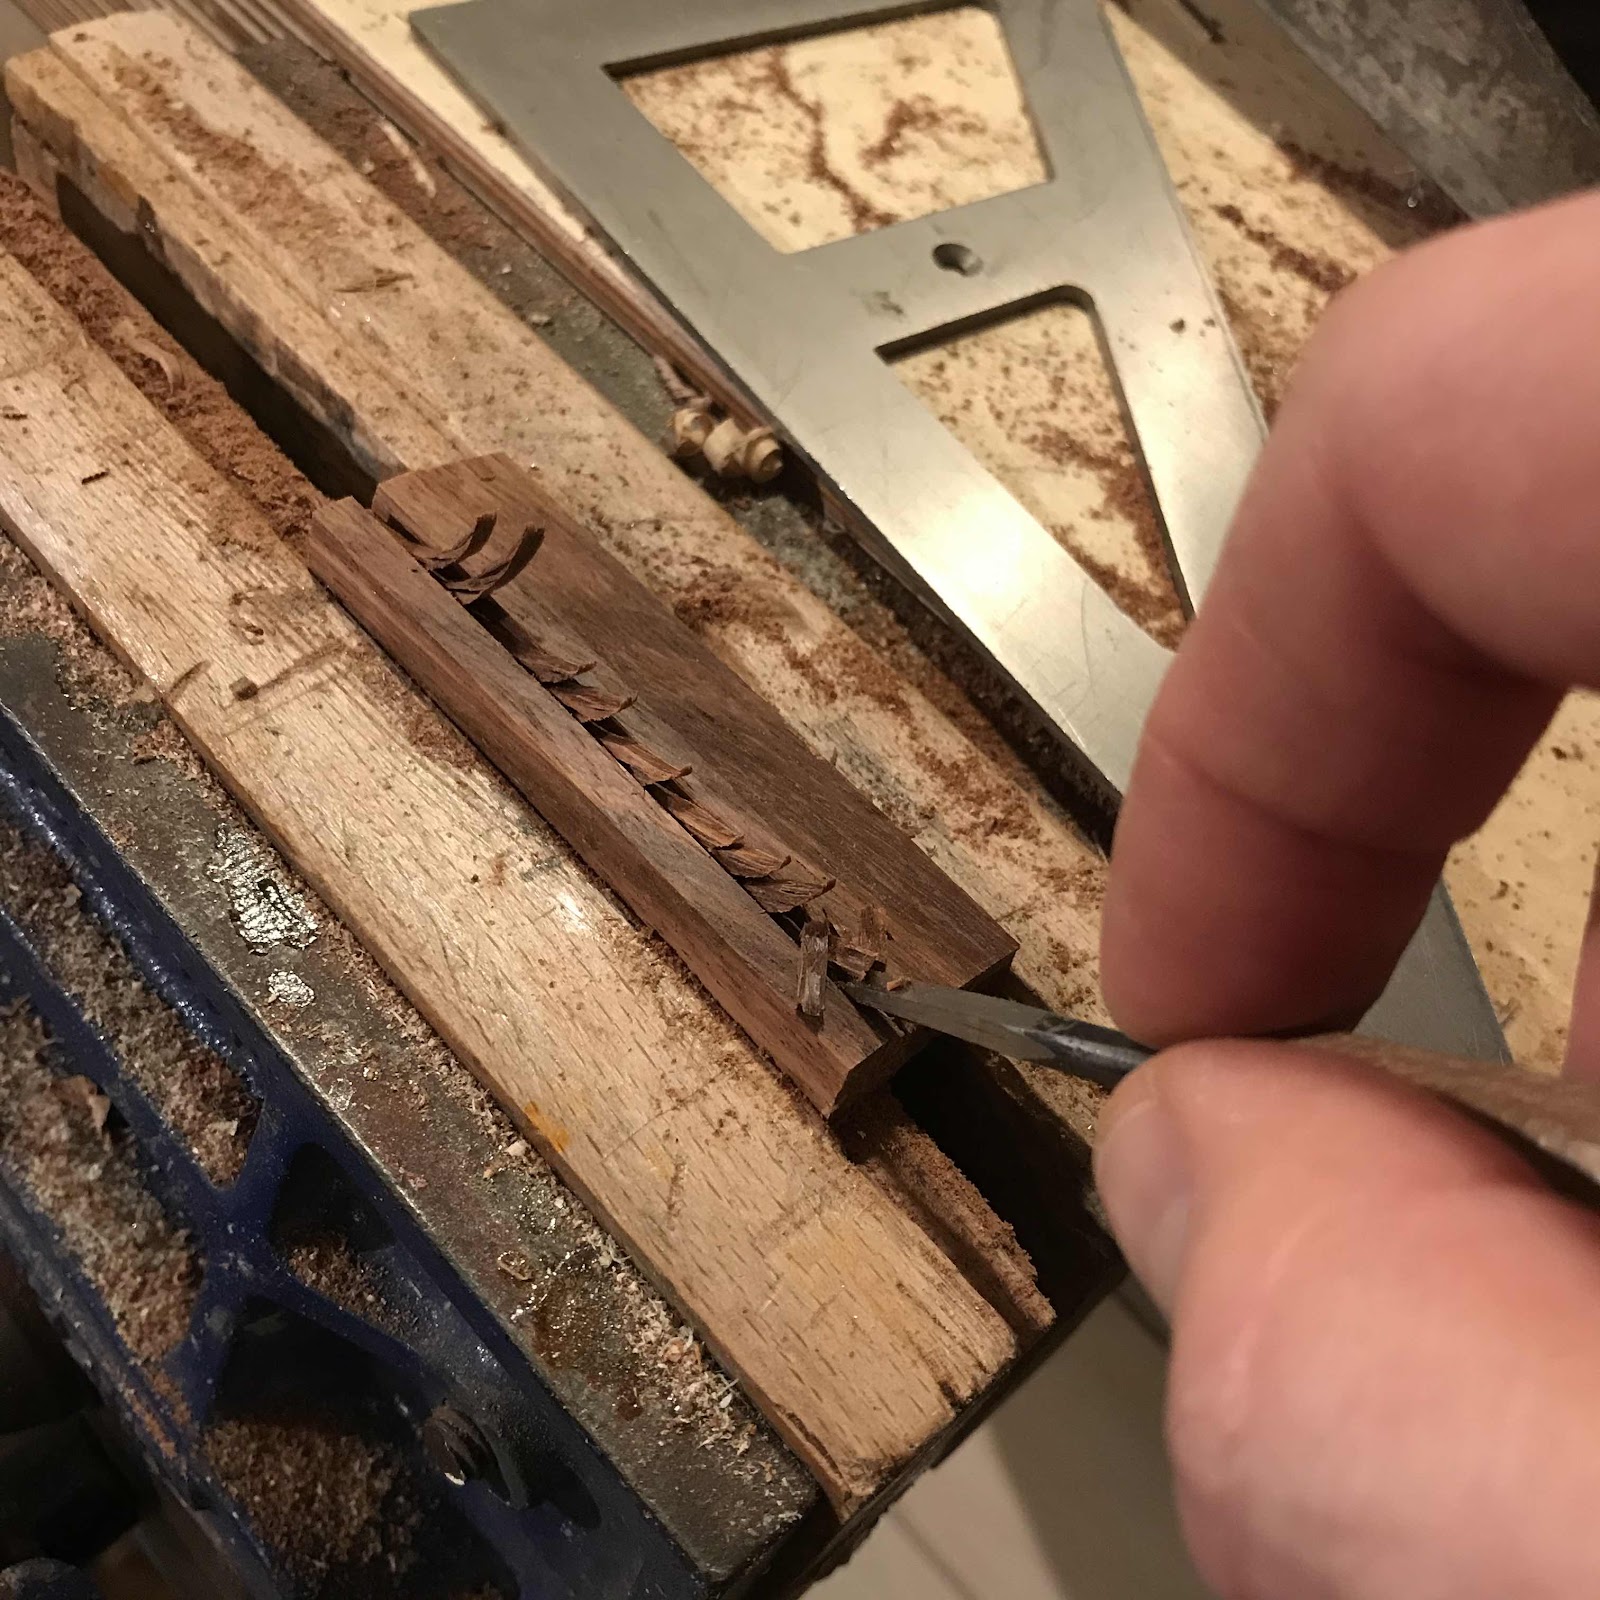
The tricky part is cutting the saddle slot. Normally I do this on the small table saw but hey, it’s in a cupboard and takes a while to set up. Instead I use my wee model maker’s saw. 


Two cuts and then I remove the waste between them. 


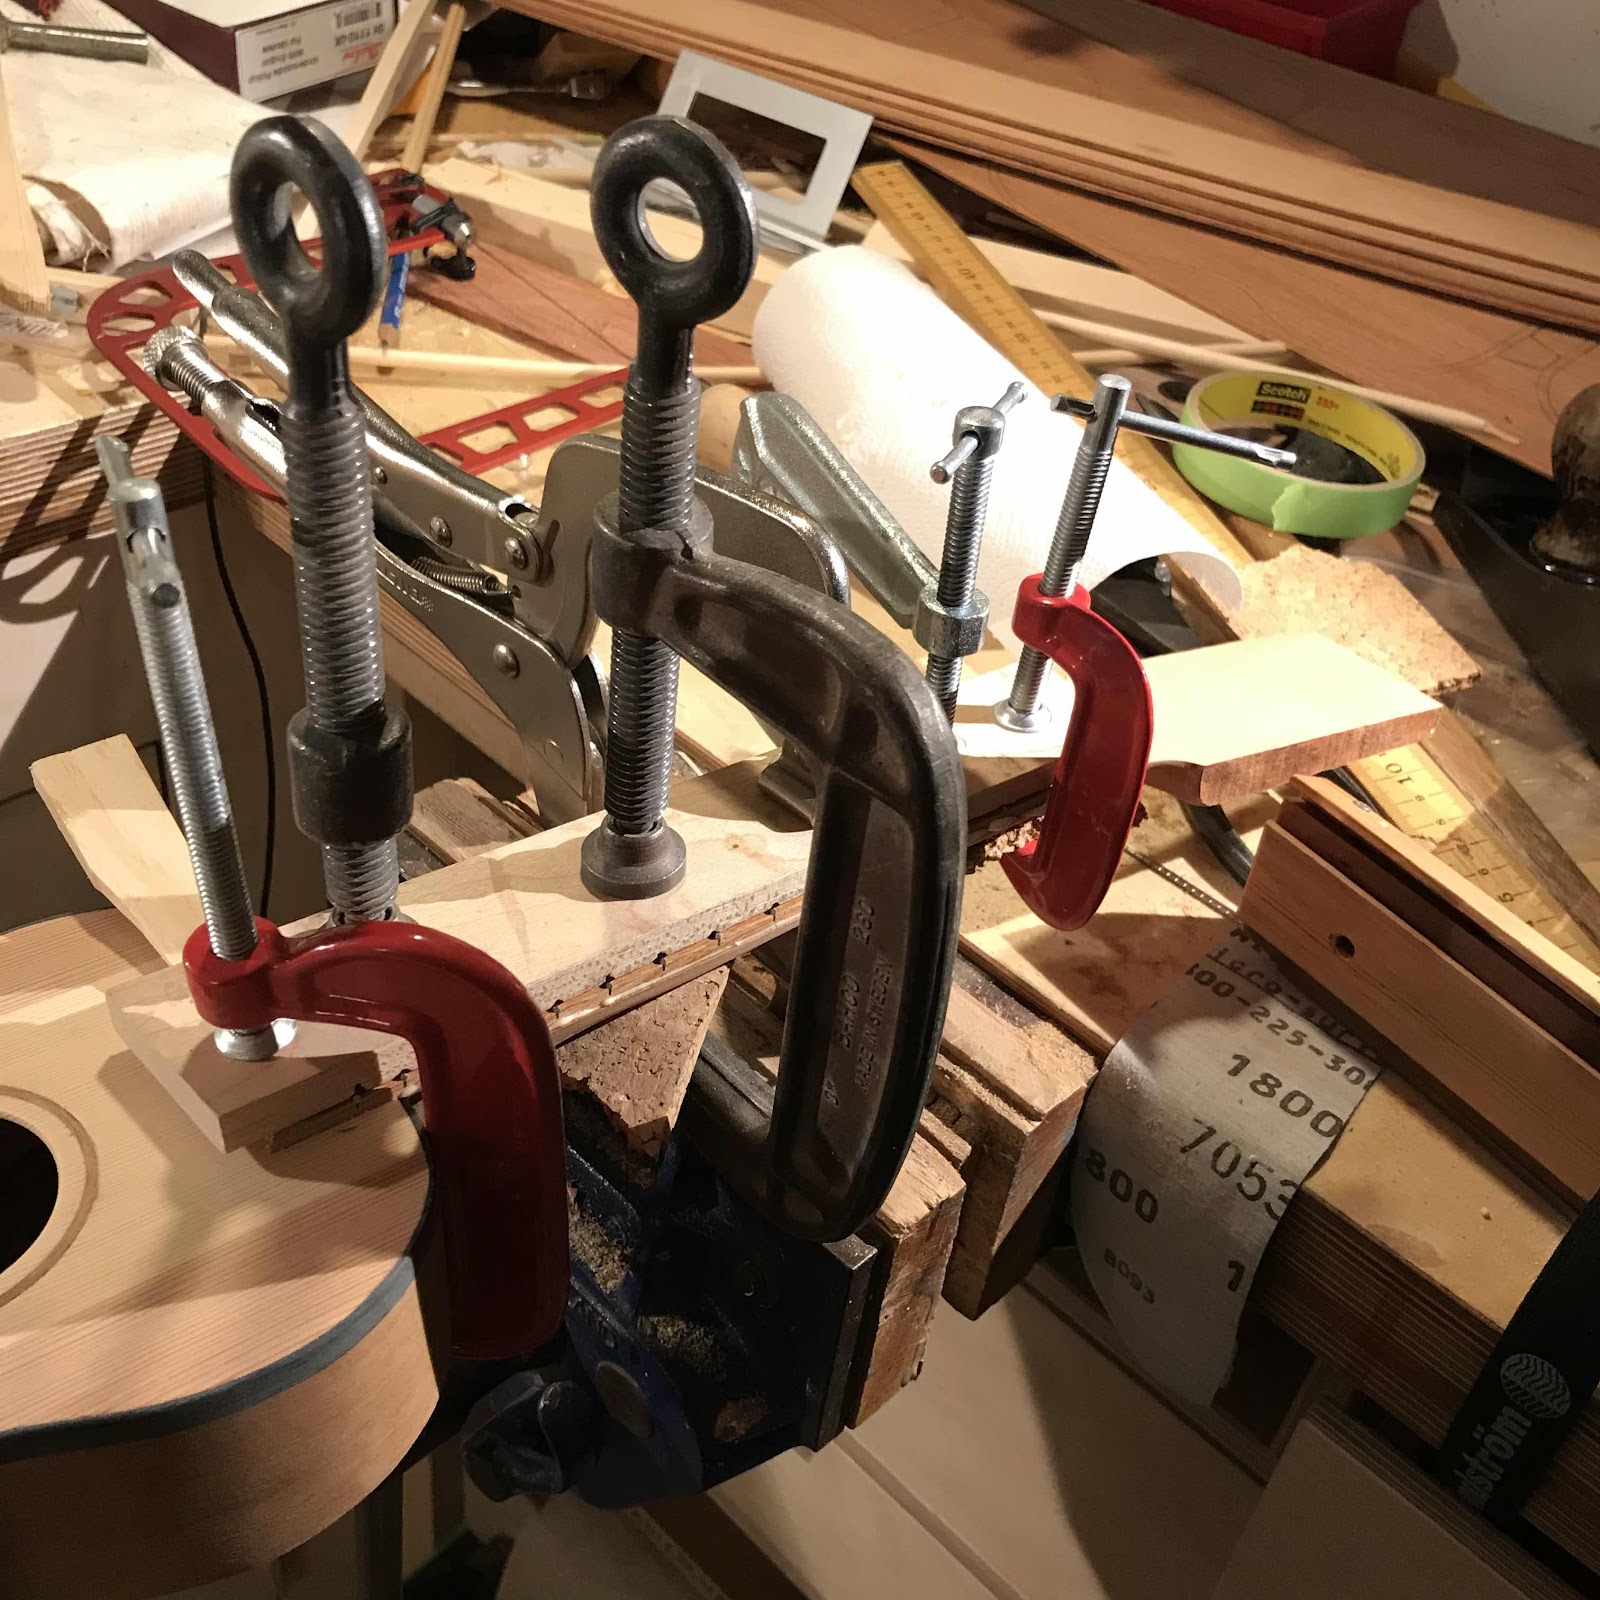
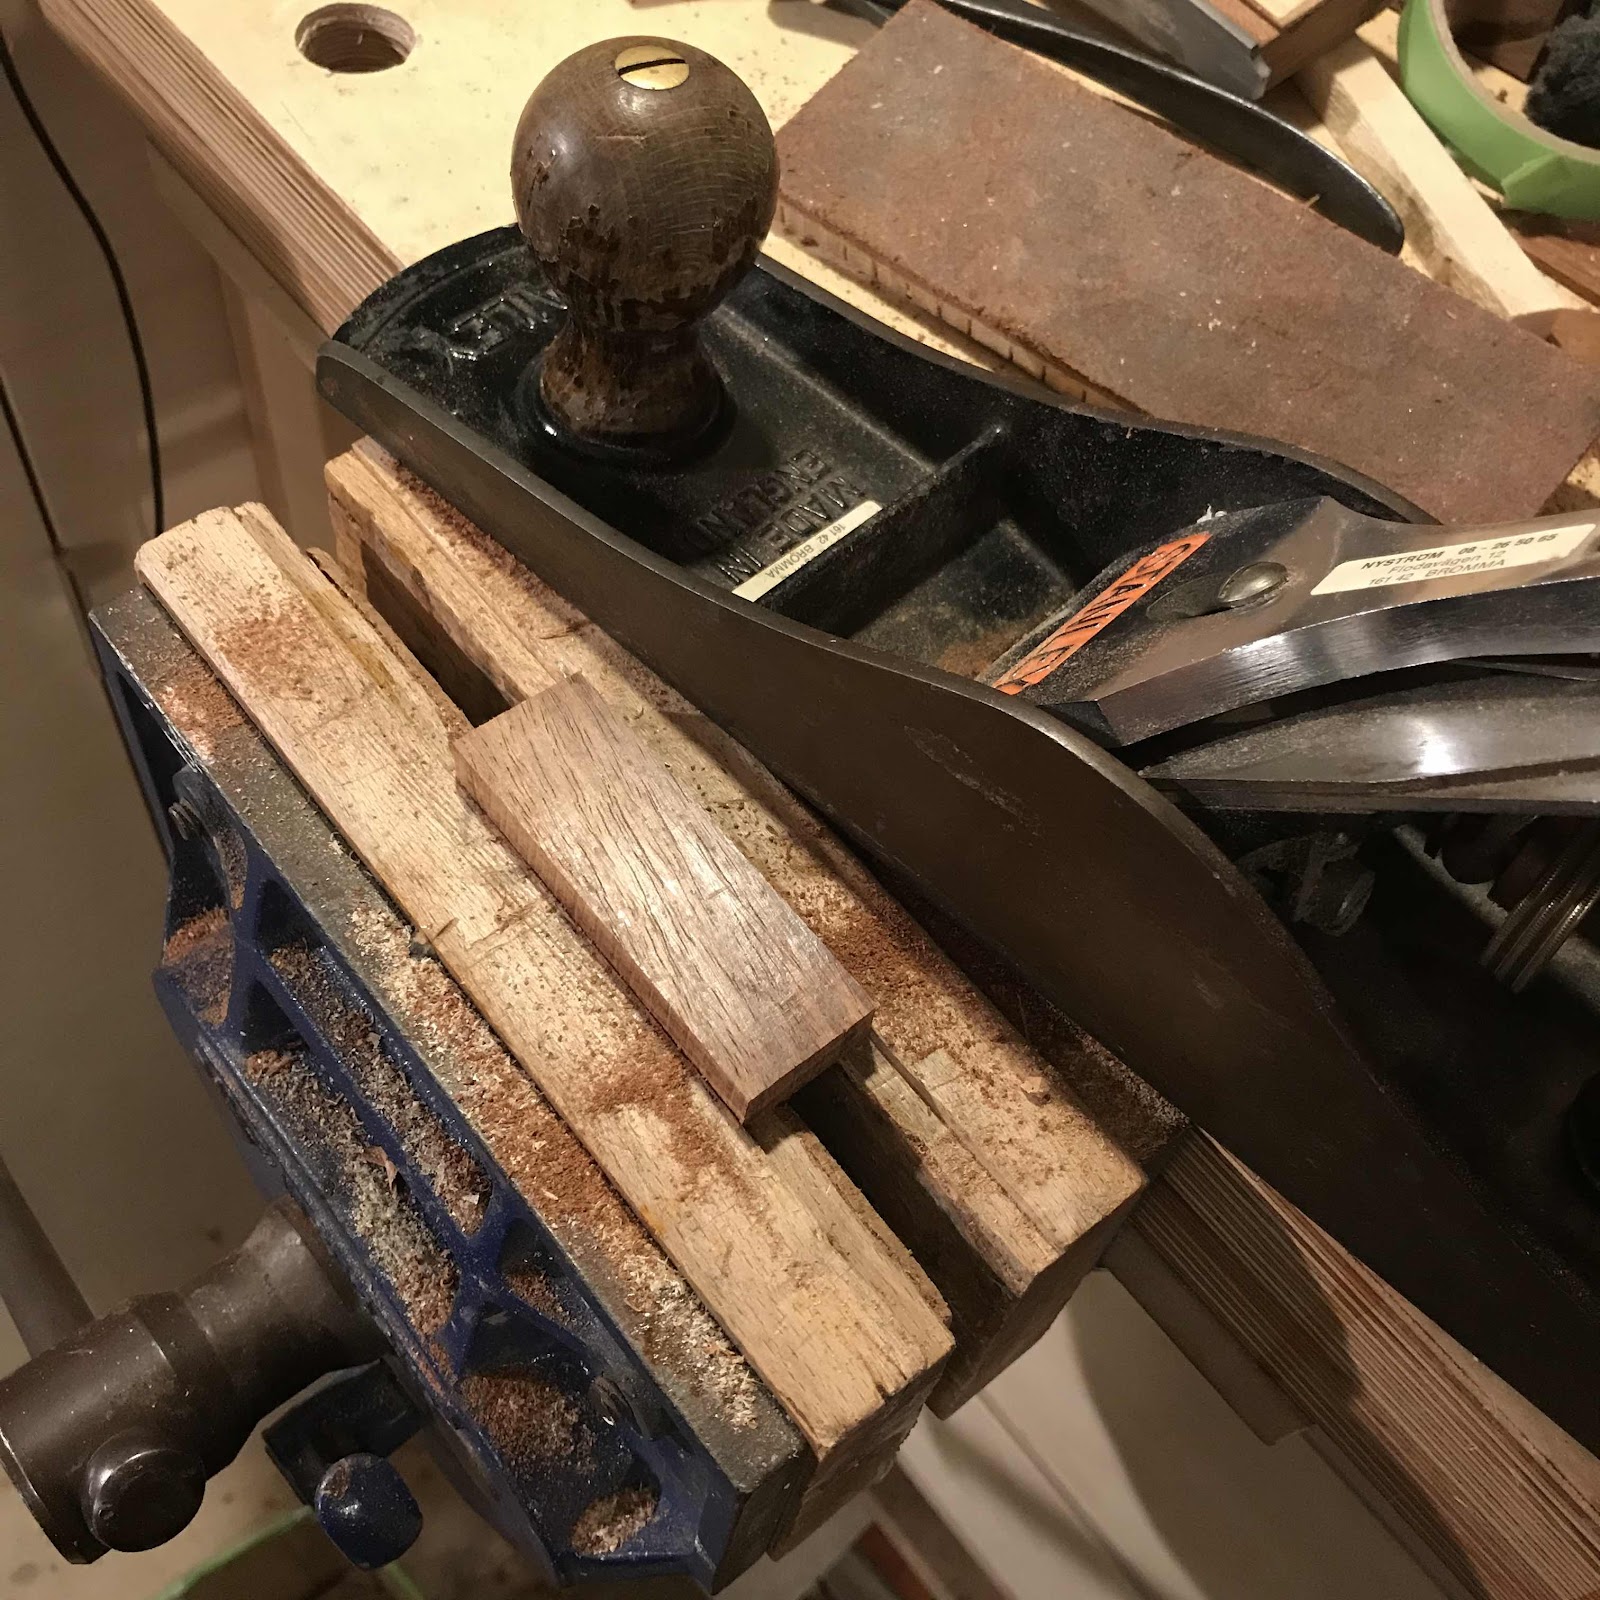
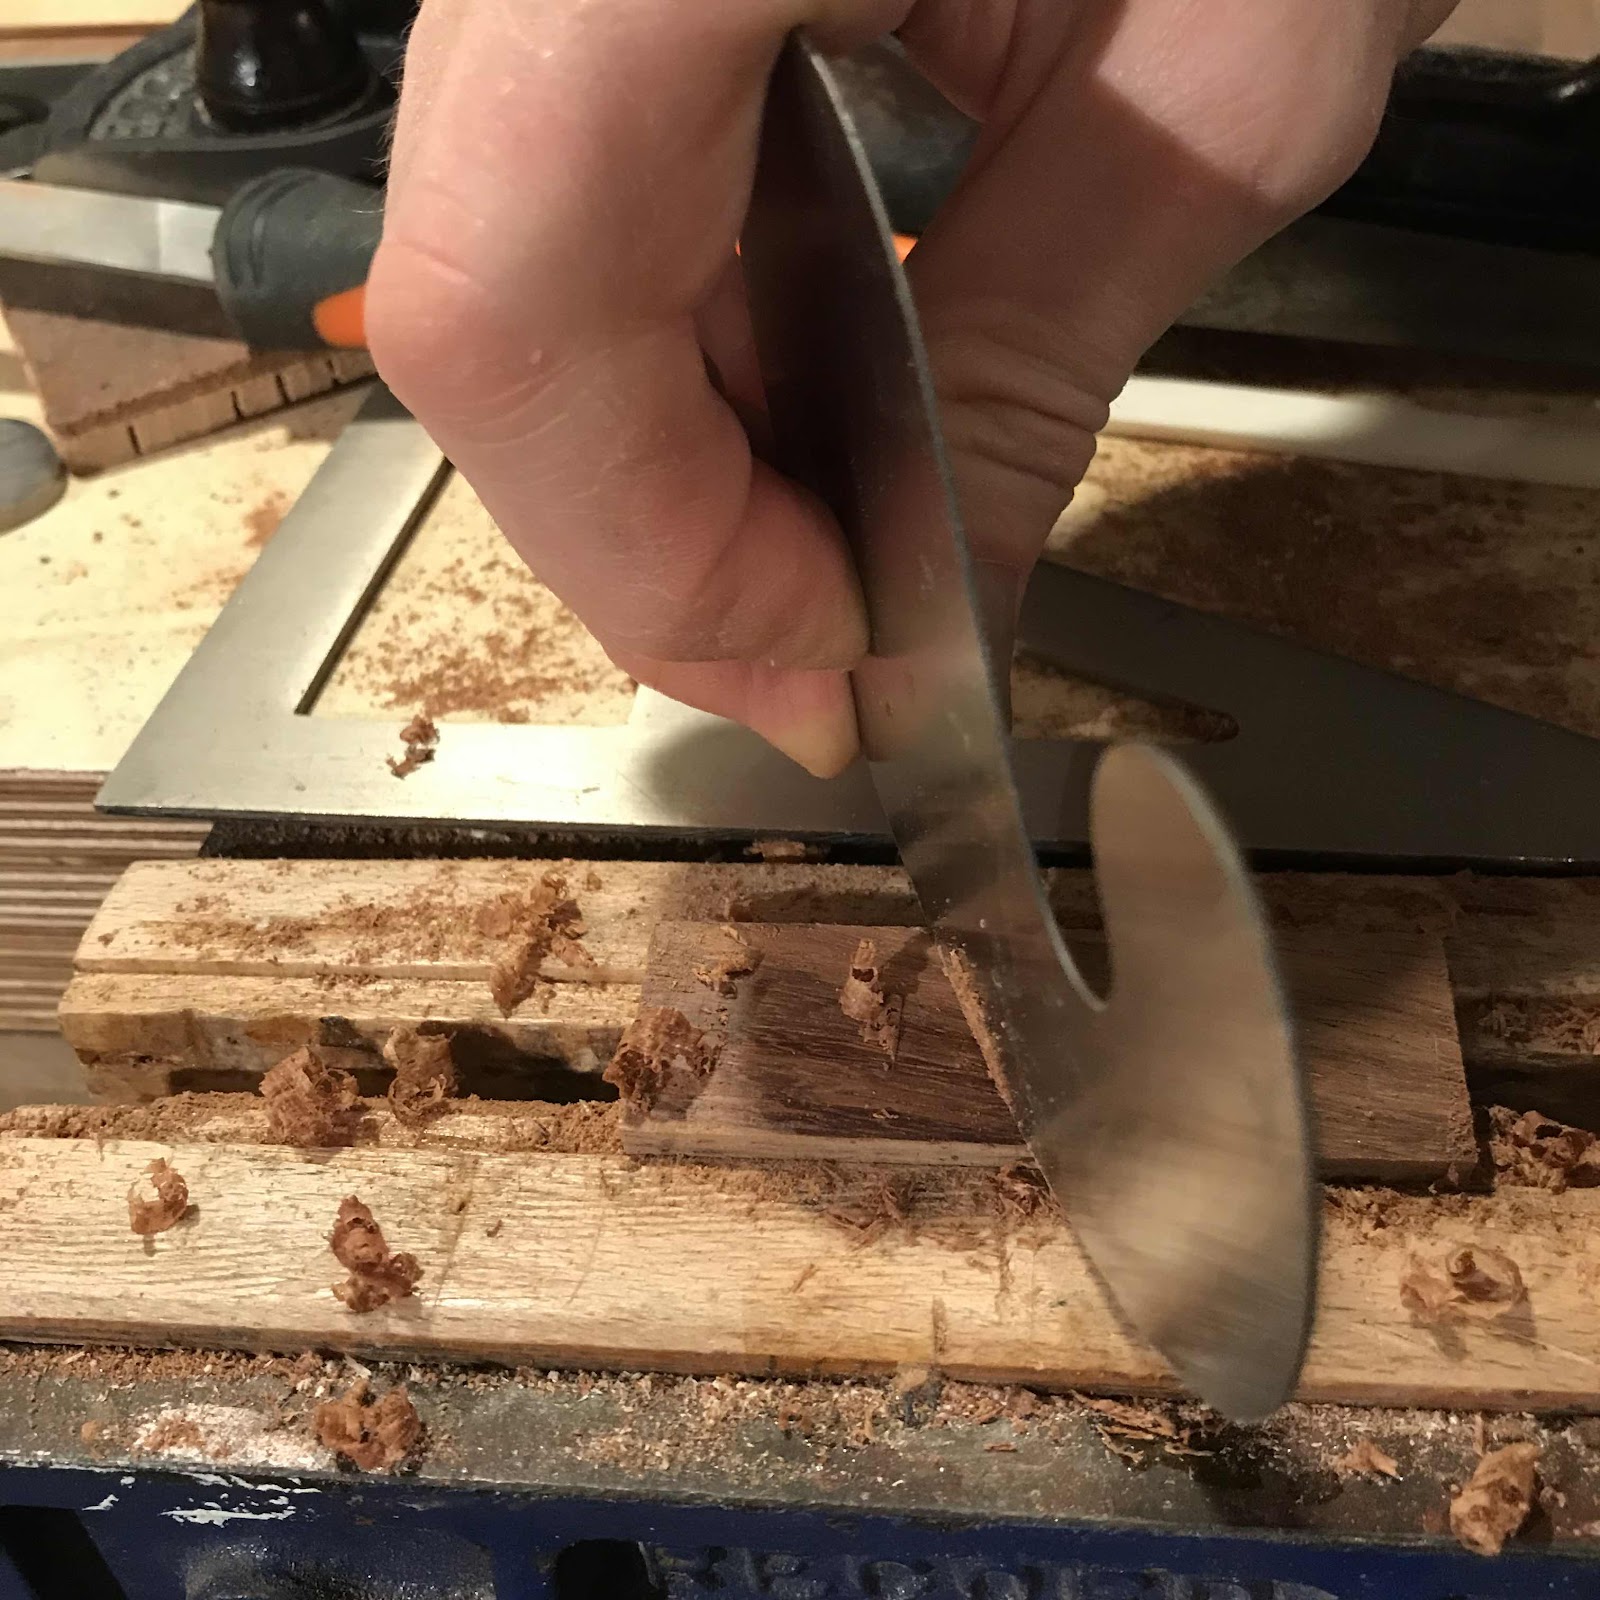
Since the soundboard is domed I need to shape the underside of the bridge to match it. I use a scraper for this, and check often to make sure it fits. 


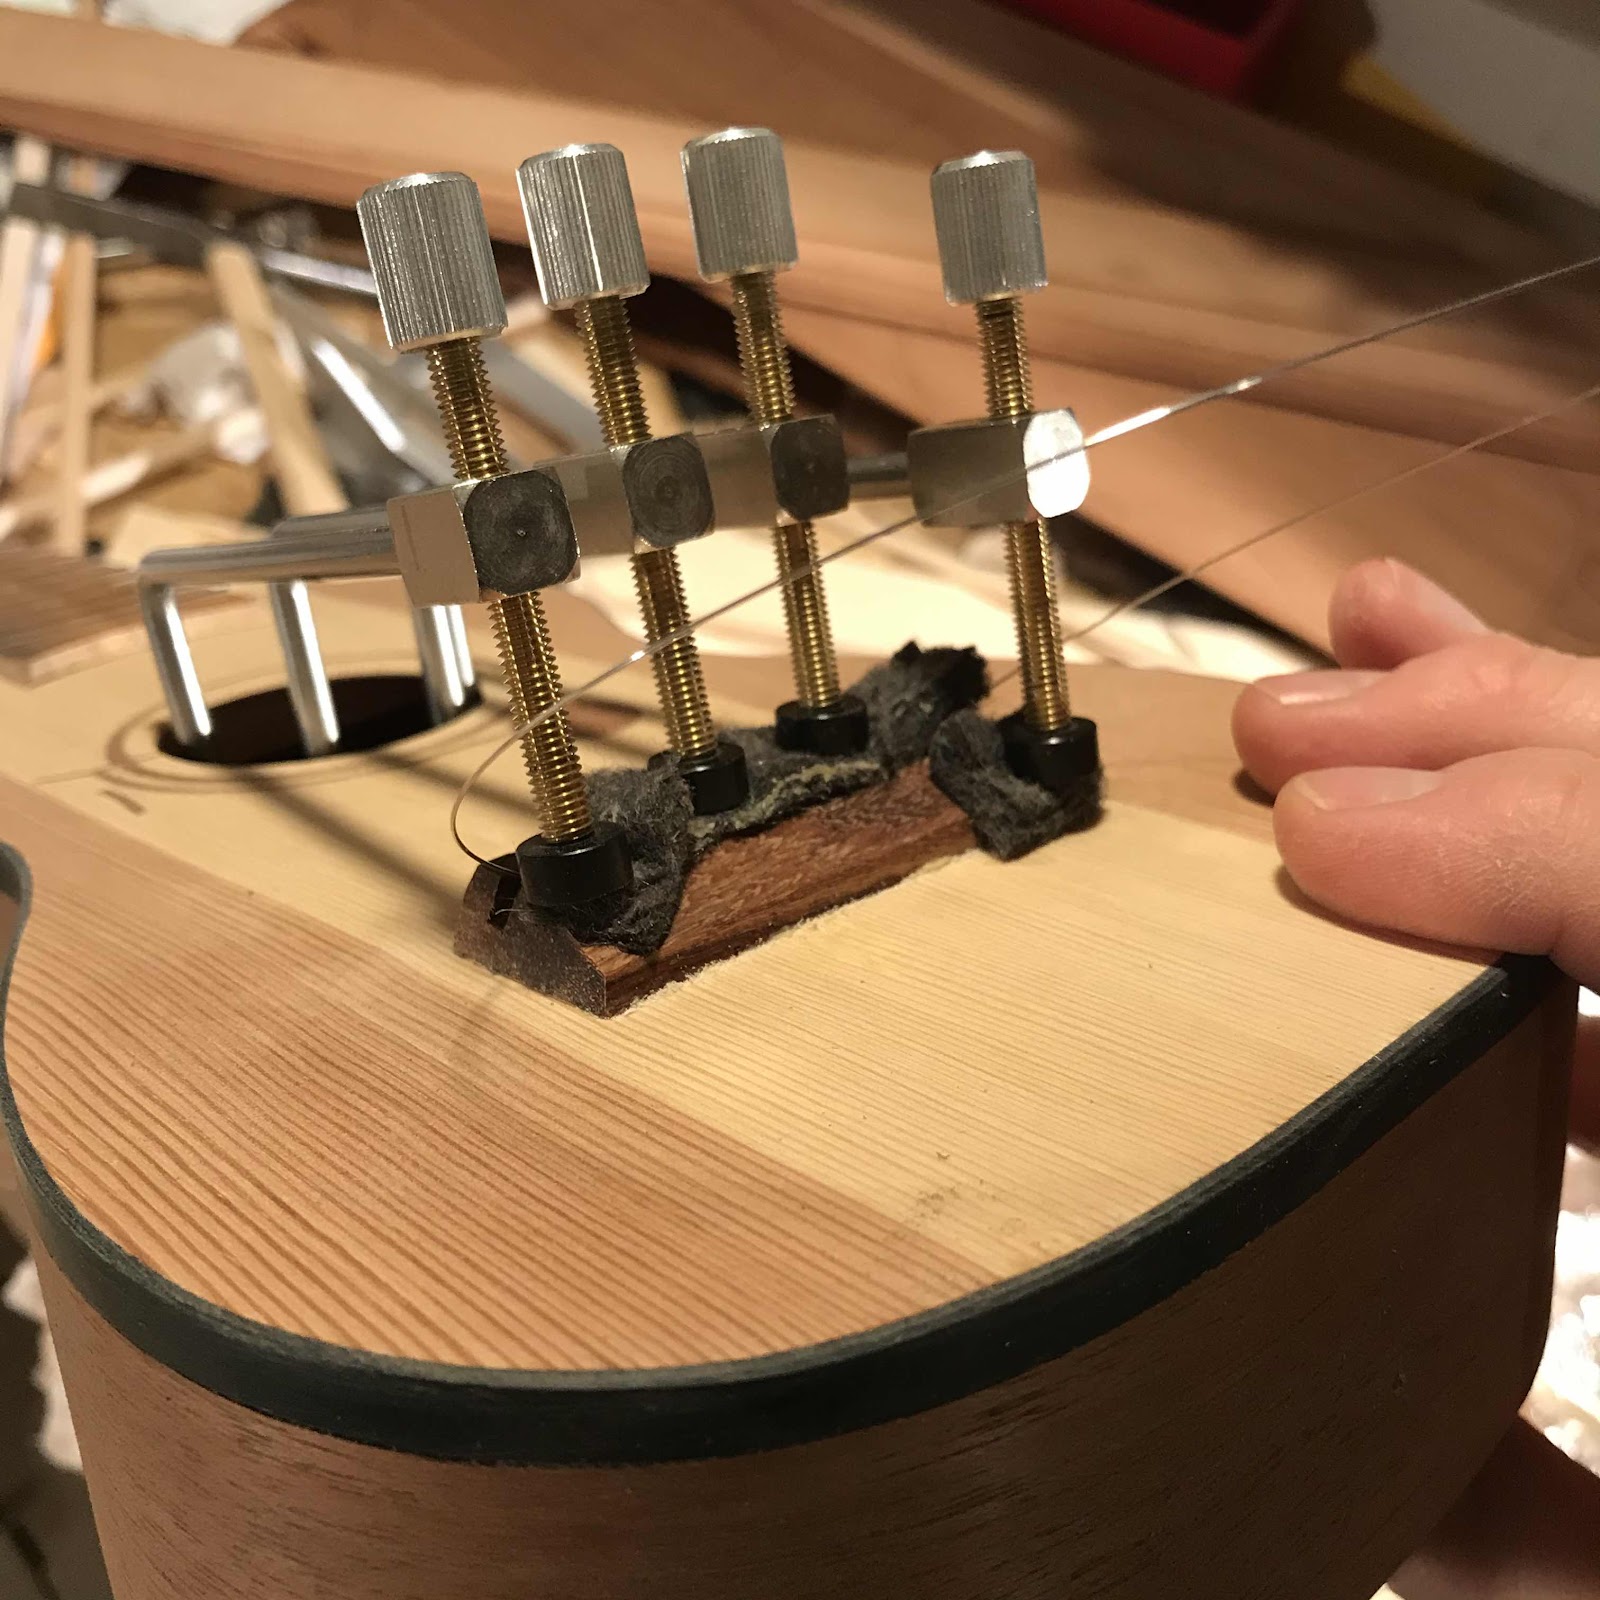
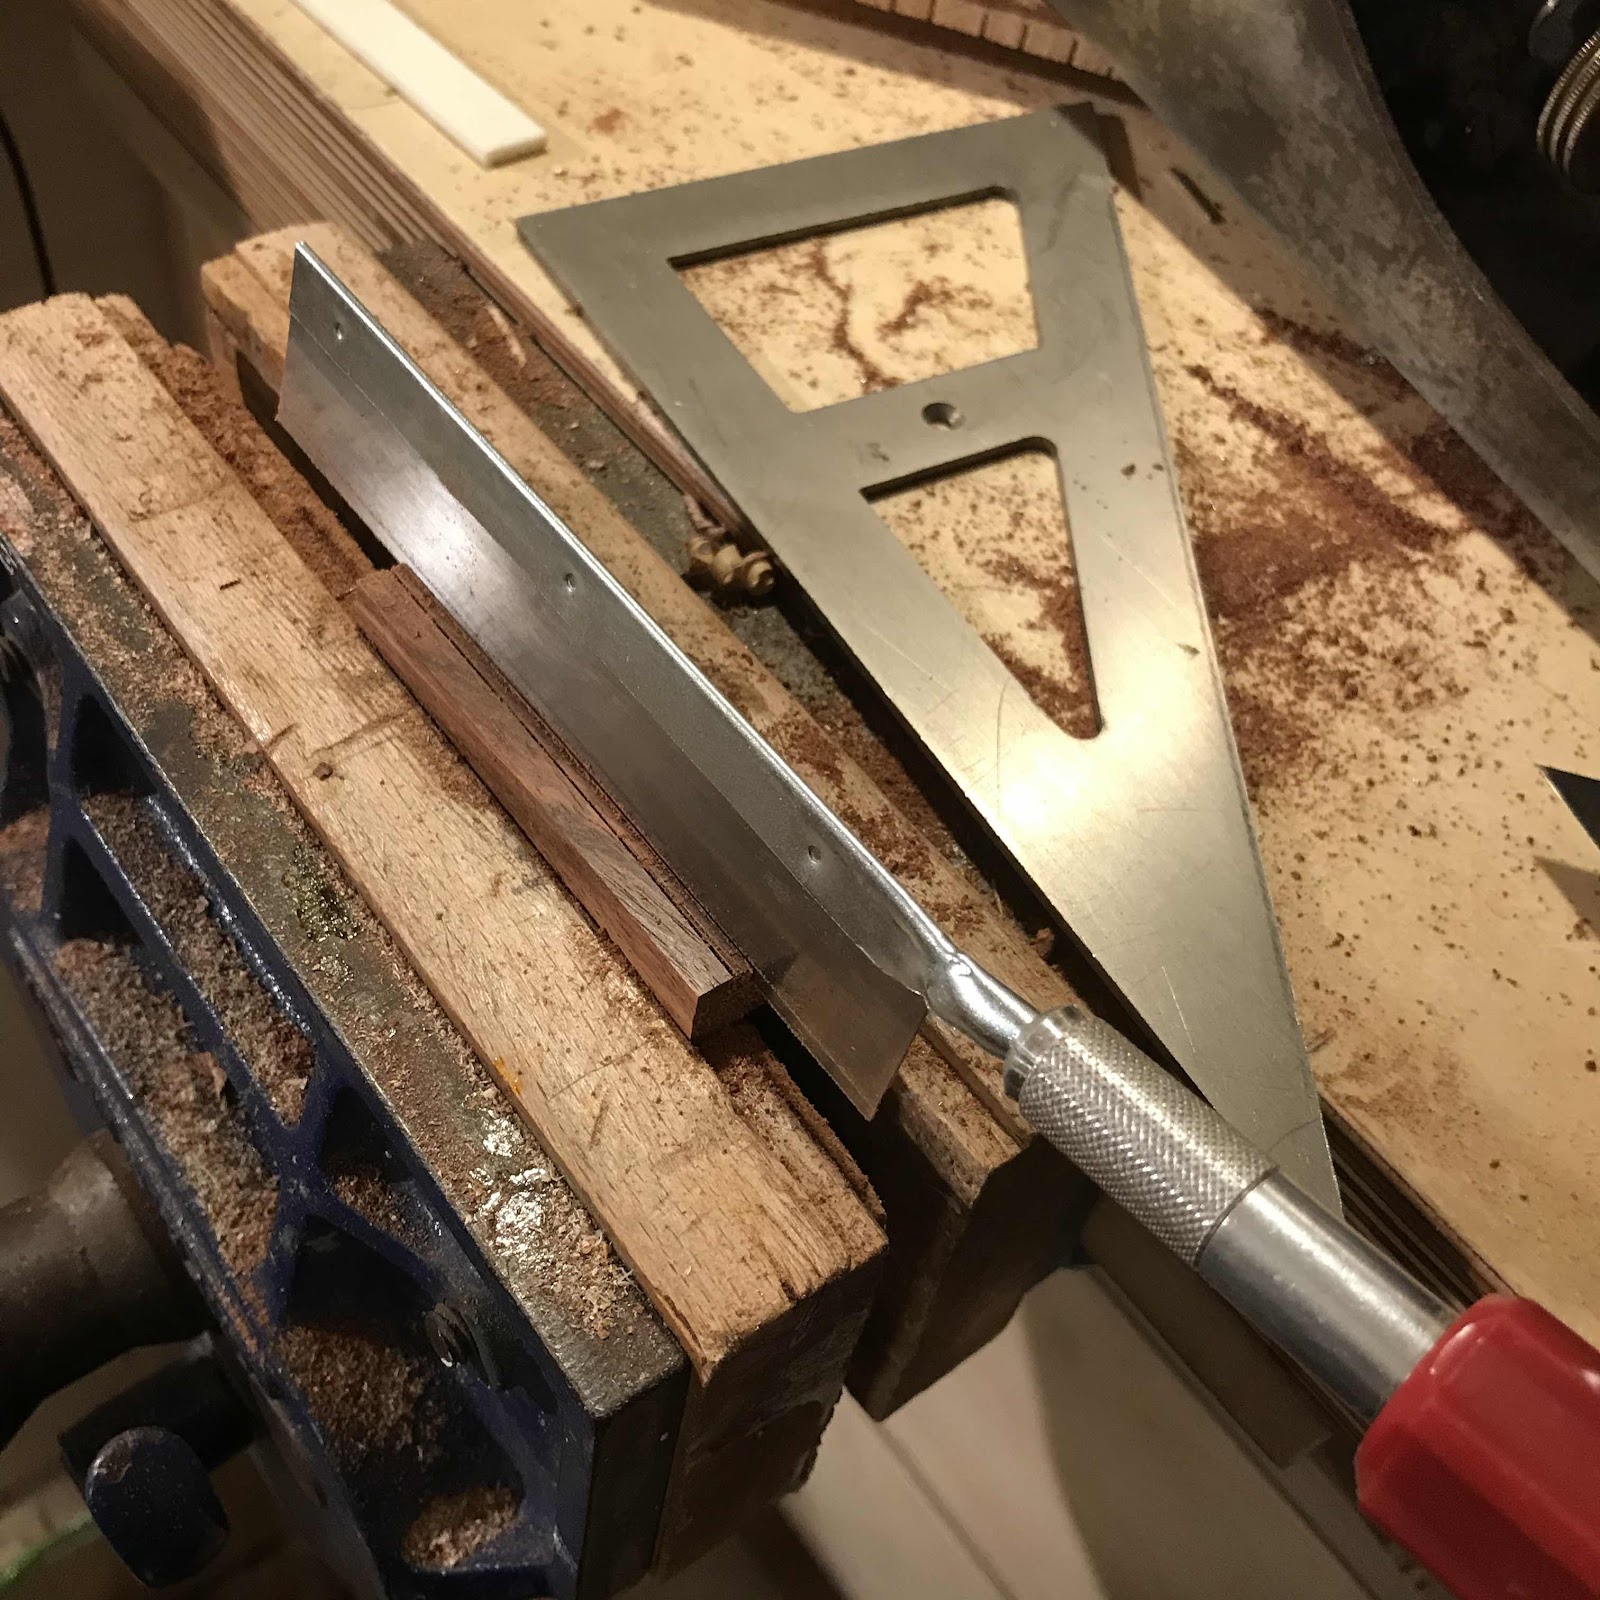
And it’s in place. The guitar string goes through two tiny holes in the slots and down through the top to prevent slipping. 


Wednesday, November 6, 2019

Fretboard, continued

When I’ve shaped the edges to the correct taper I mark a centreline and drill holes for the position dots. I use a 1.6 mm styrene rod for them. 


Three of the holes are transferred to the neck. I’ll leave the rods protruding a bit so the fretboard won’t slide around any when it’s time for the glue. 


I pressed the frets in, and forgot to take any pics of that. But here’s me filing the ends and bevelling them. 


And on it went. I’ve used rubber tubing and other sorts of clamps, but you can’t really beat some old Bahco C-clamps. You could squeeze something out of anything with those. 

Next up; the bridge. 


Sunday, November 3, 2019

A mesquite fretboard

I keep saying I’m gonna tidy up the workbench but I never really get around to it. And there is that half finished ukulele that needs sorting, so I tell myself if I finish that I can clean the bench so much easier. 

So I found the mesquite fretboard blank I chose long ago, and trued one edge on it. I put my Stanley number 6 upside down in the vise and ran the board along it. 


I put the fretting template on the board, using the tape and superglue trick. The underside of the fretboard is cleverly marked “ner”, which means “down” in Swedish. The plywood contraption is a sled for cutting the slots. 


Et voila. For some reason the slots weren’t as deep as they should be, something is up with the saw or the sled. But I just deepened them with my handsaw. 


I taped it and marked it the centreline, and from that I marked the tapering edges. I scored the edge lines with a marking knife...


... and pulled the excess tape off. Then I planed the edges down to the remaining tape section. I like using a large plane for this, the length and the mass really help in getting the sides straight. 


And I did a lot more today. But I will post it in bits, kind of bad form keeping quiet for a month then publishing mega posts with way too many pics. Thinks I.