Learning Ukulele 50 Sites Top 50 Ukulele Sites Argapa Ukuleles - one size louder: Finish
Showing posts with label Finish. Show all posts

Saturday, December 19, 2020

Bridge and some polishing

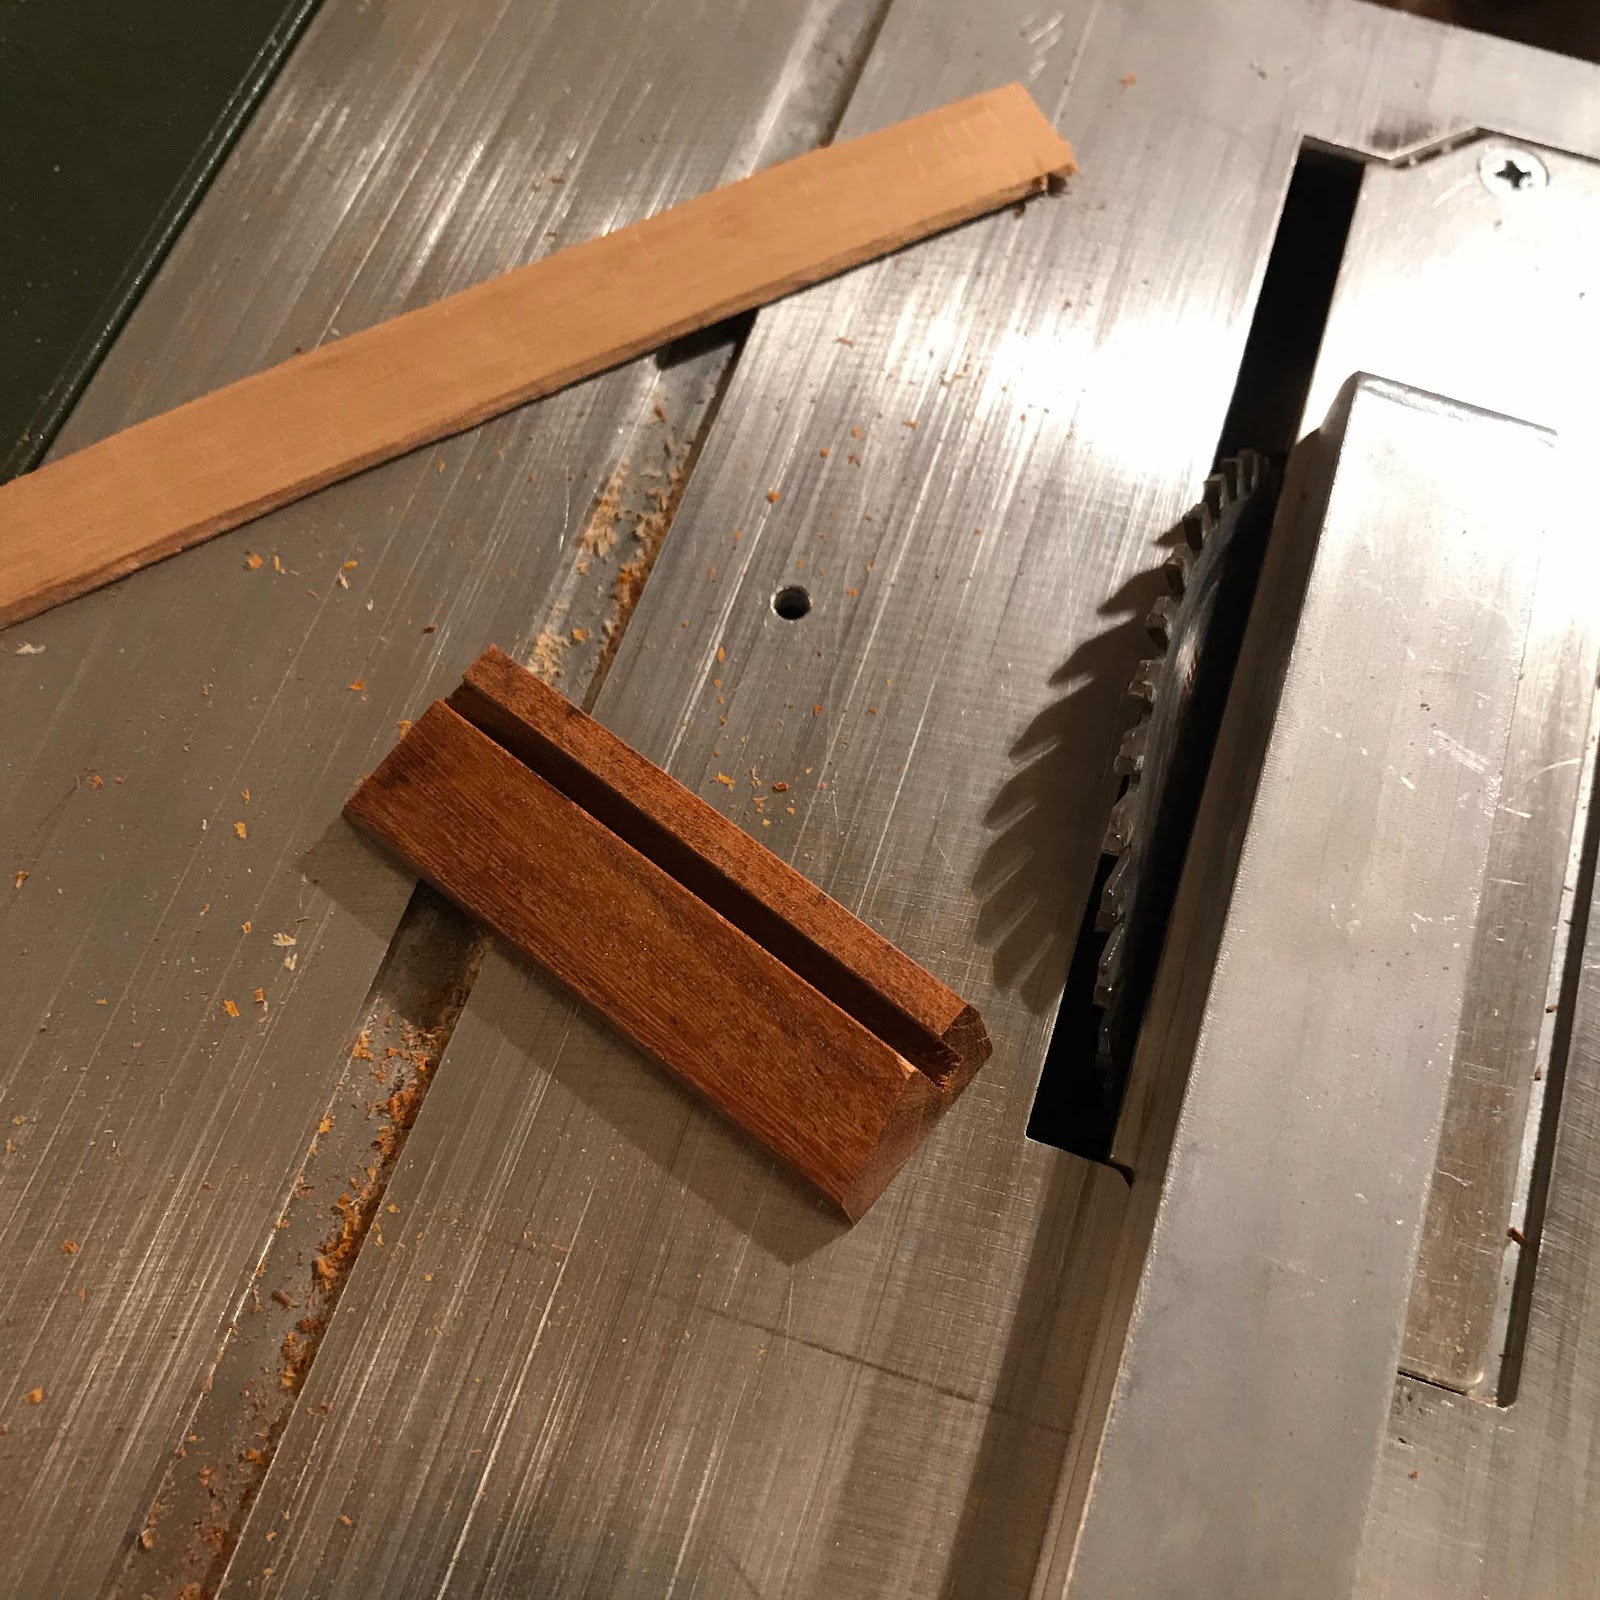
I said in the last post that I made the bridge for the soprano. I chose a piece of ipé from that floor board sample from Buenos Aires, and went to town on the wee table saw. 


Setting the distance with a wooden ruler clamped to the neck, then low tack masking tape at the front and back edge of the bridge. 


And with the ruler next to the fretboard edge I draw lines that will aid me in positioning the bridge sideways. 


I use a piece of guitar string through two miniscule holes through the saddle slot and the top to stop things from sliding out of position. I didn’t take a pic of shaping the bottom of the bridge to match the curvature of the top, but I did that with a scraper. 

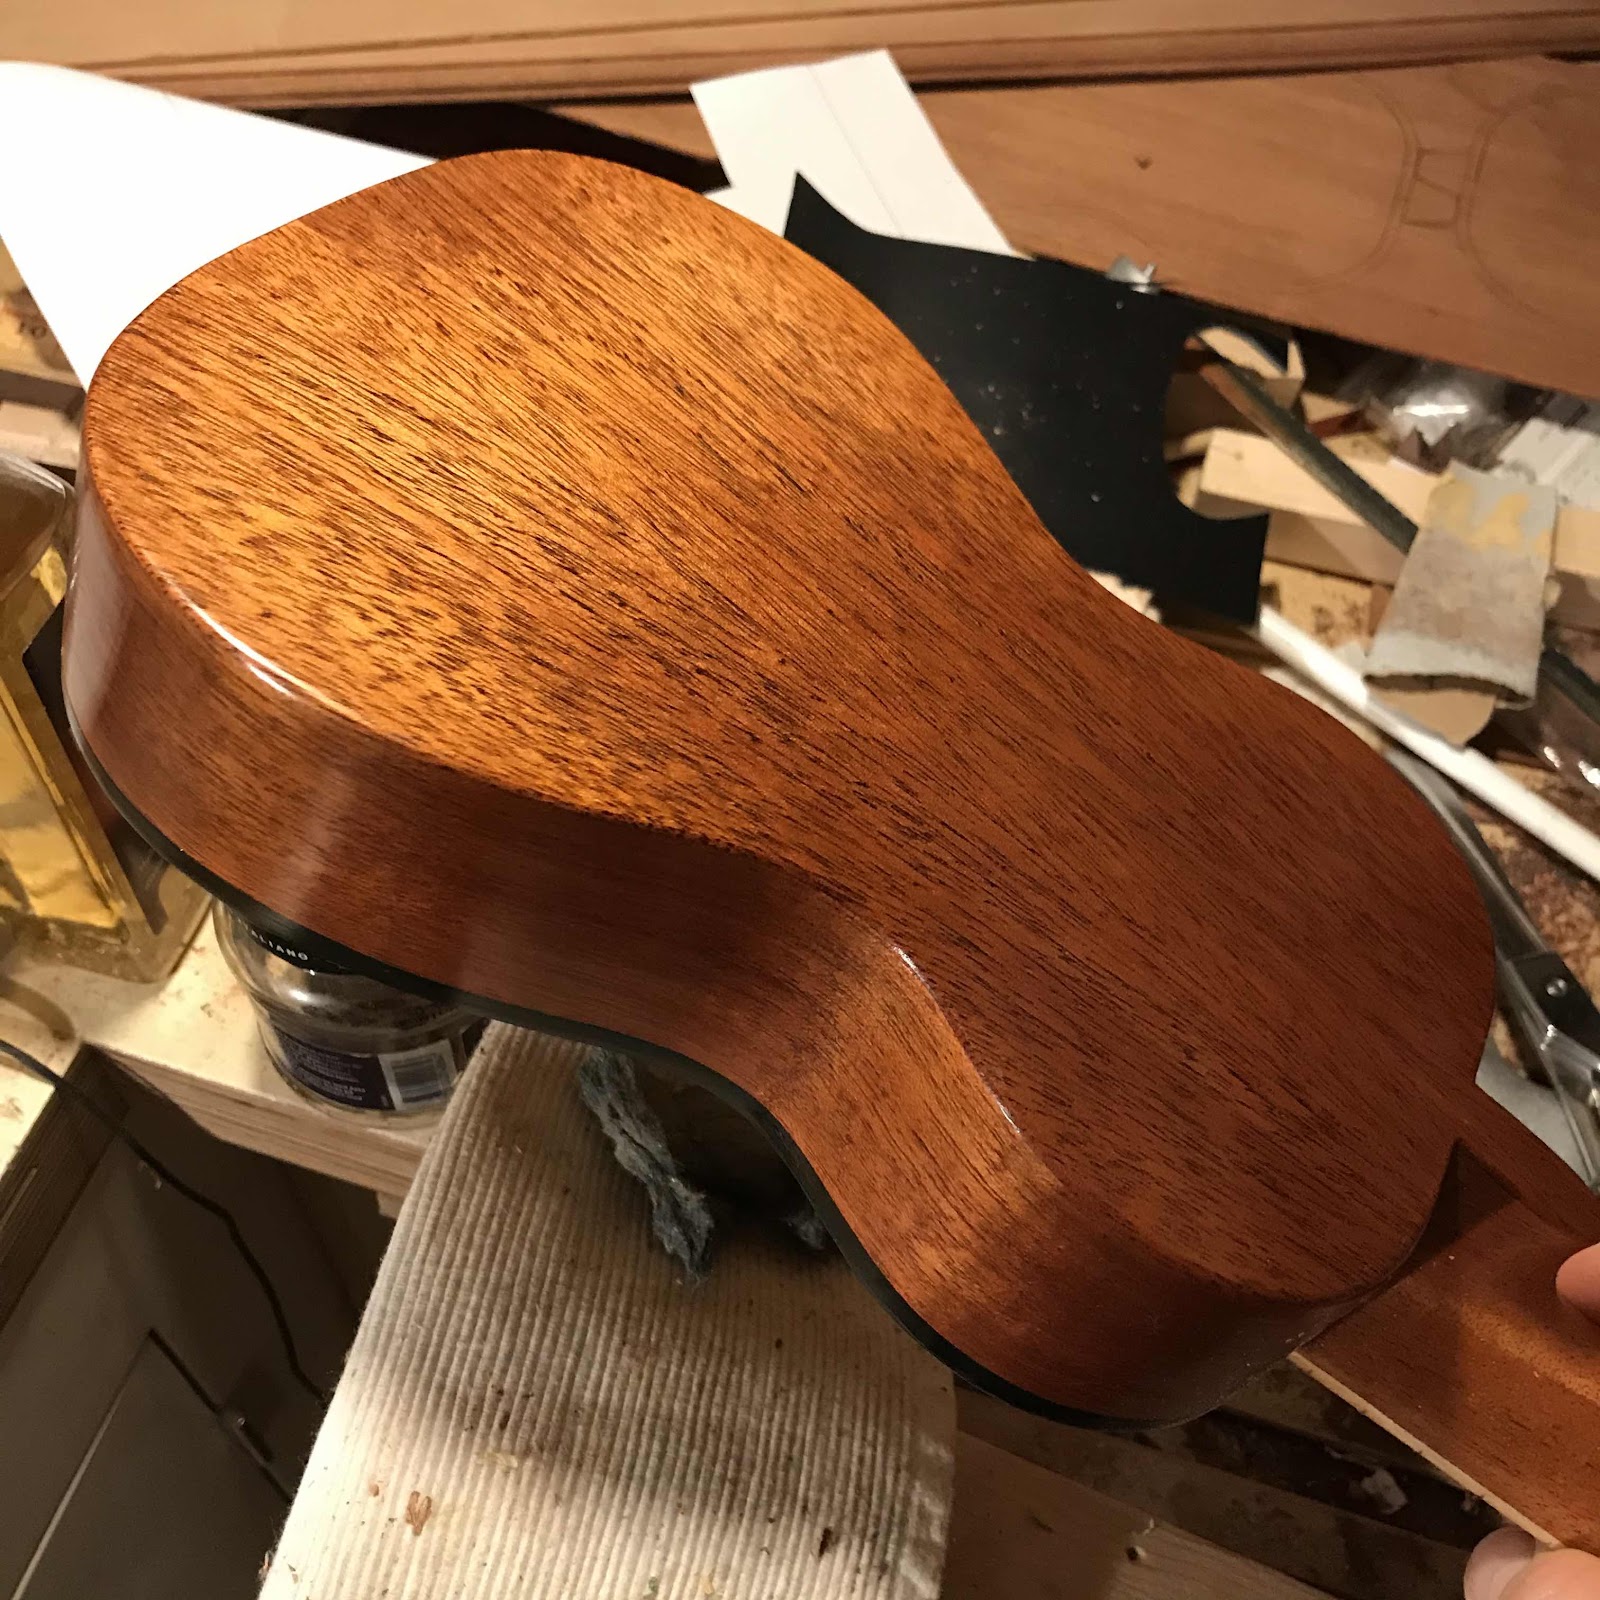
Do keep in mind the lack lustre appearance of the mahogany so far, if you grab the opportunity to despair now you’ll get a bit of a rush at the end of this post. 


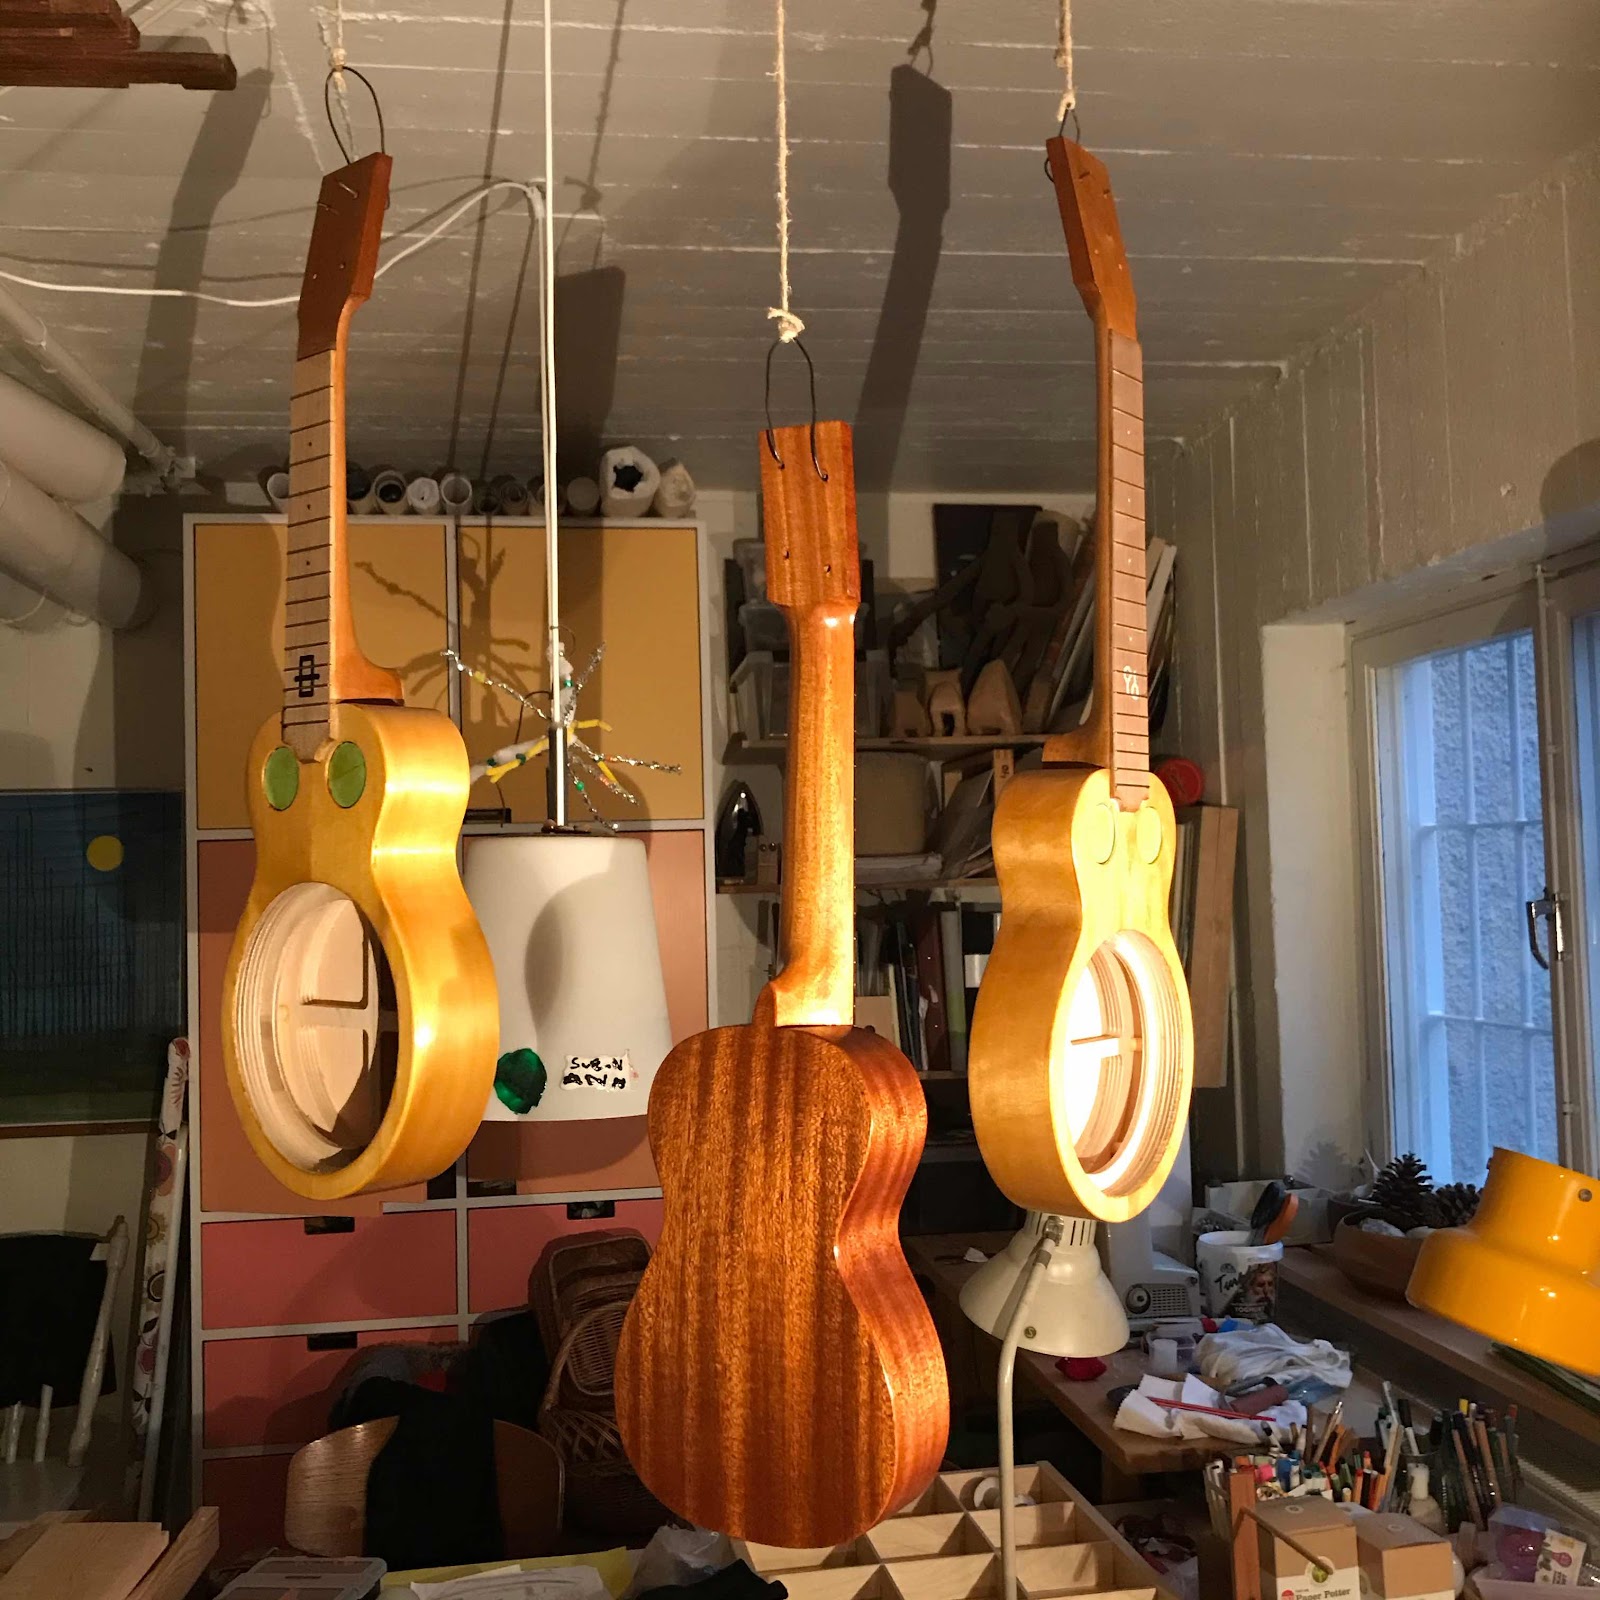
And here’s a pic of the gang after tvree or four coats of shellac. Those first coats I apply quite liberalky without oil, they’ll form the base for the polishing later. How much later? Well the next pic maybe. 


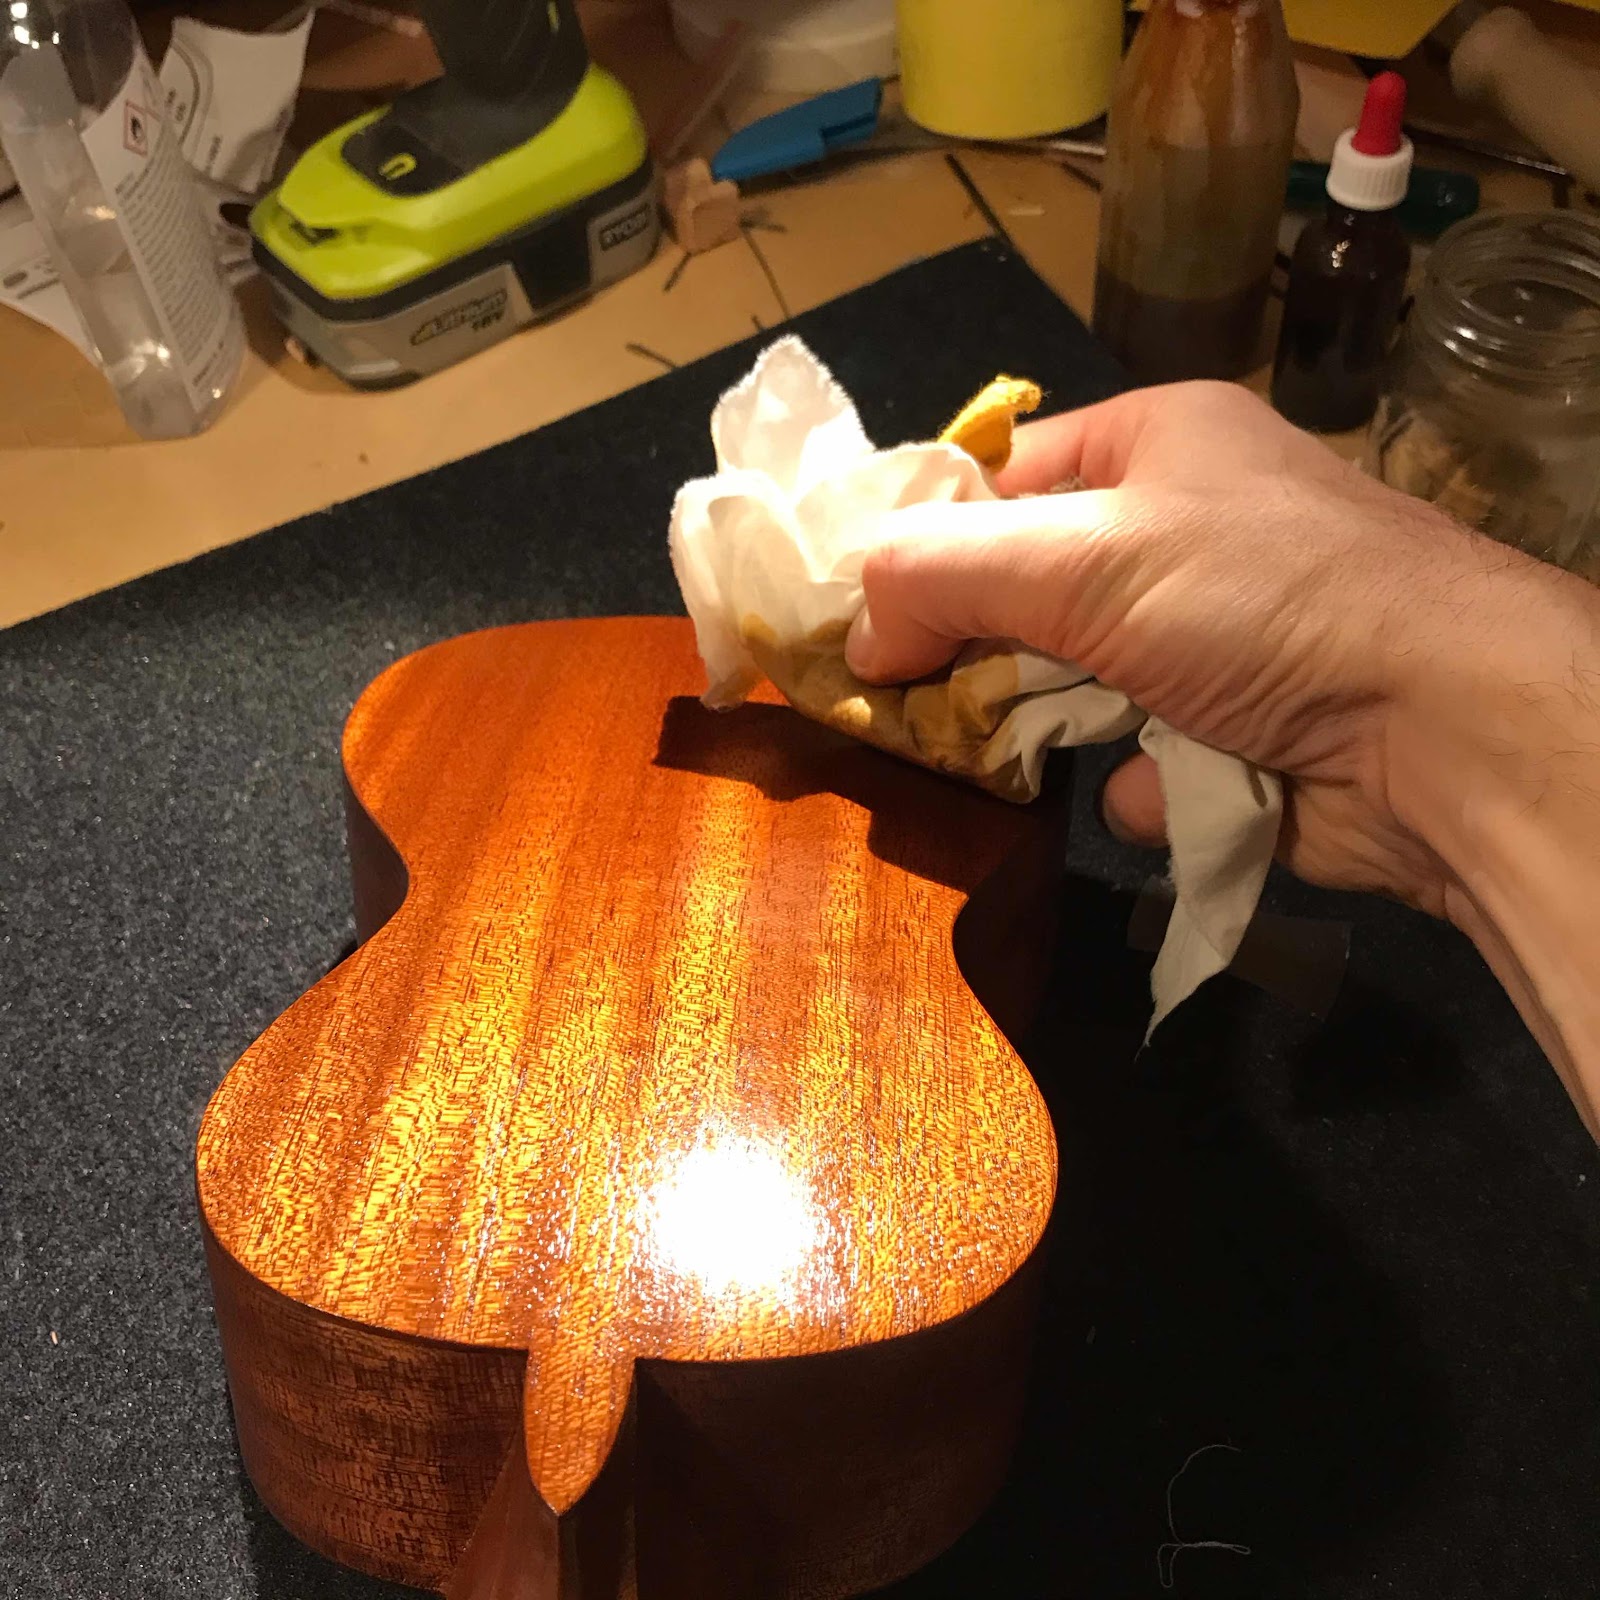
This morning I started polishing with oil. I use walnut oil because I read somewhere that it dries. My tests of its drying properties have bern inconclusive at best, but for lubricating the pad it works really well. The other obvious choice is olive oil and I know for sure that won’t dry. 


And here’s Li’s soprano. That mahogany is very special. Still from the boards my dad bought in the 1960’s. 


Thursday, March 5, 2020

Start to finish

Hi my friends! Not all that much to show today but I want to post sort of regularly. I worked abroad for the better part of a week so the first coats of shellac had time to fully cure. Today I took the bits and drips in the surface down with steel wool. 


And pressed on with the shellac. This is a sort of rustic specimen of a crude model but I want a fair amount of coats before it’s done. 


Sunday, December 8, 2019

French polishing

I’m getting closer to the finish line. But I have been forced to travelin work too much lately and that steals time. But an hour here and there and the shellac finish is starting to look really nice. 


I messed up the soundboard a bit as I went too thick in places. So I’m only showing you the back and neck here. I’m doing the top again after some careful scraping. 


Friday, May 3, 2019

A quick update on the polishing

Too much going on at the day job I’m afraid, but every other day I put on a coat or two of shellac. Soon that’ll be done and I’ll move on to saddle, nut and tuners. 


The rolls in the background are paper pots to grow plants in. 


Monday, April 15, 2019

Finishing Li’s uke

I got sidetracked fixing the last details on my wahwah bass*. But now it’s time to make progress and wrap this one up. I spent an awful half hour yesterday sanding this with my Festool ROS and today I grabbed a bottle of shellac. 


I can’t help it, I take this pic every time I start shellacing an instrument. The grain pops and I let out a sigh of relief - only the rest left!


*leave a comment if you want to see that monstrosity. 

Saturday, November 17, 2018

One and a half finished instrument

Here’s a few pics of the cavaquinho! 


Spruce soundboard, walnut back and (one piece) rim, alder neck, mahogany binding and rosette, mesquite fretboard and bridge. 


The hand on the headstock is a pre-hispanic Mexican stamp design that I found in a book. It is appropriate on this instrument for a number of reasons. But apparently  an Irish shamrock would’ve been good too, fanx ancestry.com. 


But I did say one and a half, didn’t I. Well the mahogany reso is in the finish stage. So far the base coats of shellac has been applied, these are the four or five first and they’re done with no oil on the muneca. I’ve found that after those I need oil, and with the oil the finish starts building nicely. But with too few base coats it’s a hassle to progress to the polishing phase. 


It does look quite sharp I think. 


Thursday, July 26, 2018

Piccolo progress

When the frets are in place and the nut ledge cut I turn my attention to the bridge. This setup in the first pic gives me the height, this time it was around 8 mm. 


I mark on a piece of tape the extended lines of the edge of the fretboard. This helps me place the bridge where it needs to be. 


Here’s the bridge with tape all around it. Before glueing, I drill the holes for the A and G strings. With brads through the holes the bridge won’t slip. 


The brads were replaced with sewing needles, remember this tiny house lacks most tools but is packed with sewing supplies. 


Then I use the divider to mark the location for the E and C strings. The divider is of course a Ken Timms tool. 


I drill the holes at an angle so it’s easier to feed the strings through to the soundhole. 


Ever wondered why Argapa headstocks have parallel sides? Then take one look at this pic and realize it’s the sensible choice. I need the tuner holes so I can hang the uke up during finishing, but I’ll ream them later. 


And here we are this morning. About halfway through the French polishing process. 


Wednesday, April 11, 2018

Update on a couple of projects

When did I last show you the mahogany piccolo? It must have been when I carved the neck. Let’s catch up, even though I think it was visible in the background on a few pics last week when I worked on the travel uke. 

First pic shows the neck attached, the rim profiled, the lining strips glued in and the same strips sanded flush with the rim. 


Then the back braces were installed while the uke was on the solera. The braces have a gentle curve, which together with the more aggressive lengthwise curve of the body gives the back some compound geometry thingie going on. 


Slotting the neck and fretting was done together with the travel uke, and in the exact same way. 


Then I made a bridge and glued it on. This was a couple of days ago, meaning...


... we have the first coats of shellac on! I think it’ll be a fine instrument. 


 A few pics of the reso then. Since last time I have received information from a reliable source, it’s not cocobolo - it’s ziricote. Please forgive me for spreading fake news on the internet, and well spotted Mikael. 

Anyway, I put on a faceplate and a fretboard of the same wood. I think it looks really cool. Ziricote is hard to work and tough on tools so almost every step is a bit of a struggle. But we’re getting there. 


I tried using a scraper but it skidded around, just burnishing the wood. So out came the Festo ROS. When I can’t avoid power tools I prefer to use the best ones. 


Hardly a surprise, but ziricote is hard to finish. The shellac dries slower than on the mahogany piccolo and I must be careful not to rush the process. It will look quite dramatic. 

I have built this to my own specs, but I do have someone in mind. If it turns out good after all the hardware is grafted onto it, I will brush off my school French and write an email to a certain guy. 


Monday, August 14, 2017

Finishing the koa soprano

Just a couple of pics showing tve progress. There are five or six coats on, all so far applied without oil. But the muneca starts to drag now so I'll continue using oil to lubricate. 


The figure has popped quite nicely. 


Wednesday, January 4, 2017

Wrapping up

The great resonator project of 2016 spills over into 2017 I'm afraid. But delusional as always, I think there's not much left. First pic shows me applying the last or possibly second to last glaze coat, and it does seem to work better than ever. A thinner cut of shellac appears to be the trick. 


Here are the two I did yesterday, one of cherry and one of walnut. Both take the finish well. 


And here's the group photo, I've done the remaining four resos and the Argapa 100 today. Can't wait to buff them out and install the hardware!


And speaking of hardware [writing, I am not talking to myself as I write this... wait, who said that?] I have to finish that stringholder blank. I planed the surfaces with my no.1 plane, and the corners got so sharp I cut both my hands on them. Now with blood and the brown shellac gunk on my fingers I look like an old junkie. Good thing I'm not going to town on errands - oh shit I am. 

Anyway I eased the corners a bit, hopefully without making the shape all mushy. It would have cut into any players strumming hand so I had to. 


And happy new year to you all. Fanx for reading this blog, both of you. Feel free to share, like, retweet or whatever you young people do to promote a cranky old bloke's cranky old diary. 

Friday, November 25, 2016

Finish prep

The last couple of weeks have been thick with dust. After sanding all seven ukes with the Abranet sanding block I told you about I have used the rolling pin sander to get at the waist areas, and after that I went over all of them with a random orbital sander that begs to be replaced by a better model. But it works, sort of. This is when I round over the edges on the body, and I take care of any knife marks left on the neck. 

So today I drilled pilot holes for the tuner holes and ground some blonde shellac flakes for one of the maple bodies. For the rest I'll use some darker shellac but this one is requested as blonde as possible. We'll see what happens. 

The grinder is some small herb chopper but cuts the flakes as if it was meant for it. 


I had to make a few extra hooks, and checked that they all hang freely. Wouldn't want to stand around with a wet uke in one hand and have to fabricate a hanger with the other... again. 


And then, the payoff. Walnut especially can look quite dull after scraping and sanding, so I had to take this pic. It's alive!*


*Also the title of one of the best live albums ever. 


Saturday, May 7, 2016

Finishing

I'm 600 kilometers north of Stockholm, to help my brother in law clear out a house. But I brought the mobile finishing workshop, an Argapa exclusive. 

Where it is? In the antique case of course. 


I bought the case to use it as a case for two ukes but haven't got around to furnishing the inside yet. For this however it was perfect. I brought scrapers, sanding pads, shellacing supplies and my brush. 


Then I coaxed a very handsome young man into applying the first coats of shellac. 


Over the course of yesterday I (he) applied several coats, levelling them between with scrapers and steel wool. And then they hung to dry. Maybe even to catch some tan, cherry will do that. 


And today I switched to the muneca and padded on a couple of coats. No oil yet but I think I will have to use that soon. And now they hang inside the house.