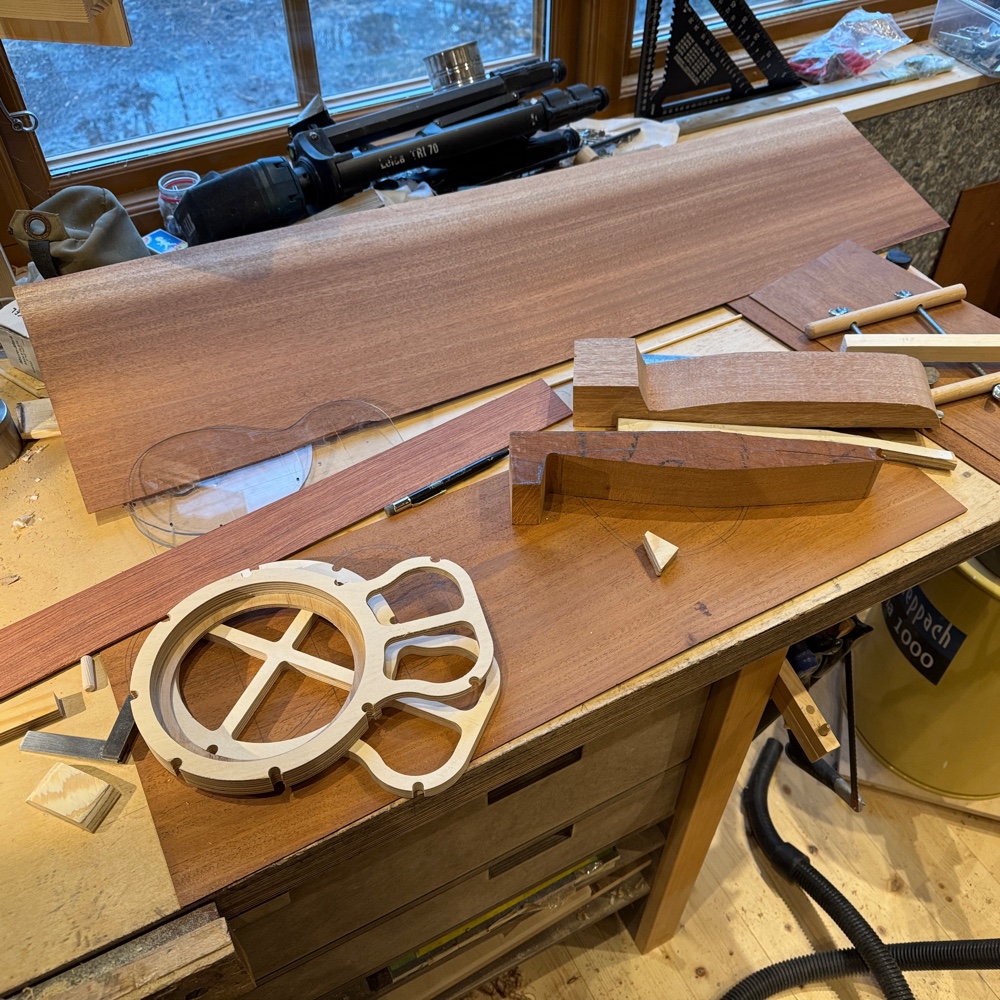
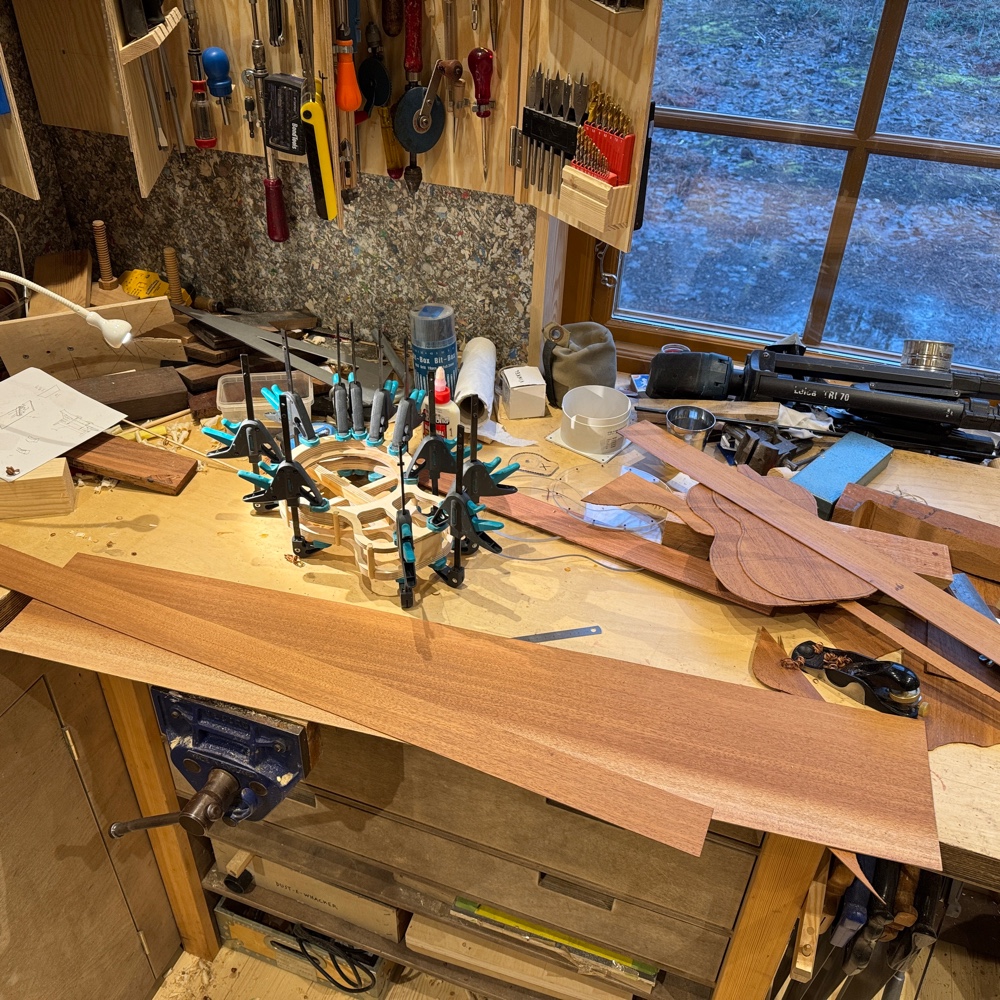
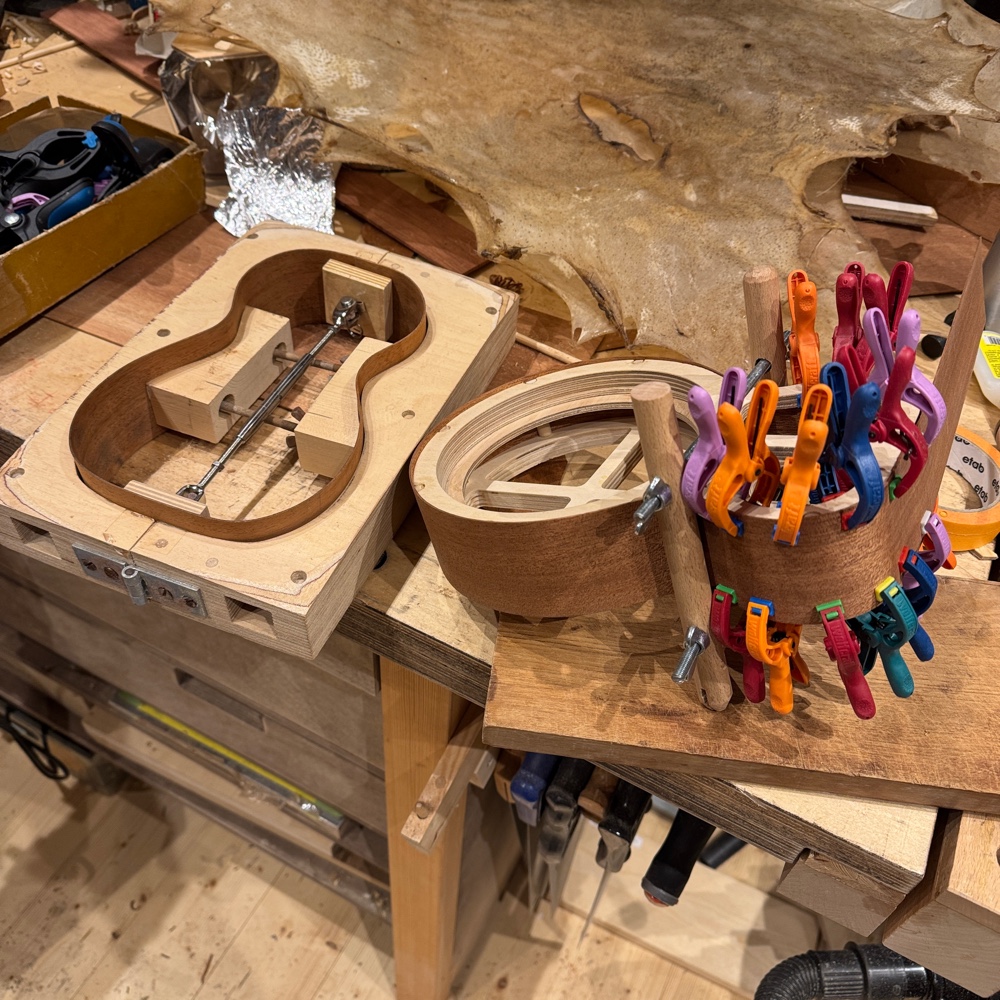
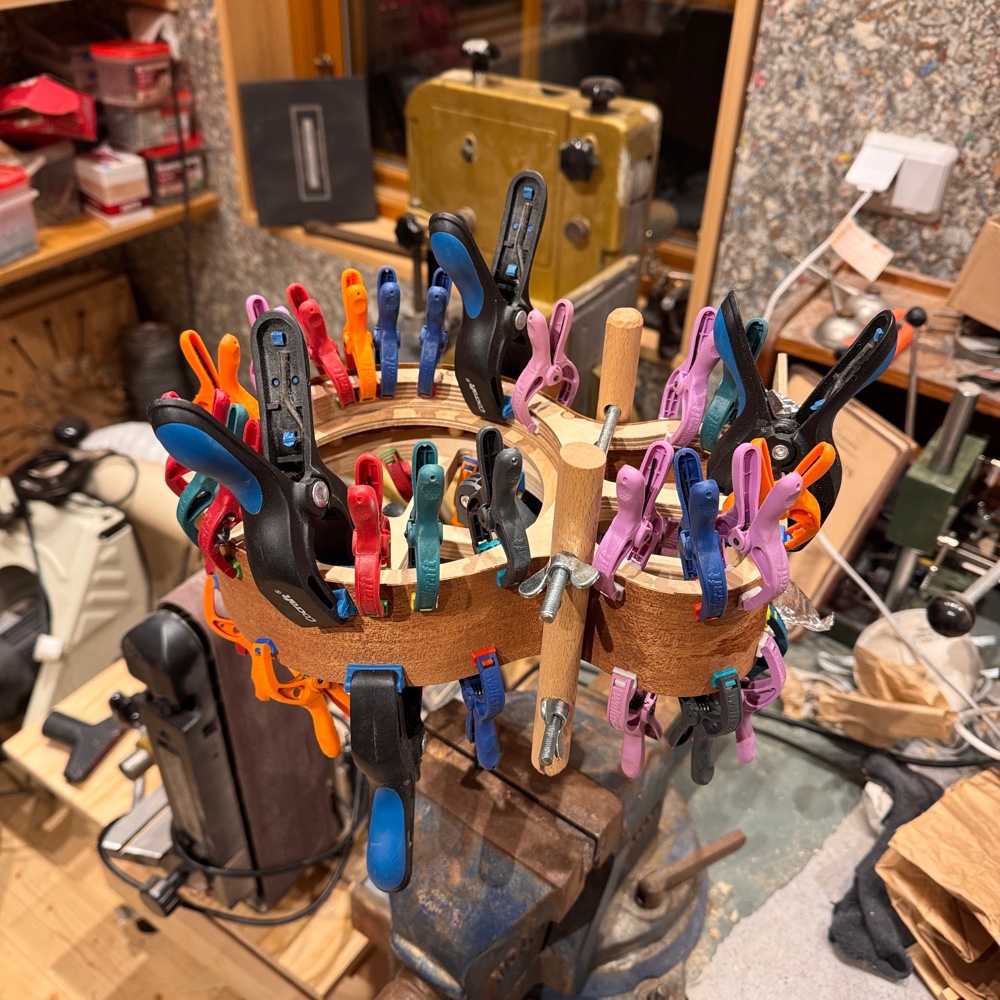
Or as we say more often: hiya. The itch is coming back and it can’t all be ticks can it now. I delved into the stash and emerged with mahogany and parts for a reso skeleton.
Building a better world, uke by uke.
This is my building diary. I build ukuleles in my apartment workshop. I try to label the posts, so if you're interested in anything in particular you might find it by clicking the labels.
Feel free to contact me if there is anything you want to ask, or even better; tell me.
Showing posts with label side bending. Show all posts
Wednesday, April 15, 2026
New ukes started
Once more unto the breach, dear friends, once more.
Bending did not go smoothly. This is ancient wood and it is brittle, I actually had to bend the soprano rim back to straight again and shave a bit more off with the drum sander. Now it’s a bit thin, maybe I’ll secure it with transverse cleats. I’ll give it a think.
Etiketter:
All mahogany sops,
resonator,
side bending
0
kommentarer
Monday, January 29, 2018
Bodies, bending, and more
Oooh err... maybe I have bitten off more than I can chew. But things tend to happen at variable speed in the Argapa dungeön and yesterday that speed was high.

And here are the clamps. You can see the wire at the right edge of the pic. The leather is to protect the wood.

A quick pic of the cavaquinho on the solera, as the sides are clamped in place by the slats and the long screws, as seen in the epic post ”a hundred dollar screw investment”.

I asked Li to take a pic of me bending the reso sides. The steel and wood push thing helps me avoid burn wounds.

And here they all are. The lute sides, the reso body, the mahogany piccolo sides and the piccolo with its bridge on. I want to have them ready for a festival in May.

I started out by glueing the bridge on the piccolo. Then I glued the sides to the top of the cavaquinho. Then I bent the sides for the mock lute, and while the bending iron was hot I sort of started a resonator and a mahogany piccolo. I’ll show the pics.
First task was drilling the outer string holes through the bridge and top on the piccolo. I put in some thin steel wire to stop the bridge from slipping around. The ruler in the pic is clamped to the neck, giving me some help in holding the bridge while drilling.
And here are the clamps. You can see the wire at the right edge of the pic. The leather is to protect the wood.
A quick pic of the cavaquinho on the solera, as the sides are clamped in place by the slats and the long screws, as seen in the epic post ”a hundred dollar screw investment”.
I asked Li to take a pic of me bending the reso sides. The steel and wood push thing helps me avoid burn wounds.
And here they all are. The lute sides, the reso body, the mahogany piccolo sides and the piccolo with its bridge on. I want to have them ready for a festival in May.
Etiketter:
Cavaquinho,
mock lute,
Next gen resos,
Piccolo,
side bending
0
kommentarer
Tuesday, June 28, 2016
The great side bending project, redux
It was just as well as it happened last week. It was a much better procedure to bend and then glue one at the time, and the only drawback I can think of is using a bit more electricity heating up the iron six times instead of one.
First pic shows the gadget I made, saves the fingers and reduces the risk of splintering the wood on the outside of the bend.
I put glue on the skeleton and start applying the wee clamps at the middle. Doing one at the time also saves me from owning a thousand of these, now I get by with what seems like several hundred.
They exert little pressure each one of them, but combined it must amount to... a few kilos.
This is where a one piece rim really shines, it's possible to tension it with the horizontal spool clamp at the waist. Then a few of my quick clamps finish the upper bout and the heel end.
This is the stack of five, the sixth is the one with the clamps and not in the pic.
And a pic where I try to capture my skillz. The joint is tight all the way around. With all this practice I've gotten fast, from start to finished clamping it takes around 25 minutes. Starting when the iron is hot of course.
Next I'll reinforce six neck blanks and maybe carve them. I'm not sure I want to glue the tops since the humidity is up in the workshop.
Etiketter:
Next gen resos,
side bending,
Tools
0
kommentarer
Wednesday, June 22, 2016
The great side bending project
So after installing a new shower and seeing to the laundry and making dinner it was time to fire up the bending iron. While it was getting warm I nailed a piece of sheet steel to an angle made from two bits of wood, to assist me in bending. I will show action pics next time.
I picked up a rib of cherry. I planed the dowels on one of the skeletons so they were flush with the plywood. I made a plan for the evening, first cherry, then walnut, then cherry again before the first maple one. Then the other maple and the last walnut. It felt right.
Etiketter:
Next gen resos,
side bending
0
kommentarer
Subscribe to:
Posts (Atom)