Learning Ukulele 50 Sites Top 50 Ukulele Sites Argapa Ukuleles - one size louder: electric guitar
Showing posts with label electric guitar. Show all posts

Thursday, April 30, 2020

Yet another traveller finished

Another one is done! But I will backtrack just a bit to show you how I made the bridge. First pic is a wooden ruler resting on the zero fret and a 2.5 mm drill bit lying at the 12th. Then I measure the gap with a new Japanese wedge shaped ruler at the correct point. Tricky to hold in one hand in order to take the pic, but it shows around 6 mm. So fairly low. 


Then I cut a wee block from a slightly larger chunk of cherry. Rip saw, natch. 


These miniature planes from Veritas are great. Sold as novelties bu I use them a lot. This shoulder plane is my favourite but the wee router plane is great too. 


And clamping. Stages not shown include drilling for string rod and tuners, shaping tuners and reaming holes, and finishing. 

Also the hardest part of all, drilling the string holes above the zero fret. I can’t think of a jig for that so I do it freehand and hope for the best. 


Done. Front...


... back...
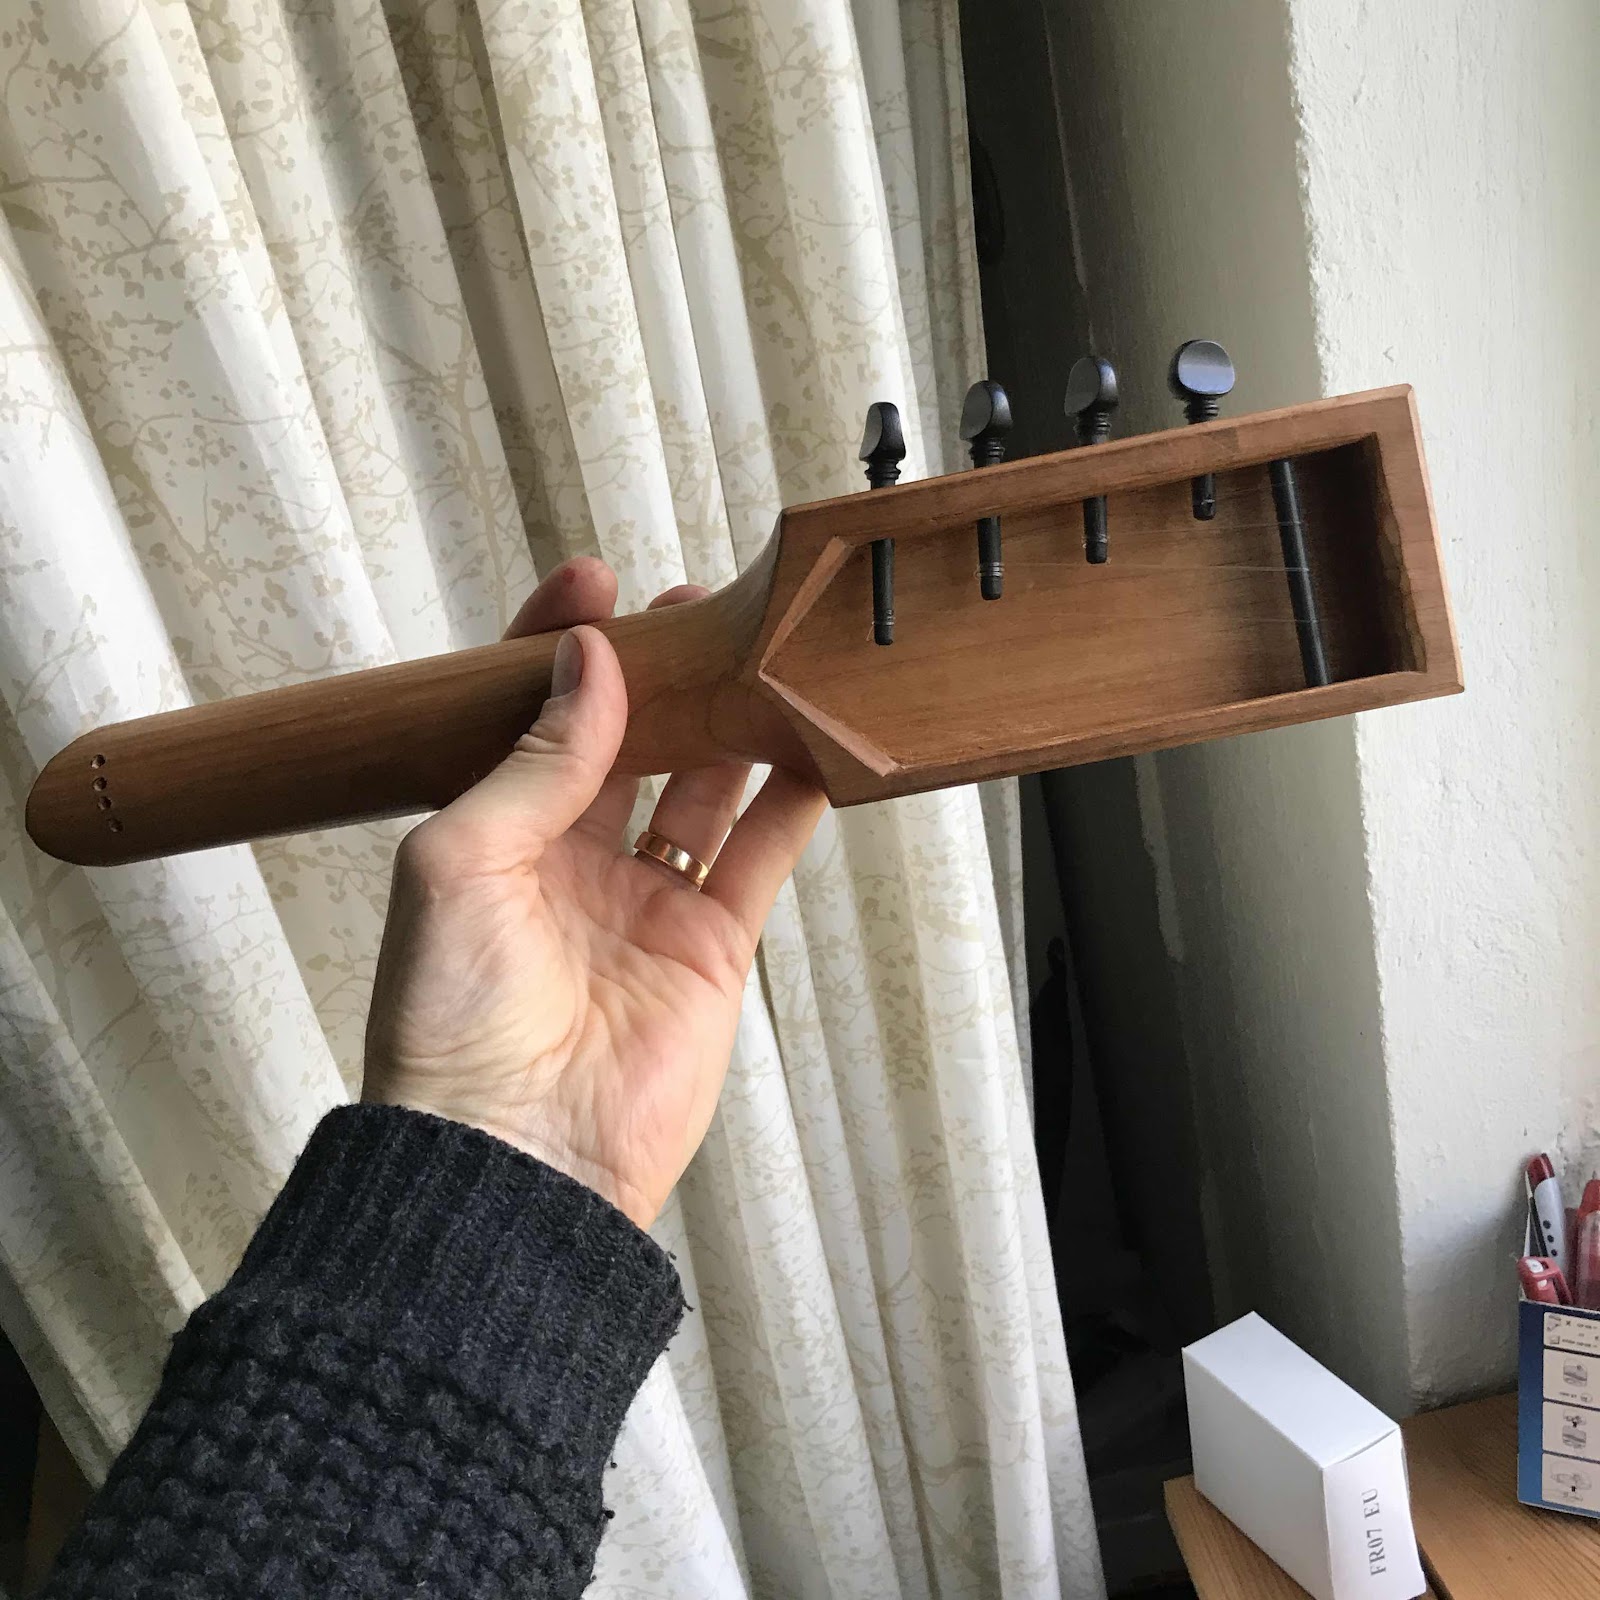


... and stamped. The ZS means it’s not been touched by sandpaper. All surfaces are made with sharp cutting tools. 


Oh, and this guy. Ambitiously carved and dyed towards the cherry red of yesteryear. 


I think it’ll be killer. 


Tuesday, April 21, 2020

Progress on the electric guitar

So I made some progress on the builds I have on the bench. The travel uke seems very small compared to the guitar. 

I made a radiused fretboard from a rosewood blank I had kicking around, using only handplanes and scrapers for the shaping, but did finish off with some fine grit sandpaper. 


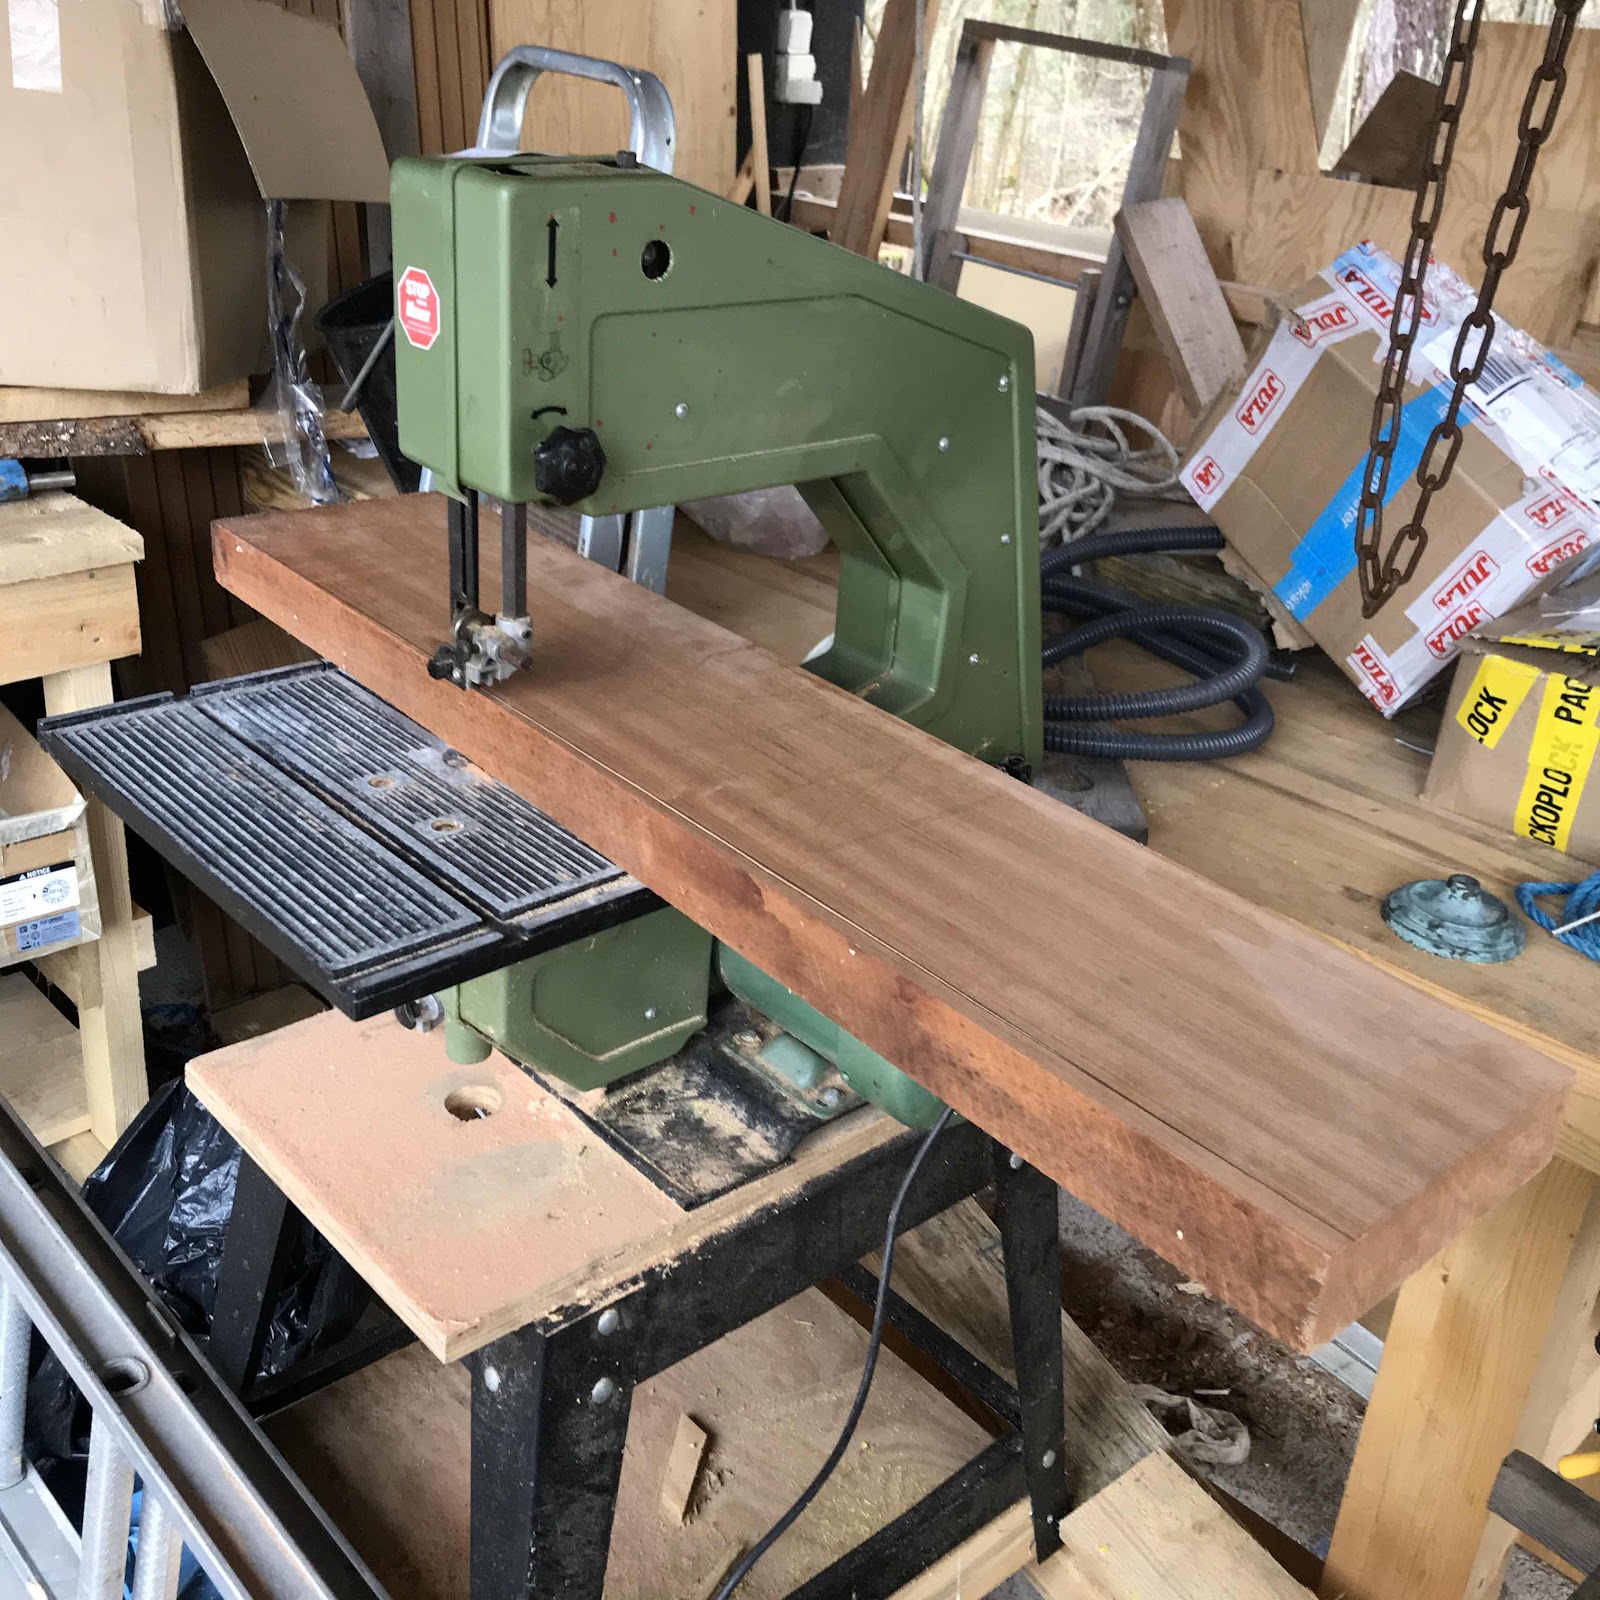
Then I had to nip out to the cottage where the larger of the wee bandsaws is. The small one in our apartment wasn’t up for it. I rough shaped the through neck with a series of cuts. I put index pins in the underside of the fretboard so I could put that in its exact place to check everything. 


Then I put the rest of the body on. It’s all from the same board, and the grain means the difference in angle will probably not show too much. The middle piece is cut at a 3 degree angle in relation to the neck and I put the body wings on parallel to the resulting surface. That’s clear innit, ah you get it or you don’t. 


Back home and starting out with the no.5 plane to get everything level. I cut the contours on the bandsaw of course. 


And this is from carving the neck. I think this’ll work rather nicely. I had some trouble with drilling for the wiring and got this great idea that I’ll get to use during the next build. If I remember it then. It involves the jack and a very long drill bit. 


Sunday, April 12, 2020

And now for something completely different

I found a slab of mahogany and an old drawing of an electric guitar I drew long ago. So I thought, what the heck, I should build this. 

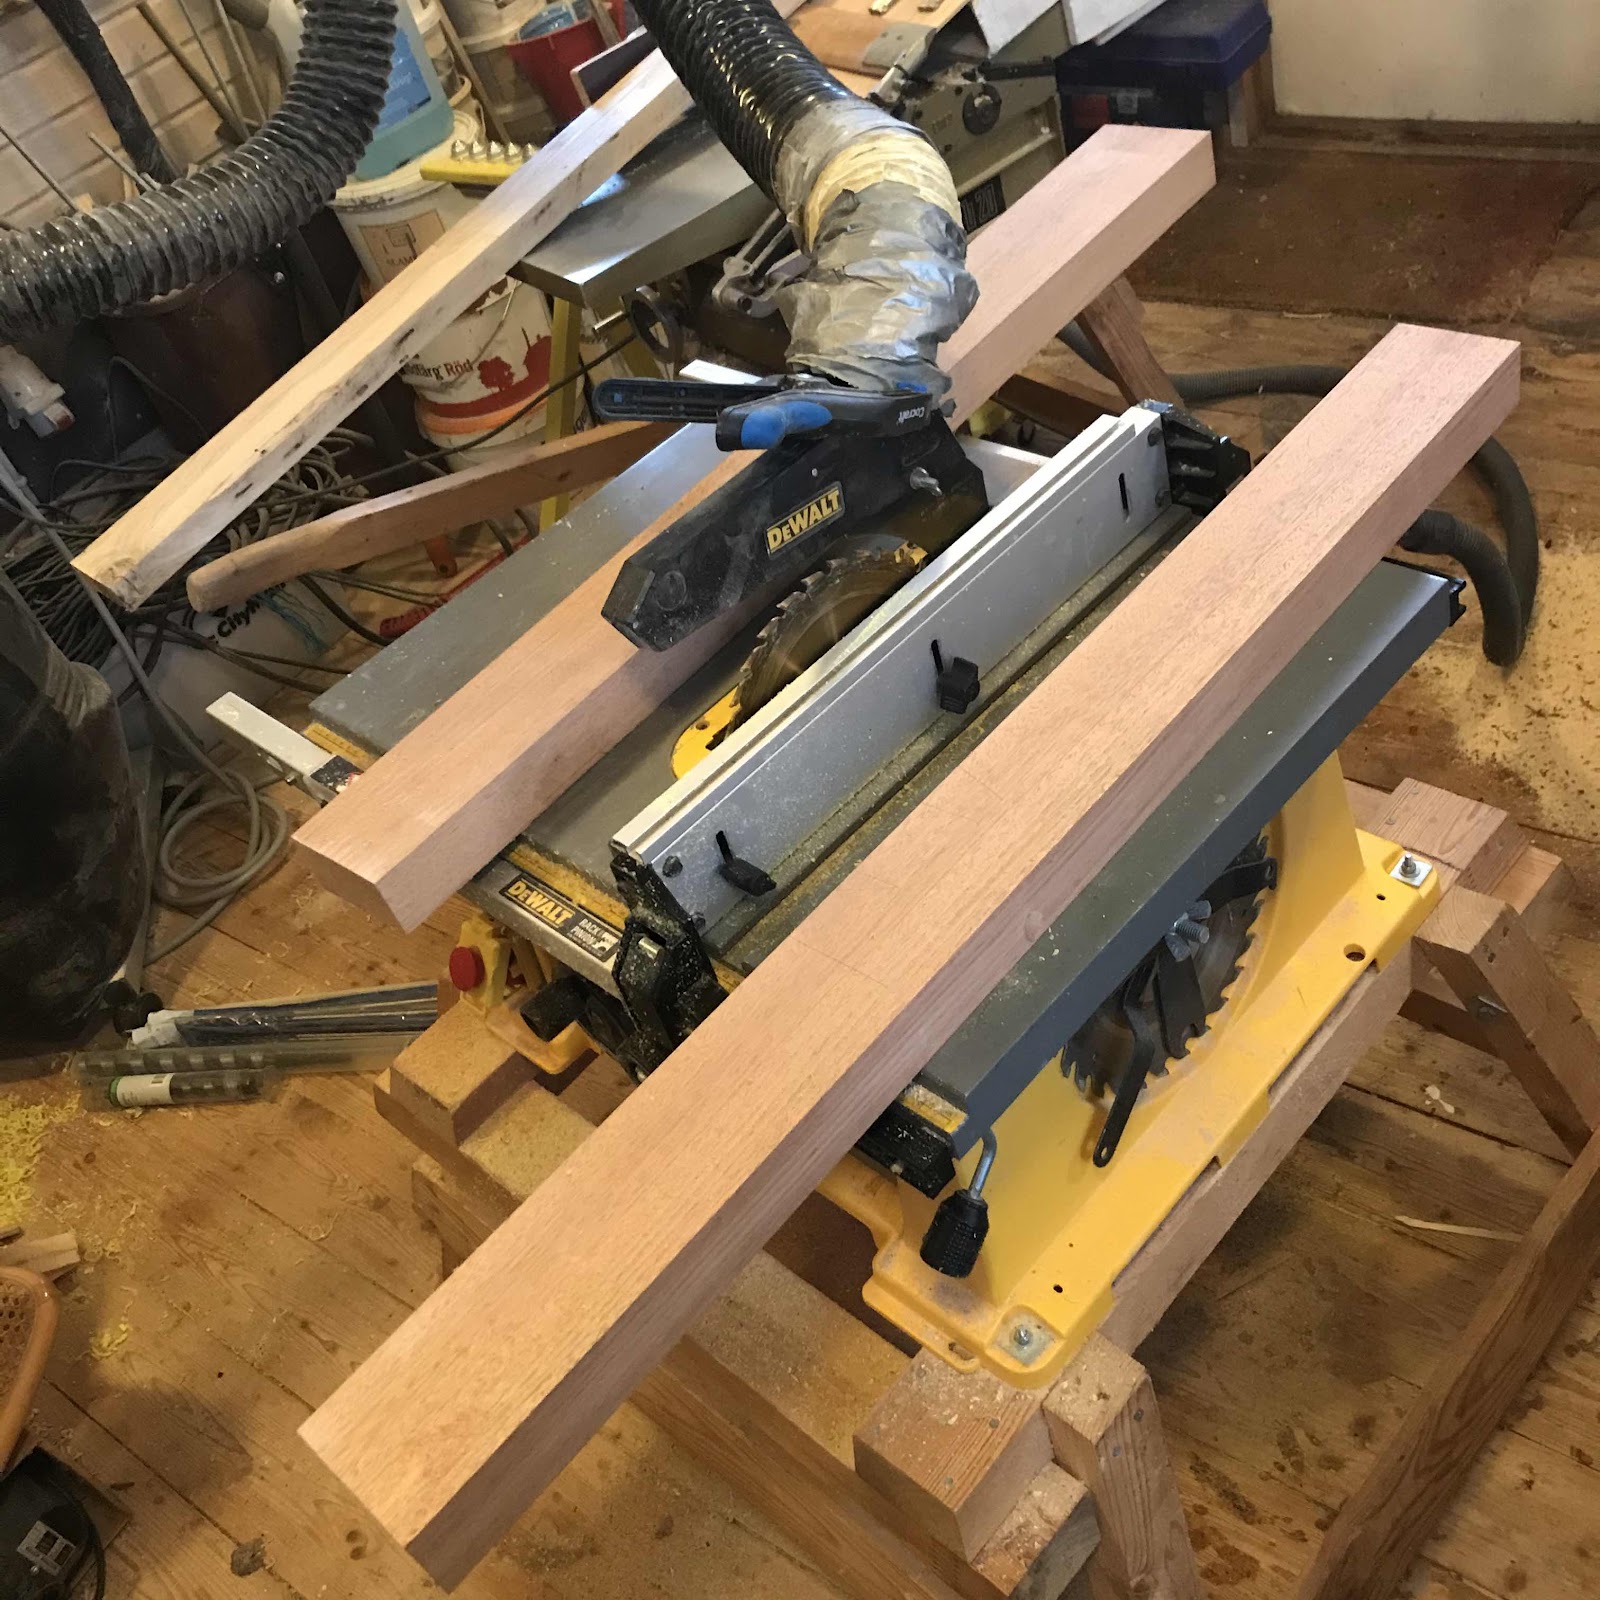
First I sliced off a wedge to get the edge parallel to the grain. 


Then I planed the edge flat and square with a Stanley no.7, whose only fault is it has the corrugated sole. I much prefer flat soles so I traded this for my dad’s no.6 with a flat sole. But I started this at the cottage where my dad keeps his planes so I used it. It’s more crucial to me to have flat soled planes when I work with thin stock and that takes place at home. 


I ripped off a board which will form the through neck, and trued up the sawn edge to get it perfectly flat, square, and parallel to the first. 


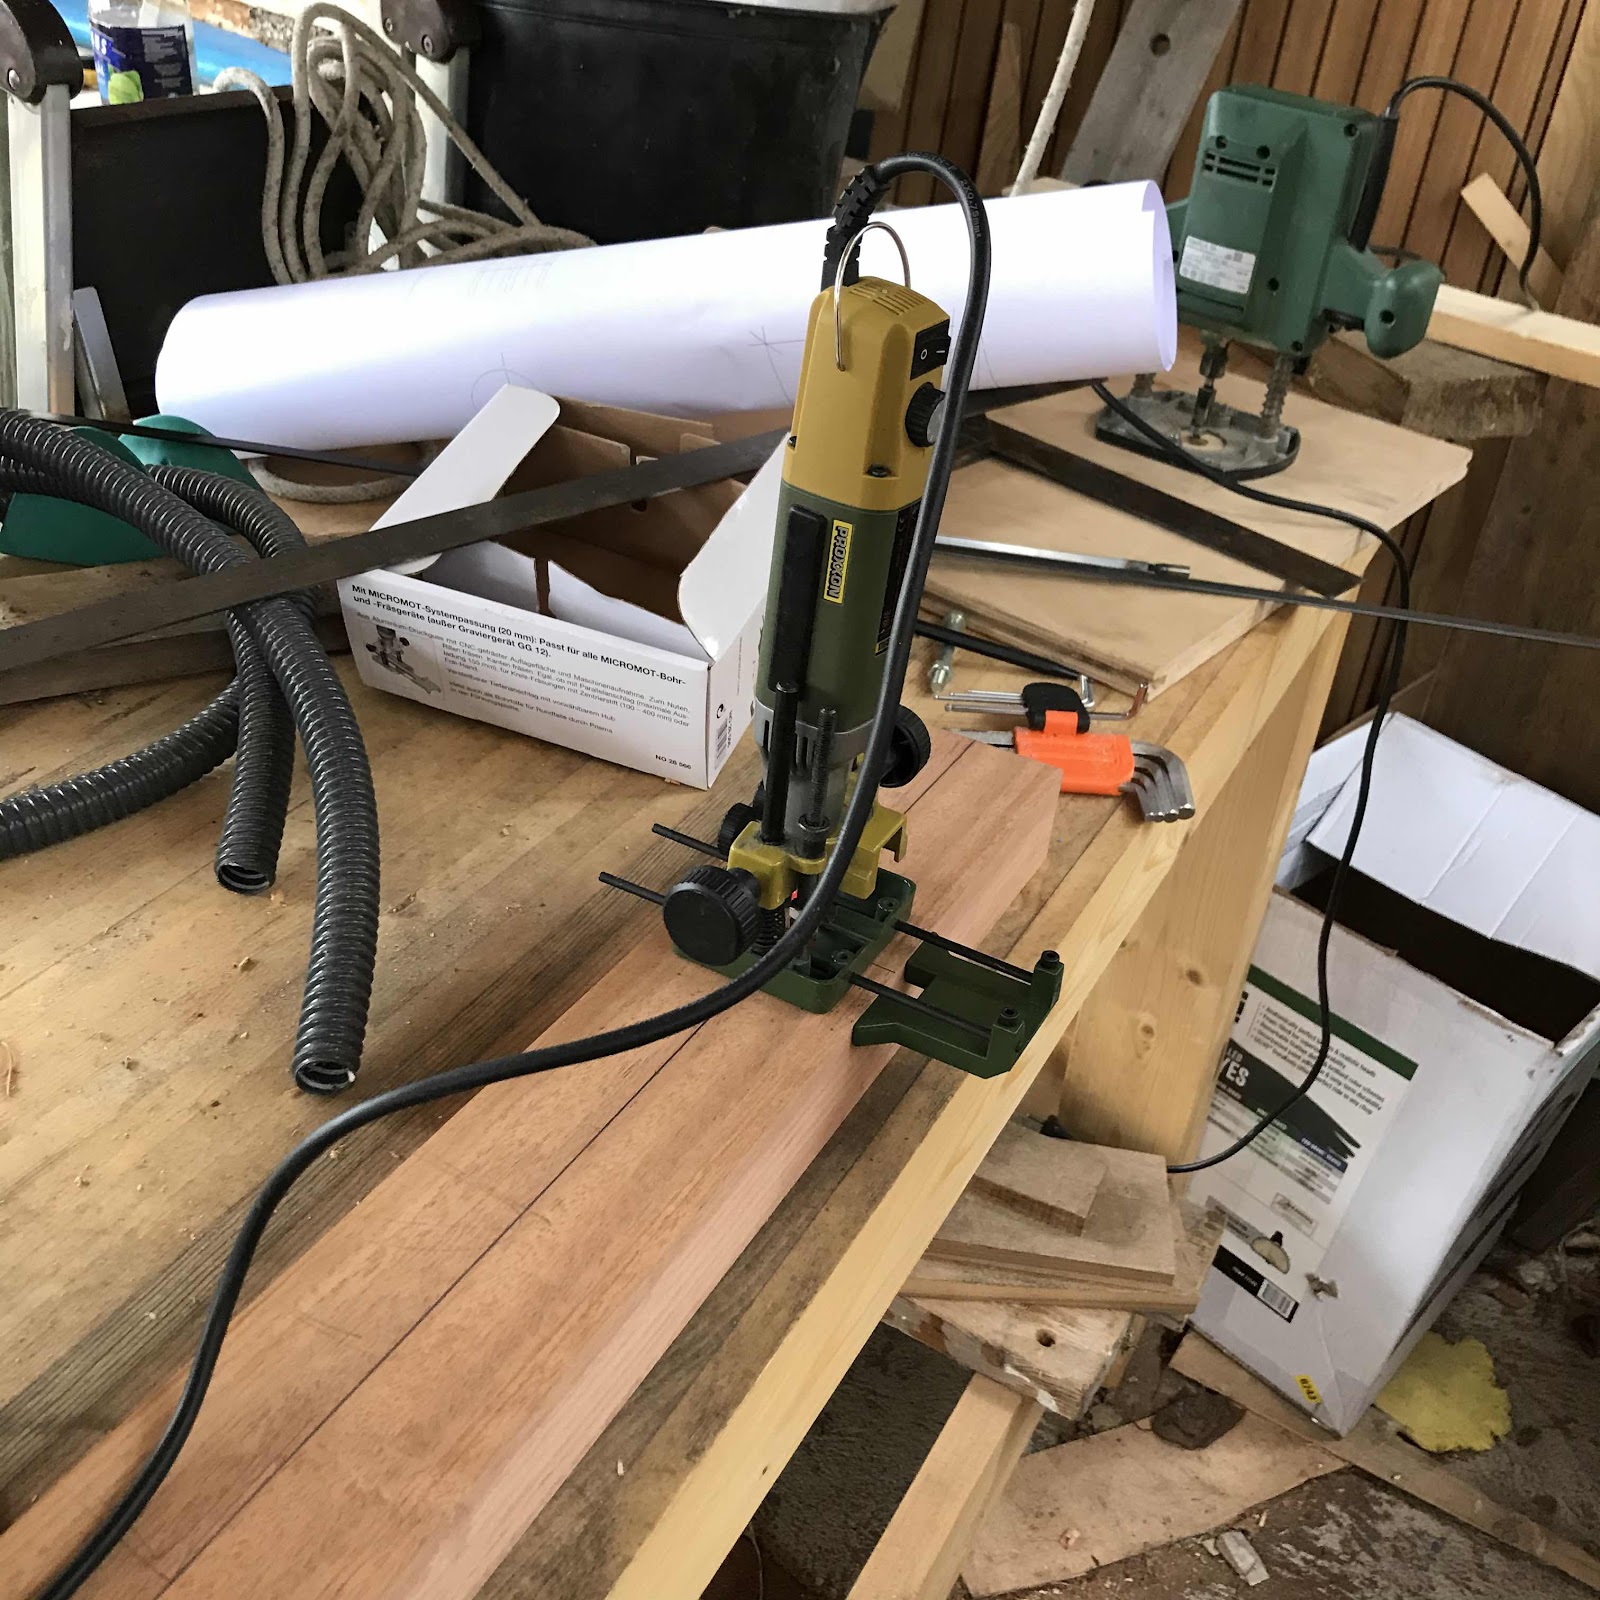
Then I routed channels for the truss rod and two carbon fiber rods. I used my Proxxon rotary tool in a plunge router base. It is a bit small but got the job done after multiple passes. 


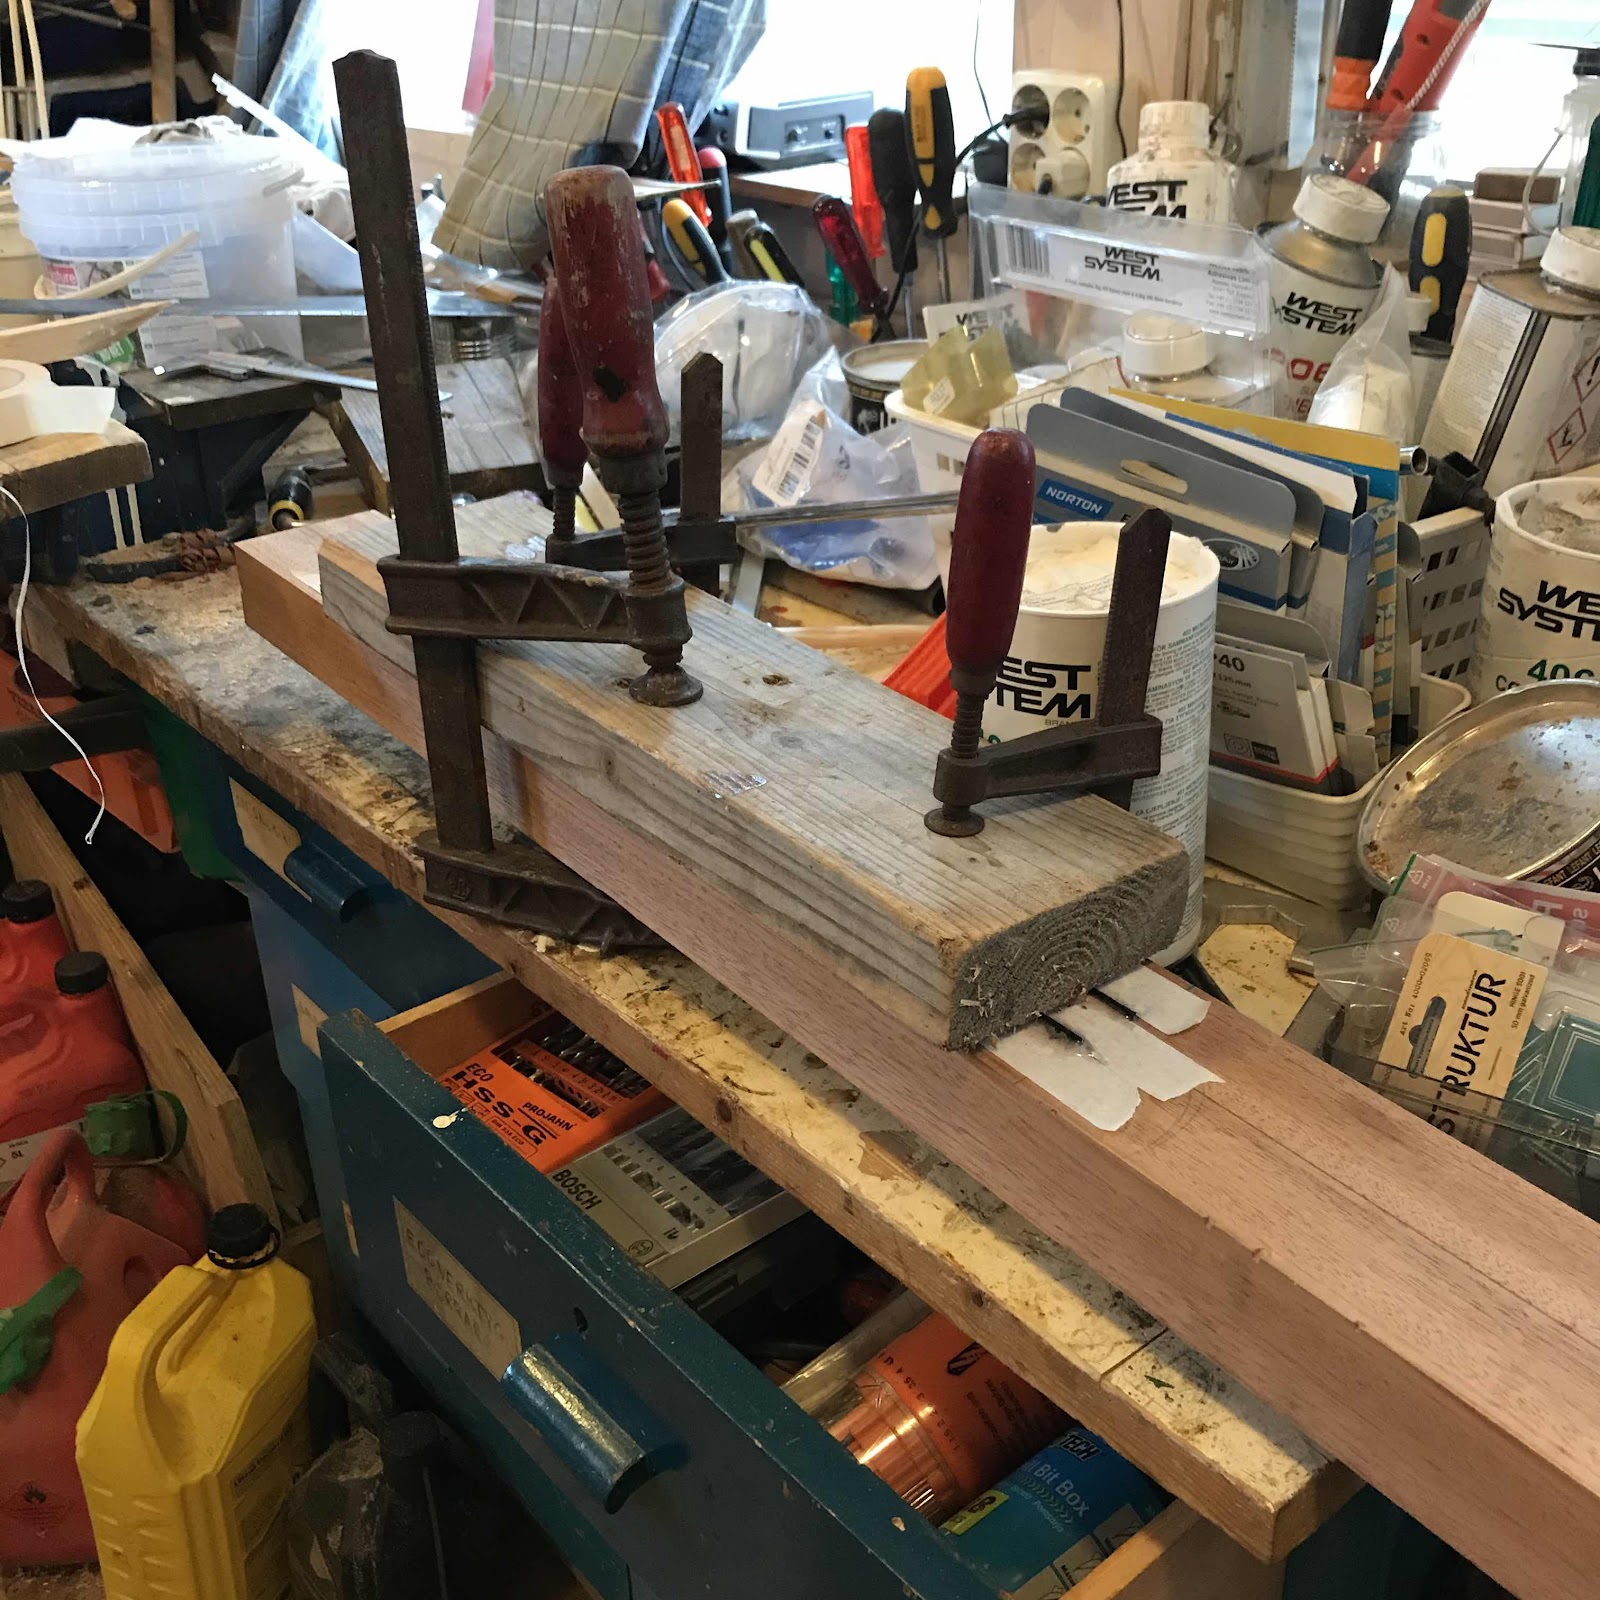
This pic shows the carbon fiber rods being glued in with epoxy. The masking tape stopped a deluge but it still got messy. I kind of hate the stuff but sometimes it’s needed. 


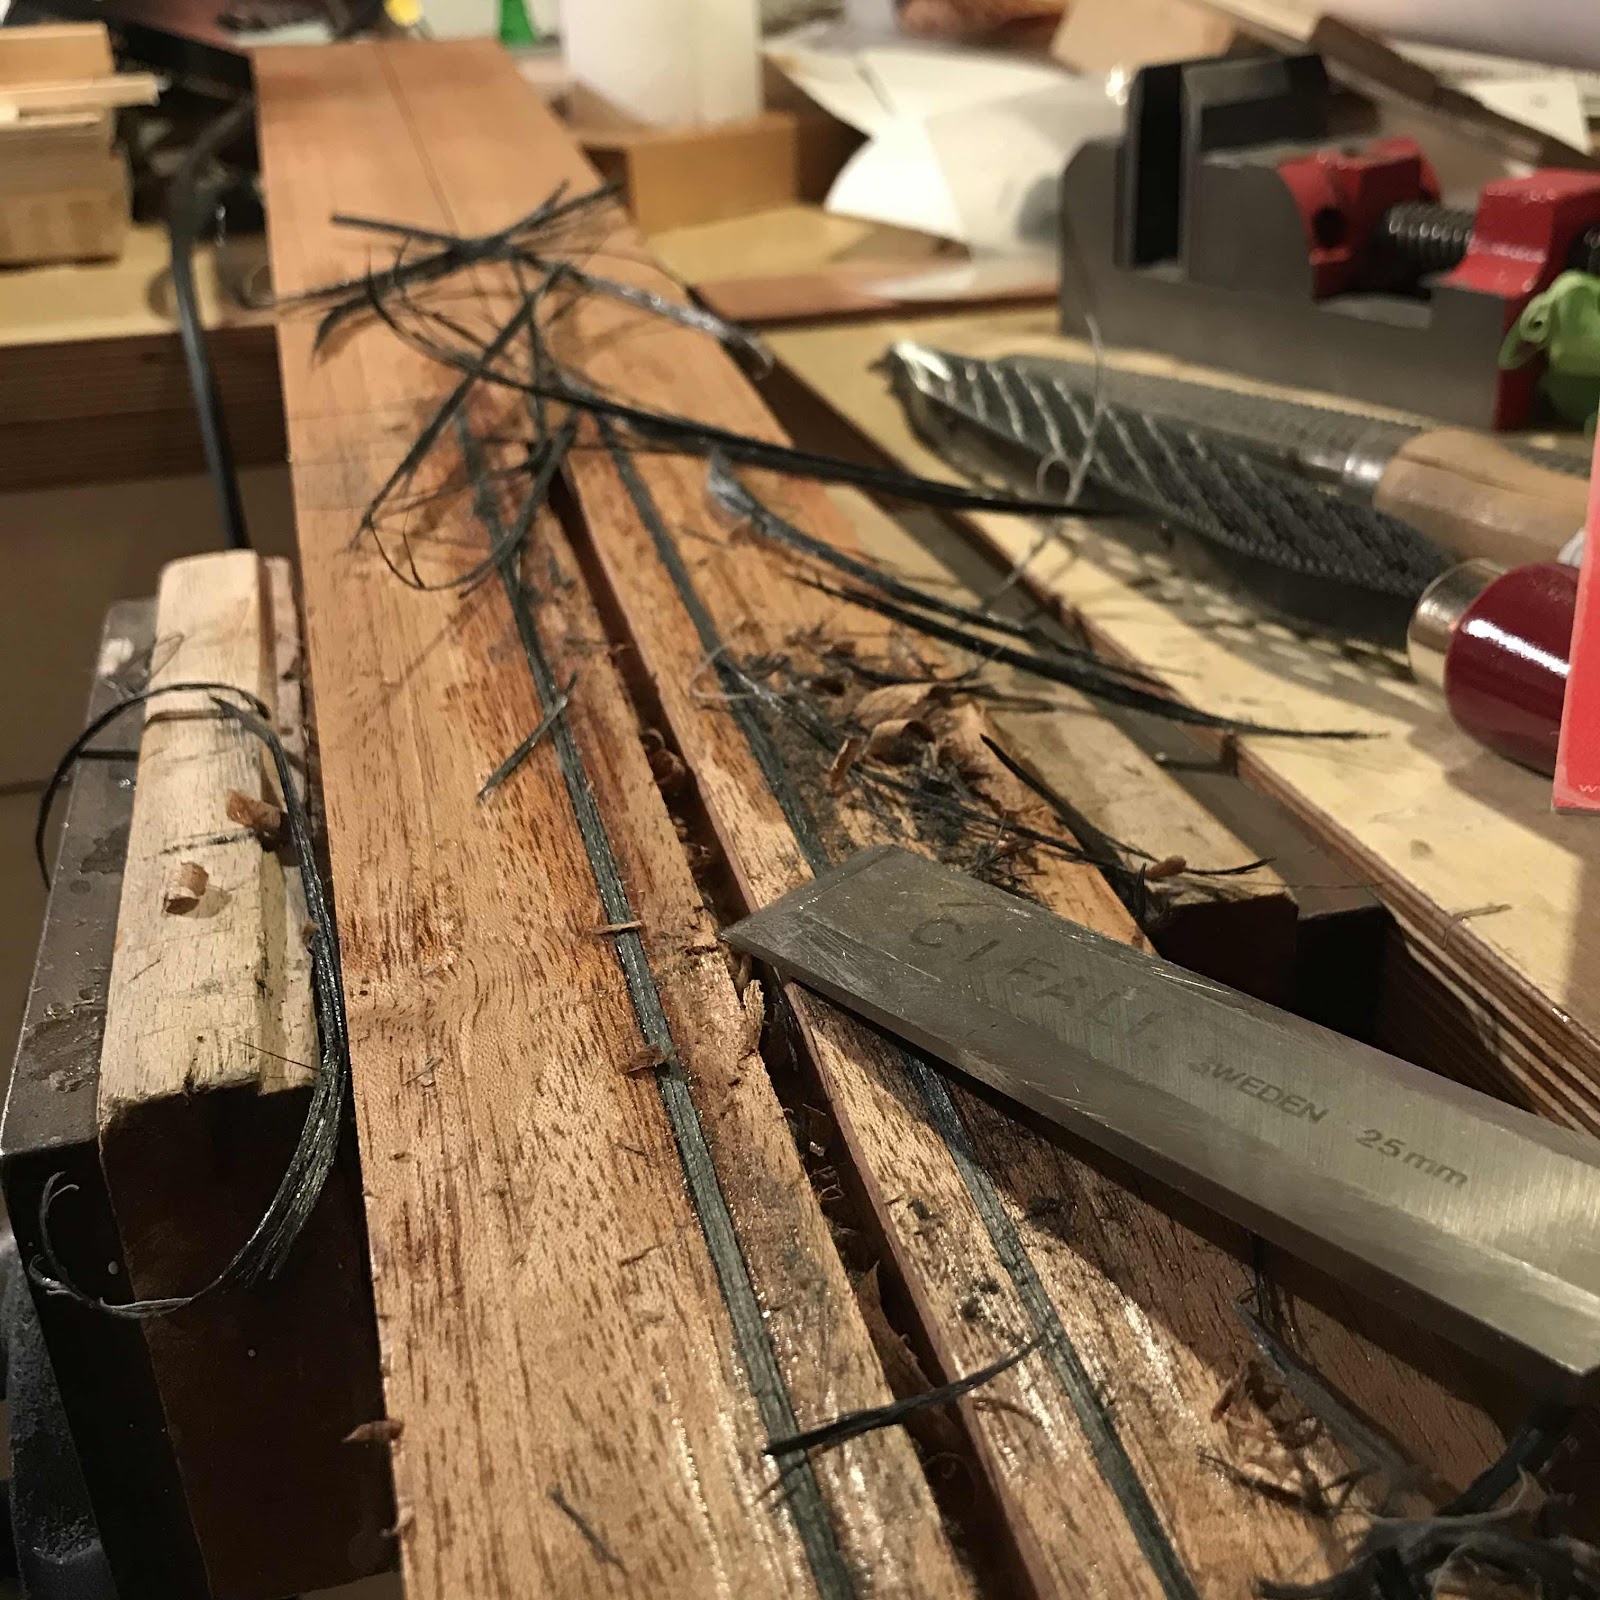
Trigger alert: next pic shows chisel abuse. 


This is not one of my nice chisels. Here I’m using it to pare down the carbon fiber rods to the surface of the neck blank. 

And you’re right, I’m back home in the dungeön workshop. 


I’m going to show you some ukulele building action as well, we can’t have post number 1000 to be guitar oriented.