Learning Ukulele 50 Sites Top 50 Ukulele Sites Argapa Ukuleles - one size louder: 7/1/19 - 8/1/19

Sunday, July 28, 2019

Fugly traveller blanks

With what I’ve learned from the four first travel ukes I’ve made, I set out to build a few more. Having access to a pillar drill in the large workshop makes drilling a few hundred holes bearable. The bit stops a couple of millimetres short of breaking through, counting the brad point. 


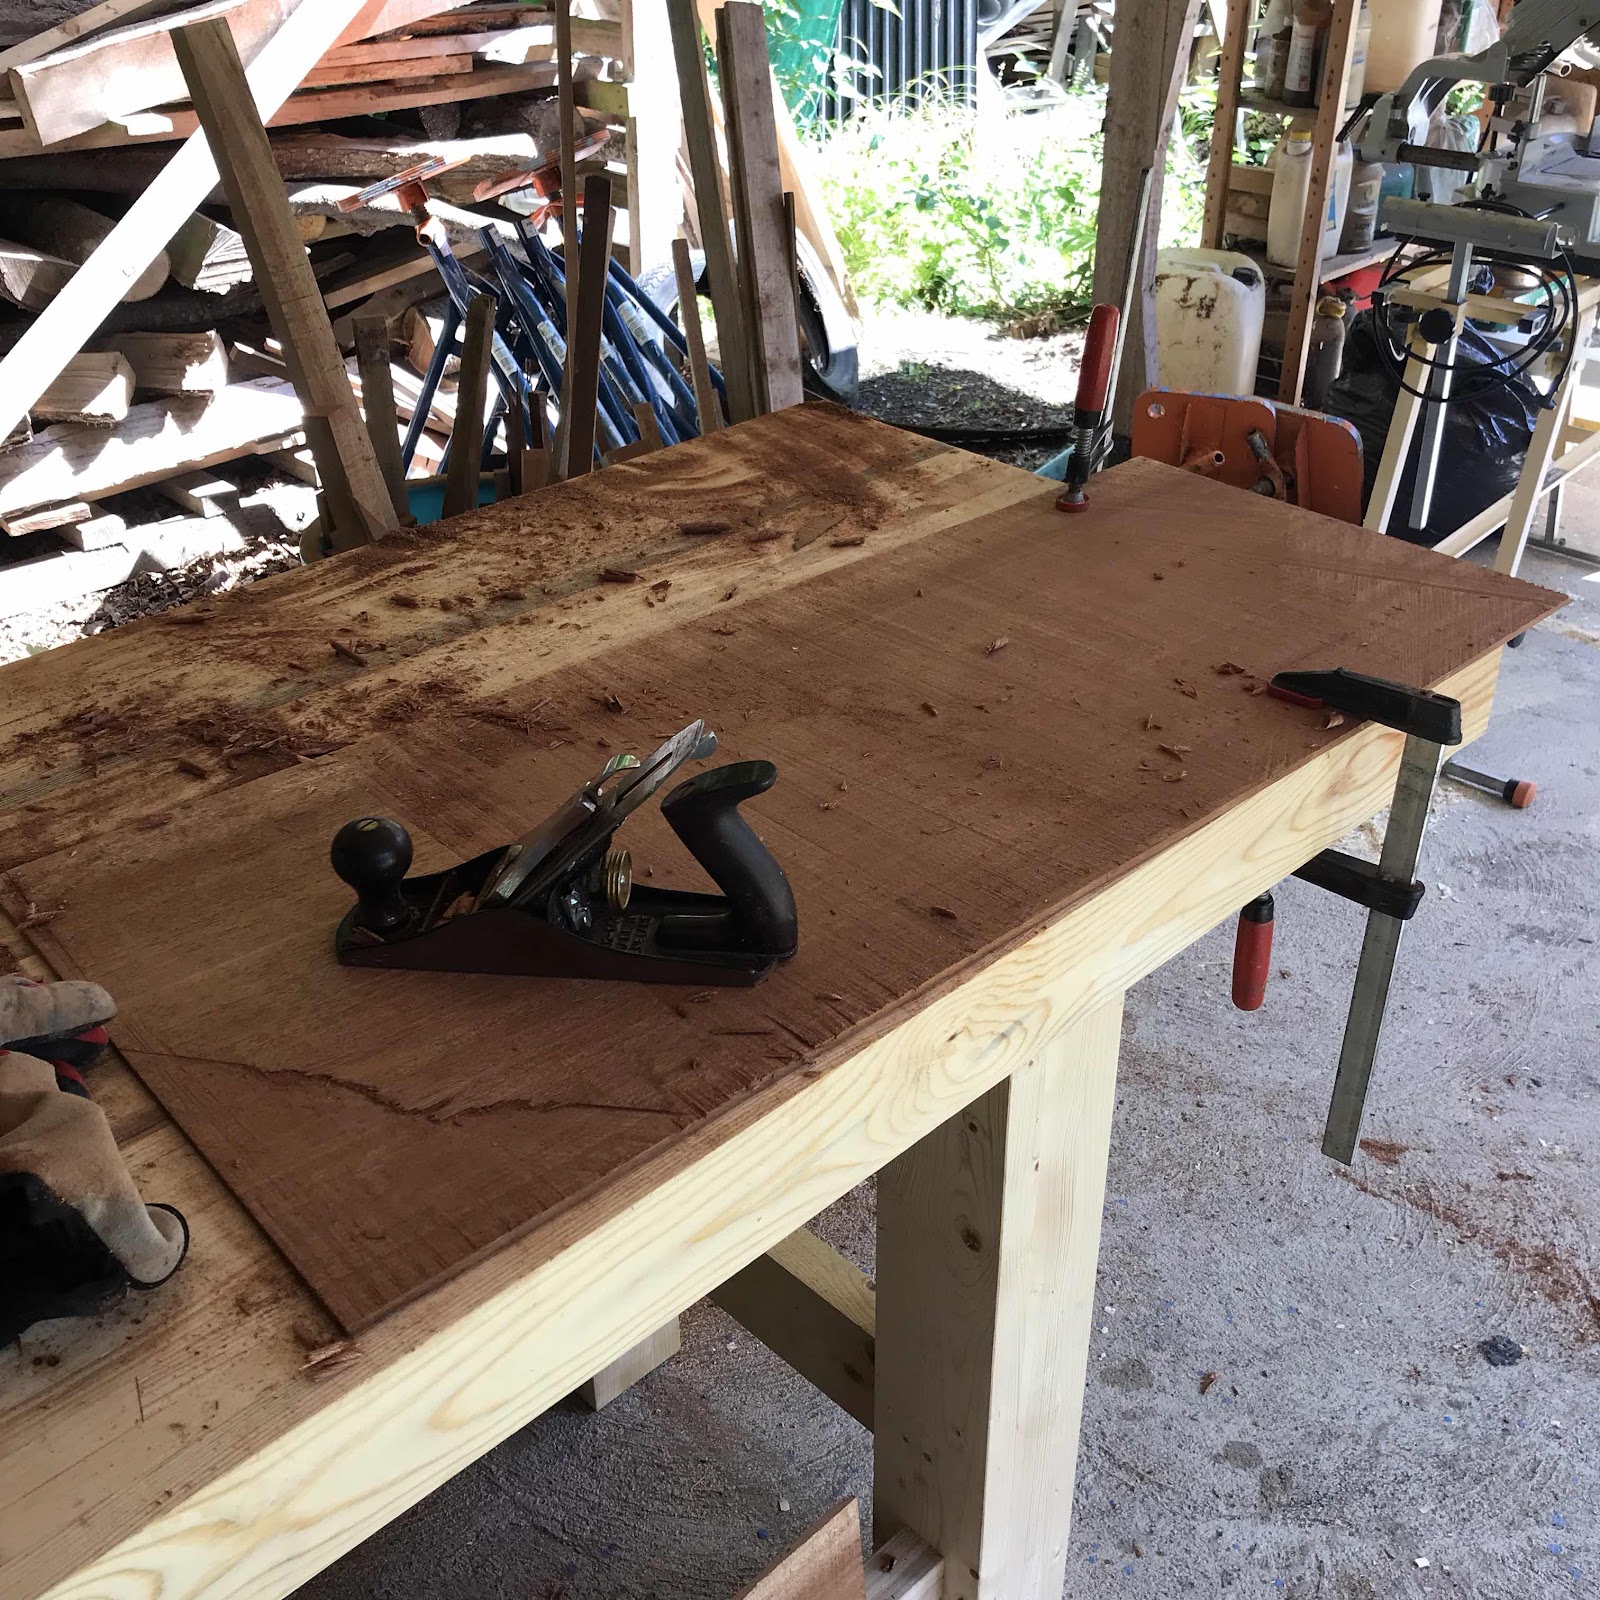
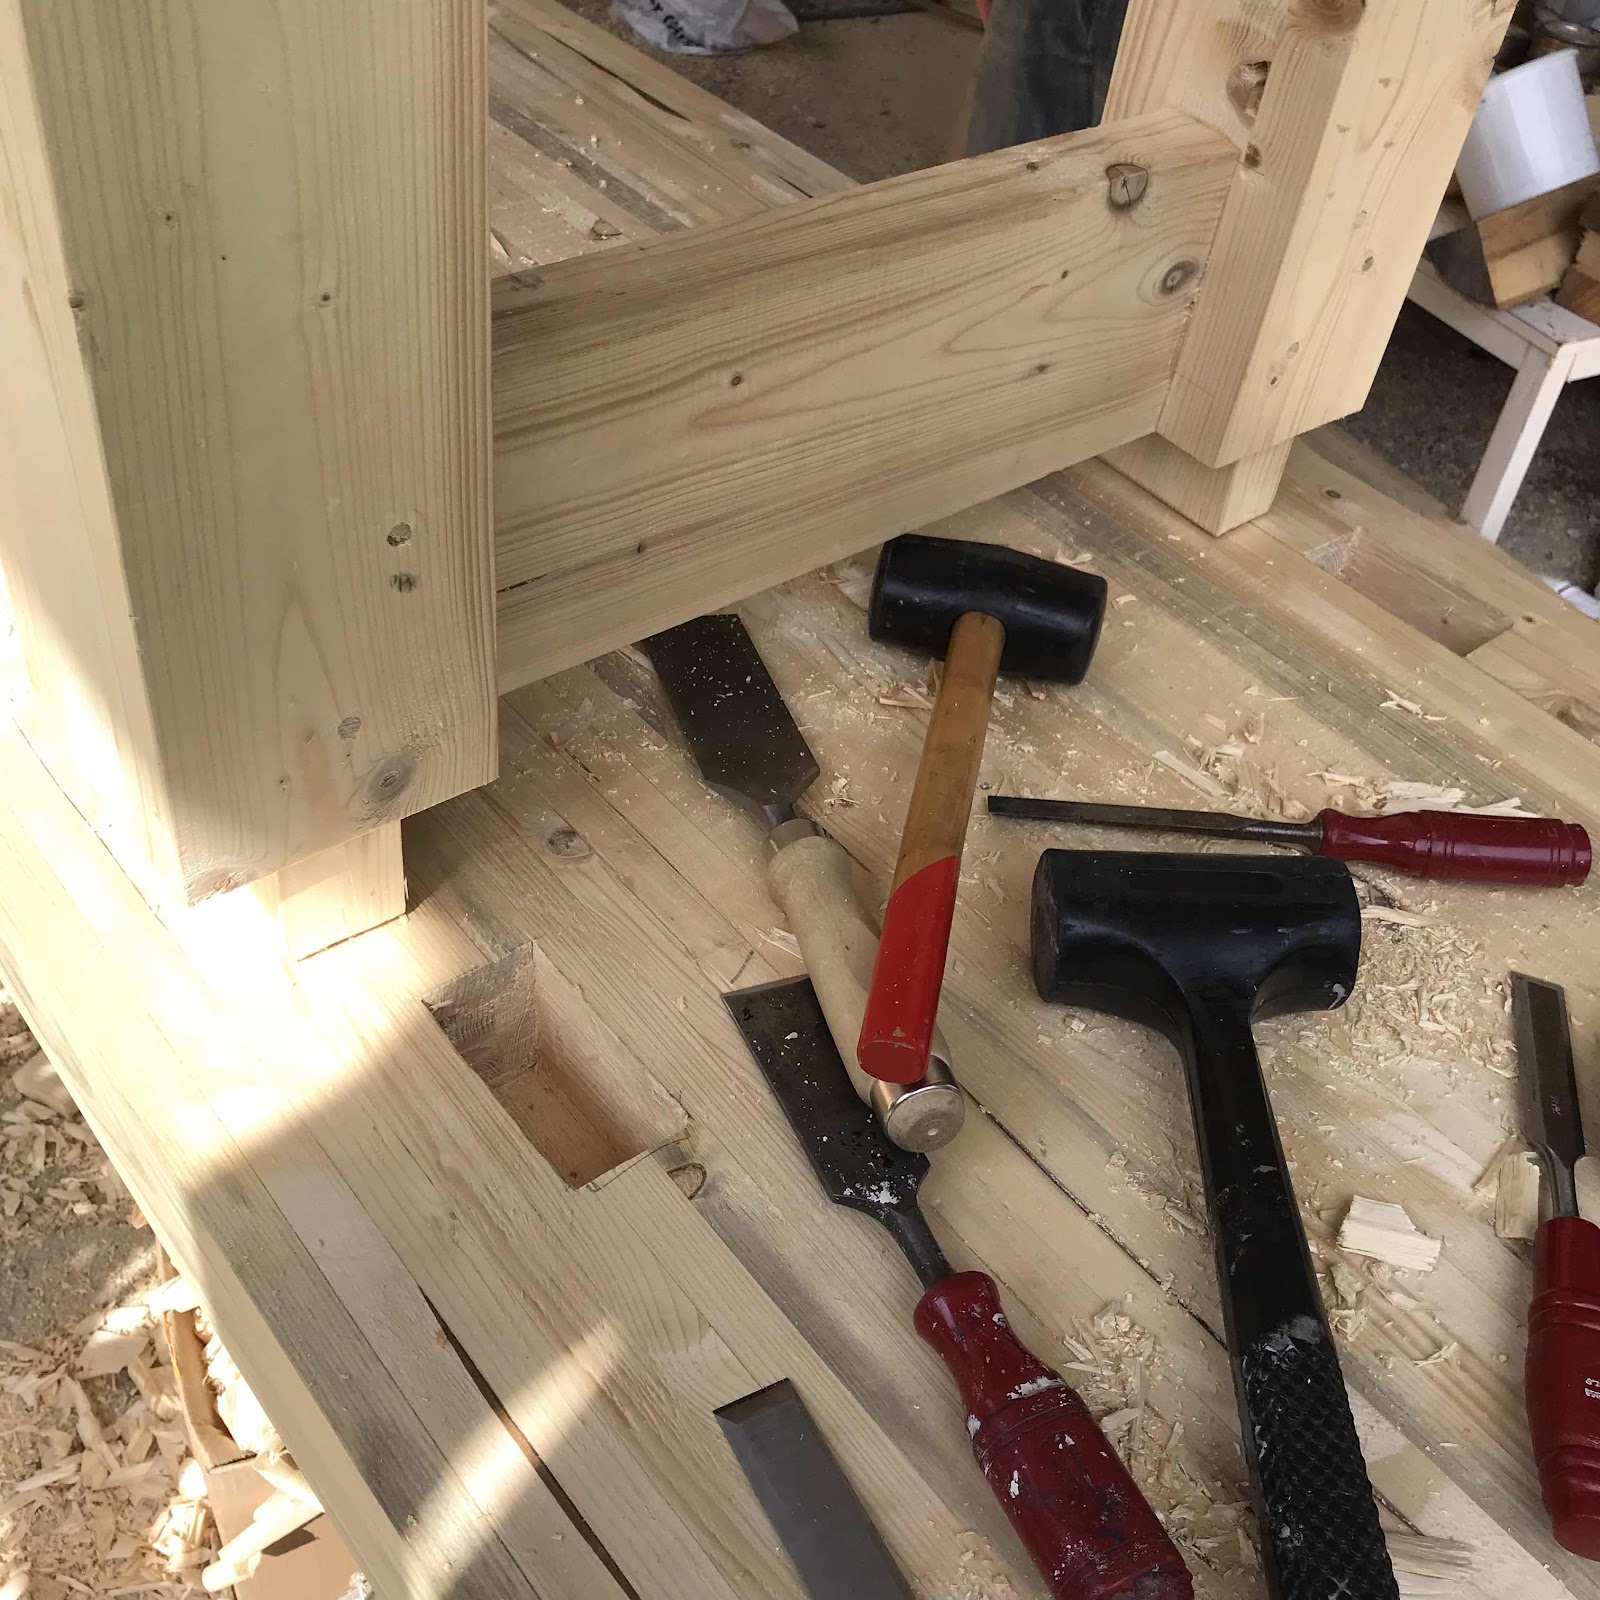
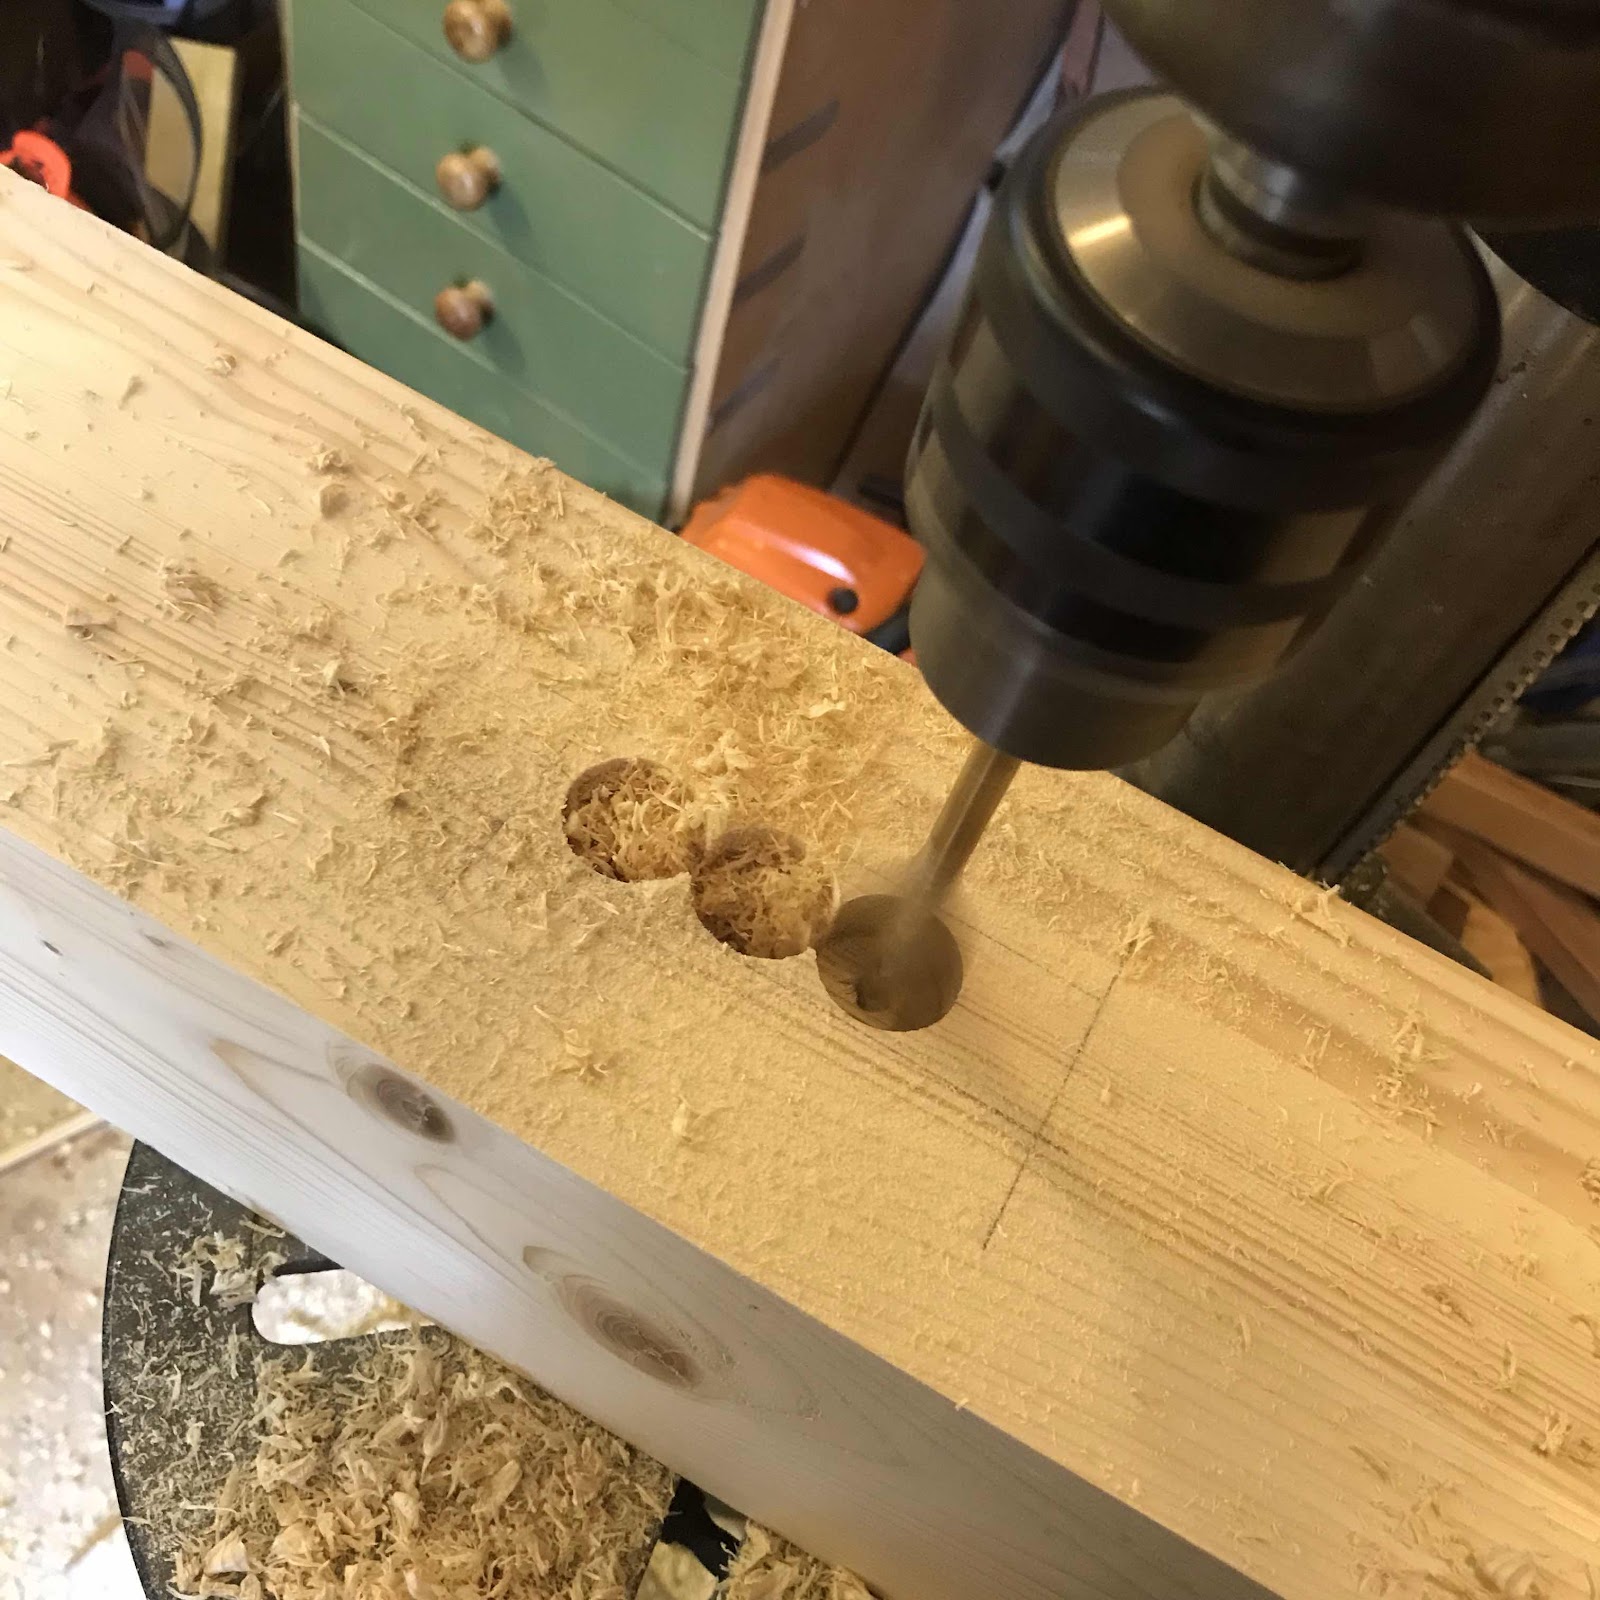
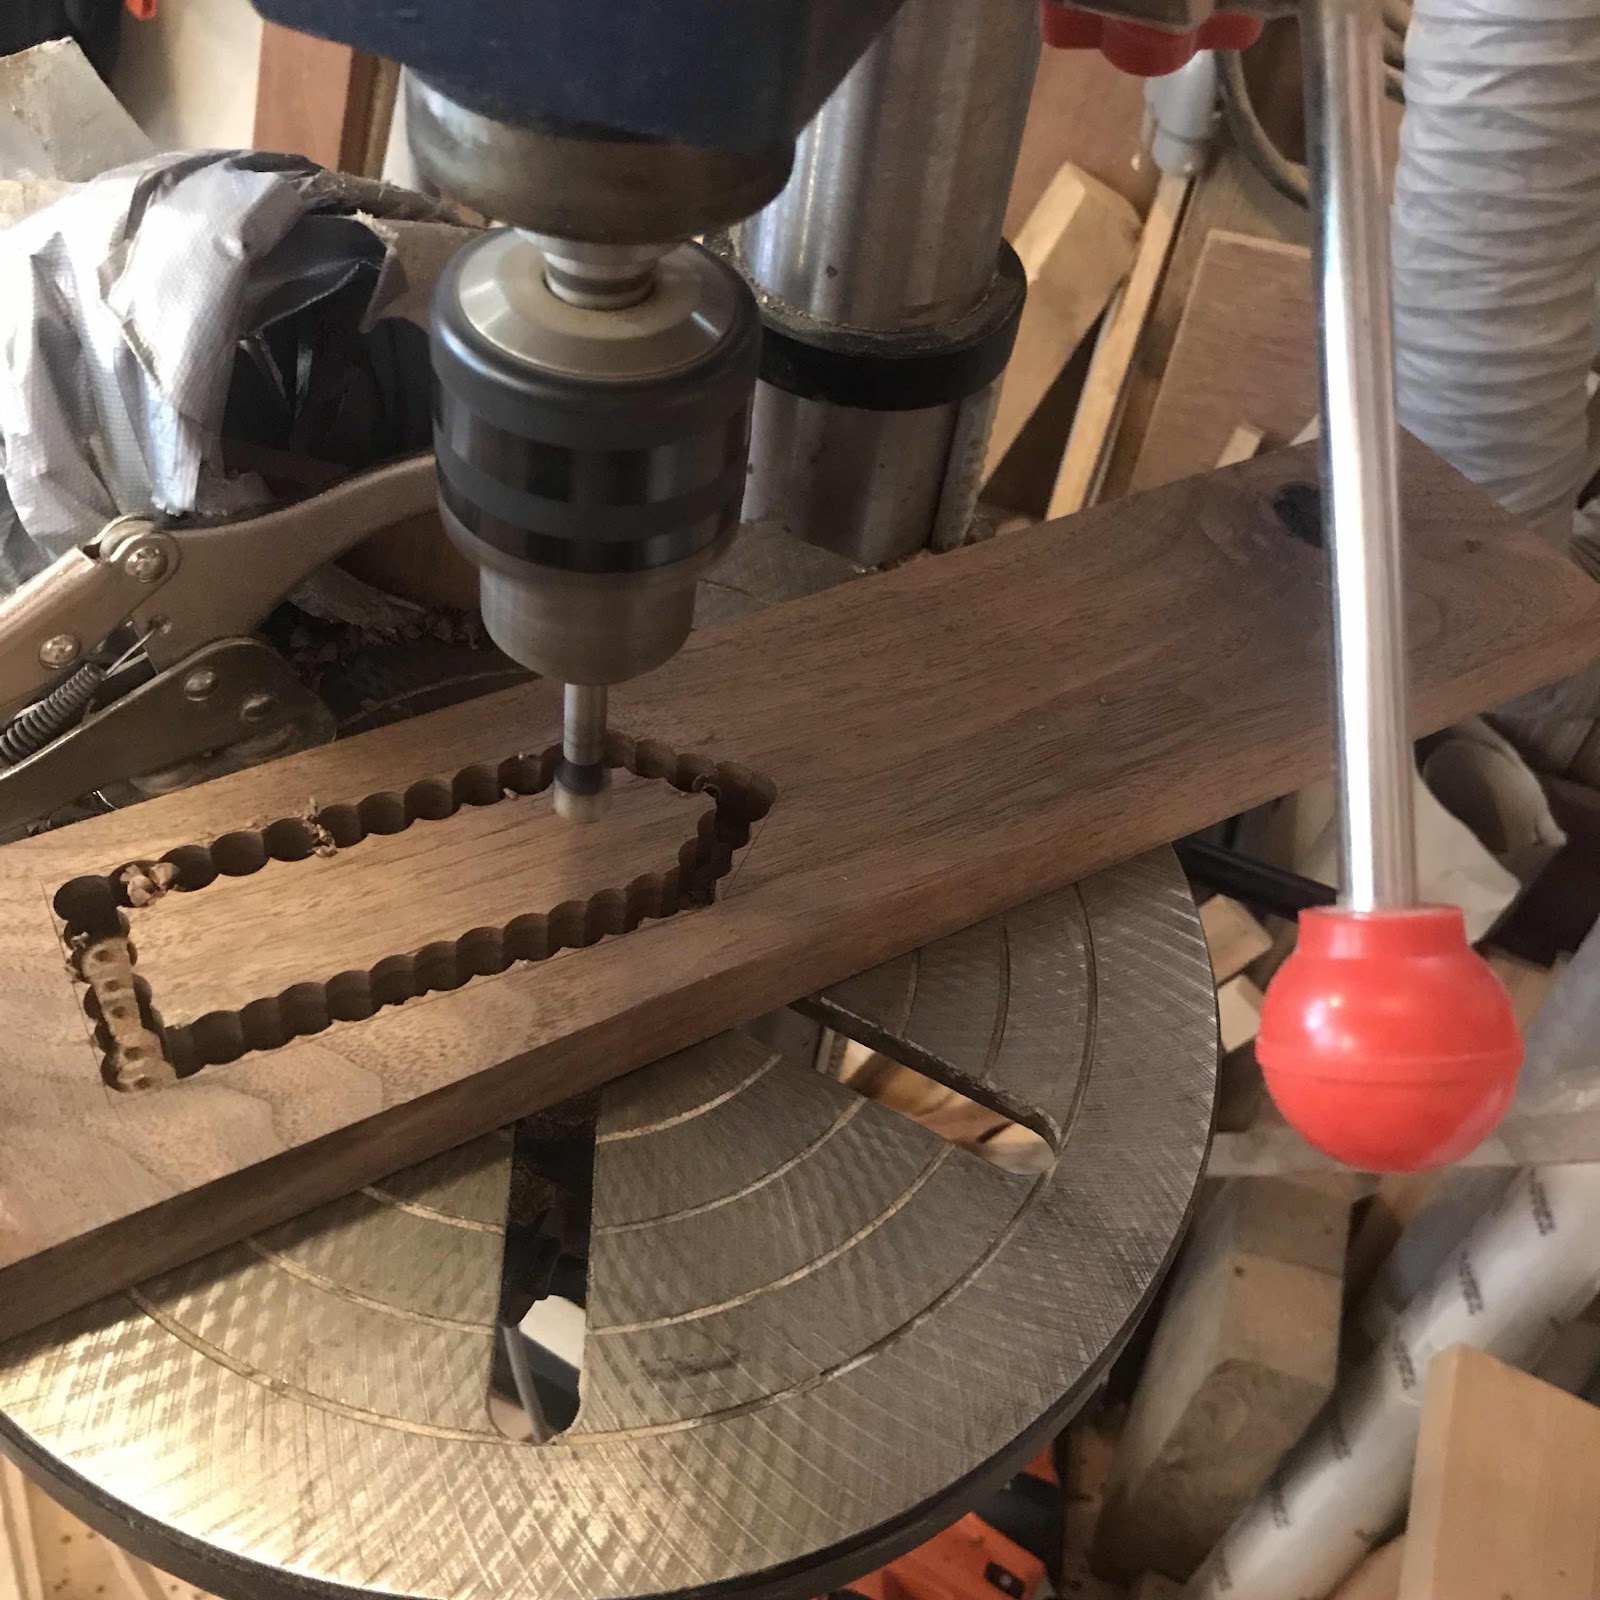
Then I clean the edges up with chisels. My set of nice chisels have taken quite a lot the last weeks and I’ll sharpen them all today before I crack on. In the pic you can clearly see the marks left by the brad point on the drill bit. 


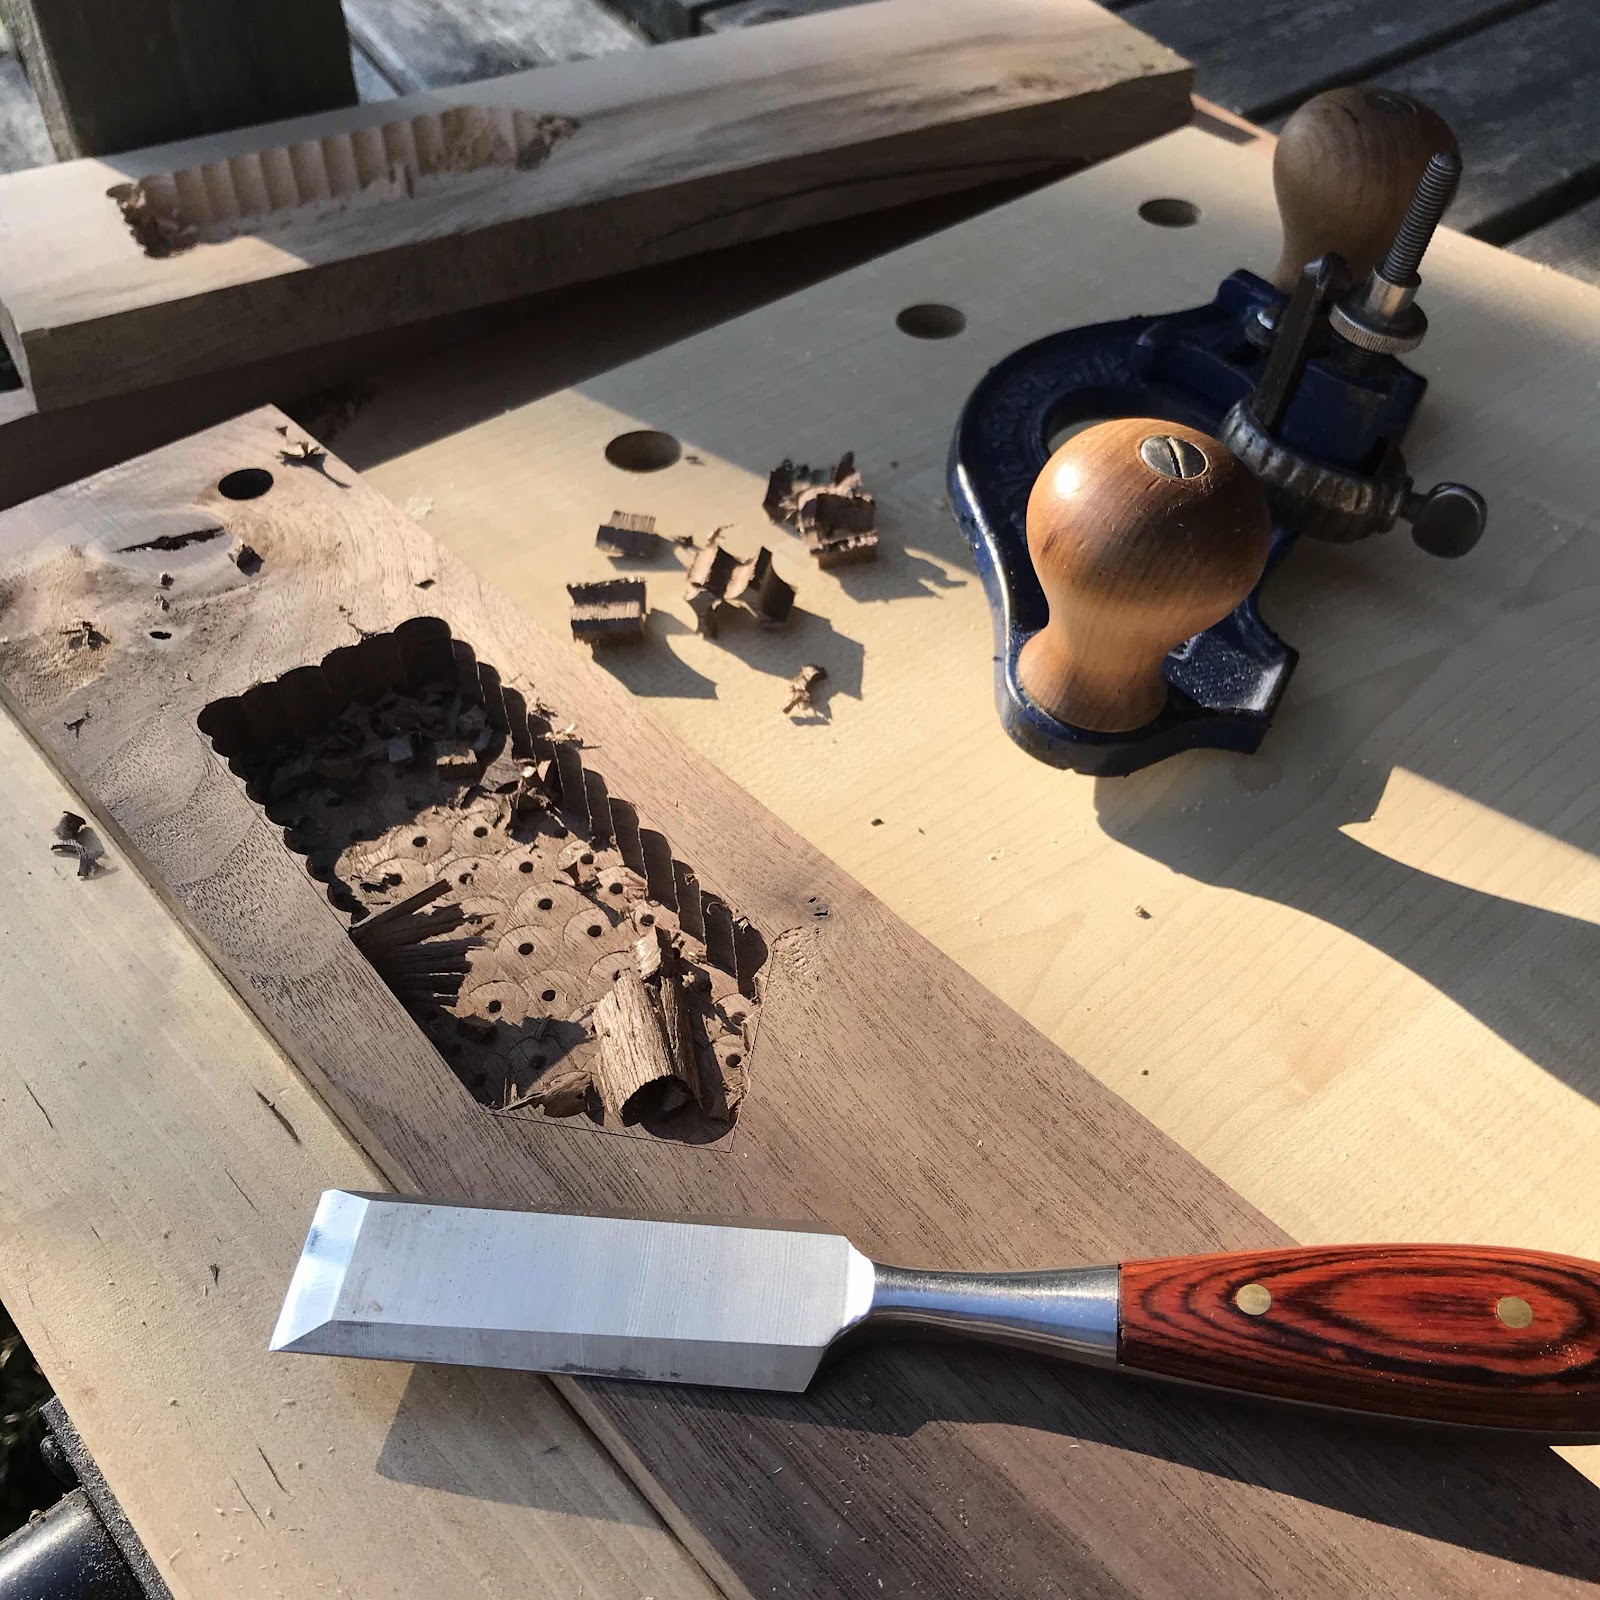
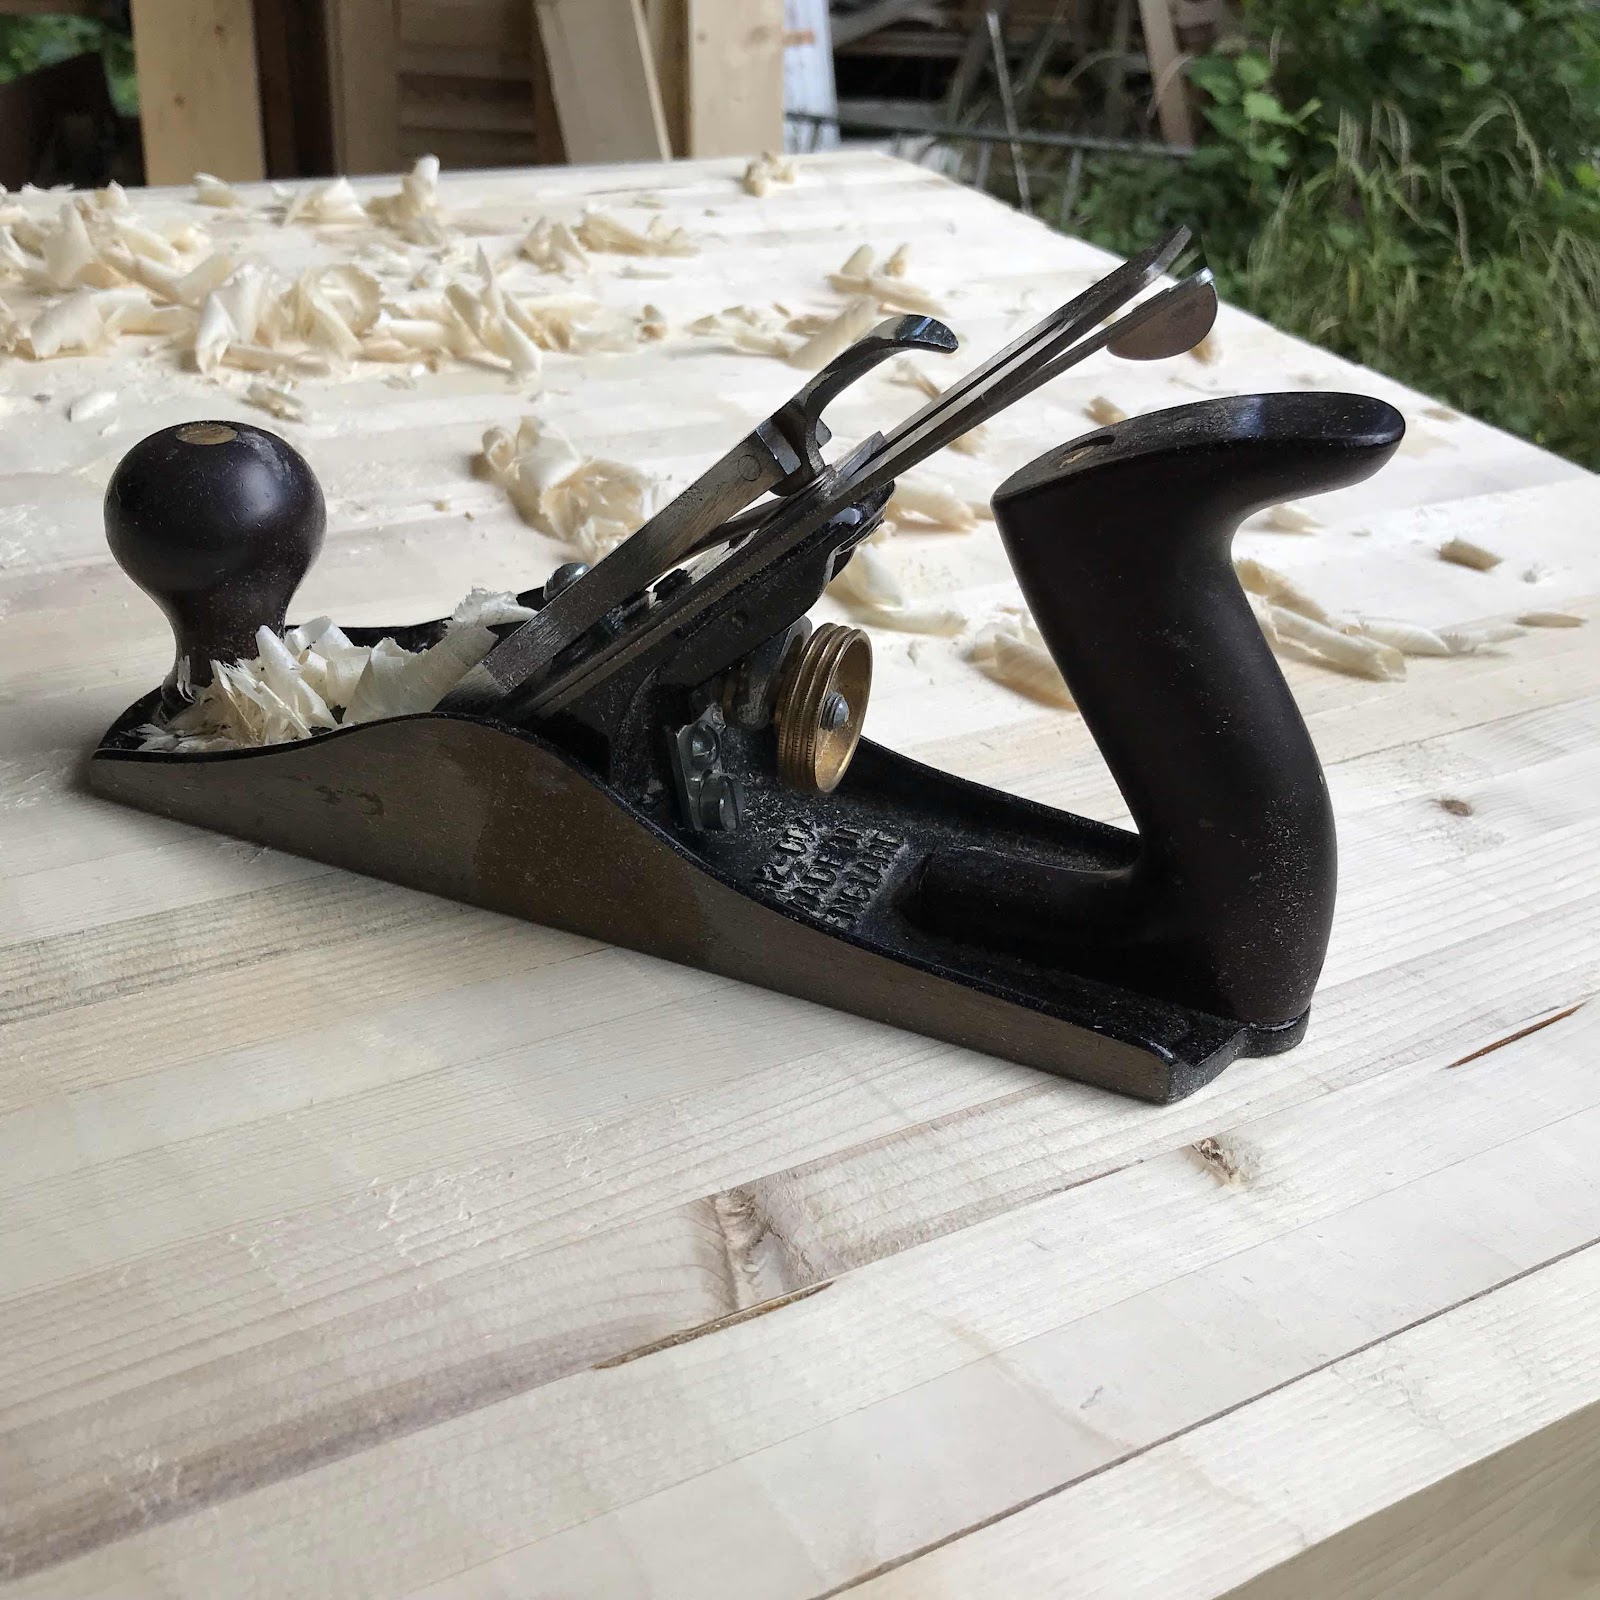
Then my newly sharpened router plane took the lovliest shavings off of the bottom of the recess, removing the brad point marks. With how the blade is shaped I took extra care not to undercut the sides. 


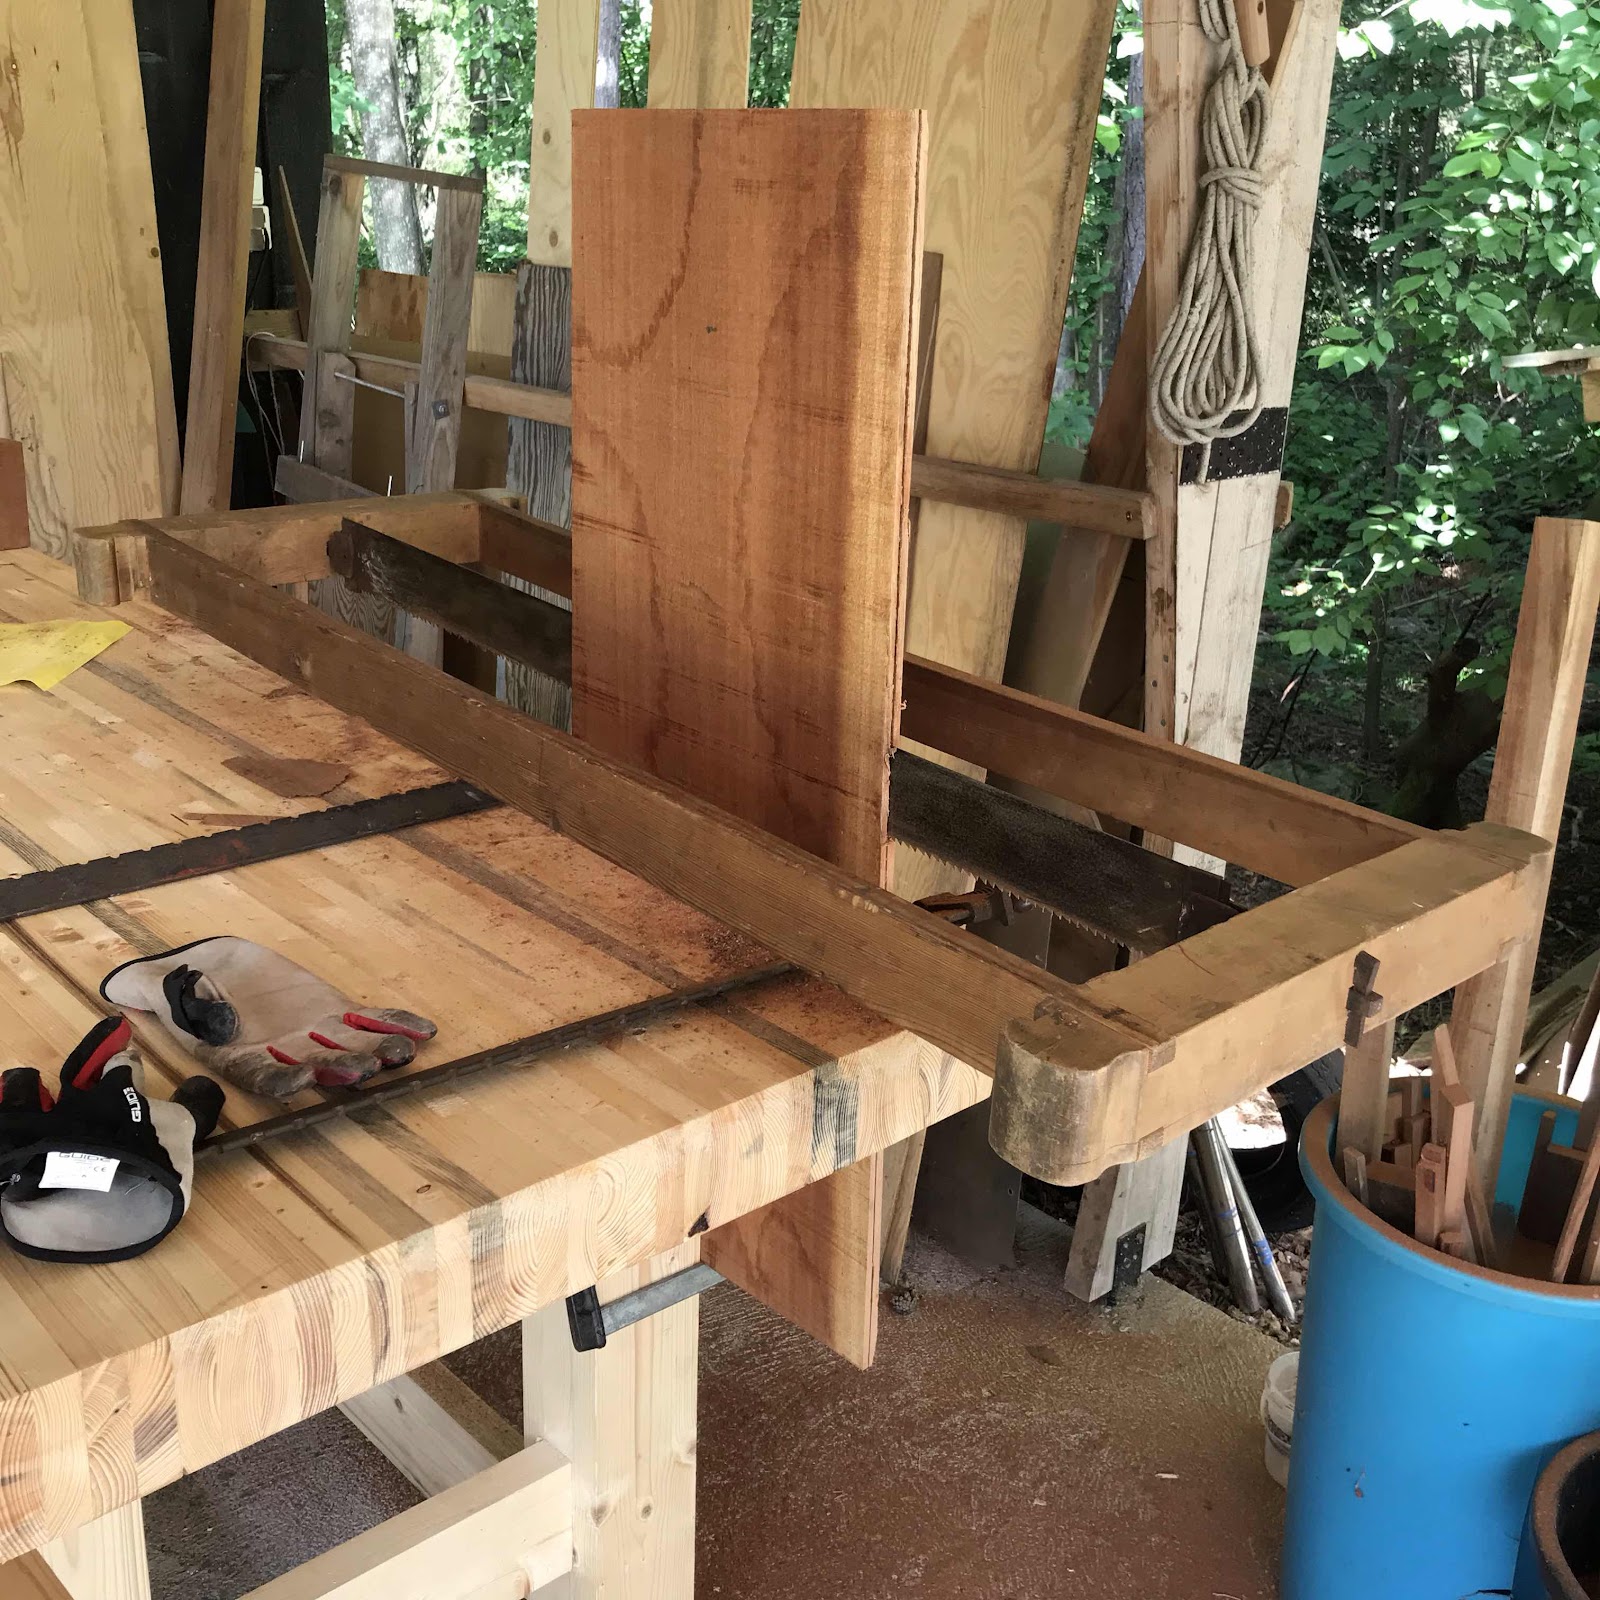
When the recess is made I reconnect the two halves of the perspex jig, fit the protruding one in the hole and score the outline of the instrument around the large contour half of the jig. Or is it a template. 


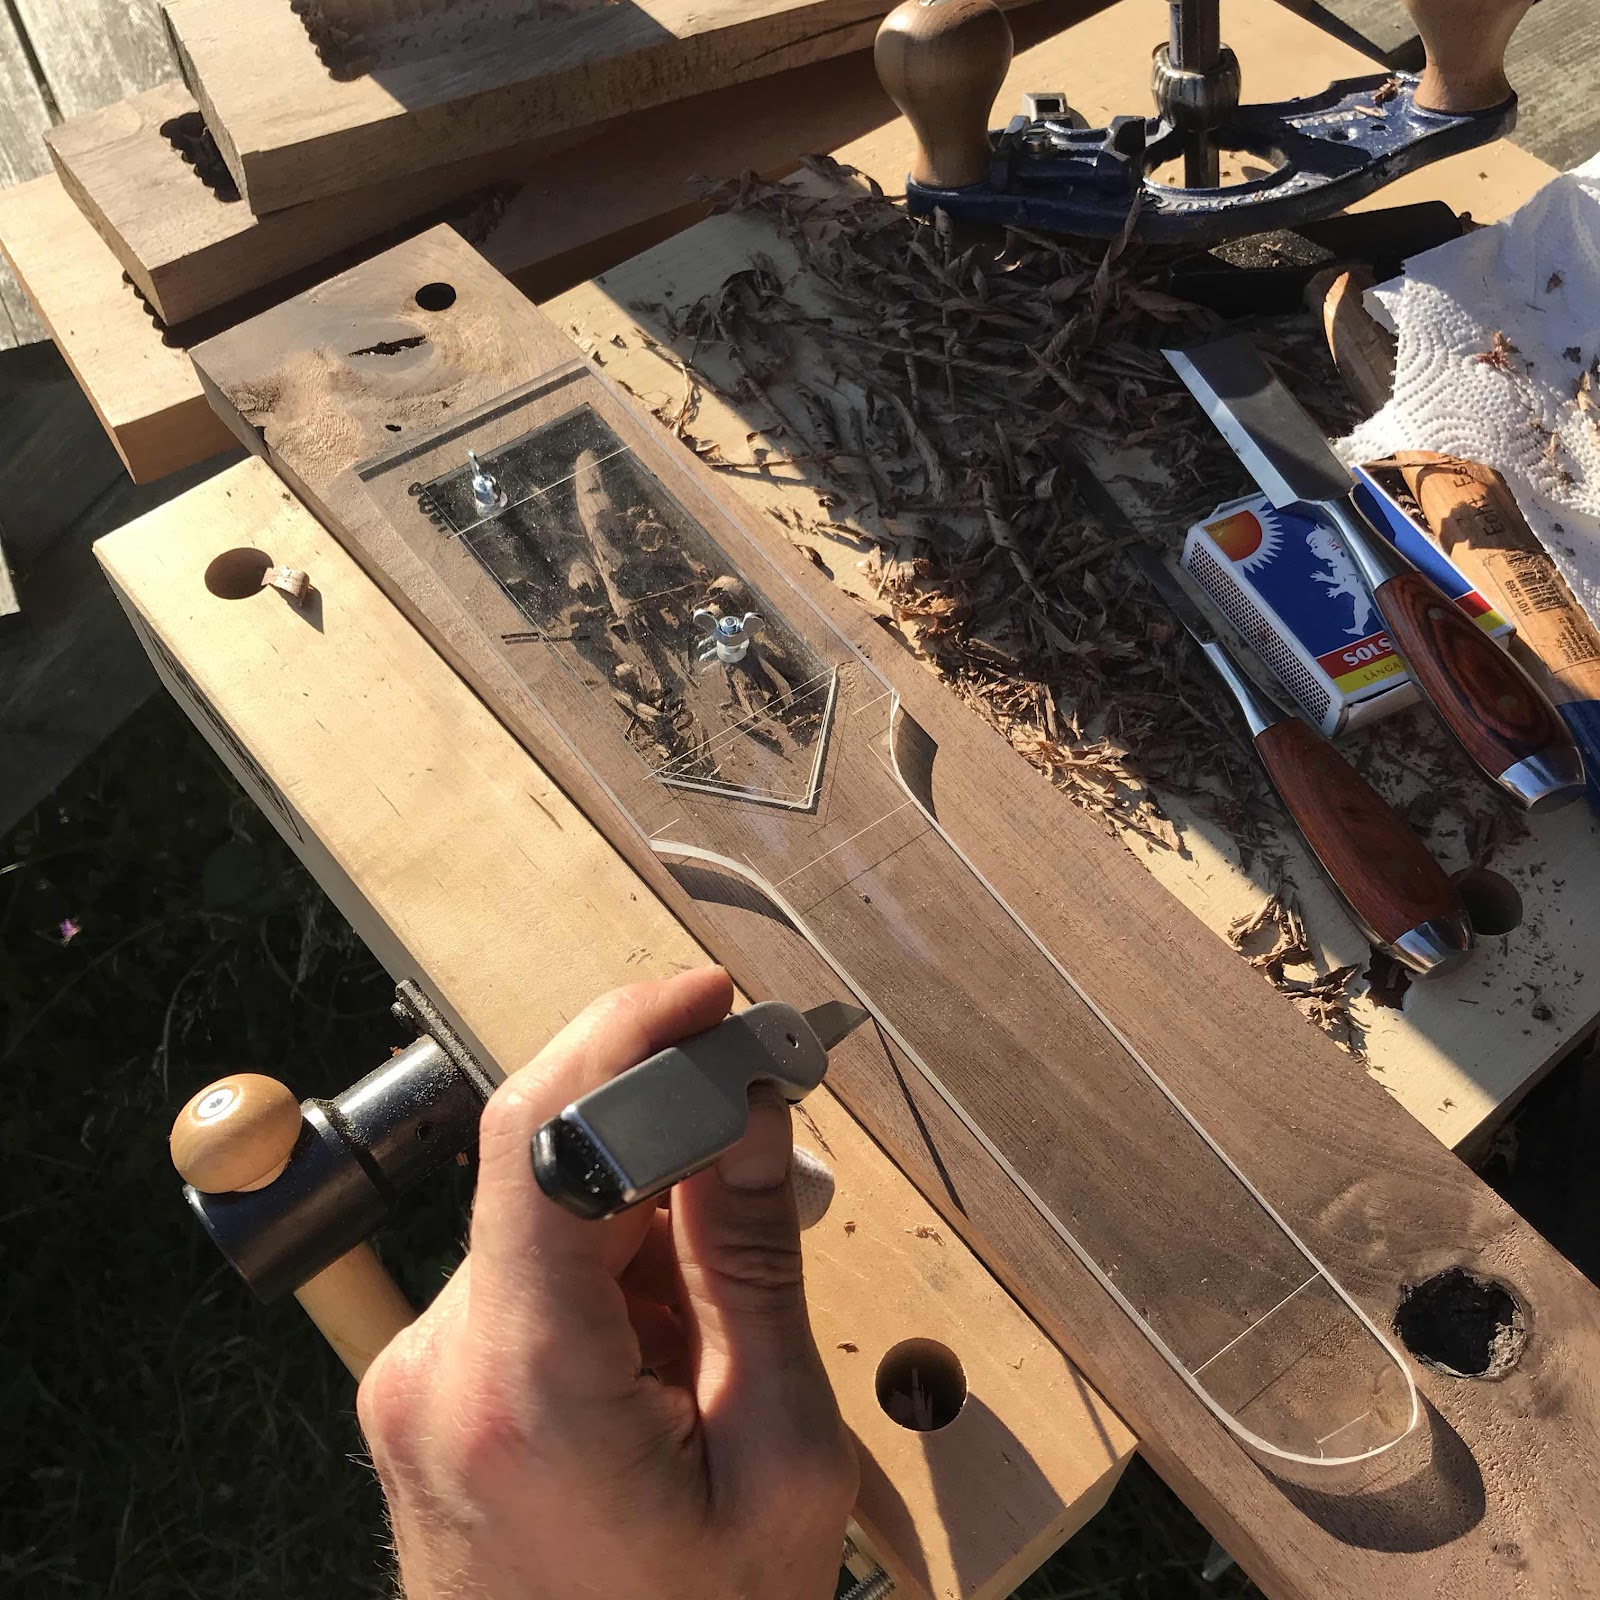
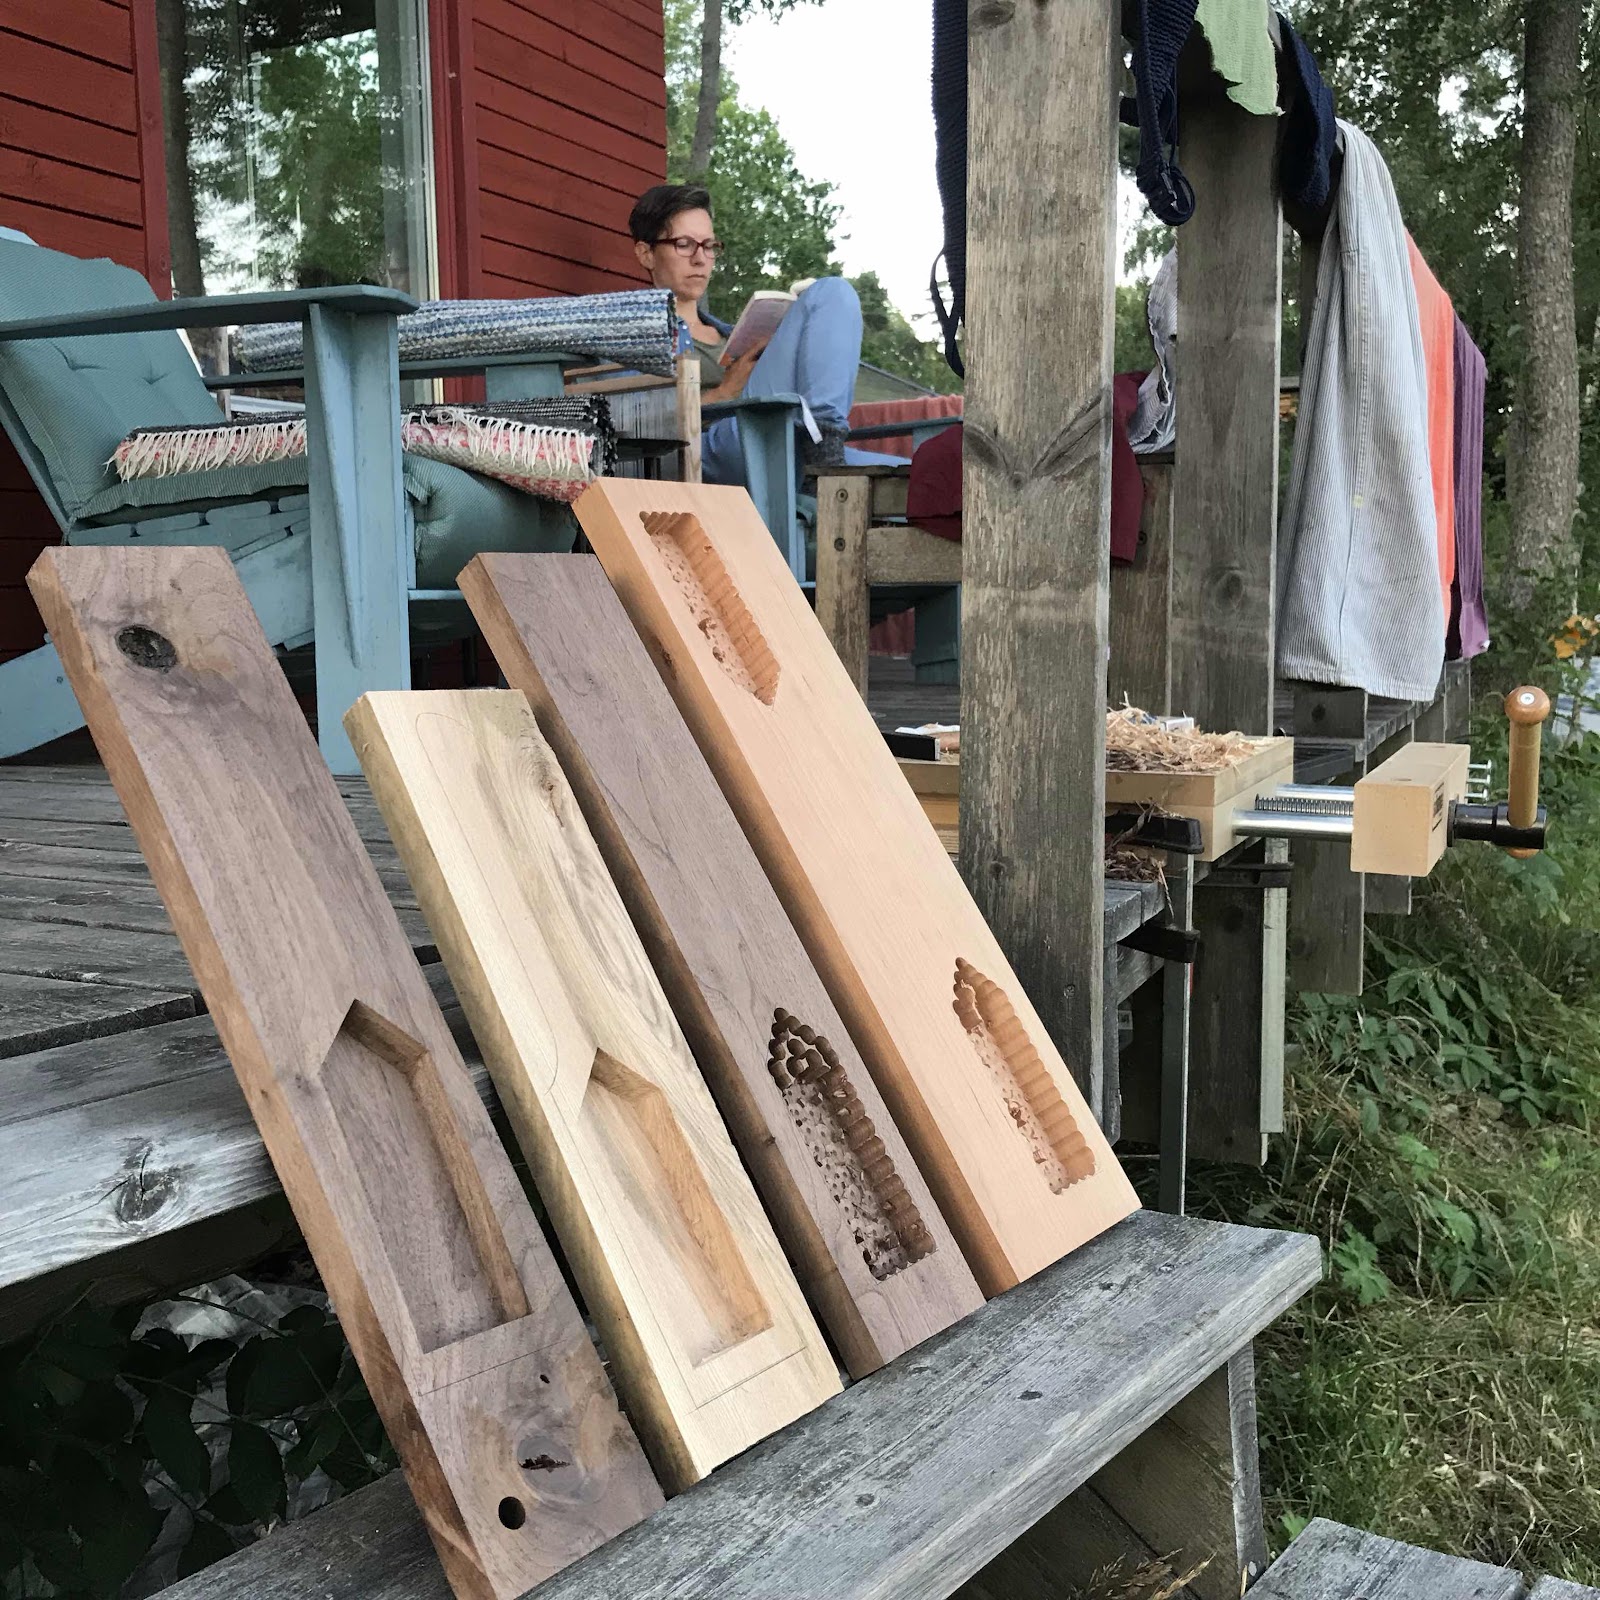
Each recess takes me one hour, after drilling out the bulk. So I made two yesterday and have three more ahead of me today. Two walnut, two cherry and one ash that grew on this here plot of land. Ann is close by and that is a good thing. 


Wednesday, July 24, 2019

Resawing

Time to put the bench to the test, and for posting about something other than that bench. Remember the extremely large board I split late last year? It was time to split it again. When I did it by myself last time it tirned out a bit wavy and uneven in the cut. But I enlisted my brother to hold the other end of the frame saw, and in the pic here he can be seen working the kerfing plane to make the slot around the edge to guide the blade. 


I usually go at it from the corners, but with assistance I found out that going perpendicular to the grain was better and produced a straighter cut. At least in mahogany, more below about another species. 


You can see here I needed to scrub plane the first bit where we did move in from the corners, we got a hump in the middle there but the rest was a great success. The middle piece that was uneven from earlier got a couple of holes but will give me a one piece rim, and top and bottom for at least one soprano. The good board in the pic will yield much more. 


Then I moved on to a piece of cherry that could give me material for two piccolos. First I sliced off two rims on the table saw, then I worked the kerfing plane around the edges. Cherry is hard to resaw with the frame saw as the blade tends to veer off on acount of the fibres. Also you can see my laziness beard, I am off work you know. 


I used the smaller frame saw but would maybe have had greater success with the huge one. Not in the pic is my brother who once again came to my aid holding the far end of the saw. 


Here’s where I ended up: the two rims at the back, then the lump to the right will become necks. In the foreground are the two larger slices that will give me the backs and tops, and the leftover chunk beneath them could become a few traveller blanks. Loads of fun, as always!


Thursday, July 18, 2019

Workbench assembled

Next post will contain an instrument, I swear! But this’ll be another one of the bench. We put the structure together and it was quite square and plumb. The long diagonals differed only a few millimetres. And it is heavy. 


Then we flipped it up onto the underside of the top, drew the mortises and chopped them. We were eager at this point, seeing the end draw closer. 


And what do you know, it fit perfectly! Makes me look tiny doesn’t it, as I sweep in the background. 


Then what I have looked forward to most of all; scrub planing the top to make sure it’s flat and with no twist. This is a modified Stanley no.4 with a heavily cambered blade and the frog backed for a large mouth opening. 


And a shot of the larger surroundings. The roof structure makes the bench look more modest I think. Next time, instruments. 


Tuesday, July 16, 2019

Mortises and tenons, and stuff

To get rid of the bulk of the material we brought the legs into the workshop and put them on the drill press. Four holes per mortise made life easier. 


Then we hacked away at the mortises, making them quite square and sort of perpendicular to the surface. The rubber mallet is one of the first tools I ever got, I think I was seven or eight years old. The chisels are much newer, I got them from Lee Valley a couple of years back. 


We secured the tenons with pegs in offset holes, look up drawboring to learn all about it. The stretchers are square and one of the assemblies is planar. The other one is ok but not perfect. I told my brother we aim for strong and stylish but we’ll settle for strong. 


Before we connect the leg assemblies with each other I started on the top tenons that will go into the underside of the benchtop. We’ll make them quite beefy. 


Sunday, July 14, 2019

On to the legs and stretchers

Well, here it is. The completly assembled top before clean up and planing. It weighs a lot now. 


We glued up the legs and thicknessed them in the machine to roughly 120 x 120 mm, then picked out boards for the stretchers that will connect the legs. 


Early this morning I marked out all tenons, saving a bit at the end...


... to facilitate finishing the tenons off with the router plane. Tomorrow we’ll start making the mortises in the legs. Not a whole lot left to do now! And using the top to work on the tenons showed us that it will be a good, hefty workbench. 


Thursday, July 11, 2019

Progress on the big ass bench

Before any instruments are made (maybe apart from a couple of fugly travellers) we must crack on with that bench don’t we. I ran all boards through the thickness planer before cutting them to length and laminating them. 


Mid glue-up. A LOT of glue was harmed in this operation. Like five bottles at 125 SEK a piece. 


We (I had help from my brother) made four blocks that were 7 to 9 boards thick, they still fit in the thickness planer and that was a great advantage. We could make both faces flat and parallel before glueing up the entire top. 


This is a block going through the thicknesser. It is a good planer but a bit short, so one came out with a bow and one with a twist. I will handplane the top after glueing it all up. 


Two pairs are glued up, they will all come together tomorrow. 


Sunday, July 7, 2019

Luthier on the run

You know the drill, you all know the score... try to do what’s right (song reference). Every summer I pack up some essentials and leave the humble lair of the Argapanator to do some creative woodworking on the road or at some cottage. Today we left for the summer house and I brought tools, a couple of instruments, a large chunk of mahogany, some fugly traveller blanks, a rifle, and a Morley fuzz wah pedal. 


In this pic you see the slab of mahogany on the thickness planer, before running it through. In the bottom right corner are three of the travel uke blanks. 

Problem is, and it should be apparent already, that the summer workshop is crammed with stuff and crap. I need a large and preferably empty workbench...


... and I want it now. So I gathered a load of boards from a rack where they’ve been drying a few years. They will form the workbench slab. 


I coerced my son Johan to help me carry the thickness planer out. Tomorrow I will prepare them and start glueing them together. Wohoo! And the weather is set to be shite all week! 


But what’s this then? Remember that I mentioned a strange monstrosity bass I’d finished, asking if anyone would like to see it? Well none other than Howlin’ Hobbit said, yeah show it. So here it is. 

Before you judge me, look up Vox Winchester basses and guitars. I got the idea from those.