Learning Ukulele 50 Sites Top 50 Ukulele Sites Argapa Ukuleles - one size louder: fretting
Showing posts with label fretting. Show all posts

Thursday, July 31, 2025

Fretboard pt. 2

I am lagging behind a bit in reporting the progress, all these pics are a few days old but what can one do. 

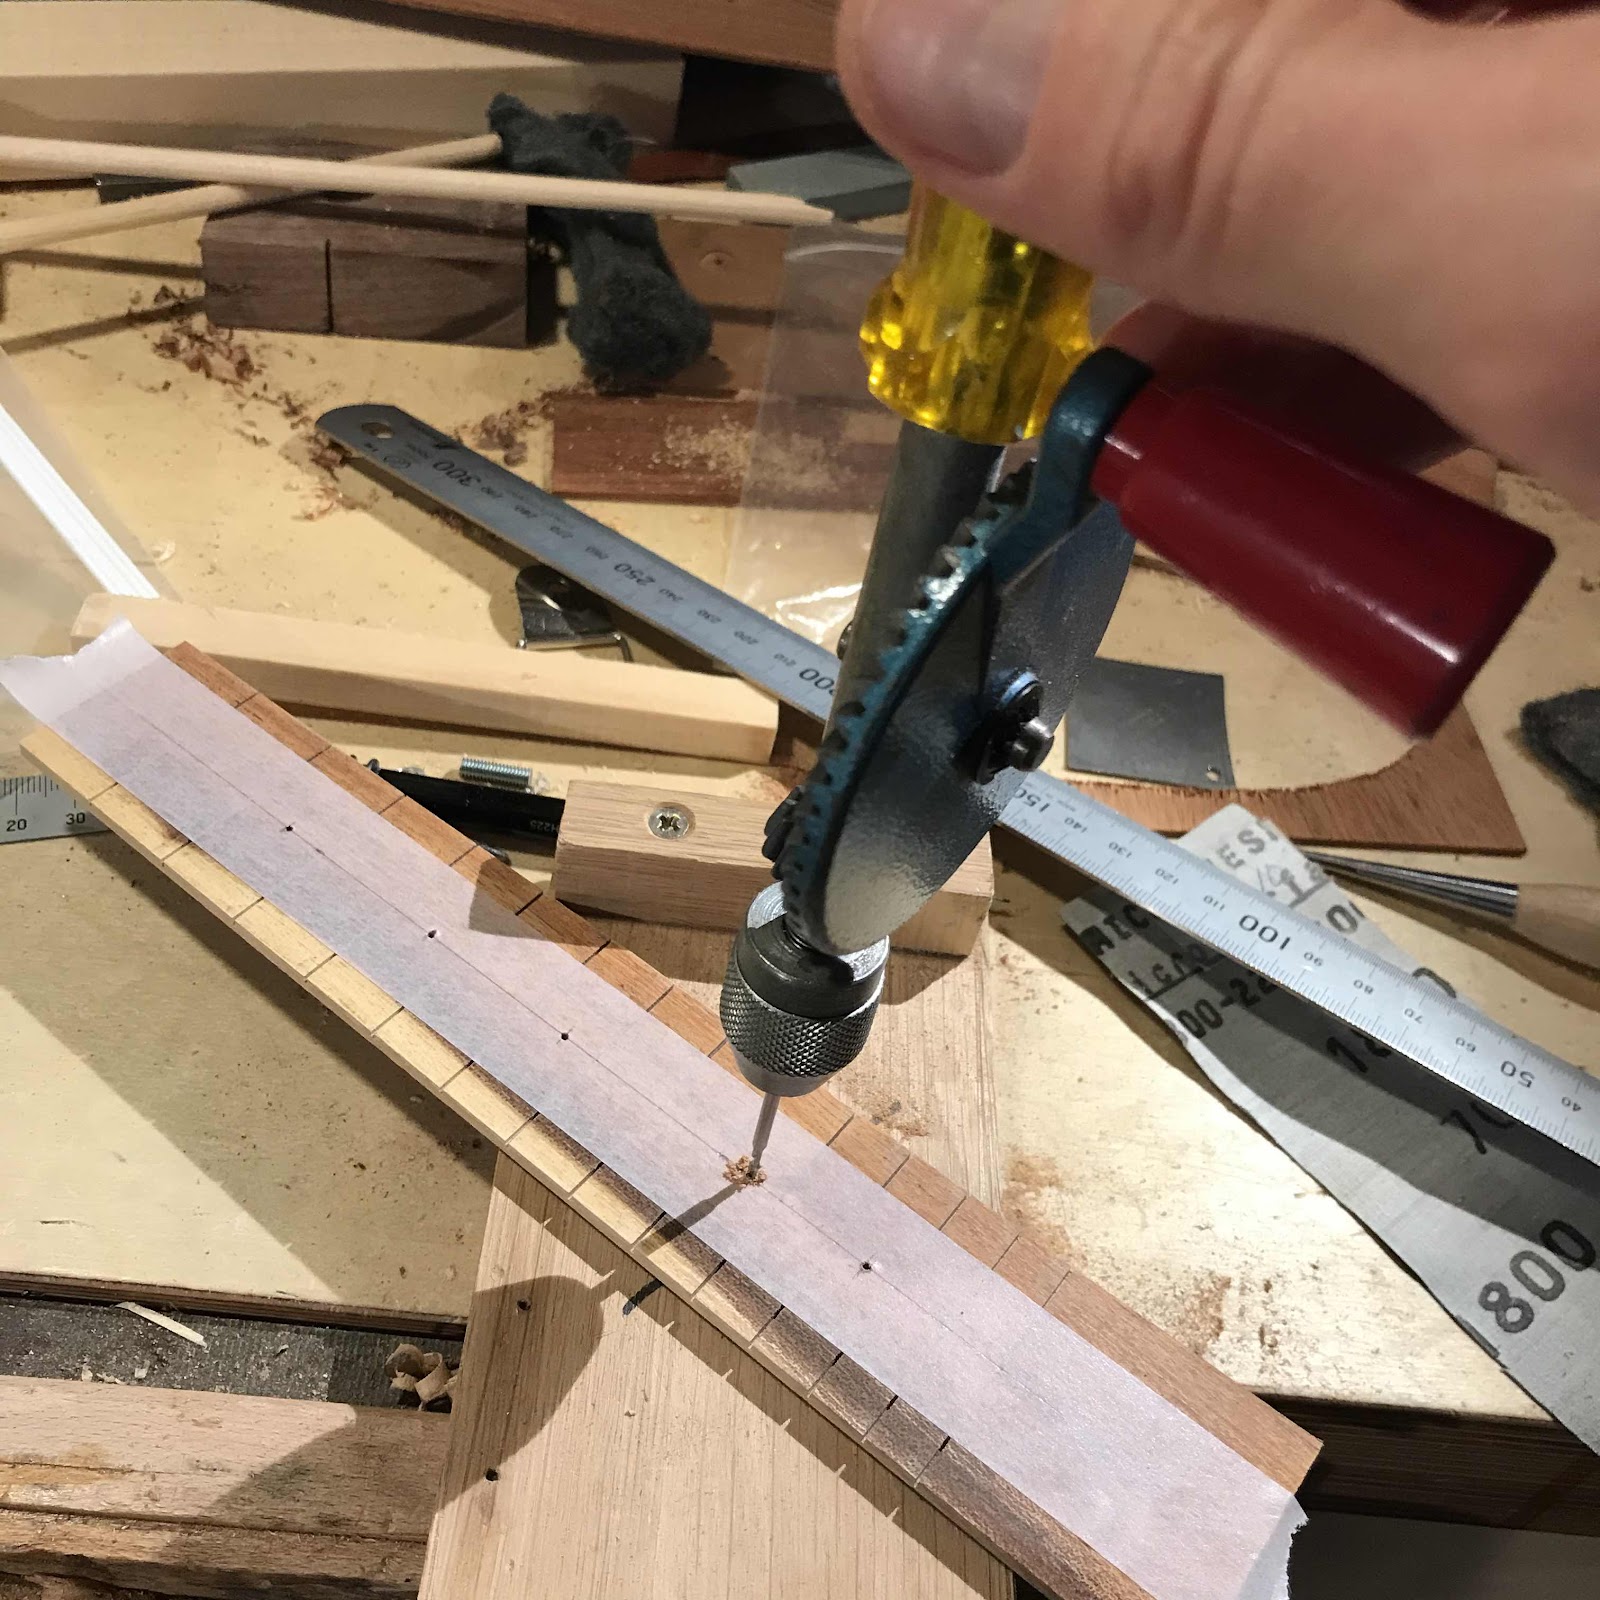
First pic is me laying out positions for some holes, using a very nice pair of dividers with a split nut. You need a few of these, trust me. The rule is just to keep the lines straight. 
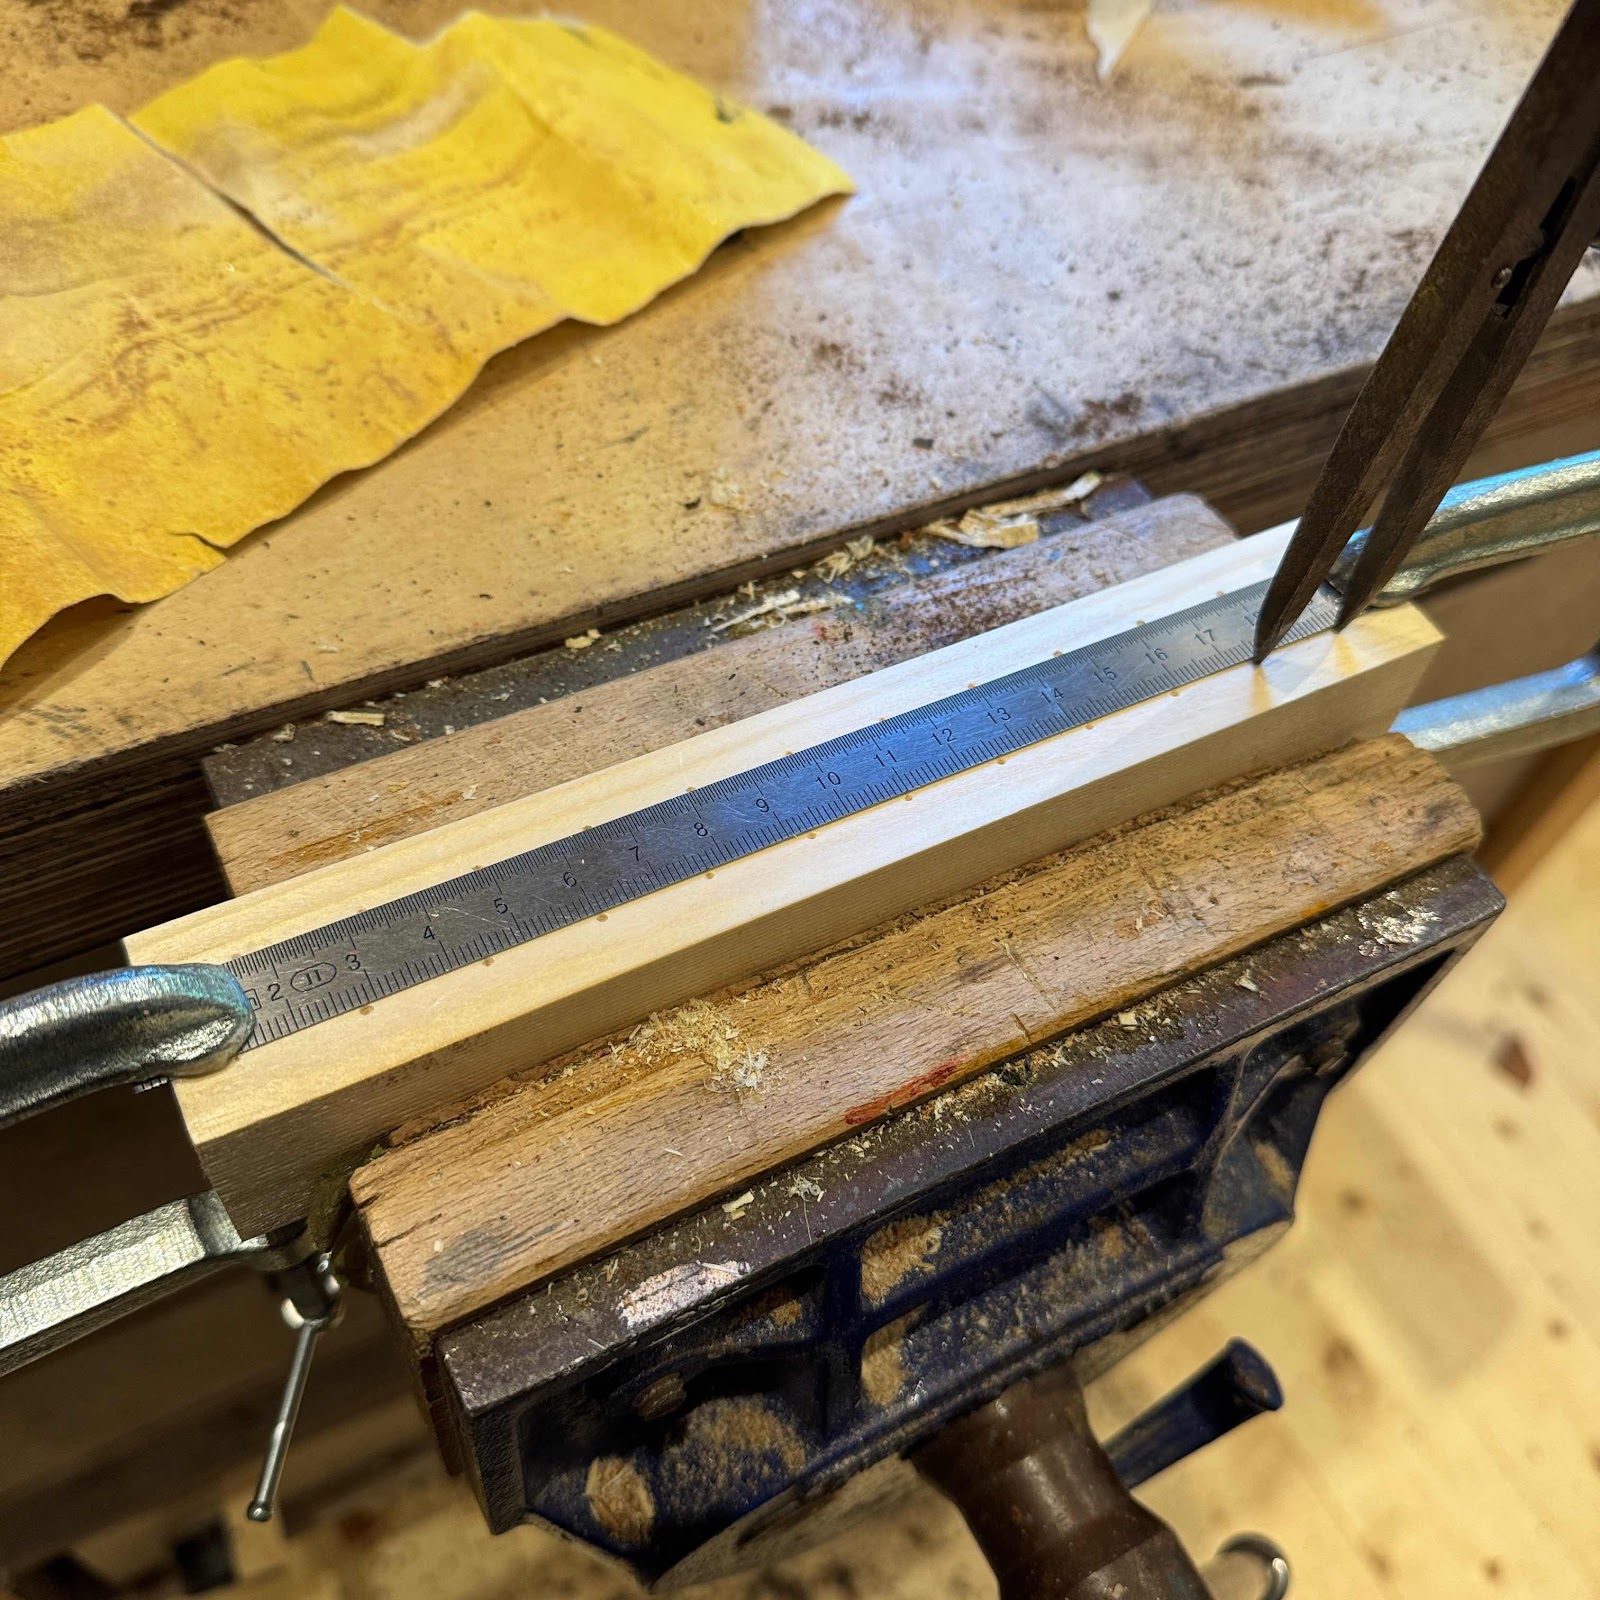


Then over to the miniscule drill press, a Proxxon. So much better than a Dremel I hesitate to even compare them, but the latter has an industry standard thread at the front, allowing different adapters to be used. 


But what’s it for? For storing frets. I will cut the tangs back a bit, the weather’s warm and a bit humid so I foresee the fretboard shrinking a bit in the future. And then it’ll be much easier to knock back the ends if the tangs aren’t protruding. All this means I need to keep the frets sorted by length. 


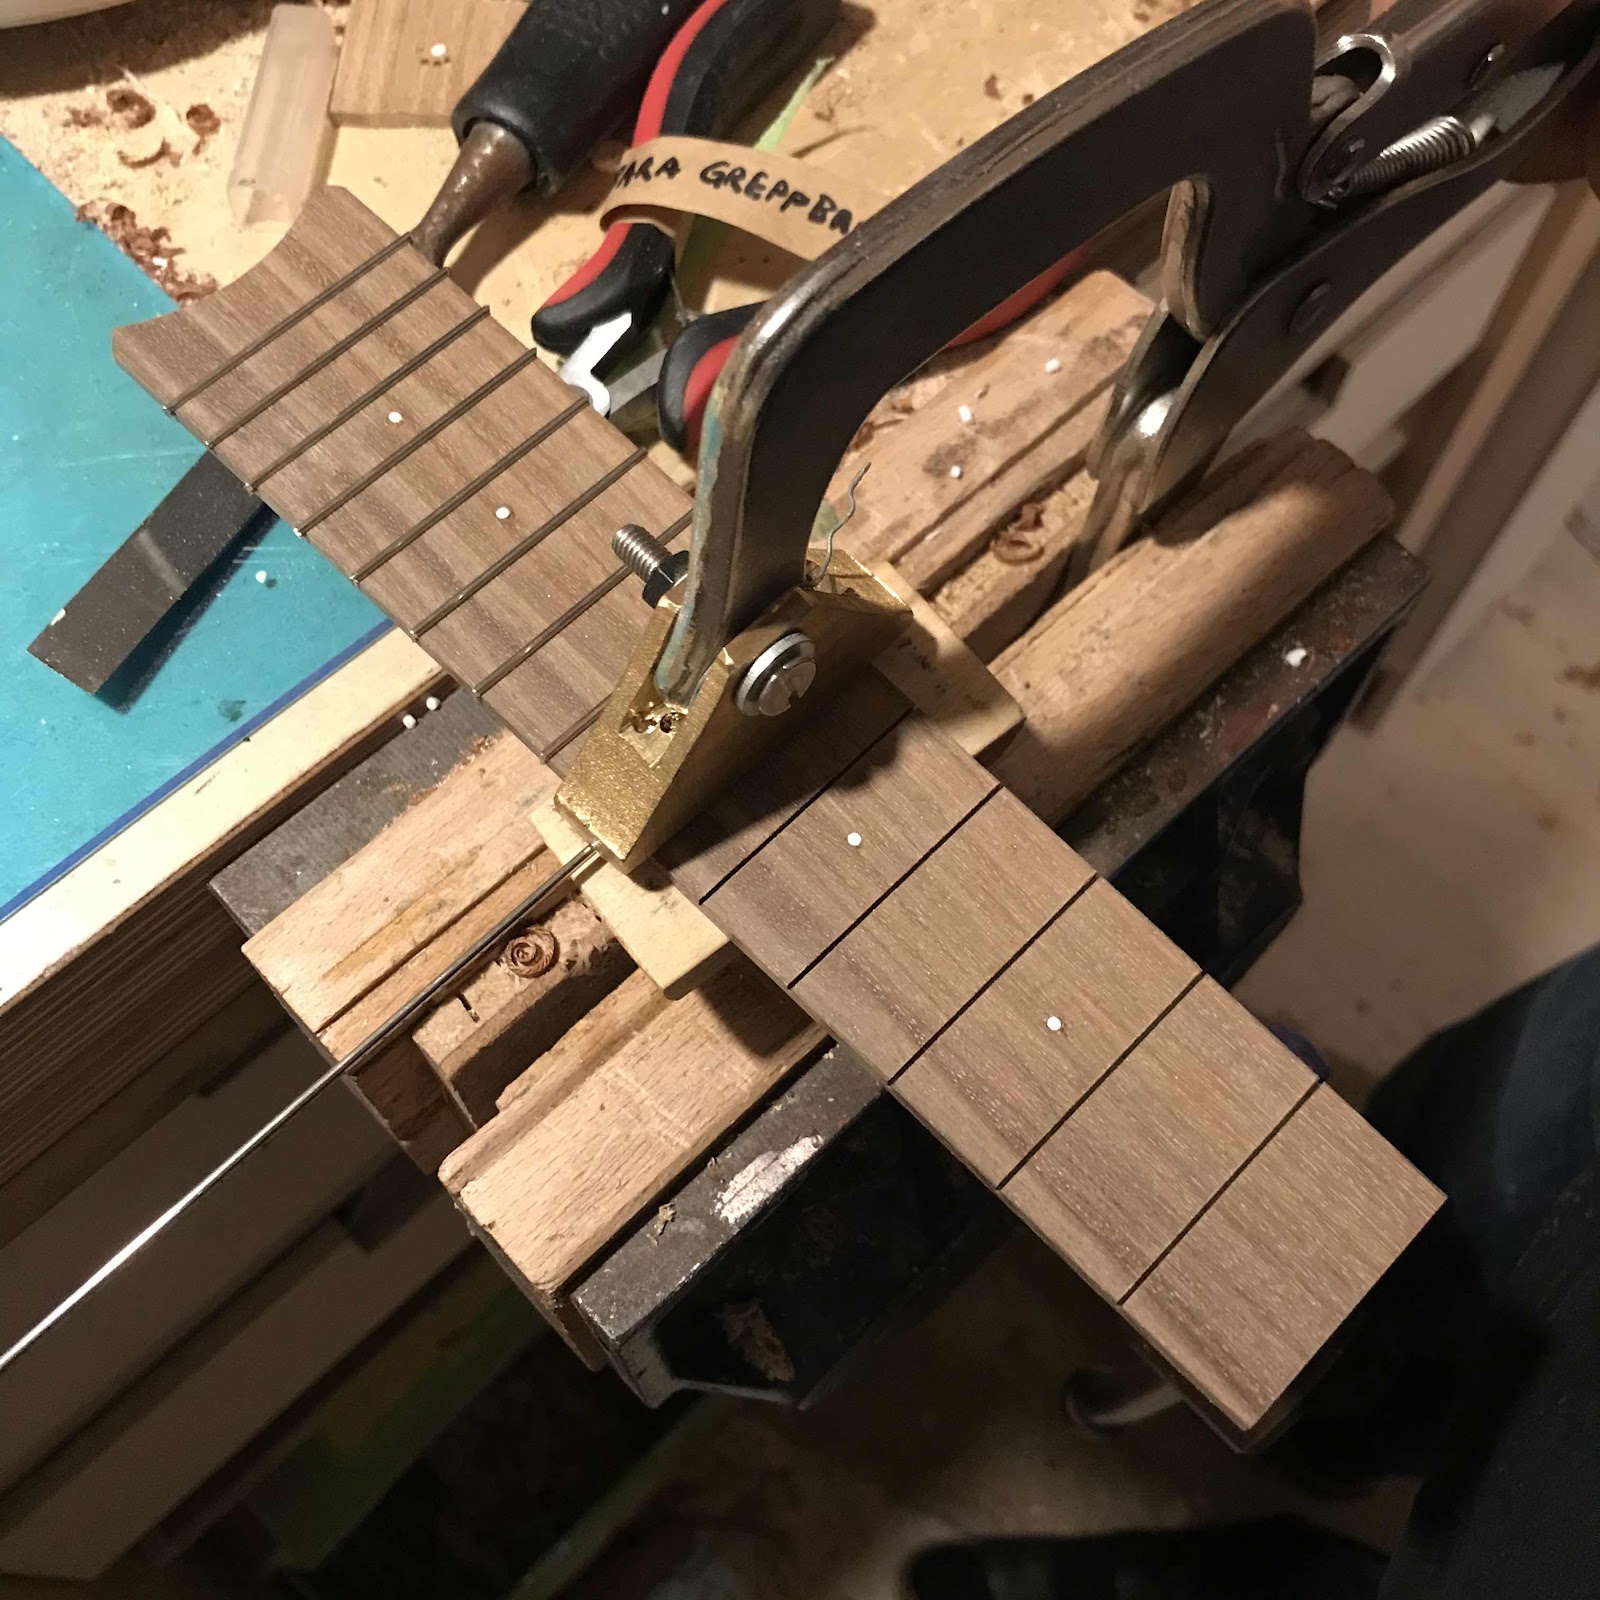
Somehow (I know how) I missed taking a pic of actually cutting the tangs with my Stewmac fret nipper, but I’ll show that next time. Next pic shows me clamping a fret in using my version of a Jaws press. 


And once again aligning the board with rulers…


… before clamping it in place. 


Sunday, July 5, 2020

Fretboards, continued

I have an expensive fret saw from Knew concepts that I really want to like. It has an excentric cam lock to tighten the blade, but it has started to act strangely. So I use this one more now, like many of my tools it’s something I found at a flea market. It is actually more versatile because of its large cutting depth. In this pic I use it to cut away some overhang from the top and back. 


Then I cut it flush with an old Mora knife. Almost anything to avoid using a router and a flush cutting bit like real builders do. 


I slotted the fretboards for the soprano and the reso (also a soprano, natch) and tapered them to the exact dimensions. Careful measuring and delicate cutting. 


Well, sort of delicate anyway. If I need to hog away larger amounts of material I will reach for a larger tool. 


Then I sneak up on the line with a sharp hand plane, this time my Record number 7. 


This is how they look with the ends sort of shaped but before position markers and frets. 


I press the frets in before glueing the boards on, using my own version of a much more expensive fret press. 


I let two of the position markers stick out through the fretboard. The markers are pieces of styrene rod so it’s easy to use it as dowels that prevent slipping. 


And I started working on the bridge too. It’s also ipe, or lapacho as we learned in the last post. 


Wednesday, November 6, 2019

Fretboard, continued

When I’ve shaped the edges to the correct taper I mark a centreline and drill holes for the position dots. I use a 1.6 mm styrene rod for them. 


Three of the holes are transferred to the neck. I’ll leave the rods protruding a bit so the fretboard won’t slide around any when it’s time for the glue. 


I pressed the frets in, and forgot to take any pics of that. But here’s me filing the ends and bevelling them. 


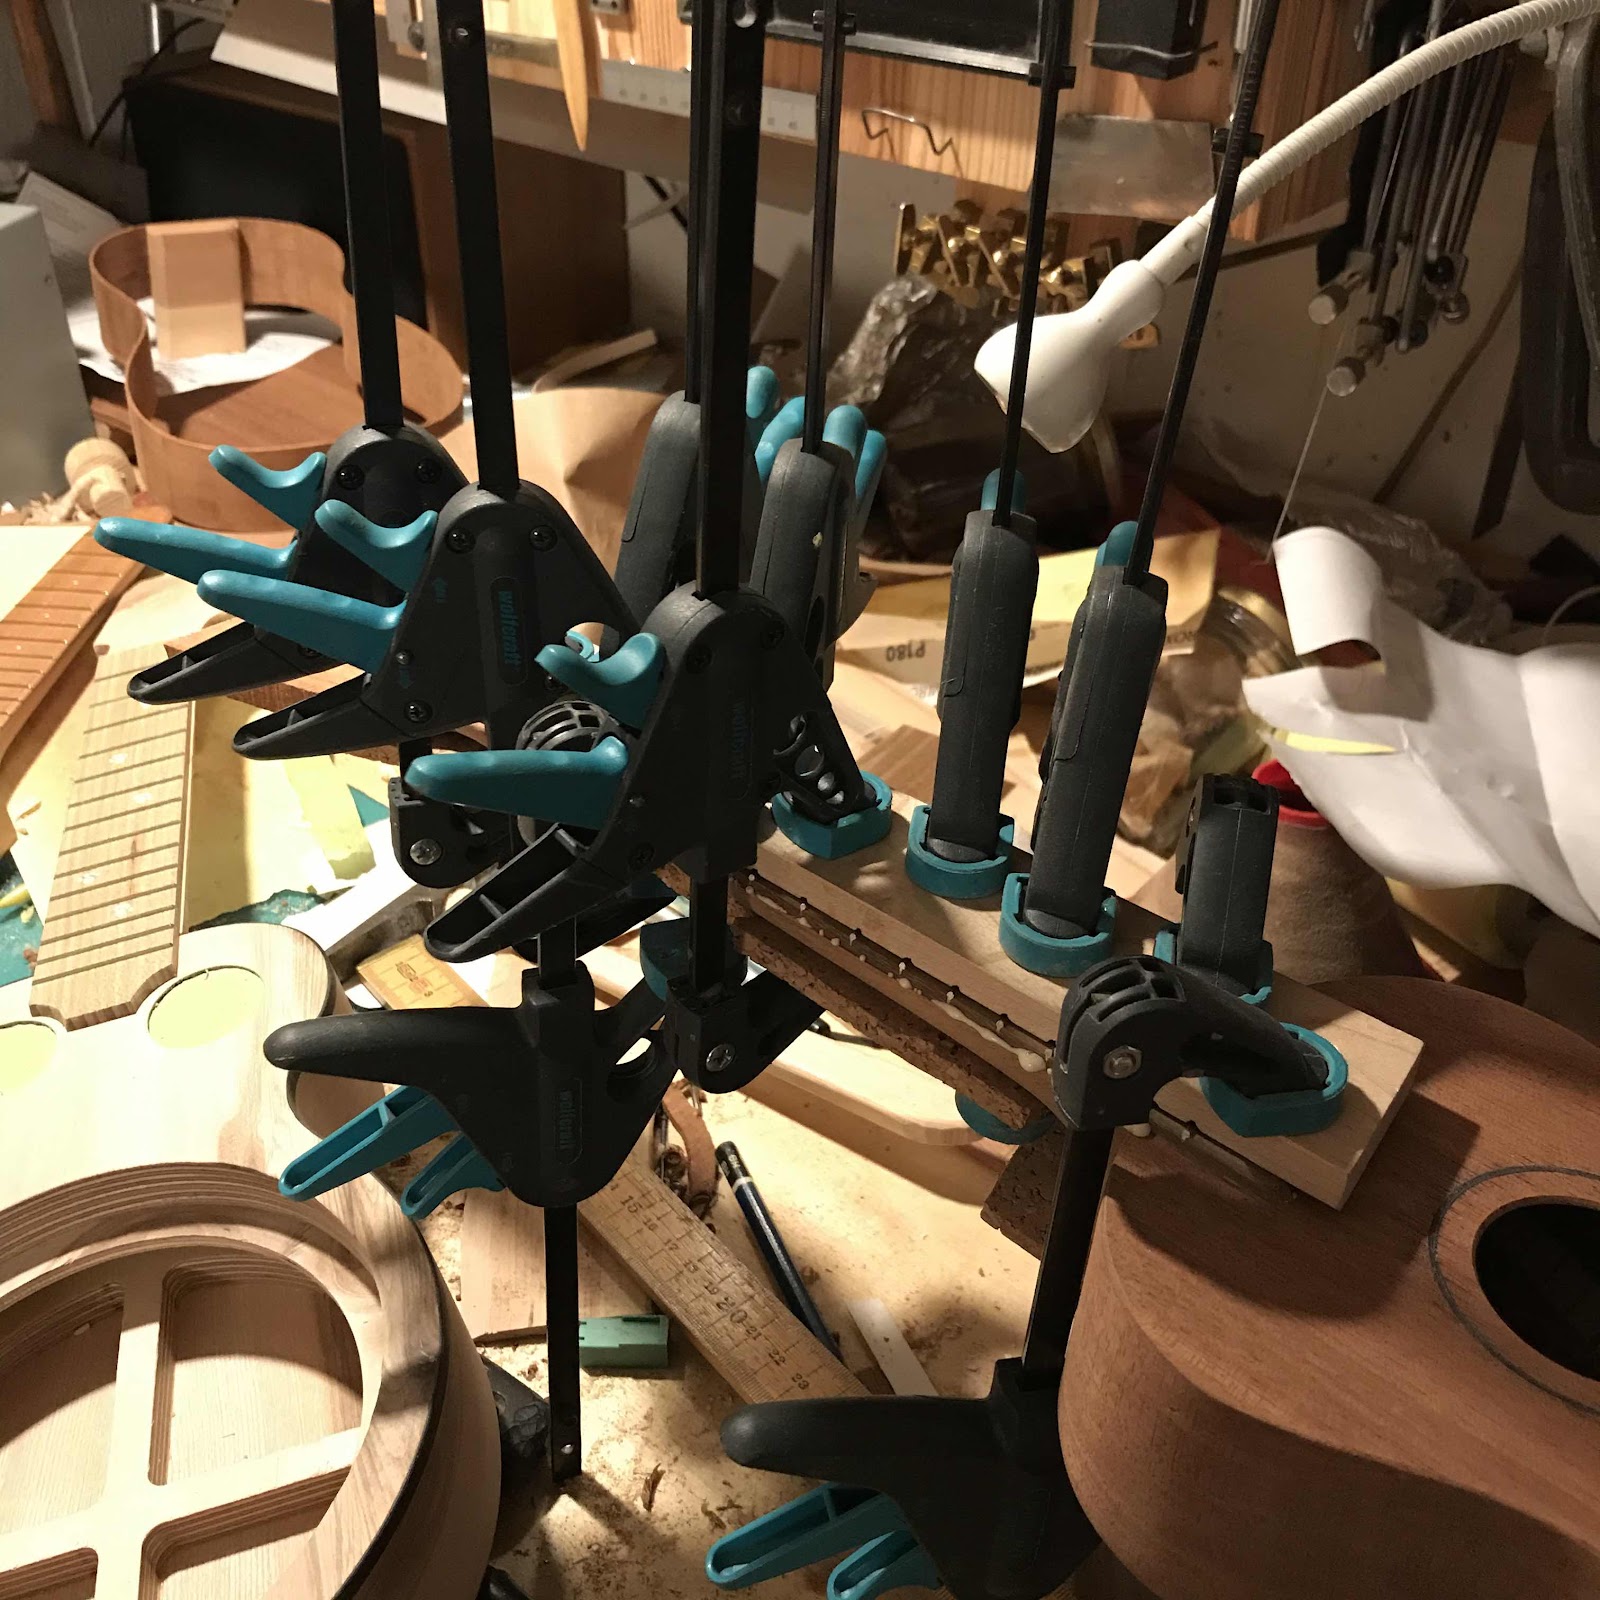
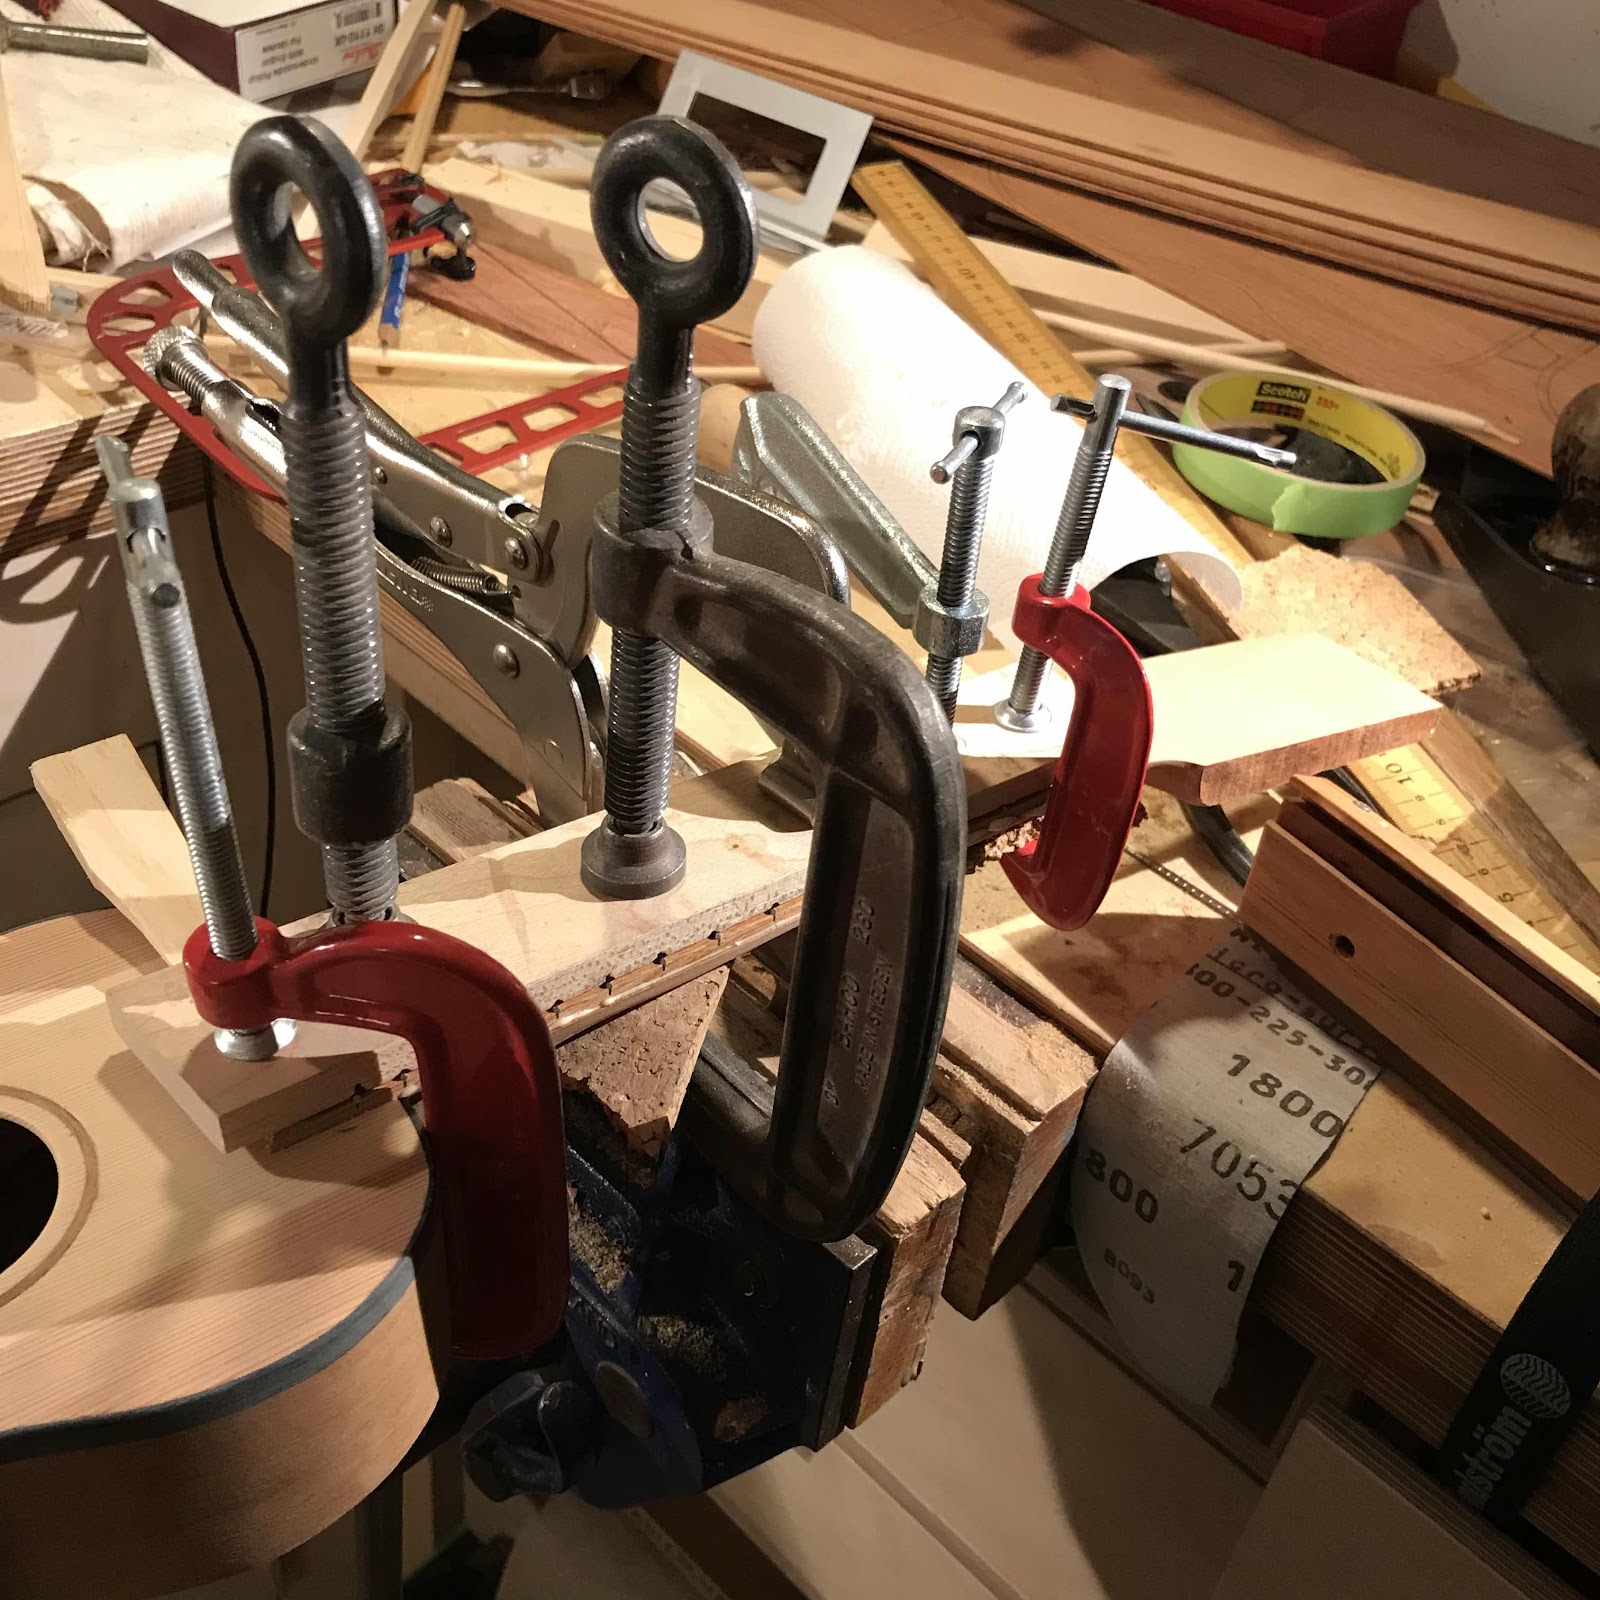
And on it went. I’ve used rubber tubing and other sorts of clamps, but you can’t really beat some old Bahco C-clamps. You could squeeze something out of anything with those. 

Next up; the bridge. 


Wednesday, April 11, 2018

Update on a couple of projects

When did I last show you the mahogany piccolo? It must have been when I carved the neck. Let’s catch up, even though I think it was visible in the background on a few pics last week when I worked on the travel uke. 

First pic shows the neck attached, the rim profiled, the lining strips glued in and the same strips sanded flush with the rim. 


Then the back braces were installed while the uke was on the solera. The braces have a gentle curve, which together with the more aggressive lengthwise curve of the body gives the back some compound geometry thingie going on. 


Slotting the neck and fretting was done together with the travel uke, and in the exact same way. 


Then I made a bridge and glued it on. This was a couple of days ago, meaning...


... we have the first coats of shellac on! I think it’ll be a fine instrument. 


 A few pics of the reso then. Since last time I have received information from a reliable source, it’s not cocobolo - it’s ziricote. Please forgive me for spreading fake news on the internet, and well spotted Mikael. 

Anyway, I put on a faceplate and a fretboard of the same wood. I think it looks really cool. Ziricote is hard to work and tough on tools so almost every step is a bit of a struggle. But we’re getting there. 


I tried using a scraper but it skidded around, just burnishing the wood. So out came the Festo ROS. When I can’t avoid power tools I prefer to use the best ones. 


Hardly a surprise, but ziricote is hard to finish. The shellac dries slower than on the mahogany piccolo and I must be careful not to rush the process. It will look quite dramatic. 

I have built this to my own specs, but I do have someone in mind. If it turns out good after all the hardware is grafted onto it, I will brush off my school French and write an email to a certain guy. 


Wednesday, April 4, 2018

Travel uke mk II, cont.

Worked on two different ukes in parallel yesterday, but will again limit the blogging to just the travel uke. 

First pic shows the carved neck. It was very different to carve one without heel and headstock; and not easier. For some reason the end was hard to get straight so I was glad I hadn’t cut it to length before carving. And I decided to keep it as a zero sanding project, all surfaces shaped with blades.


... which of course made it hard to finish the surfaces on the inside. But scrapers got me quite close. The soundboard ended up being 1.5 - 1.7 mm. 


Then I cut the neck to length. Keeping a few centimeters above the zero fret was my main incentive for building this, so I hope I kept enough. 


Carving the end grain with a sharp knife gives it a glassy surface I’d never get with sandpaper. Others might of course, I just never developed the patience needed for going through the grits up to several thousands. 


Here I’m cutting off the aris along the neck edge with another knife, leaving a minute chamfer. The difference is hardly seen but instantly felt. 


Then sawing the fret slots. This is where I worked on another piccolo as well, and I took some pics of installing the fret markers on that. But that’ll be in another post. 


Looking at the thin wall of end grain wood at the butt I was worried it was weak. It was too uneven to glue in a piece of veneer so I sealed the outside with shellac and poured in some superglue on the inside. Maybe it’ll help. 


Here it is, fretted. And the other uke as well, the all mahogany piccolo. I continued by planing a tiny bridge for the traveller, 5 mm high to give me 2.5 mm clearance above the 12th fret. 


The bridge and the string through holes. I lined the holes with lengths of brass tube, or shorts really. It was very very fiddly - they’re only as long as the soundboard is thick!


And the holes at the nut end, or zero fret in this case. These holes go through the neck at angles, I got three of them right and the fourth right-ish. 

To finish this one I only need to install the carbon fibre tube and the tuners, then some more shellac. 


Sunday, January 15, 2017

Fret work

I decided to bite all remaining bullets and dedicated the available time this weekend to dressing frets. This I thought was the last chance to let a few of the six ukes drop out of the race and be finished later, I really need to ship one or two so I can get money for some stuff. 

But I chose not to. I've forgotten the order between them and don't fancy choosing between the people who've waited so patiently for such a long time. 

If you remember me fretting these you'll remember the nicely bevelled fret ends that I made with the new file holder. That's great but the fret ends do have sharp edges and a bit of burr, so I need to round them off with a fret end file. One of the tools from Stewmac that might seem expensive but is nigh impossible to live without once you've tried them. 

And do the maths - 7 fretboards, 14 frets on each, 2 ends on each fret, 20 strokes on each end... It took a long time. 


My improved fret pressing clamp left the frets almost completely level. I found one or two that was a wee bit high but chose to press them in some more rather than filing them at the top, you get a flat surface that needs to be dealt with using a fret crowning file and it is somewhat boring and nerve wracking at the same time. 

But the frets need to be polished anyway! The fret erasers from Stewmac are quite good. I like them but many people don't. I bought the whole set of grits, ranging from 180 to 1000 in five steps. Each eraser takes me about 20 seconds. 5 erasers on every fret, that's 100 seconds per fret. 14 frets on every board, 7 fretboards... My shoulders hurt. 


But now they're all done and I moved on to laying out and making the screw holes for the cover plates. And my lovely wife helped me with the secret Argapa detail (that ensures the superior sound and performance of my resos) while I was polishing frets, so that's taken care of too. What's left now is
- tuners
- nuts
- fiddling the biscuit (no smutty innuendo intended).
- strings

Thursday, October 27, 2016

Improved fretpress

Time to try the new brass caul I made! The lower jaw has its wobbly foot partially secured by a piece of leather jammed between it and the arm of the jaw, so the flat wooden caul won't play any tricks on me. Awkward sentence that. 


Anyway, after running the triangular needle file in each slot, I hold the whole piece of fretwire in the now widened slot and aim with the brass caul. 


And squish, in it goes. Much easier and with more control than with my old wooden caul. Getting rid of the wobbliness plays a big part here (see the awkward sentence in the first paragraph).


Seated perfectly in its entire length. 


This pic is an attempt to show how the light reflects evenly on all frets [of the next fretboard]. I don't expect I'll have to use the levelling edge of my new dual purpose fretfile on these. 


And this is to get rid of the backbow that we get after pressing in all the frets. 


Only three more boards to fret and we're getting closer to the last steps; levelling fret ends, glueing fretboard, final trimming the overhanging bits of tops and backs, sanding, sanding, sanding, drilling for tuners, finishing (a project in itself everytime), making the stringholder, secret Argapa setup step, fitting the hardware, making the nut, compensating the bridge, attaching the biscuit to the cone, final assembly, stringing up, lowering the action, stamping the Argapa logo and number. Times six. With Argapa 100 chucked in between. 


Tuesday, March 3, 2015

Slotting for frets

I fit the necks to the piccolo sized ukes before slotting for frets. Since these are Swewaiian style ukes they won't get a fretboard, instead the frets are seated directly into the neck. I want the 12th fret to be exactly at the neck to body joint, a location that is largely unknown before the neck's in place. During fitting and alignment the heel end might get shorter, and the joint may well be off square as long as it all lines up and any skew is within the width of the fret crown. 

So, I've made a fret slotting template that goes on the neck as you can see in the first pic. 


The saw I use is from Stewmac and has a depth stop. The perspex in the jig is 4 mm, the tang of the frets are 1.4 mm so I set the stop to give me slots deep enough without being too deep. I don't mind a miniscule gap under the tang, that's better than a poorly seated crown. And it's good for sucking in some ca glue too. 


Thirteen slots cut. The one at the top isn't for a zero fret, I'll use it for creating a ledge for the bone nut. You can also see the jig from underneath. 


And here they are, remarkably similar to real instruments. I'll give them a wash coat of shellac before fretting. 


Yes. I know I've shown all of this previously. But that's the point of a diary innit, repeatedly and endlessly mulling over simple things. I do give you new chisel pics now and then don't I. 

Wednesday, January 7, 2015

Fretboards

I cut the slots in the fretboards for the resos. Philly Phil's inlay was sorted before, and as predicted it was really hard to choose the position of the frets. I managed but will plan a lot more carefully next time I make a big ass inlay. 

Phil D's board was inlaid after slotting. We agreed upon shattered mother of pearl, as I have done a couple of times before. But I chose a bubinga board, and inlaying in lighter coloured woods is tricky. 

First pic shows the shards. 


But the shards need to have edges perpendicular to the faces. Needle file, dust mask and dust extraction crucial. 


Then as I discovered recently (the easy inlay post, remember) a drop of superglue and then scribe around the edge. 


You should be able to see the lines. 

Now a pic of the finished article would be cool, but all went well except I forgot to take that pic. I routed out the cavities, glued the MOP in, and ran it through the sander to get everything level. Then I fretted both boards, filed the fret ends and bevelled them (as you do).

Beneath this line it gets interesting again. 

I aligned them on the necks, which were still a tad oversize in width and glued them on. Then I carved down the neck so it matches the exact profile of the fretboard. It's much easier for me to do it this way, and the last chance to correct any minute discrepancies in the sideways angle of the neck. I just have to be careful not to touch the fretboard with the carving knife.