Learning Ukulele 50 Sites Top 50 Ukulele Sites Argapa Ukuleles - one size louder: Tools
Showing posts with label Tools. Show all posts

Tuesday, July 22, 2025

Back glued on

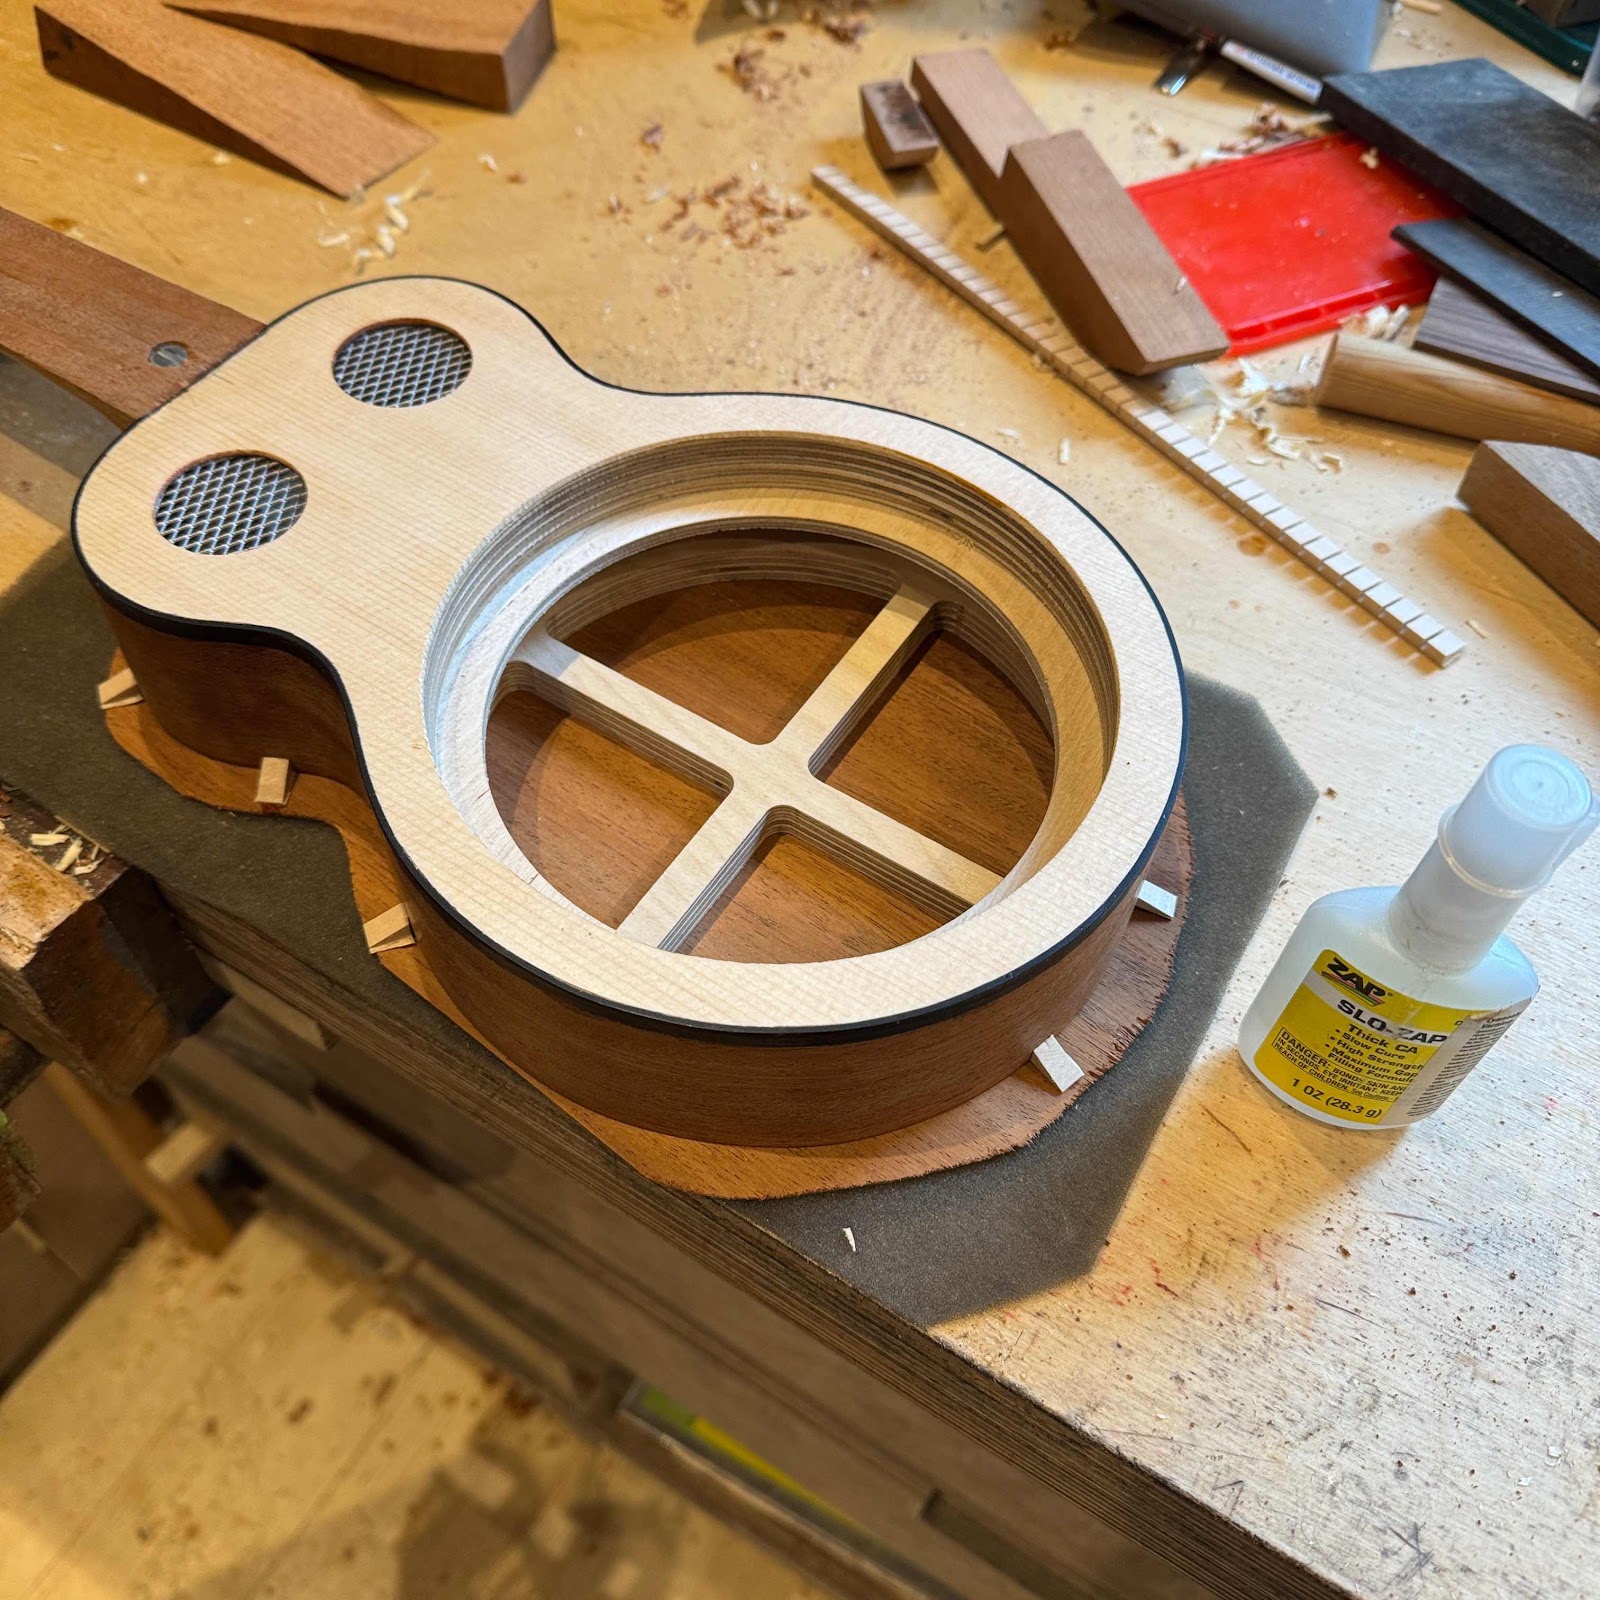
It was time to glue the back on. I cut it out a bit oversized and aligned it with some small cleats from a kerfed lining strip. 


Then the glue was applied and spread out with the wee roller. In the back you can see a piece from an extra skeleton, to be used as a clamping caul. 


A rare shot of the Argapanator himself, thanks to me having company in the workshop for once. 


With a layer of foam I found kicking around and that skeleton half as the caul I clamped it up. 


And some excess glue was cleaned off and removed. Paralell to this I got cracking on the fretboard, but that’ll come in the next post. Fanx for reading!


Monday, July 14, 2025

Neck work

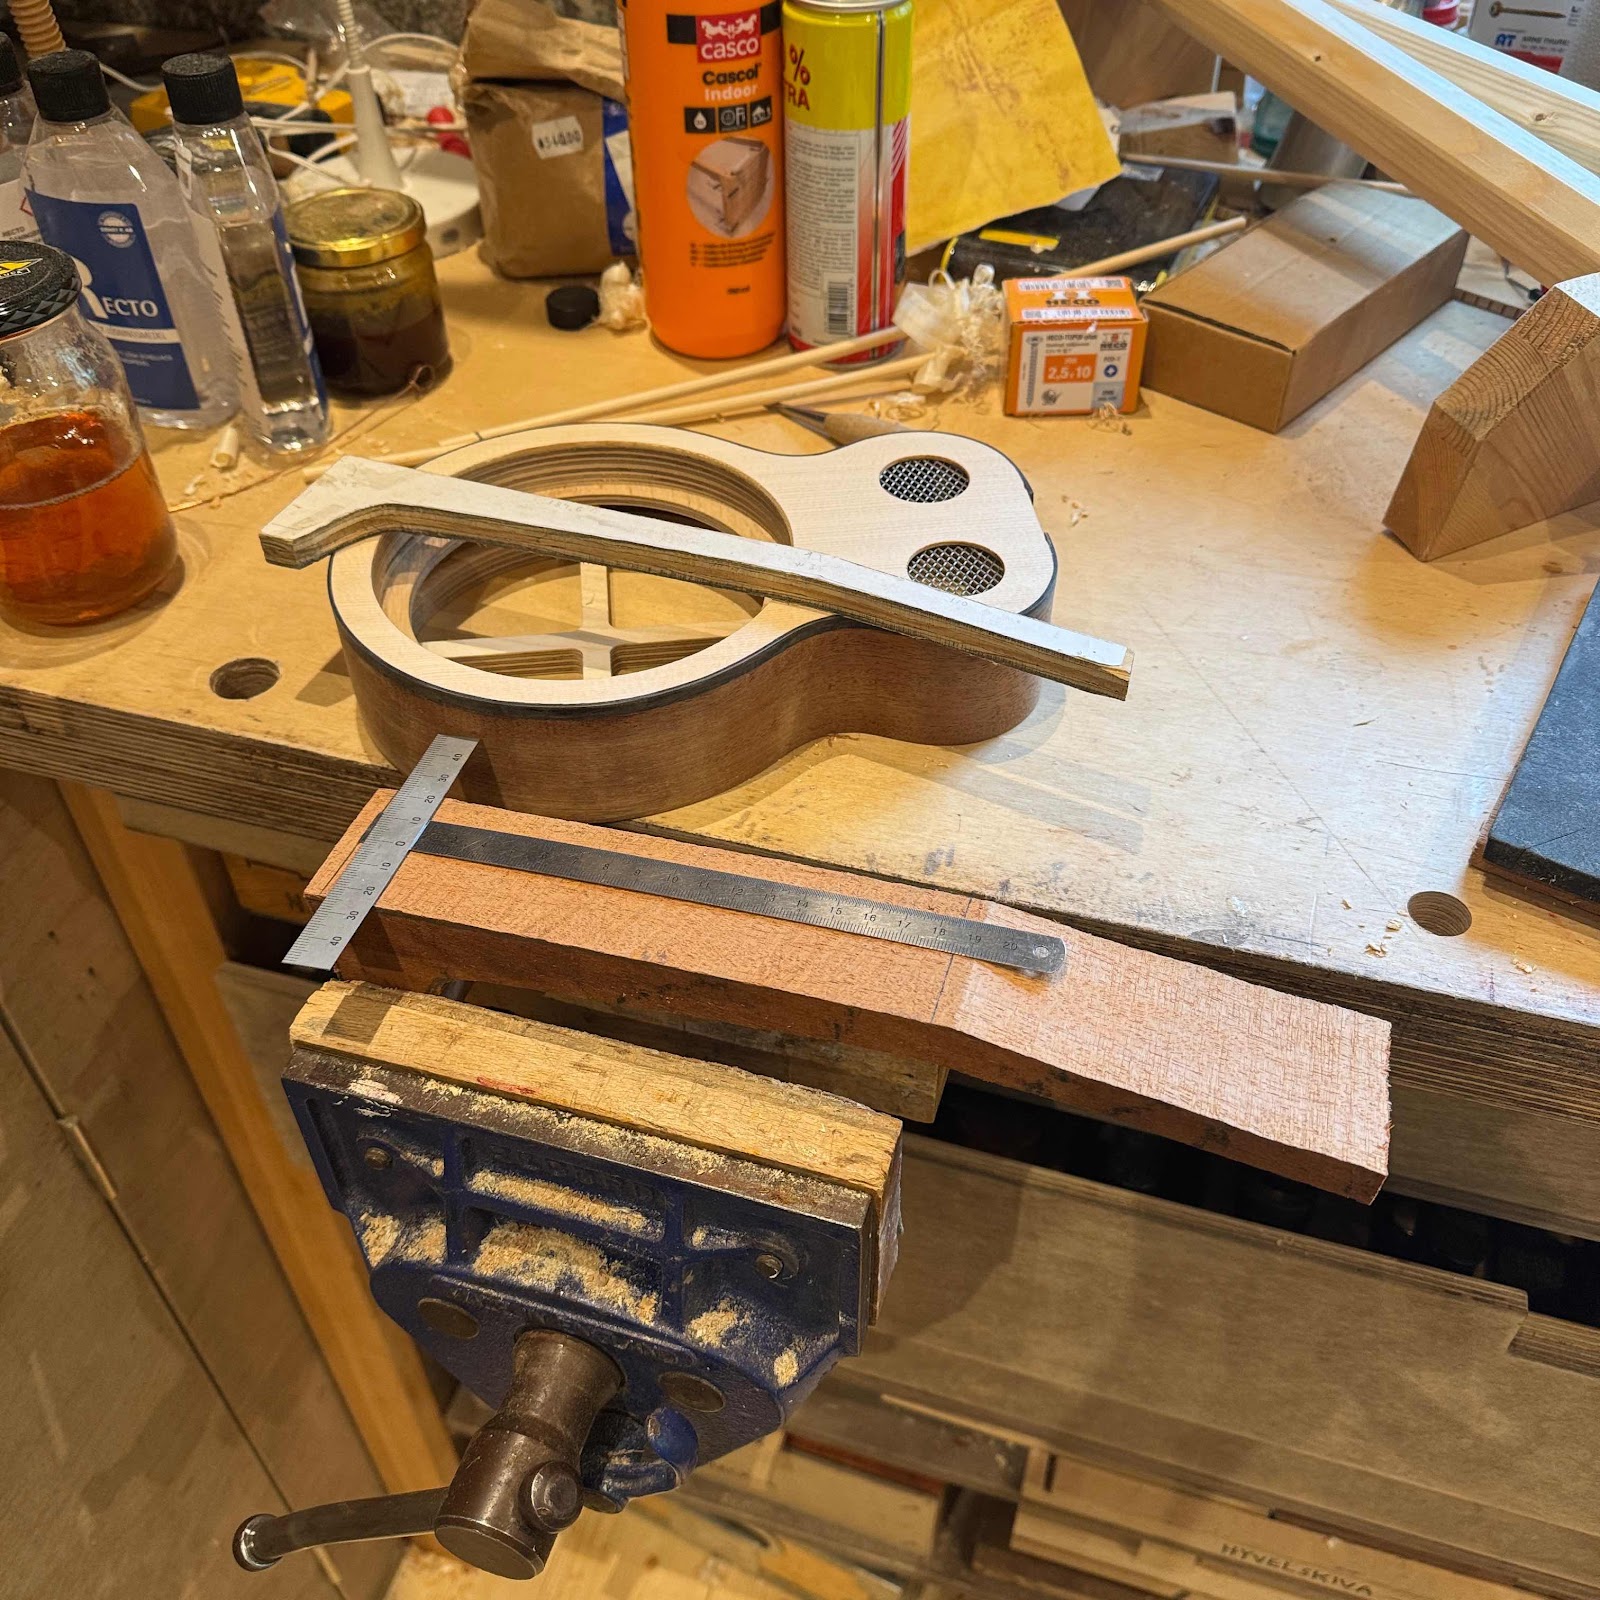
Time to get a handle on this situation, innit. I found an old mahogany neck blank kicking around and it will be a great match for the body. First pic is from measuring and marking out. 


Then I start carving with a two-handle drawknife, wicked sharp. I can’t find the neck carving jig, it must still be in a box somewhere. But the vise I got from Chris works. 


The knife goes down through the end grain like through [really dense and slightly brittle] butter. 


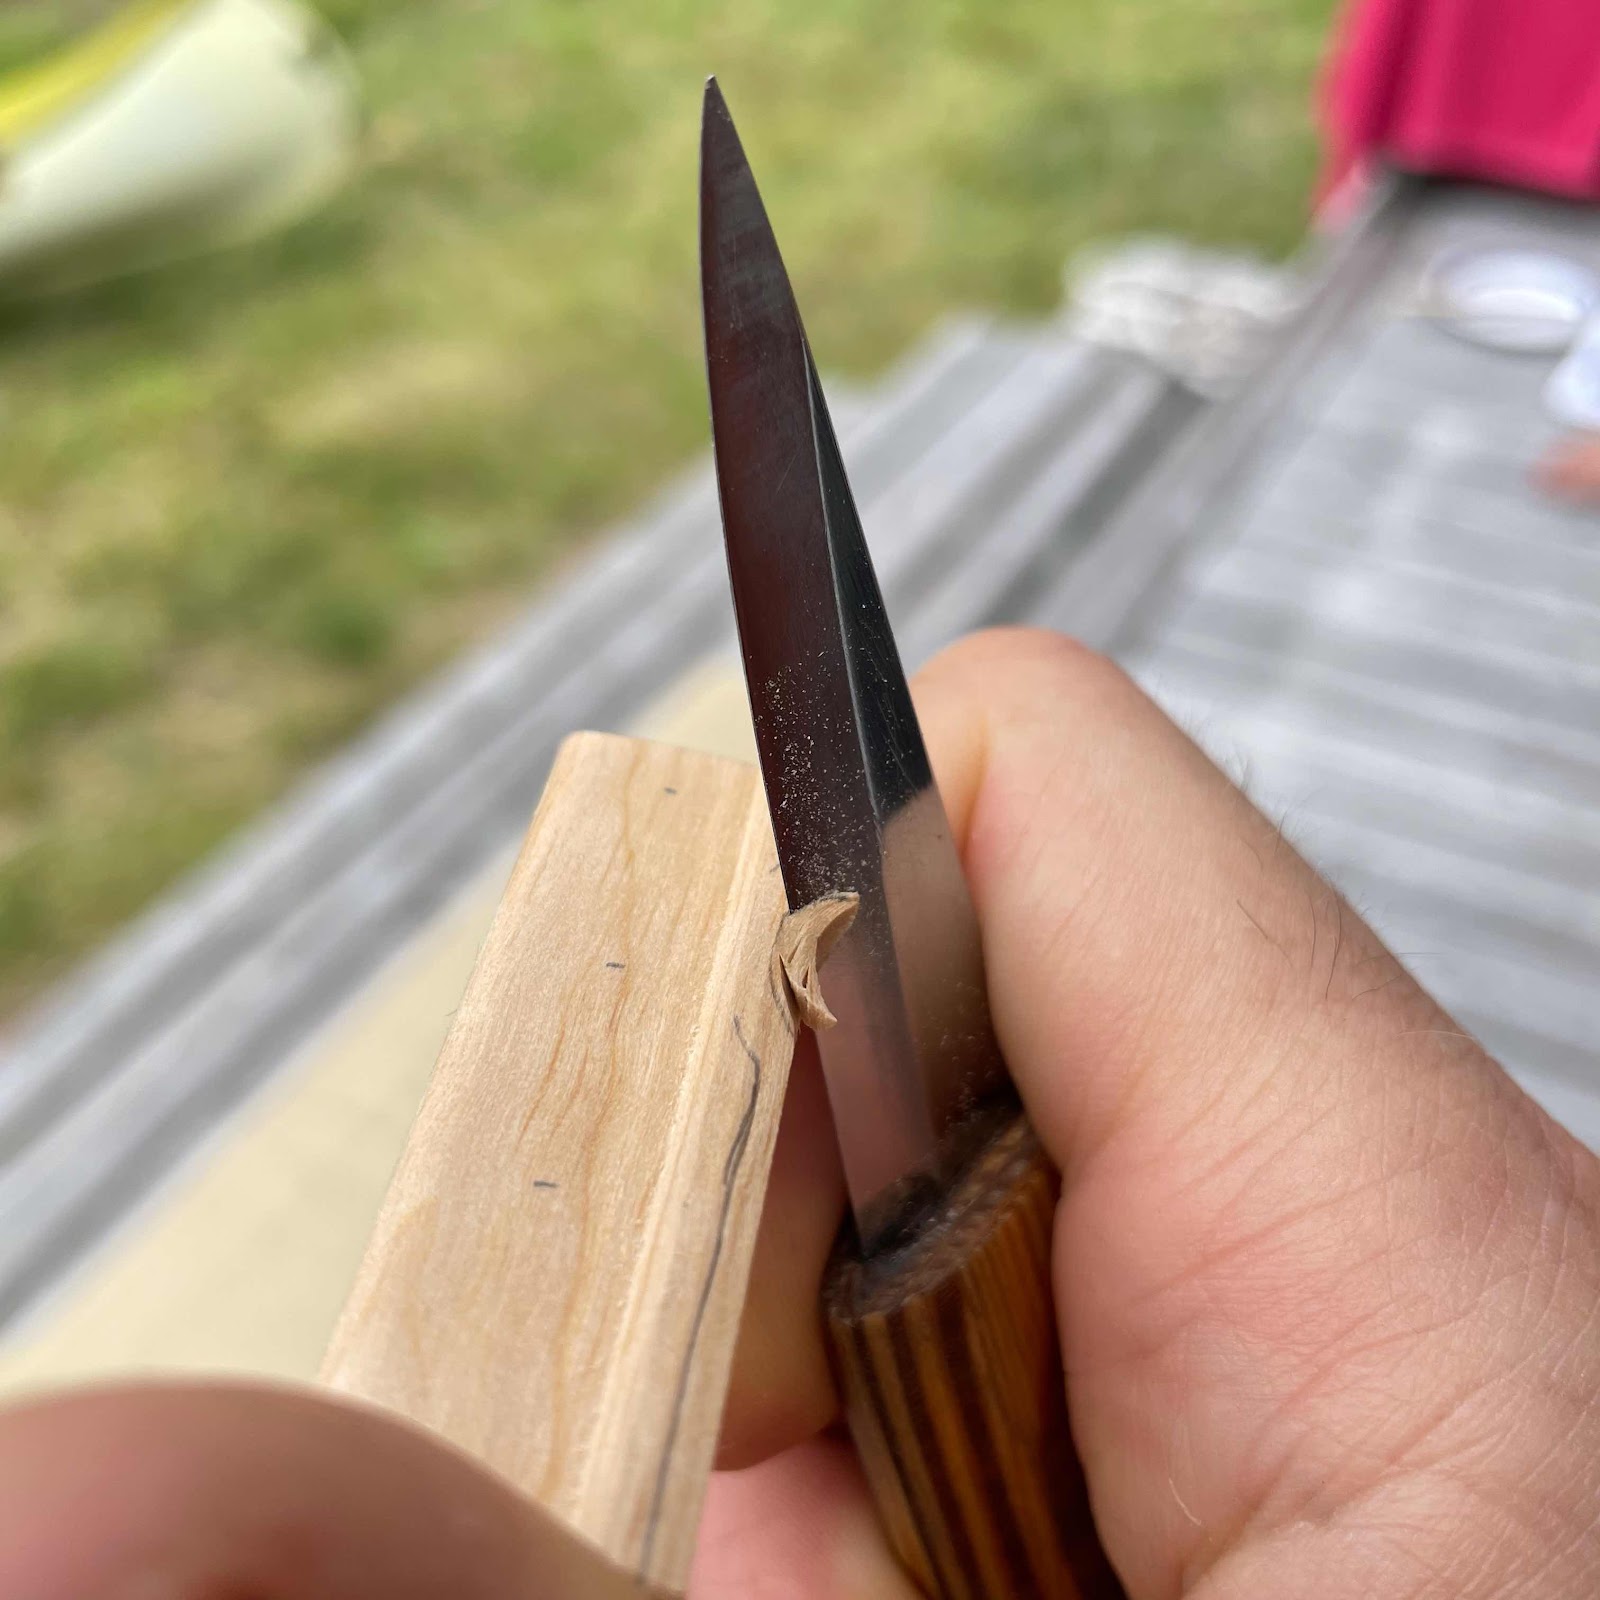
Trick photo - I can’t really carve holding the neck and the knife in the same hand, but wanted to show the shift to the wee knife for refining the shape and profile. 


I really like the faceted shiny surface from carving, but not all do so I finished it off with sandpaper. 


Are we fast approaching attaching the neck? I didn’t think I would remember this much but expected a lot more fumbling. Let’s hope this won’t jinx it. 

Friday, July 11, 2025

Binding

Hiya. The spruce top is on ans as I prömised I will bind it to protect the rather soft edge. A bit daunting as I haven’t done it in years, but I found the tools and the wee machine. Considered using the large trim router but opted for the Dremel with the Stewmac attachment. Sadly I forgot to take a pic of the setup, but it involves me sitting outside on a damp janky table clamping the uke between my knees and routing the channel slowly in several shallow passes. 

First pic shows the channel after a bit of cleanup with a file. 


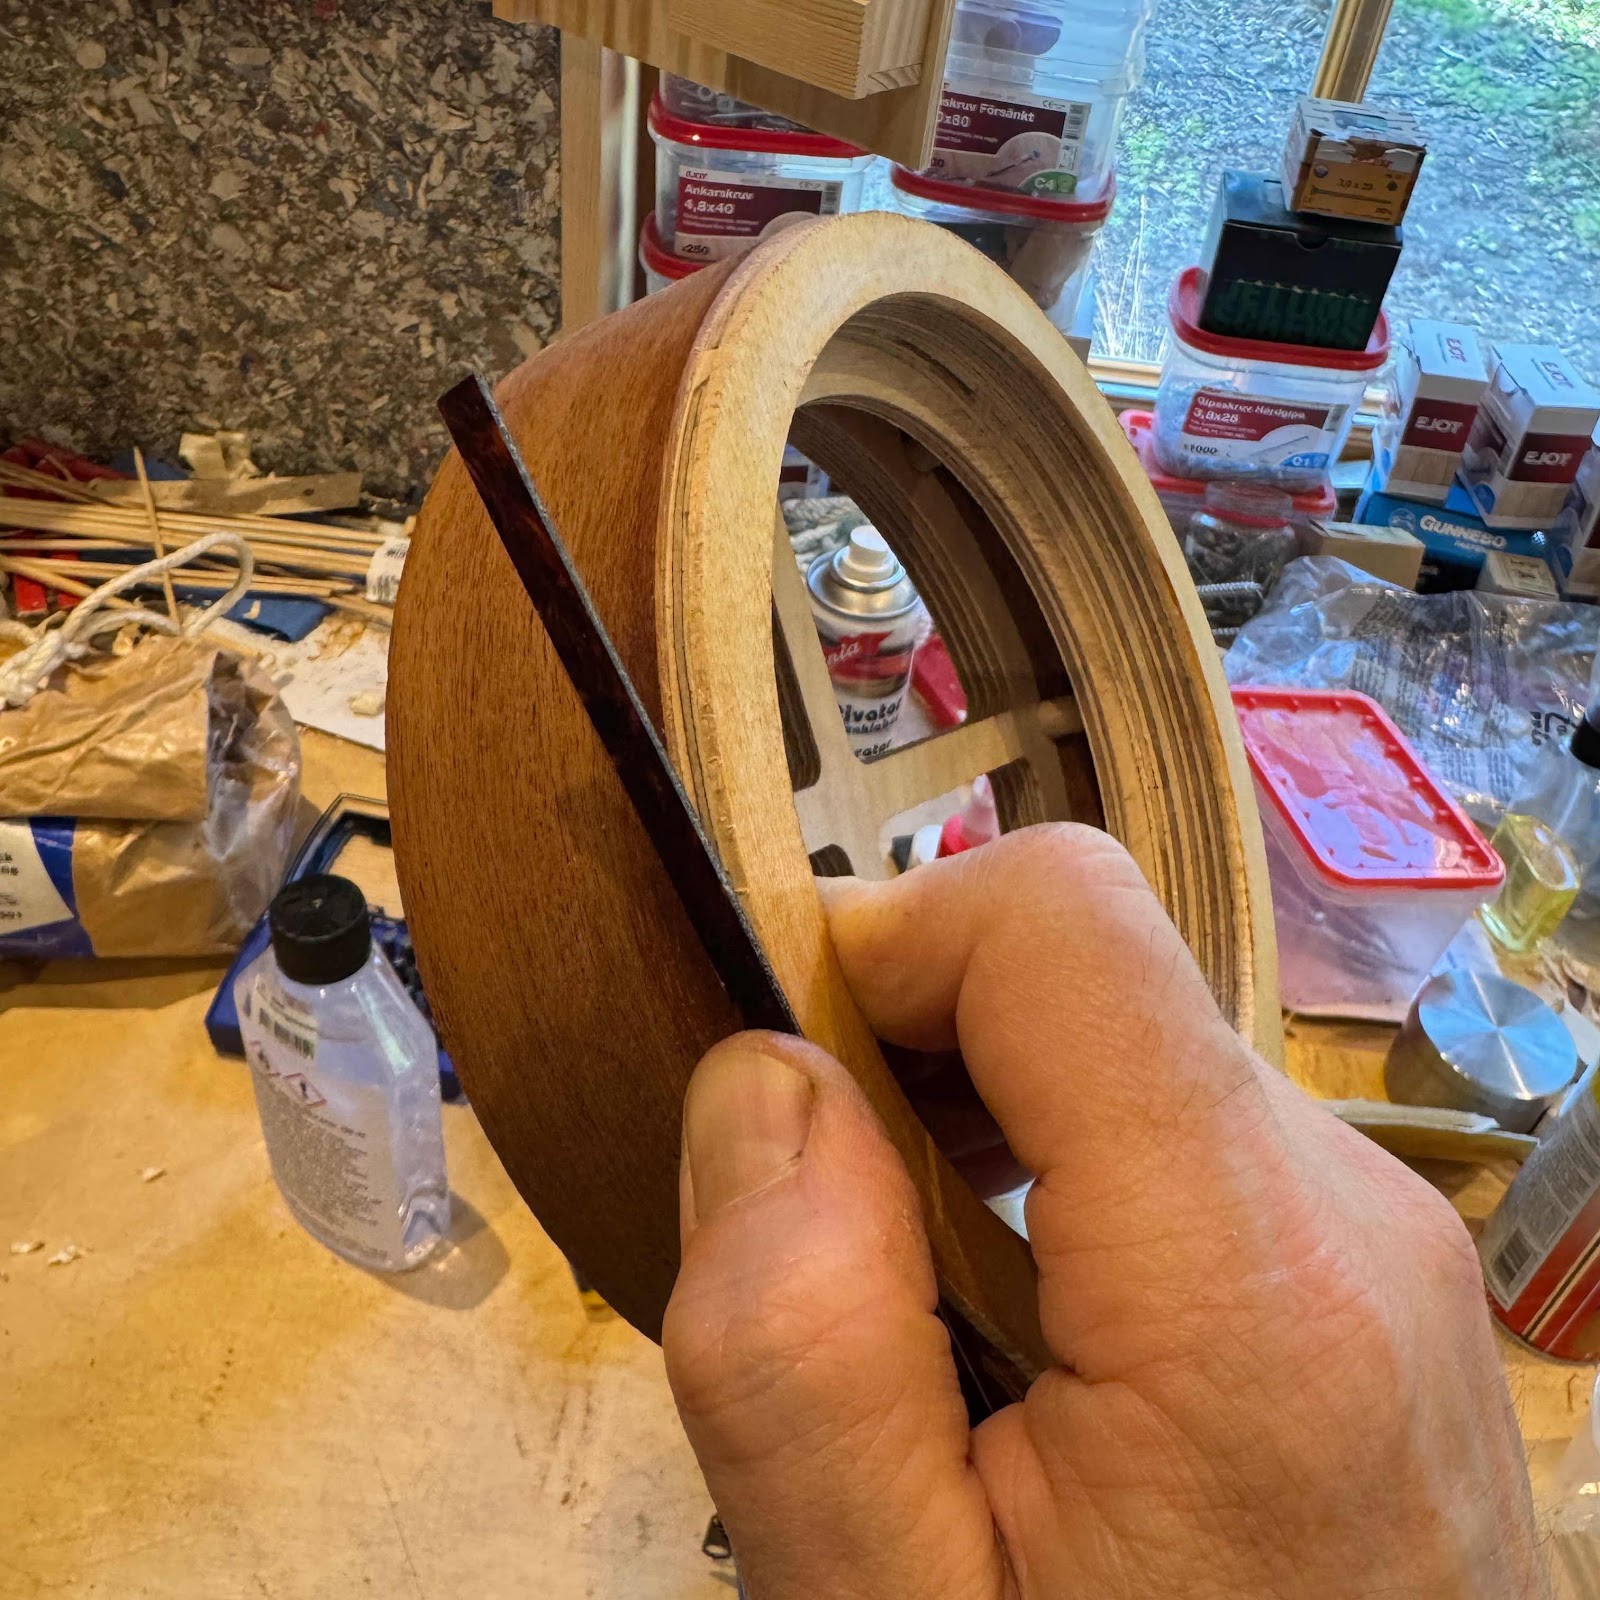
The tortoloid binding is really stiff so I pre-bent it on low heat to get it to comply with the body shape a bit better. 


Doesn’t need to be any more precise than this although I suspect it could be. 


I used thick CA-glue. It works provided you rough up the inside surface a bit. I did that with a hacksaw blade, and I also chamfered the bottom inside corner of the binding strip with a knife so it doesn’t get in the wah of any microscopic pieces of crap in the channel. 

Low tack masking tape to make removal easier. It usually sticks rather well on account of the superglue. 


If you like it you should have put a string on it. I think.  


And after a couple of hours I dared remove the tape. Next up is scraping it flush to the top, then I guess I should start looking for a neck blank. 


Friday, March 4, 2022

New bridge, pt. 2

Hi there. The work done in this post was actually made a couple of weeks back, but I never got around to posting it. Sorry about that. 

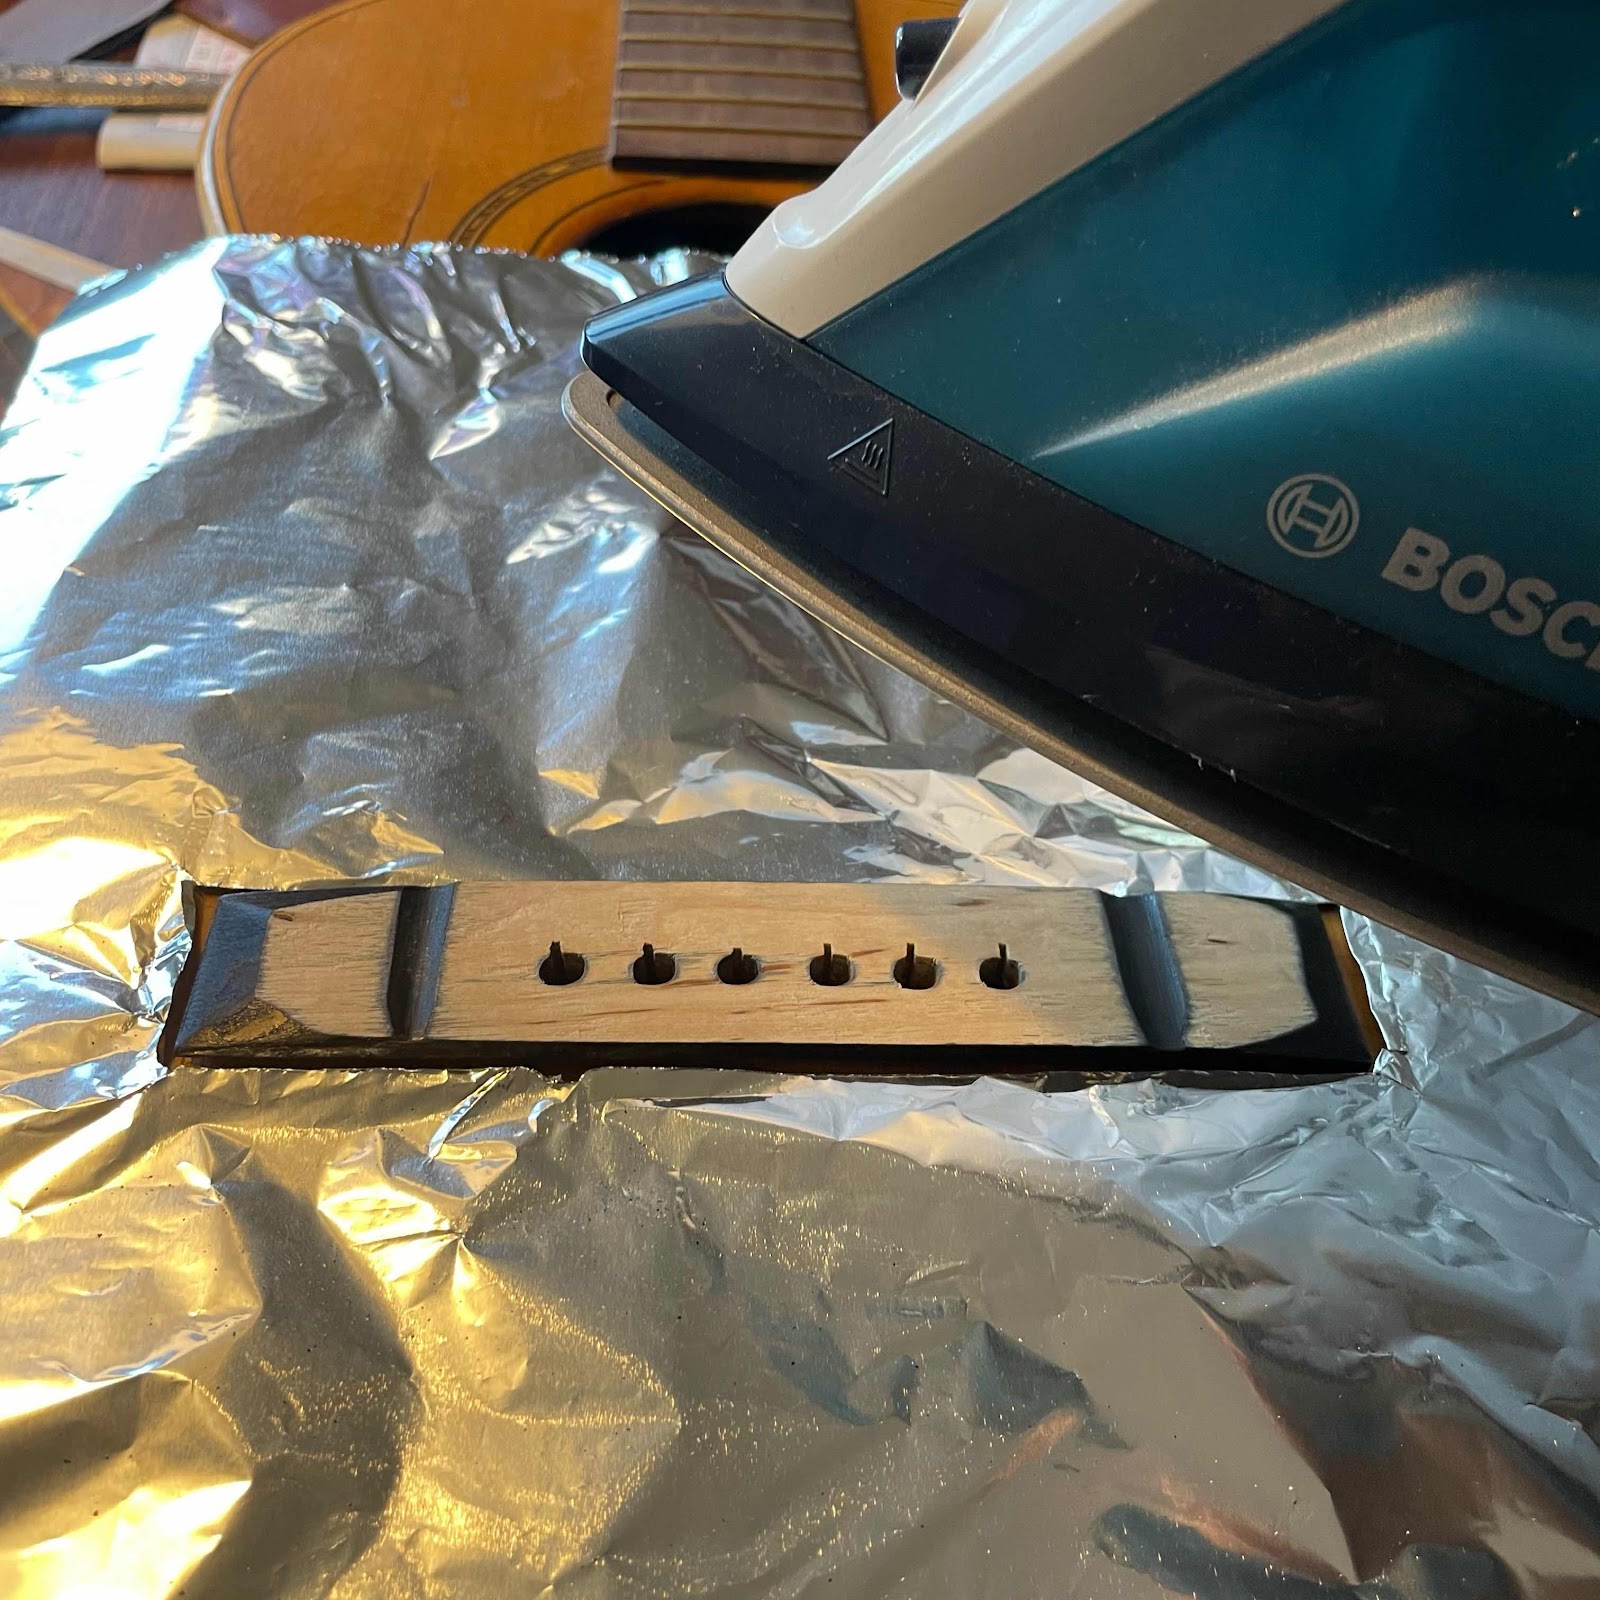
With the new bridge sort of done I need to remove the old one. It’s cracked and it’s a bit shit so no big loss. To heat it I’ll use a clothes iron but it will be much easier if the bridge is thinner, and flat. So I planed it down with my Veritas apron plane. 


Trying to protect the lacquer from the heat with some aluminium foil, I went at it. It was sort of easy. 


As you can see it came off pretty cleanly, but I’ll have to clean the surface before glueing the new one on. 


Here I’m checking the scale length to make sure the saddle will fit, and it will. I’ll route the slot in situ last. 


But look at this chewed-up bridgeplate. Reaching in with my phone camera told me we’ll have to fix that. Stay tuned. 


Friday, January 7, 2022

Making a new bridge, pt. 1

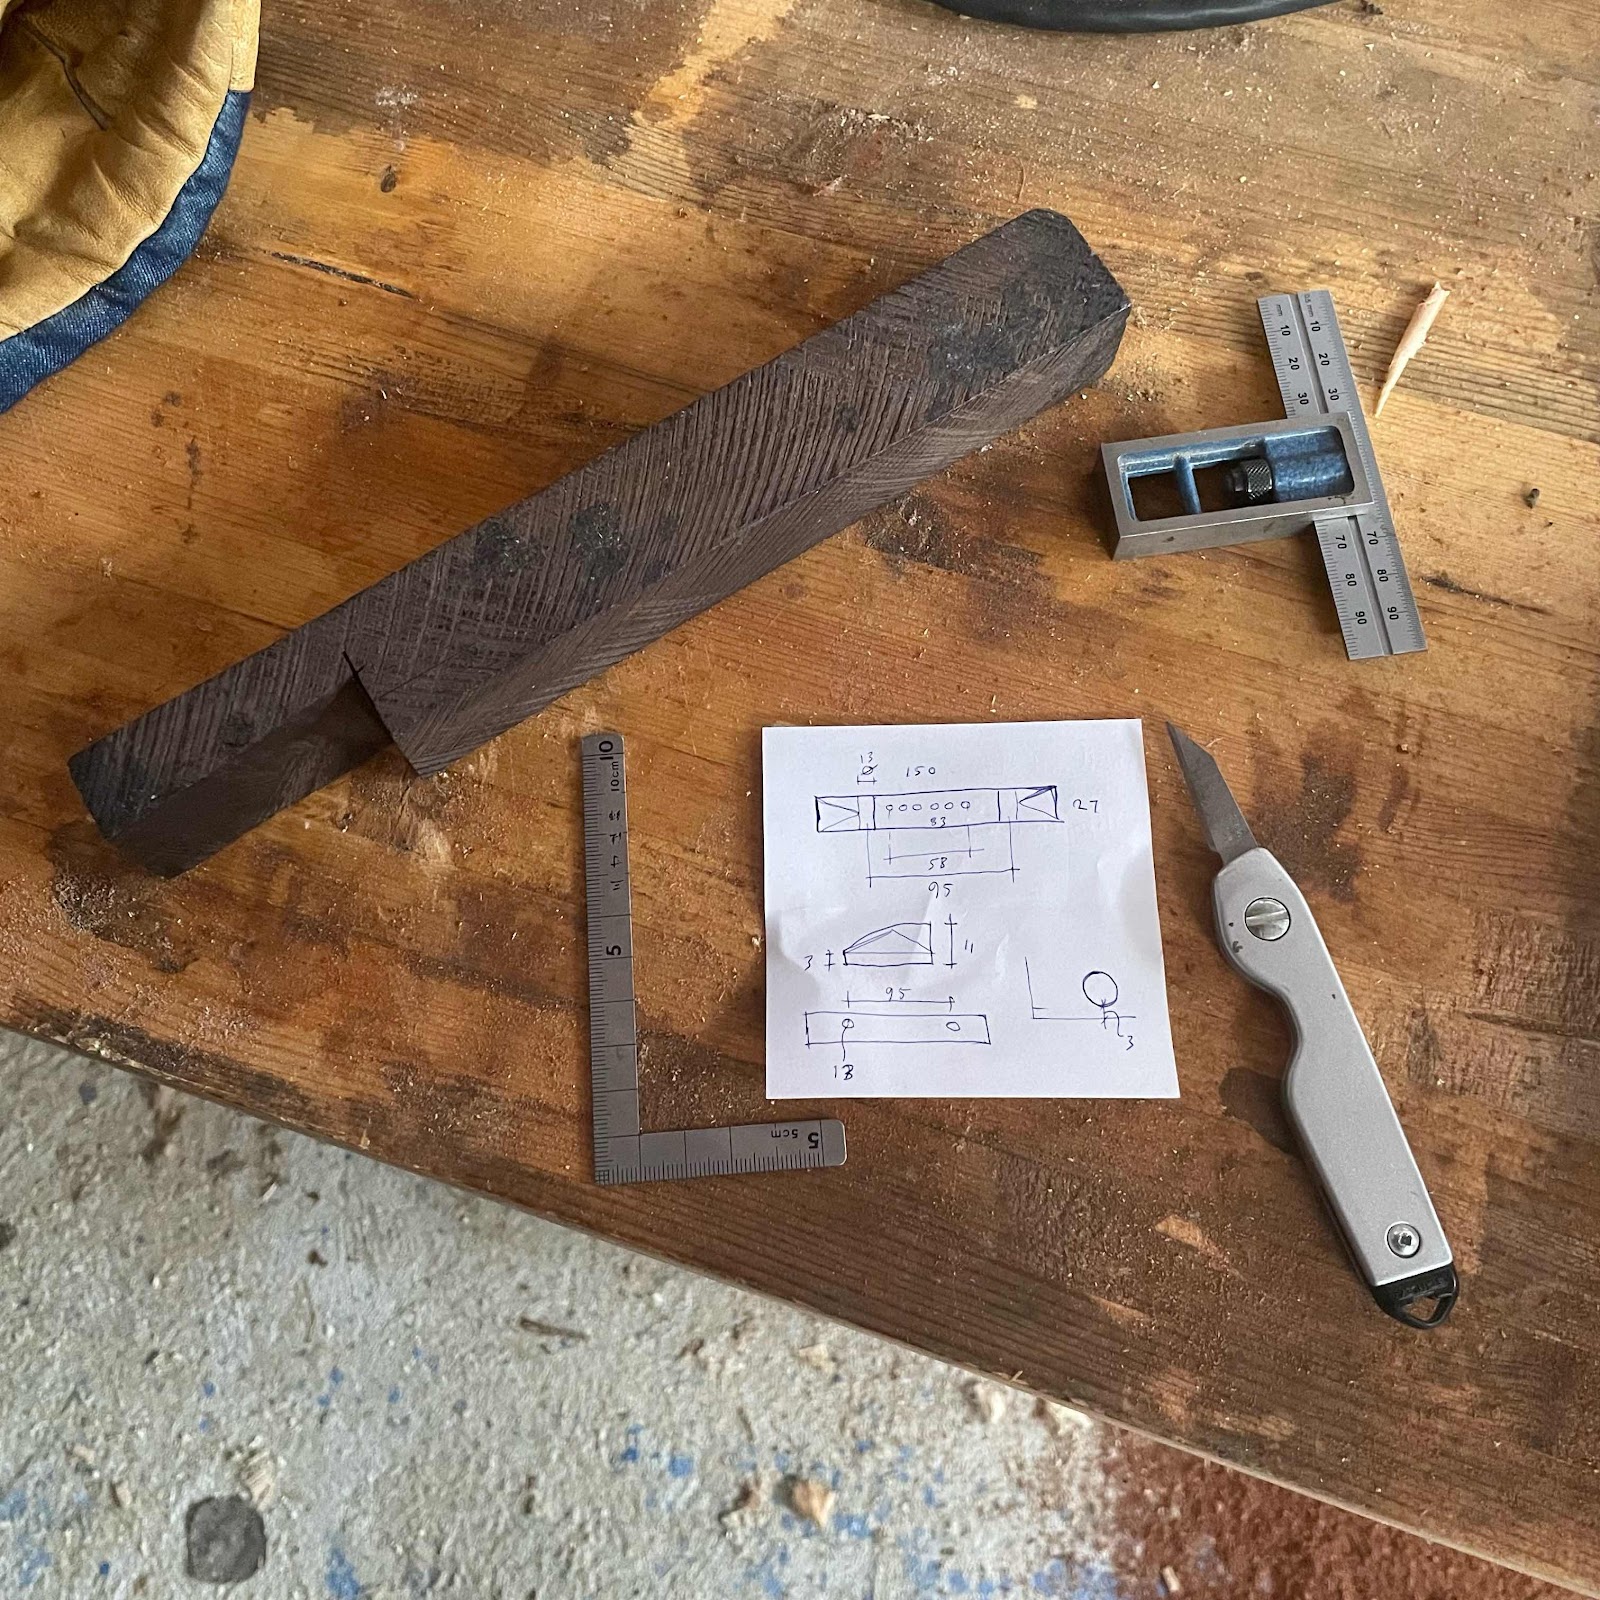
An old chunk of ebony will be the new bridge for Milo’s guitar. I measured the existing bridge and made a drawing so I didn’t have to bring the guitar to tge frozen hell that is the workshop at the cottage. 


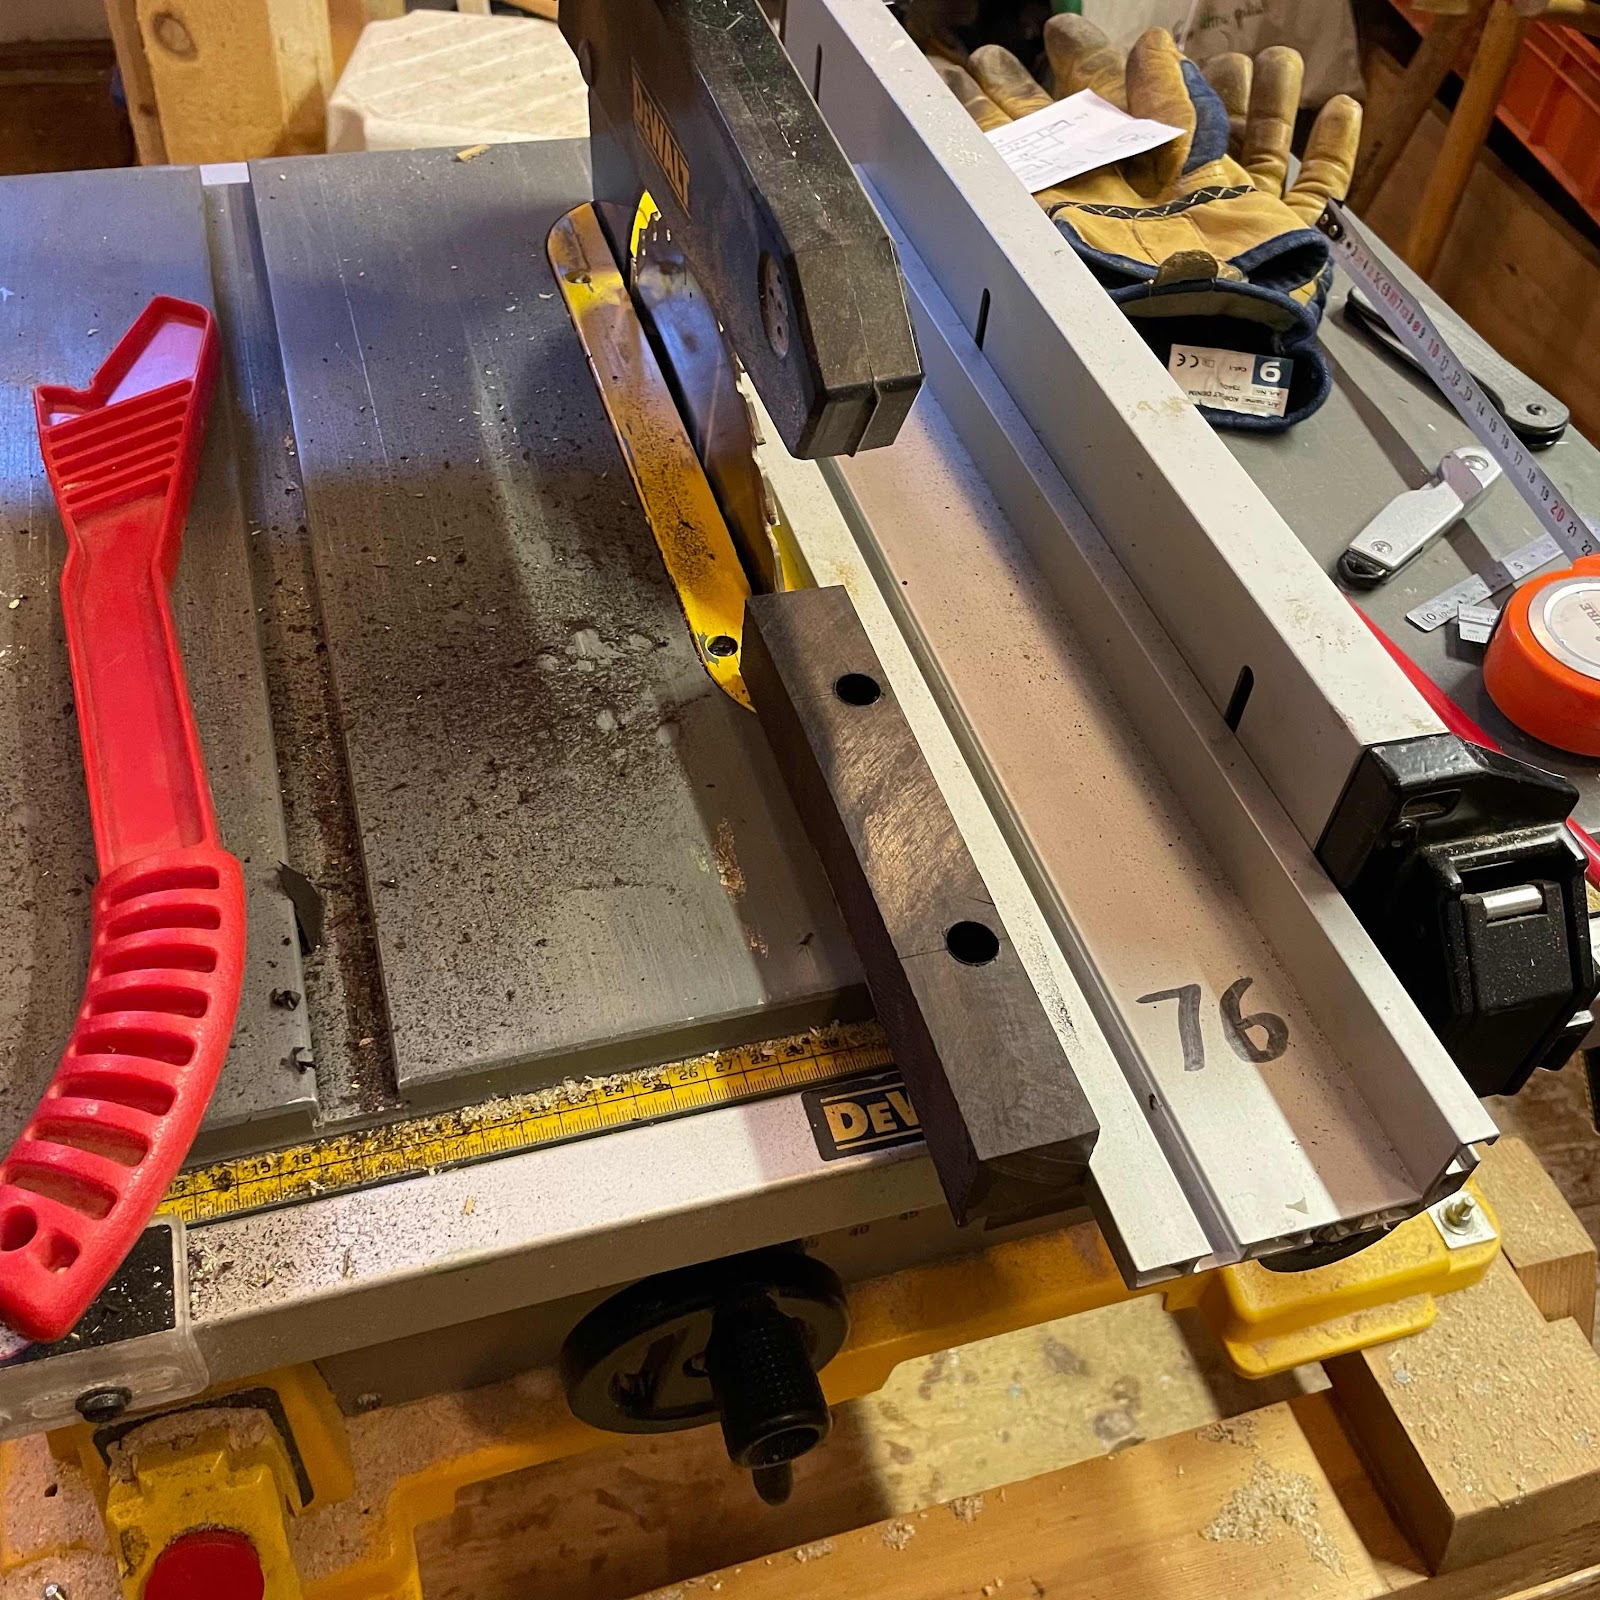
First I squared two sides of the chunk, then I drilled two 13 mm holes for the half-round grooves. Then I ripped it lengthwise. 


Like so. I cut it to length but kept it a couple of mm long, the reasoning being it’s better to have a slightly larger footprint to cover any boo-boos from removing the old one. 


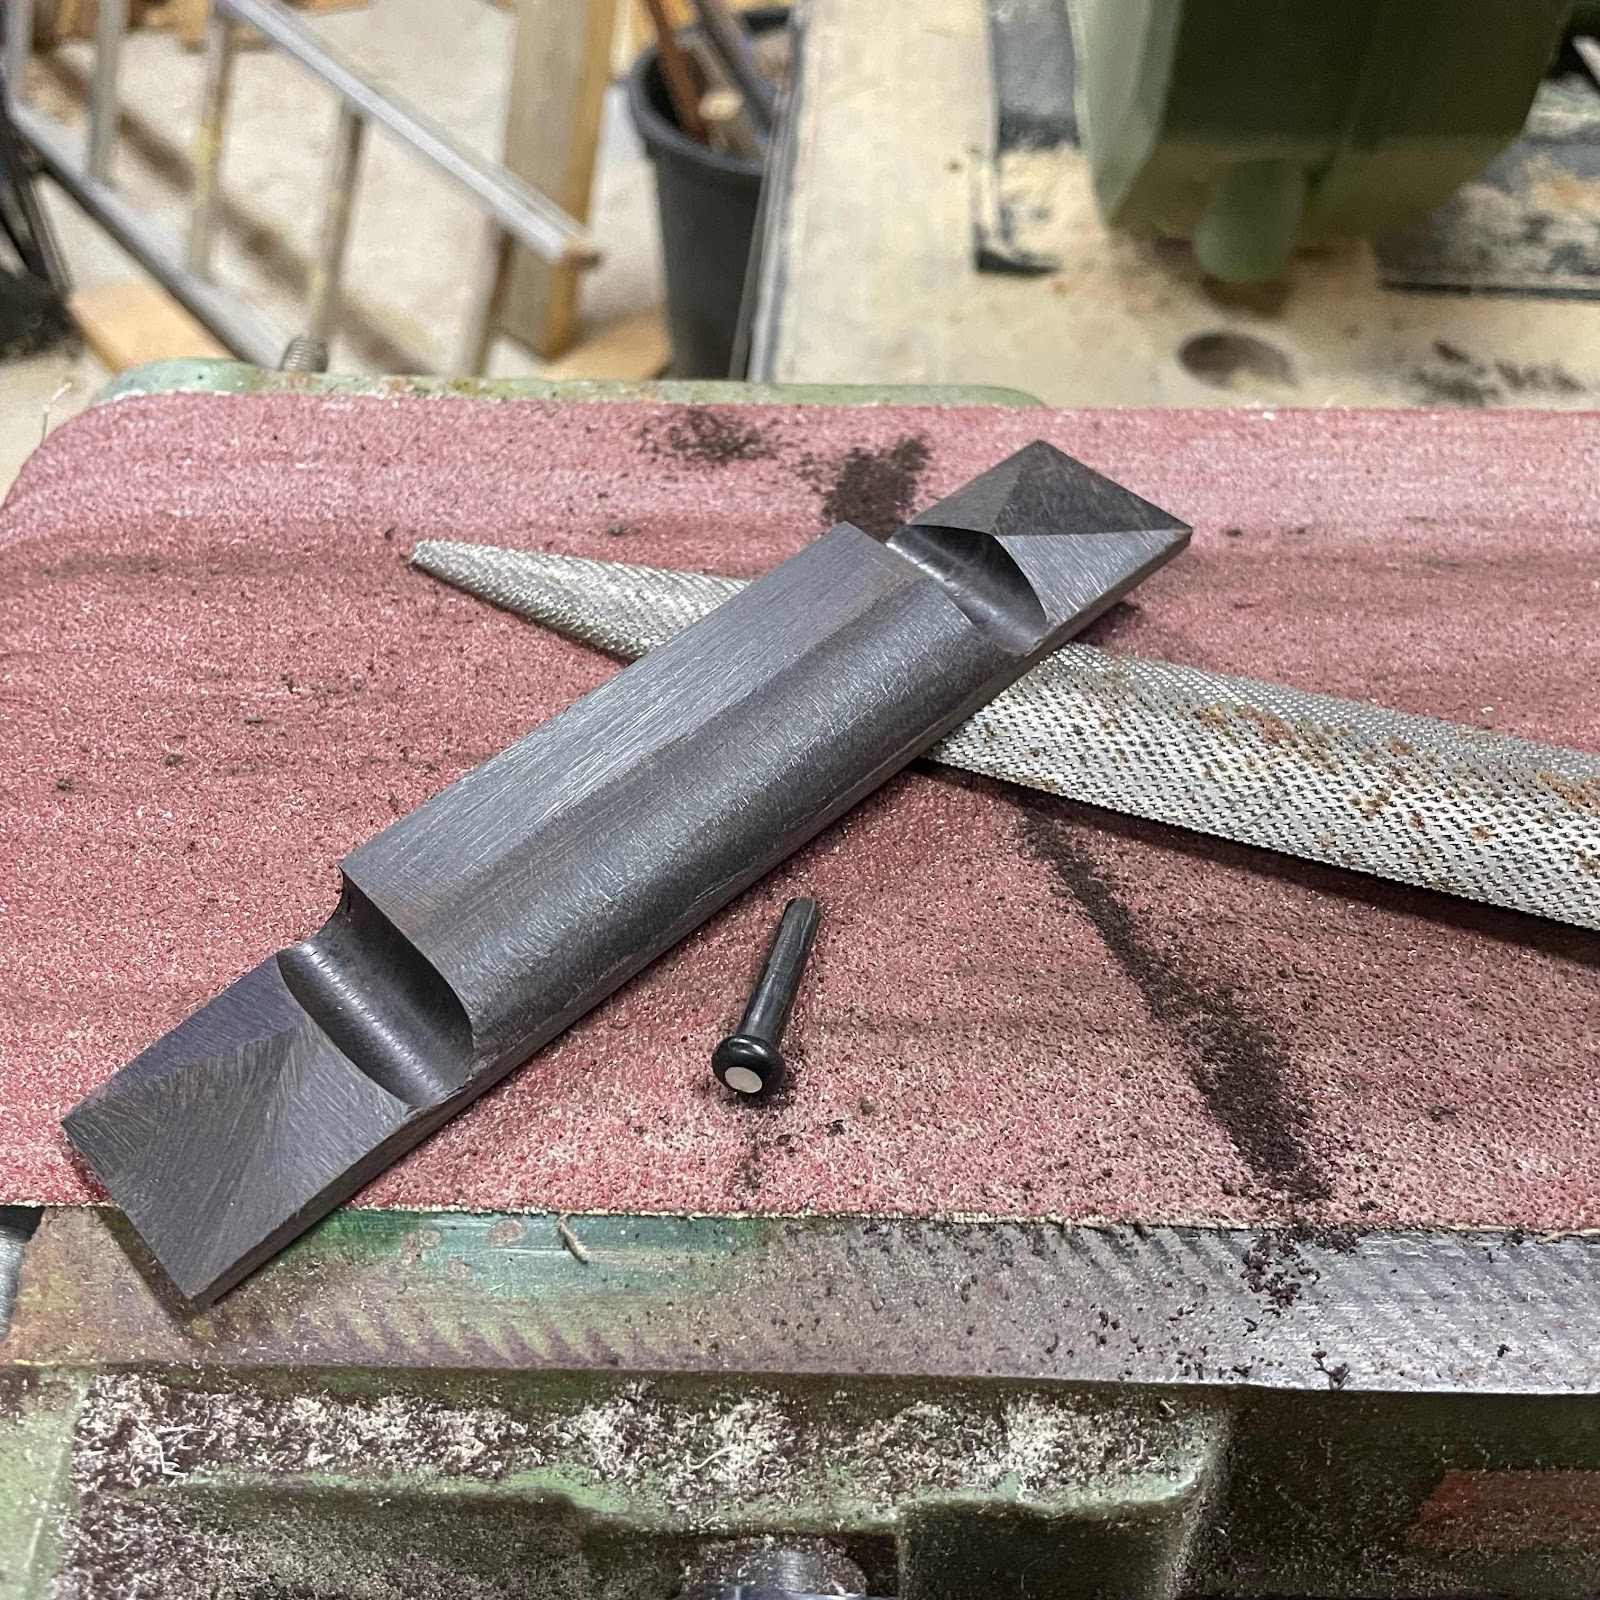
I tried to use a chisel to shape the three-sided pyramids but I could just as well have used the chisel on a piece of glass. So I roughed them out on the belt sander. I know! Show me a builder who’s made more derogatory remarks about abrasives than me and I’ll be impressed. 


Then to make amends I switched to a French handcut rasp, crazily expensive but for this, invaluable. 


And here’s where we’re at. I won’t go further without the old bridge beside me, but the heavy work is done and with the luxury rasp, a sharp file and some scrapers I can continue in the apartment. 


Saturday, November 27, 2021

Resawing shelves, continued

Back at the cottage with some time to spare, so I soldiered on with the kerfing plane. In this pic you can see the mini bench or table vise from Sjöbergs, makers of the fantastic workbenches. I have it mounted on the veranda with machine screw inserts so it fairly rigid, at least as rigid as the quite rickety house. 


One more pic to show you the surroundings. Even in bleak November weather, there is no place as beautiful as this archipelago. 


To make the kerfs in the ends of the board I needed a bigger vise so I relocated to the workshop where my bench and shopmade wooden vise resides. 


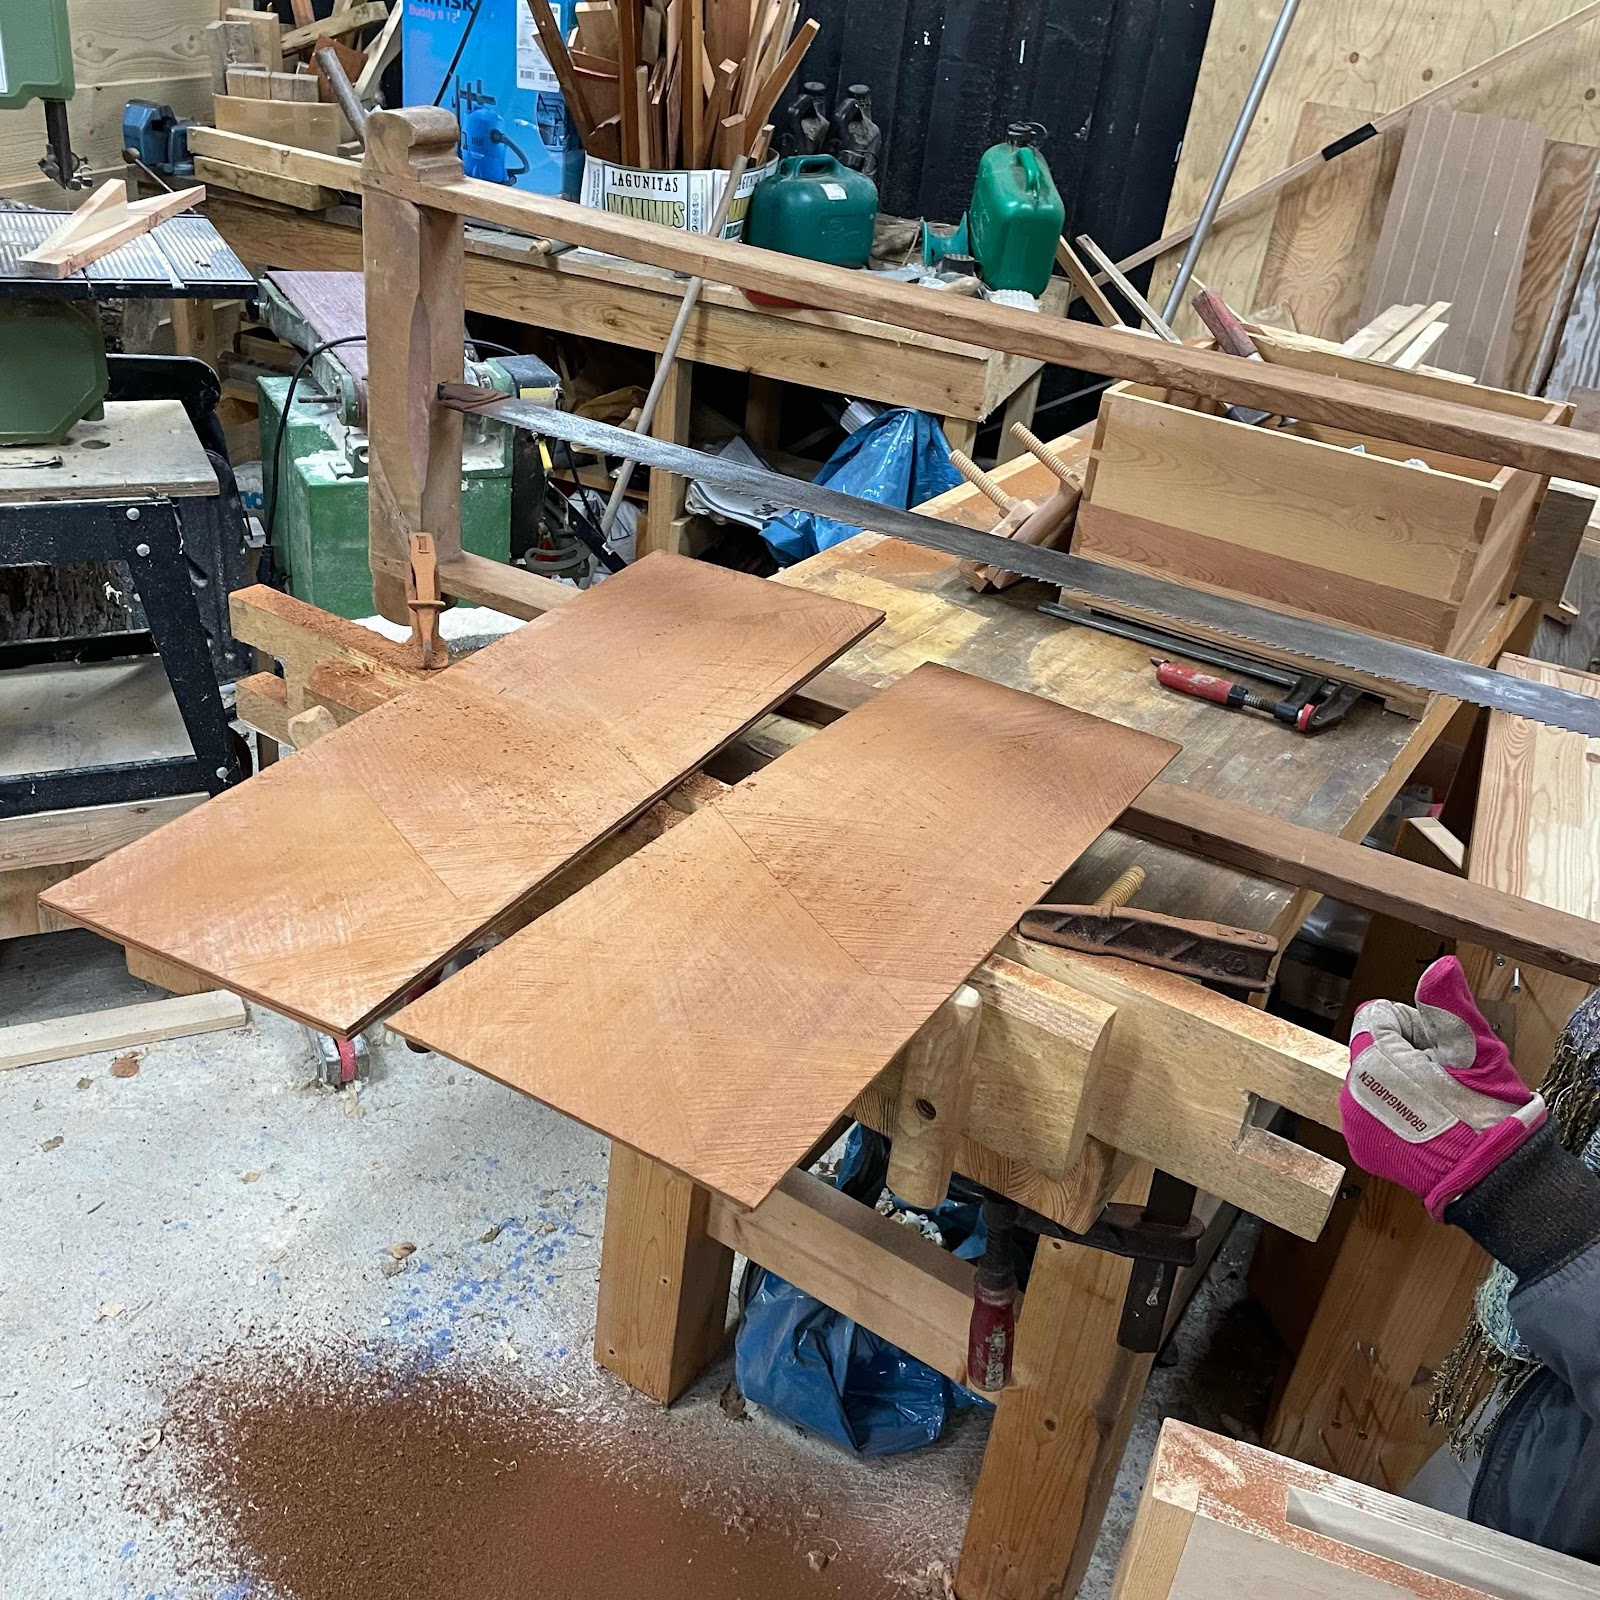
Once the board was slotted all around I enlisted my wife Ann to help me wrangle the humongous frame saw. It rips like crazy, and works especially well in dry mahogany. Walnut and cherry tend to steer the blade with the longer fibers but today the blade followed the kerfs just as intended. 


And the first slice is off the board. It took us around 40 minutes and we are still married so I count that as a total success. Maybe we’ll attack the next slice tomorrow, after hunting seafowl in the morning. 


Sunday, November 7, 2021

I’m alive, and the Apa is Arg!

Hell-o my friendly readers. Please forgive me for being absent for four months. As you may remember the workshop is packed in crates (and heaps) and other stuff is going on. We’ve moved to a new apartment, one of those bog standard ones with no workshop, and we’re building a new house nay an entire homestead. 

But when packing stuff away earlier this summer I stumbled upon that fine mahogany bookcase I got from a friend, and I’ve been longing to start working on it. So I chose two pieces with fine grain and cut the edges and ends square. Then I set the kerfing plane and started. 

First pic. Remember the frame saws? I built the wee one myself with a blade from Badaxe Toolworks. The huge one I bought at a flea market. 


Here you can see the grain. The length of the boards makes it possible to make one piece rims for sopranos, that is my preference these days. Tops and backs will of cöurse be one piece. 


Slicing off the bead at the front edge…


… and cutting the ends square. 


My shopmade kerfing plane takes a while to set up. I want to slice these into three pieces. 
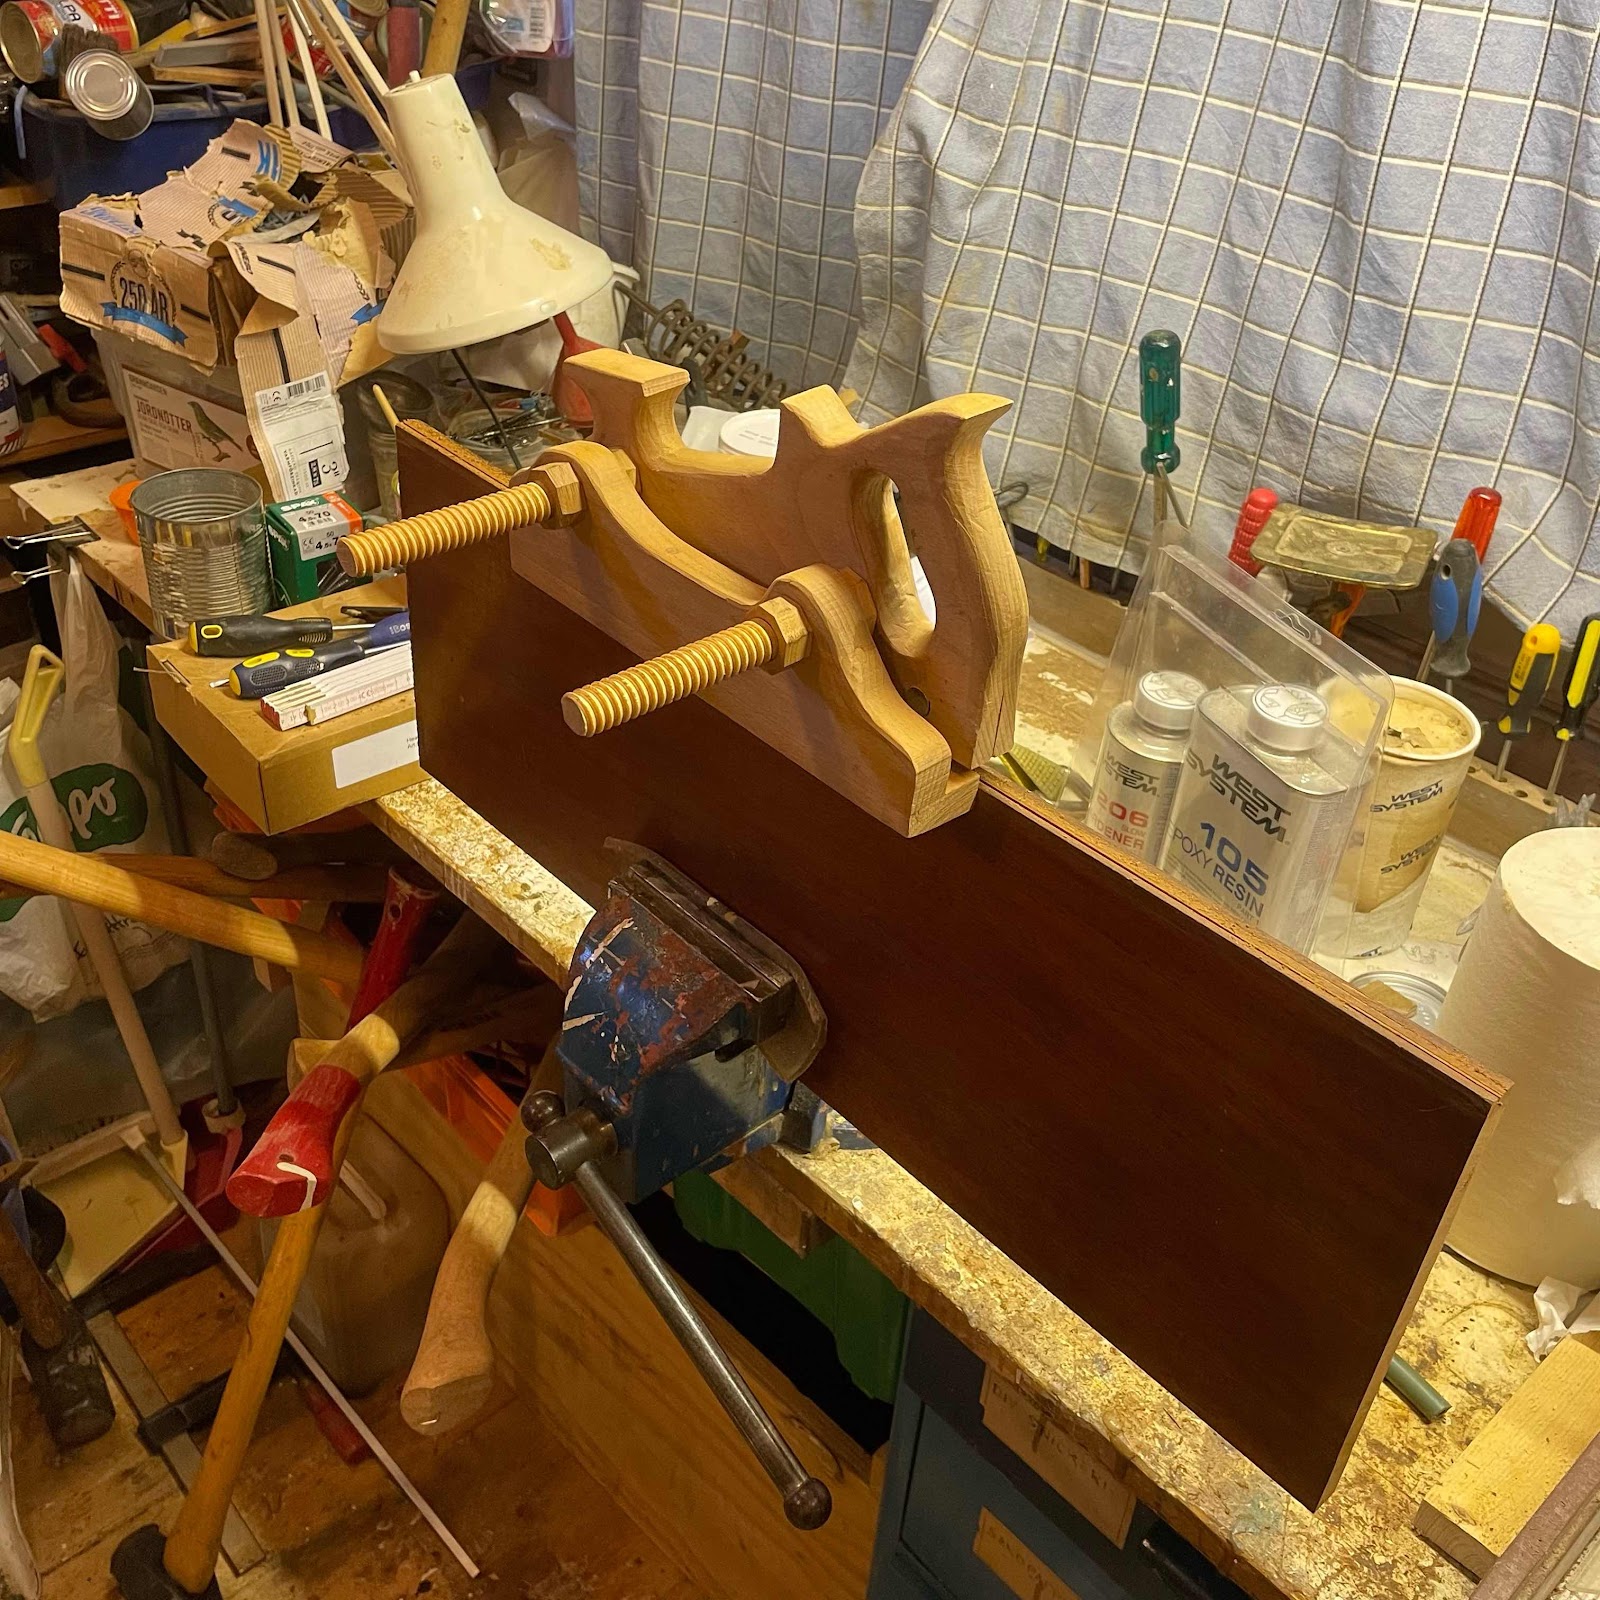


The outer pieces will be 4 mm, the middle piece slightly thicker. This will give me some wiggle room. 


The cuts will go around all four edges to steer the frame saw blade, I will continue next time I’m at the cottage. 


And the homestead project then:


Sunday, July 18, 2021

Travel uke completed, while travelling

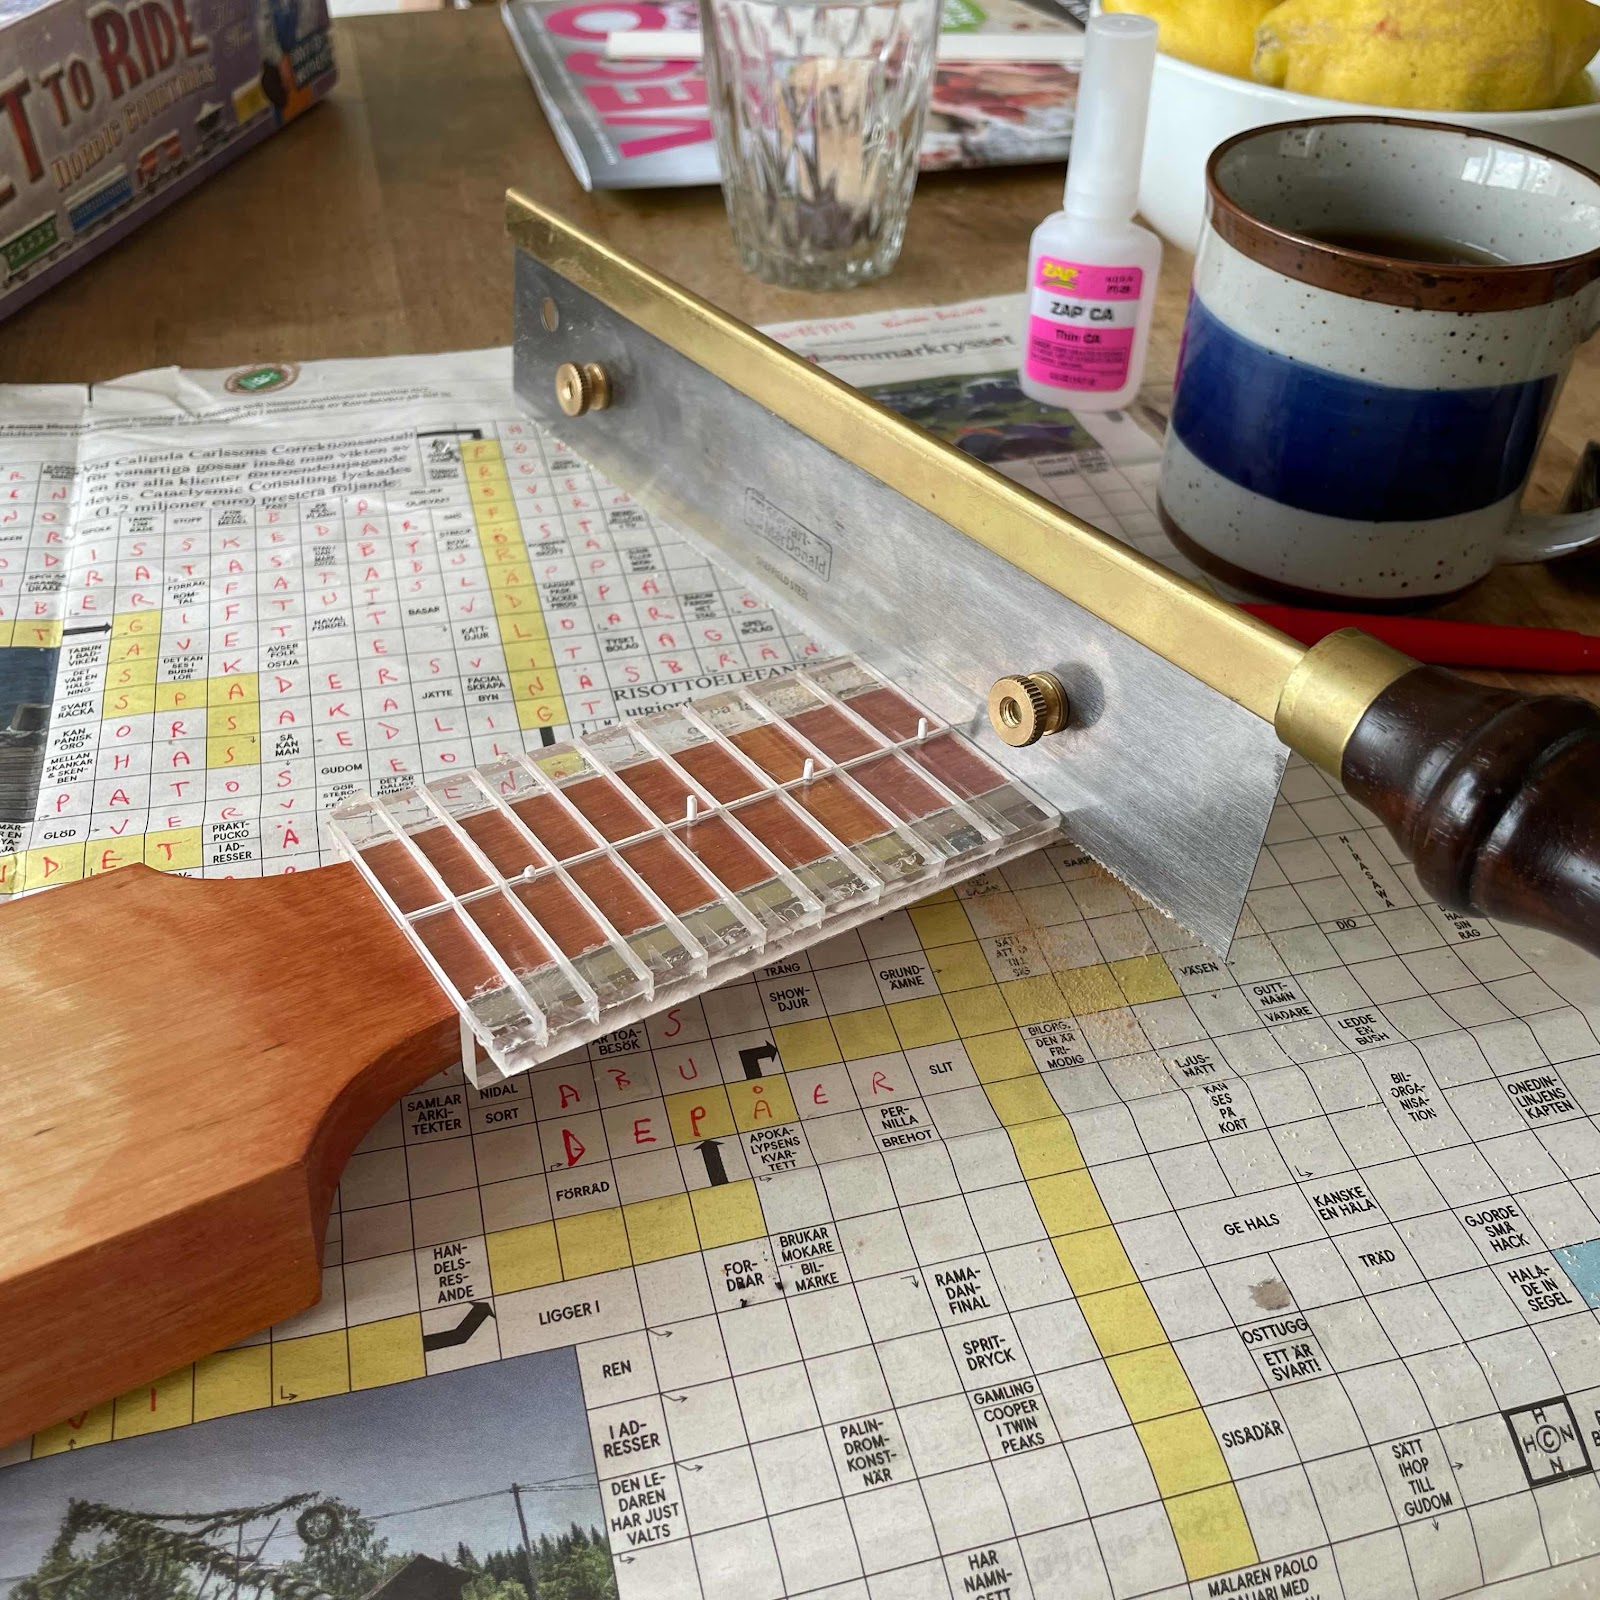
A few coats of shellac on the fretboard, and I noticed the shellac I brought is tinted red since the bass I made. Grr. It makes the alder look a bit like cherry. But let’s keep moving on. Holding the fret slotting jig with the styrene rod fret markers, I saw the slots. 


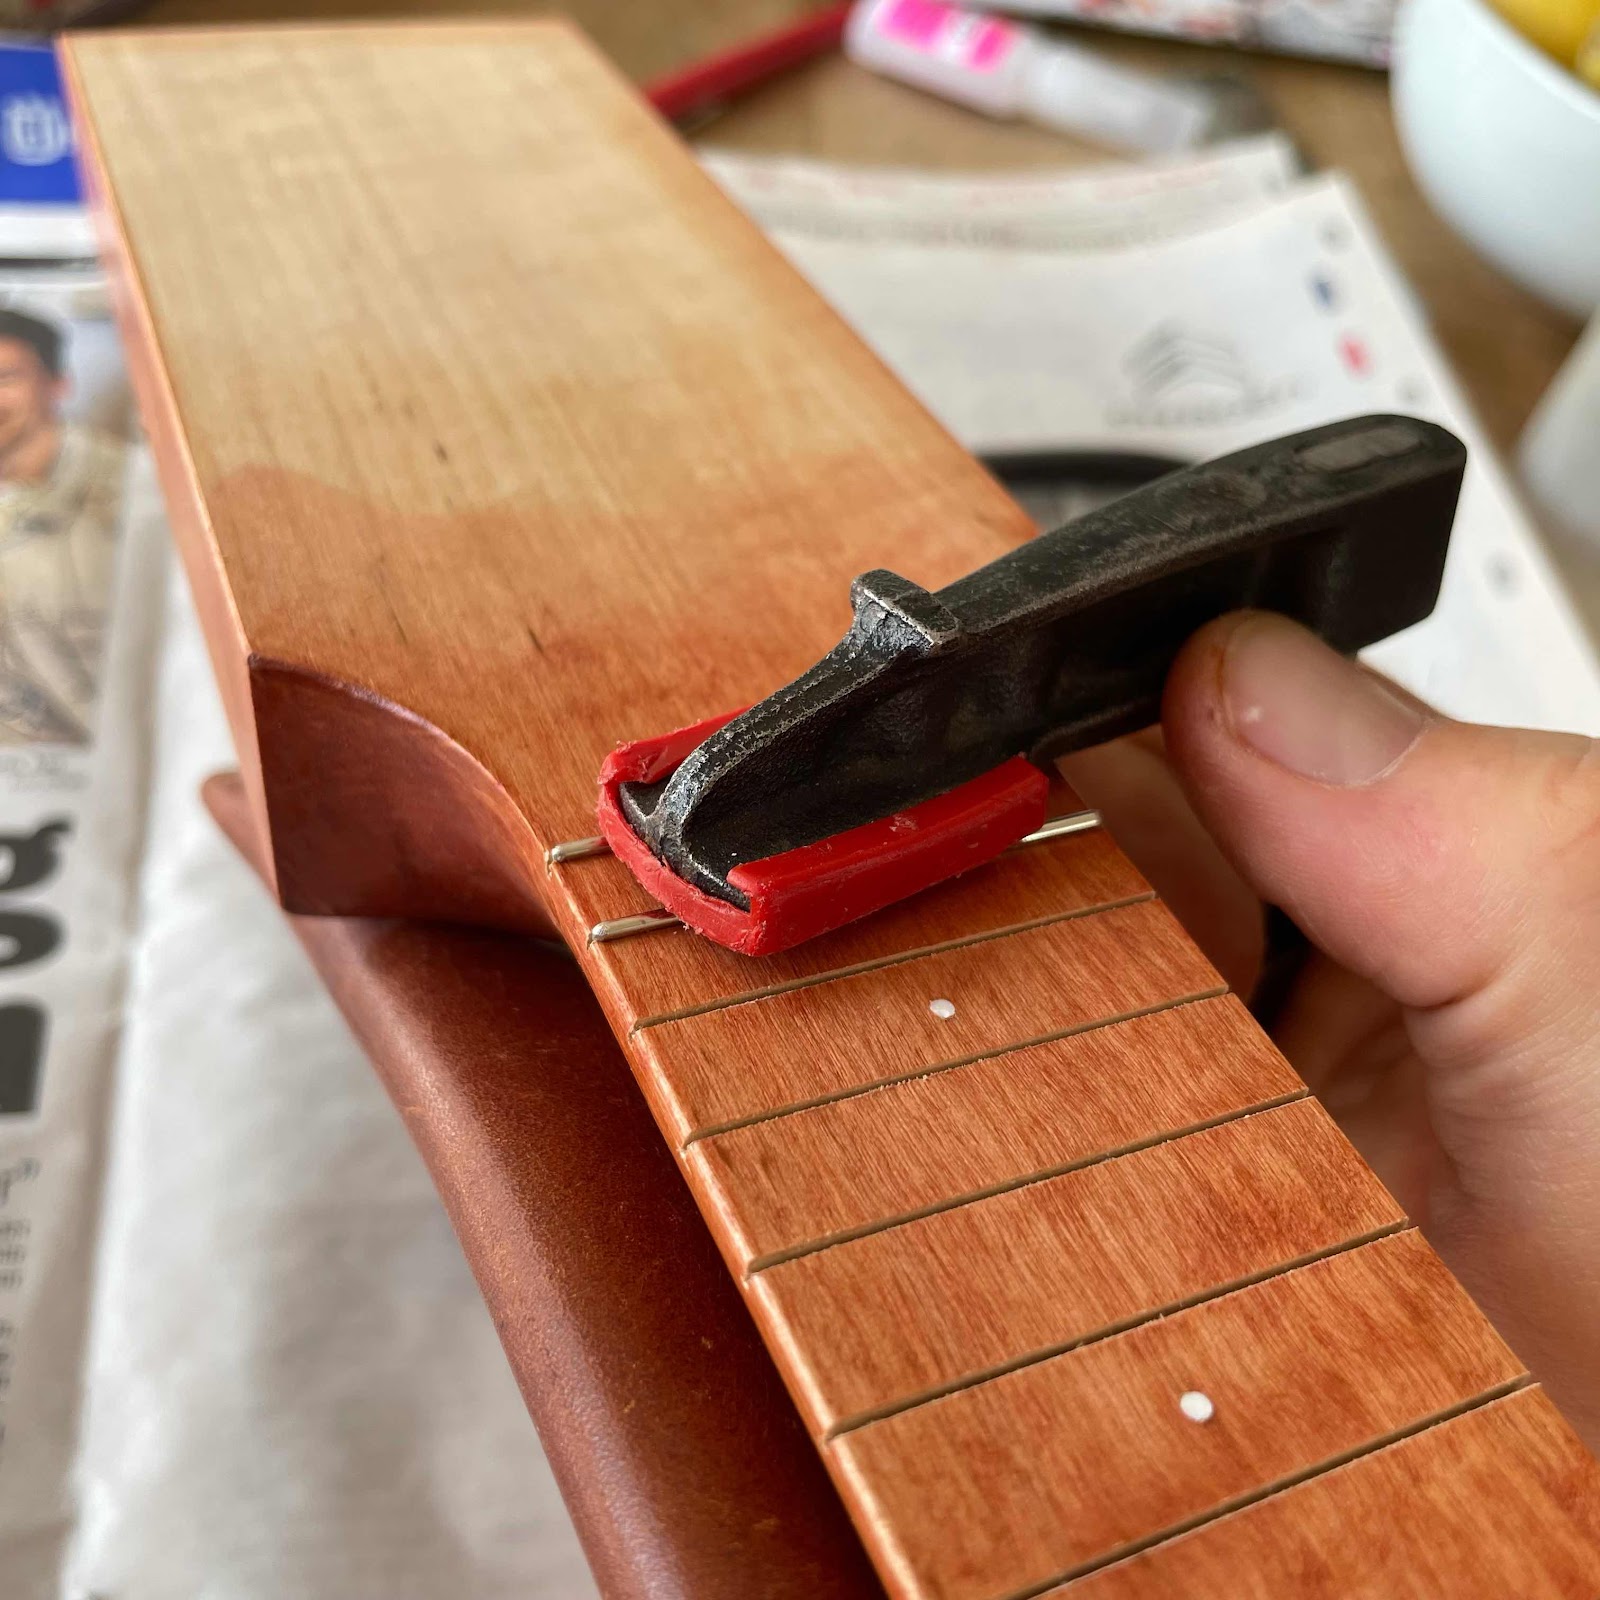
Then I press the frets in. Cut to length at with the ends rounded, because it would be impossible to shape them in situ like I would on a uke with a glued on fretboard. 


Ok. Not my proudest moment. Normally I’m quite good at securing the workpiece but this worked. 


Continuing with a chisel and planes to get the profile. These bridges are tiny. 


And compensating for the C-string. 


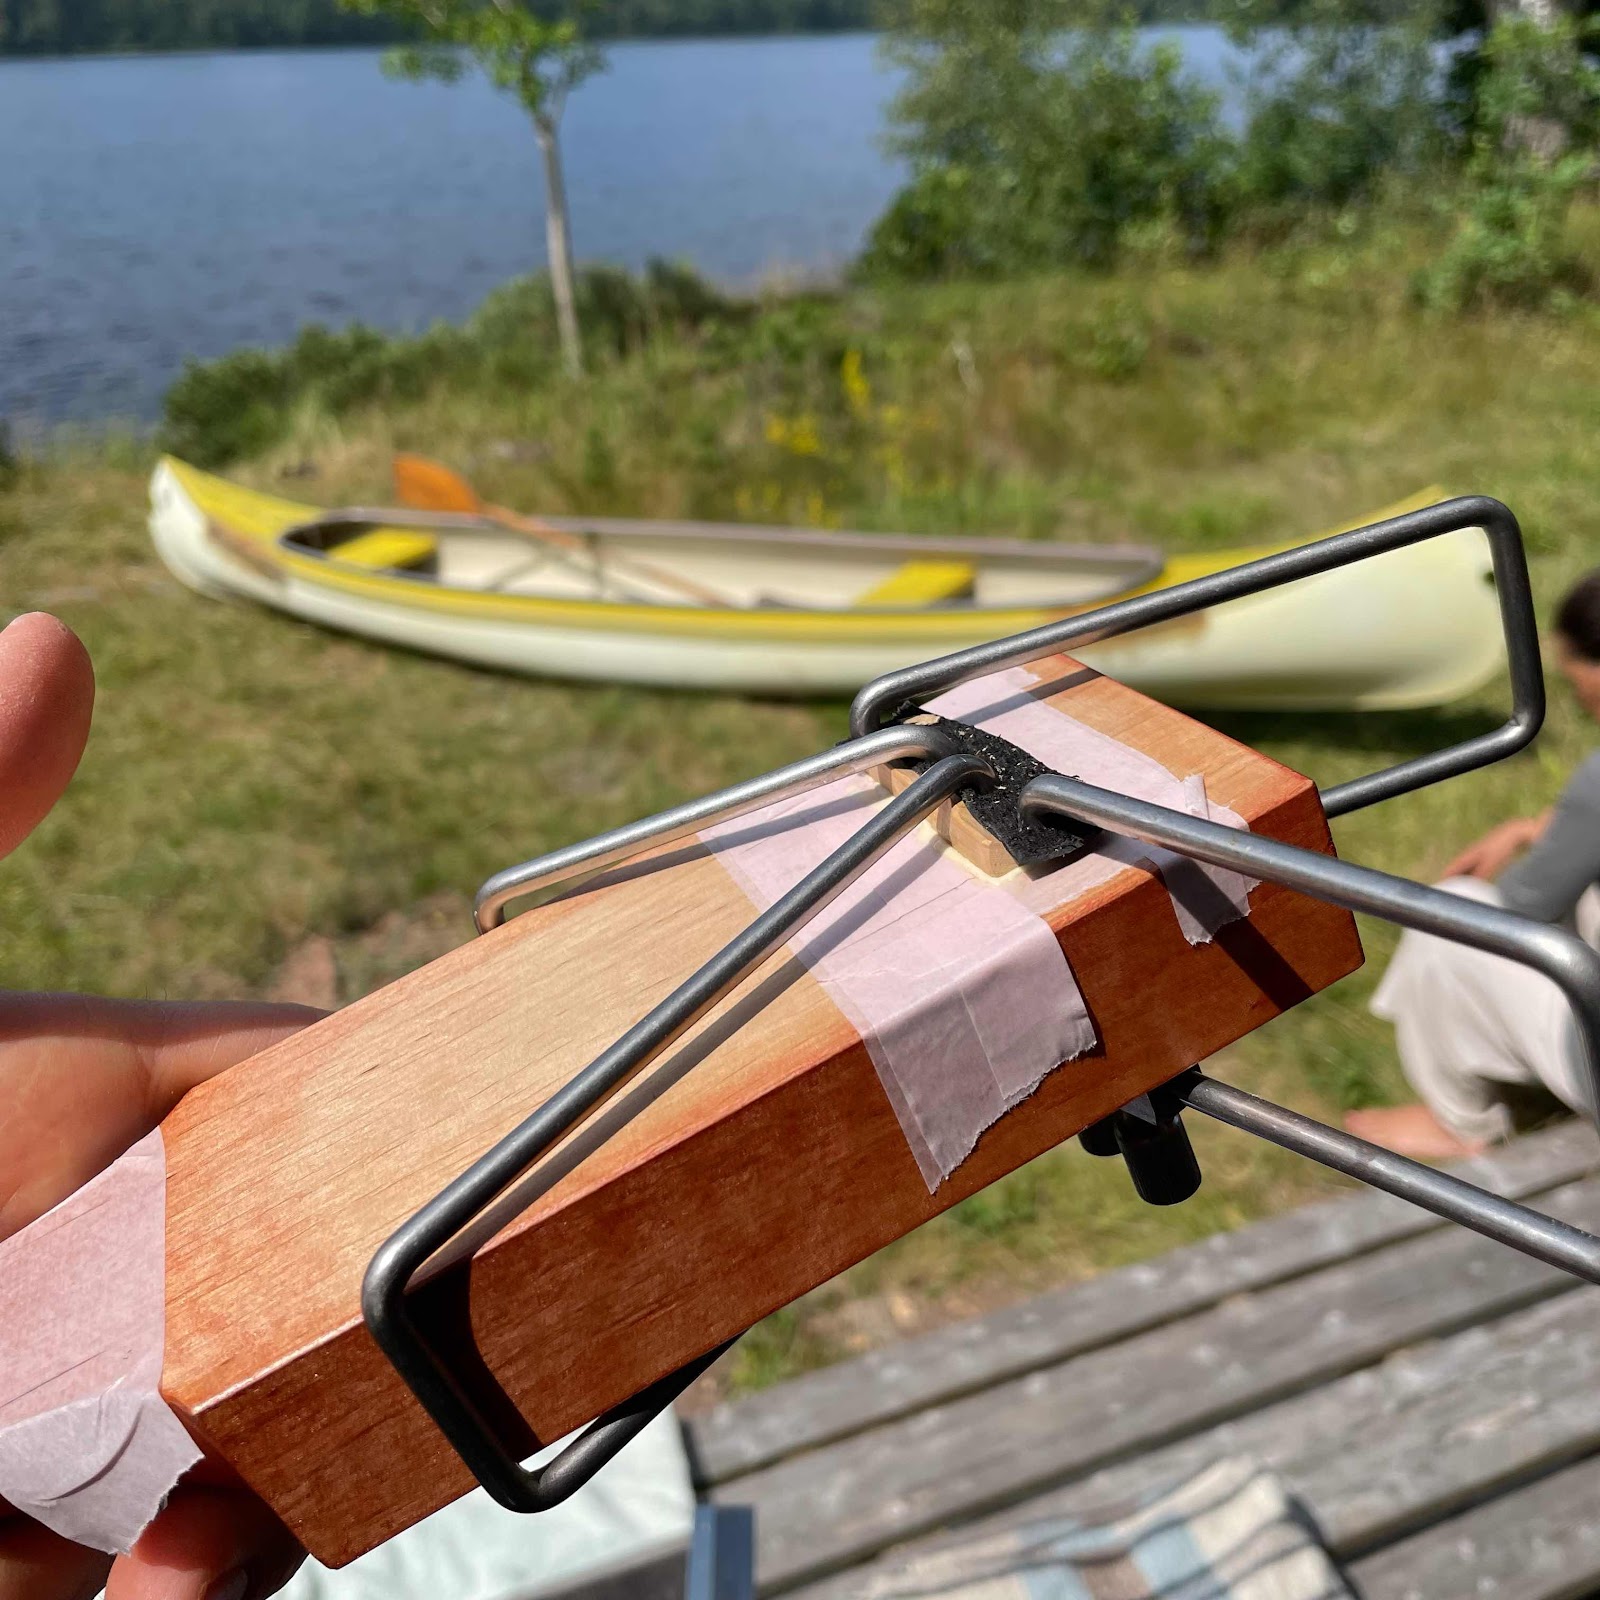
I put on masking tape in several layers to get some support that stops the bridge from sliding around. 


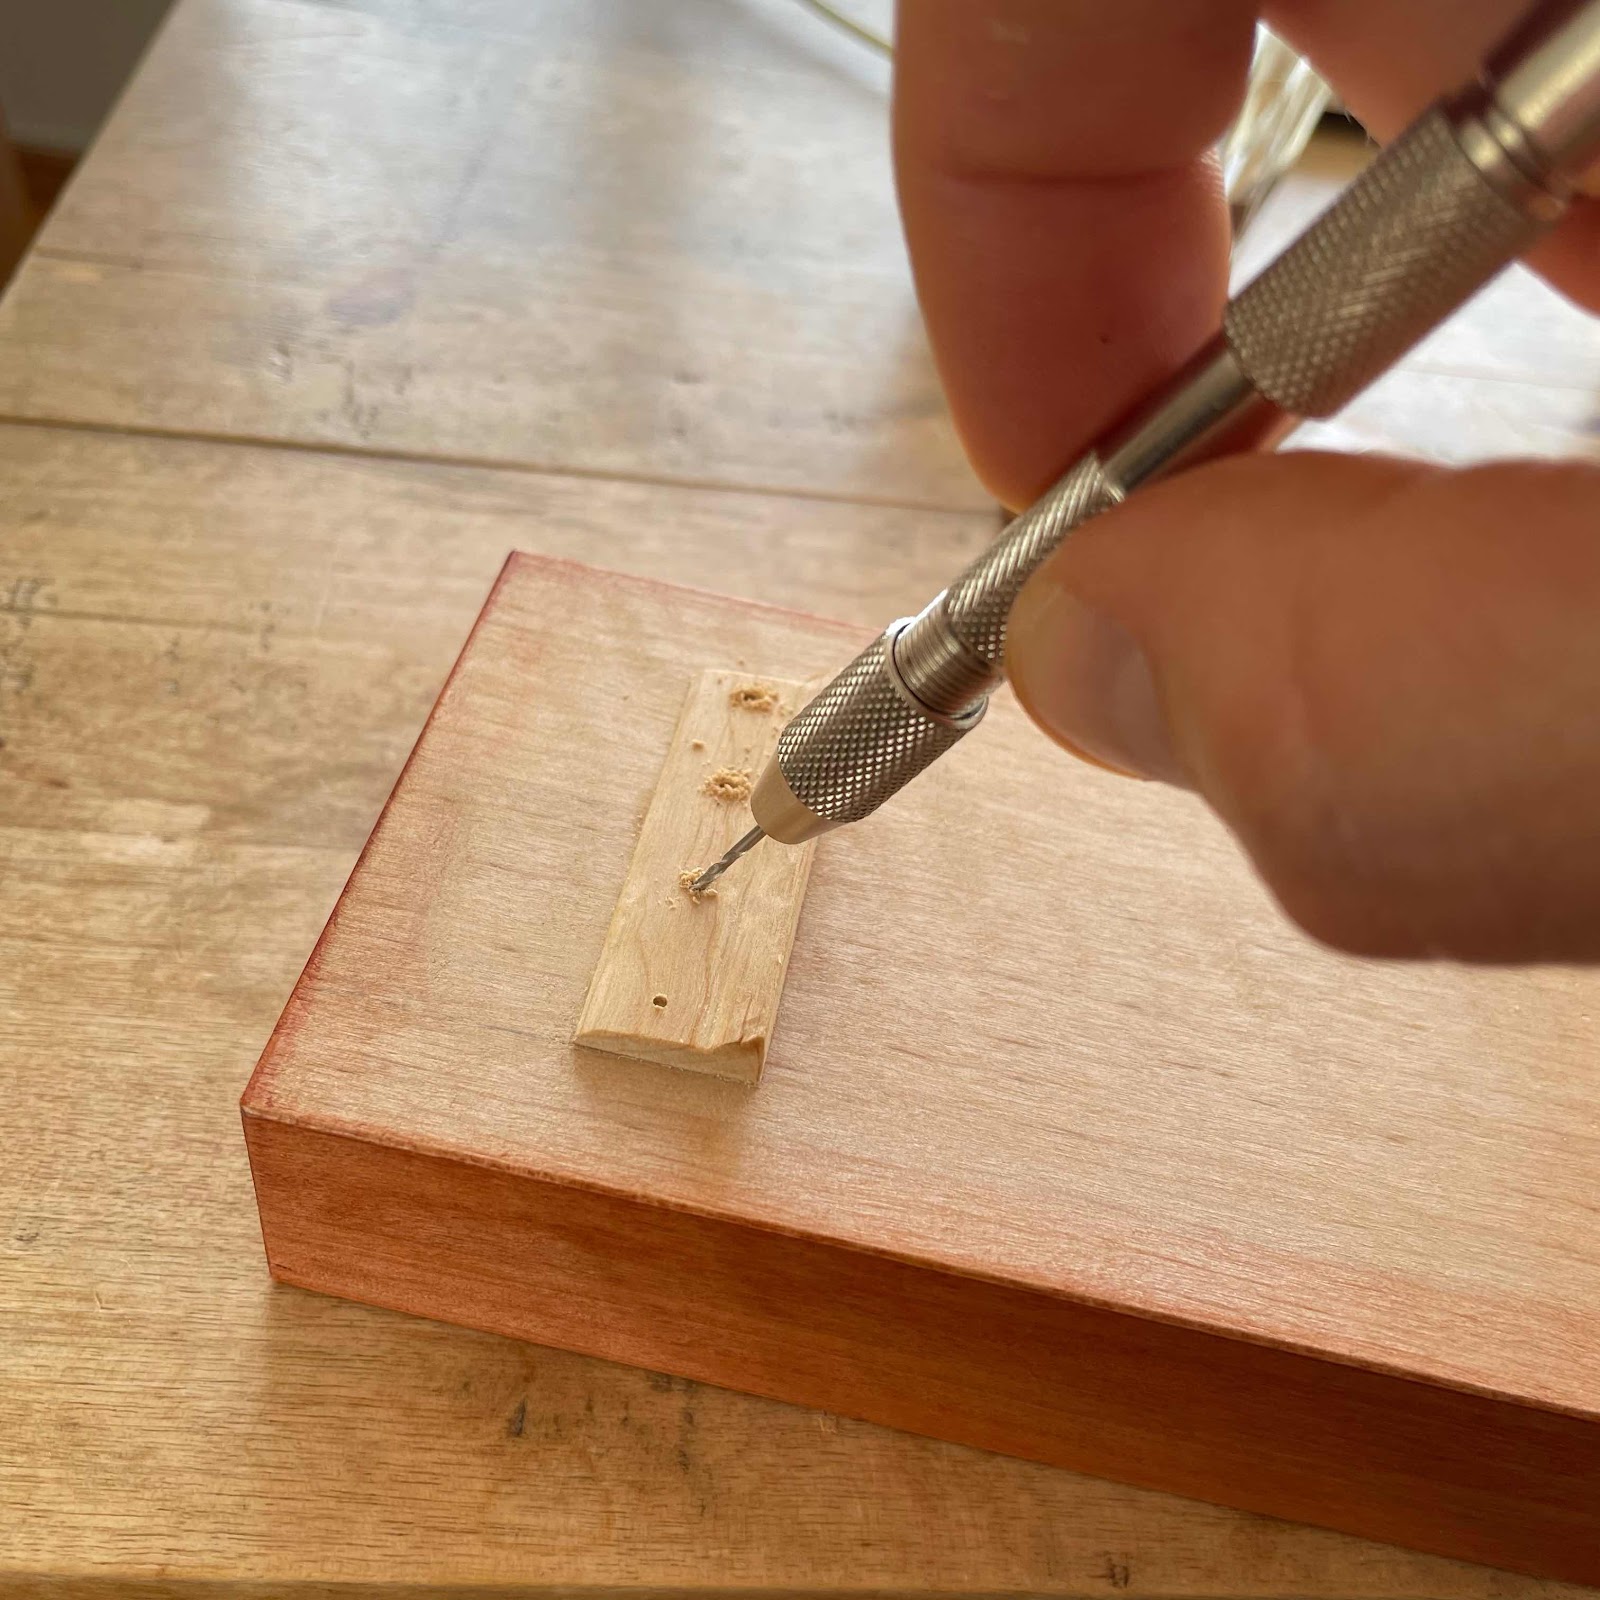
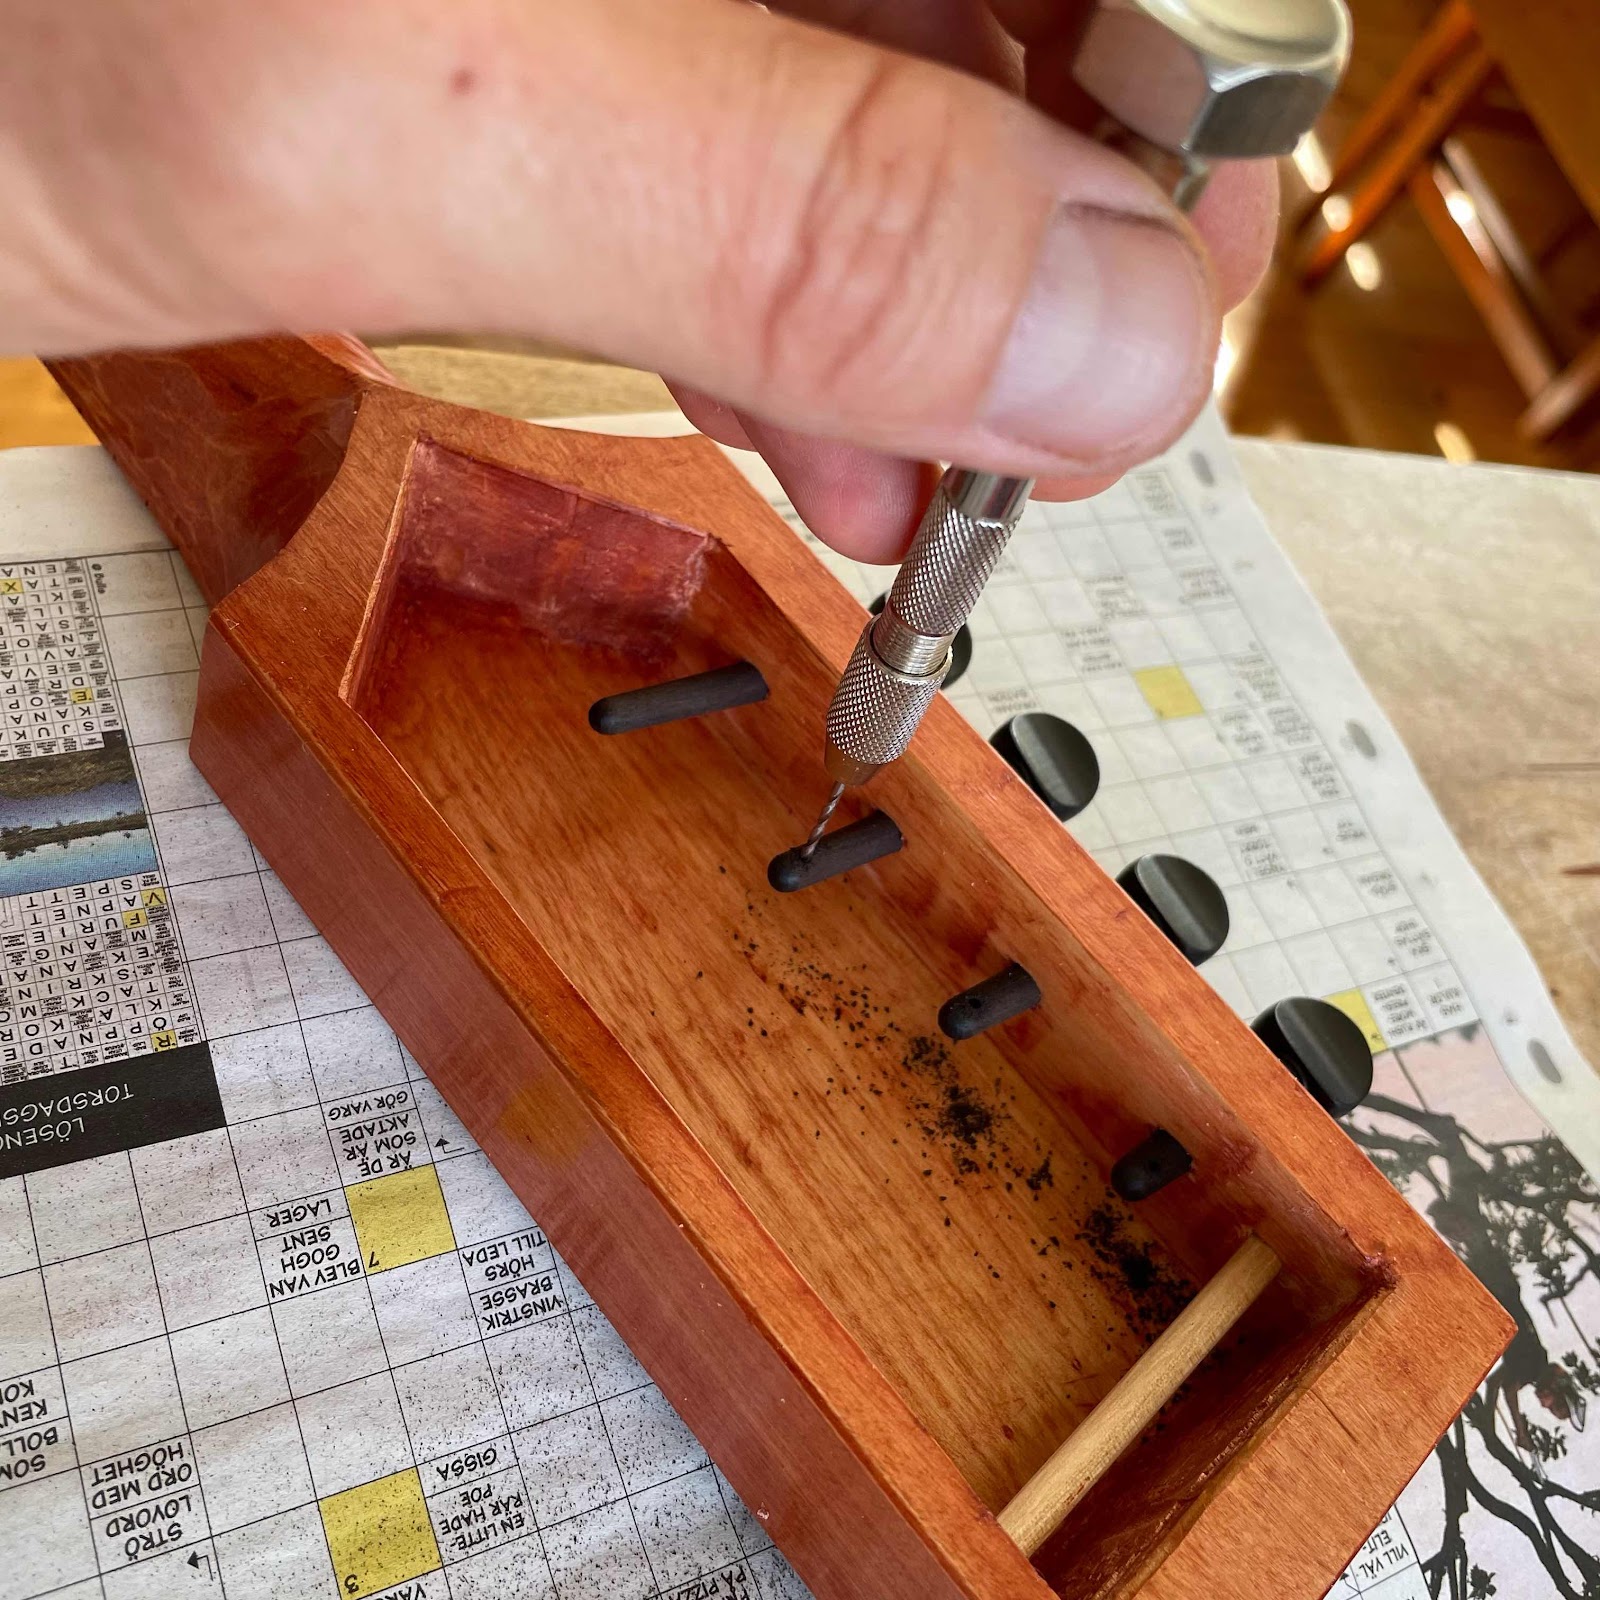
Drilling for the strings, the holes are angled the opposite way from the regular acoustic ukes where I want the strings to turn up in the soundhole. On these they must go around the carbon fibre tube below. 


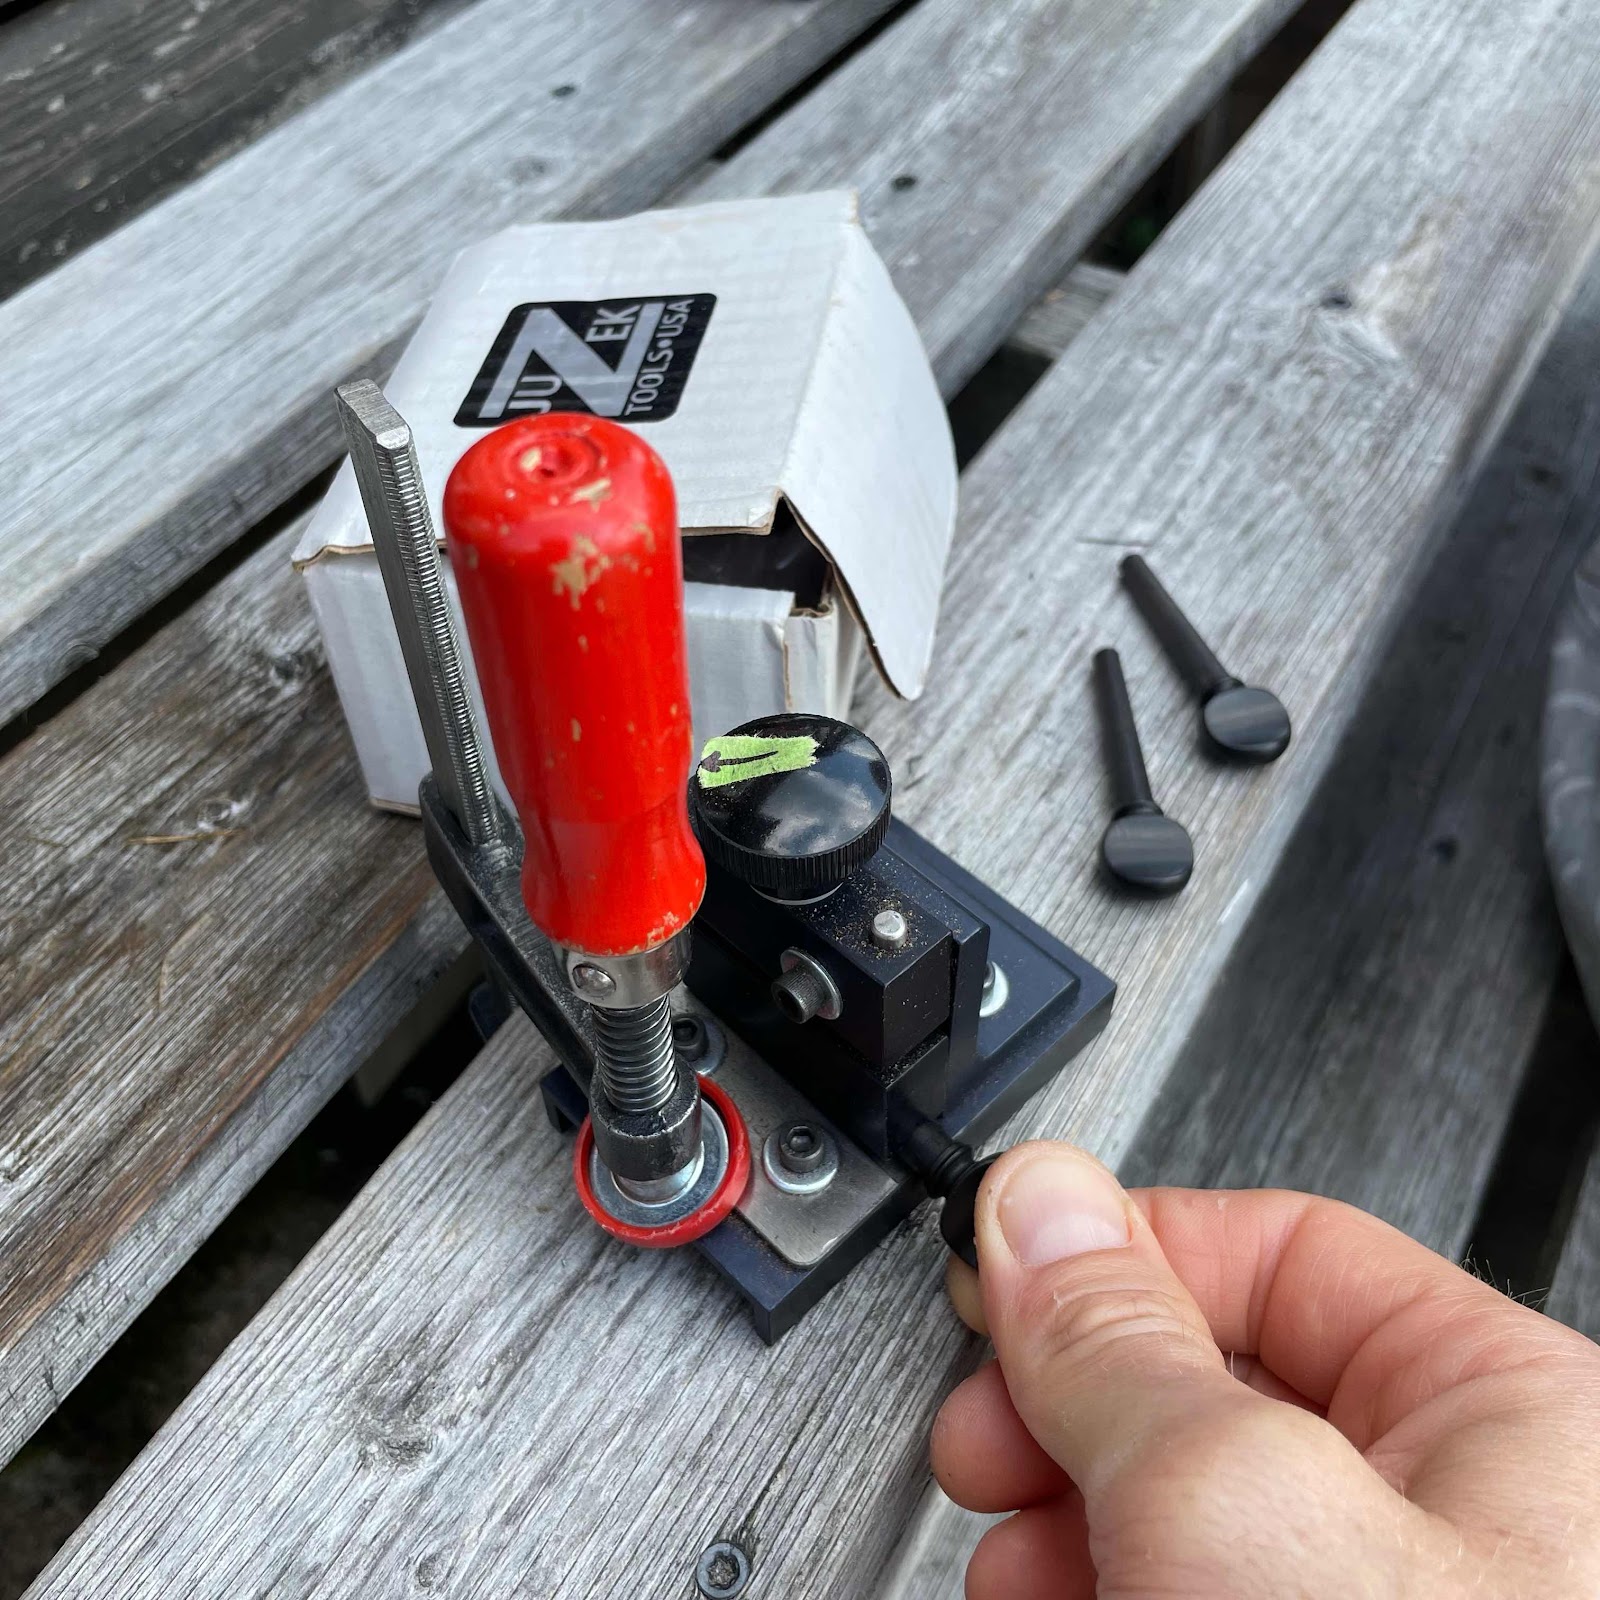
Then I shaped the pegs in the Juzek peg shaper. 


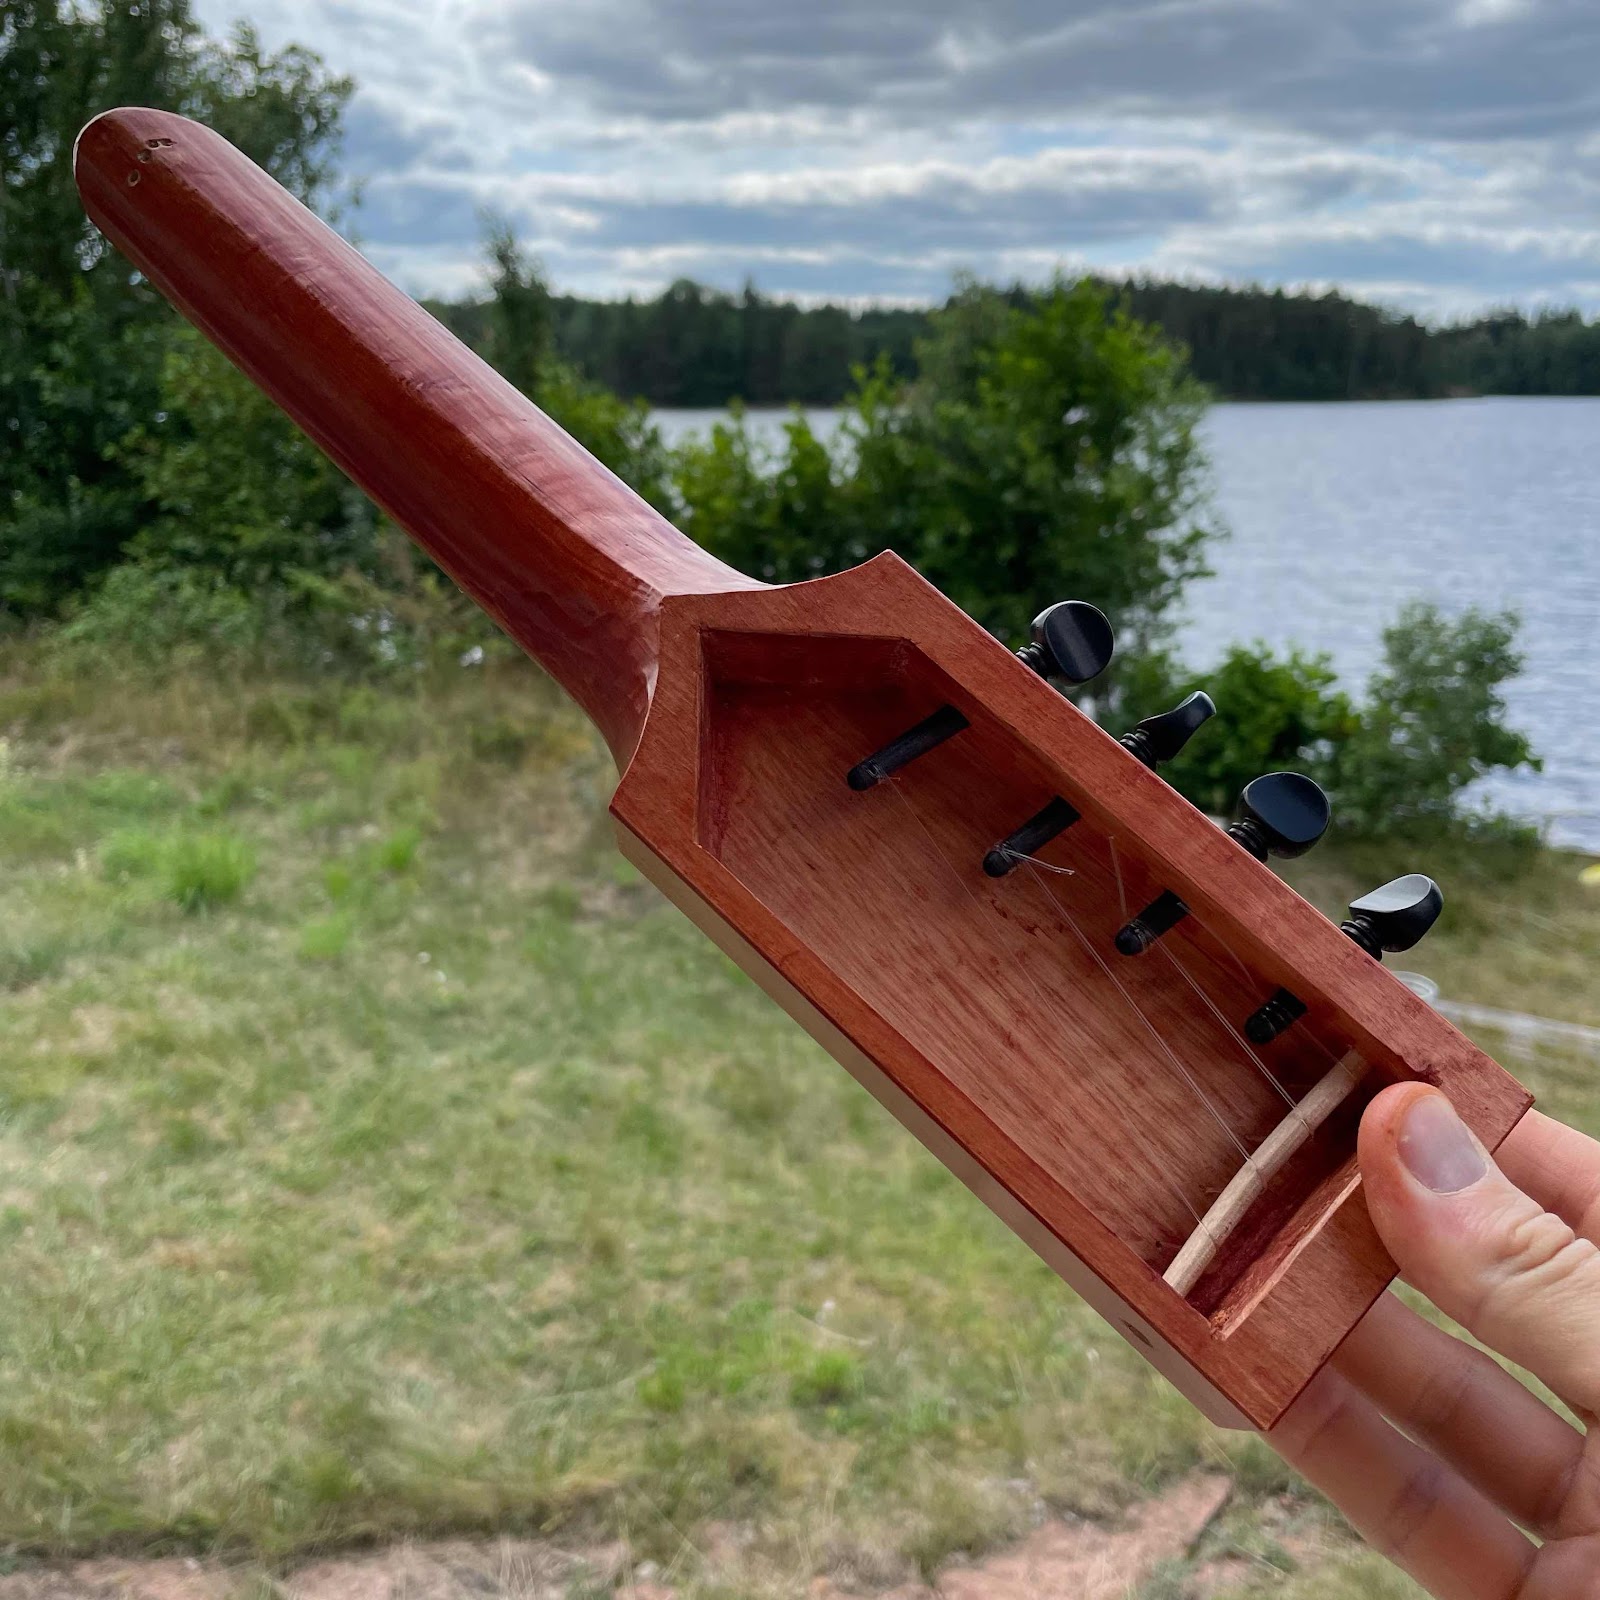
The pegs are in place, cut to length and get holes for the strings. Note the wooden rod at the back, I forgot to bring the carbon tube so I made a rod of birch. I thought it would be strong enough. 


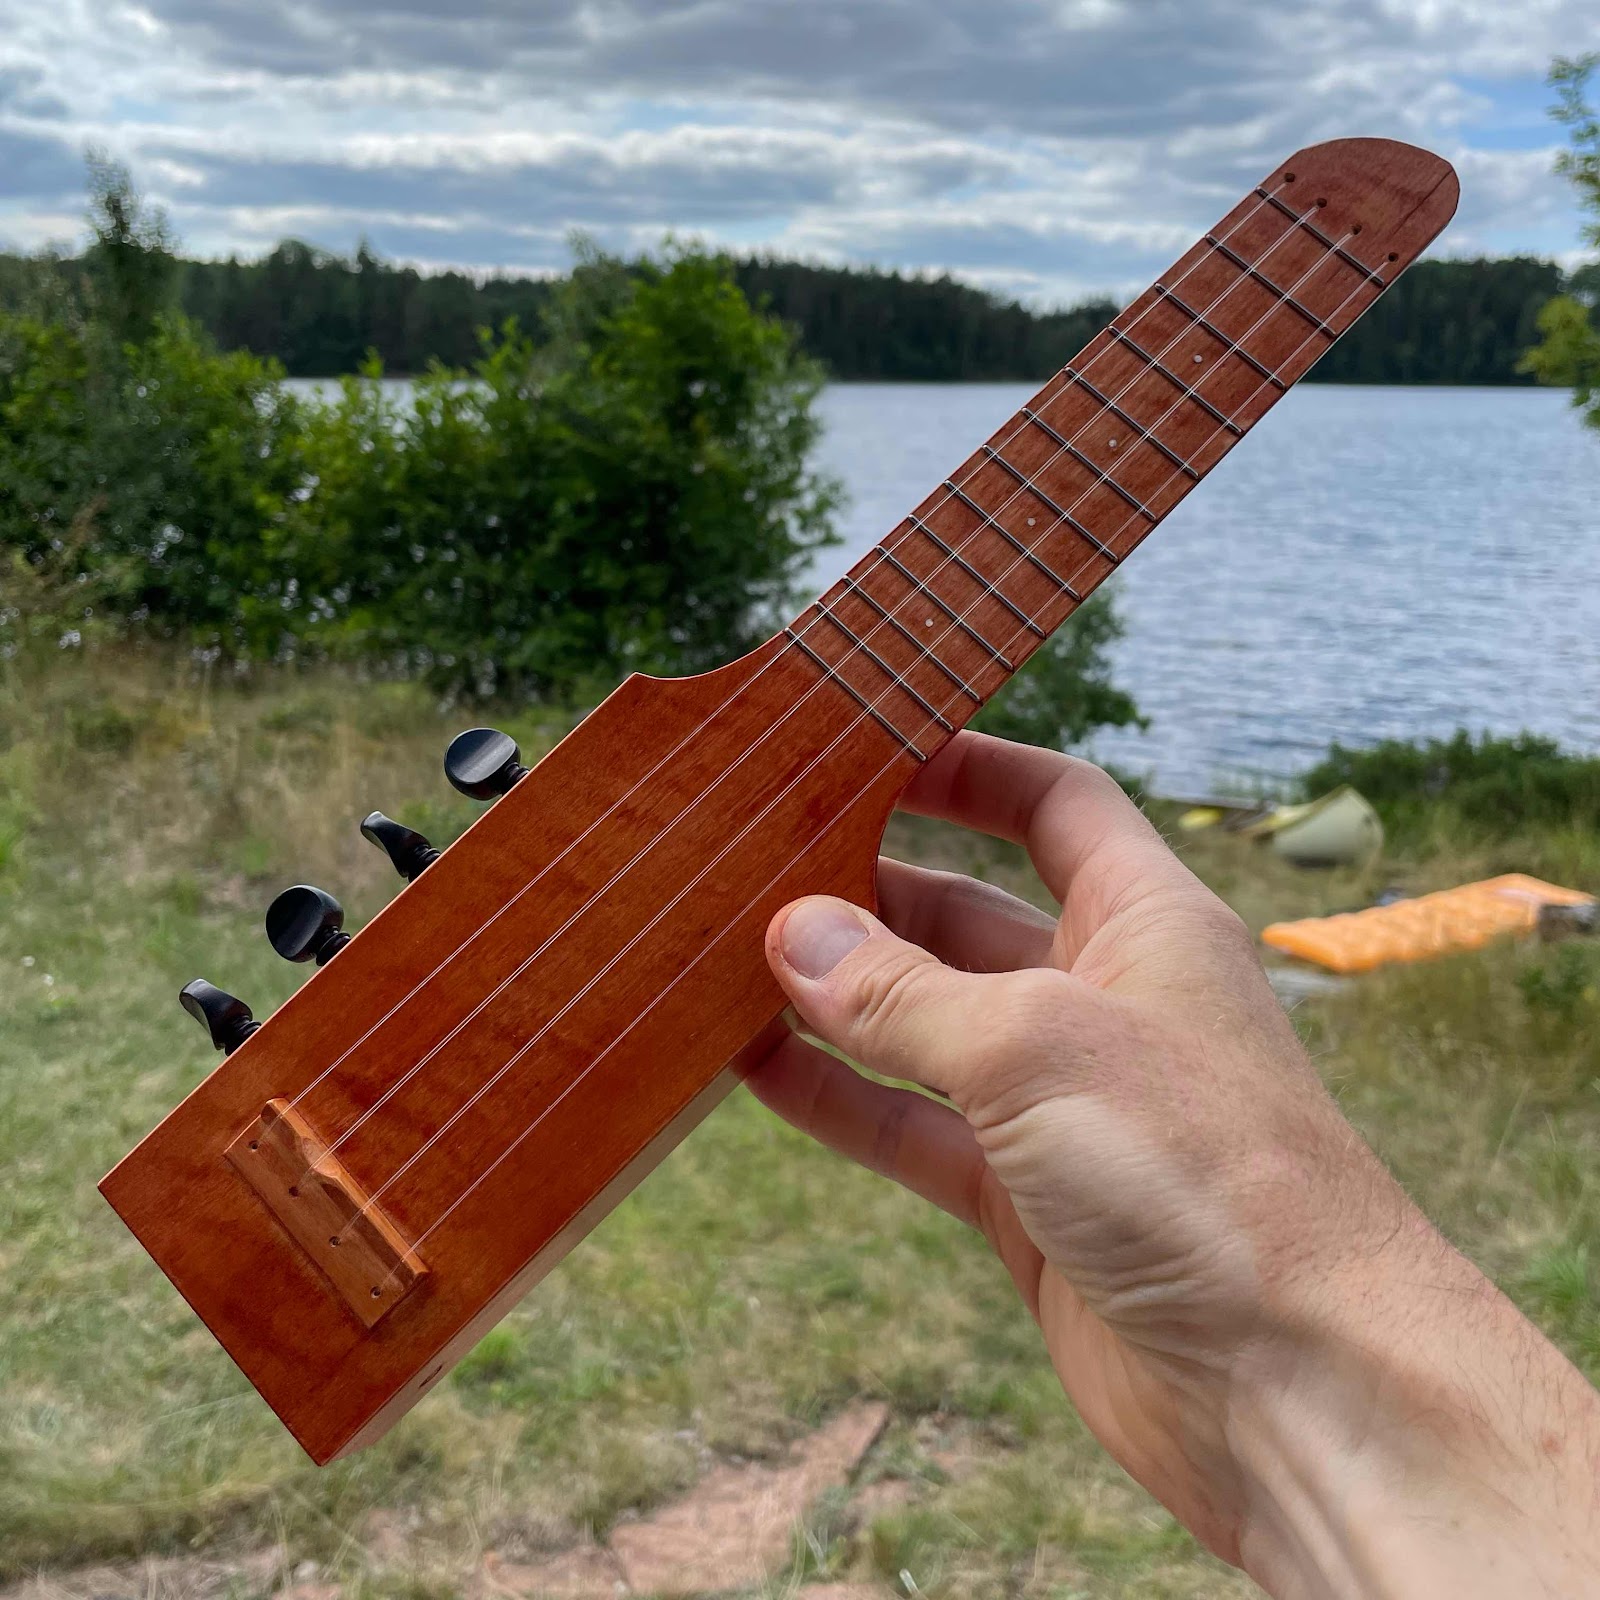
And here it is, after some more shellac. It turned out a bit rustic because of the limited selection of tools, but it is done. 


But the birch rod was a disgrace, look at it bending. I will change it to carbon as soon as I get back home.