Learning Ukulele 50 Sites Top 50 Ukulele Sites Argapa Ukuleles - one size louder: 12/1/20 - 1/1/21

Wednesday, December 23, 2020

A new beginning at the end of the year

While I polish the ukes that are getting close to done I might as well start on a traveller. Not starting really, the blank is already hollowed out from the back. But I can start carving its neck, that’s fun. 

With a Mora knife I carve the entry point up at the heel end. I don’t have to make an exit point since there’s no head on these ukes. The walnut cuts like butter as long as the knife is sharp and the edge is of the scandigrind variety. 


There’s a lot of end grain going on up by the body but it’s no problem. One thing I do recommend is clamping whatever you’re carving securely to the bench. 


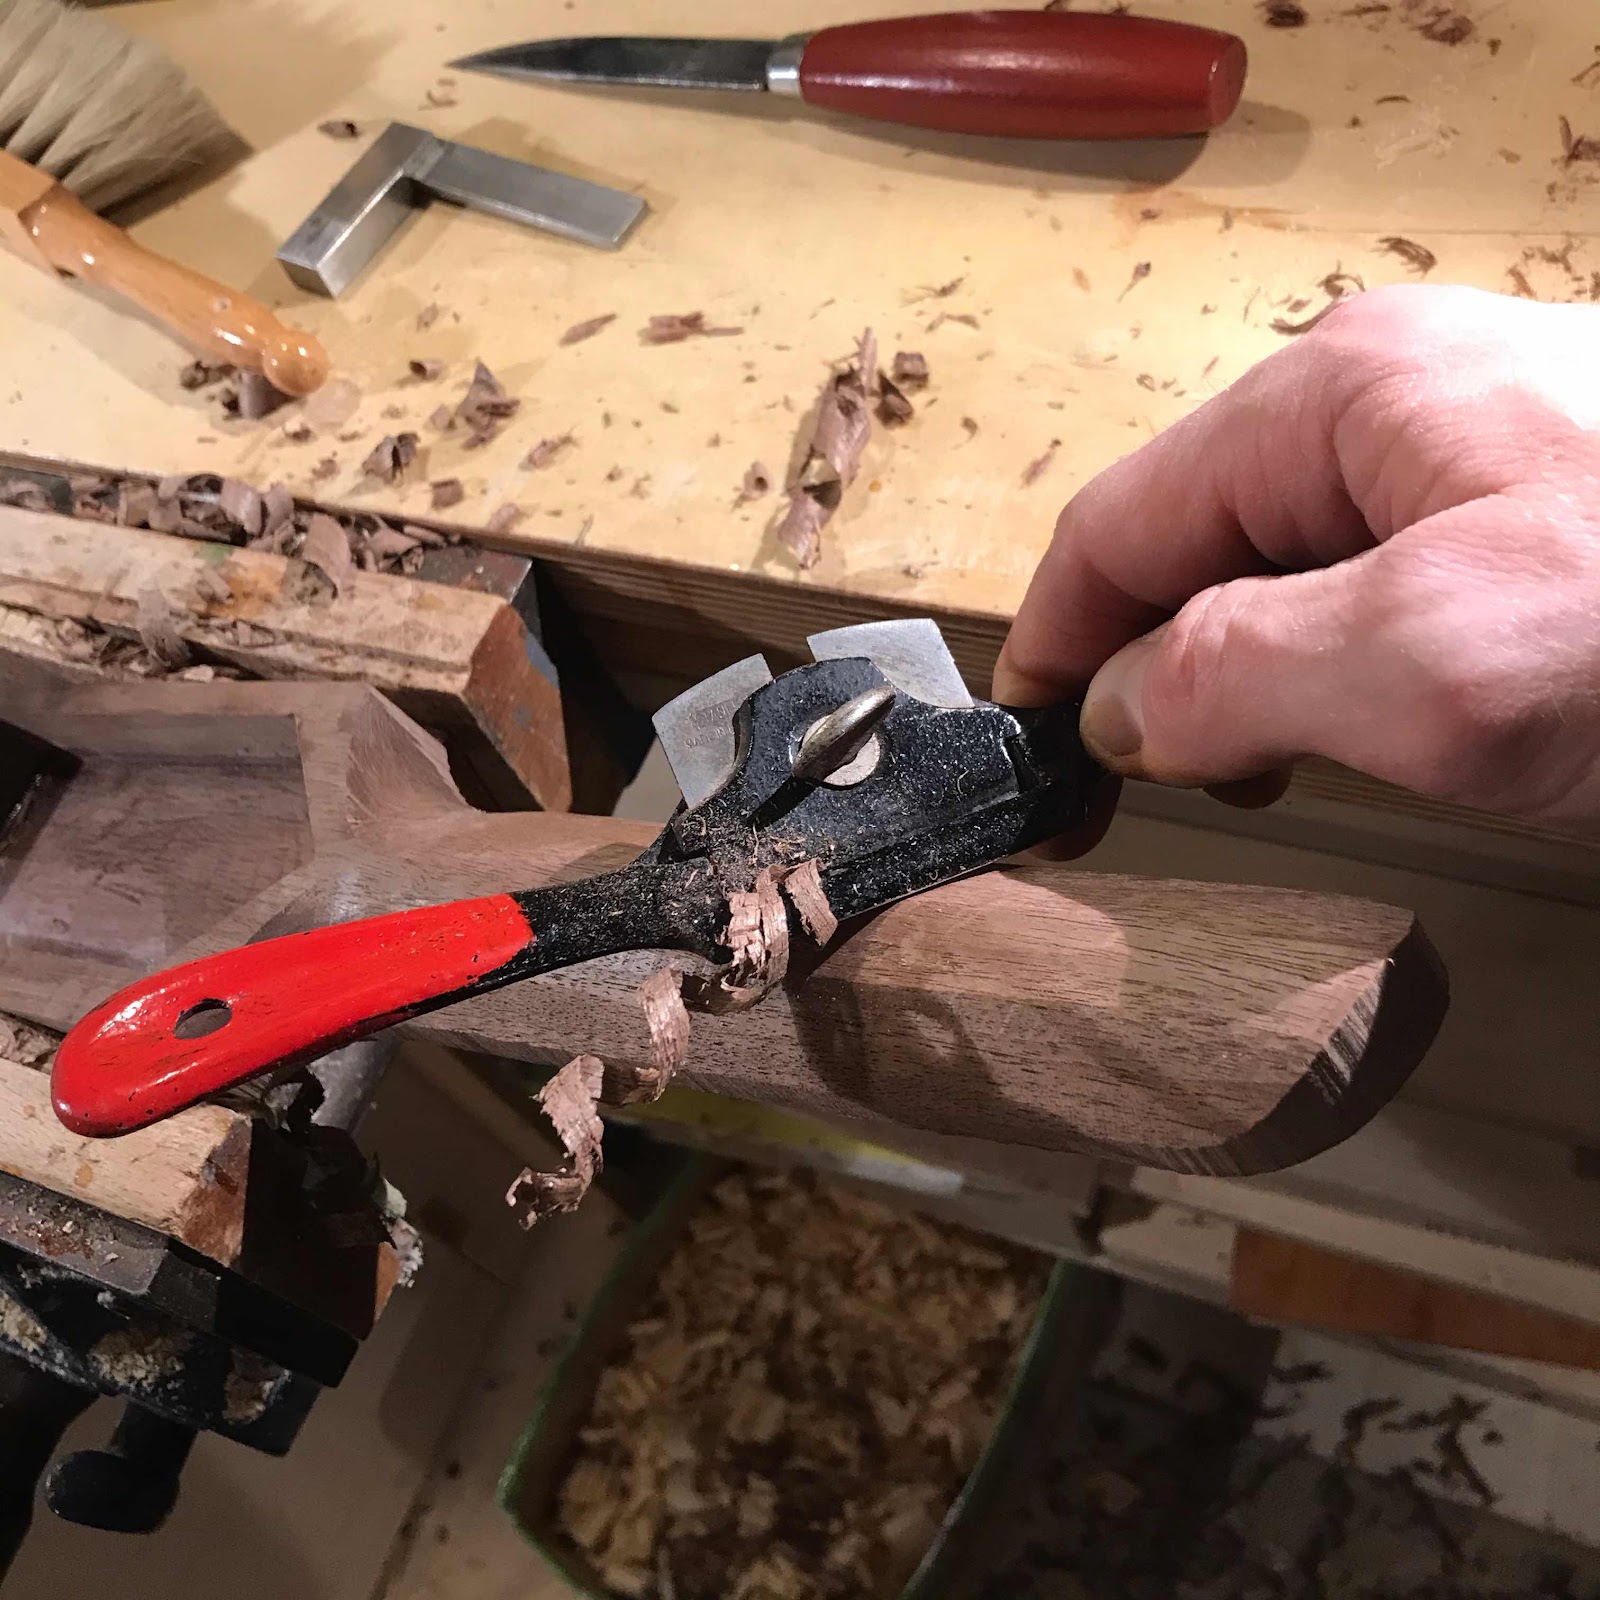
Then a few spokeshaves of different sizes make short work of shaping the neck. It takes about ten minutes but I wouldn’t mind an hour - this is my favourite task. 


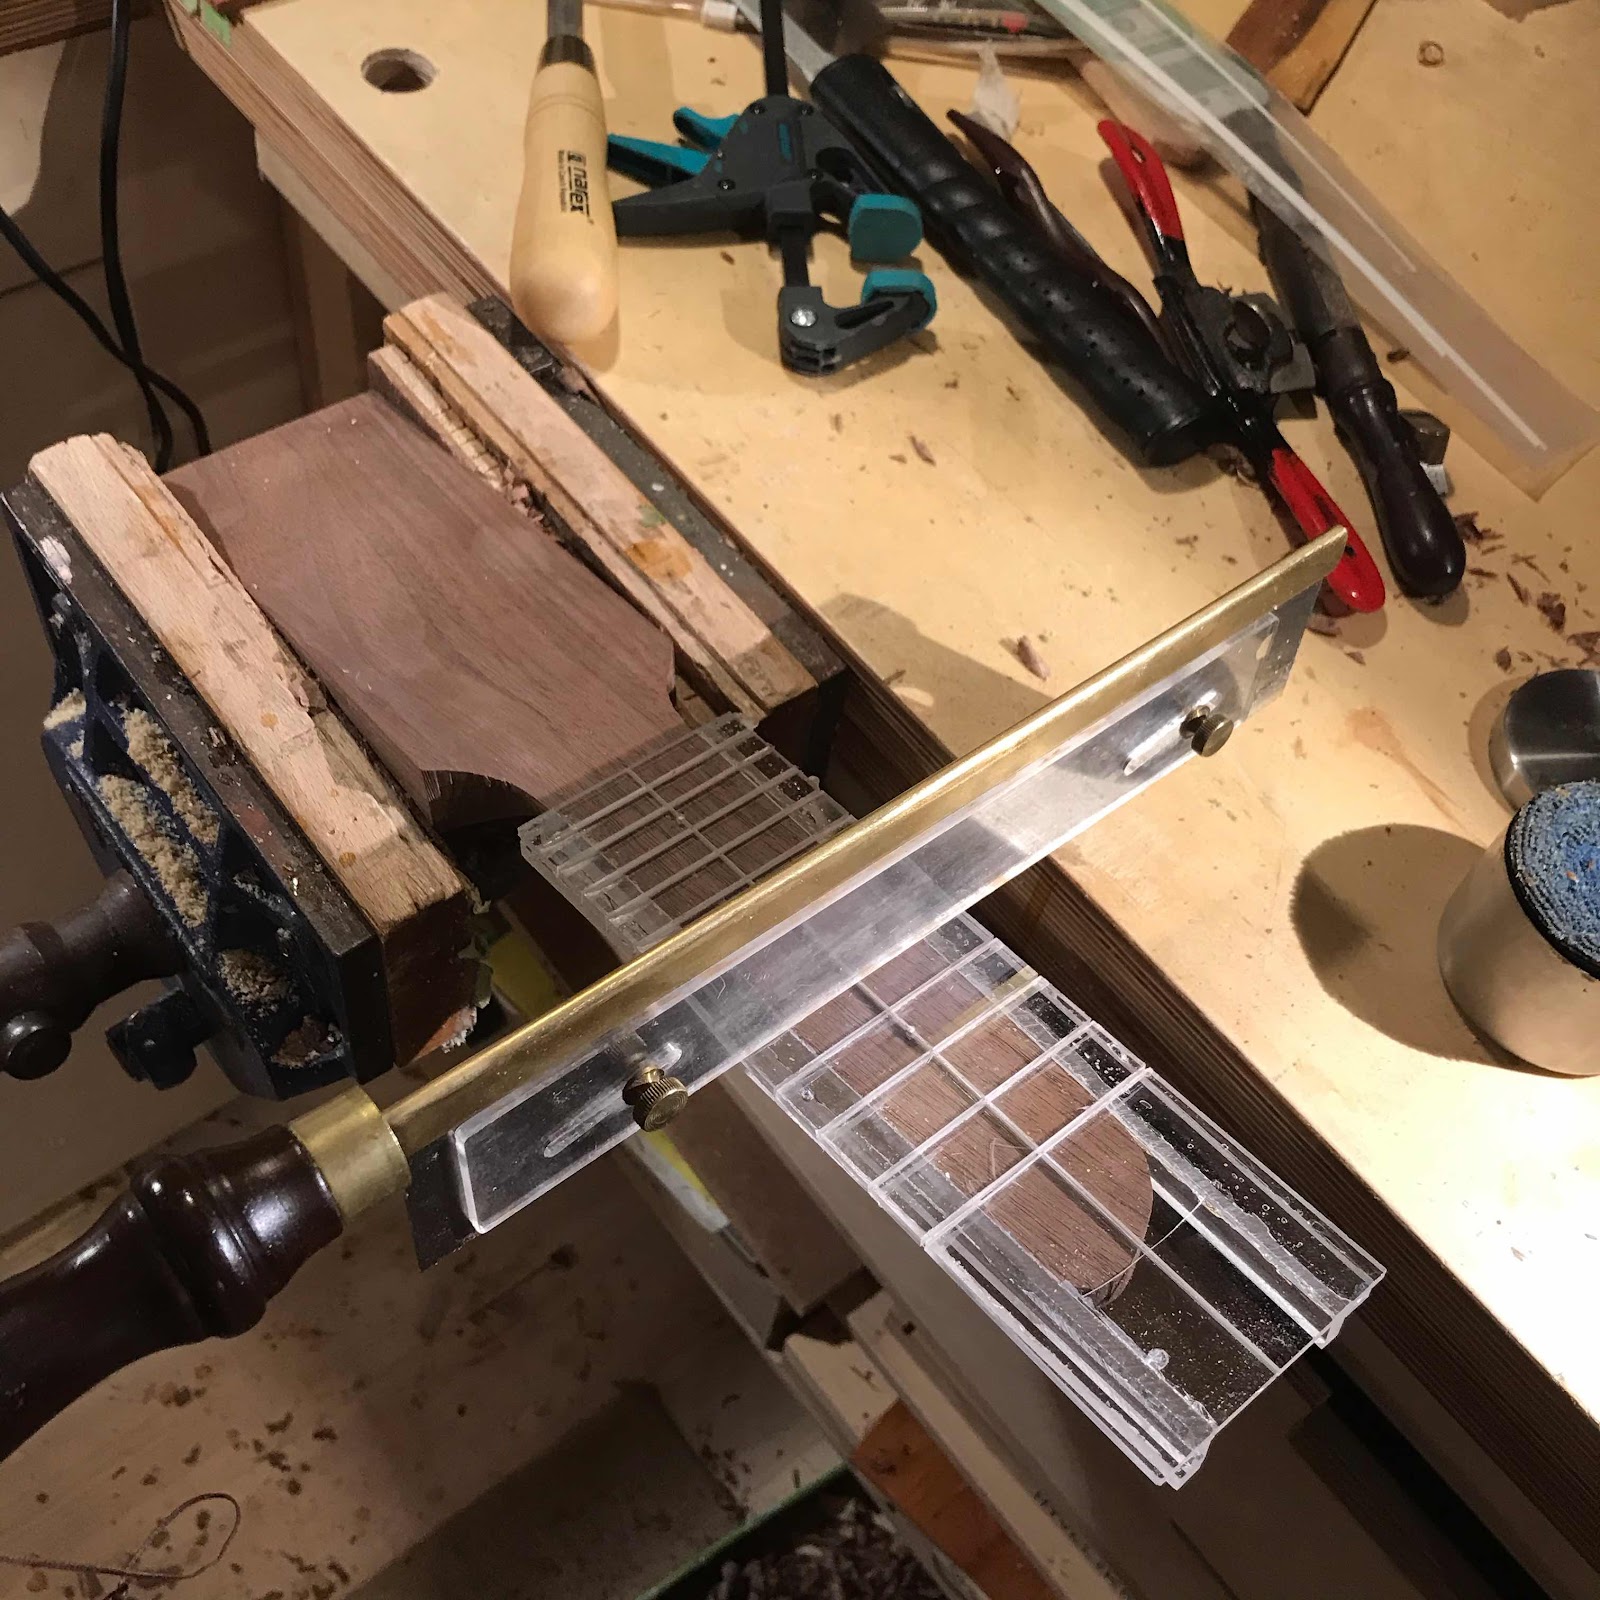
And I got to use my new fret slotting jig. The old one was a bit worn out and the first replacement I made turned out wonky. Which is really bad when it comes to a jig. For positioning frets. 


Saturday, December 19, 2020

Bridge and some polishing

I said in the last post that I made the bridge for the soprano. I chose a piece of ipé from that floor board sample from Buenos Aires, and went to town on the wee table saw. 


Setting the distance with a wooden ruler clamped to the neck, then low tack masking tape at the front and back edge of the bridge. 


And with the ruler next to the fretboard edge I draw lines that will aid me in positioning the bridge sideways. 


I use a piece of guitar string through two miniscule holes through the saddle slot and the top to stop things from sliding out of position. I didn’t take a pic of shaping the bottom of the bridge to match the curvature of the top, but I did that with a scraper. 

Do keep in mind the lack lustre appearance of the mahogany so far, if you grab the opportunity to despair now you’ll get a bit of a rush at the end of this post. 


And here’s a pic of the gang after tvree or four coats of shellac. Those first coats I apply quite liberalky without oil, they’ll form the base for the polishing later. How much later? Well the next pic maybe. 


This morning I started polishing with oil. I use walnut oil because I read somewhere that it dries. My tests of its drying properties have bern inconclusive at best, but for lubricating the pad it works really well. The other obvious choice is olive oil and I know for sure that won’t dry. 


And here’s Li’s soprano. That mahogany is very special. Still from the boards my dad bought in the 1960’s. 


Sunday, December 13, 2020

Getting there

We’re running out of stuff left to be done, what a relief. I won’t get the resos out before christmas I’m afraid, but not very long after. 

First pic shows my cheap skate version of the really nice fret press pliers that Stewmac sells. With it stuck in the vise I can get the frets in quite consistently. 


And when all frets were in on all three fretboards, I glued them on. Here’s the tenor getting its walnut fretboard, the soprano clamping caul worked for the last fourteen frets, obvs. 


Today I spent some time sanding and scraping. Small nooks need small scrapers, this one and a few others I made from a spent Japanese saw blade. The first coat of finish will mercilessly show all the flaws you miss so it’s a good idea to do this carefully. 

Not that flaws will be totally absent. It’ll be others than I think, that’s all. 


And here they are (were). Ready for finish... until I remembered the acoustic one needed a bridge. Oh well, the resos were ready for finish at least. 

And can you see I tidied the bench?


But were they ready for finish? Nah, pilot holes for the tuners are great for hanging them during the finishing process so I quickly drilled those. 


And here we go, let’s get some bug poo on these guys. The alder really comes to life, going from pale to a lustruous honey colour. The cherry in the necks goes from drab to drama too. I will show you more after a few more coats. 


And while they were drying I started on that bridge. But that’s something for next post I think. 


Saturday, December 5, 2020

New fretboard

Well sometimes things go south no matter how careful you are. The ebony fretboard for the soprano reso was first in line to get the frets pressed in, and it couldn’t take it. Maybe the slots were too narrow, the saw might need some extra set. Or maybe the wood was brittle and short grained. Hard to tell when it’s black. 

First pic shows the underside, with bends at the two fret slots I started with. 


So I thought about ways to remedy this but decided that a new fretboard was the only way out, forward or wherever, but south. 

I chose lilac, the hardest wood species in Swedish nature. My friend Ludvig gifted me a trunk of unusual diameter, and I have used it for a number of fretboards.  First I planed it with my* Stanley no.6.


Then I scraped it with a cabinet scraper that was actually sharp and in good shape. 


Then I made one edge straight, also with the no.6, and slotted it on the wee Proxxon table saw. I marked out the width at the nut and 12th and made the taper. You see my no.5 in the background, I used that to hog off most of the material and finished with the number 6. 


For the inlay I came up with another symbol for twins, and routed it out with my Proxxon drill/router. 


And I had a lot of ebony leftover... so I made sticks to go into the channel. 


And shaped them. That was a bit fiddly. In the pic I’ve started glueing them in. 


And the end result, I think it turned out better than the the first one. The dots on 3, 5 and 7 are 2 mm pencil leads. I covered the dots with dabs of superglue, hopefully that will keep it from rubbing off on the fingers. 


*My father might disagree so don’t discuss the no.6 with him.