Learning Ukulele 50 Sites Top 50 Ukulele Sites Argapa Ukuleles - one size louder: reso
Showing posts with label reso. Show all posts

Tuesday, July 14, 2026

Heaps of progress

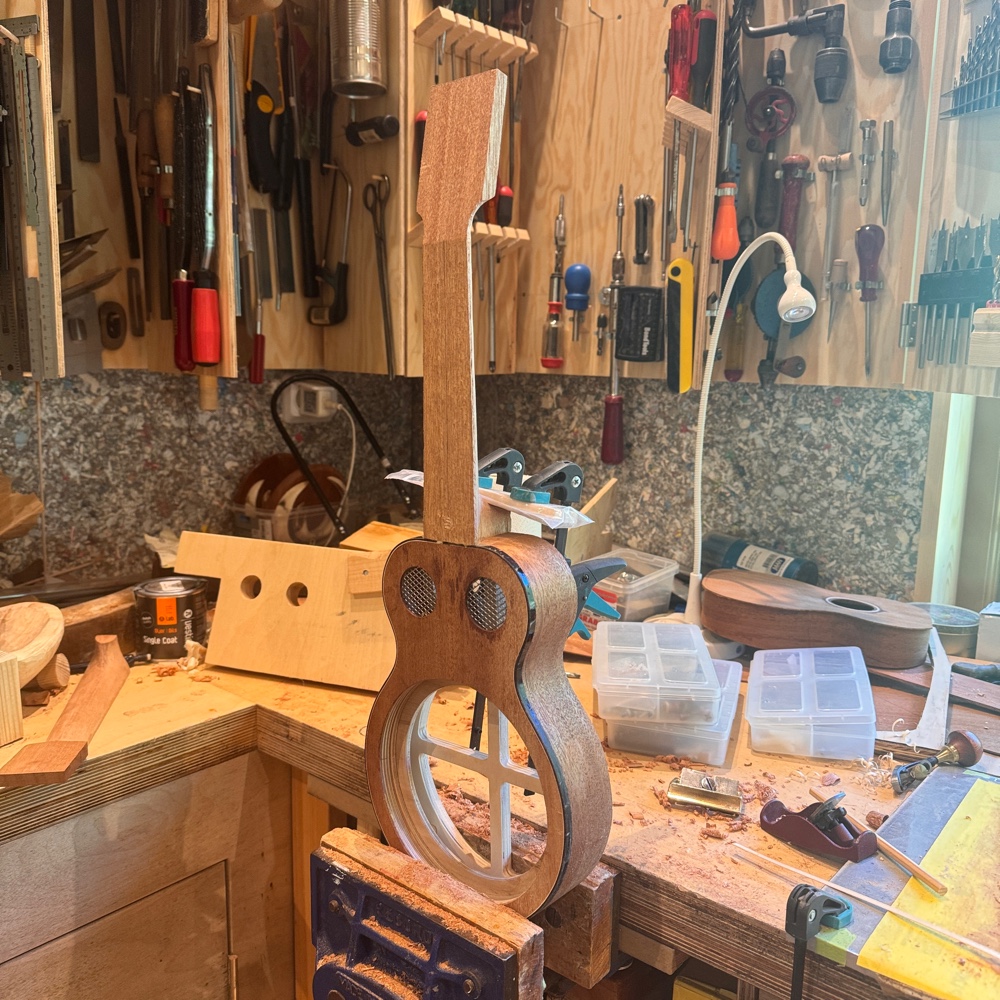
I found some time between the larger projects, couldn’t decide if I should concentrate on the acoustic or the reso so I did both. Below there are pics of different stuff that got done, no clear narrative in this post but I will describe what’s in each pic. 

That can also be necessary as there is clutter on the bench in the background. 

When last we met the sides were glued to the top, like so. 

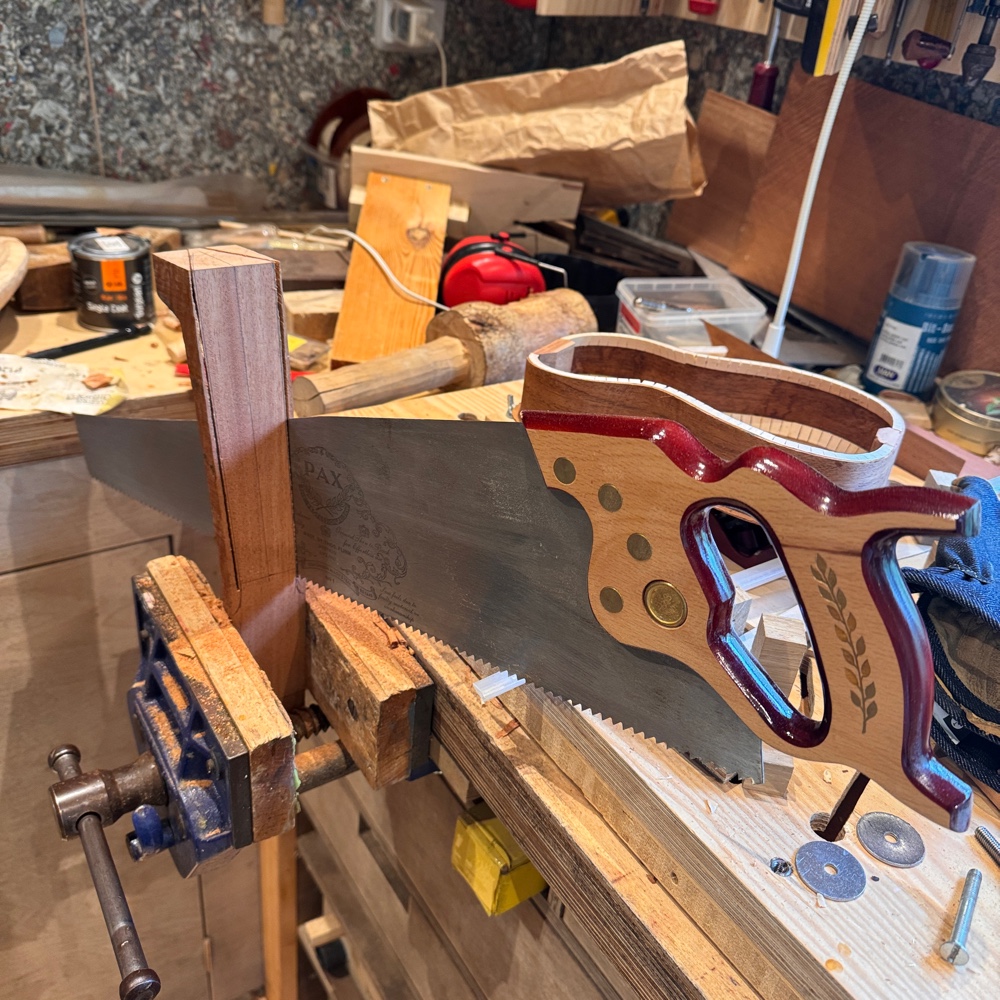
So I started on the necks, marking out the taper and ripping them down with my Pax ripsaw. 

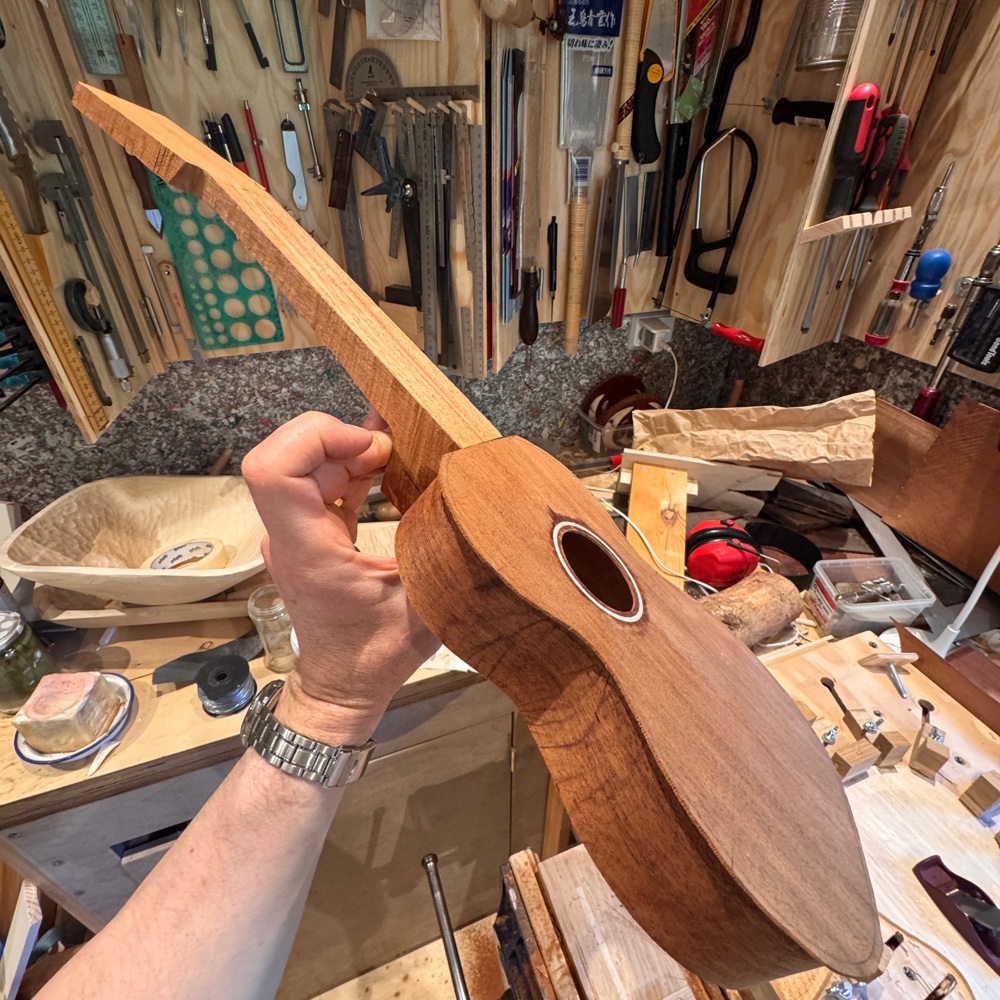
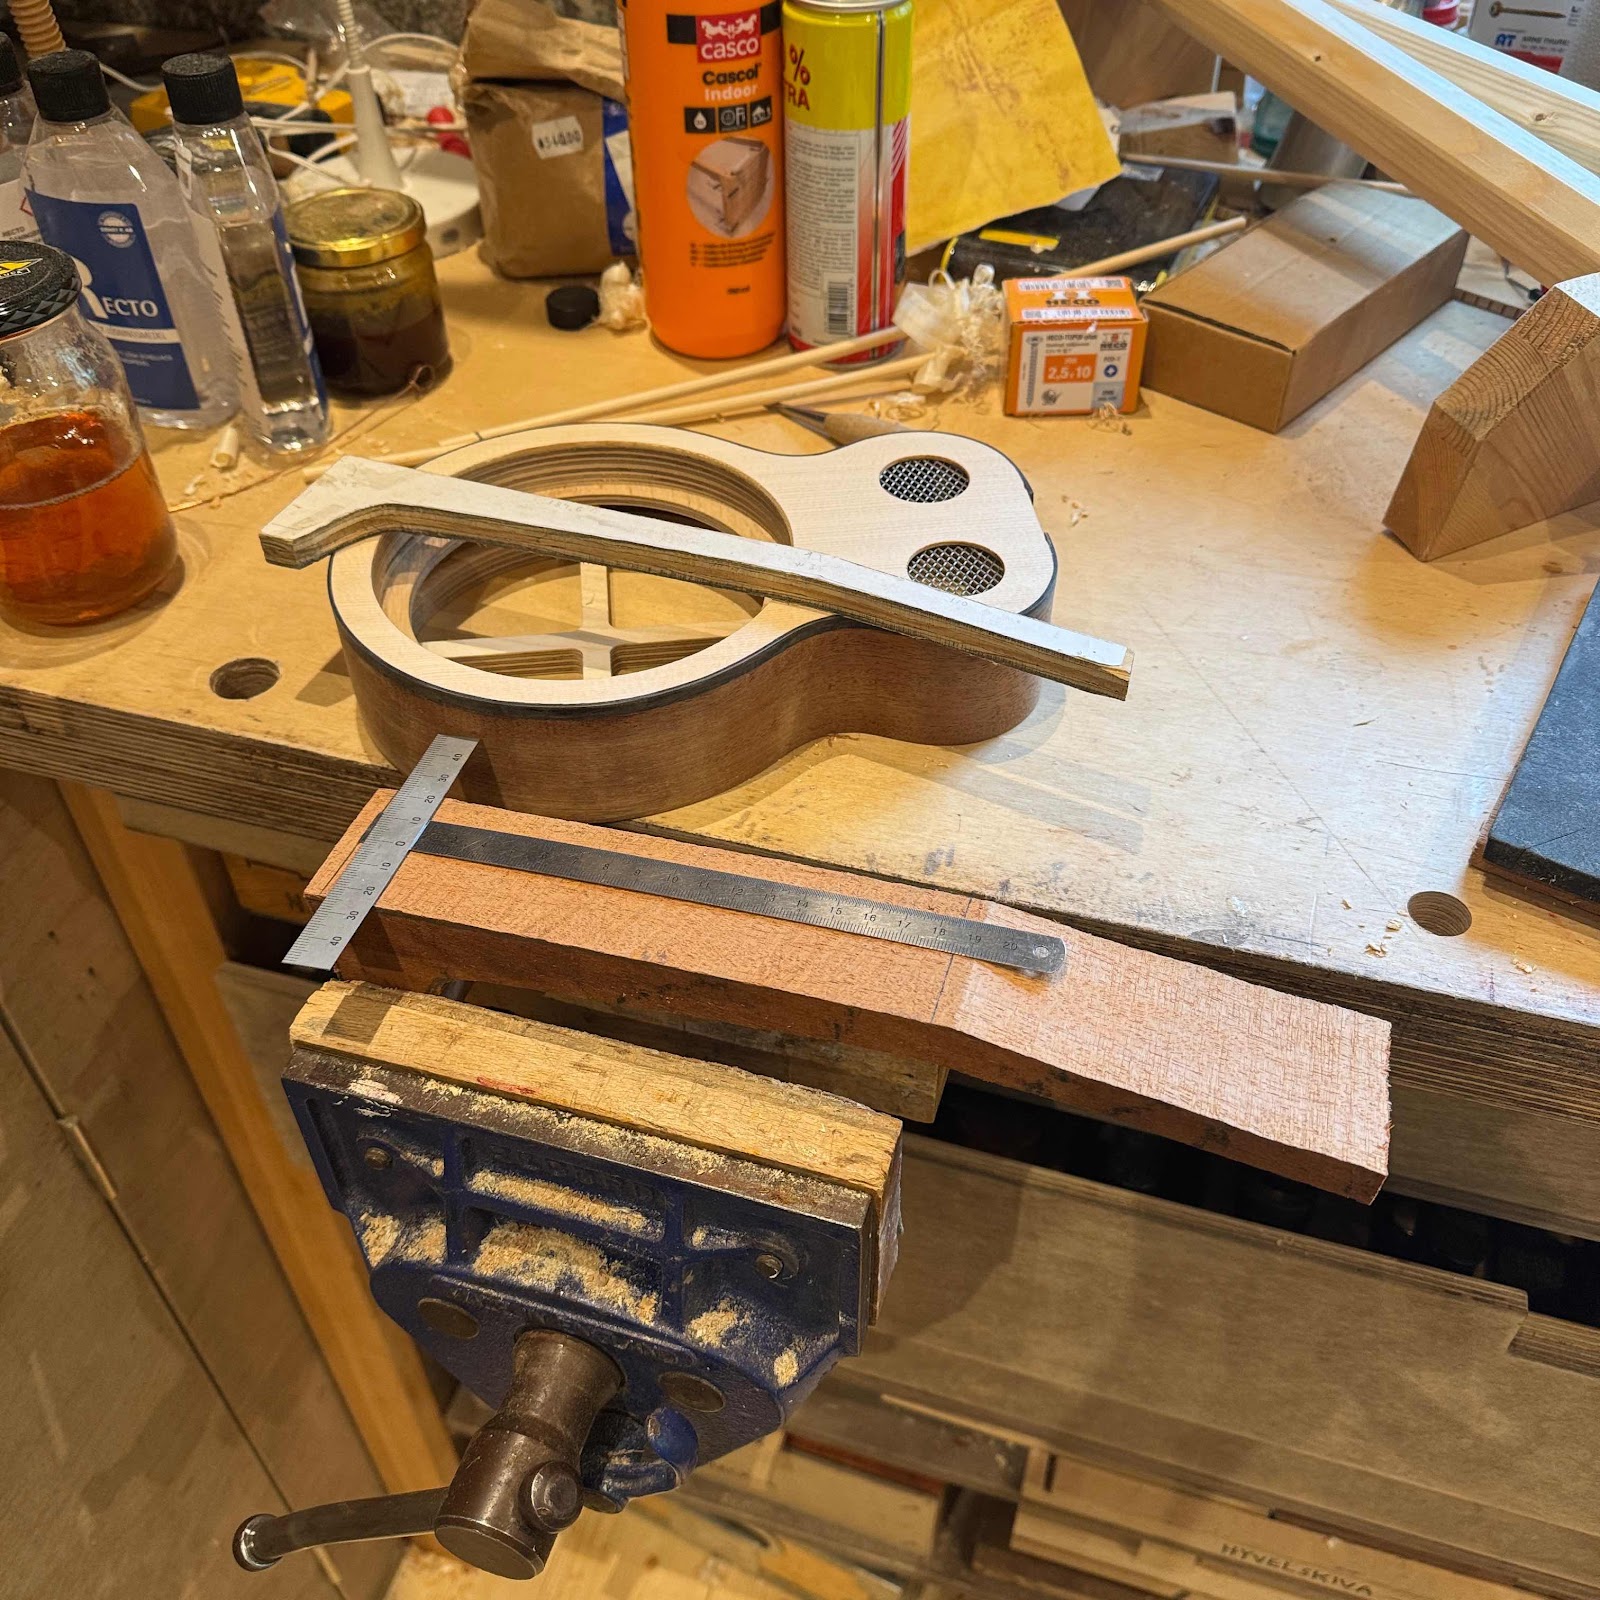
A mock-up with the neck, just pinching it together. 

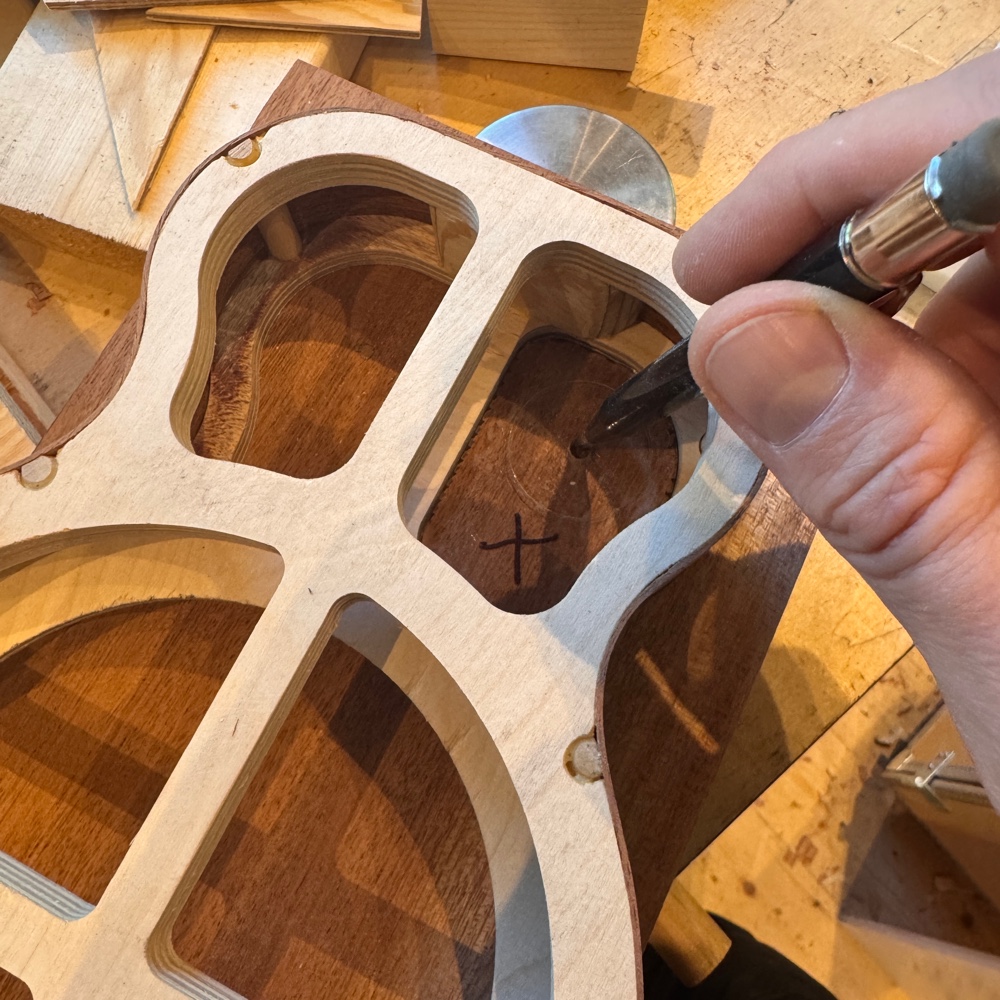
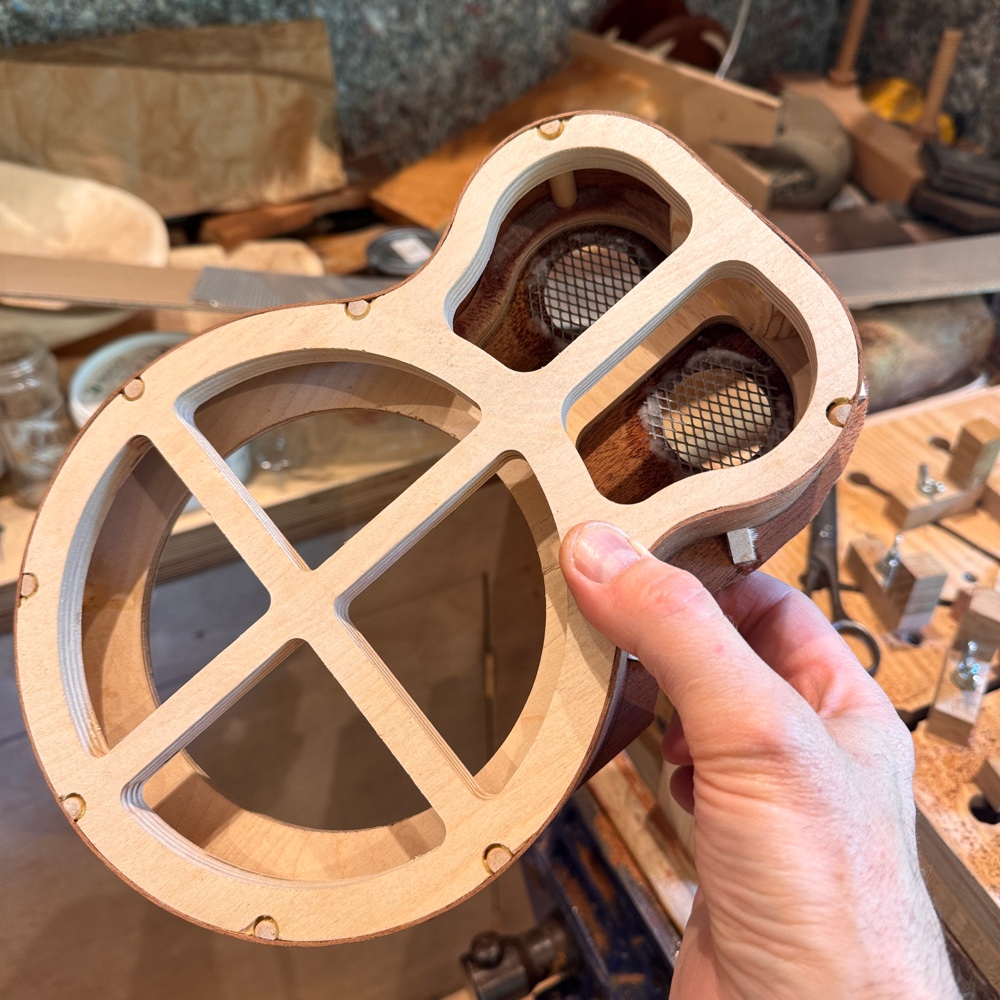
Then it was more or less time to prepare the top for the resonator. I have small acrylic templates that fall into the cutouts in the reso skeleton to mark out the exact positions of the center holes for the three different larger holes in the top. 

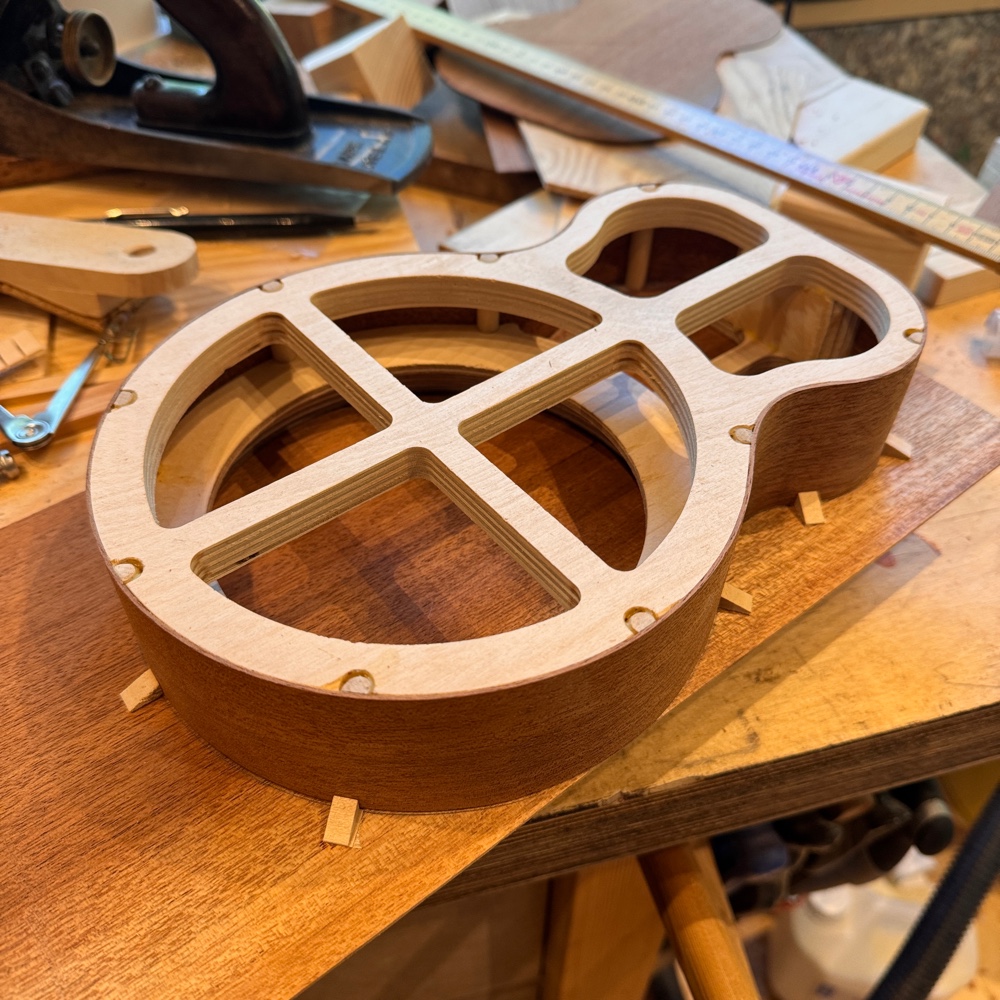
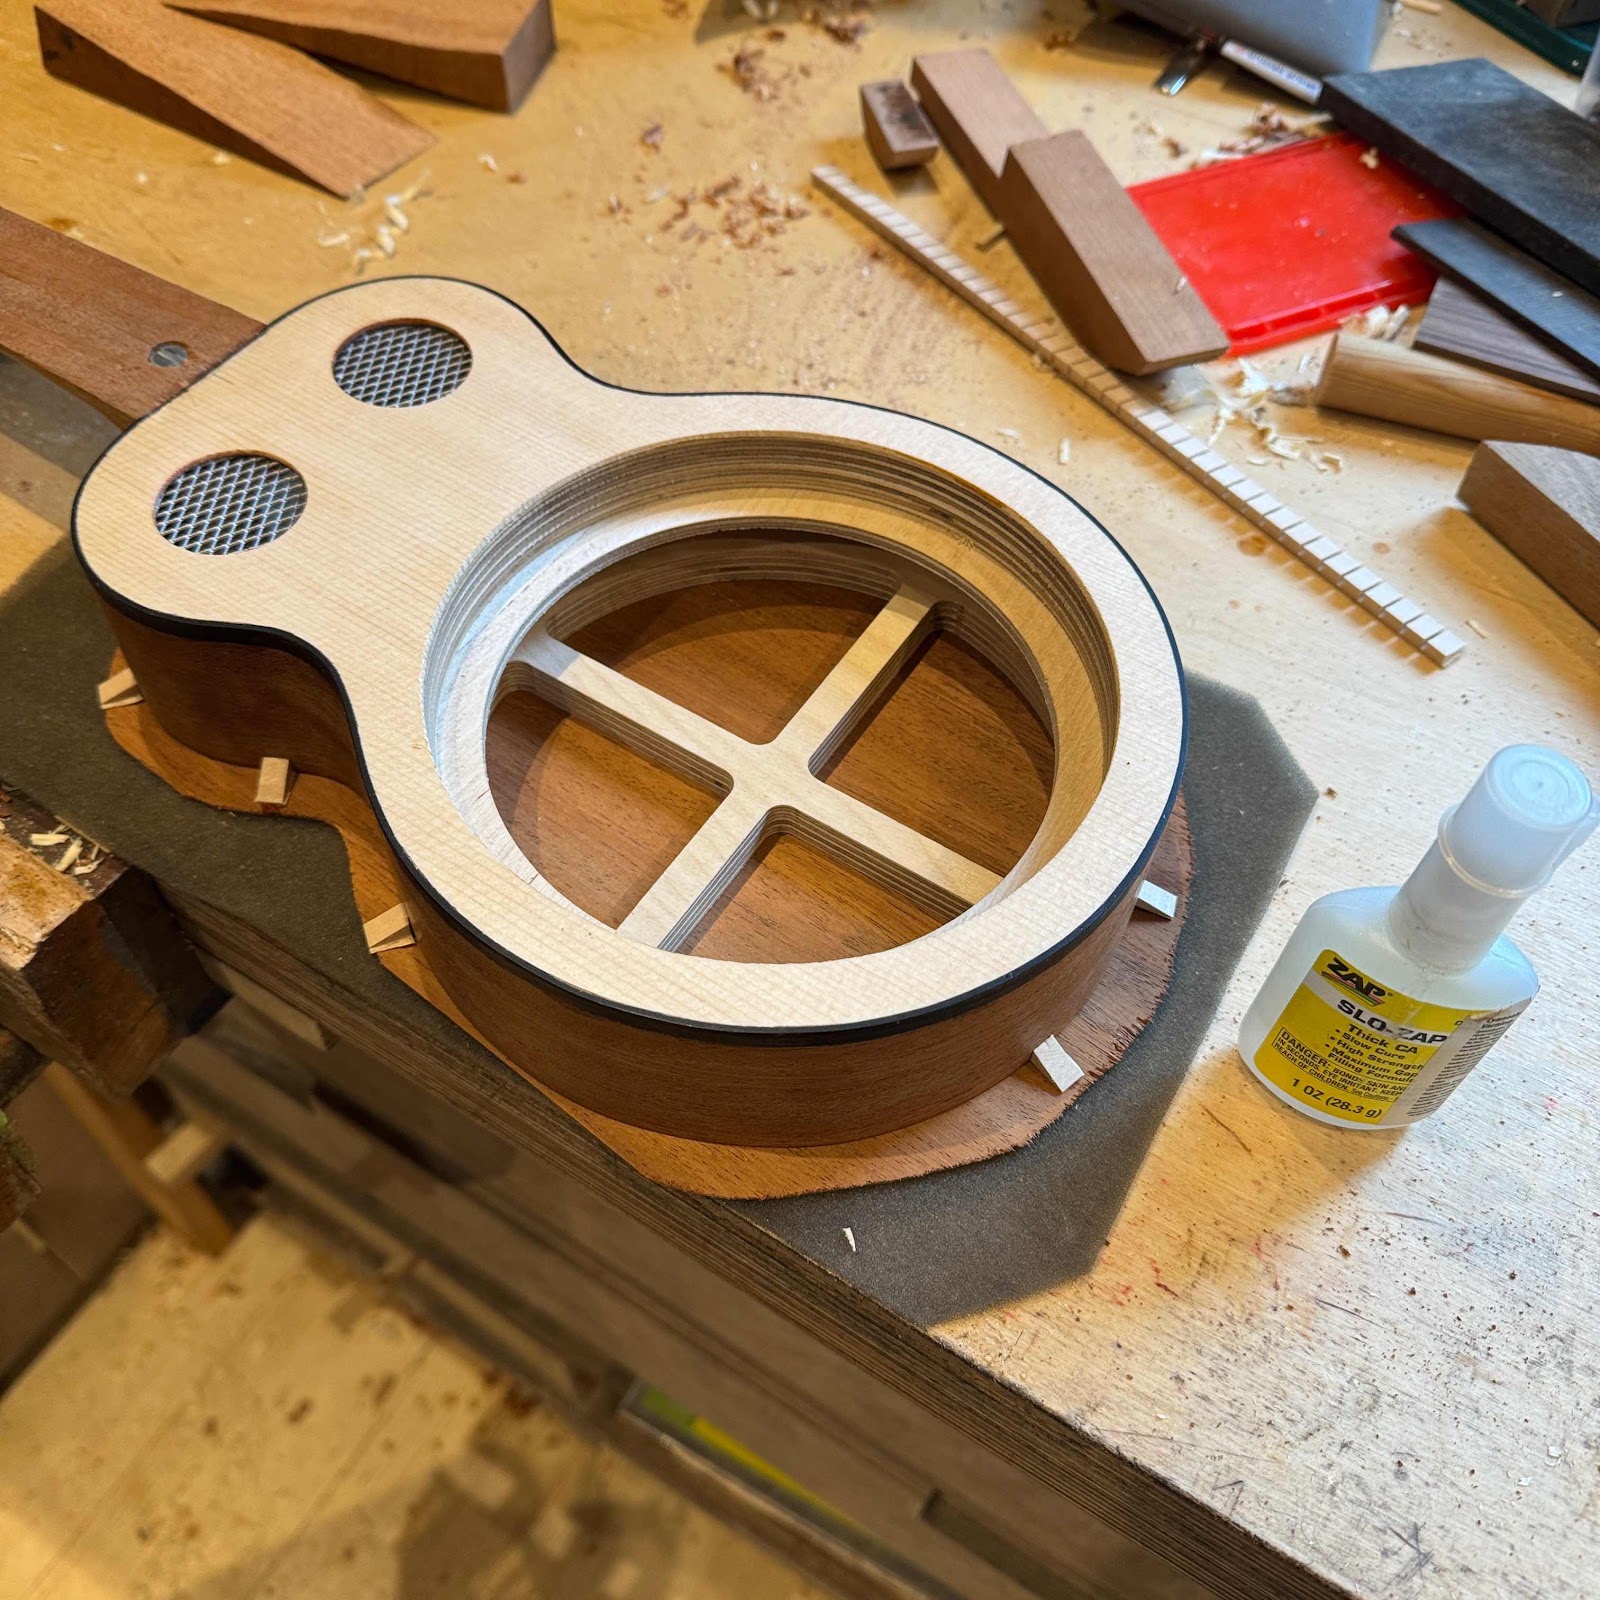
And that only works if the top is locked into position, I fix that with bits of kerfing superglued around the body. 

Without taking pics, I cut the holes and glued in the mesh for the soundports. 

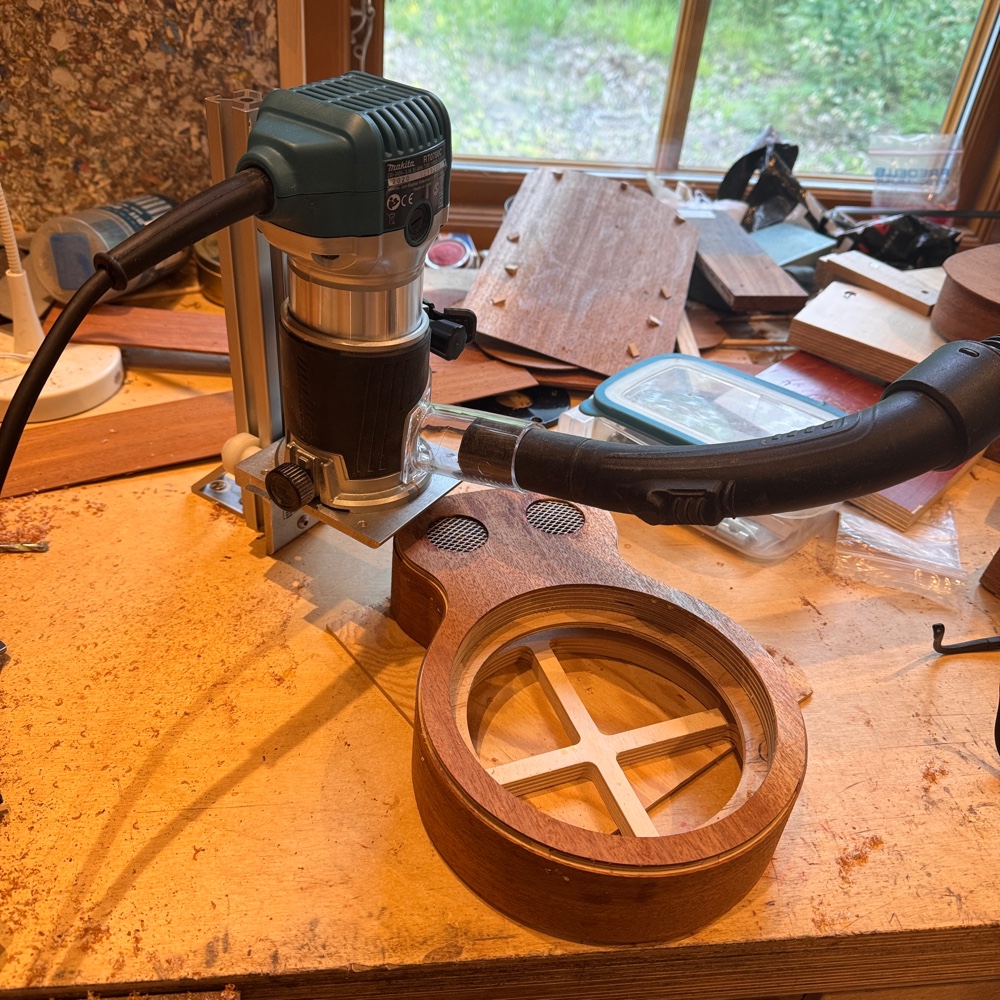
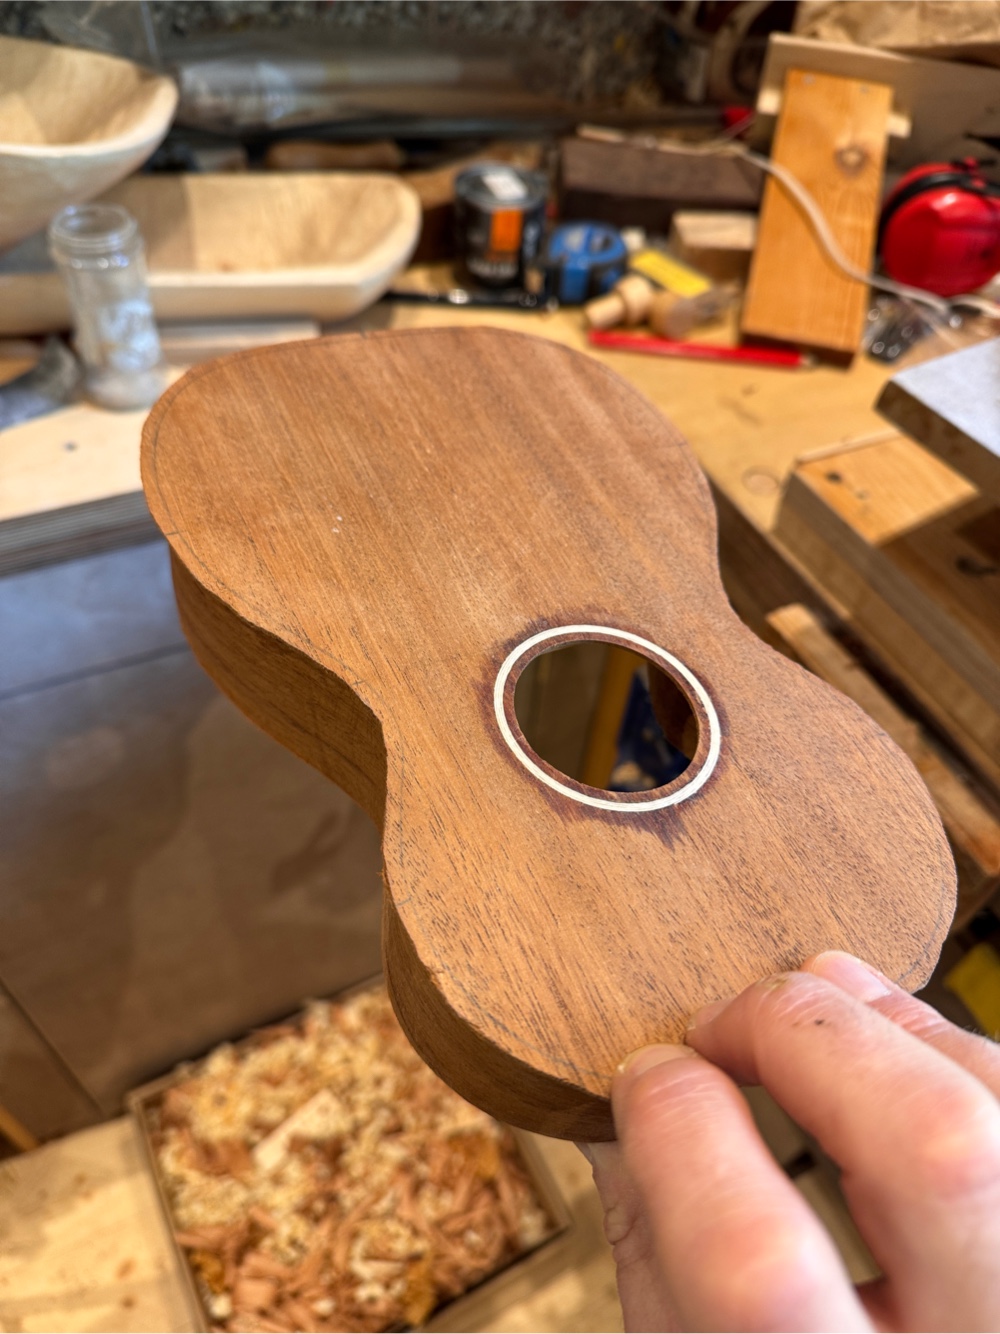
The top was a wee bit narrow so I had already decided to bind it. That in turn made me finally rig the routing jig up. It’s a piece of kit from Stewmac that I bought second hand. First time and it went very well!

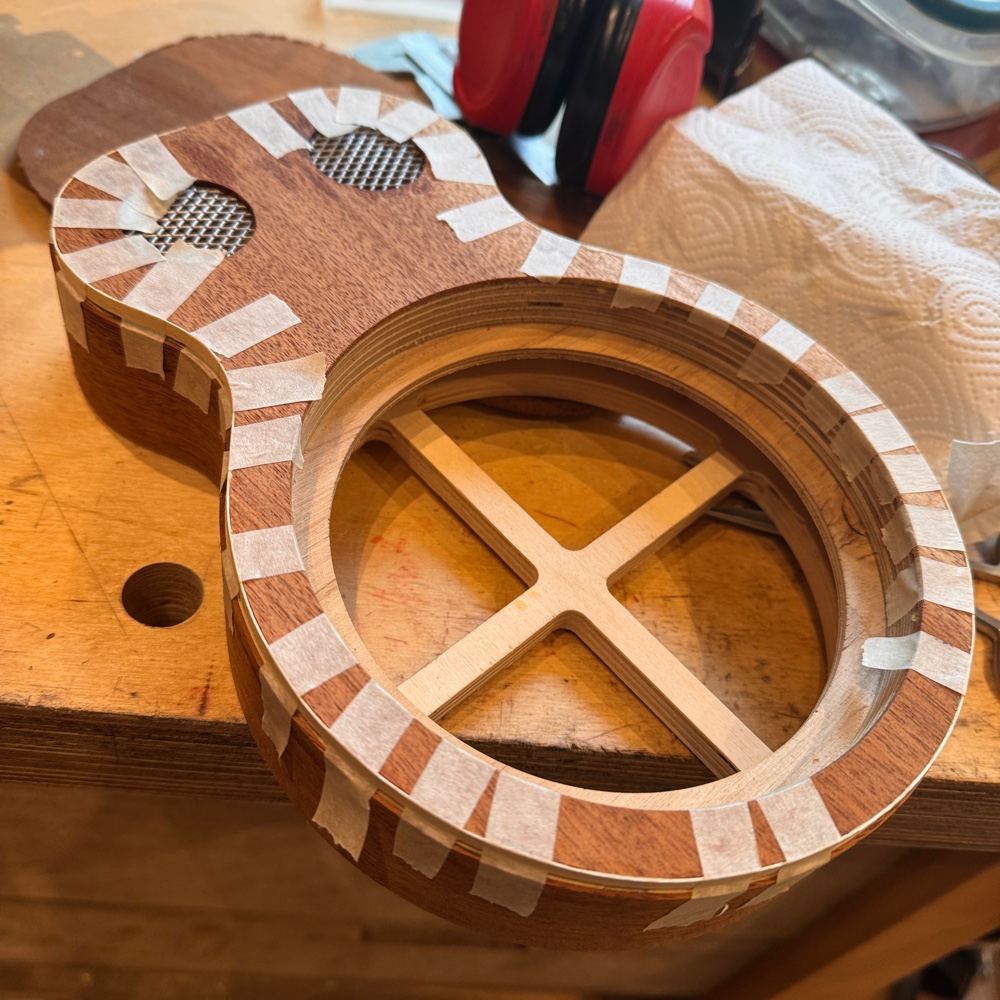
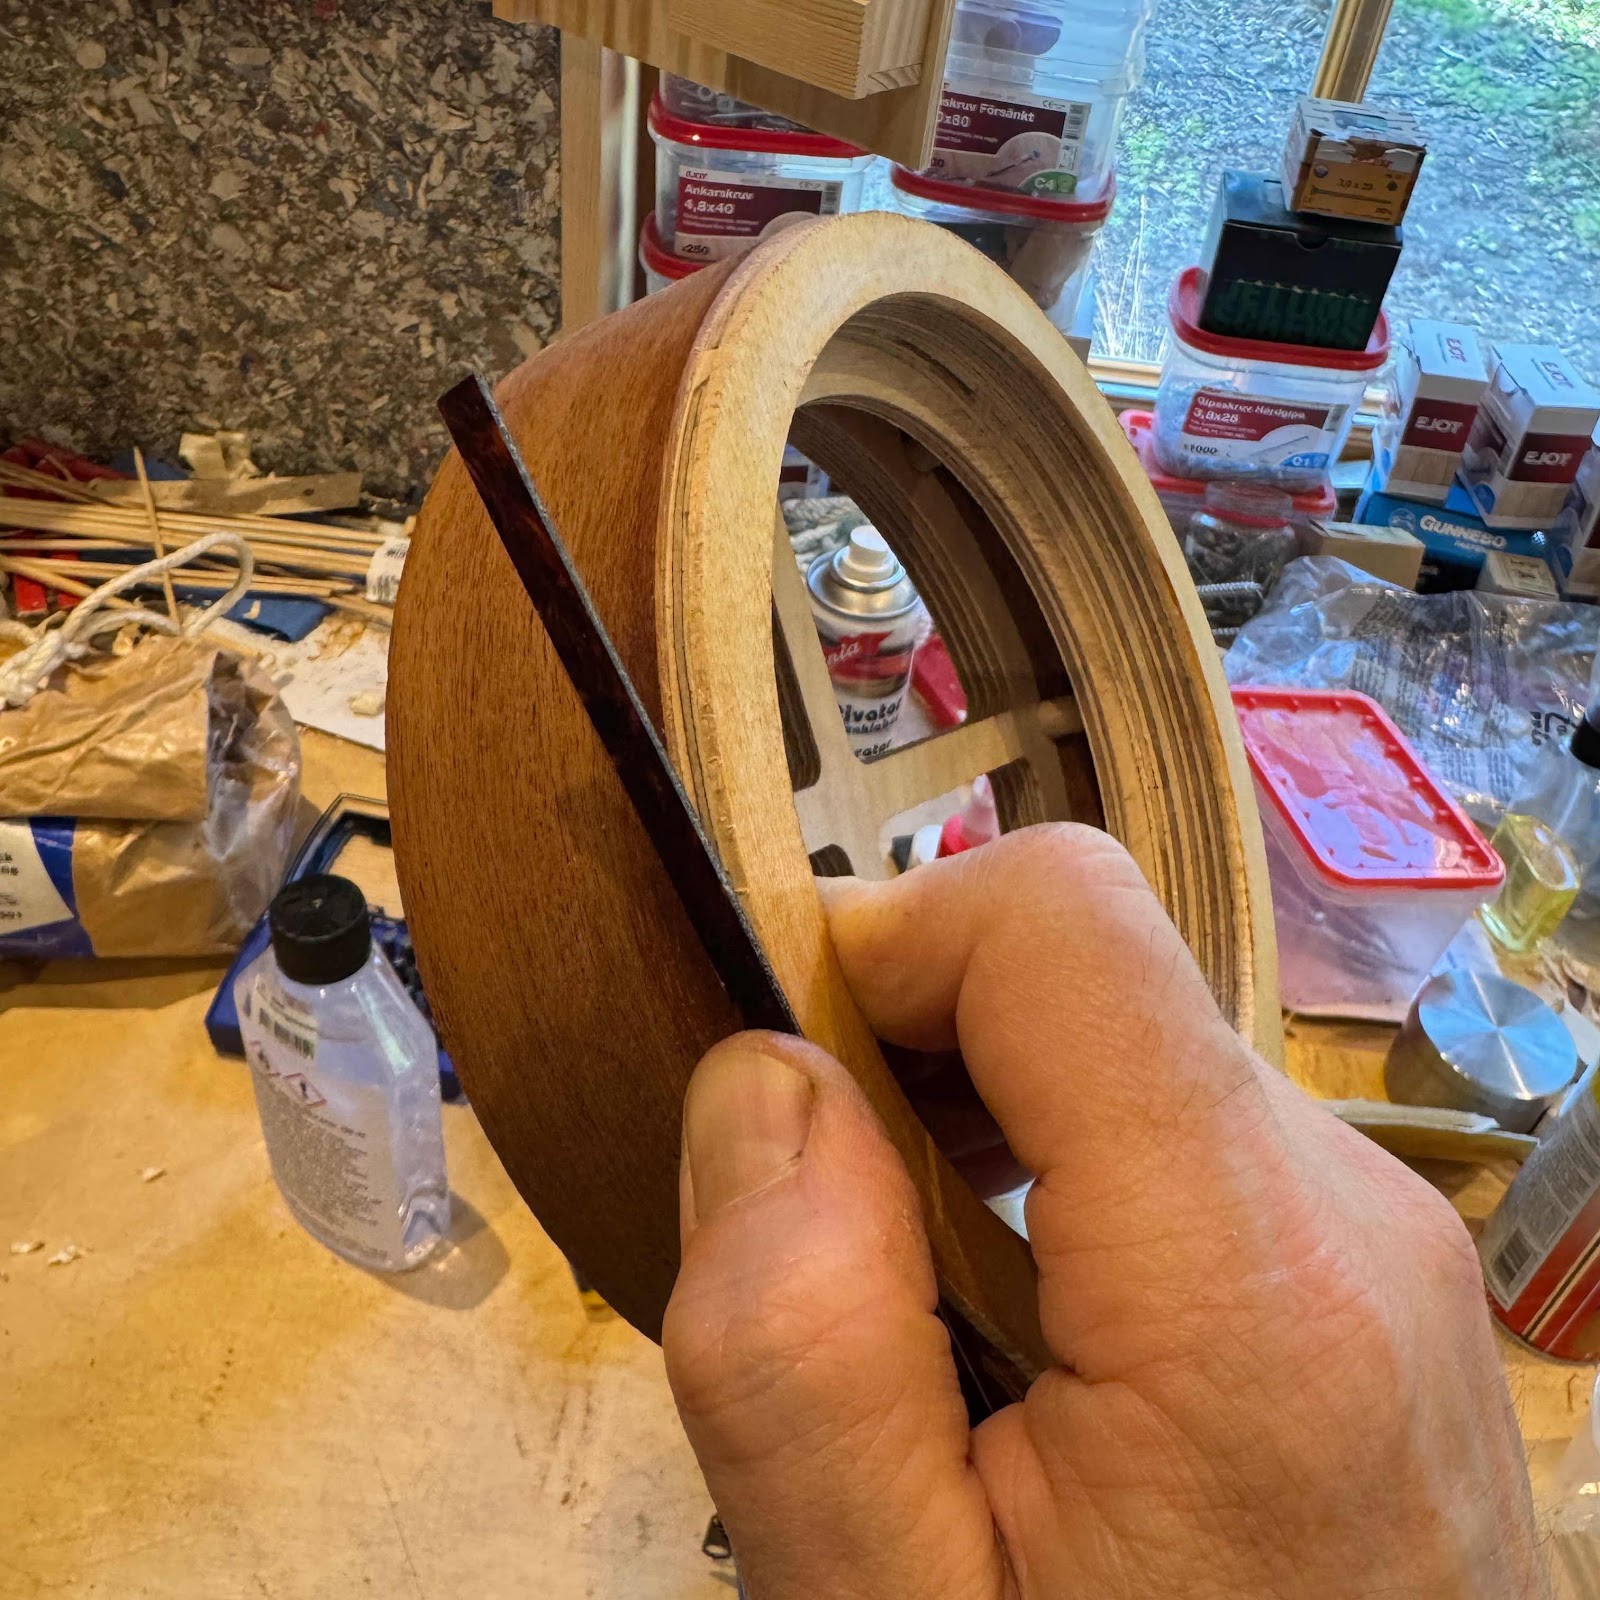
I’ll use tortoloid binding so a lighter strip inside will help with the transparent bits, I glued in a thin maple veneer strip with wood glue. The tortoloid webt in using acetone. 

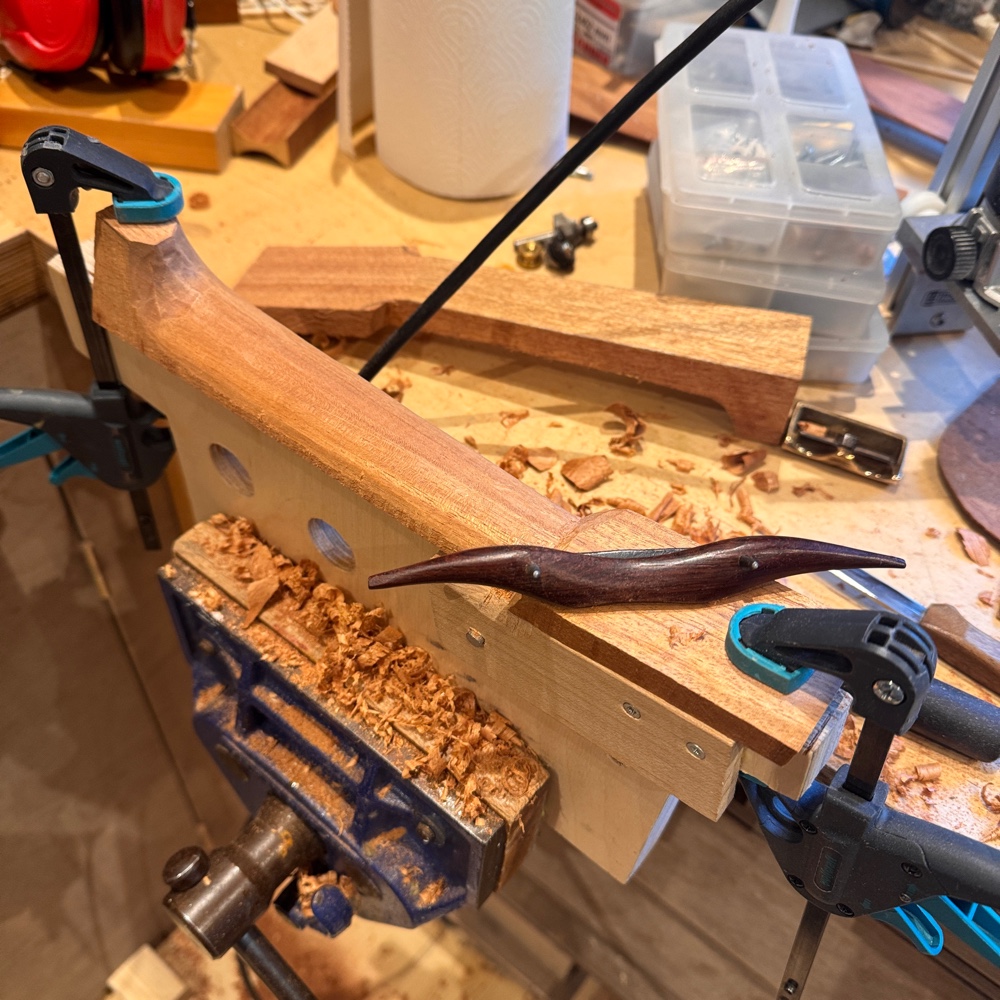
And between other jobs I started carving the mahogany neck for the acoustic. This is still my favourite part of building. 

The reso gets a cedar neck, and I managed to get that in place today before I needed to dash out for a couple of errands. 


Thursday, July 31, 2025

Fretboard pt. 2

I am lagging behind a bit in reporting the progress, all these pics are a few days old but what can one do. 

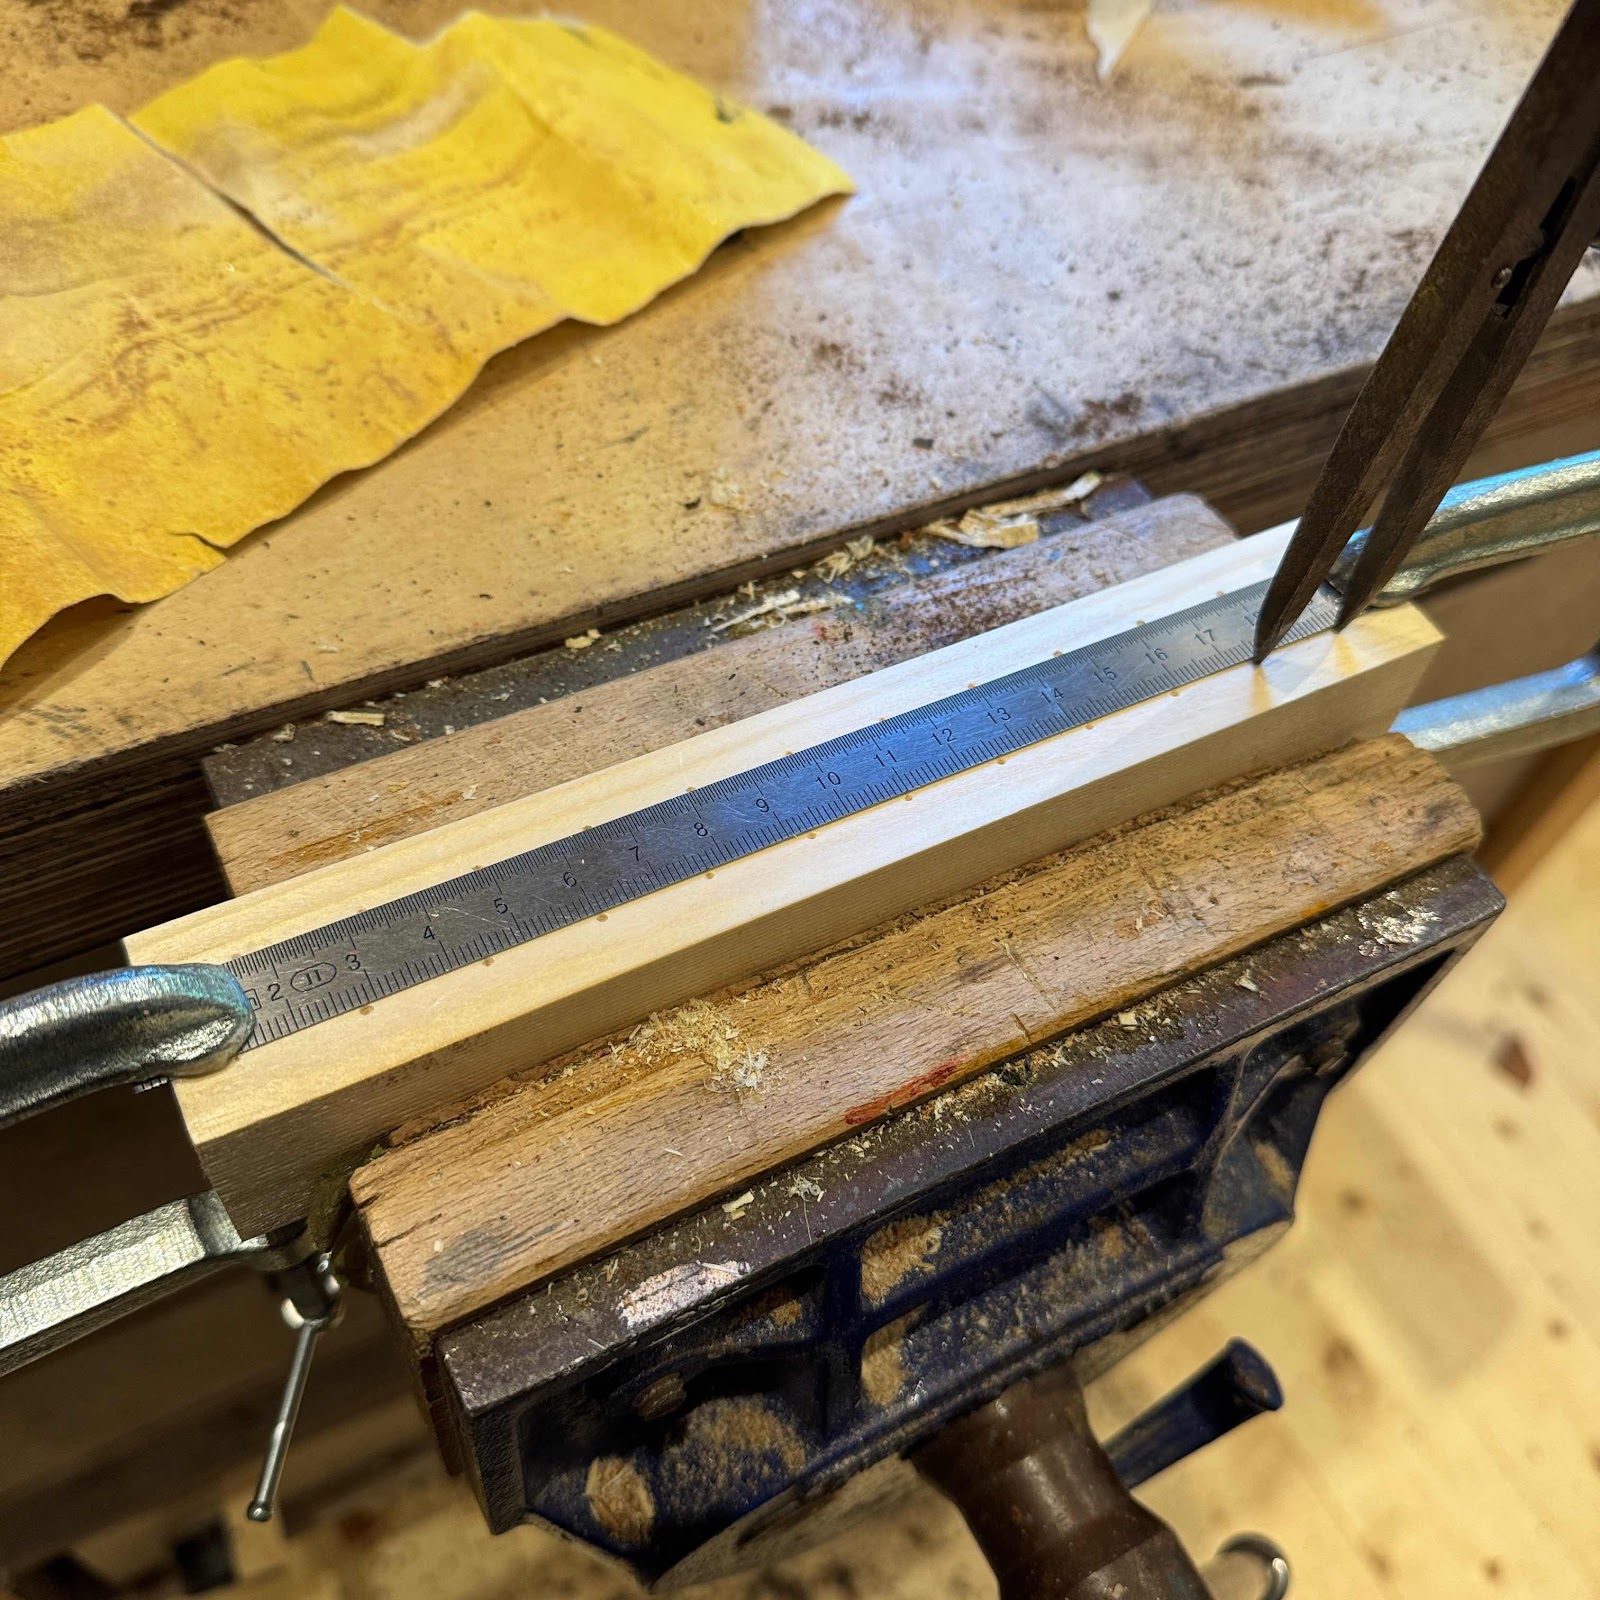
First pic is me laying out positions for some holes, using a very nice pair of dividers with a split nut. You need a few of these, trust me. The rule is just to keep the lines straight. 


Then over to the miniscule drill press, a Proxxon. So much better than a Dremel I hesitate to even compare them, but the latter has an industry standard thread at the front, allowing different adapters to be used. 


But what’s it for? For storing frets. I will cut the tangs back a bit, the weather’s warm and a bit humid so I foresee the fretboard shrinking a bit in the future. And then it’ll be much easier to knock back the ends if the tangs aren’t protruding. All this means I need to keep the frets sorted by length. 


Somehow (I know how) I missed taking a pic of actually cutting the tangs with my Stewmac fret nipper, but I’ll show that next time. Next pic shows me clamping a fret in using my version of a Jaws press. 


And once again aligning the board with rulers…


… before clamping it in place. 


Saturday, July 26, 2025

Fretboard pt. 1

I’ve been mucking around a bit with the fretboard while waiting for glue to dry in other places, now I have loads of progress to share. I’ll split it into two installments. 

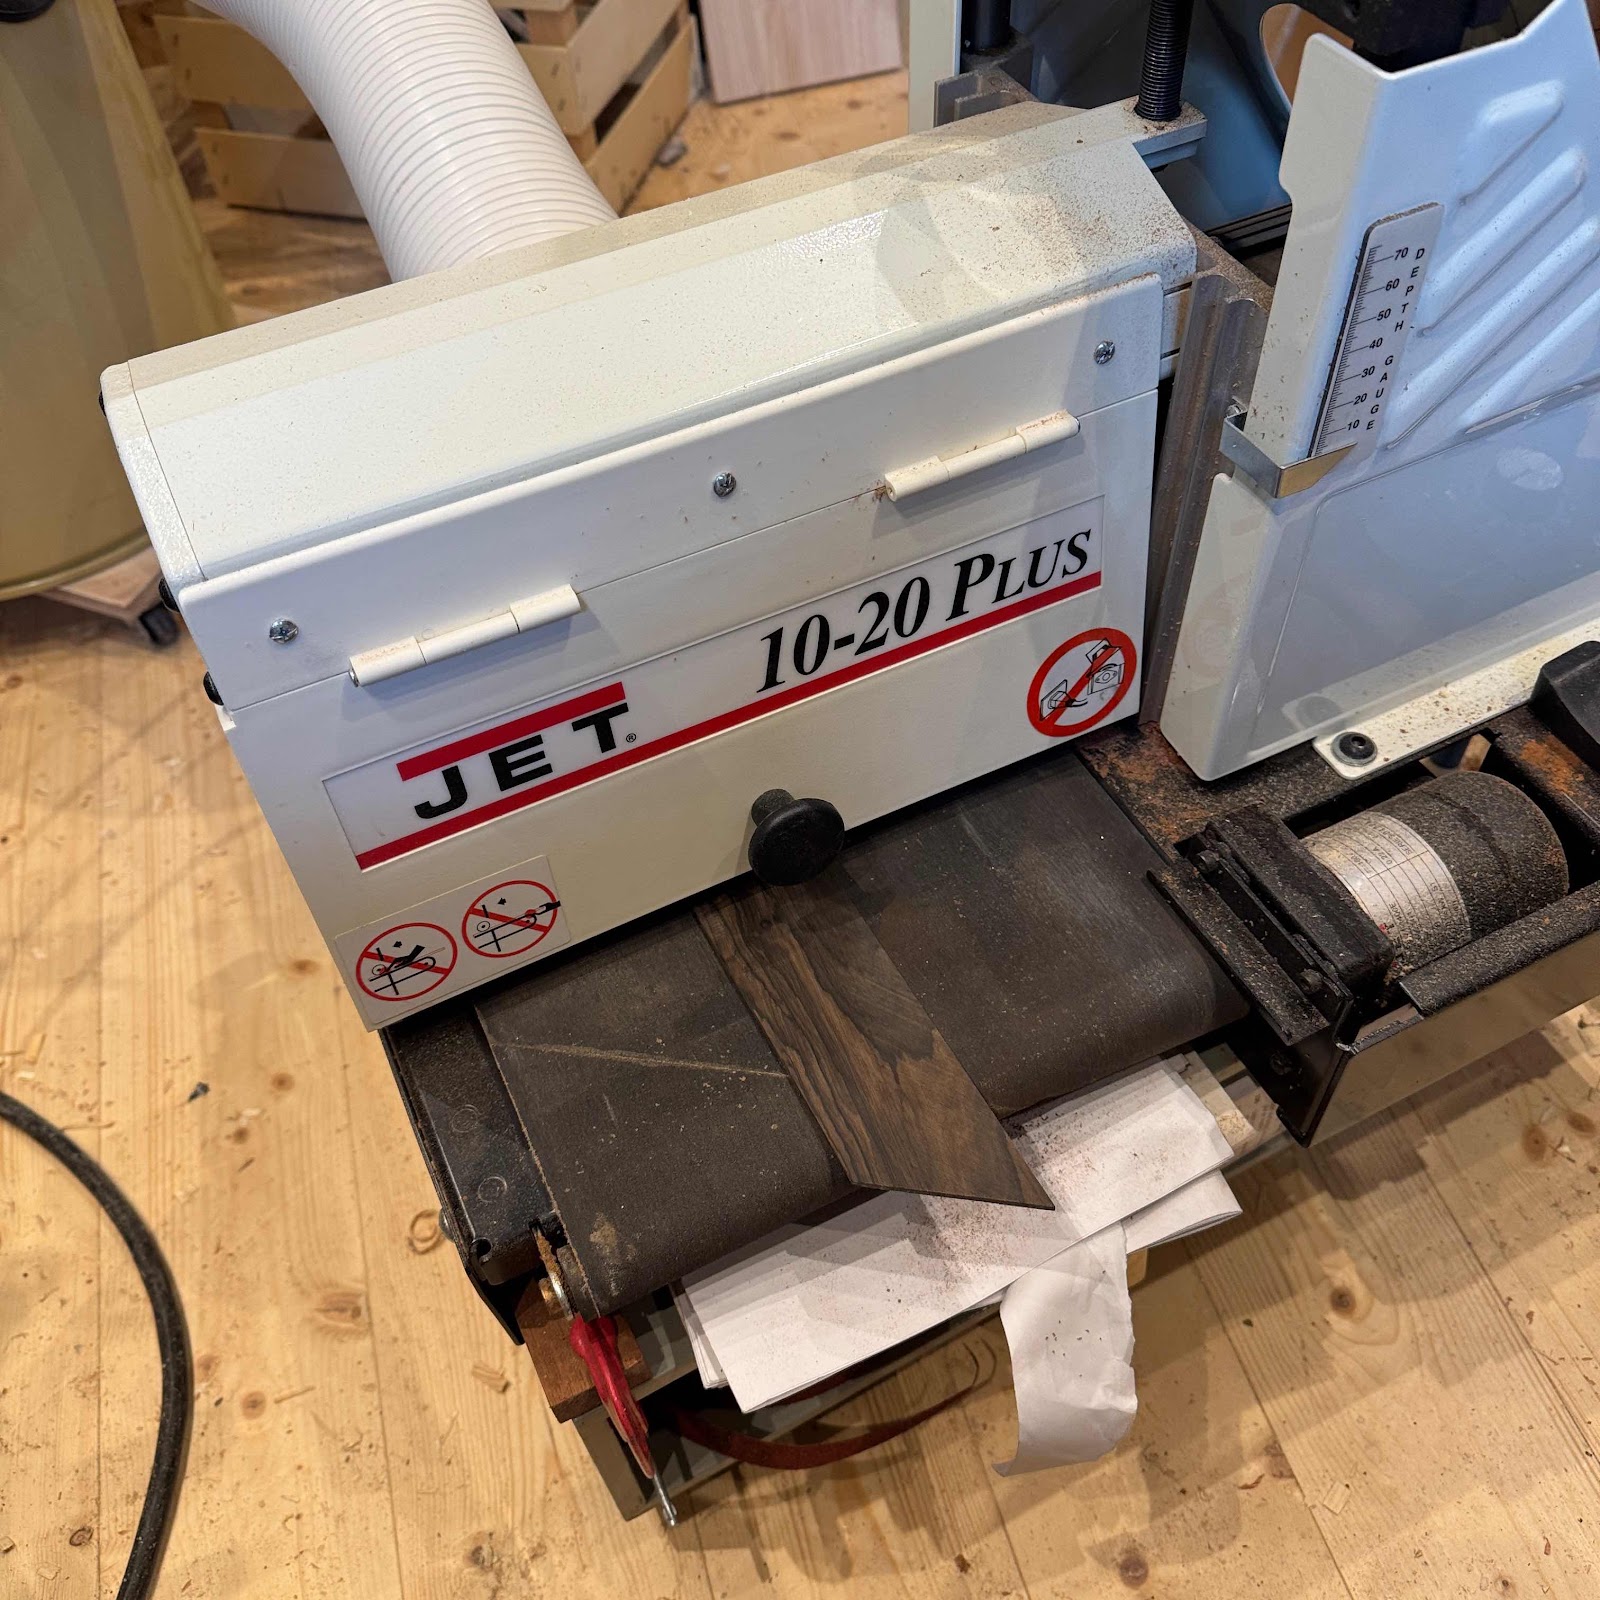
First pic is the rosewood board running through the drum sander. It was close to thickness already so I just needed the marks from the bandsaw to be gone. 


Then masking tape is applied to the underside of the board, and to the top of the fretboard. CA-glue holds the strips of tape together and everything in place. 


It was fiddly to set the depth stops to the exact depth, and the same depth, but I managed. I remember buying this expensive bit of kit from Stewmac, three weeks after the purchase they released their upgraded model with bearings and knurled thumb screws. I was fuming then and if I’m completely honest I’m still fuming. 


See? This is what we want. 


In a flash of inspiration I came up with the pattern for the inlays. I drill straight through and use plastic rods that I cut flush with a chisel. 


And sawing to width and the correct taper. The edges were planed after sawing. 


And this is where I’ll leave you for now. Fretting is underway and I dare promise that post will be gripping. 


Tuesday, July 22, 2025

Back glued on

It was time to glue the back on. I cut it out a bit oversized and aligned it with some small cleats from a kerfed lining strip. 


Then the glue was applied and spread out with the wee roller. In the back you can see a piece from an extra skeleton, to be used as a clamping caul. 


A rare shot of the Argapanator himself, thanks to me having company in the workshop for once. 


With a layer of foam I found kicking around and that skeleton half as the caul I clamped it up. 


And some excess glue was cleaned off and removed. Paralell to this I got cracking on the fretboard, but that’ll come in the next post. Fanx for reading!


Monday, July 21, 2025

Neck attached

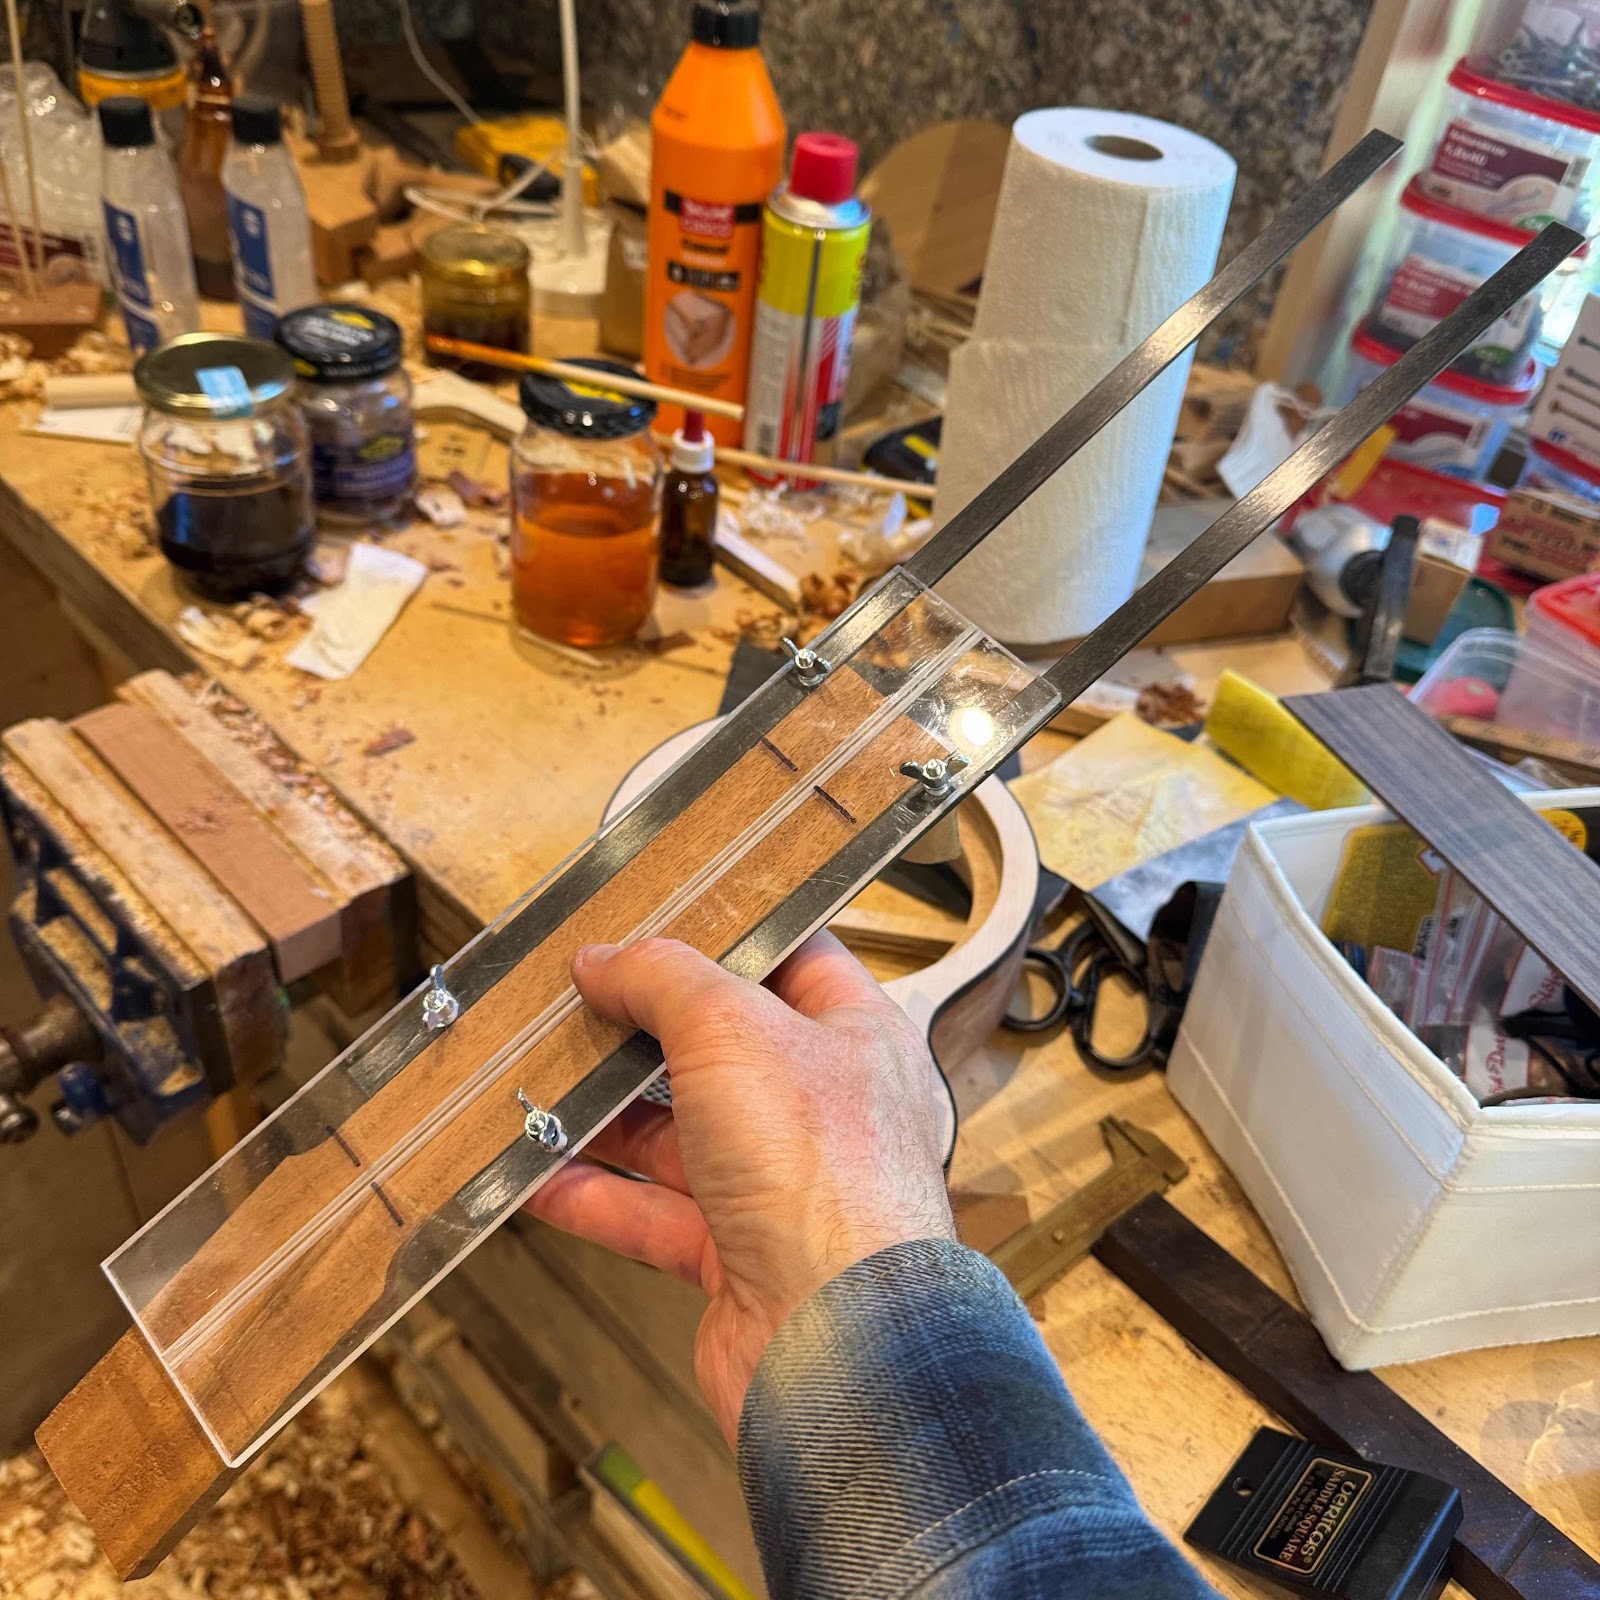
Once I had some trouble aligning a neck, and in handling that situation I rigged this gizmo up. Haven’t used it loads but as I found it the other day I thought I could give it a go. If nothing else it captures on photo what I usually do by eye and loosely held rulers. 


I put a wee centre finding rule at the end of the body with the zero at the centre line, then I can more easily measure the position and direction of the neck. 


Before this last pic there were a few steps that aren’t possible to show, not because they’re classified but because they require both hands and some jiggling. But it all turned out well. Next up is chopping the excess at the heel off, glueing on the back and get cracking on the fretboard. 


Monday, July 14, 2025

Neck work

Time to get a handle on this situation, innit. I found an old mahogany neck blank kicking around and it will be a great match for the body. First pic is from measuring and marking out. 


Then I start carving with a two-handle drawknife, wicked sharp. I can’t find the neck carving jig, it must still be in a box somewhere. But the vise I got from Chris works. 


The knife goes down through the end grain like through [really dense and slightly brittle] butter. 


Trick photo - I can’t really carve holding the neck and the knife in the same hand, but wanted to show the shift to the wee knife for refining the shape and profile. 


I really like the faceted shiny surface from carving, but not all do so I finished it off with sandpaper. 


Are we fast approaching attaching the neck? I didn’t think I would remember this much but expected a lot more fumbling. Let’s hope this won’t jinx it. 

Friday, July 11, 2025

Binding

Hiya. The spruce top is on ans as I prömised I will bind it to protect the rather soft edge. A bit daunting as I haven’t done it in years, but I found the tools and the wee machine. Considered using the large trim router but opted for the Dremel with the Stewmac attachment. Sadly I forgot to take a pic of the setup, but it involves me sitting outside on a damp janky table clamping the uke between my knees and routing the channel slowly in several shallow passes. 

First pic shows the channel after a bit of cleanup with a file. 


The tortoloid binding is really stiff so I pre-bent it on low heat to get it to comply with the body shape a bit better. 


Doesn’t need to be any more precise than this although I suspect it could be. 


I used thick CA-glue. It works provided you rough up the inside surface a bit. I did that with a hacksaw blade, and I also chamfered the bottom inside corner of the binding strip with a knife so it doesn’t get in the wah of any microscopic pieces of crap in the channel. 

Low tack masking tape to make removal easier. It usually sticks rather well on account of the superglue. 


If you like it you should have put a string on it. I think.  


And after a couple of hours I dared remove the tape. Next up is scraping it flush to the top, then I guess I should start looking for a neck blank. 


Saturday, July 5, 2025

Soundboard (top anyway)

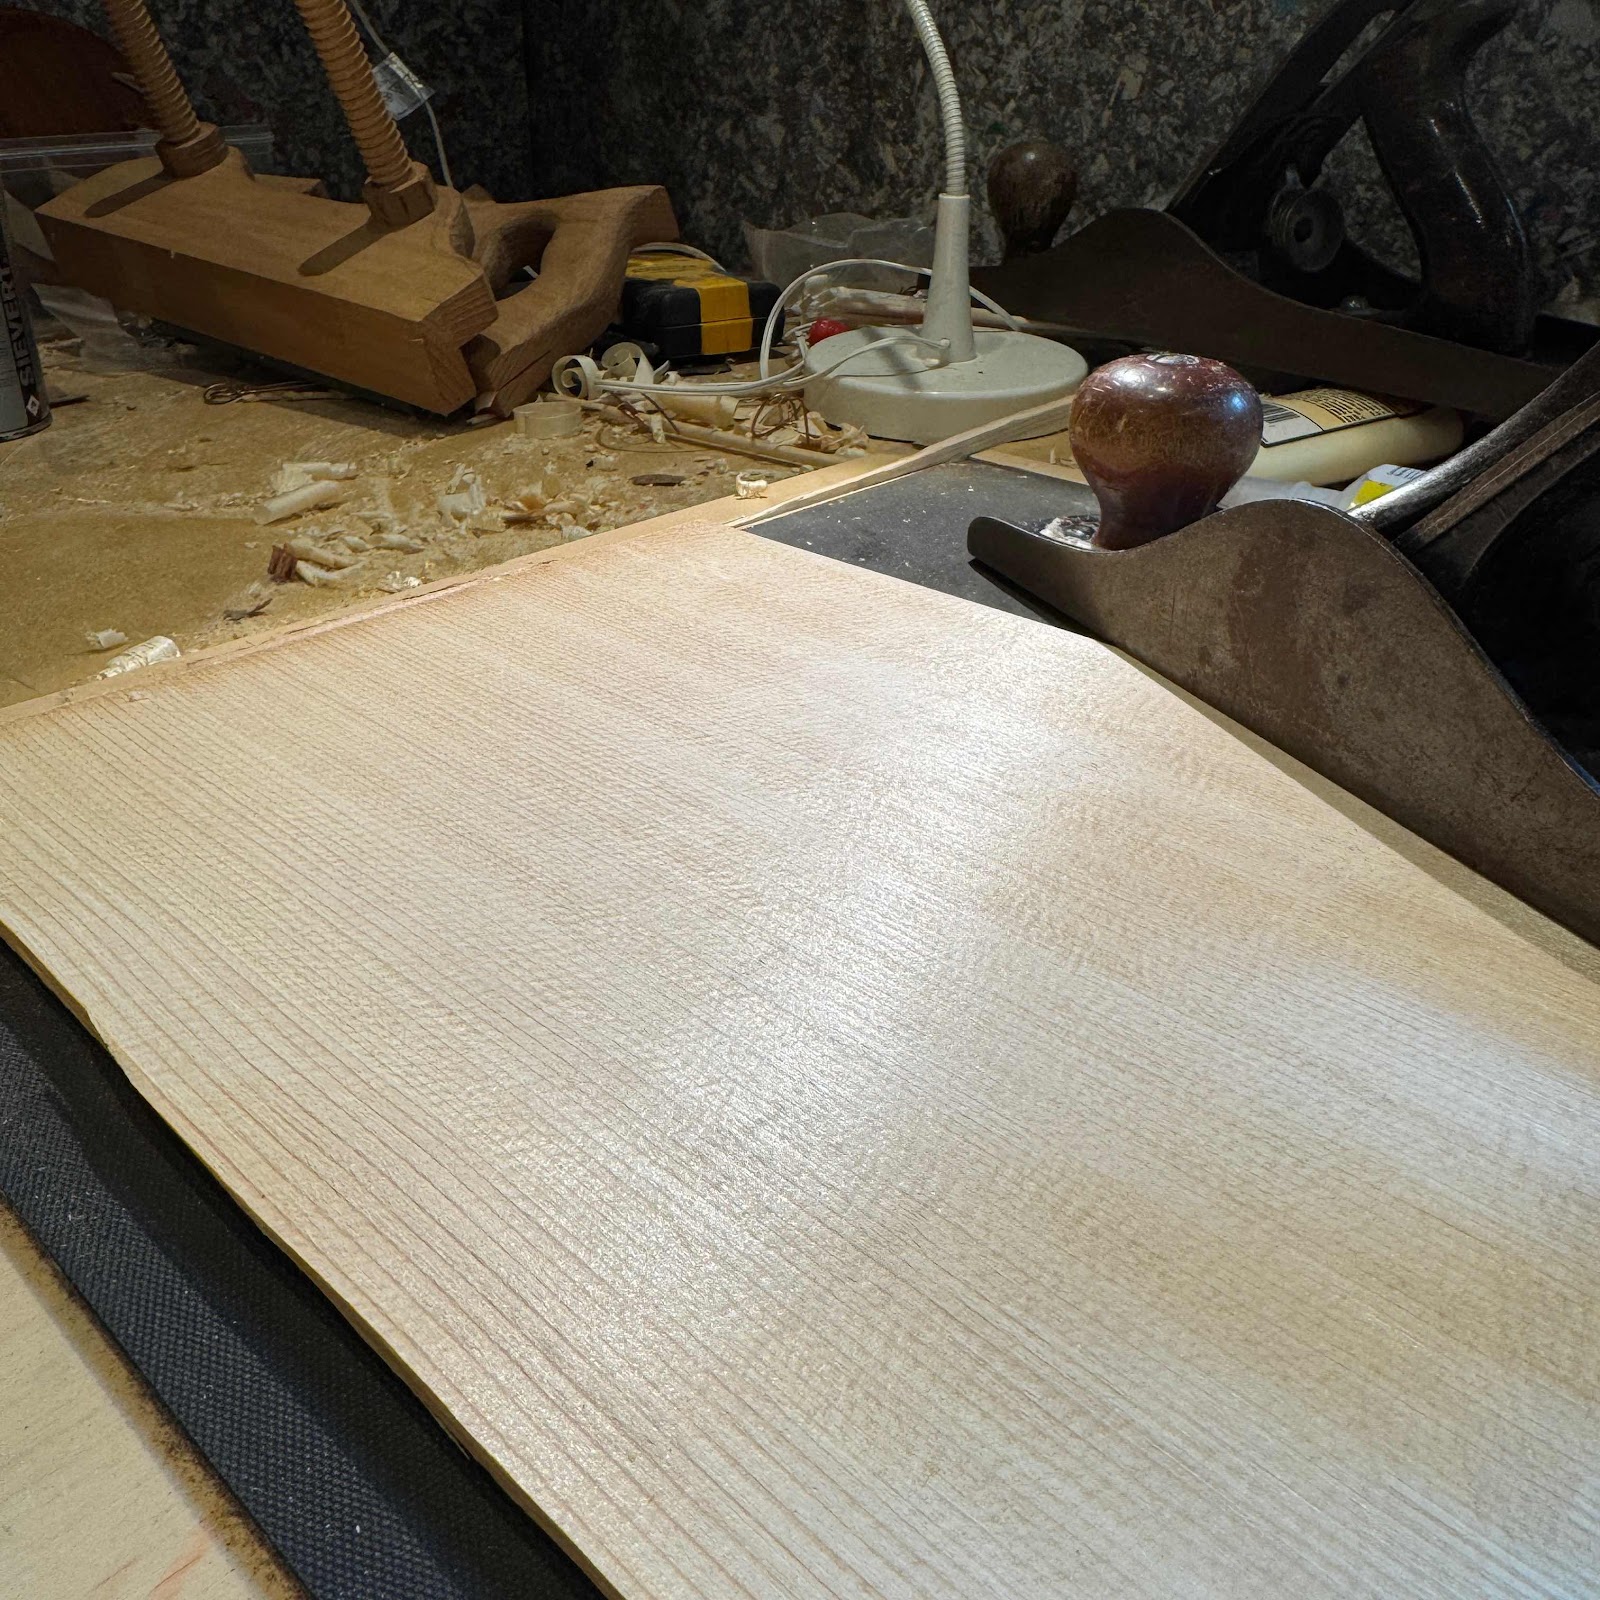
Hell-o, I’m back in Sweden after a stint in Mumbai and I’m back in the workshöp. My favourite customer S has been quiet lately, but he told me before that he considered a spruce top on the reso. I haven’t done that before so I’m game. Pic shows me planing it with a number 5 jack plane. 

It was a while since I prepared a top for a reso but I was confident I remembered the long and rather complicated sequence of steps <— foreshadowing


Then laying out the contour and marking for the holes. I’m really proud of my locating templates, the only easy way to find the center of the holes in the skeleton. 


And I get that the last pic doesn’t explain it totally so here’s another one that should help you out. 


And out came the marvellous rosette and circle cutter! Of course the holes should have been cut before I glued the wee locating nibs on. First mistake due to hazy recollections of ”the long and rather complicated sequence of steps”.


It’s possible to do it like this but next time I hope I do things in order. 


And on to mistake number three! (I won’t bother you with the second one but it involved sanding the edges of the holes before glueing the top on.) The third mistake was forgetting to glue the mesh screens in before the glue-up. But it went alright apart from poisoning myself with CA accelerator. 


And here is the result. Not much left of the spruce soundboard we started with but hey, it’s what’s needed. I will add binding as I tend to do with spruce topped instruments, leaning towards a single ply plastic one. But not black, that would be too stark a contrast. I hope I can find some tortoloid strips, they were around a mere four years ago. 


Saturday, June 21, 2025

Rim bent and glued

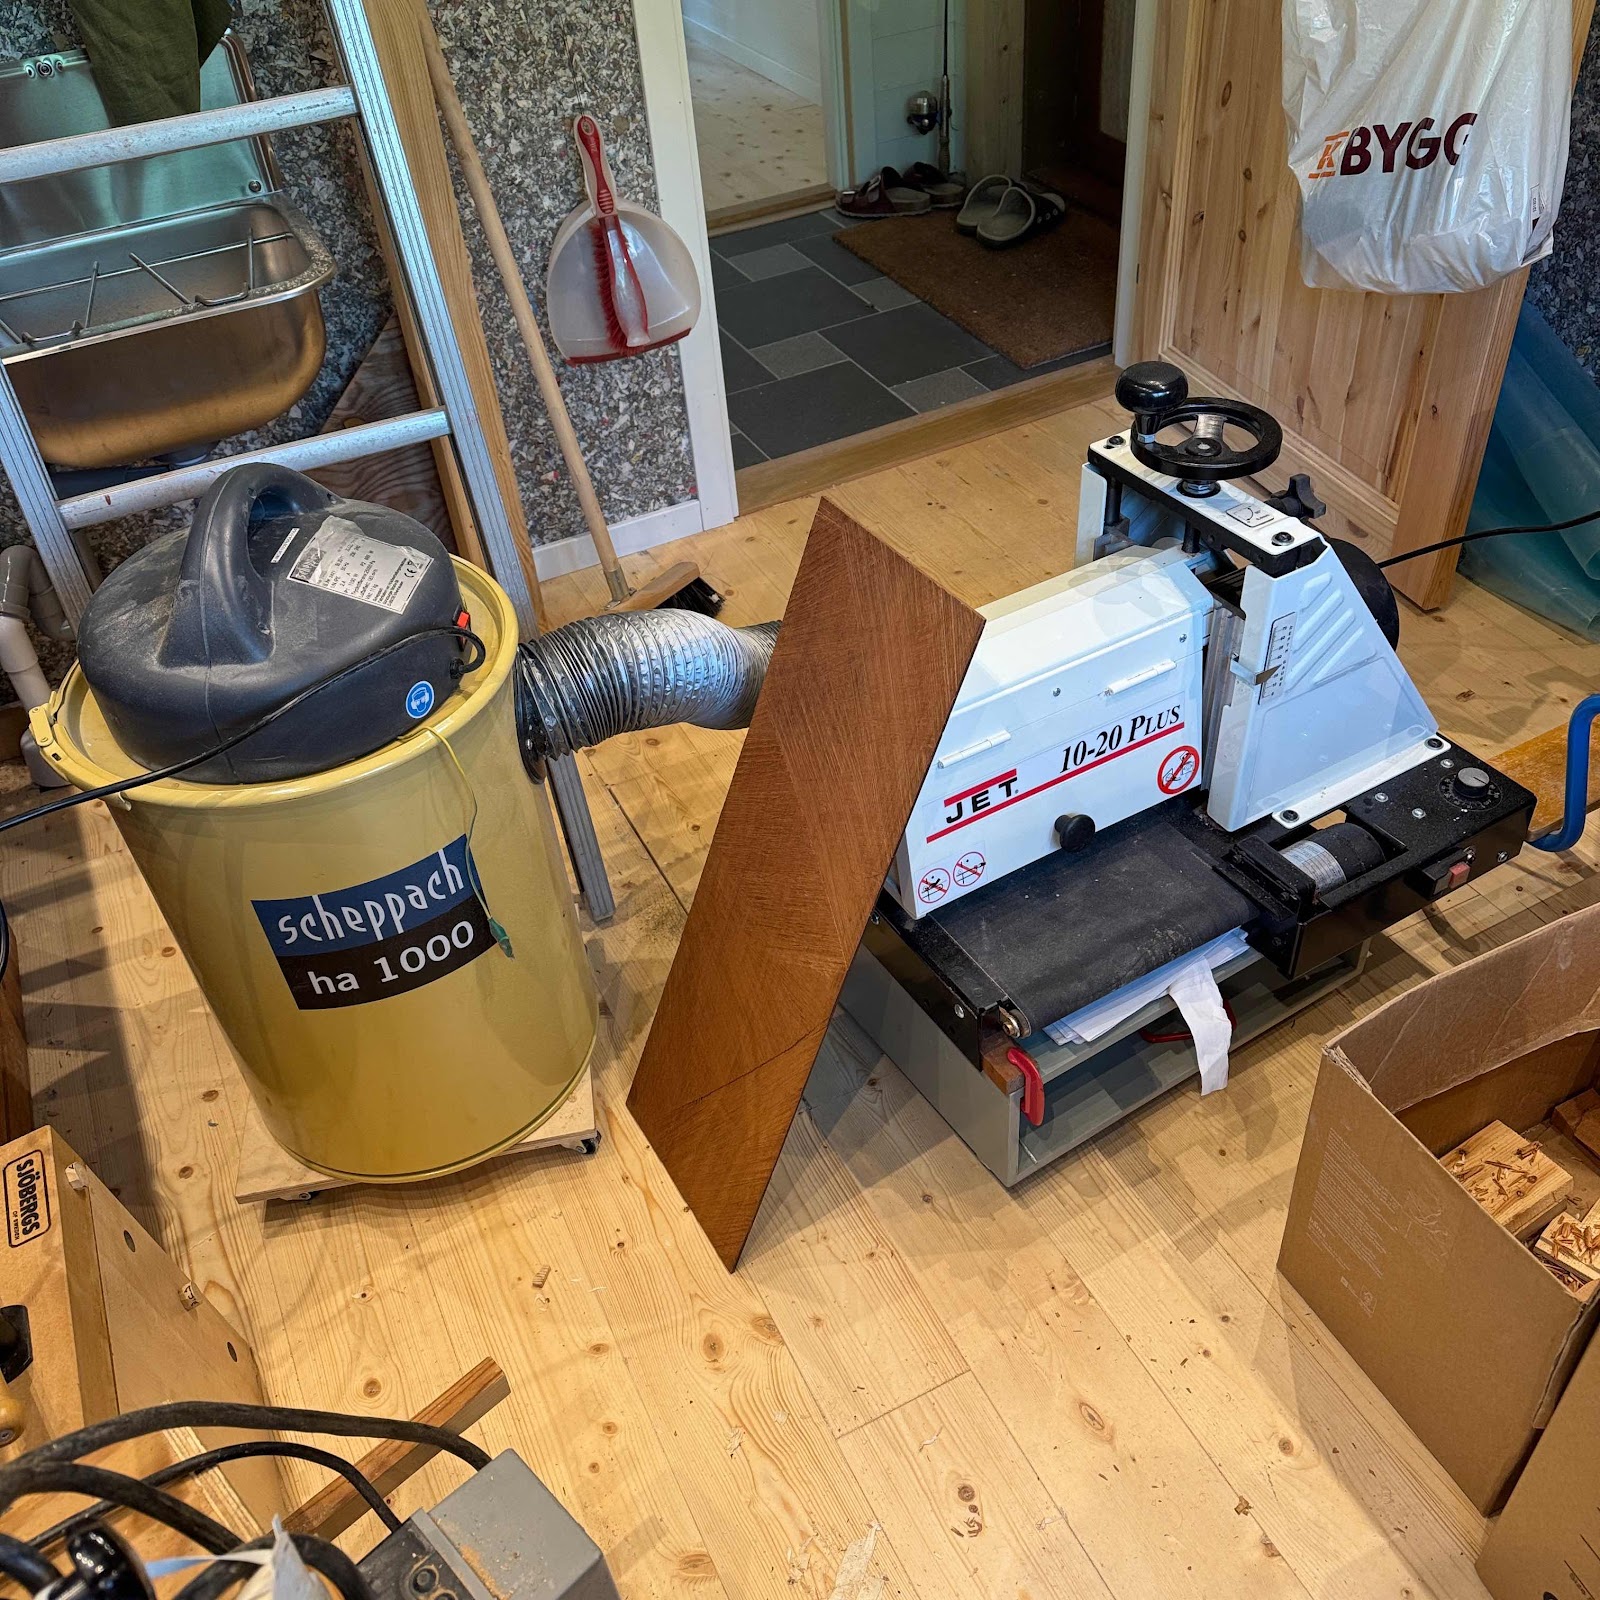
So, can I set the drum sander up for the first time in years? It’s still on the low trolley I built for a TV some 25 years ago, so I operate it kneeling on the floor. But it is the floor of the new workshop, so it’s all good. 


It took a moment or two to remember the finer points of drum sanding (believe me, there are those), but it turned out rather well. 

Next pic shows a 60 mm slice taken off for the one piece rim. 


And then I thought I might as well get reaquainted with the old bending iron, that isn’t made of iron but of aluminium. The skeleton is mounted on a stick for reference. 


And after a wee while I got the hang of it, sort of. 


The bending was done yesterday, and today the rim was dry enough to glue. If only I could find the rest of my clamps!


Should I get back to instagram as well? I might do that since nowadays fewer people are made of the stuff that makes them read blogs, damn them and damn all social media.