Learning Ukulele 50 Sites Top 50 Ukulele Sites Argapa Ukuleles - one size louder: 2026

Friday, July 24, 2026

Acoustic soprano picking up the slack


I’m struggling a bit with keeping the blog updated, progress on the ukes are faster than that on the blog posts. But this is an account of the last week’s work, mainly on the acoustic sop (although I might have glued the back onto the reso).

I have tried numerous kinds of neck joints - Spanish heel, tenon, dowels, bolt on with barrel nut, and on the piccolos a pointy wood screw. And that last one is great, the piccolo necks are of cherry and the screw gets all the purchase it needs. 

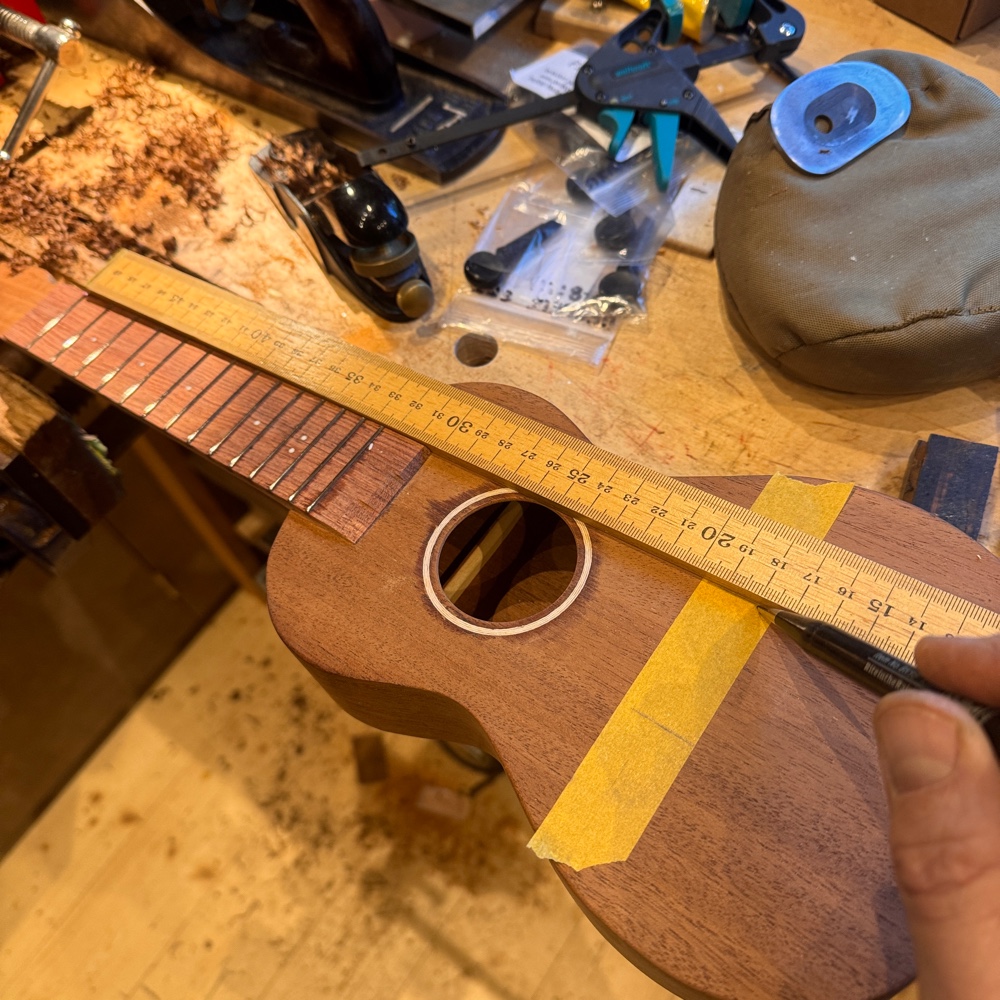
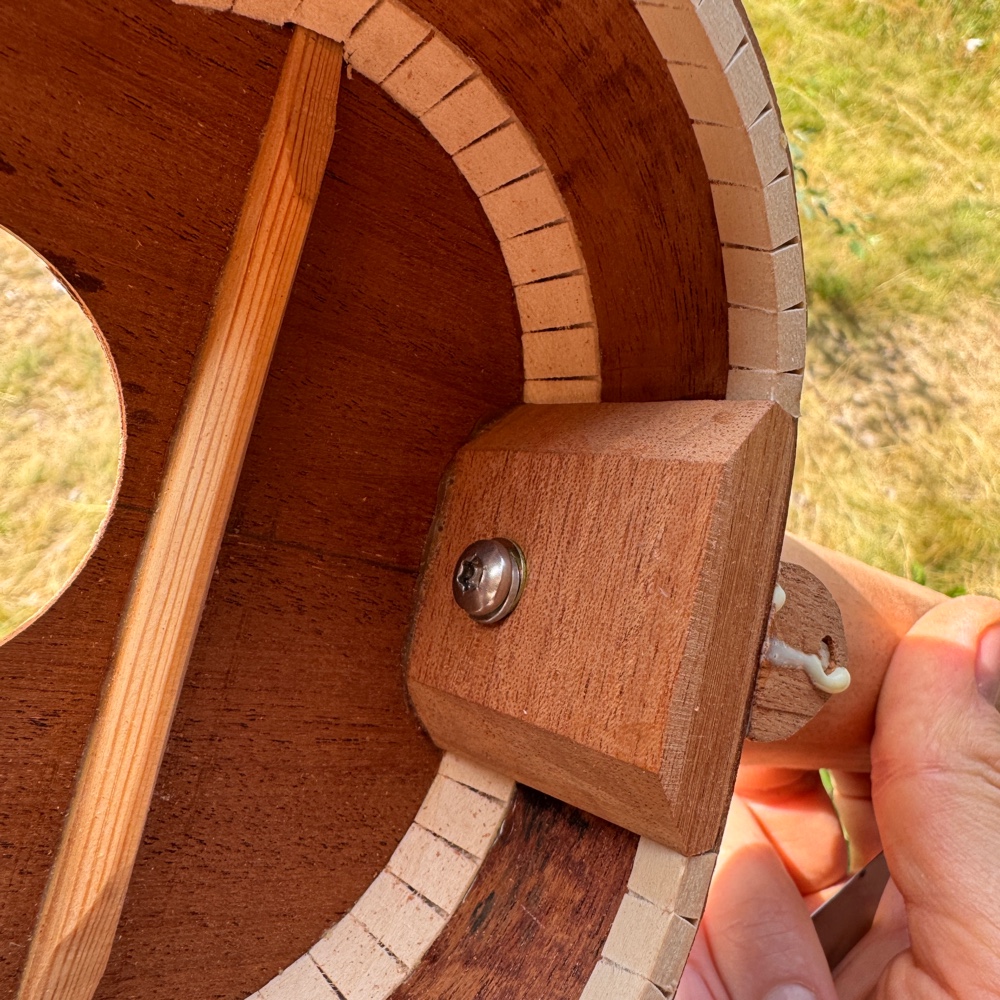
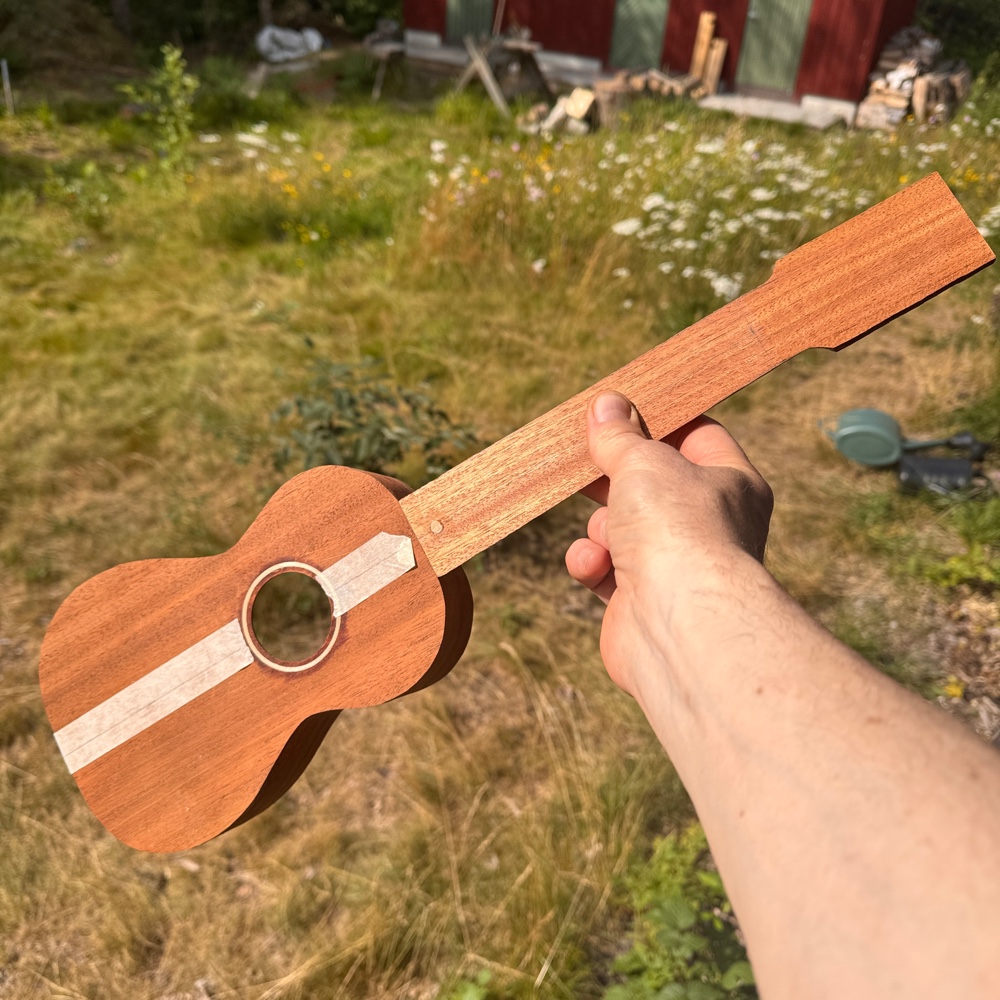
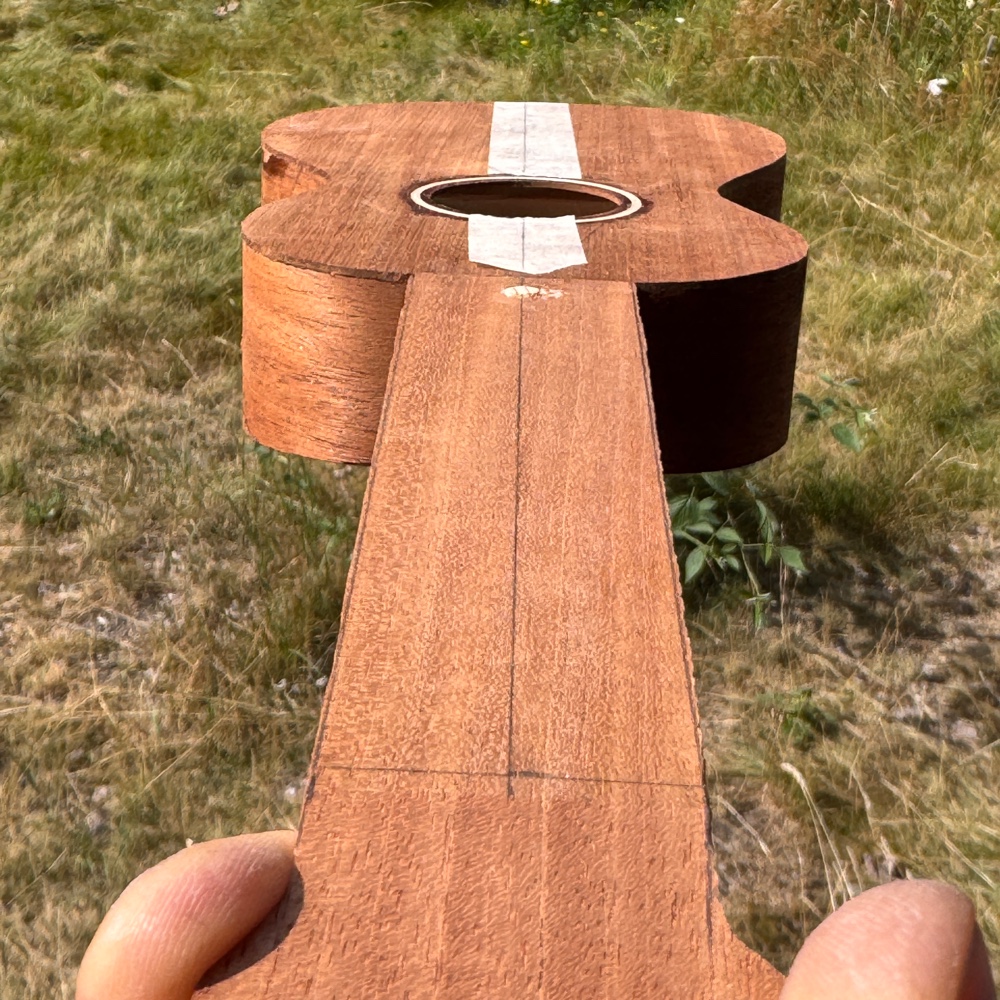
But on this soprano the neck is mahogany and I didn’t want to rely on the screw just going into the endgrain. The solution is a wee dowel going through the heel, and the screw going into that. So sort of like a barrel bolt but easier since I don’t have to faff around as mucv with aligning the holes. 

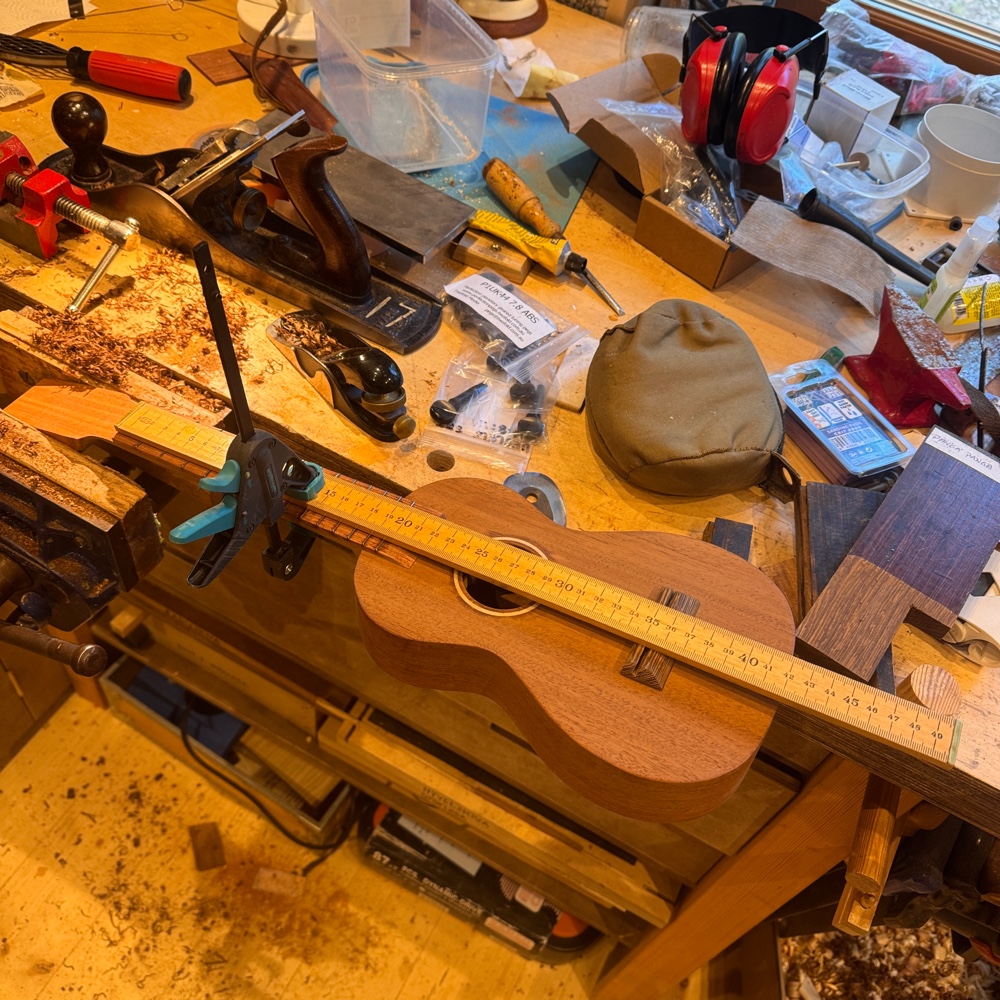
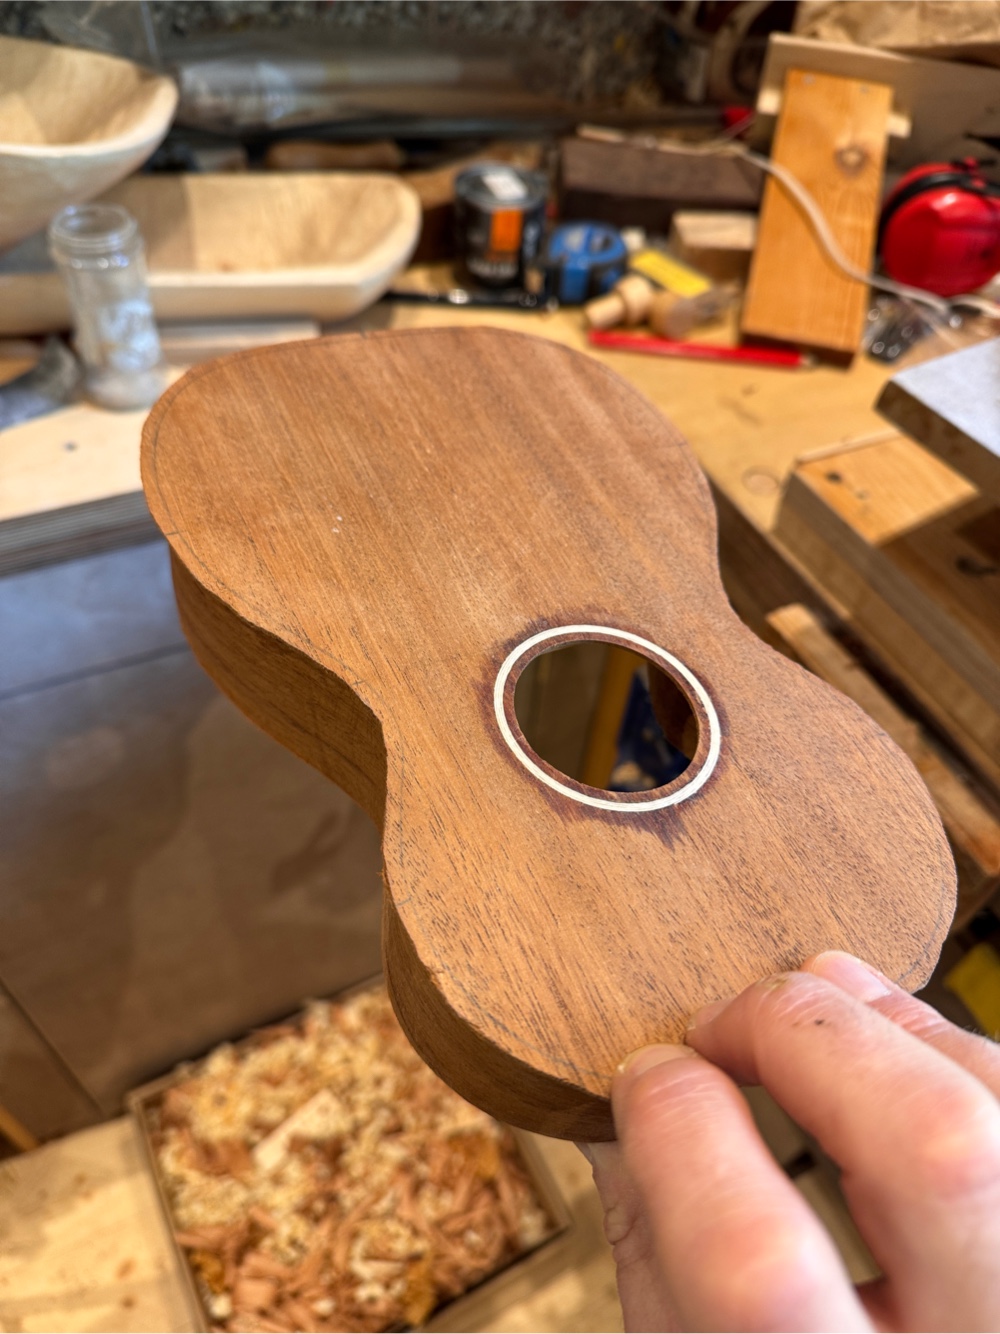
It’s of cöurse a one piece top so a piece of tape helps with a temporary centerline. 

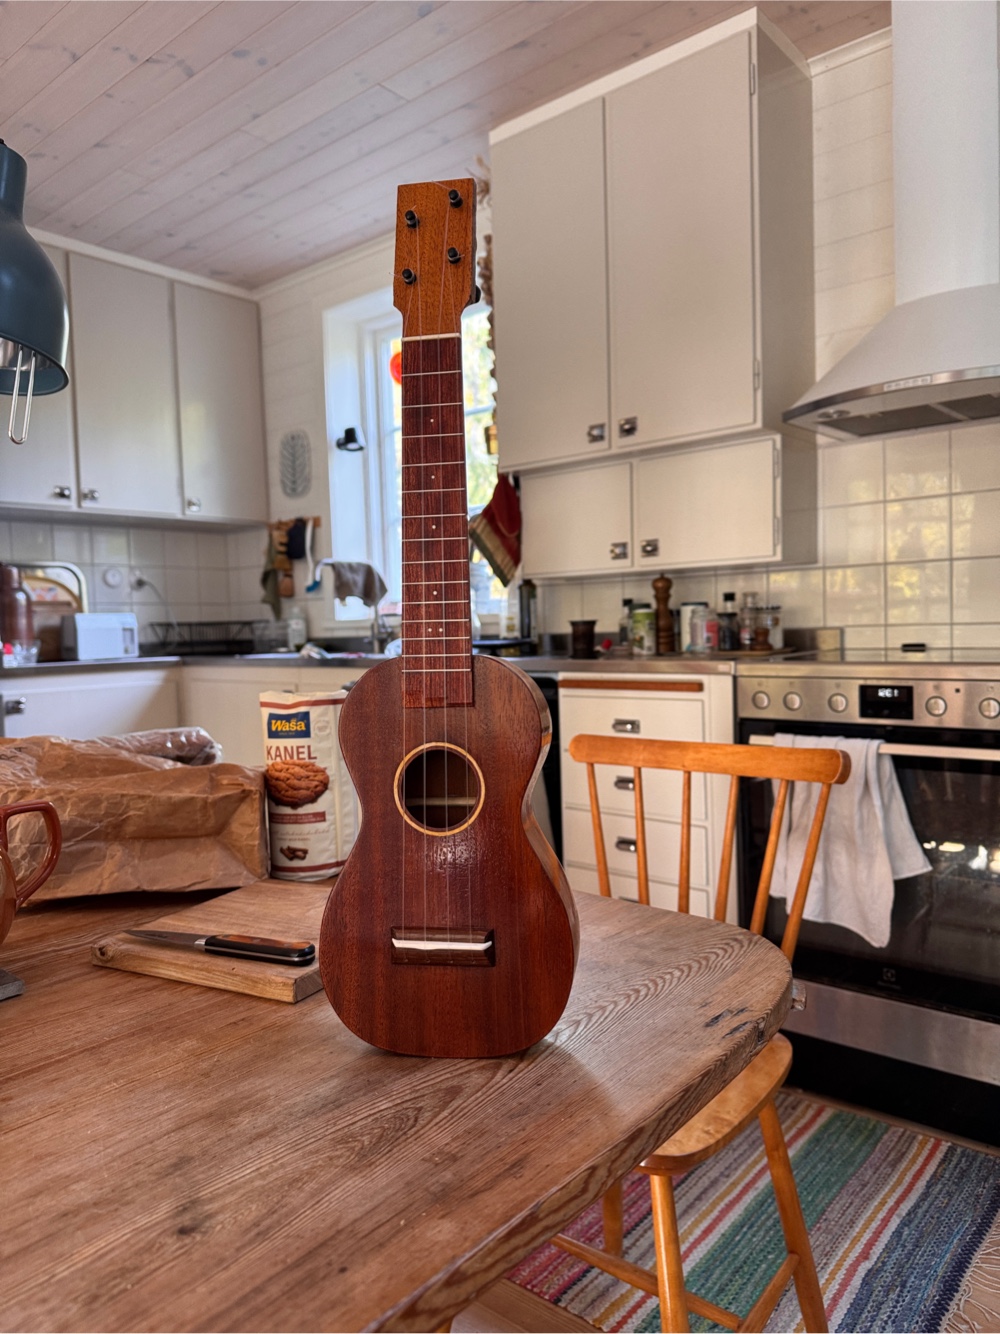
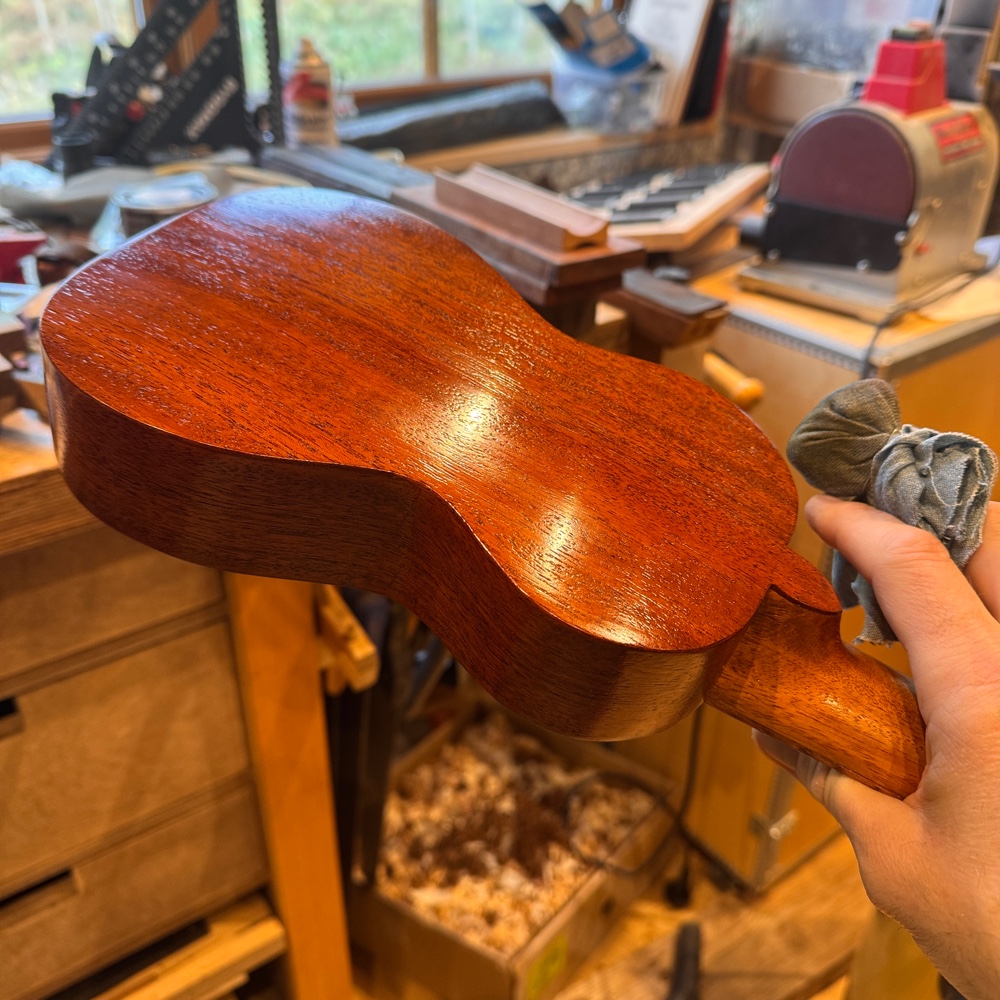
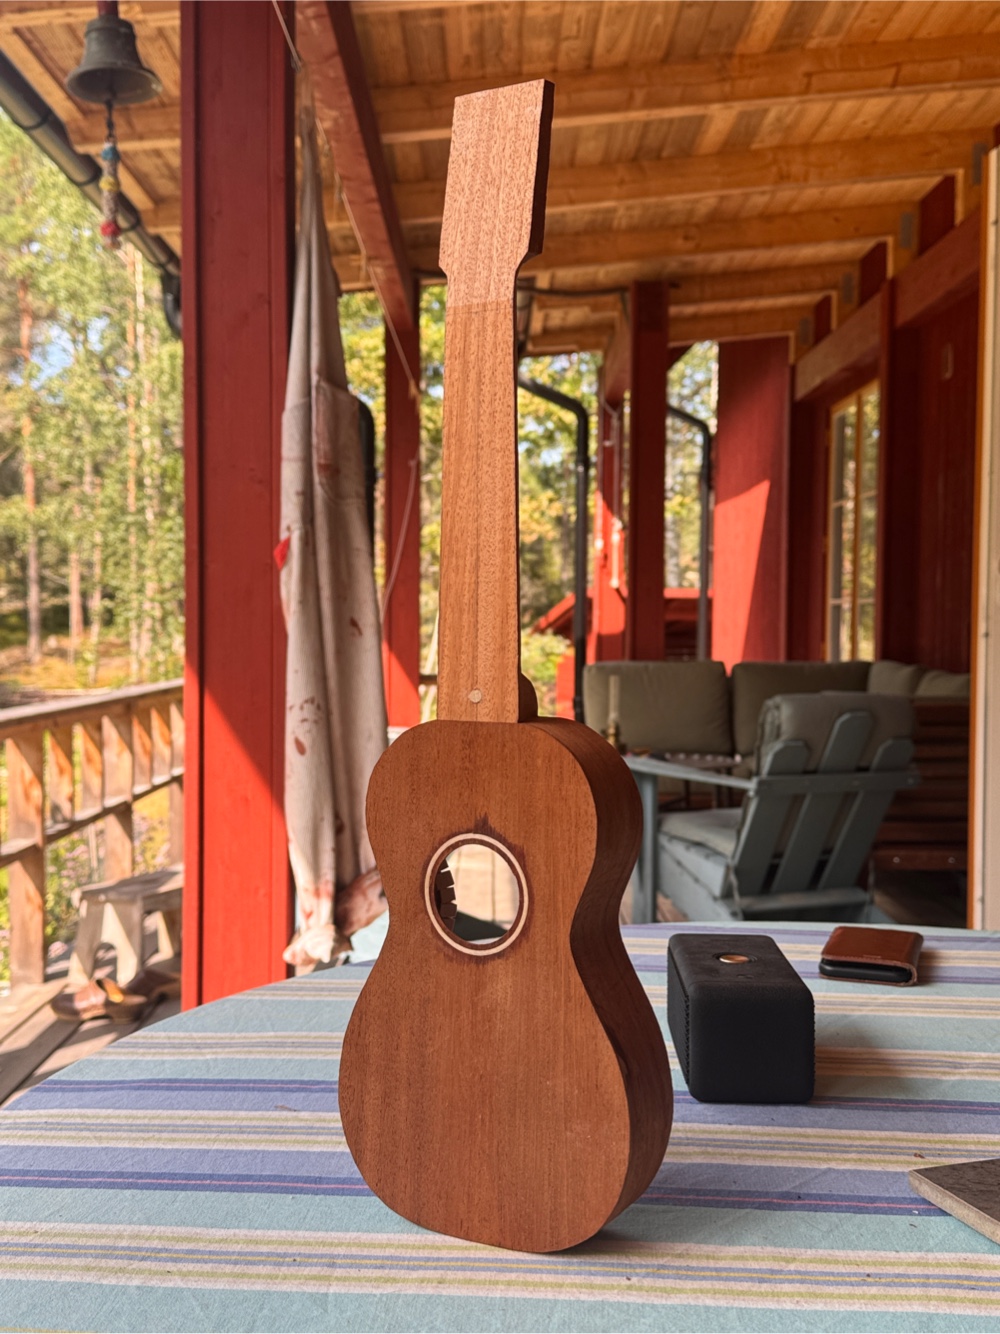
And oh how the alignment worked out. This is a pic I wouldn’t have published on exactly all my instruments. 

And as usual it can stand on its own. Yonks ago I chose a flat butt for easier end block mounting, and I’m sticking to it. 

Those pics above were meant to be in a post of their own, or rather the following snippet is so fascinating it really deserves a separate post. But can I be arsed? Can I feck. 

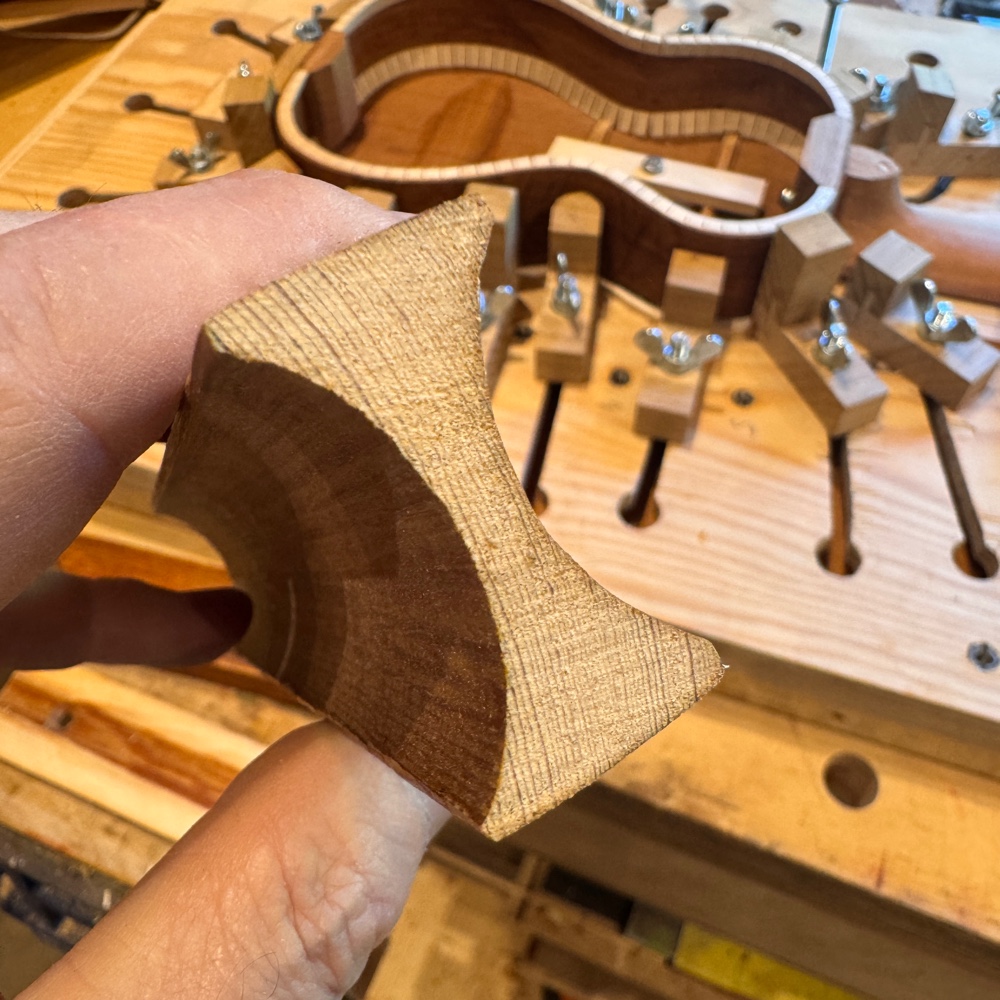
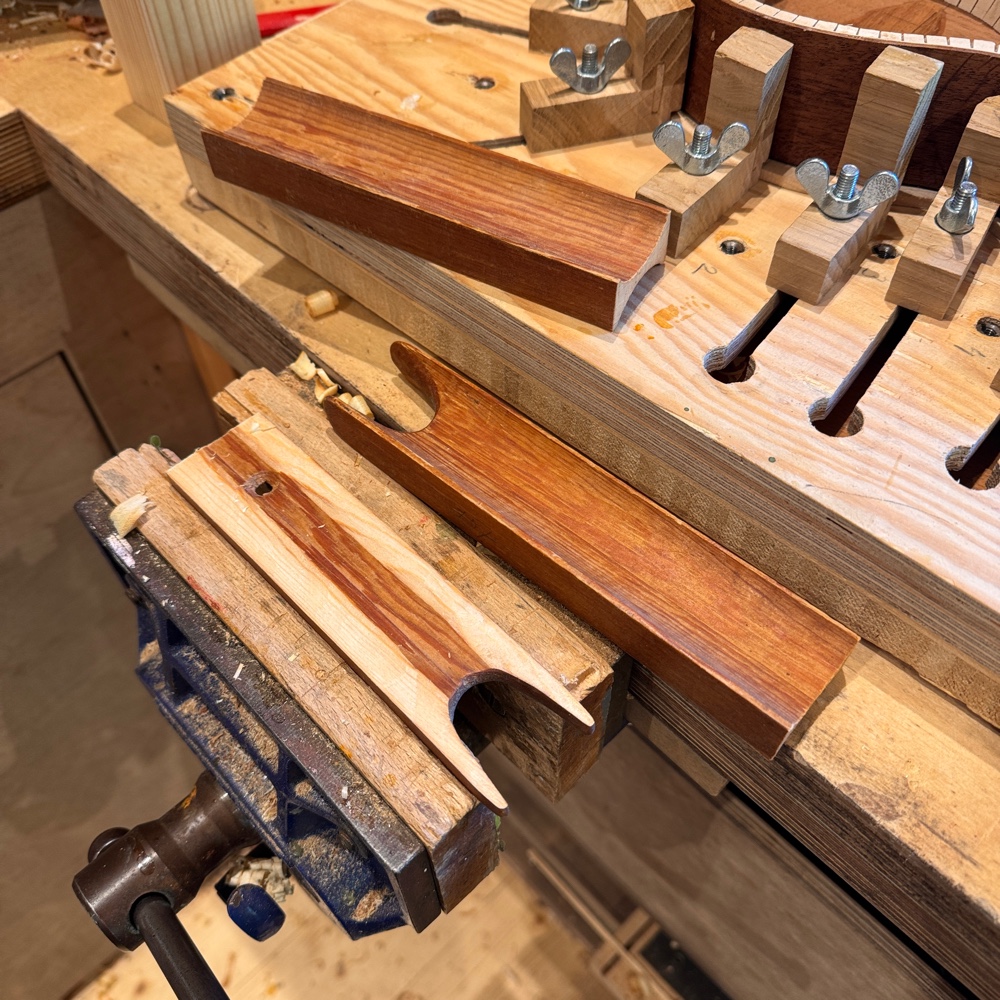
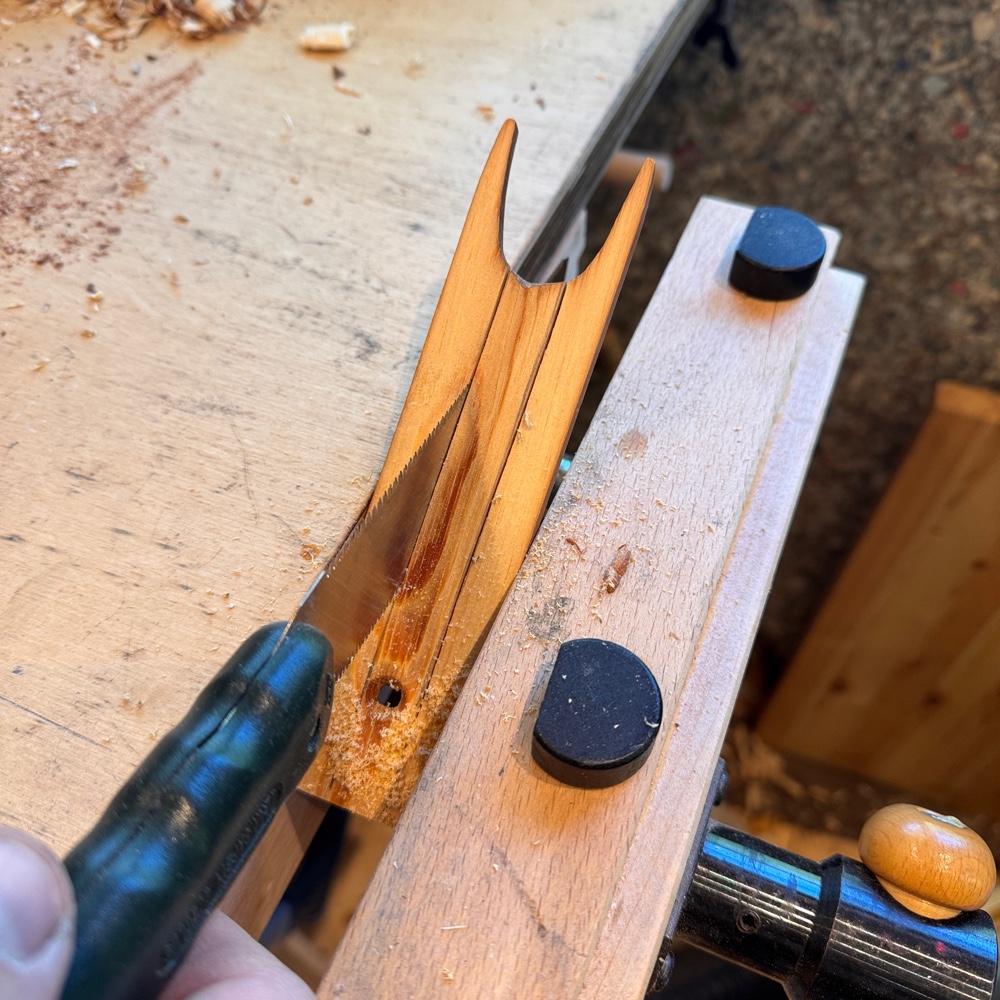
What you see below is a sawn off piece of a yarn holder stick (not the correct term) from an antique loom. We chucked the loom a few years ago but I saved several pieces that I deemed valuable on account of the grain count and direction. And check out that grain, it’s hard to find wood like that nowadays. 

I planed the profile down so it was all flat, but as I look at it now maybe I could have gotten more braces out of it if I tried. 


But I needed three and I got three by sawing it lengthwise. The short piece from the middle was just enough for the short brace by the waist. 


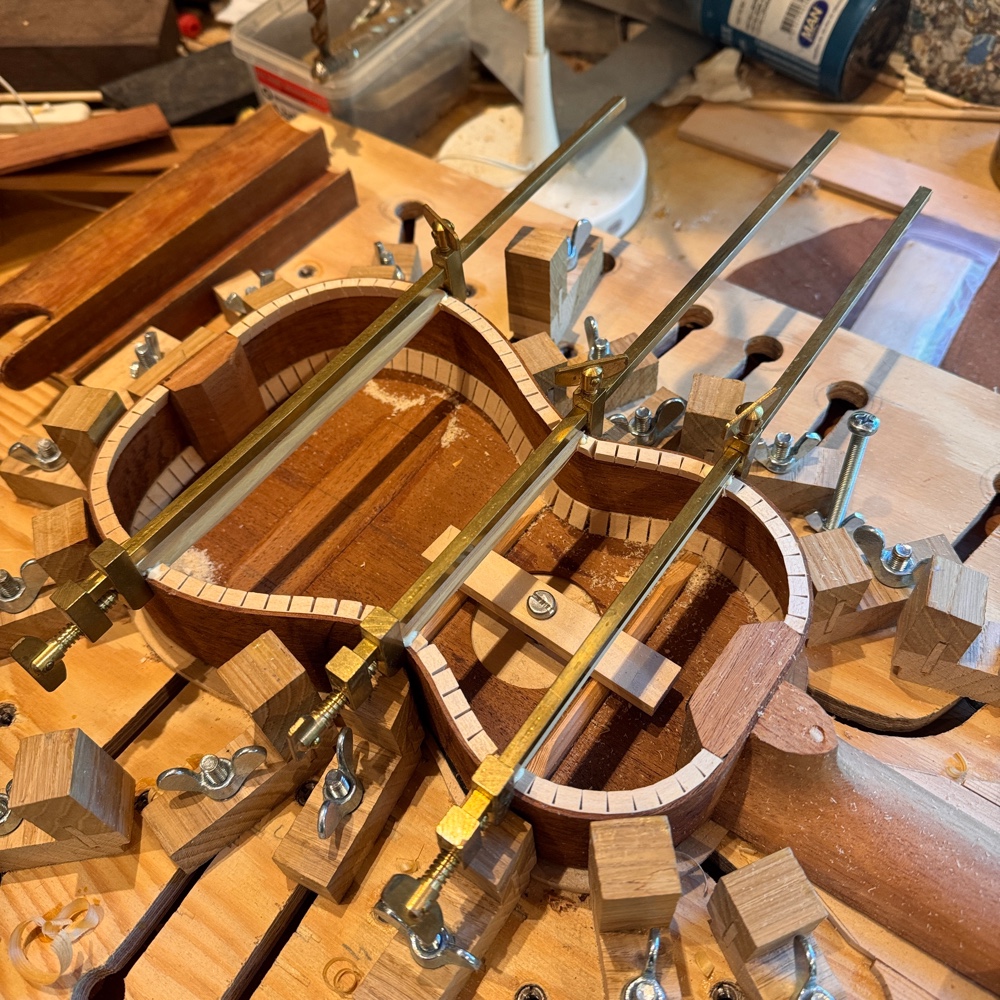
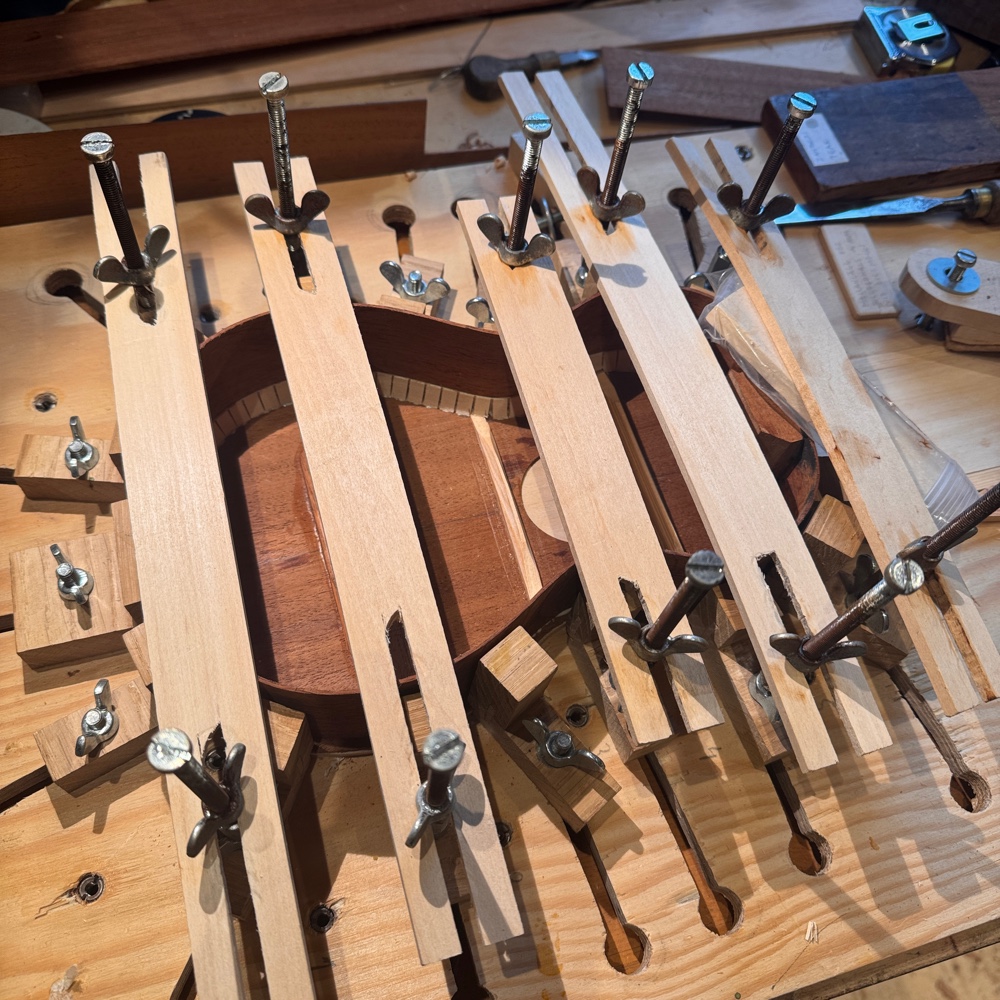
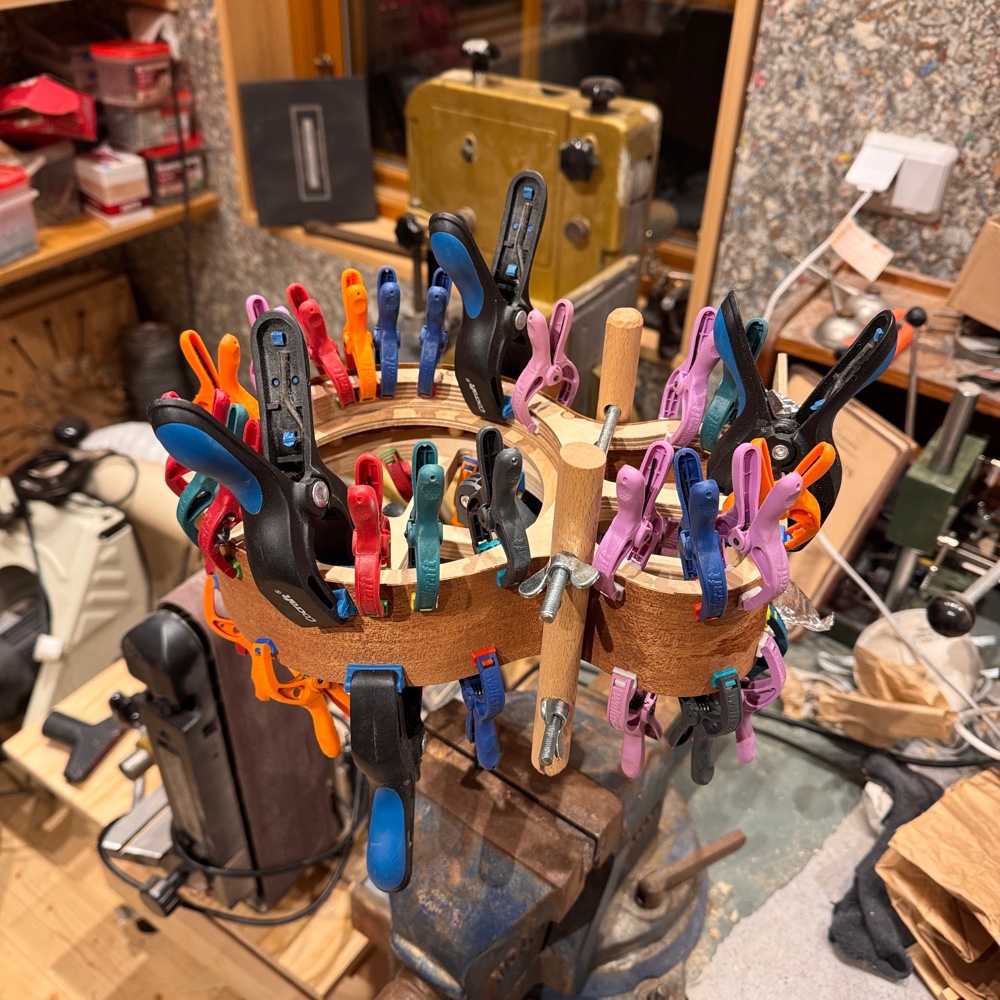
It’s been a while since I showed you this, but rather than glueing the braces to the back and then glueing the whole ensemble to the rim, I notch out the lining to accept the braces and glue them in before the back is attached. This makes sense to me as I have better control of the joints and the angles. And I get to use my Japanese bar clamps. They’re made of brass. 

Next job will be to smooth out any discrepancies between the braces and the rim by rubbing the uke in the radius dish with a sandpaper cladding. Then we’re ready to glue the back on and that, I promise you, will be exciting. 


Tuesday, July 14, 2026

Heaps of progress

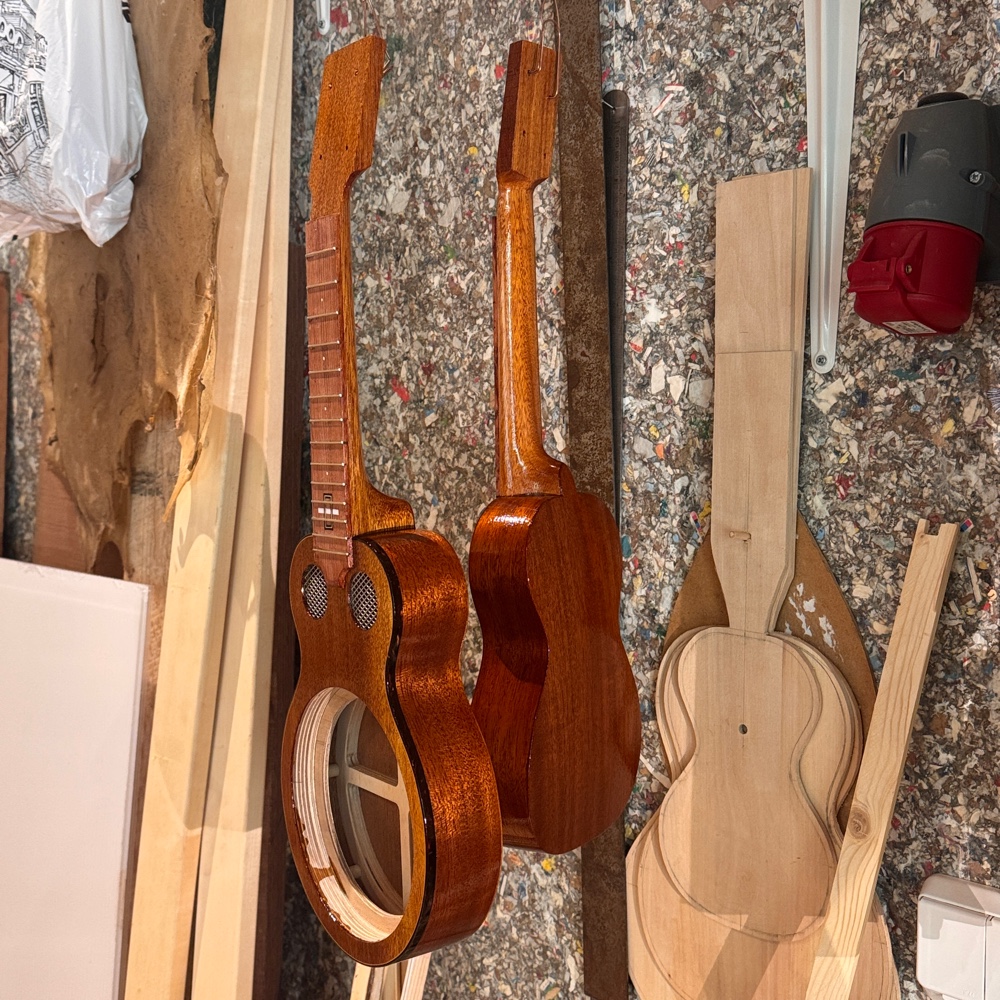
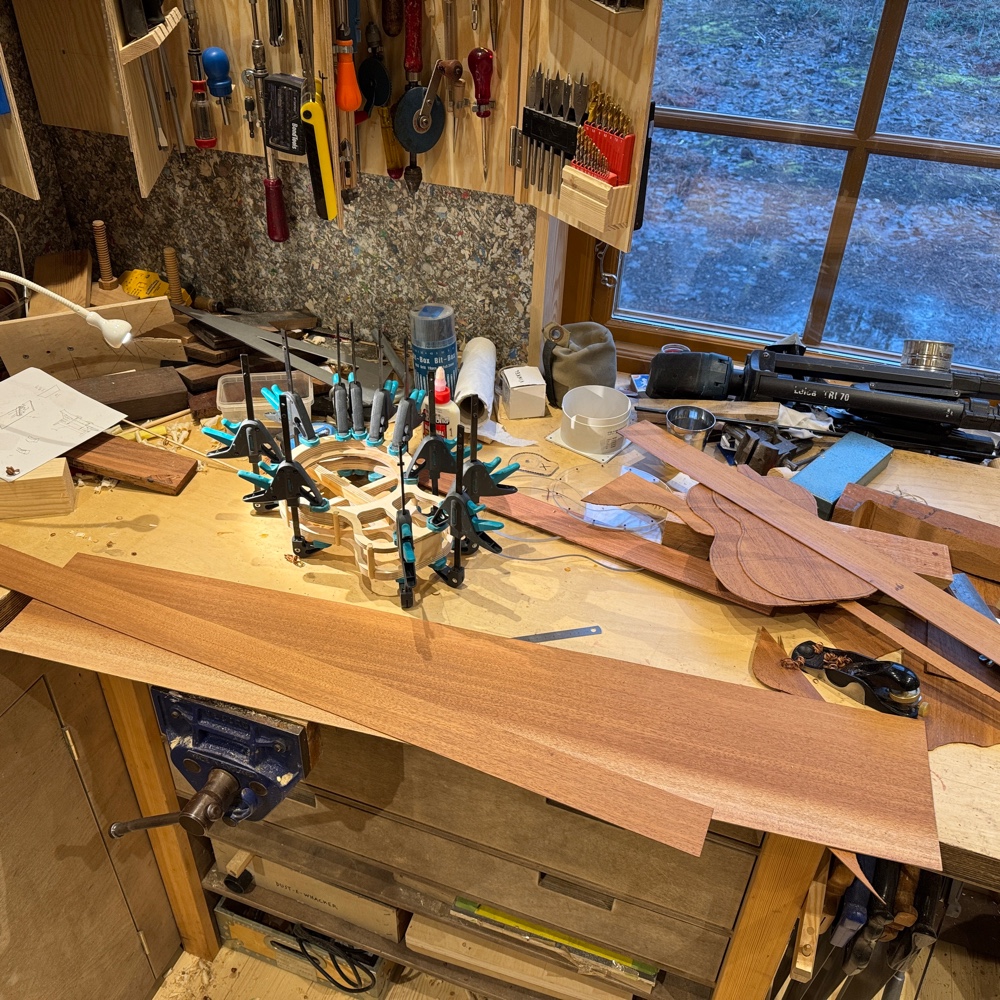
I found some time between the larger projects, couldn’t decide if I should concentrate on the acoustic or the reso so I did both. Below there are pics of different stuff that got done, no clear narrative in this post but I will describe what’s in each pic. 

That can also be necessary as there is clutter on the bench in the background. 

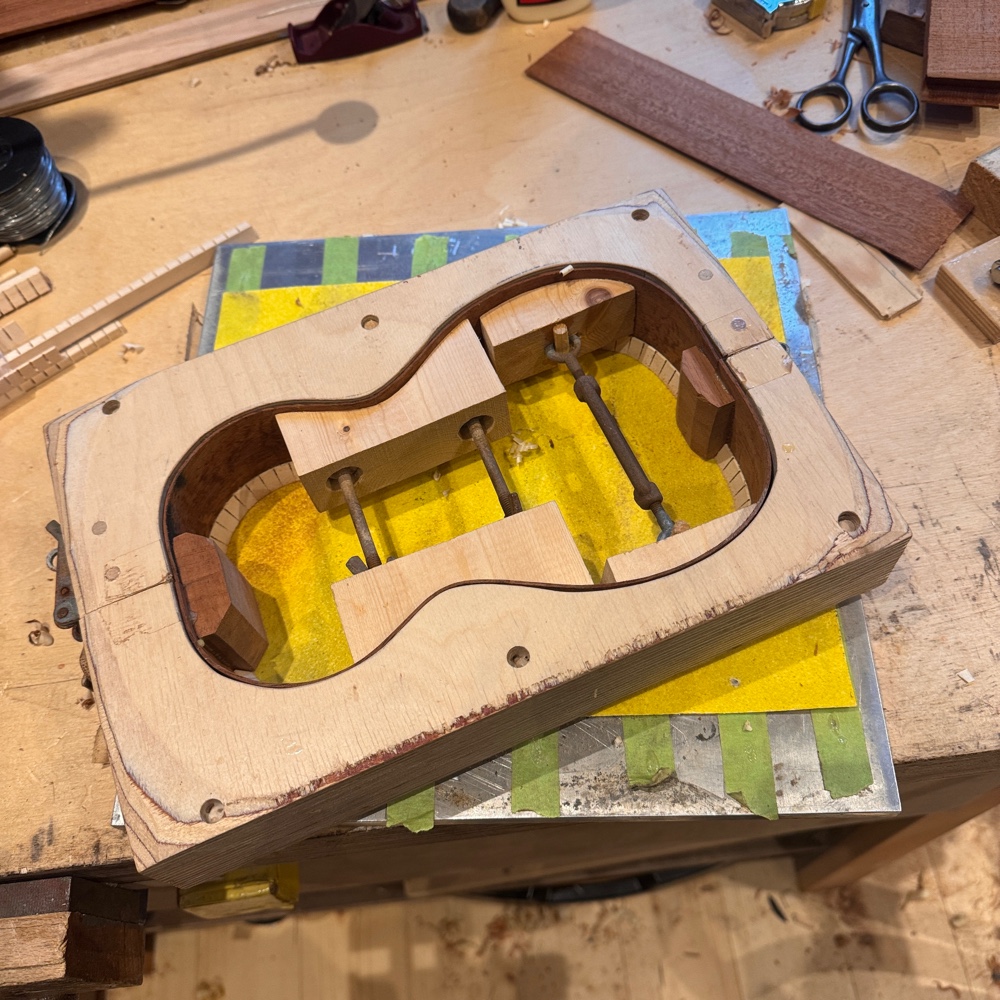
When last we met the sides were glued to the top, like so. 

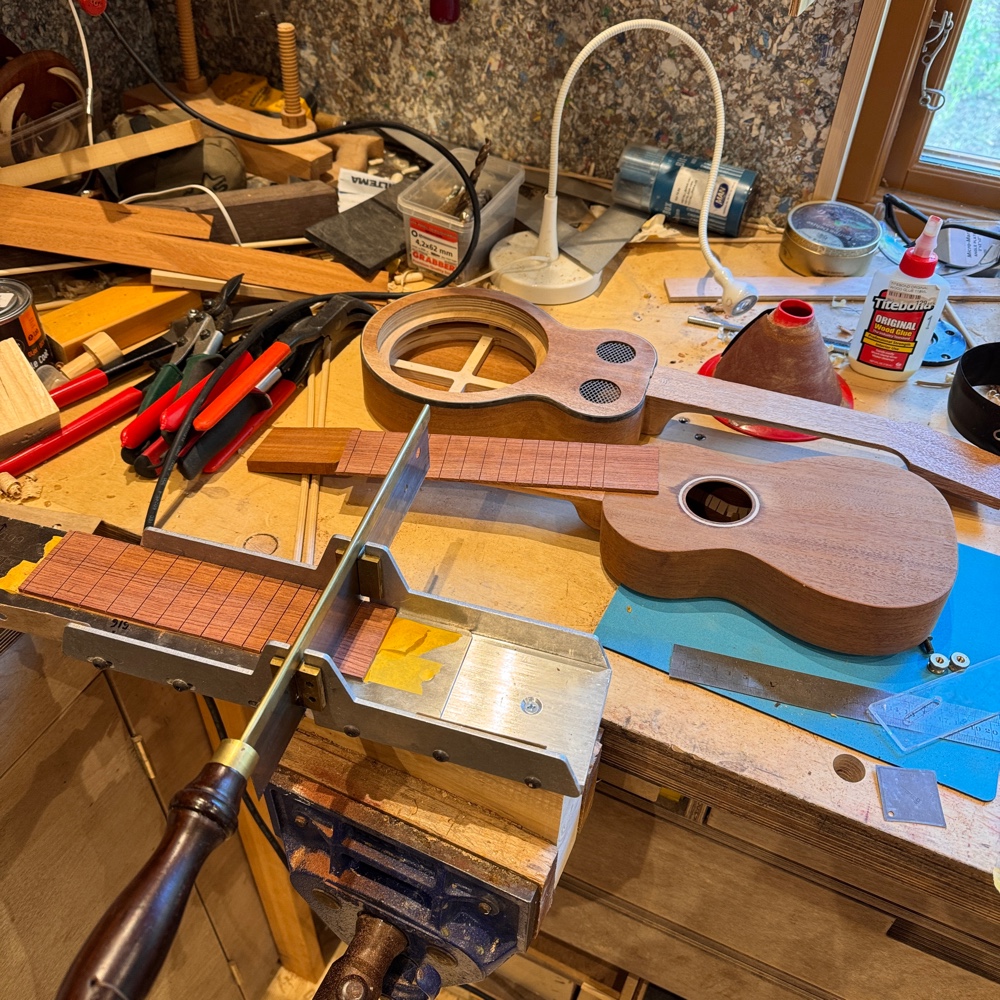
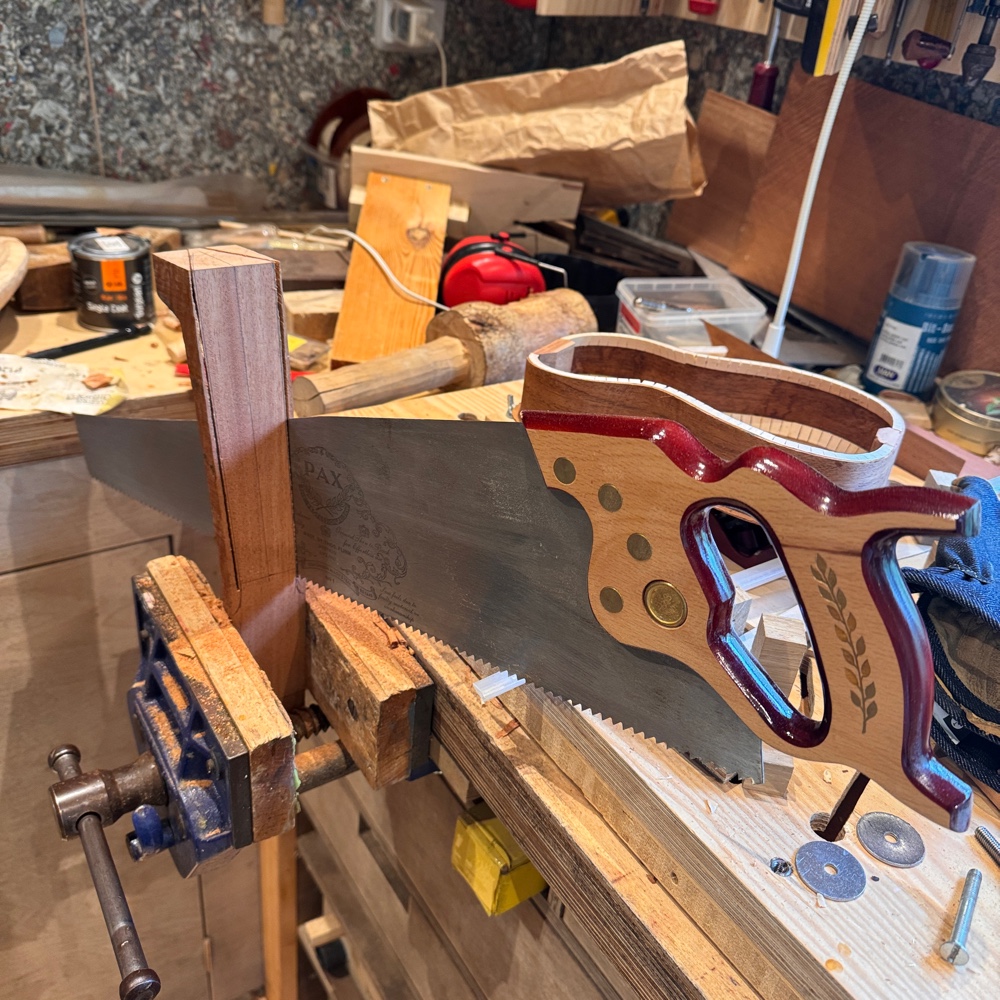
So I started on the necks, marking out the taper and ripping them down with my Pax ripsaw. 

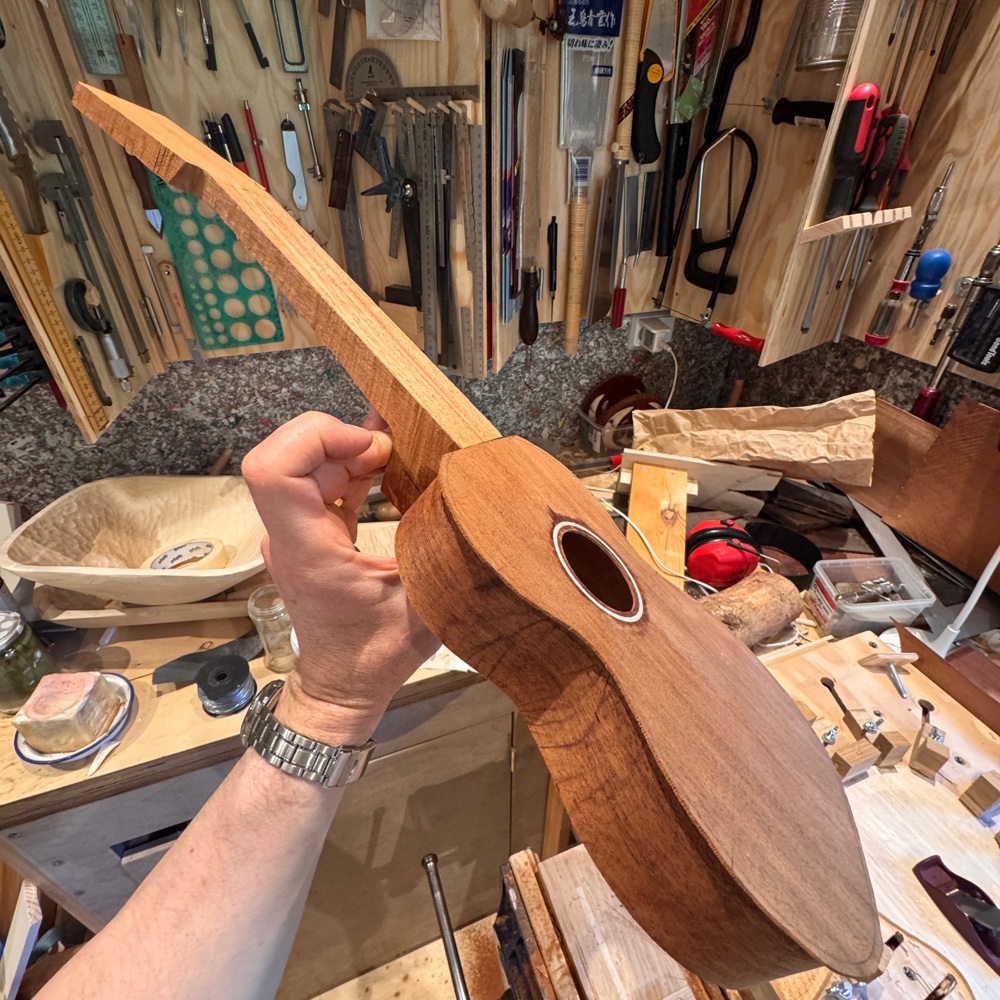
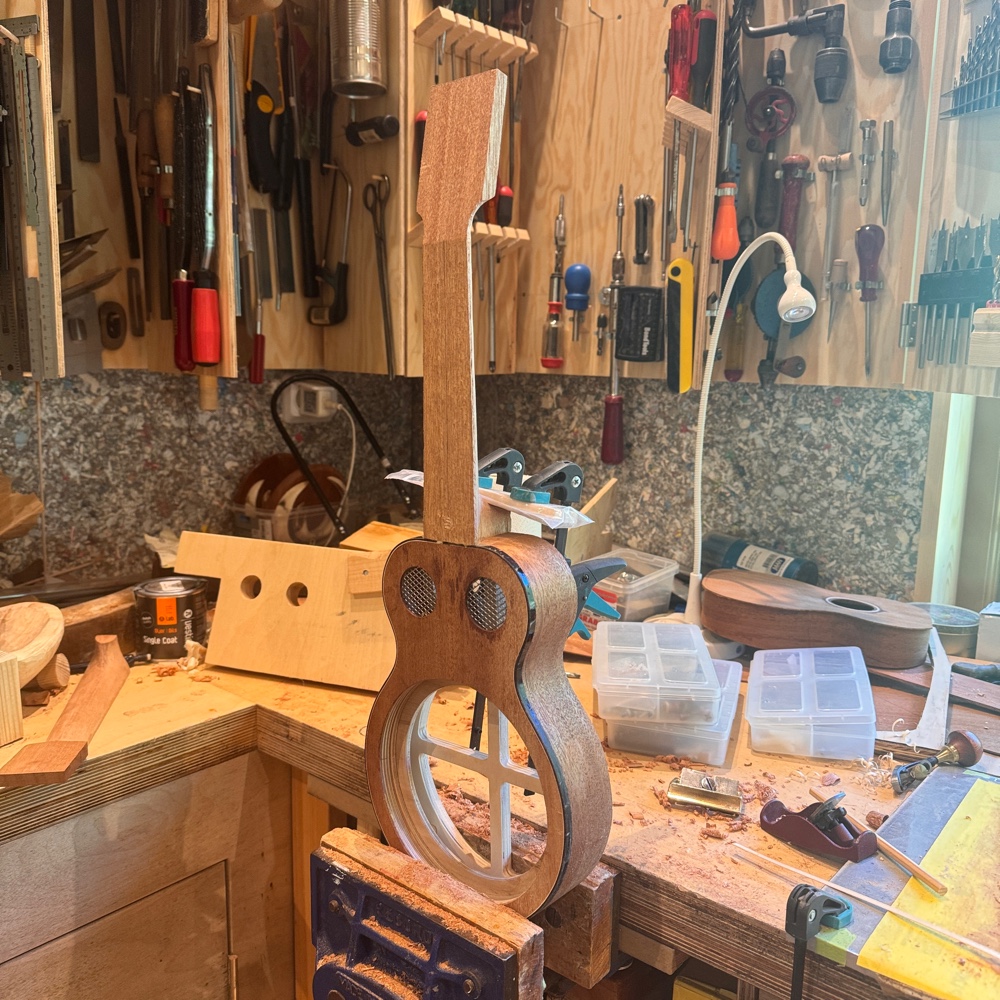
A mock-up with the neck, just pinching it together. 

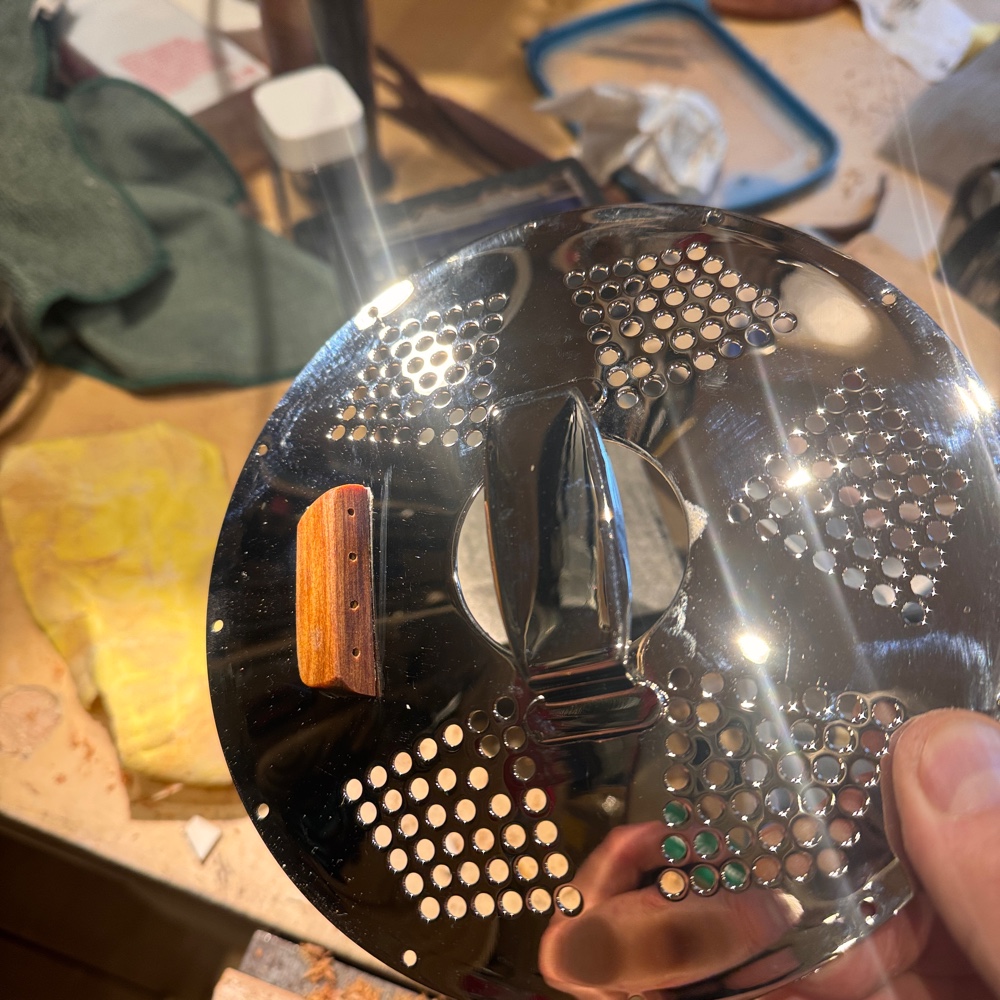
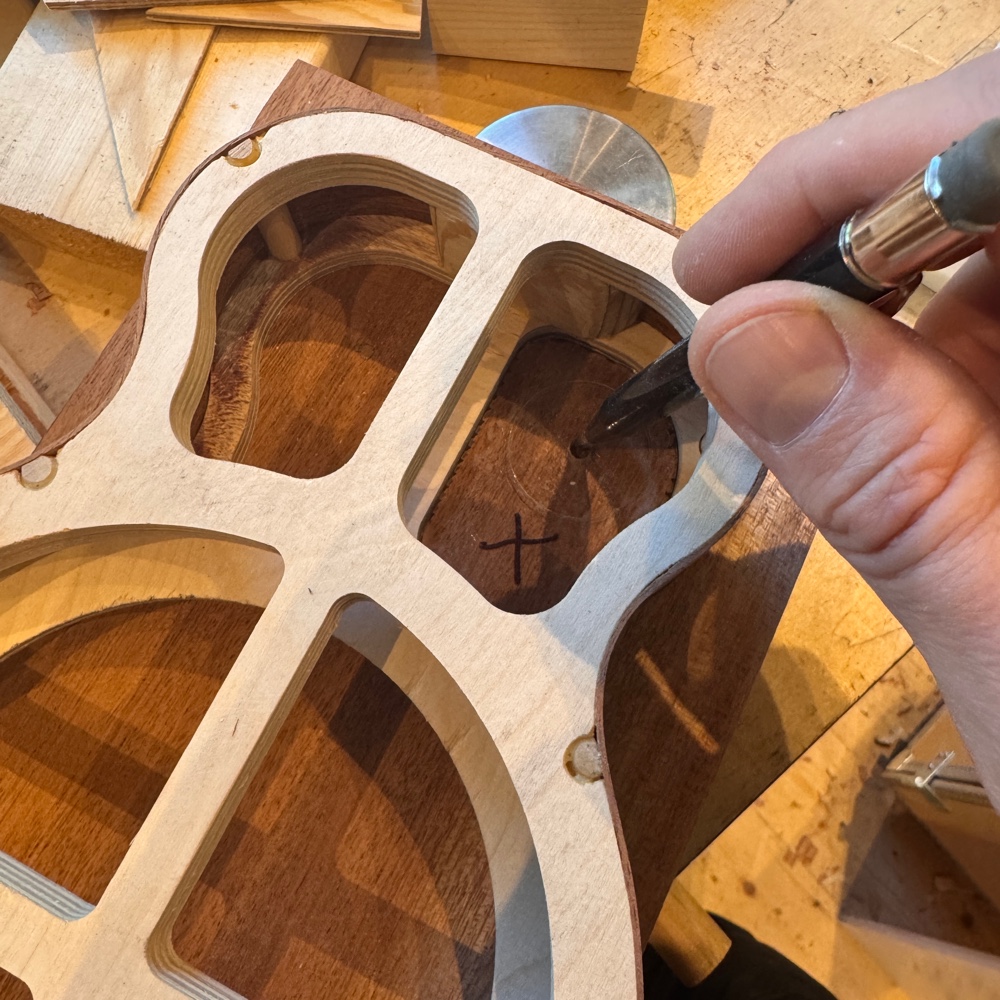
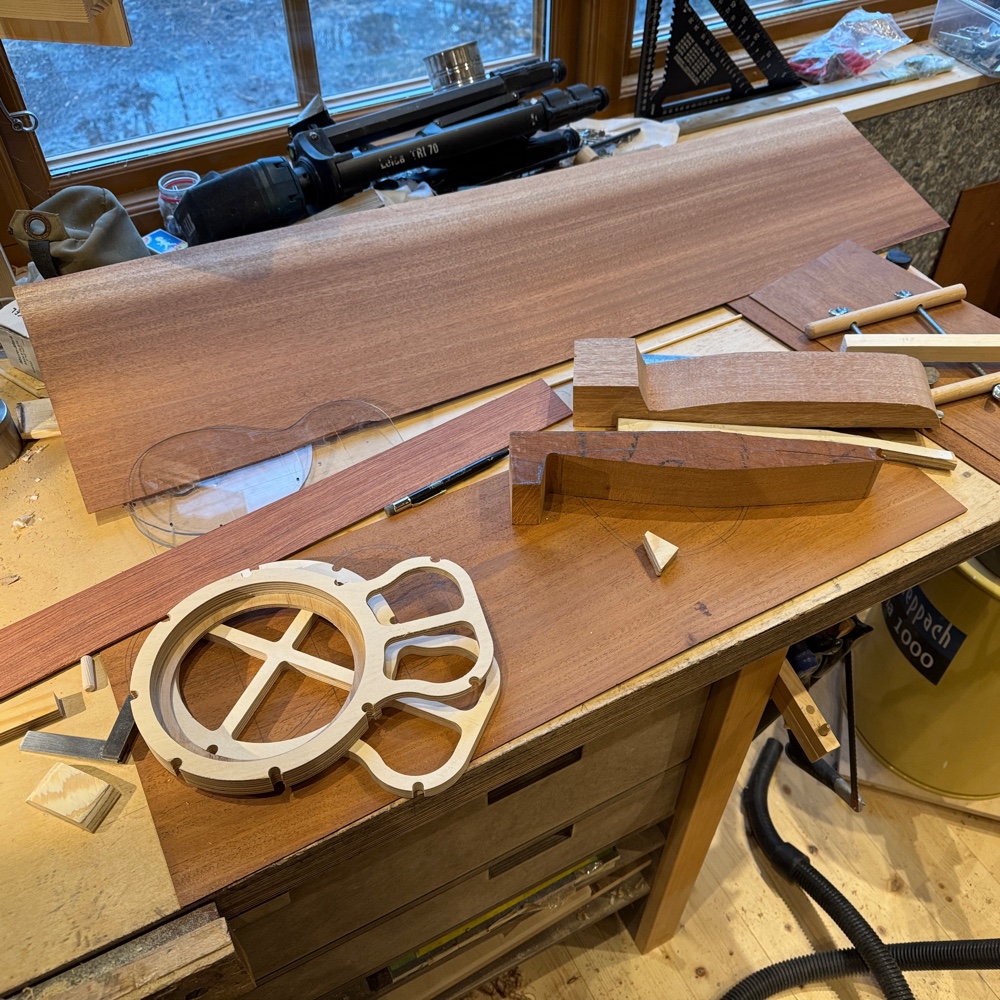
Then it was more or less time to prepare the top for the resonator. I have small acrylic templates that fall into the cutouts in the reso skeleton to mark out the exact positions of the center holes for the three different larger holes in the top. 

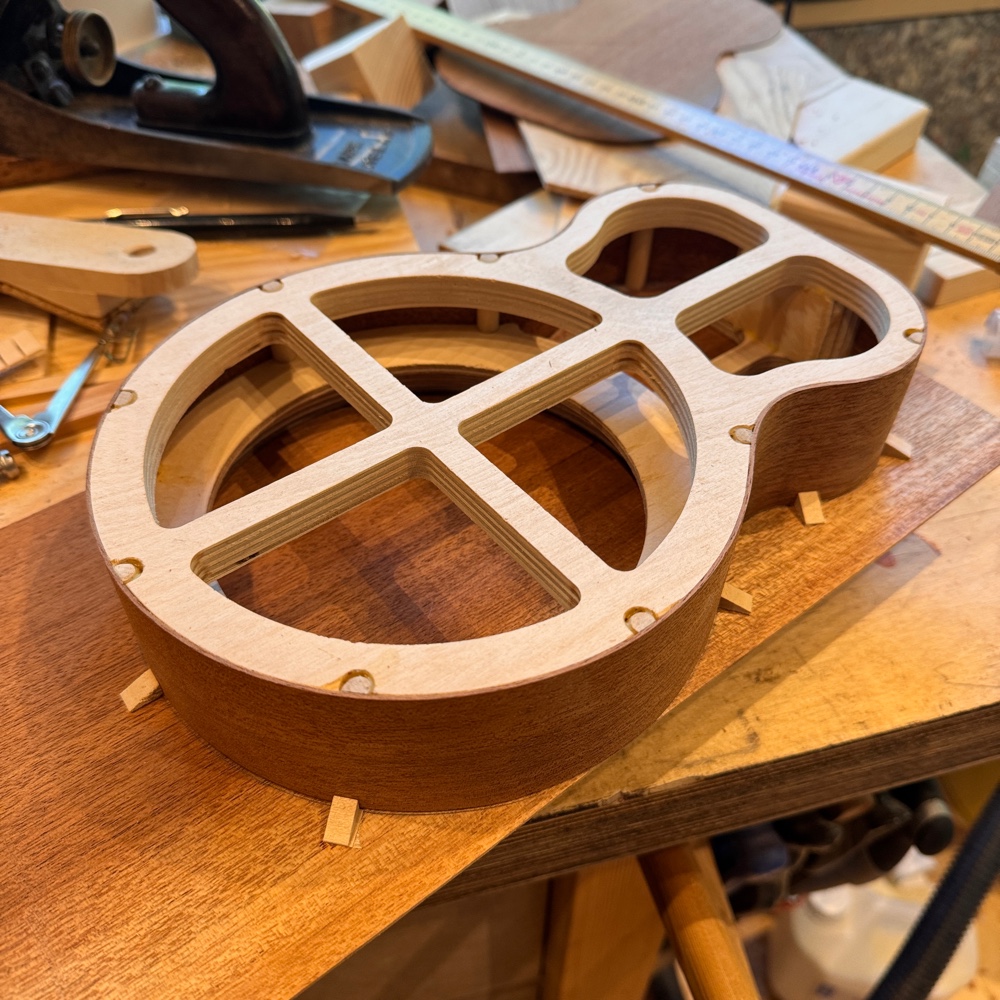
And that only works if the top is locked into position, I fix that with bits of kerfing superglued around the body. 

Without taking pics, I cut the holes and glued in the mesh for the soundports. 

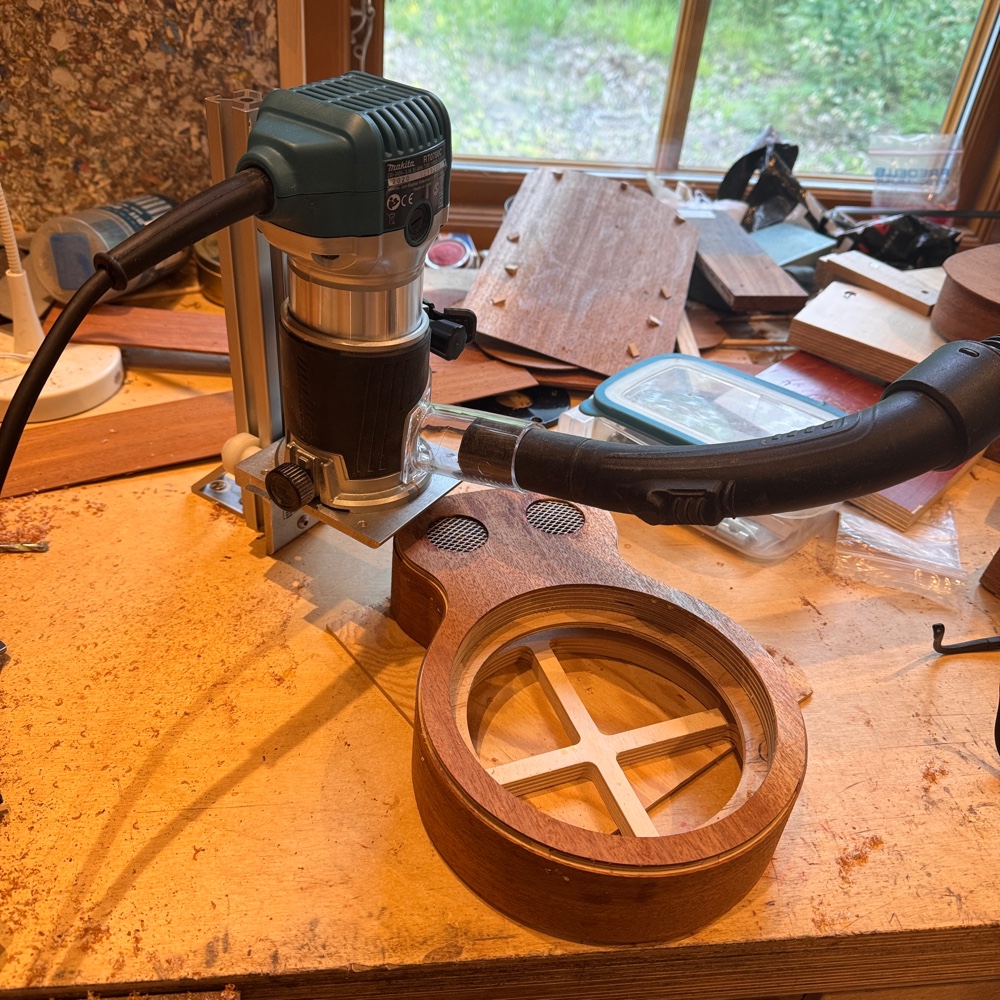
The top was a wee bit narrow so I had already decided to bind it. That in turn made me finally rig the routing jig up. It’s a piece of kit from Stewmac that I bought second hand. First time and it went very well!

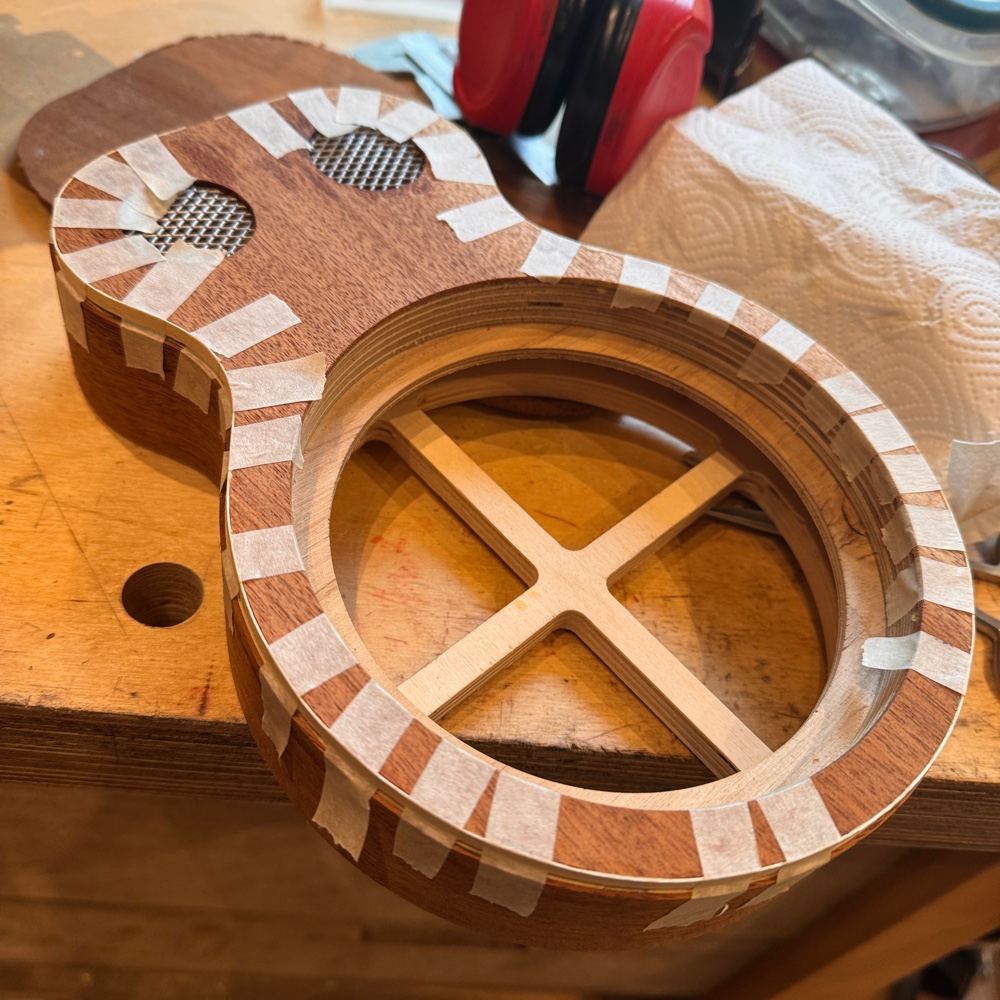
I’ll use tortoloid binding so a lighter strip inside will help with the transparent bits, I glued in a thin maple veneer strip with wood glue. The tortoloid webt in using acetone. 

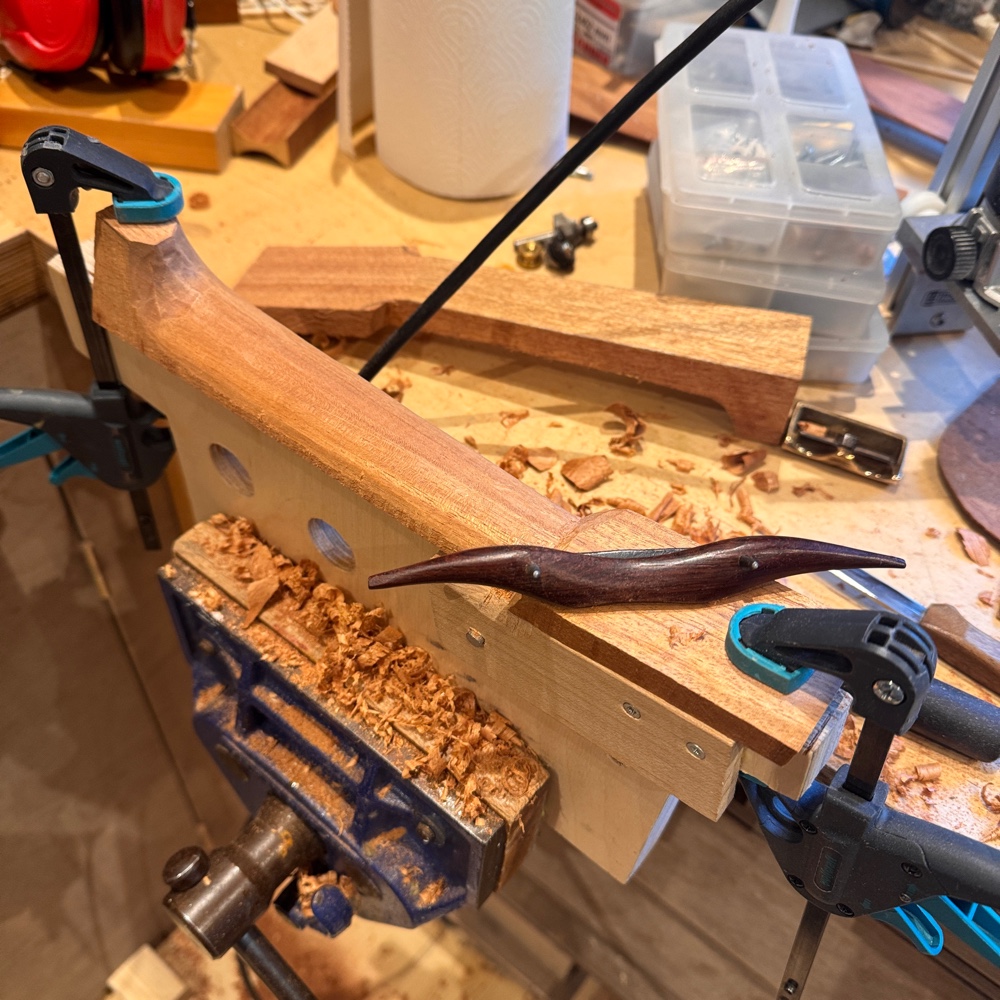
And between other jobs I started carving the mahogany neck for the acoustic. This is still my favourite part of building. 

The reso gets a cedar neck, and I managed to get that in place today before I needed to dash out for a couple of errands. 


Monday, June 29, 2026

Kerfed linings, sides glued to top

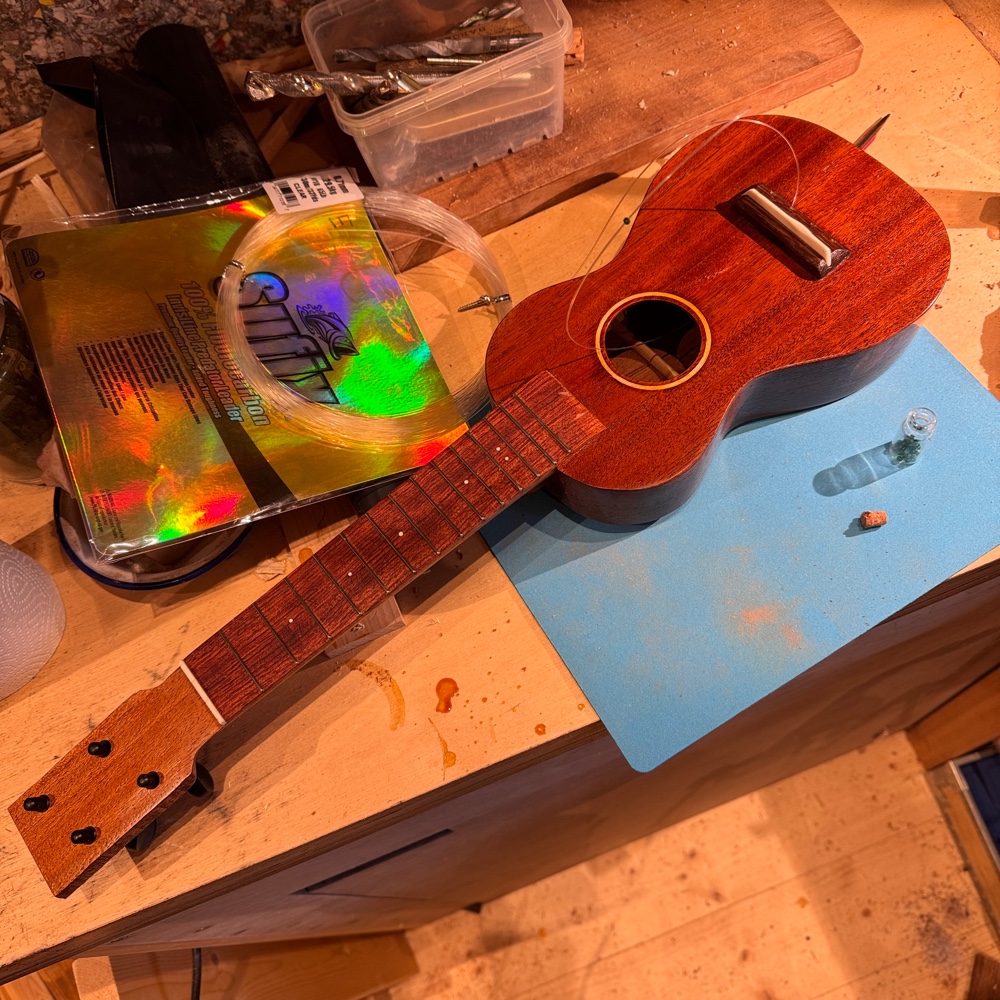
The acoustic soprano took a wee stumble forward recently. I dug out the lining strips bought from Stewmac and fitted the sides with them. 

Then I levelled it all on my thick alumINium plate. The sandpaper must’ve been stuck to it for 10 or 12 years but still works fine. 

And then, on the multi-solera, the sides were glued to the top. No fuss, no drama. Just a wee stumble forward. 


Sunday, May 17, 2026

Resawing loads of maple

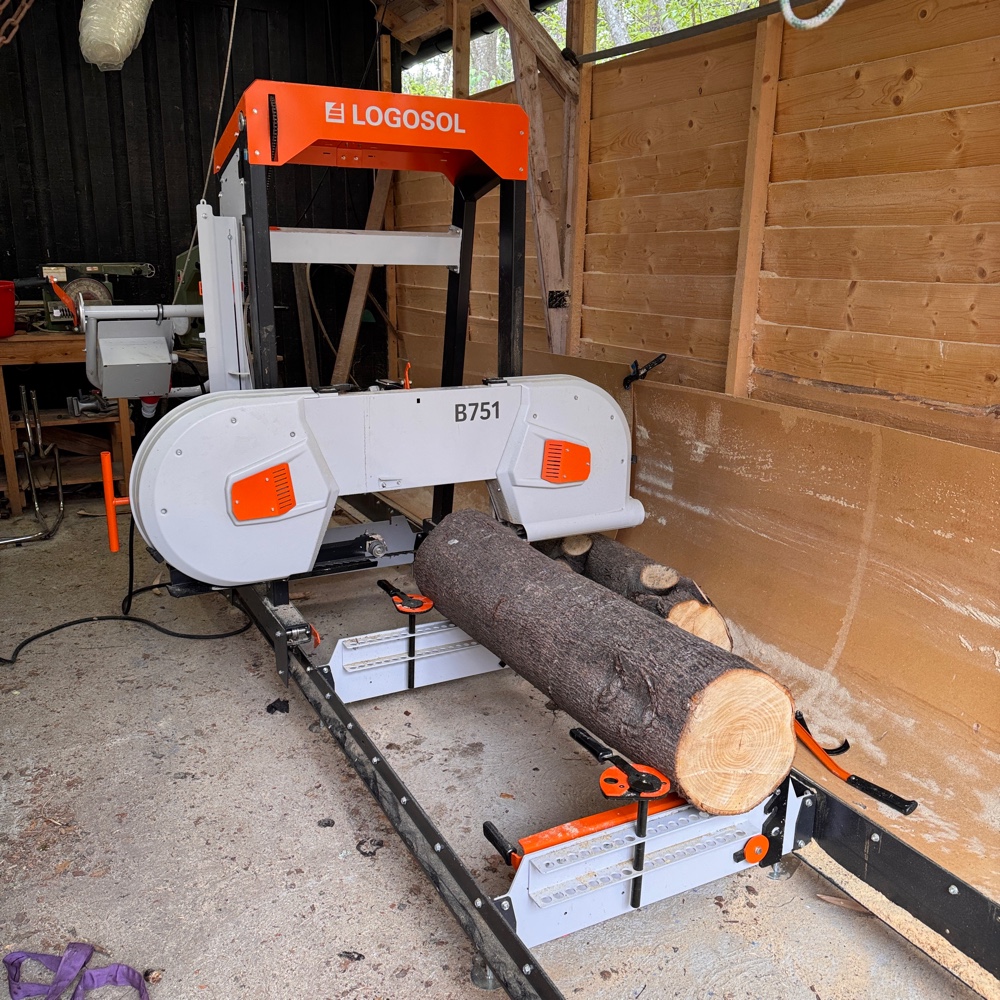
I really really sincerely hope you all are just pining for some (a lot of) all maple ukuleles. Because I got a couple of stumps of maple from my aunt’s garden. I was about to quarter them with the help of my brother and his nifty sawmill, but then I thought, how thin slices can we make on this beast?
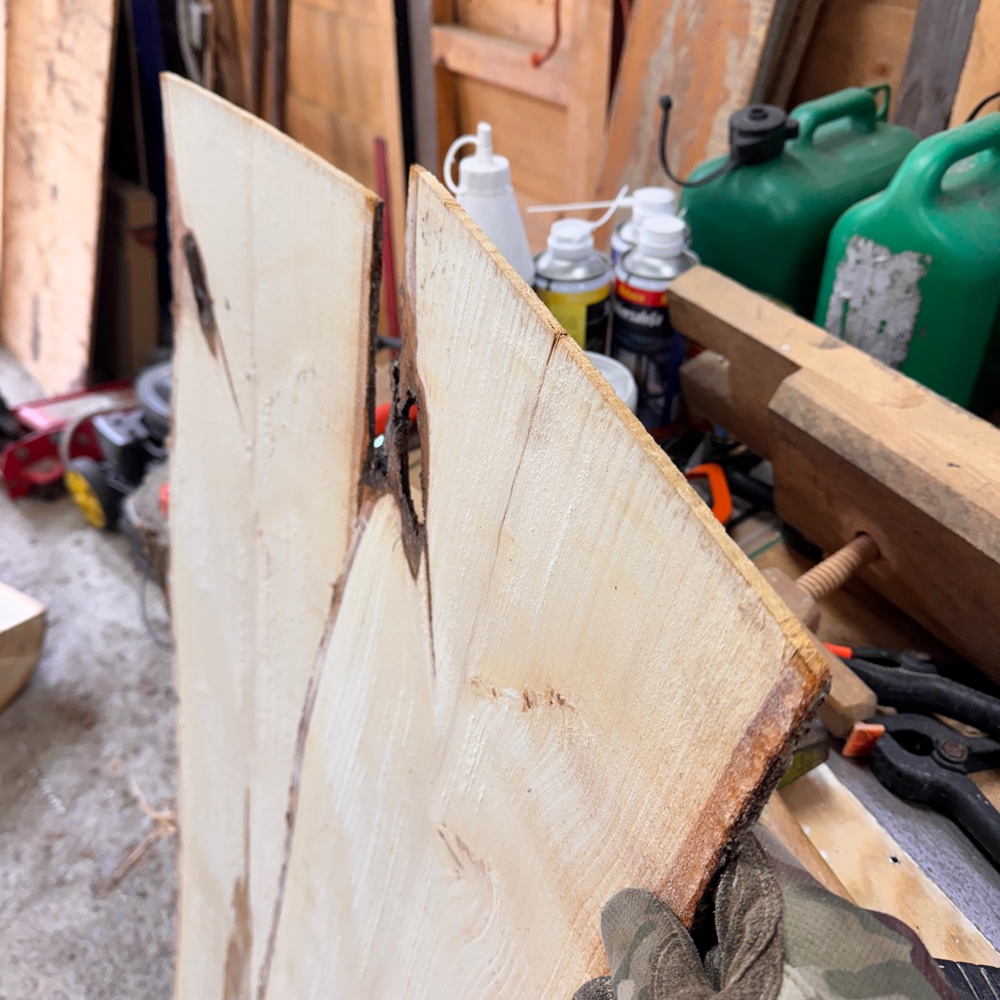
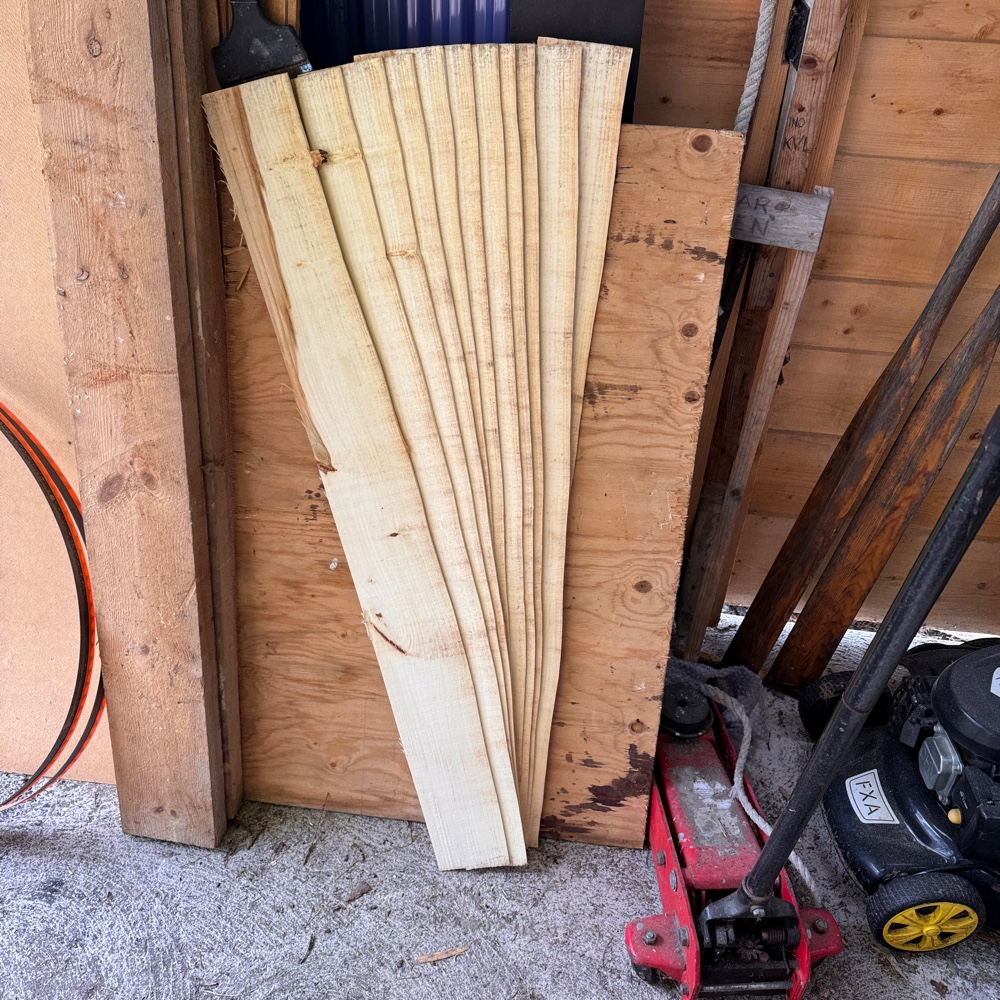
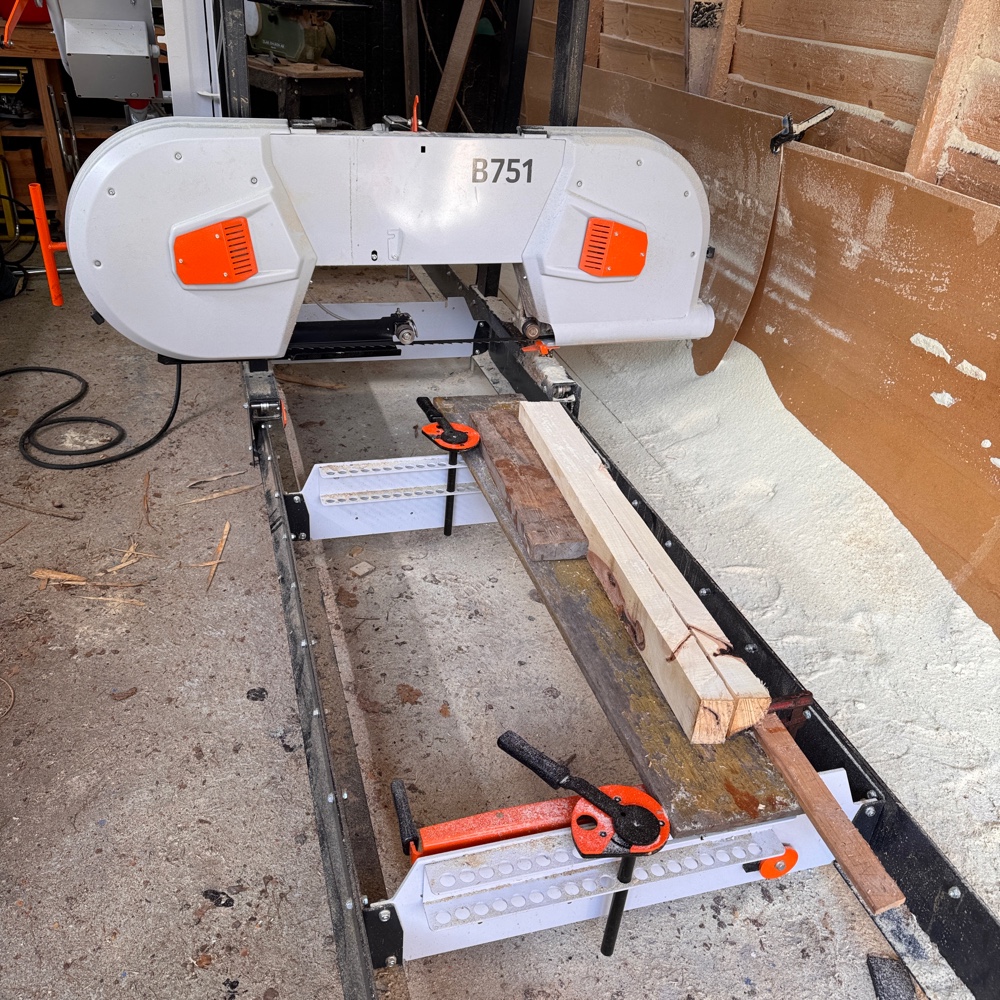
And the answer is pretty thin! I set the thickness to around a quarter of an inch, didn’t want to risk going to an eighth. The saw has a setting which divides in 1/8” and I want some extra meat before drying the slices. I know it’s more common to let wood dry in larger sizes and then resaw, but my table bandsaws are all less capable than this one when it comes to power and the ability to saw straight. 

First quarter yielded these. Try to imagine the number of tops, backs and sides are in this set. 

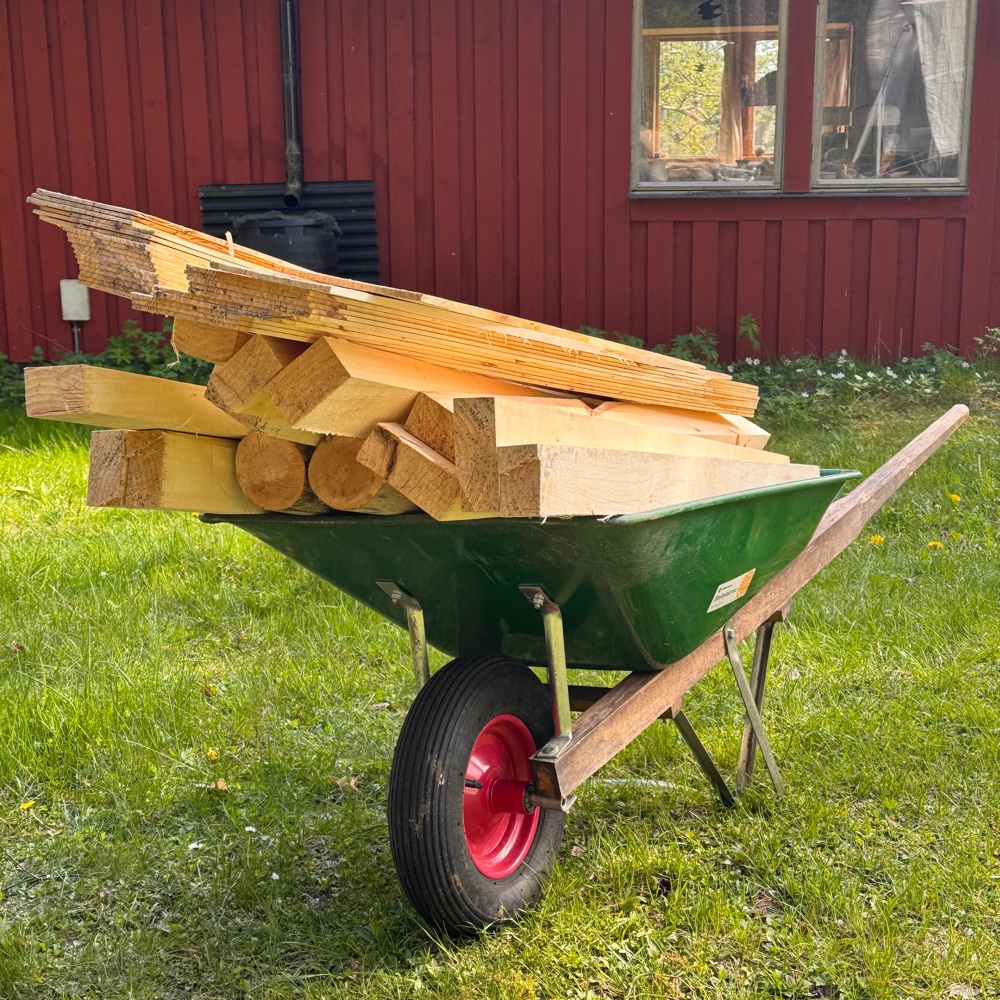
After slicing quartersawn slices off the quarters, a large wedge with the bark still on remains. Some careful sawing gave me two by fours with the grain parallel to the long faces, you get it - neck blanks! 

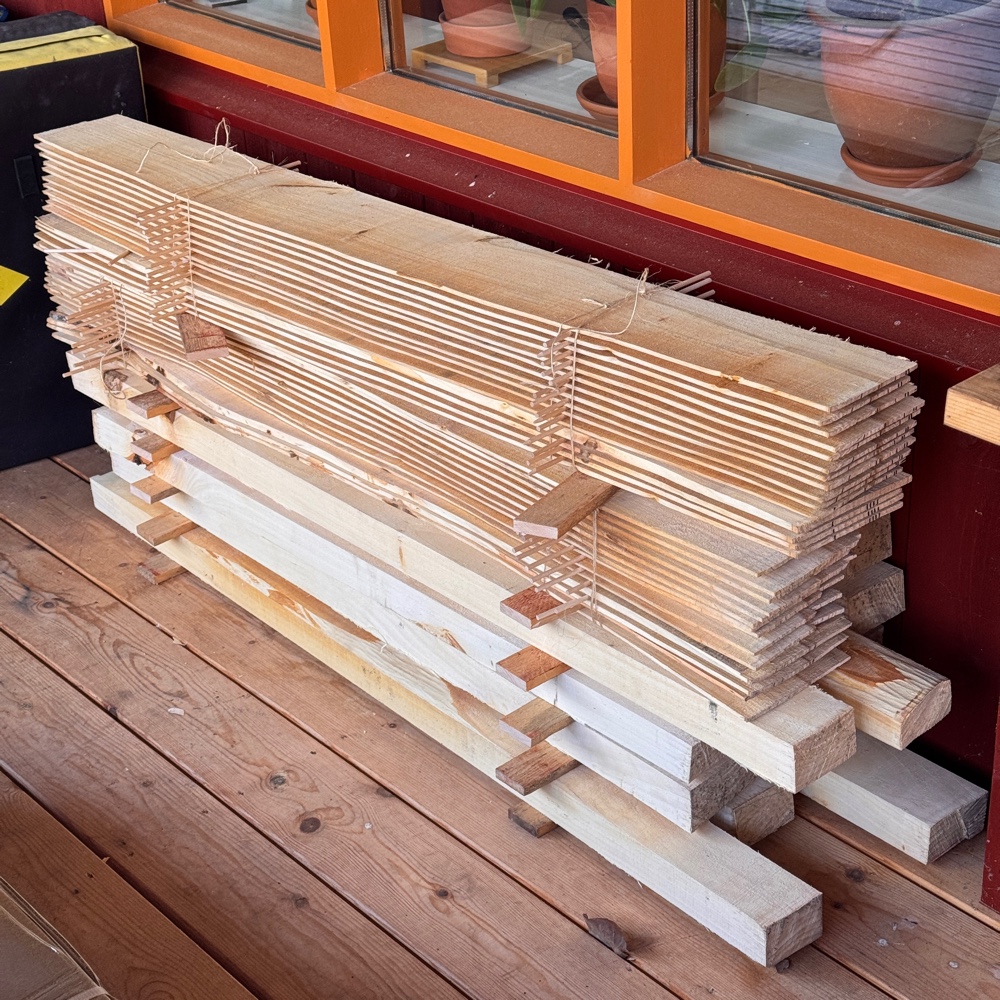
And would you look at this. (And would you not look at the two round logs at the bottom, those are for a giant marimba for my wife’s workplace.) Anyway, some 30 slices over one meter long and around 13 - 15 centimeters wide, and the neck blank blanks for I don’t know how many necks. 

All stickered and stacked, in the shade for drying. It will of course take some time but when it’s ready I could start a wee industry. 

Hoping you and everyone you know really really want some maple ukes. And hoping they sound good, who knows, eh?


Friday, May 1, 2026

Rosette efforts

I decided to make a rosette on the soprano. I plan to add black binding, but couldn’t get the black veneer strip to work so the rosette will be of untainted maple. 

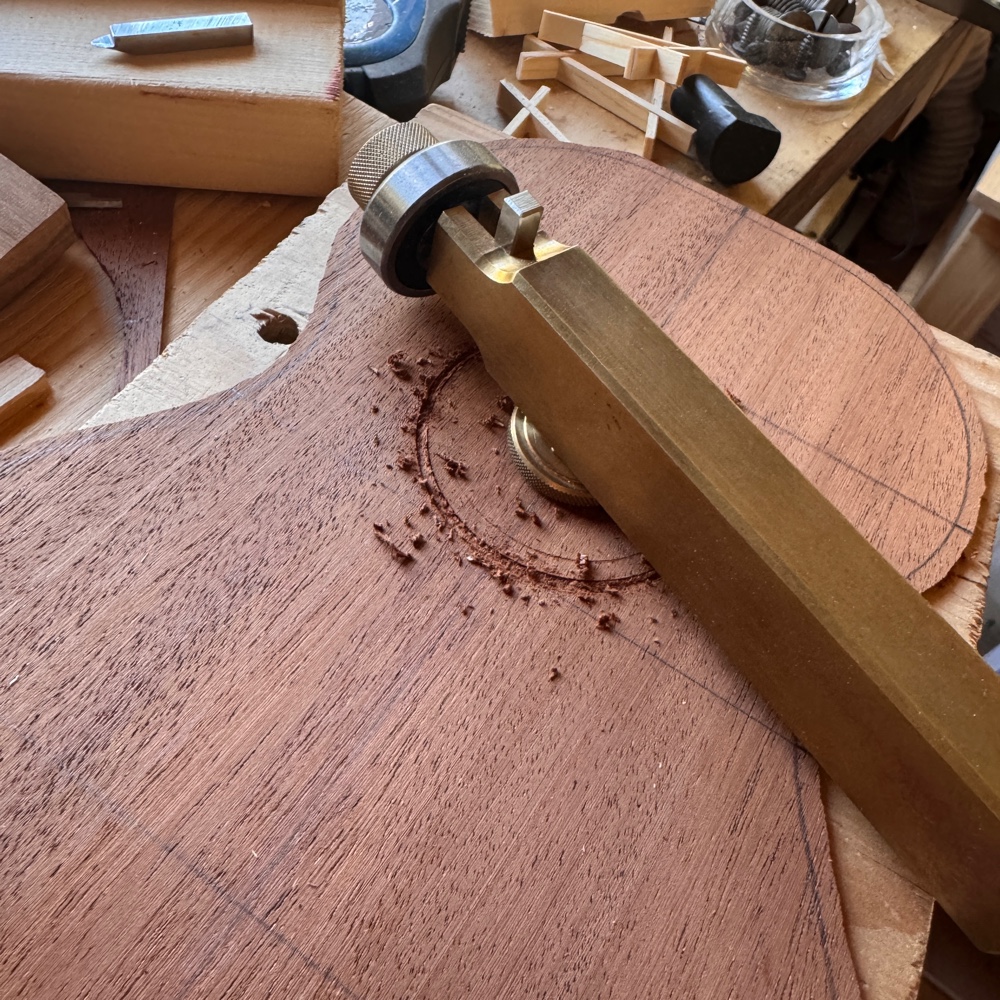
First action is routing the channel with the massive rosette cutter from Micheal Connor in Australia. Pricey but an absolute joy to use. 


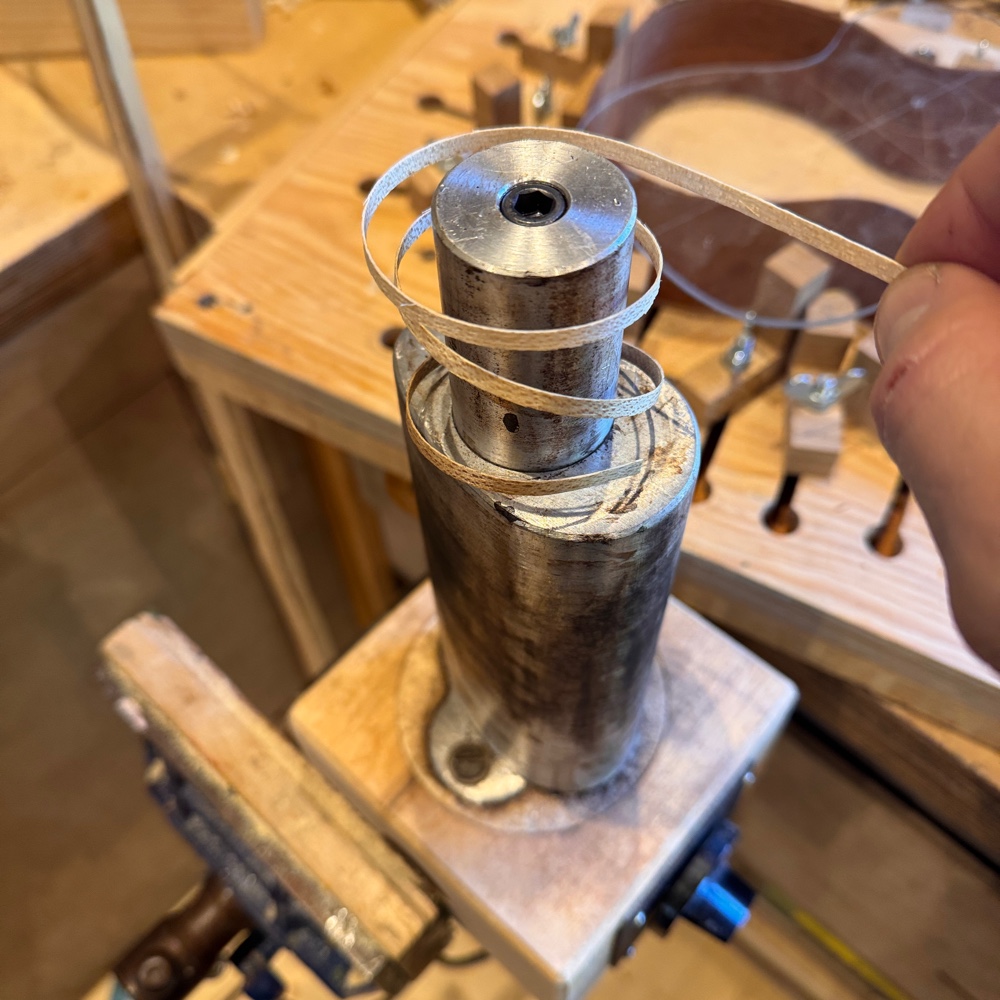
Then I prepared the maple strip by winding it around the bending iron. 

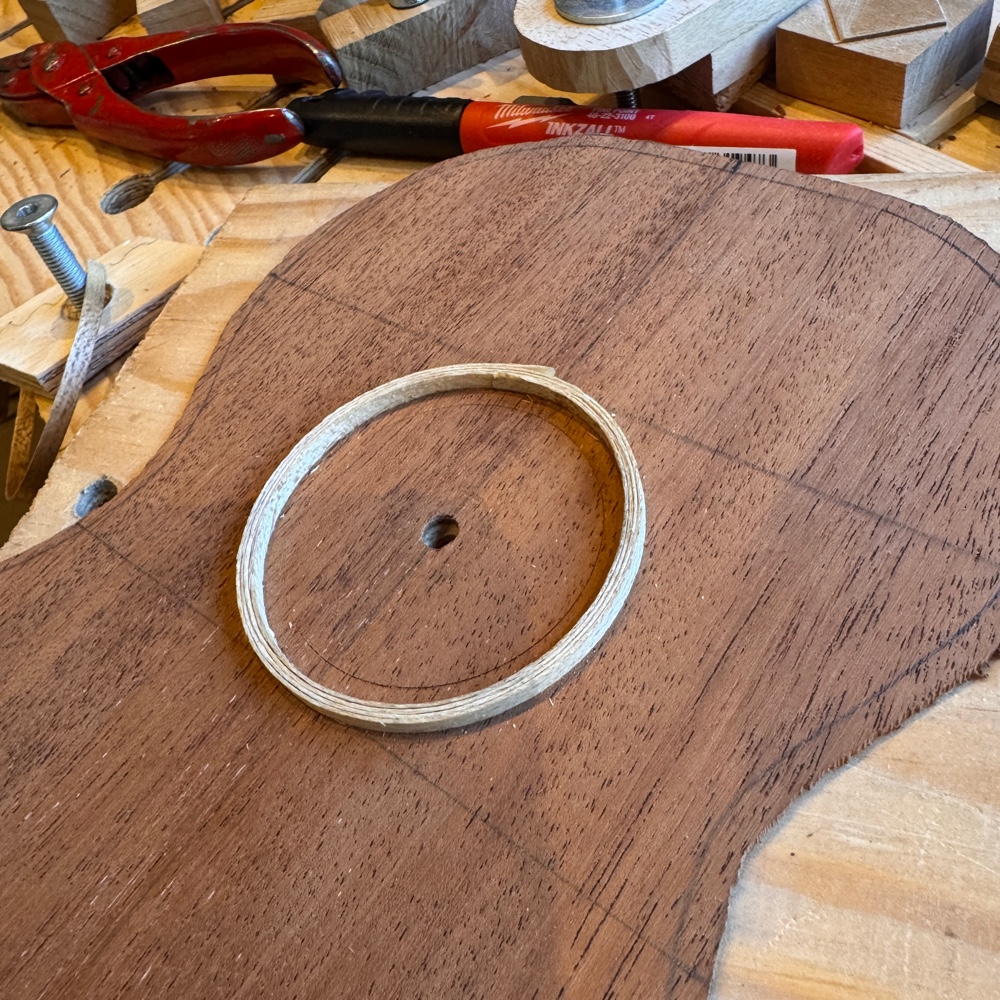
I was very lucky, or automagically skilled, the width of the channel was exactly the width of four turns of the veneer strip. I thinned out the ends and jammed it in. 

Then I added CA glue. A trick I find helpful is using the thin viscosity variety first, then switching to medium thickness glue. The thin glue will help drawing the thicker in, that’s beneficial because I wouldn’t trust only the thin stuff. 

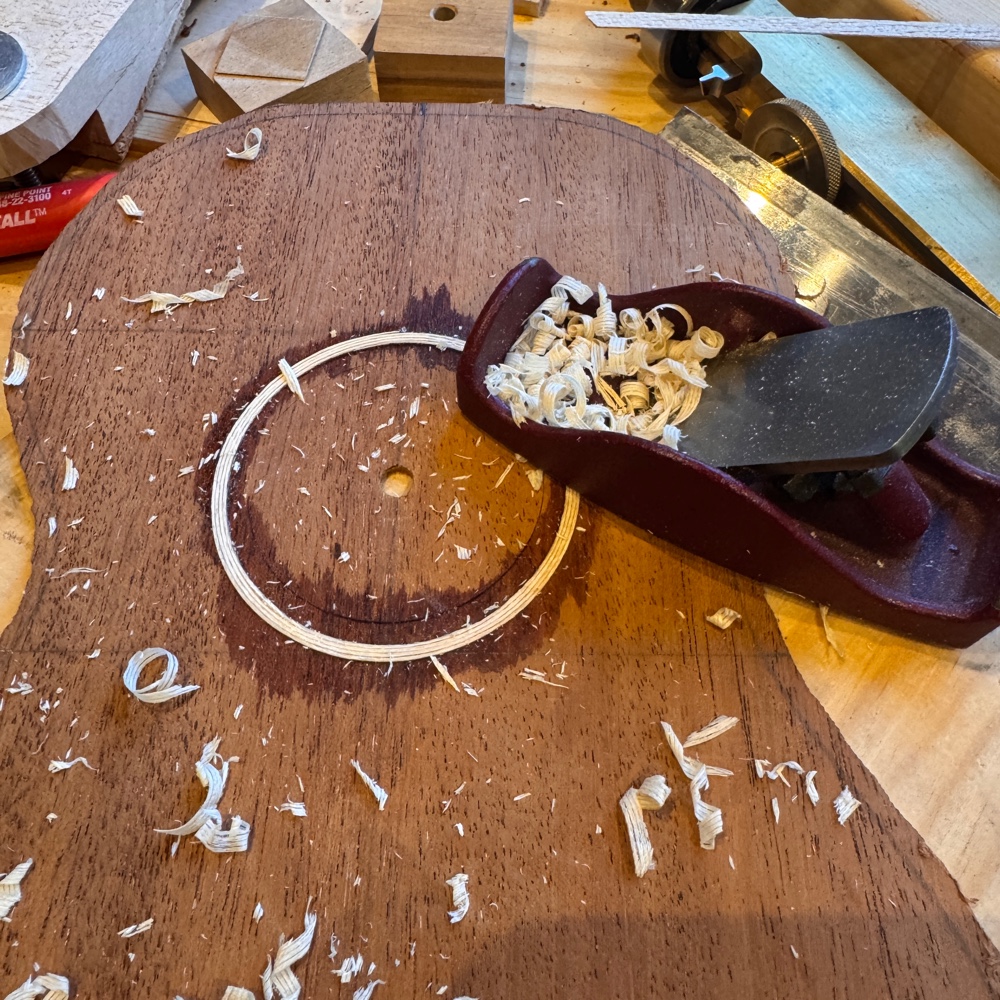
I let it dry for an hour or so then planed it down with my Little Victor plane, known from this blog in 2009 or thereabouts. 


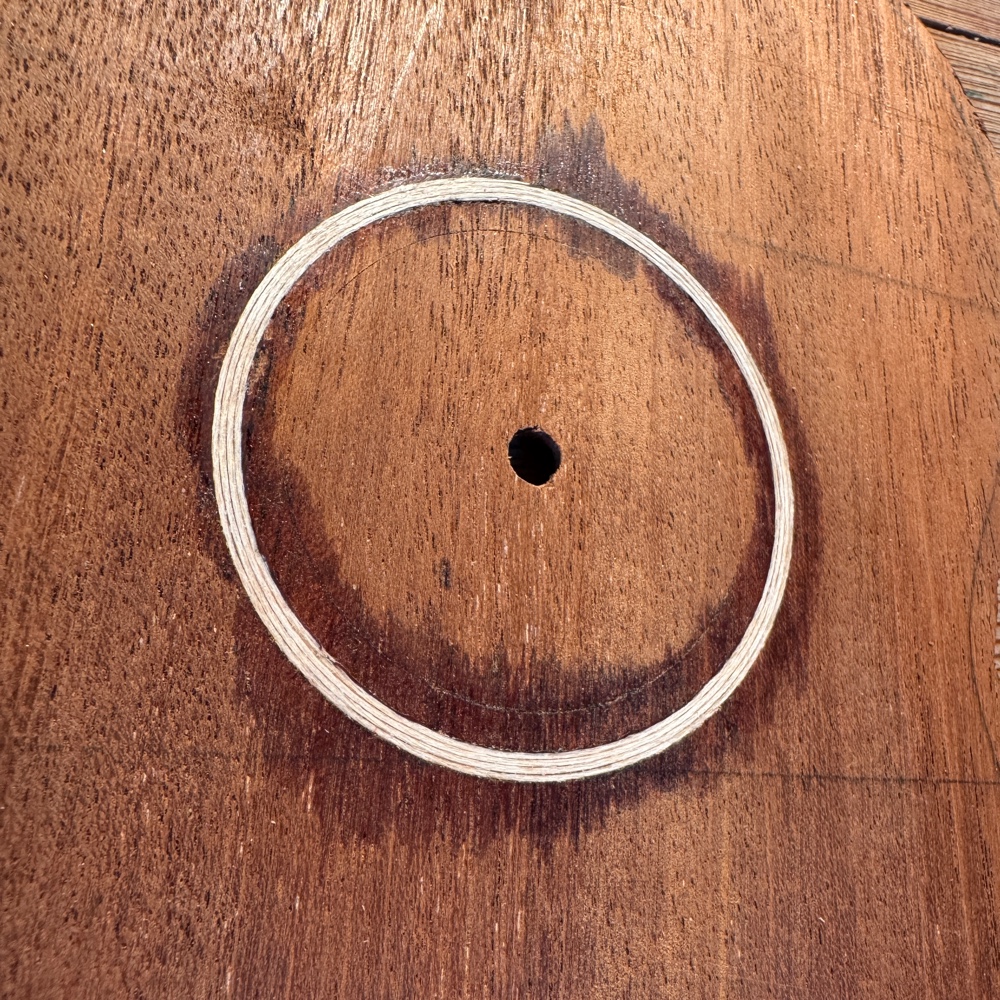
And it is done, at least as far as it needs to be right now. Next up is cutting the soundhole and then we’re off to the braces!


Wednesday, April 15, 2026

New ukes started

Once more unto the breach, dear friends, once more. 

Or as we say more often: hiya. The itch is coming back and it can’t all be ticks can it now. I delved into the stash and emerged with mahogany and parts for a reso skeleton. 

Starting out by glueing up the skeleton and sawing out plates for the acoustic soprano. 

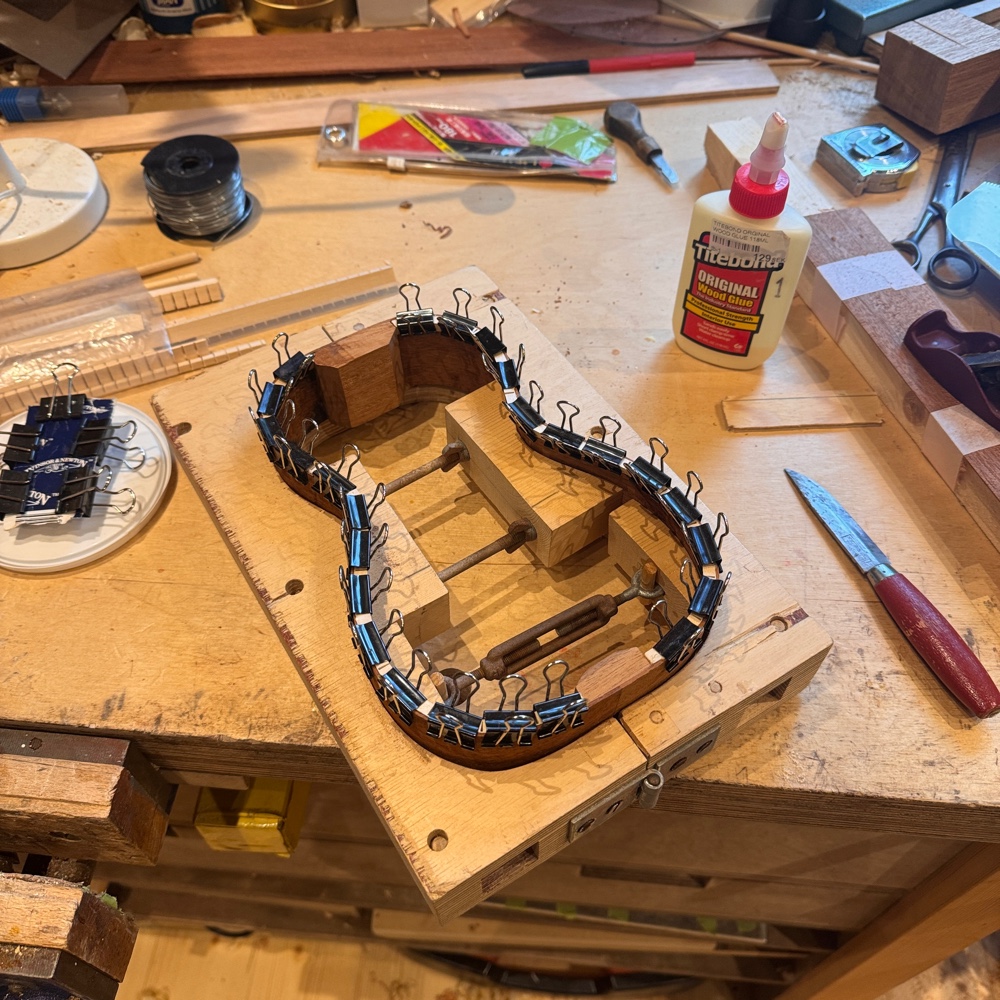
Bending did not go smoothly. This is ancient wood and it is brittle, I actually had to bend the soprano rim back to straight again and shave a bit more off with the drum sander. Now it’s a bit thin, maybe I’ll secure it with transverse cleats. I’ll give it a think. 

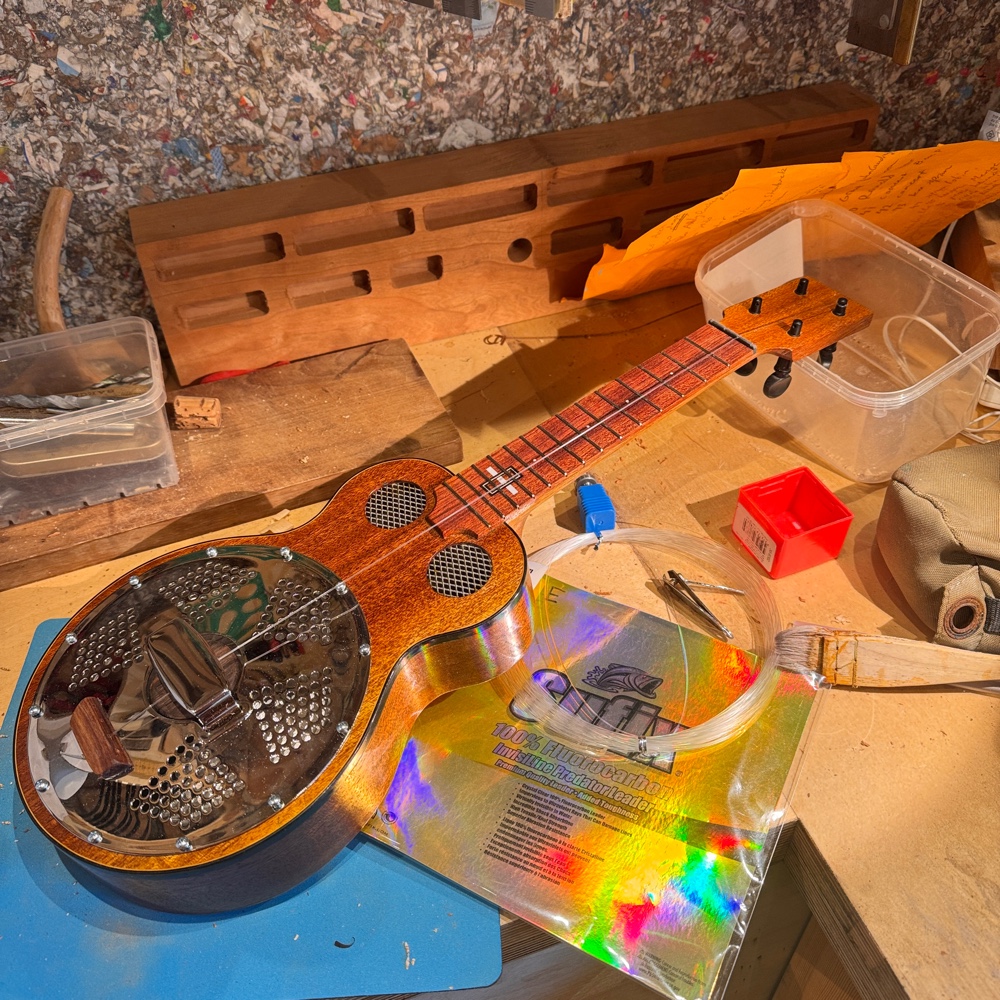
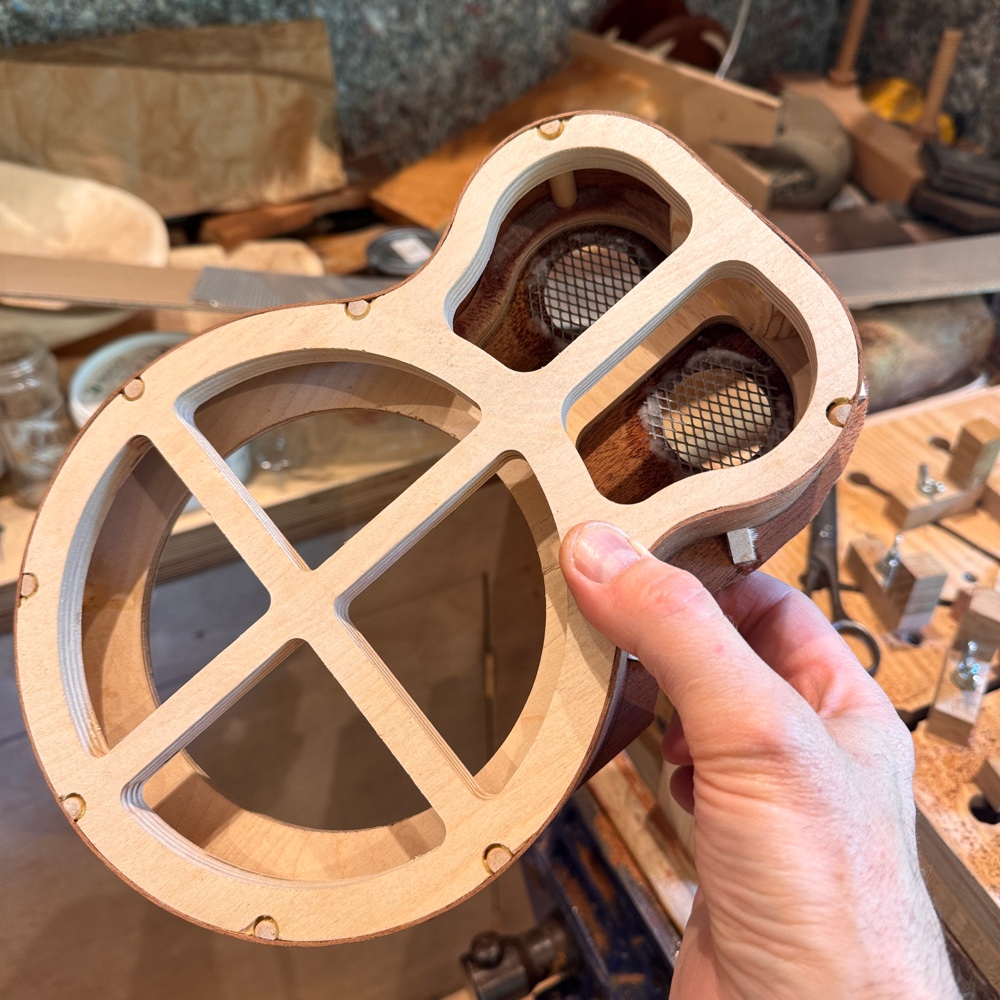
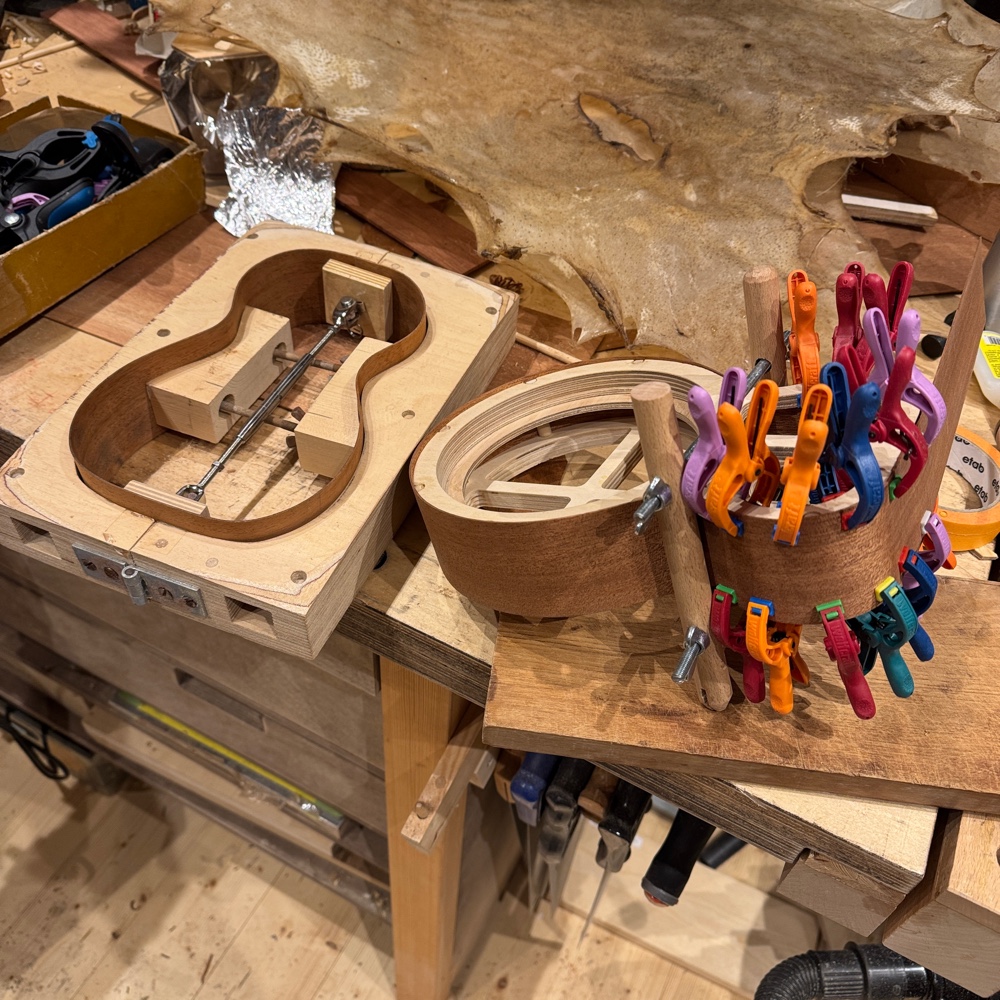
Last pic is of the reso, I glued the rim onto the skeleton. It is a one piece rim, both because I like that better and because it is much easier to glue since I can tighten it around the round part as I clamp the waist with my waist clamping clamp. 

Cheers!