Learning Ukulele 50 Sites Top 50 Ukulele Sites Argapa Ukuleles - one size louder

Saturday, July 26, 2025

Fretboard pt. 1

I’ve been mucking around a bit with the fretboard while waiting for glue to dry in other places, now I have loads of progress to share. I’ll split it into two installments. 

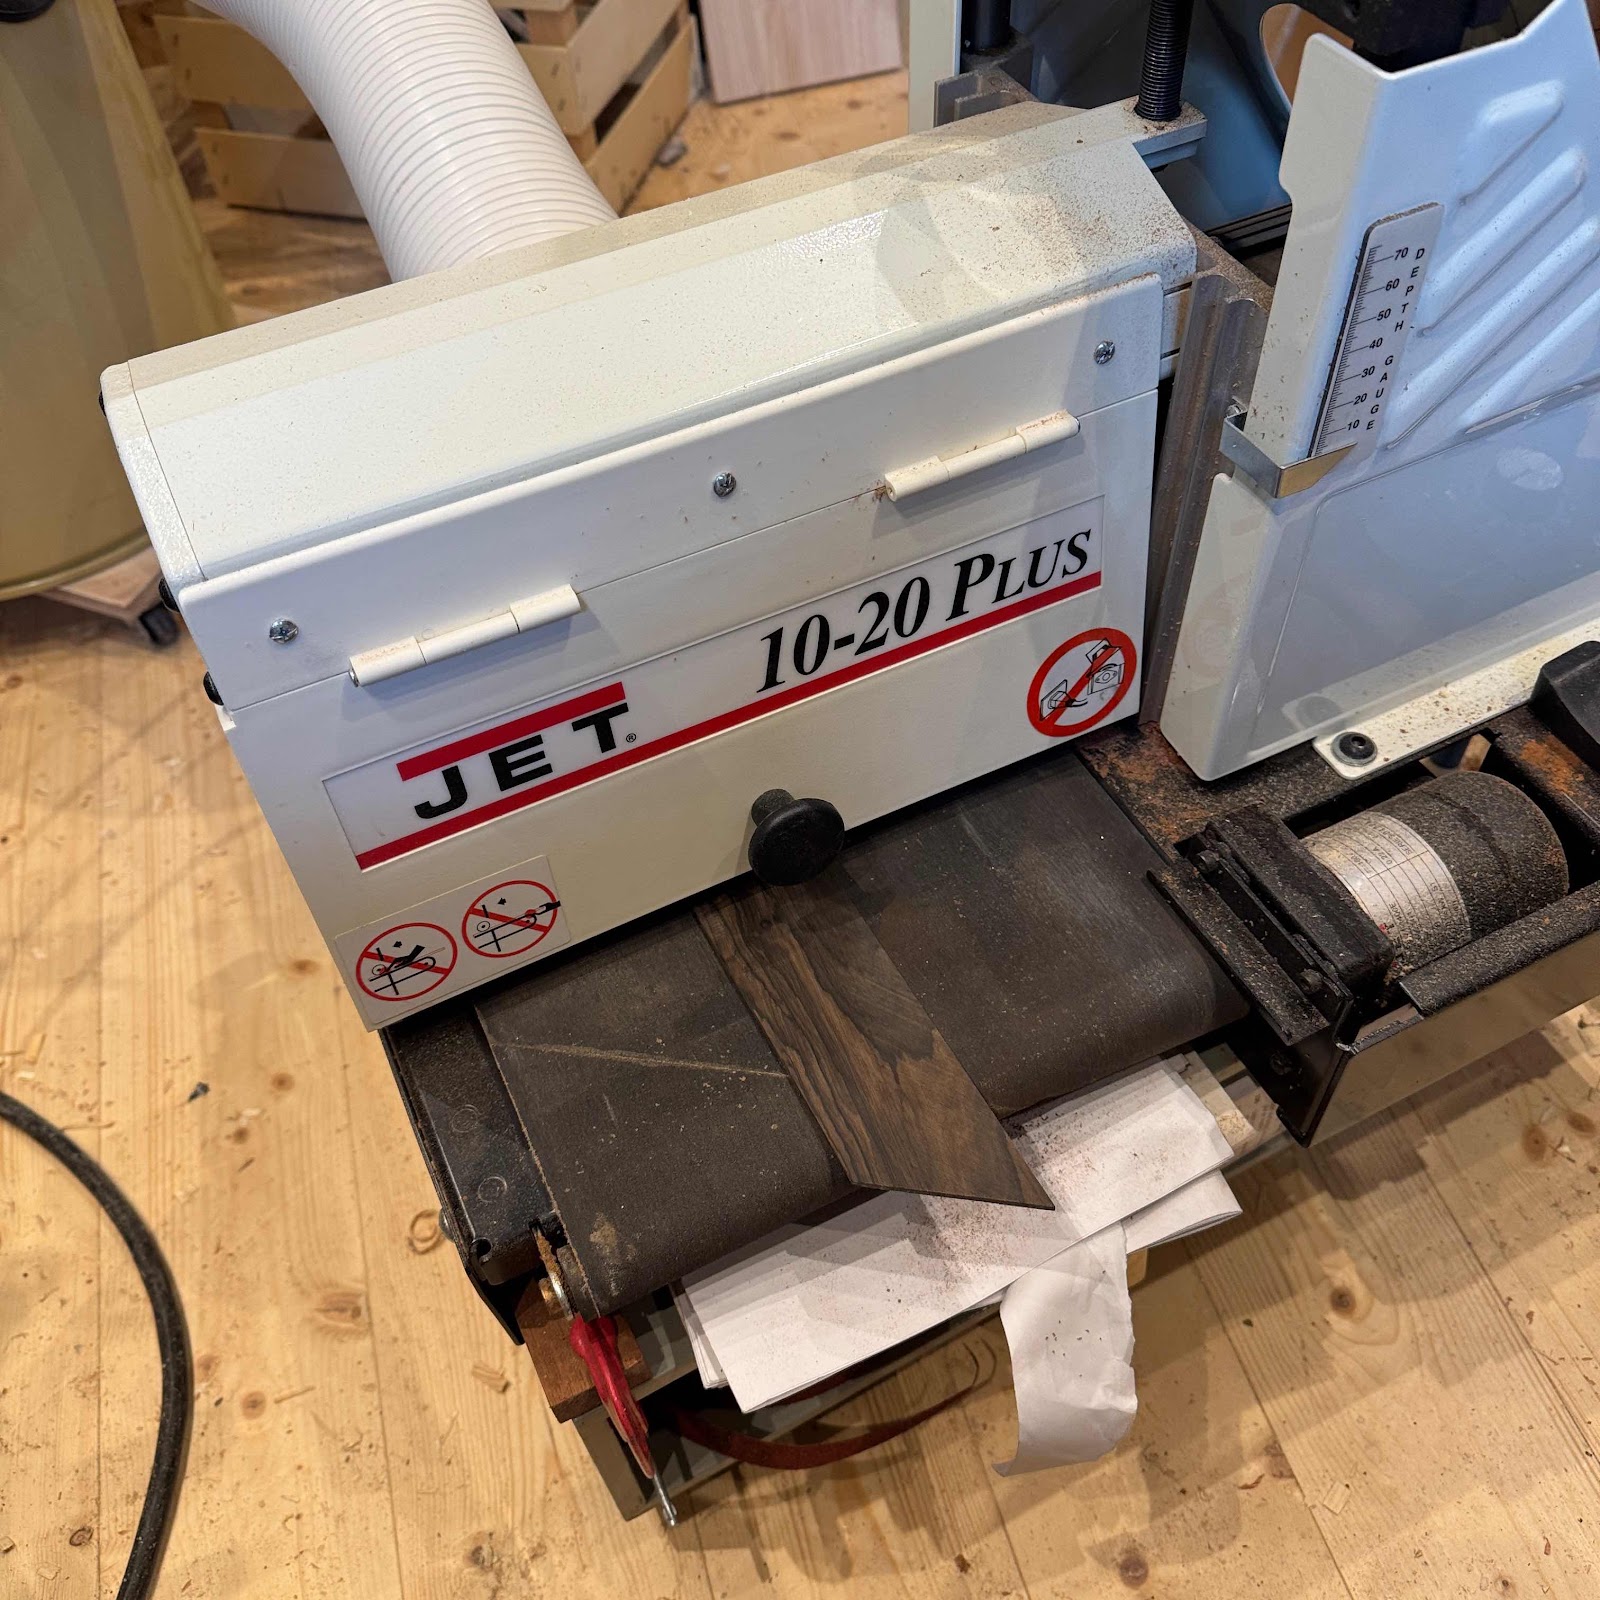
First pic is the rosewood board running through the drum sander. It was close to thickness already so I just needed the marks from the bandsaw to be gone. 


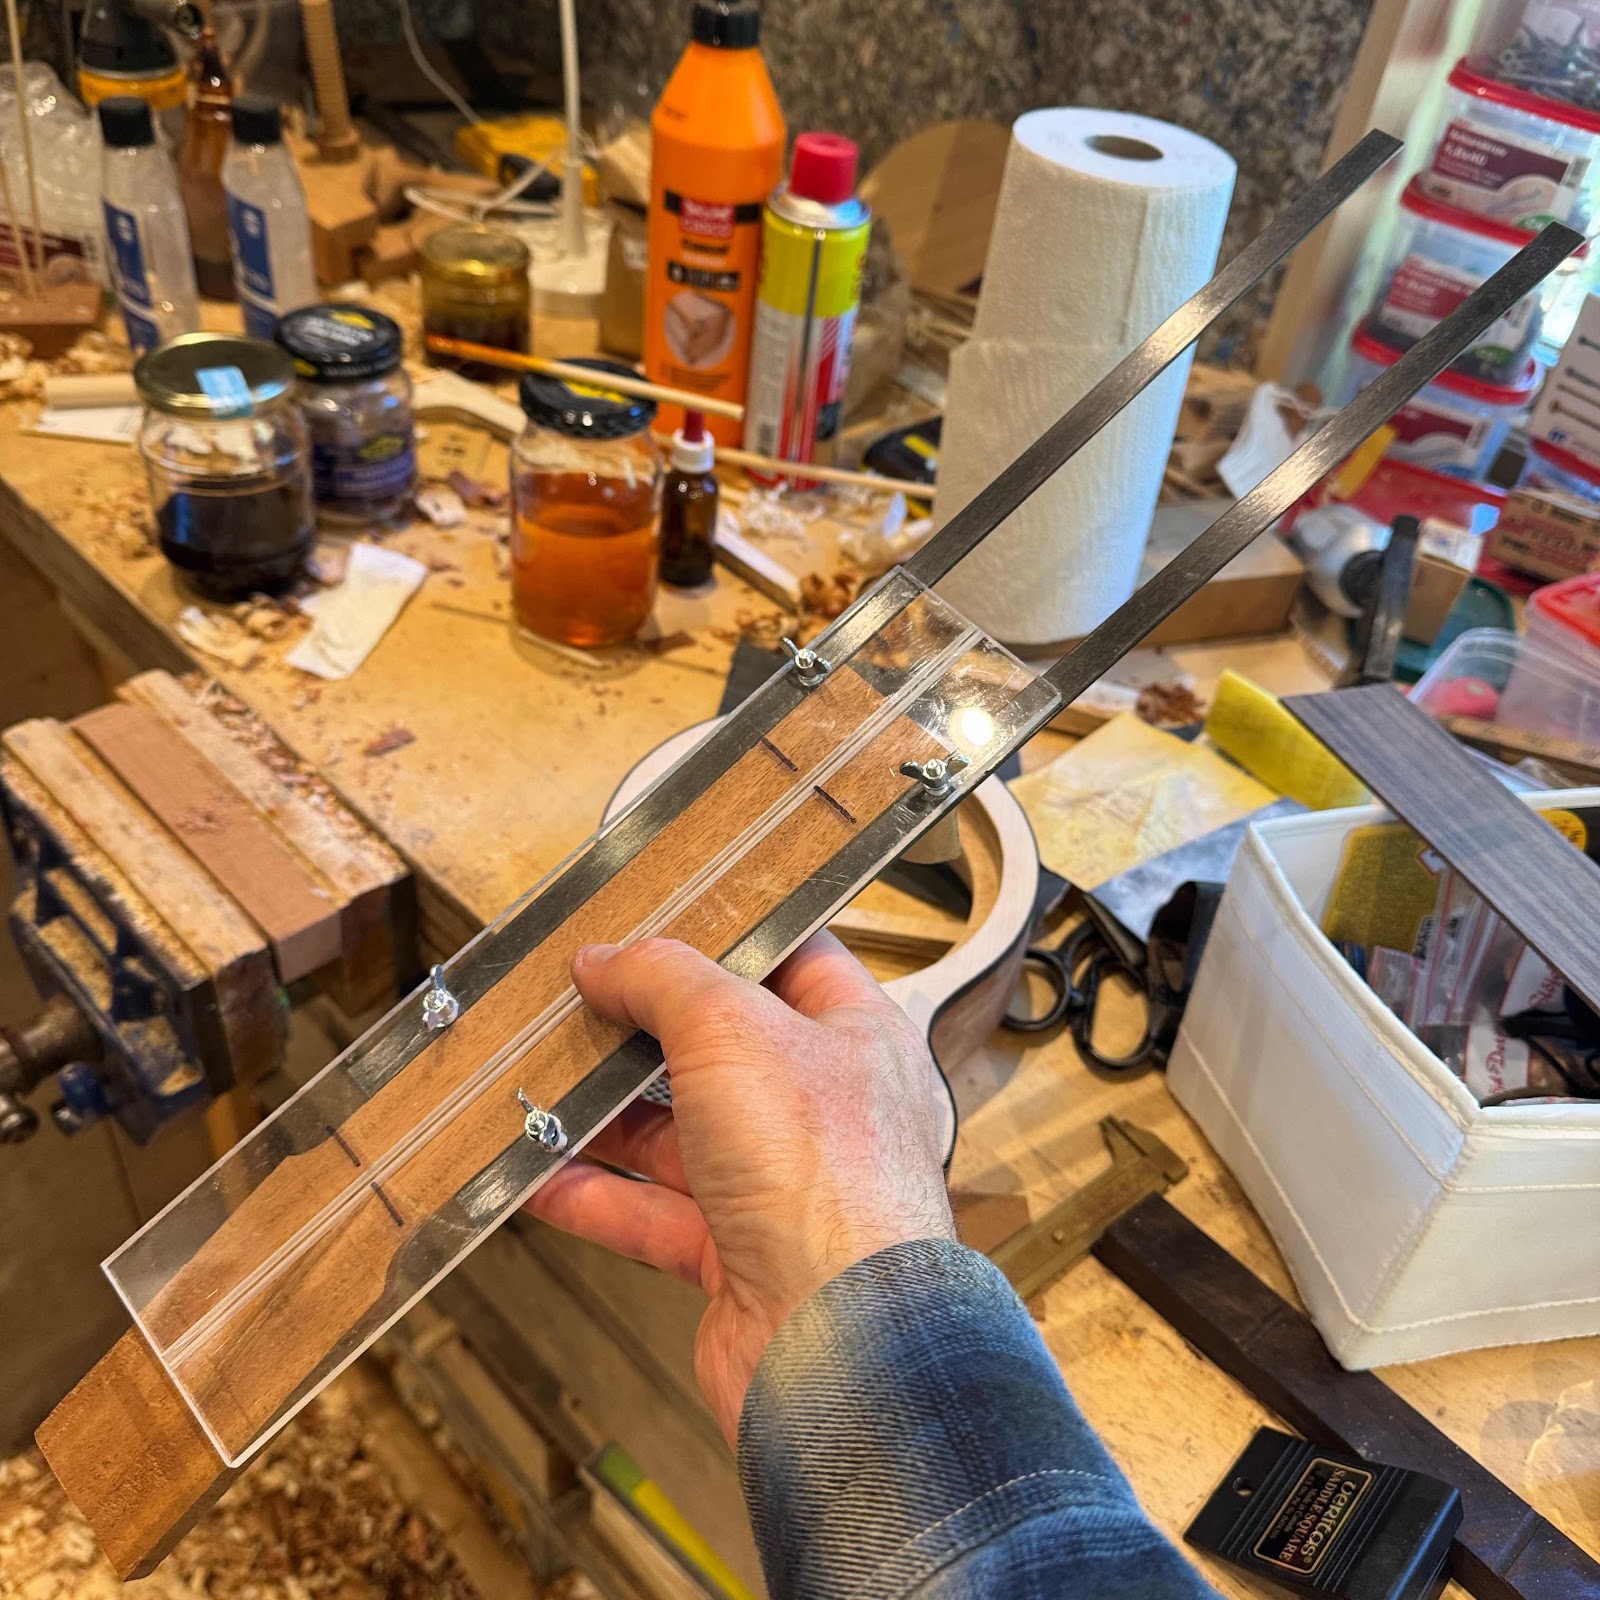
Then masking tape is applied to the underside of the board, and to the top of the fretboard. CA-glue holds the strips of tape together and everything in place. 


It was fiddly to set the depth stops to the exact depth, and the same depth, but I managed. I remember buying this expensive bit of kit from Stewmac, three weeks after the purchase they released their upgraded model with bearings and knurled thumb screws. I was fuming then and if I’m completely honest I’m still fuming. 


See? This is what we want. 


In a flash of inspiration I came up with the pattern for the inlays. I drill straight through and use plastic rods that I cut flush with a chisel. 


And sawing to width and the correct taper. The edges were planed after sawing. 


And this is where I’ll leave you for now. Fretting is underway and I dare promise that post will be gripping. 


Tuesday, July 22, 2025

Back glued on

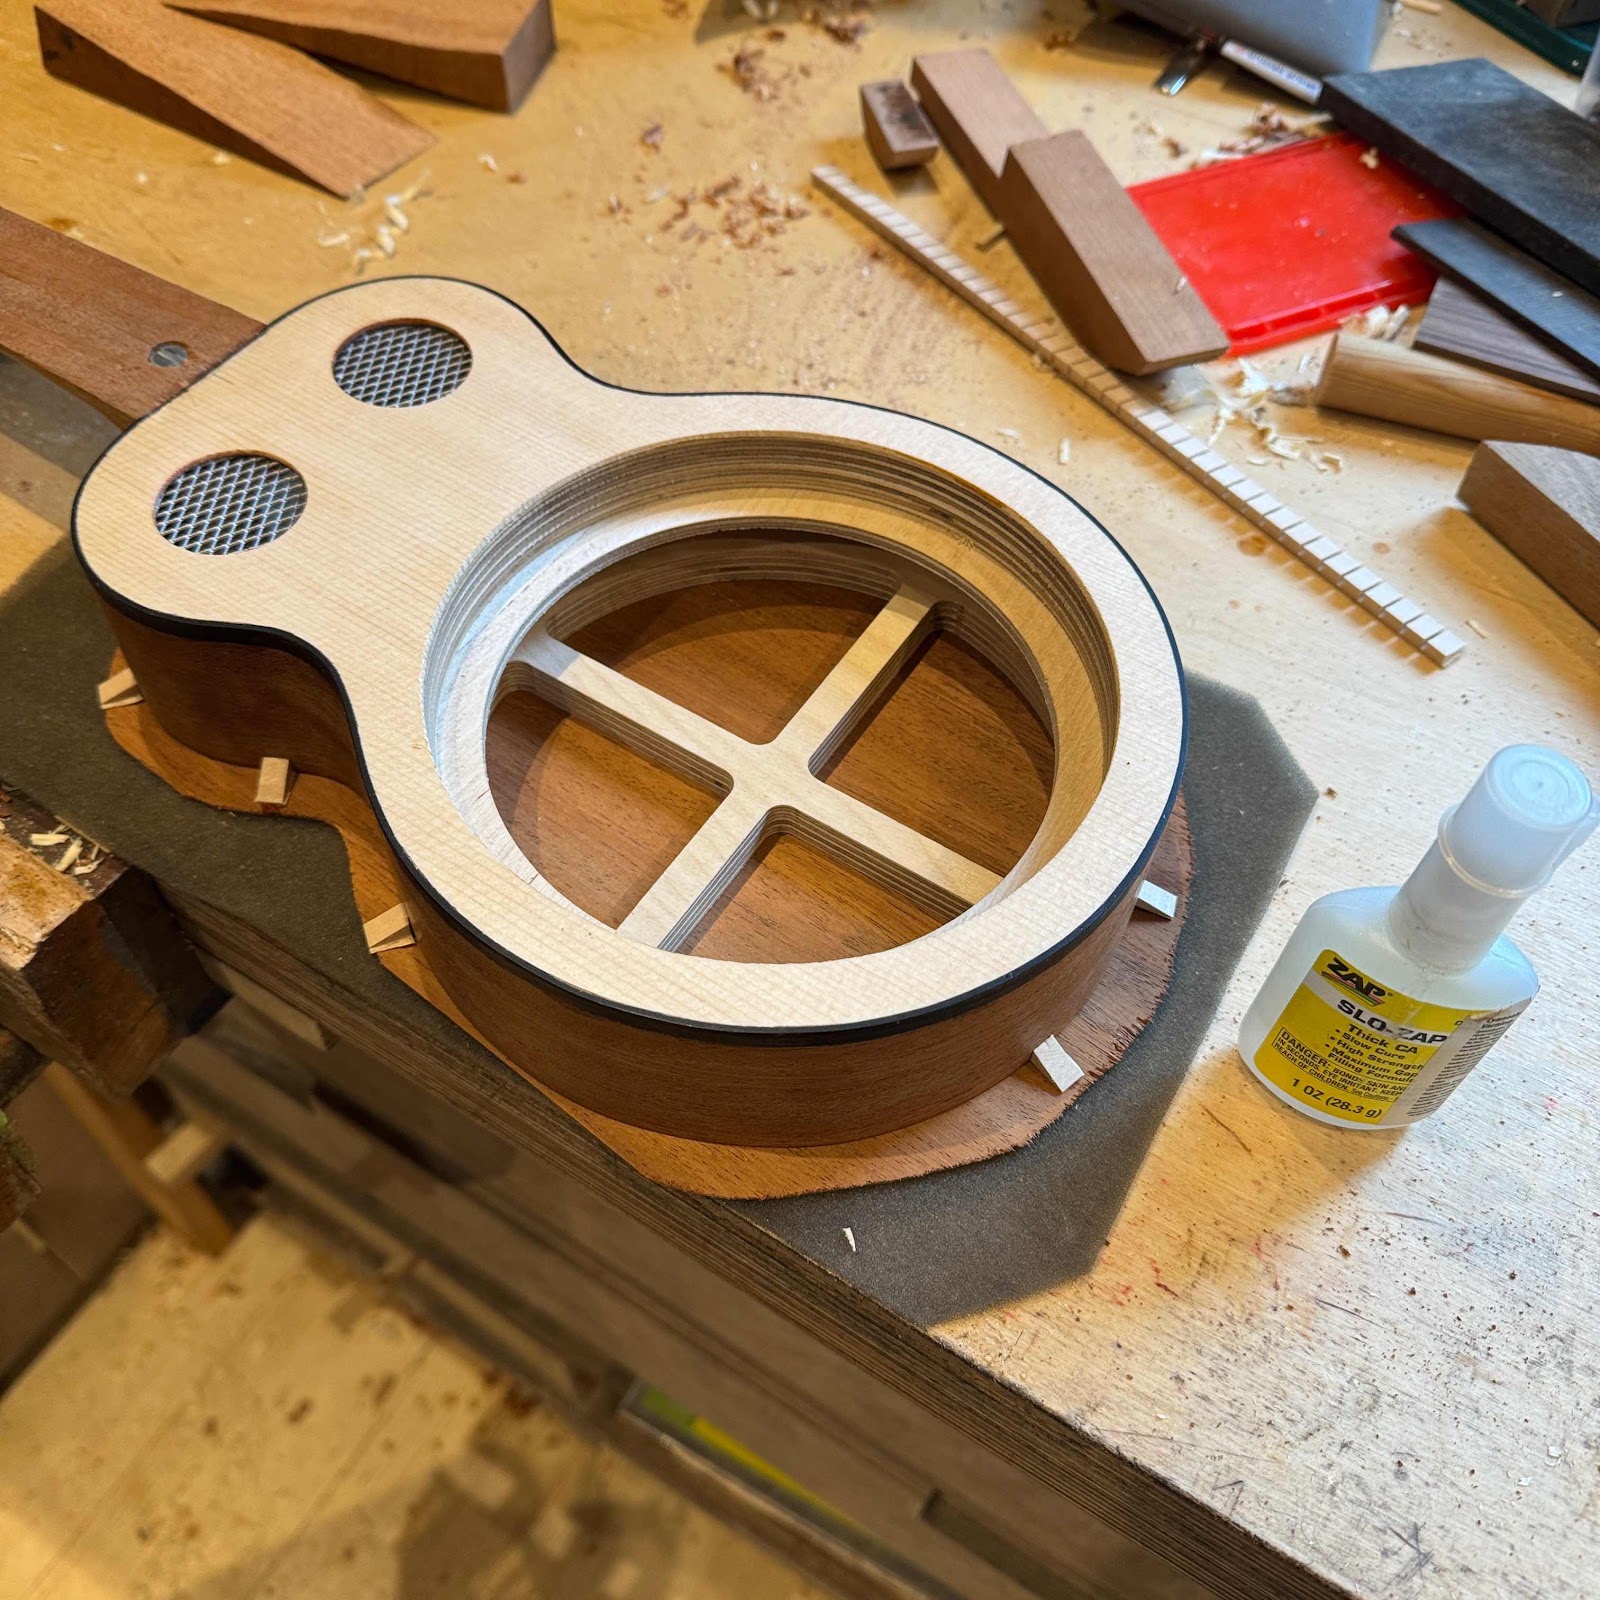
It was time to glue the back on. I cut it out a bit oversized and aligned it with some small cleats from a kerfed lining strip. 


Then the glue was applied and spread out with the wee roller. In the back you can see a piece from an extra skeleton, to be used as a clamping caul. 


A rare shot of the Argapanator himself, thanks to me having company in the workshop for once. 


With a layer of foam I found kicking around and that skeleton half as the caul I clamped it up. 


And some excess glue was cleaned off and removed. Paralell to this I got cracking on the fretboard, but that’ll come in the next post. Fanx for reading!


Monday, July 21, 2025

Neck attached

Once I had some trouble aligning a neck, and in handling that situation I rigged this gizmo up. Haven’t used it loads but as I found it the other day I thought I could give it a go. If nothing else it captures on photo what I usually do by eye and loosely held rulers. 


I put a wee centre finding rule at the end of the body with the zero at the centre line, then I can more easily measure the position and direction of the neck. 


Before this last pic there were a few steps that aren’t possible to show, not because they’re classified but because they require both hands and some jiggling. But it all turned out well. Next up is chopping the excess at the heel off, glueing on the back and get cracking on the fretboard.