
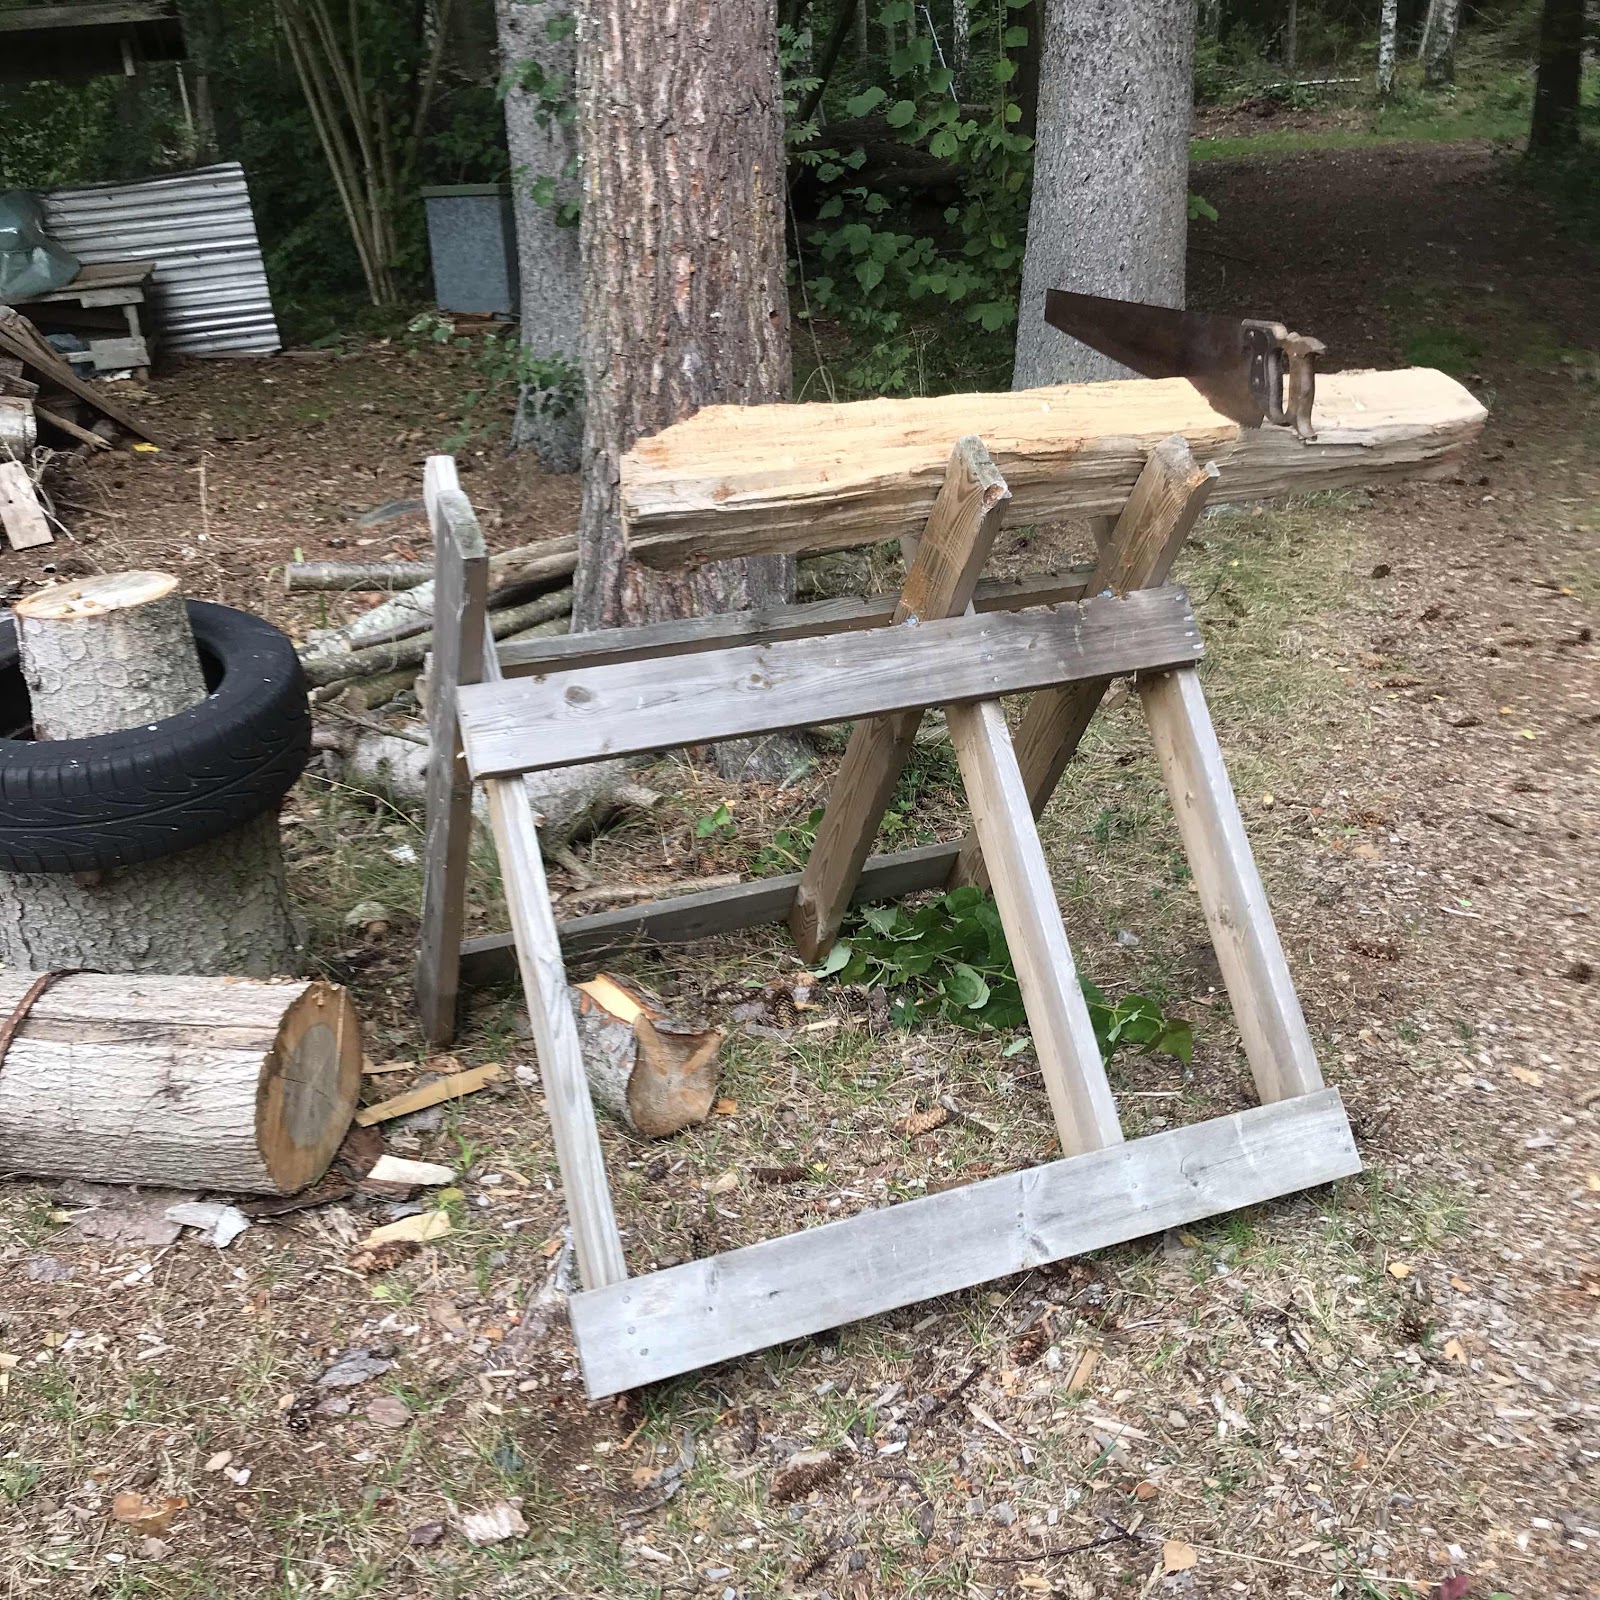
Since I’m a sucker for praise I went out to the stack of drying lumber and looked for something nice. I found a piece of that hefty alder trunk I harvested, split and stored a few years back. It’s curly, blonde and comes from my corner of the world. Perfect.
First pic is cutting of a length. I’ll be using the shorter length to the right of the saw.
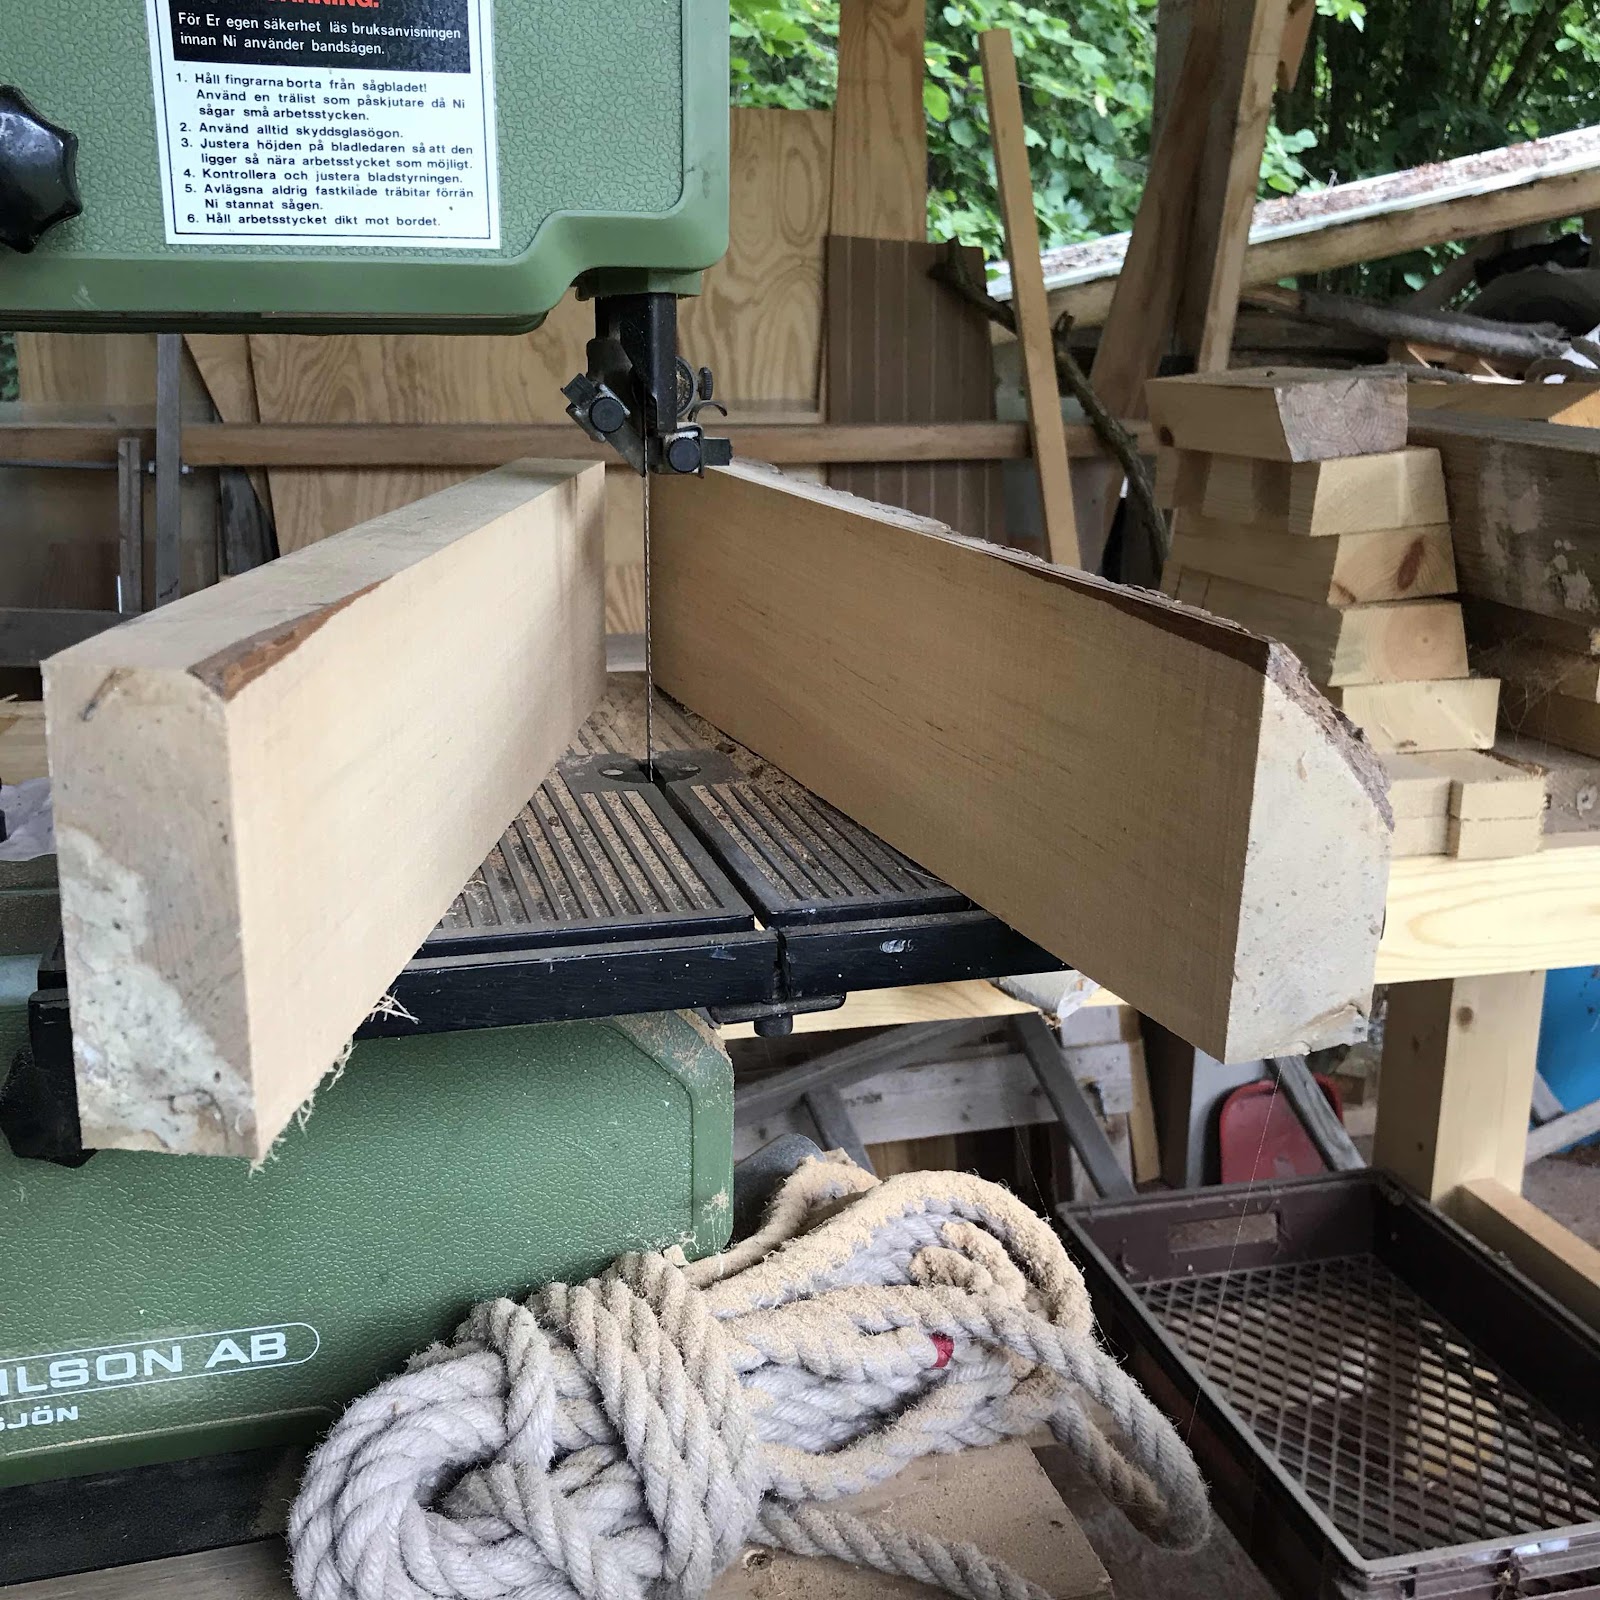
On my new wee bandsaw I sliced off a corner to get started on the squaring up. It’s a small three wheeler but it’s actually better than my old one.

Planing that first surface with a no.7 plane to get it flat and true. I still haven’t put a vise on the new bench so this is the old one.

Then using that first side as a reference I cut the adjacent split surface to clean it up before going back to the handplane.

Next pic is of the third surface being planed. Then I made the fourth and last, before...

... splitting it in two halves. The gunk on the end of the left one is old glue I smeared on to prevent it cracking while drying. I will cut off a bit more when building the ukes.
On my new wee bandsaw I sliced off a corner to get started on the squaring up. It’s a small three wheeler but it’s actually better than my old one.
Planing that first surface with a no.7 plane to get it flat and true. I still haven’t put a vise on the new bench so this is the old one.
Then using that first side as a reference I cut the adjacent split surface to clean it up before going back to the handplane.
Next pic is of the third surface being planed. Then I made the fourth and last, before...
... splitting it in two halves. The gunk on the end of the left one is old glue I smeared on to prevent it cracking while drying. I will cut off a bit more when building the ukes.
To get the two faces parallel I sent them through the thicknesser. I could do it by hand but my best planes are at home in the cave and here at the cottage workshop there are more machines so time and effort was saved. I will keep these here to use the drill press to make the cavities, just as you saw me do it July.
Here they are, with the view in the background. They will rest inside and dry for a few months before I continue, but I have a couple of projects to keep me busy.

Here they are, with the view in the background. They will rest inside and dry for a few months before I continue, but I have a couple of projects to keep me busy.
No comments:
Post a Comment