
First I planed off the overhang at the neck end of the bodies. With a sharp and well set up block plane it’s easy.

You know I put some relief into the face of the heel, otherwise this next step is tricky. It would rock and create a convex surface. I check that the centre line is square to the sanding plate, constantly.
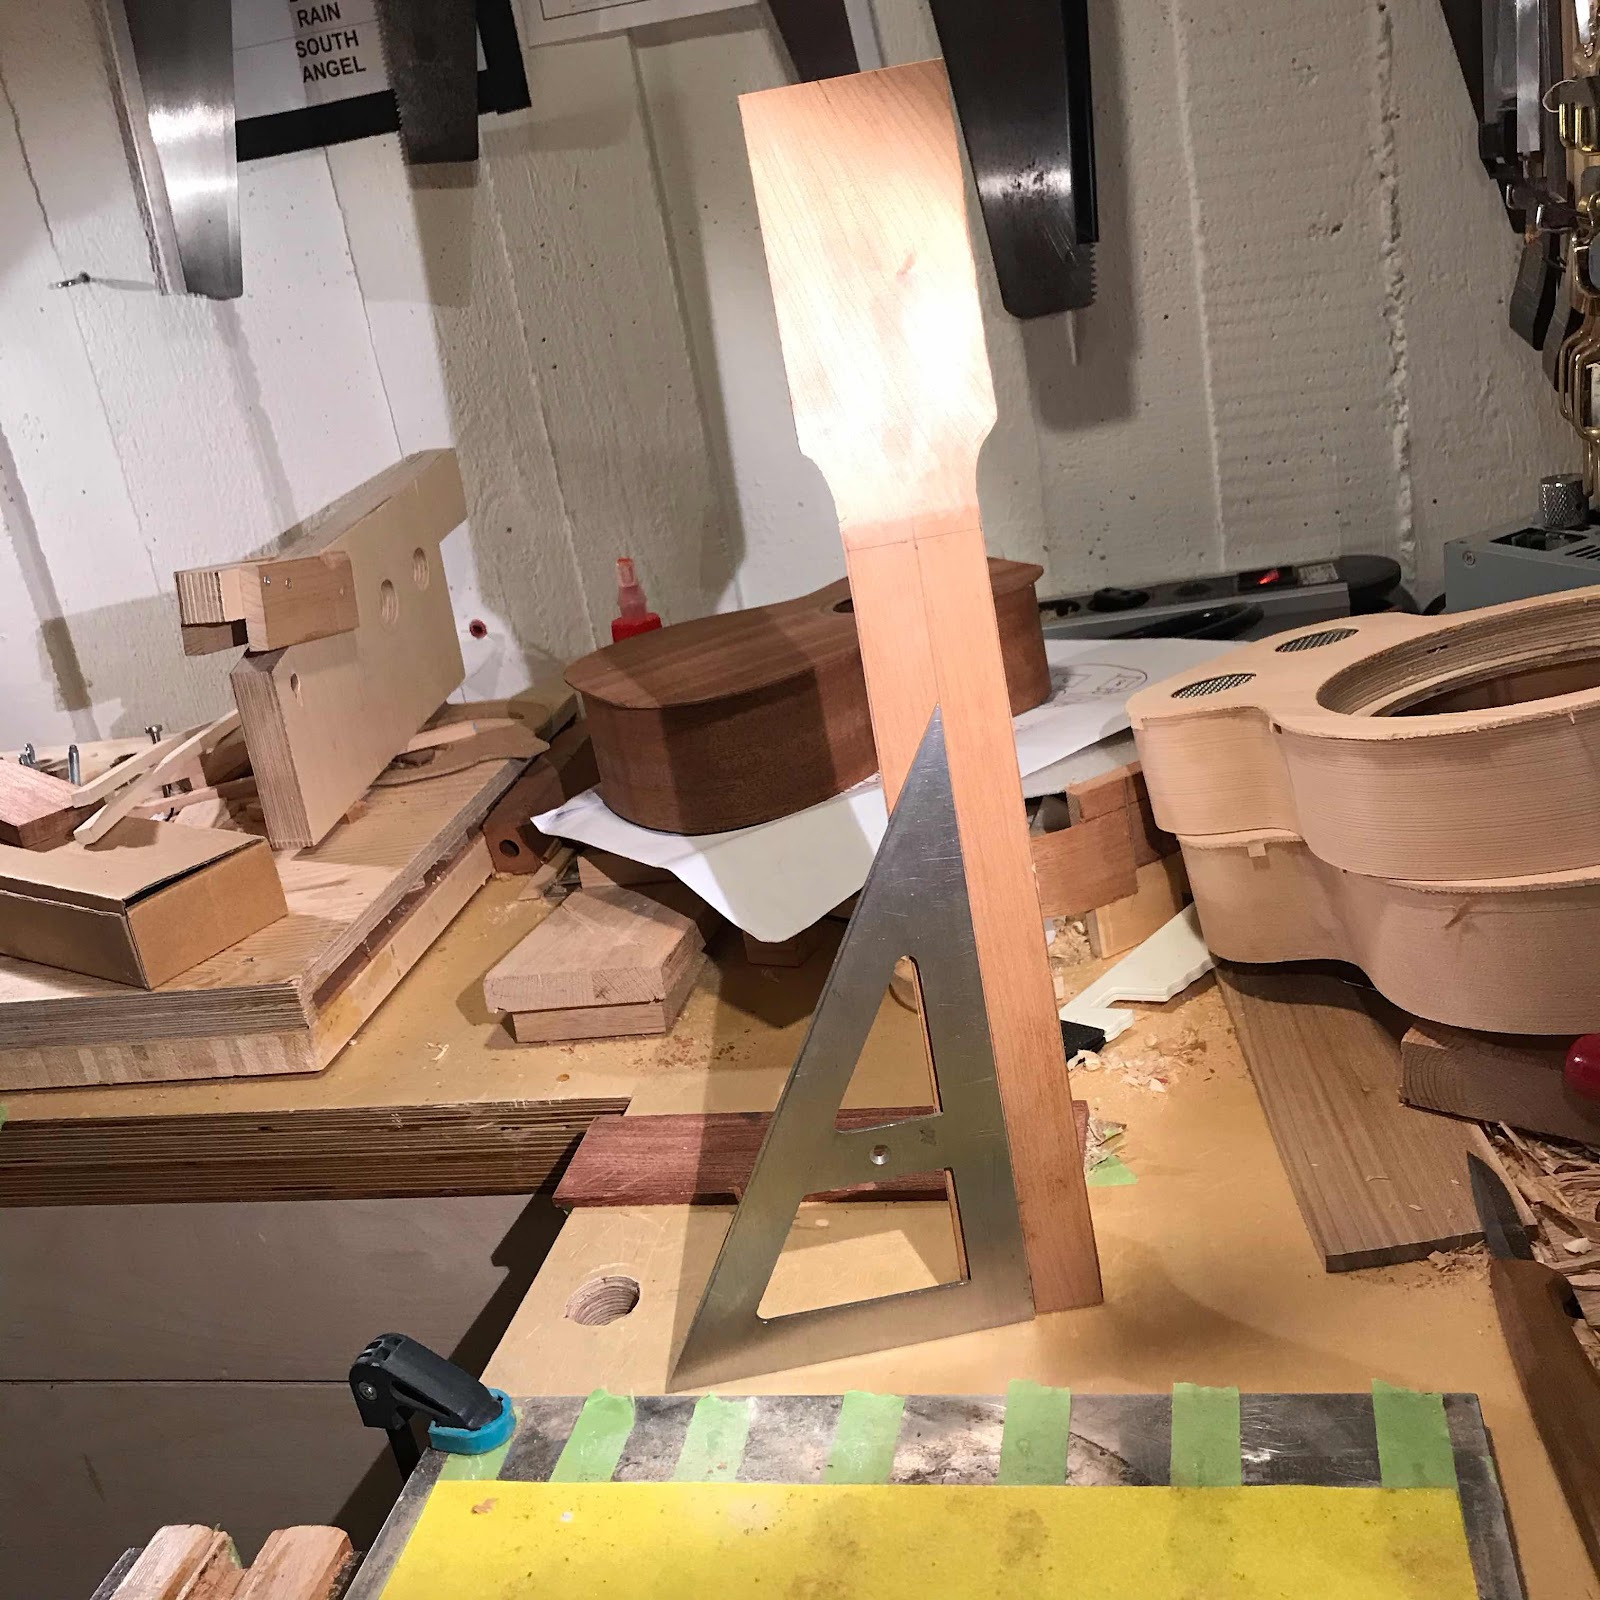
And the other angle, because of the height of the biscuit, saddle and cover plate. And the rigidity of the plywood skeleton, of course. I can set the neck angle on an acoustic by clamping the uke down with a shim under the neck when glueing on the back. Does that seem complicated? I’ll show you when I get there.

Here you can see the relief, and the hole for the barrel bolt. X marks the spot for the screw.

And marking out for the corresponding hole in the body. Measuring and drilling by hand is actually safer than using my jig.

The resos, done. And as you can see on the mahogany neck I glued in the cross grain dowel, as I’m going for The New Argapa Neck Joint.

Two holes in the body through the neck block, for the two wood screws that’ll hold the neck.
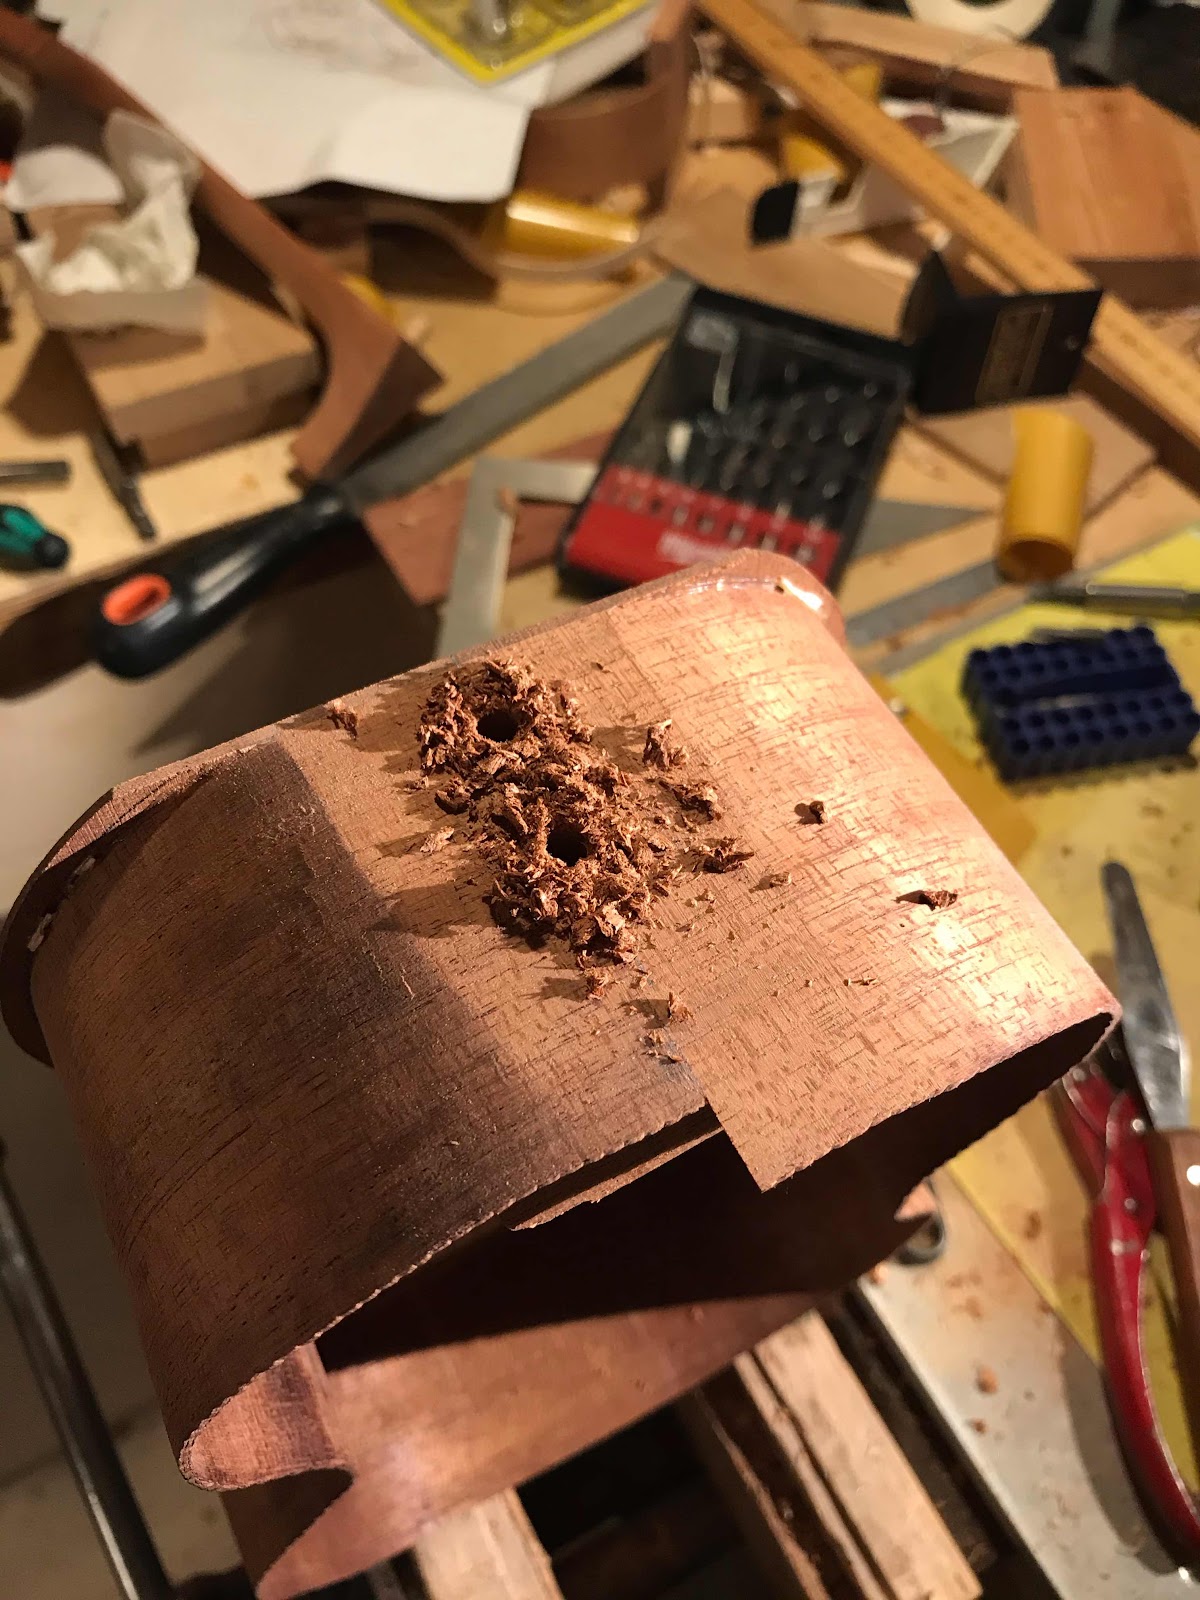
Glueing in a dowel seems stronger, I add a piece that will hold the screw threads better than the end grain. The barrel bolt connection is strong too but in it I remove material and put some strain on the end grain in the face [of the heel]. Maybe I should start using this method on the resos too. But then again, the back will always cover the heel and the fretboard will secure the neck at the top so probably screws of any kind are overkill.

No comments:
Post a Comment