I’m struggling a bit with keeping the blog updated, progress on the ukes are faster than that on the blog posts. But this is an account of the last week’s work, mainly on the acoustic sop (although I might have glued the back onto the reso).
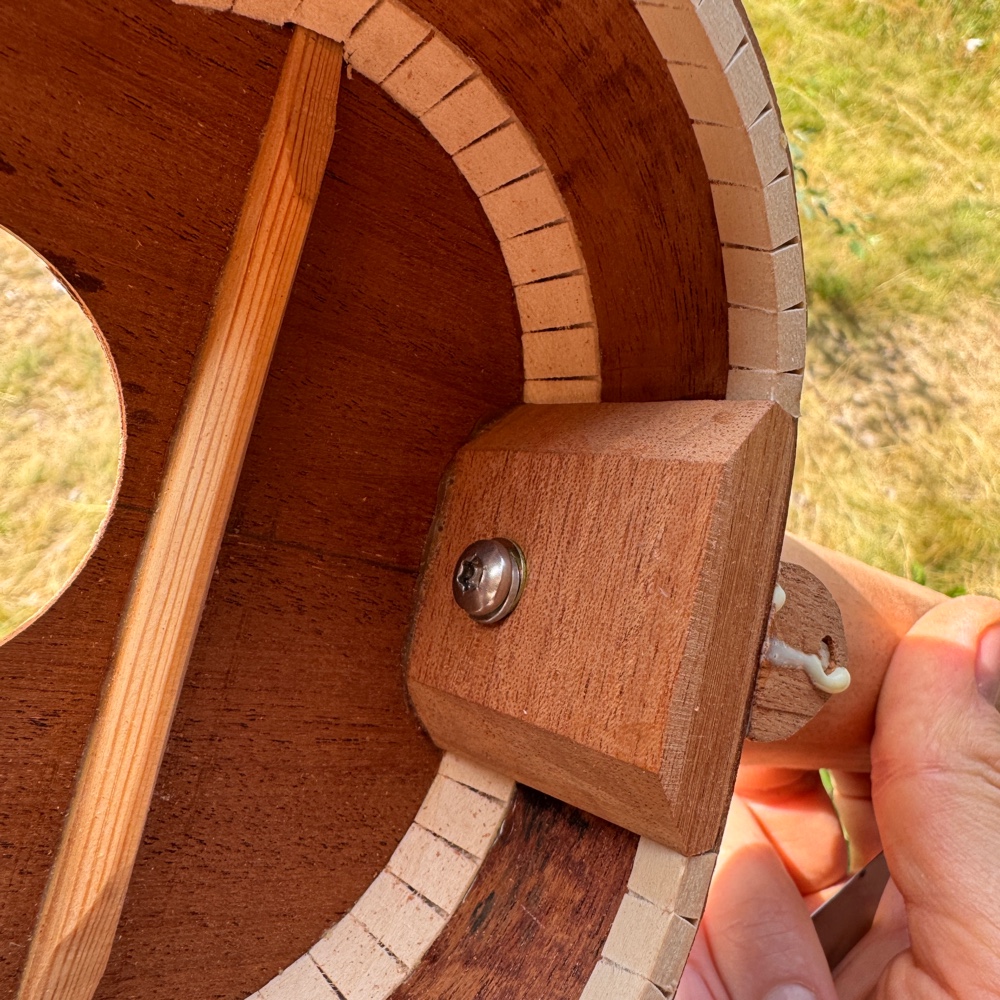
I have tried numerous kinds of neck joints - Spanish heel, tenon, dowels, bolt on with barrel nut, and on the piccolos a pointy wood screw. And that last one is great, the piccolo necks are of cherry and the screw gets all the purchase it needs.
But on this soprano the neck is mahogany and I didn’t want to rely on the screw just going into the endgrain. The solution is a wee dowel going through the heel, and the screw going into that. So sort of like a barrel bolt but easier since I don’t have to faff around as mucv with aligning the holes.
 |
|
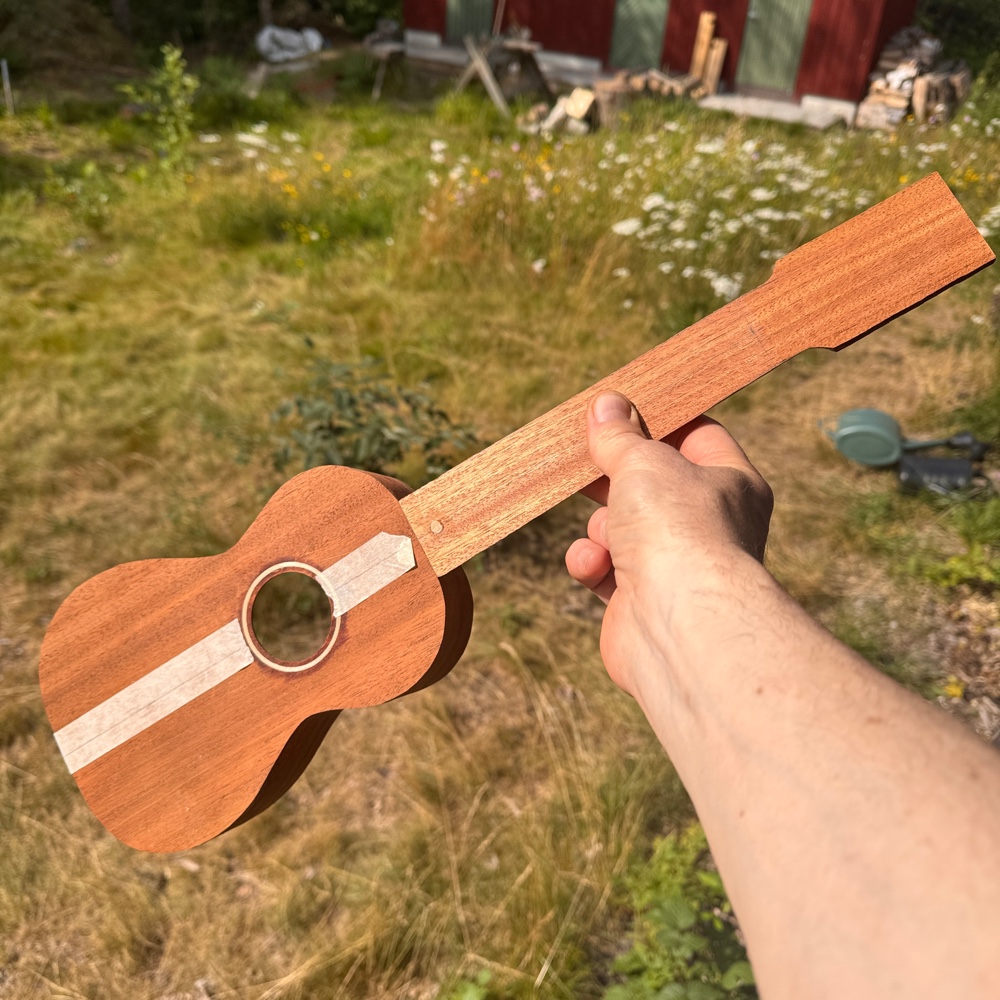
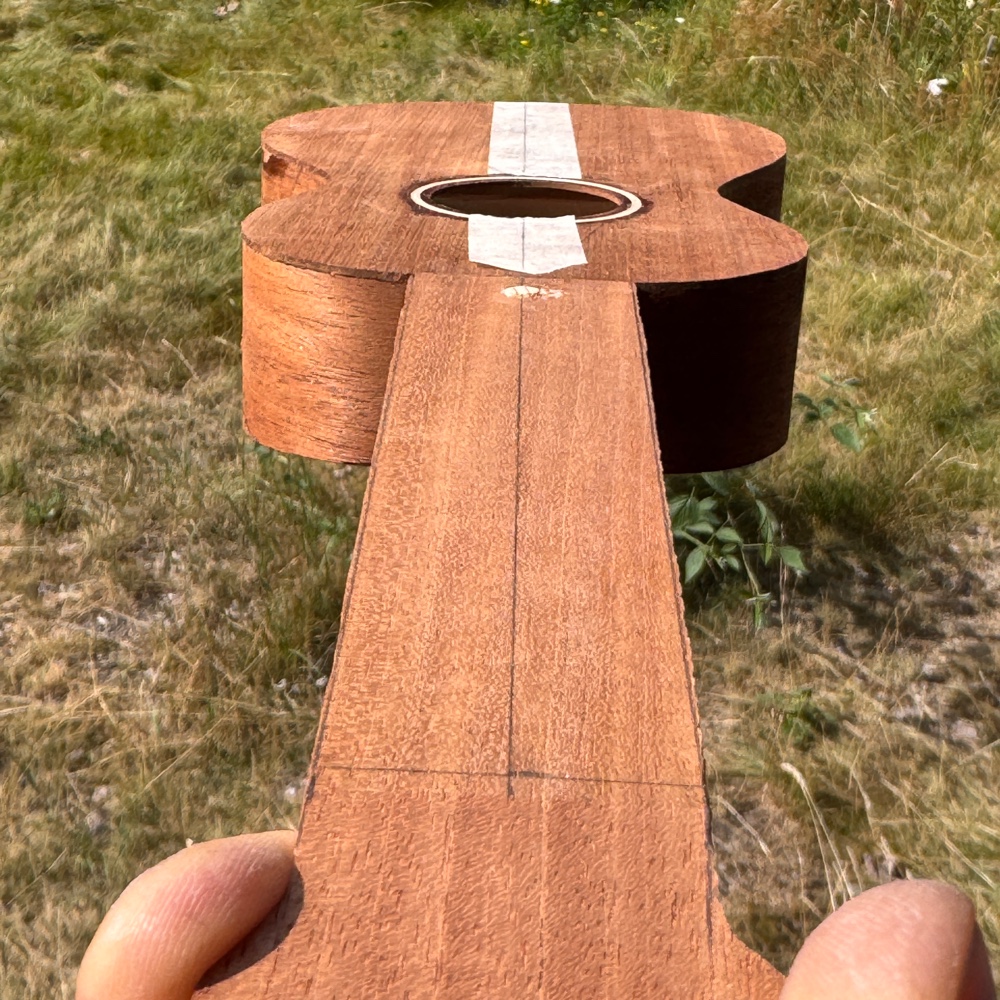
It’s of cöurse a one piece top so a piece of tape helps with a temporary centerline.
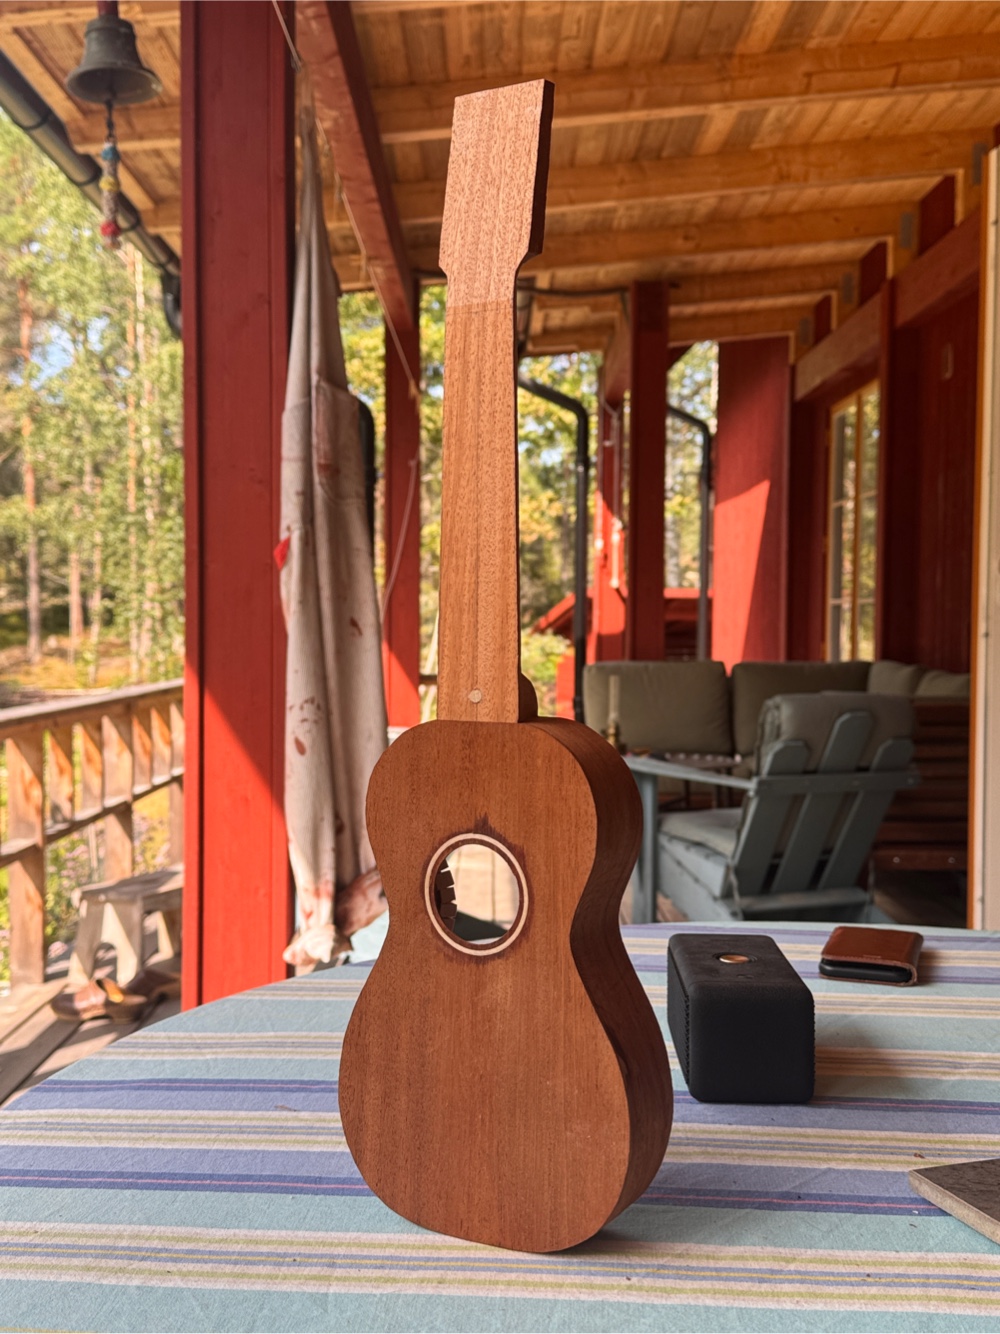
And oh how the alignment worked out. This is a pic I wouldn’t have published on exactly all my instruments.
And as usual it can stand on its own. Yonks ago I chose a flat butt for easier end block mounting, and I’m sticking to it.
Those pics above were meant to be in a post of their own, or rather the following snippet is so fascinating it really deserves a separate post. But can I be arsed? Can I feck.
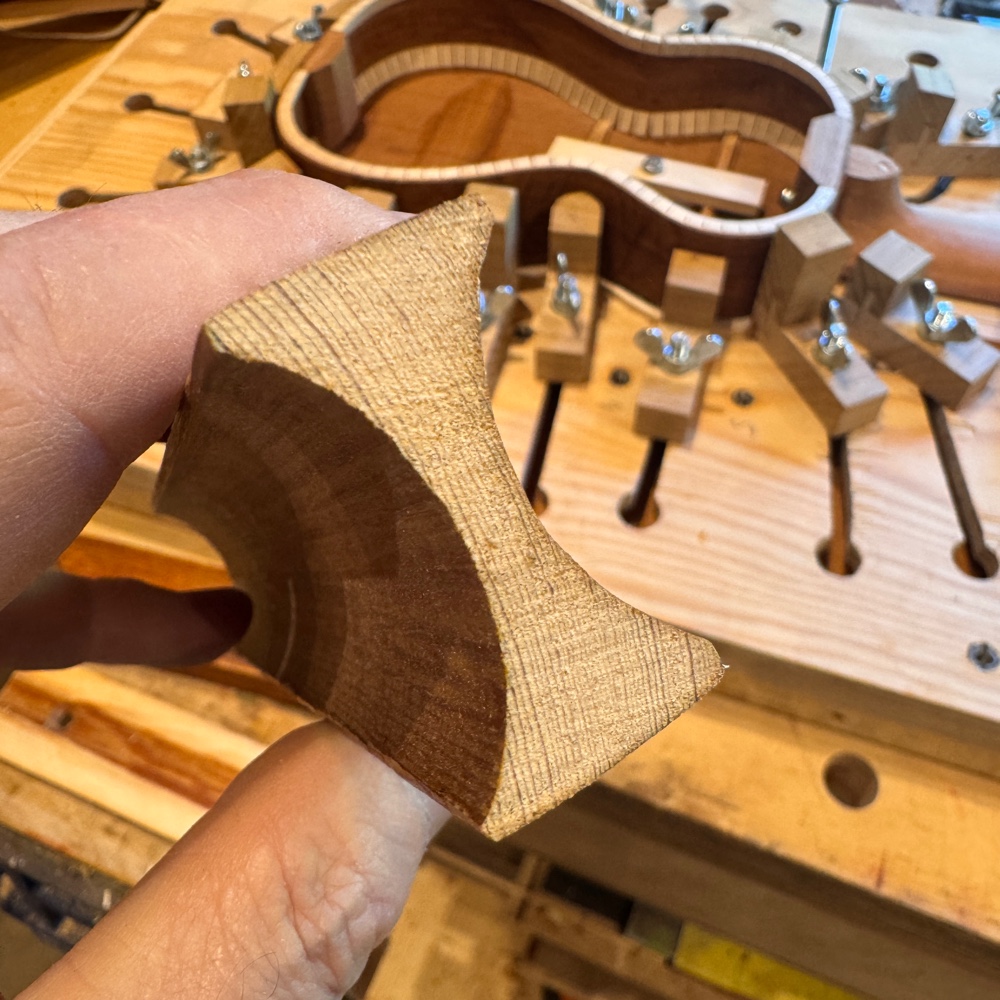
What you see below is a sawn off piece of a yarn holder stick (not the correct term) from an antique loom. We chucked the loom a few years ago but I saved several pieces that I deemed valuable on account of the grain count and direction. And check out that grain, it’s hard to find wood like that nowadays.
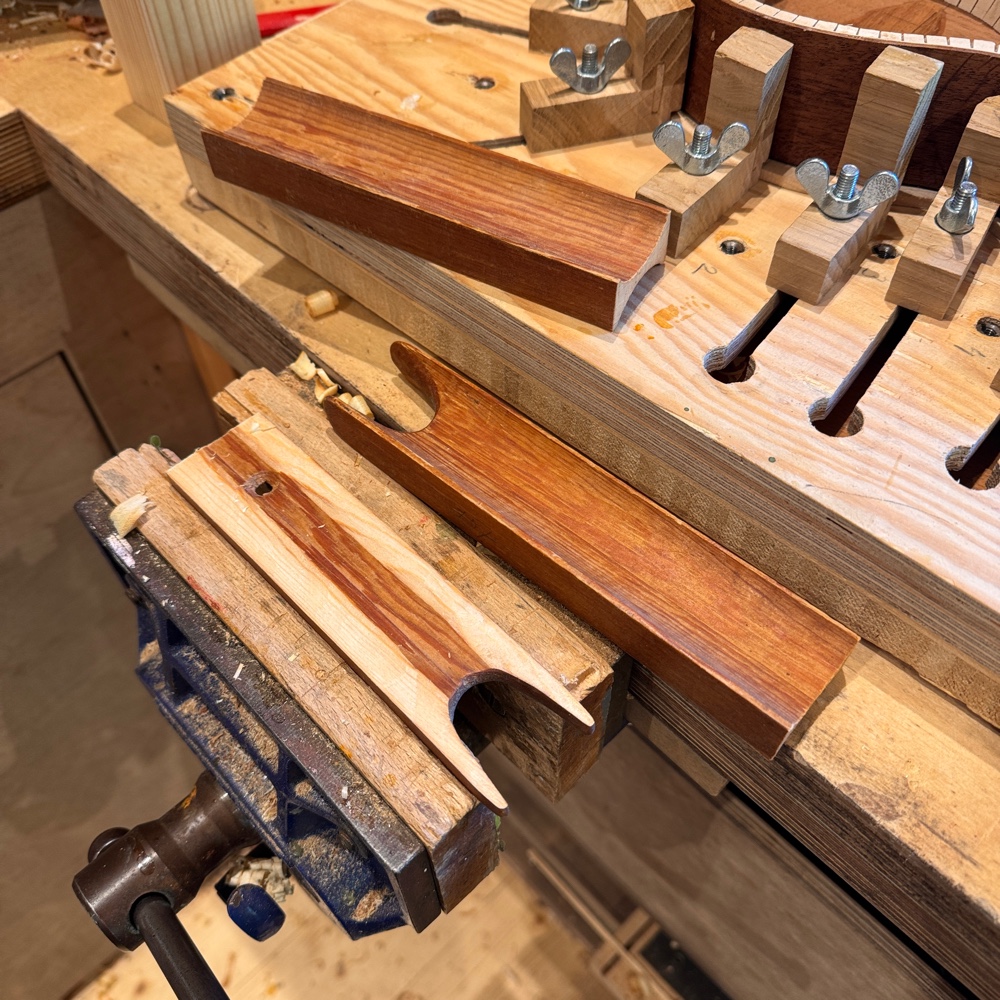
I planed the profile down so it was all flat, but as I look at it now maybe I could have gotten more braces out of it if I tried.
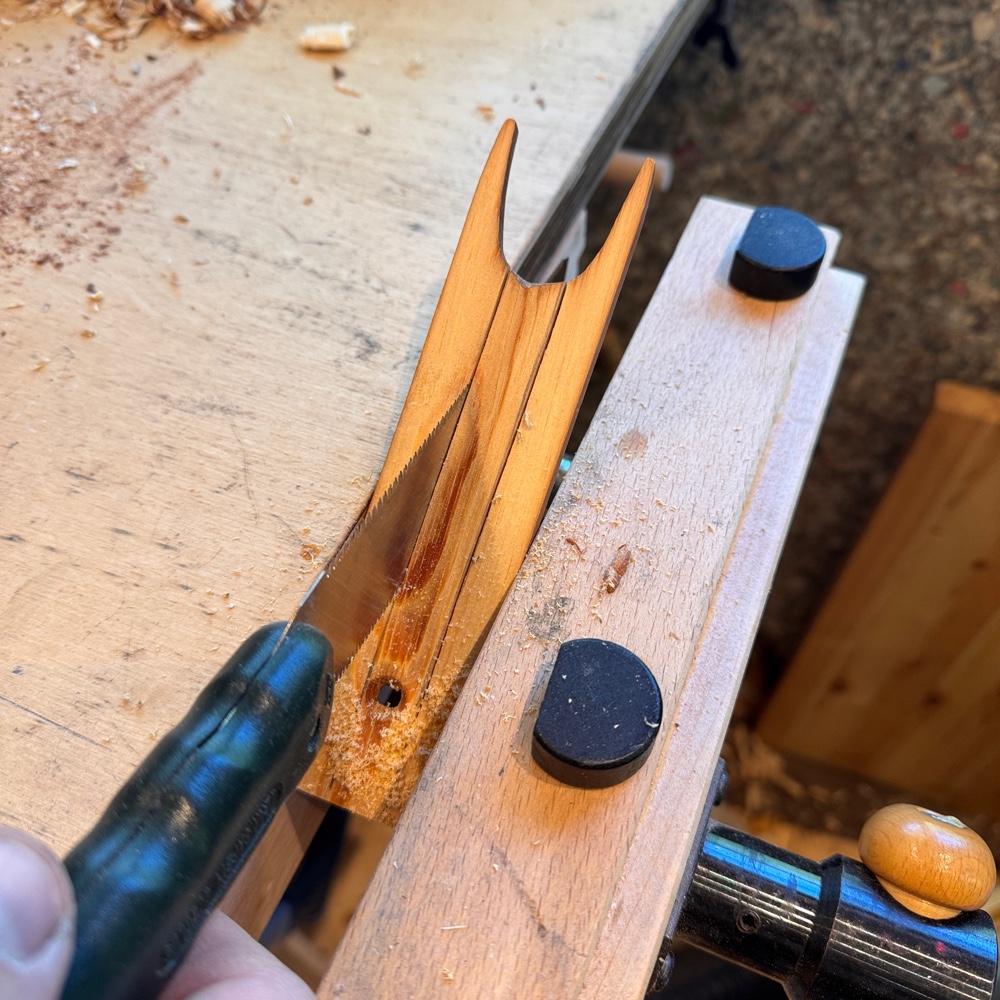
But I needed three and I got three by sawing it lengthwise. The short piece from the middle was just enough for the short brace by the waist.
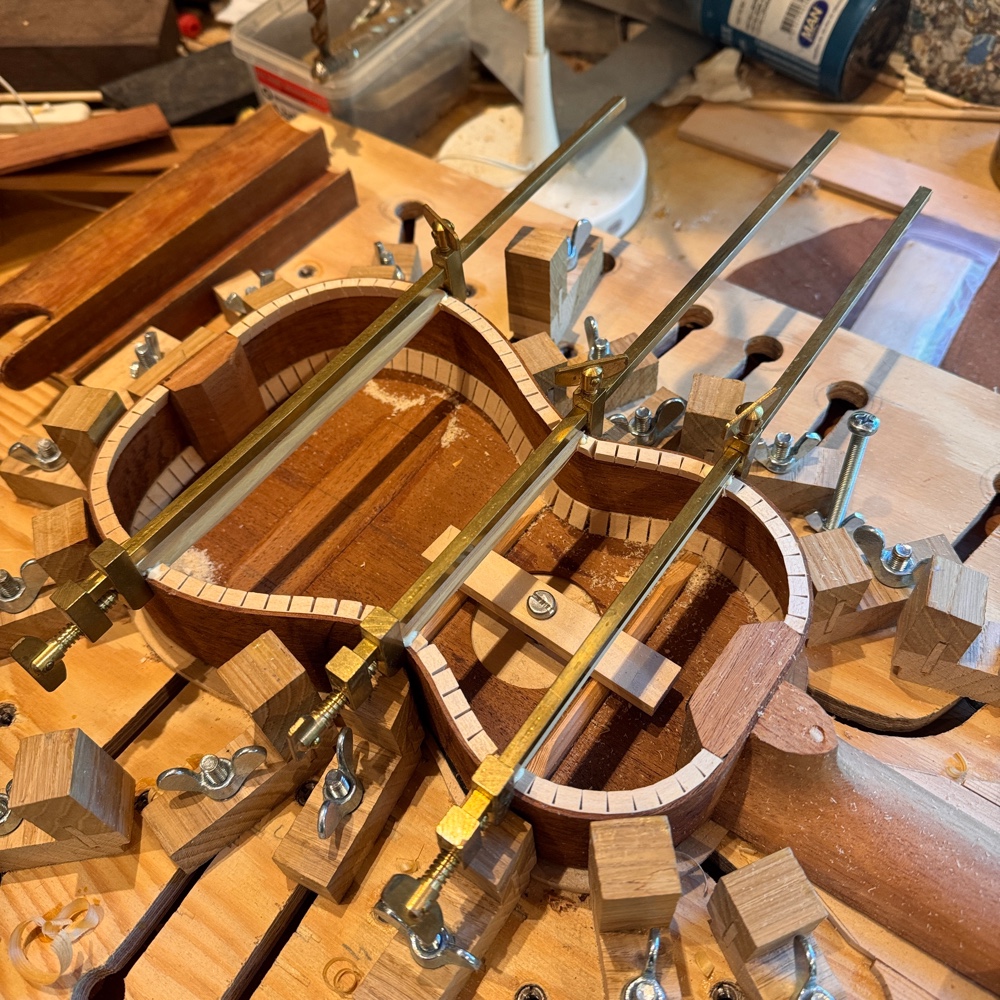
It’s been a while since I showed you this, but rather than glueing the braces to the back and then glueing the whole ensemble to the rim, I notch out the lining to accept the braces and glue them in before the back is attached. This makes sense to me as I have better control of the joints and the angles. And I get to use my Japanese bar clamps. They’re made of brass.
Next job will be to smooth out any discrepancies between the braces and the rim by rubbing the uke in the radius dish with a sandpaper cladding. Then we’re ready to glue the back on and that, I promise you, will be exciting.



No comments:
Post a Comment