Learning Ukulele 50 Sites Top 50 Ukulele Sites Argapa Ukuleles - one size louder

Friday, March 4, 2022

New bridge, pt. 2

Hi there. The work done in this post was actually made a couple of weeks back, but I never got around to posting it. Sorry about that. 

With the new bridge sort of done I need to remove the old one. It’s cracked and it’s a bit shit so no big loss. To heat it I’ll use a clothes iron but it will be much easier if the bridge is thinner, and flat. So I planed it down with my Veritas apron plane. 


Trying to protect the lacquer from the heat with some aluminium foil, I went at it. It was sort of easy. 
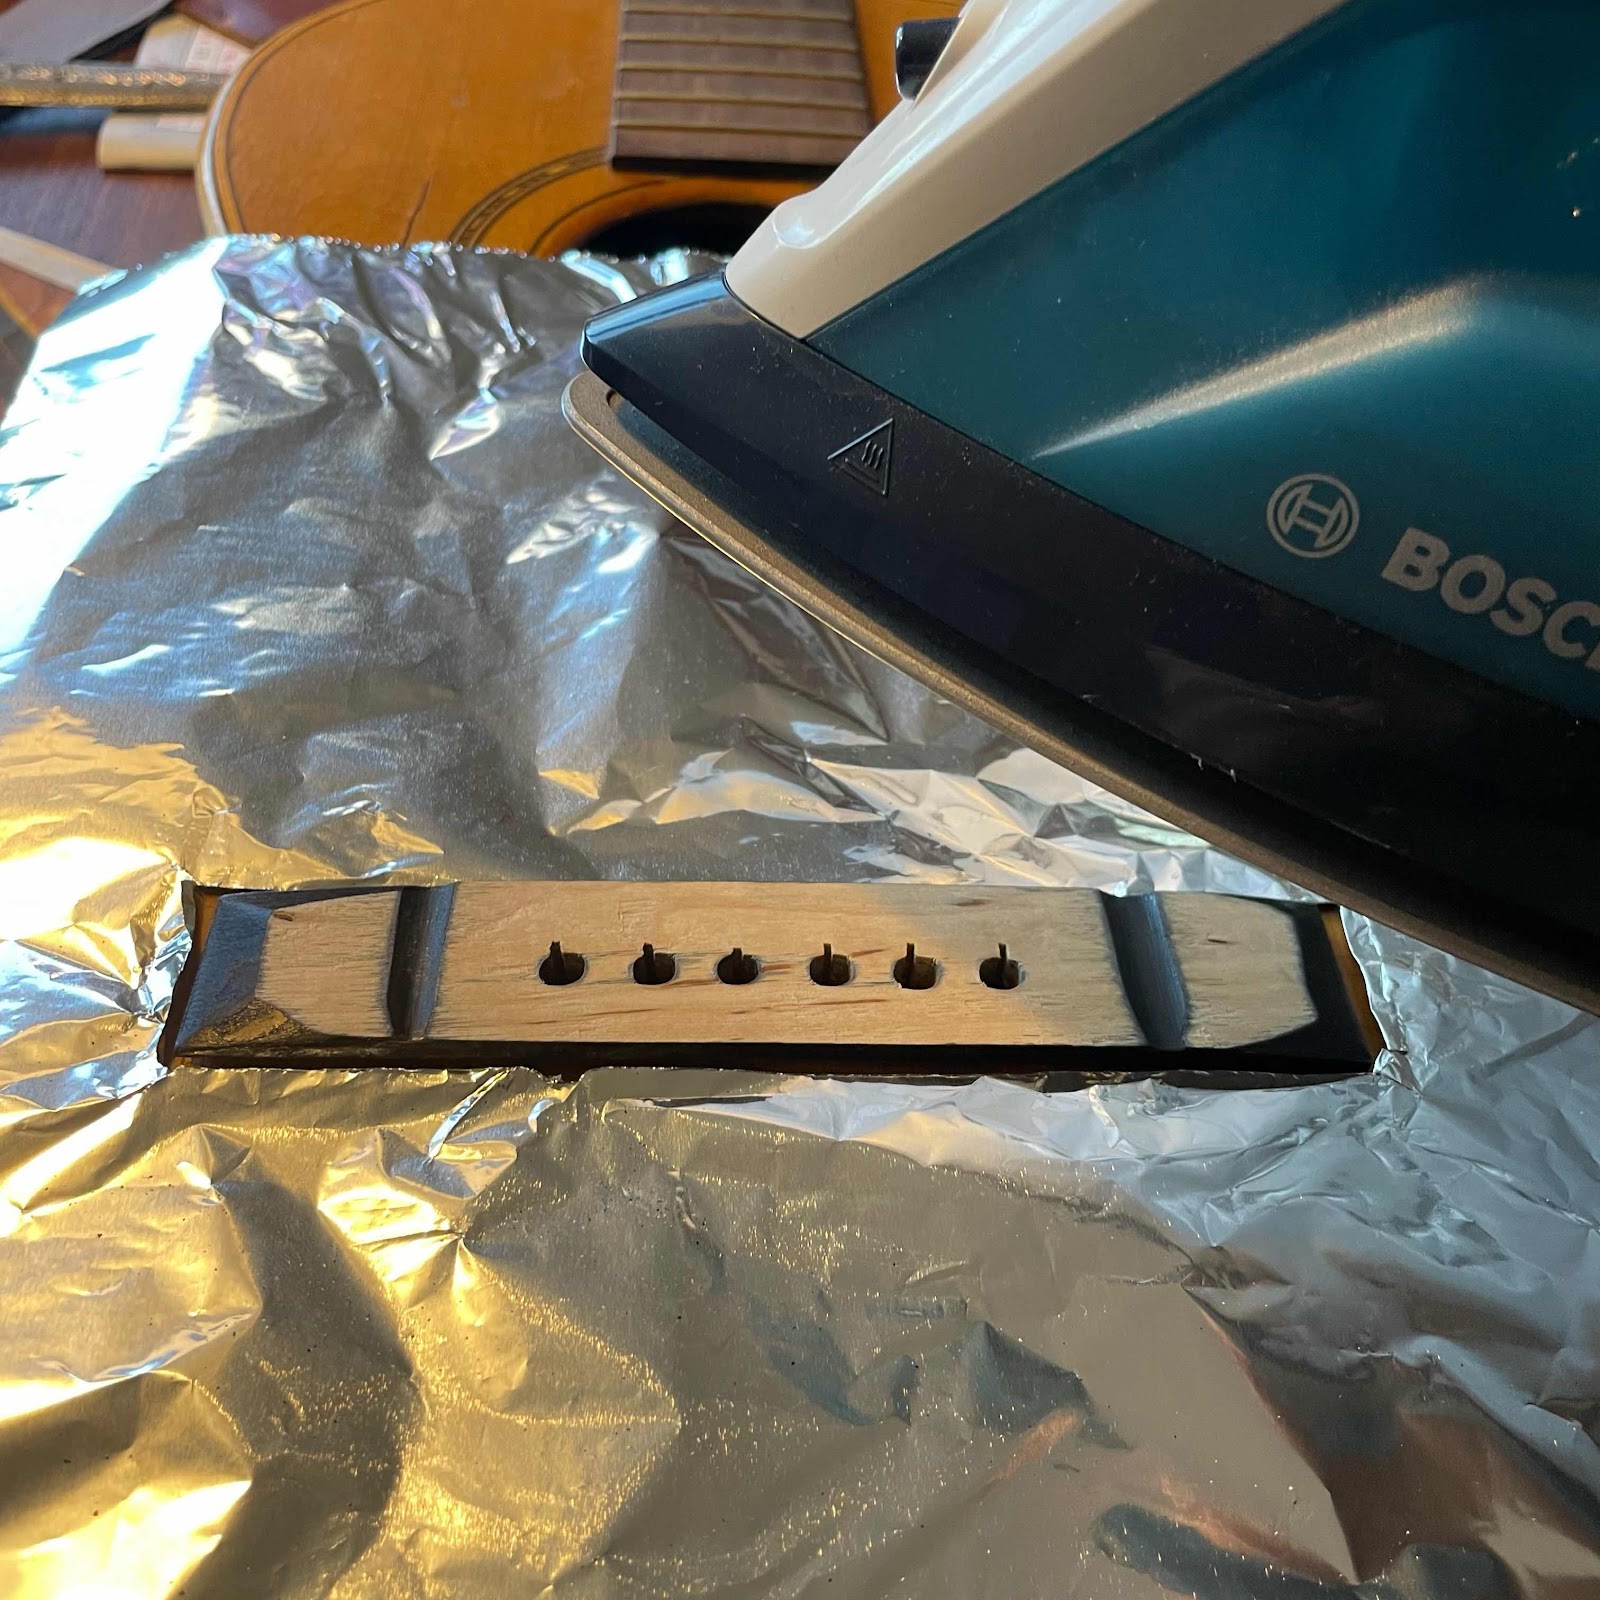


As you can see it came off pretty cleanly, but I’ll have to clean the surface before glueing the new one on. 


Here I’m checking the scale length to make sure the saddle will fit, and it will. I’ll route the slot in situ last. 


But look at this chewed-up bridgeplate. Reaching in with my phone camera told me we’ll have to fix that. Stay tuned. 


Friday, January 7, 2022

Making a new bridge, pt. 1

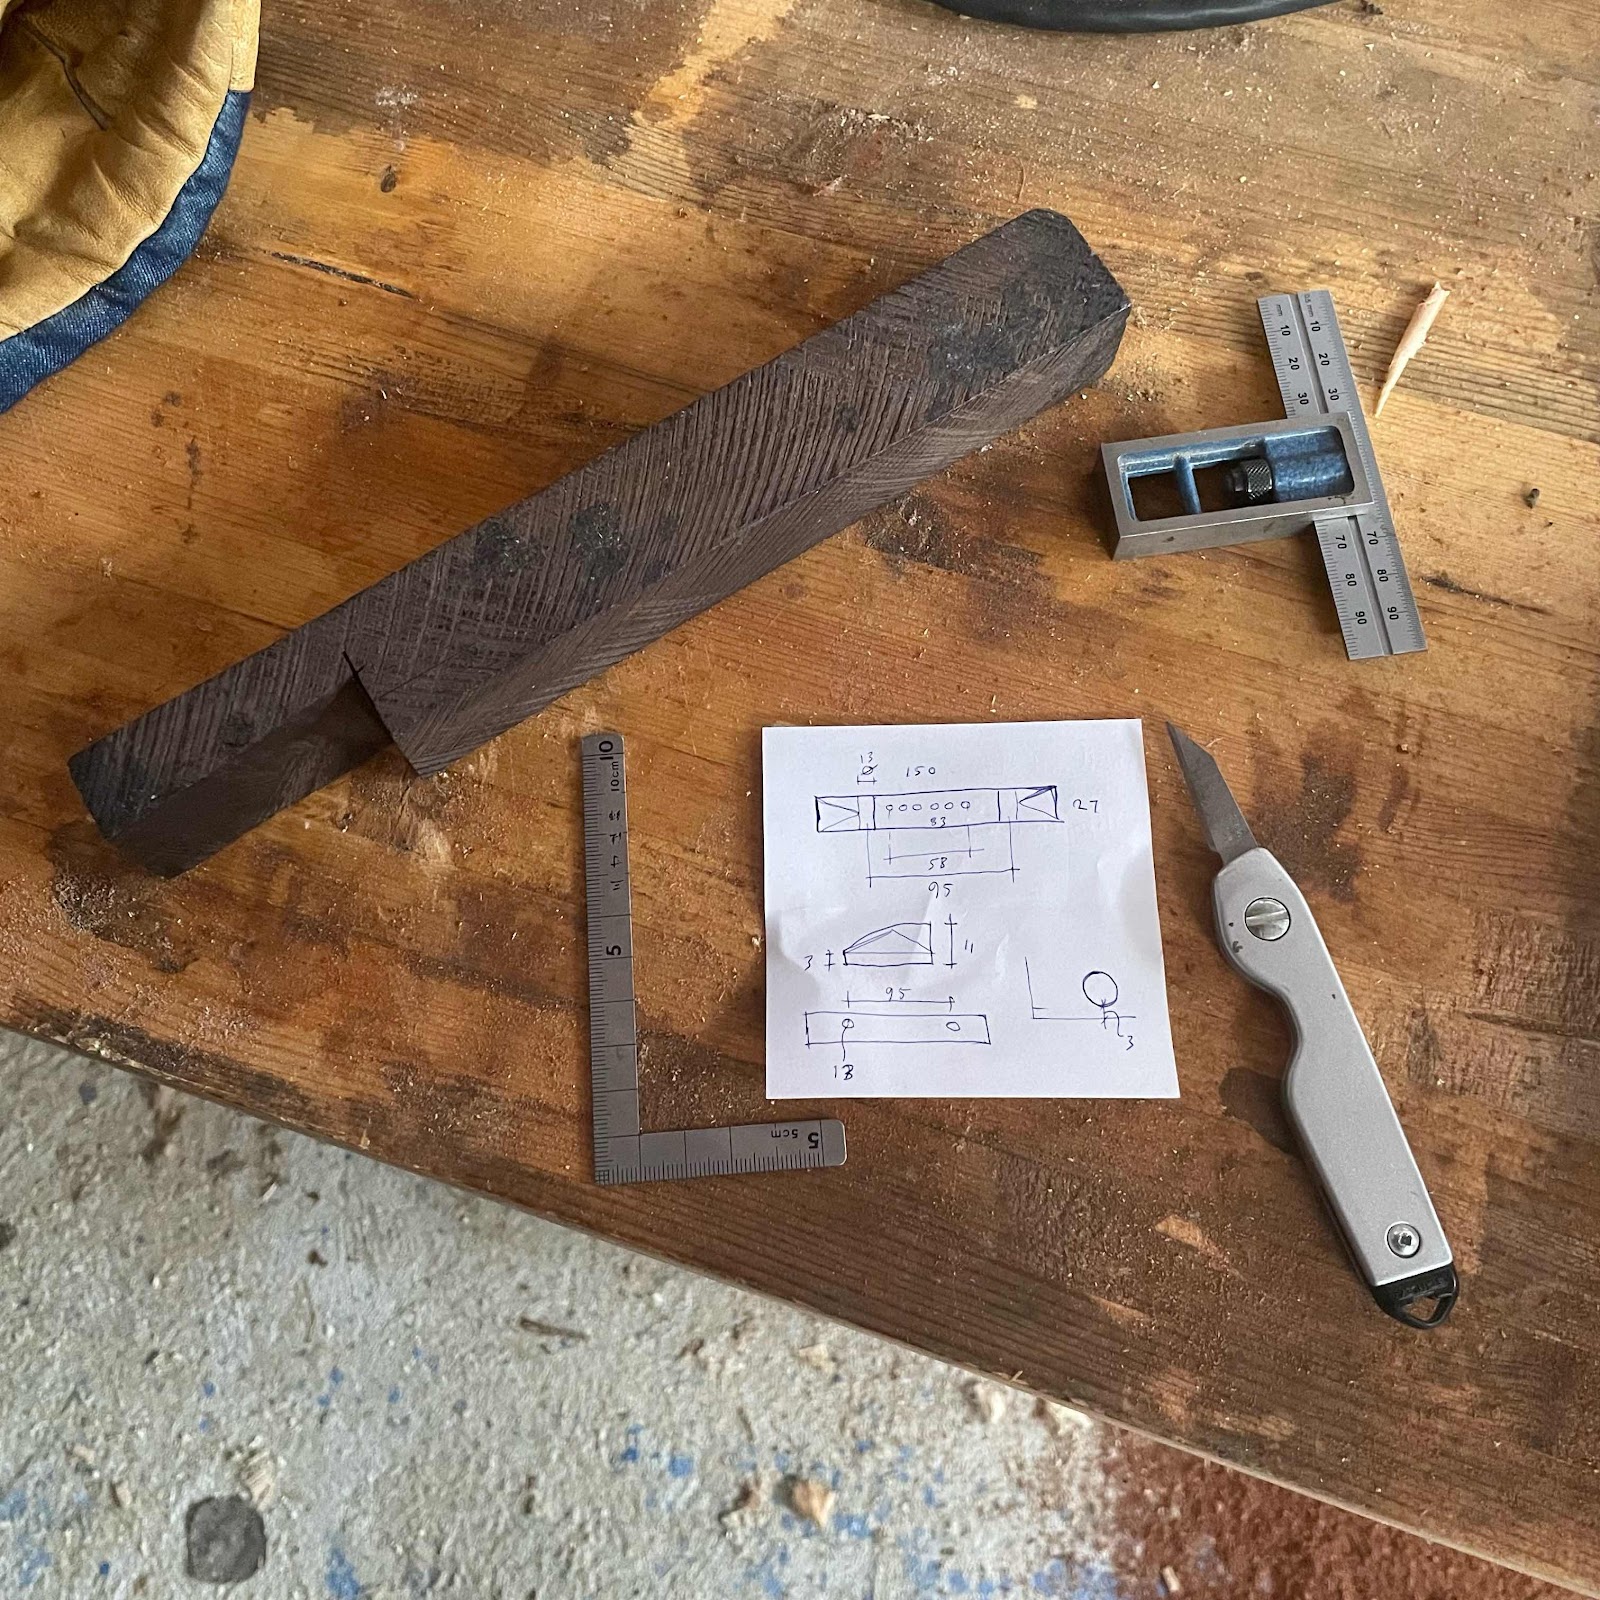
An old chunk of ebony will be the new bridge for Milo’s guitar. I measured the existing bridge and made a drawing so I didn’t have to bring the guitar to tge frozen hell that is the workshop at the cottage. 


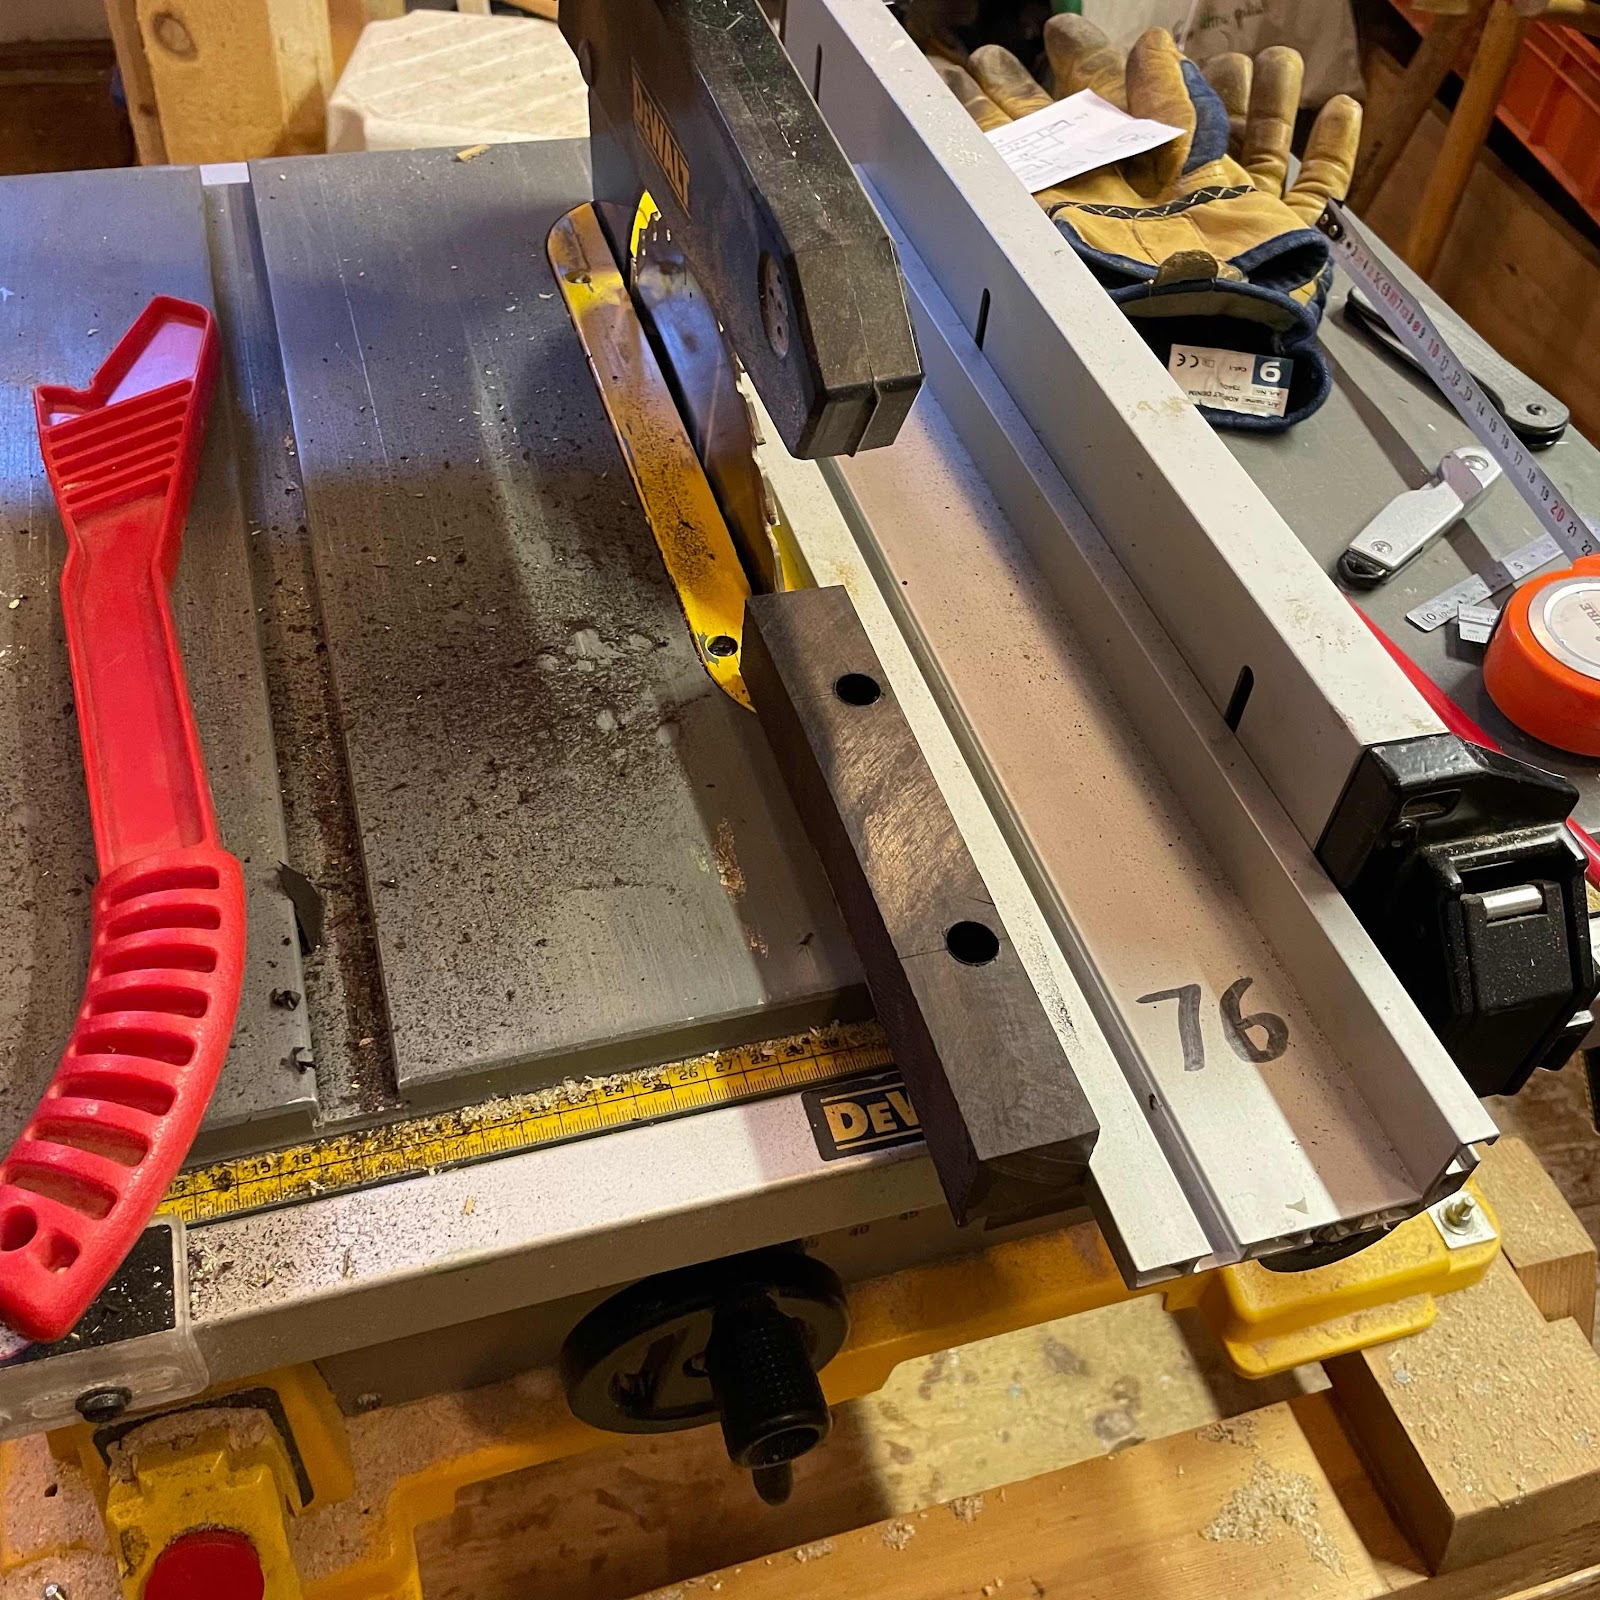
First I squared two sides of the chunk, then I drilled two 13 mm holes for the half-round grooves. Then I ripped it lengthwise. 


Like so. I cut it to length but kept it a couple of mm long, the reasoning being it’s better to have a slightly larger footprint to cover any boo-boos from removing the old one. 


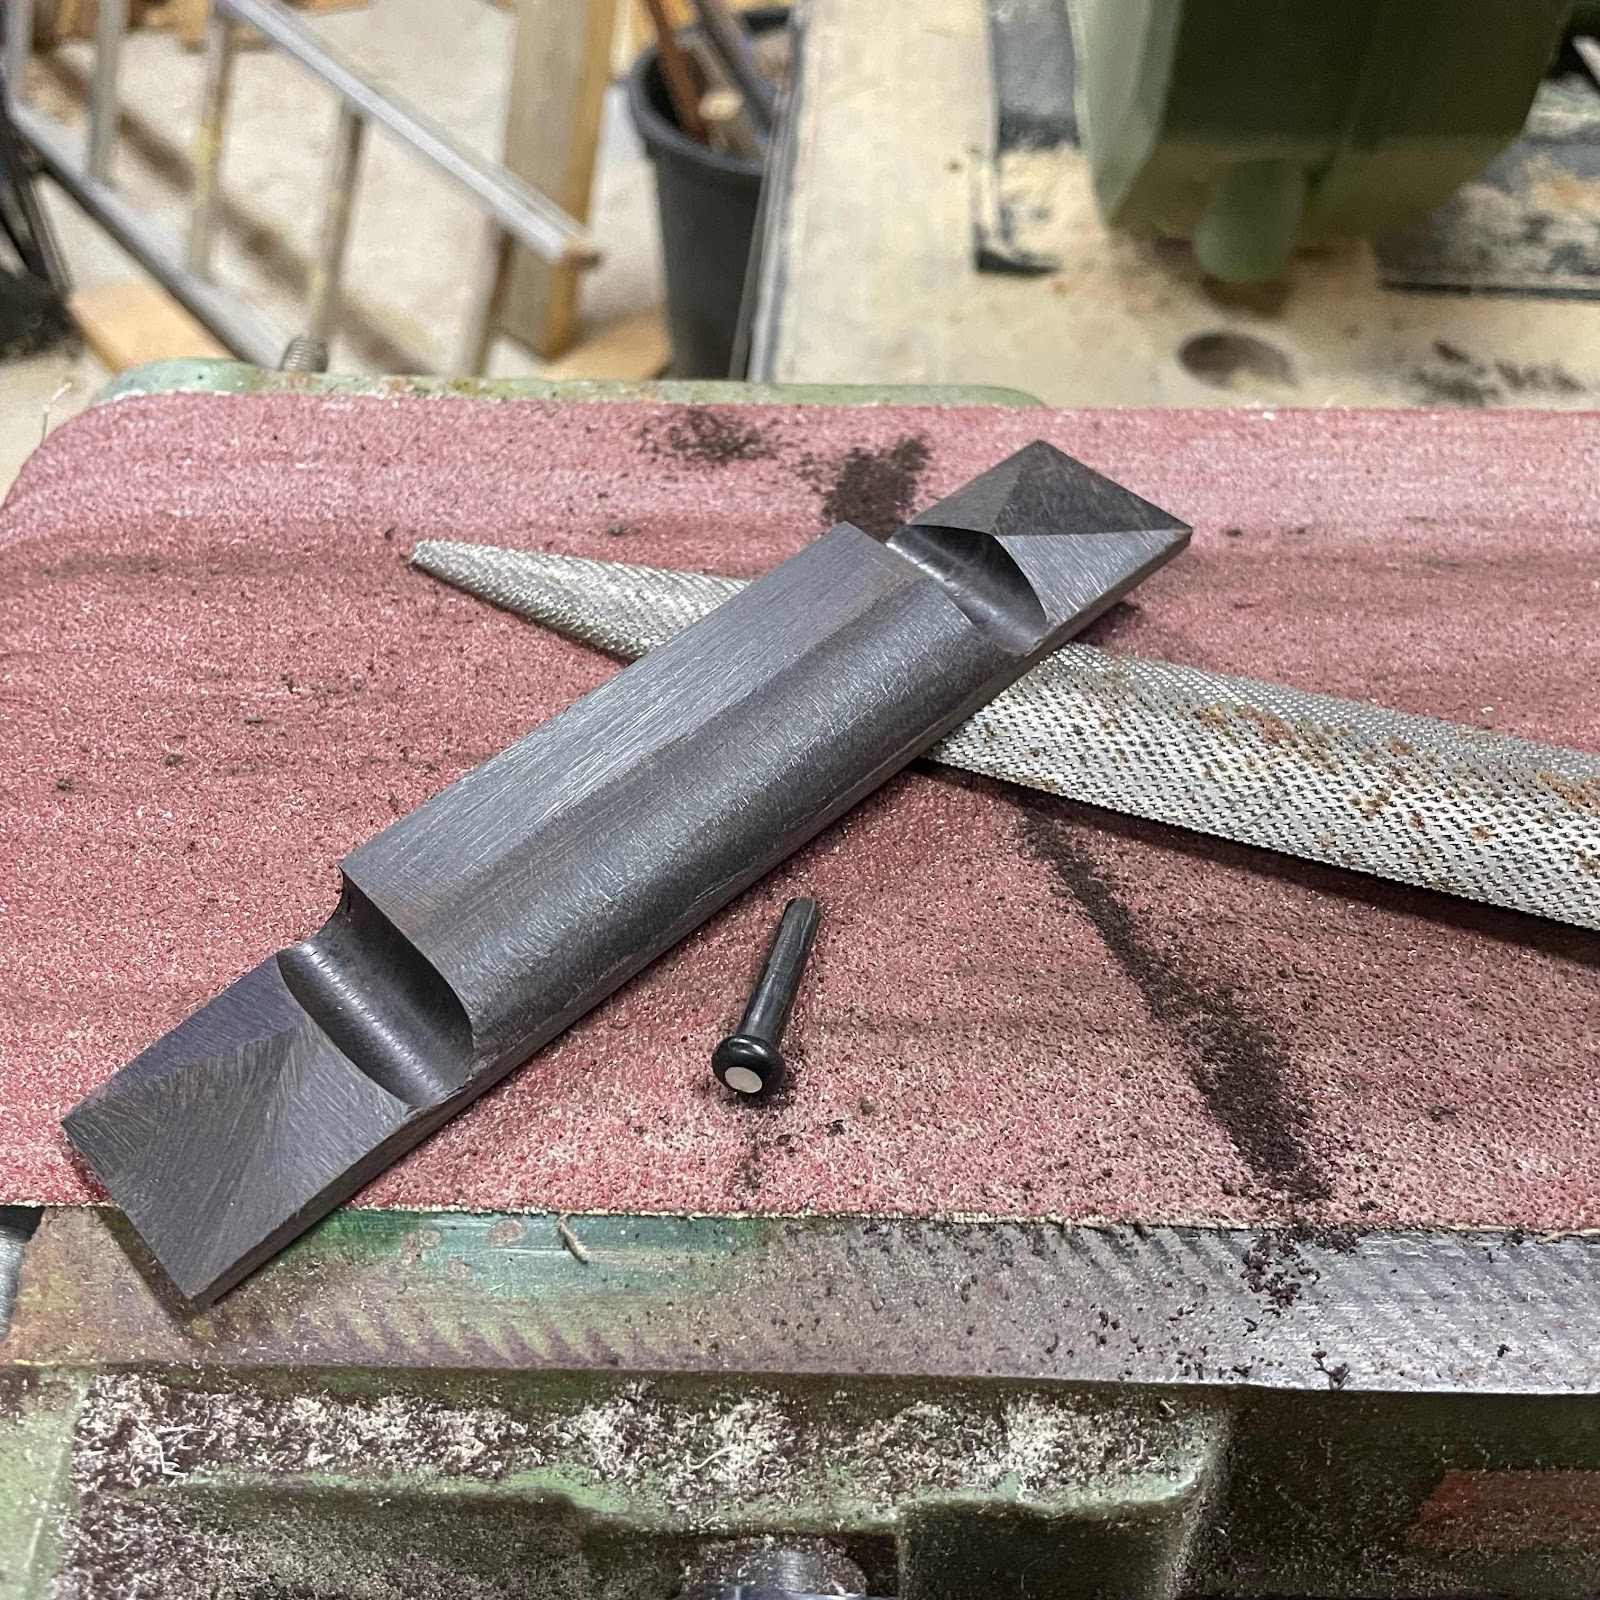
I tried to use a chisel to shape the three-sided pyramids but I could just as well have used the chisel on a piece of glass. So I roughed them out on the belt sander. I know! Show me a builder who’s made more derogatory remarks about abrasives than me and I’ll be impressed. 


Then to make amends I switched to a French handcut rasp, crazily expensive but for this, invaluable. 


And here’s where we’re at. I won’t go further without the old bridge beside me, but the heavy work is done and with the luxury rasp, a sharp file and some scrapers I can continue in the apartment. 


Tuesday, December 28, 2021

Getting ready for surgery

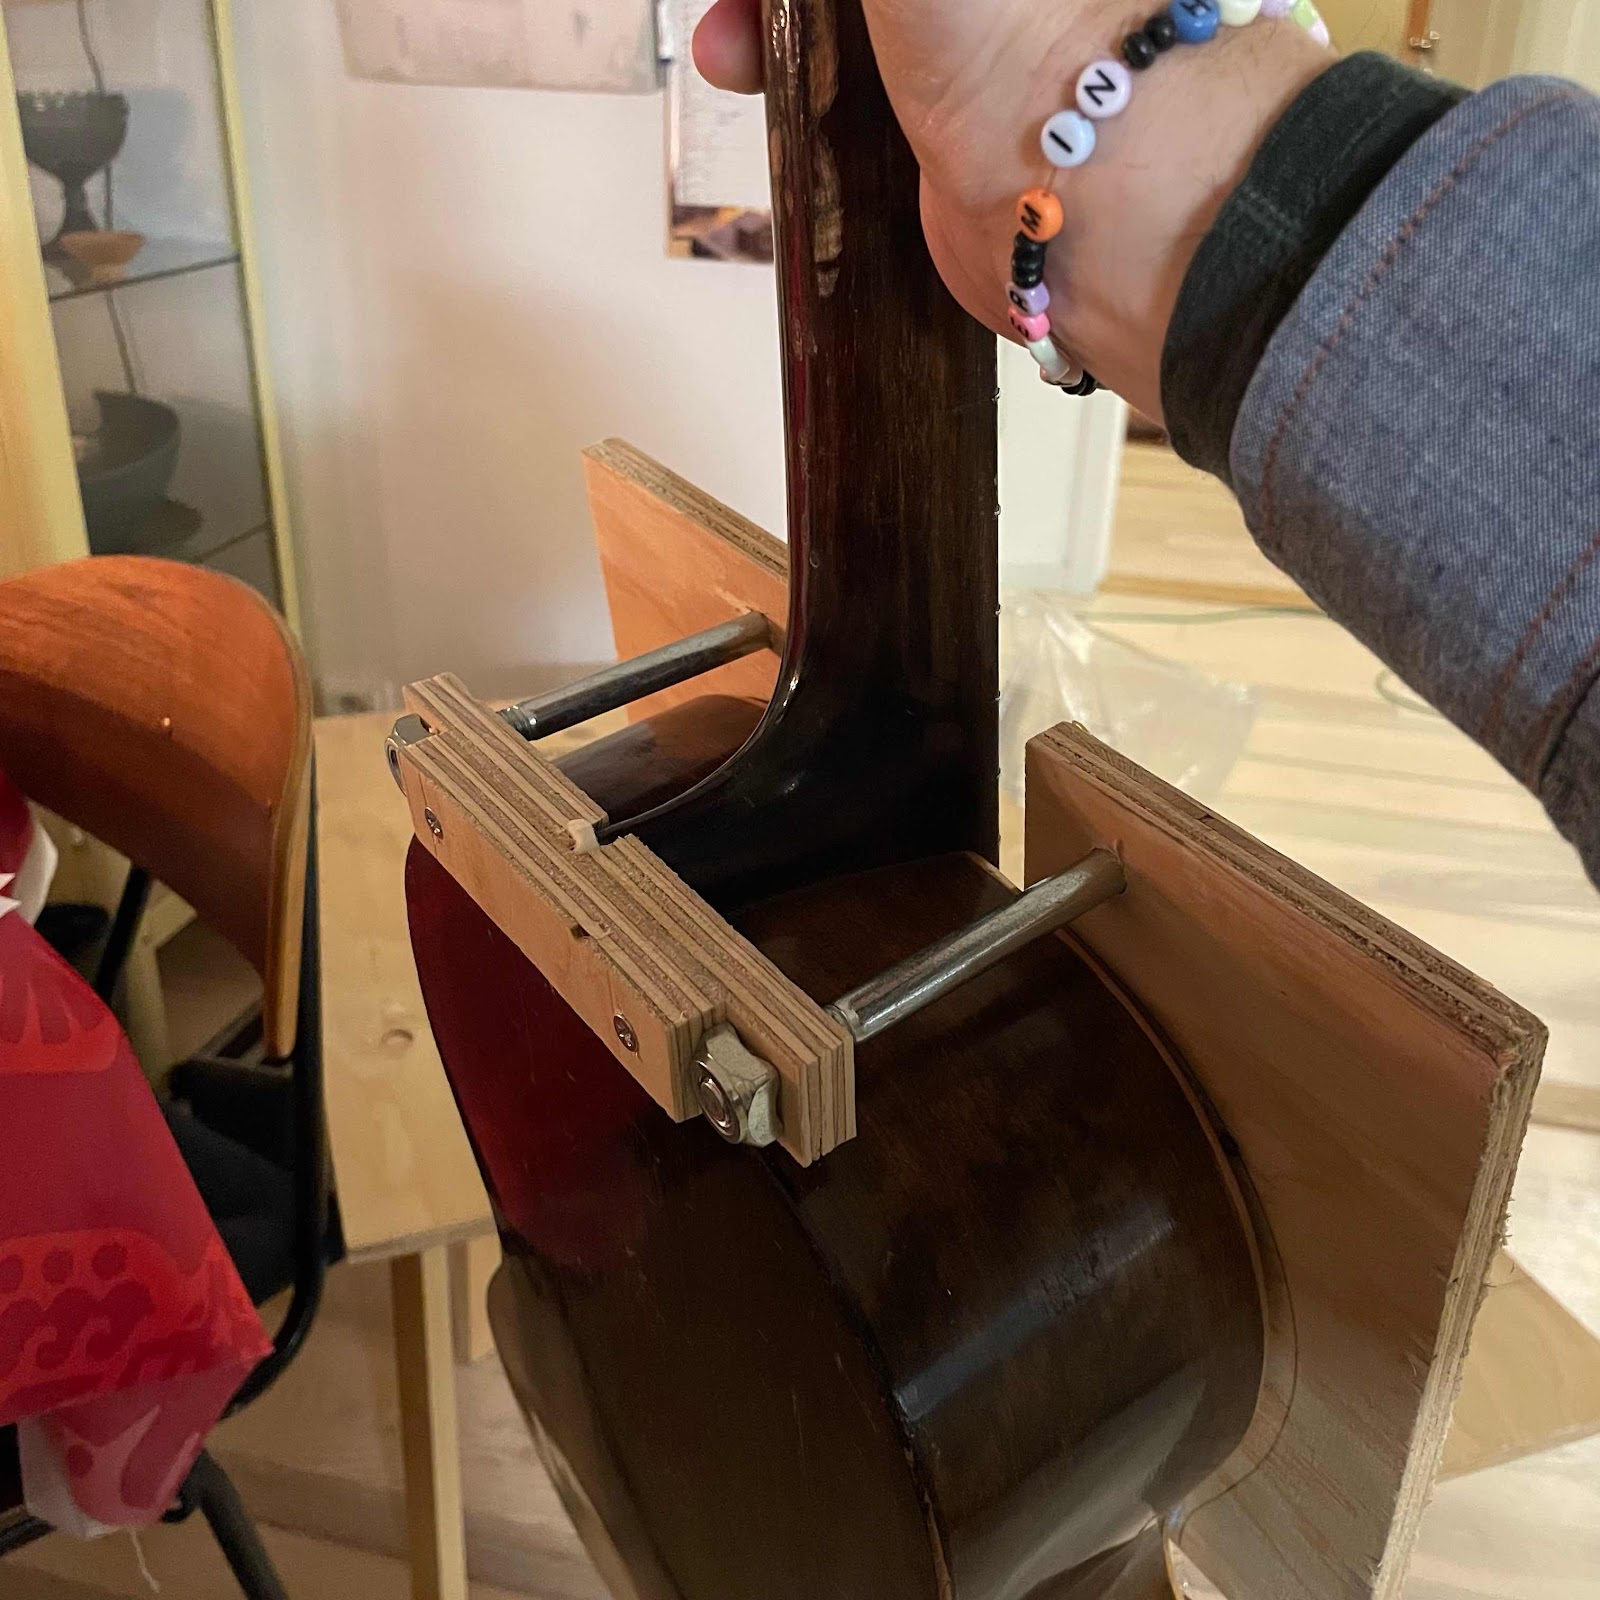
Having stumbled onto some plywood I set out to make a neck removal jig for the ancient guitar. As with all jig ideas of mine - at least the ones expected to work - I based the design on a readily available product from Stewmac. But mine will have fewer moving parts, and it might not fit other guitars. 


The main idea is to apply an increasing pressure to the heel, while heating the neck joint to loosen the glue securing the dovetail. Stewmac solves this with a screw going through a threaded hole in a metal bar, but as I make this with a minimum of tools in the kitchen I’ll go for a plywood cradle being pulled up. 

The screws visible in the pic is only clamping the parts, they’re connected to a bit from a Zyliss vise system. 


And even though I don’t have the full stash from the workshop at hand, I managed to find two large screws with square nuts. You can guess the rest, can’t you. The nuts won’t spin because they’re square, so turning the screws will lift the cradle and press the heel upwards. The top plate has felt cushions and will be secured to the guitar with a strap or a couple of clamps. 


Now we await the foam cutter. And re-watch some of twoodfords vids on youtube.