Learning Ukulele 50 Sites Top 50 Ukulele Sites Argapa Ukuleles - one size louder

Friday, August 15, 2025

Starting finishing

Hell-o, now there will be a few posts showing the equivalent of paint drying. I started out with a few coats of shellac brushed on with a soft brush, then with that as a base I continued with the polishing process. 


(The book in the photo is a very good read but serves mostly as a prop to boost my credibility.)


French polishing is a wonderful process and at the same time a rather intimidating rabbit hole. I have developed a technique that I think works for me, but question it constantly. Mostly because of the amount of shellac, everything I’ve read measures the shellac in drops to be applied to the muneca, I tend to use a bit more. But as I said, it works. 


Thursday, July 31, 2025

Fretboard pt. 2

I am lagging behind a bit in reporting the progress, all these pics are a few days old but what can one do. 

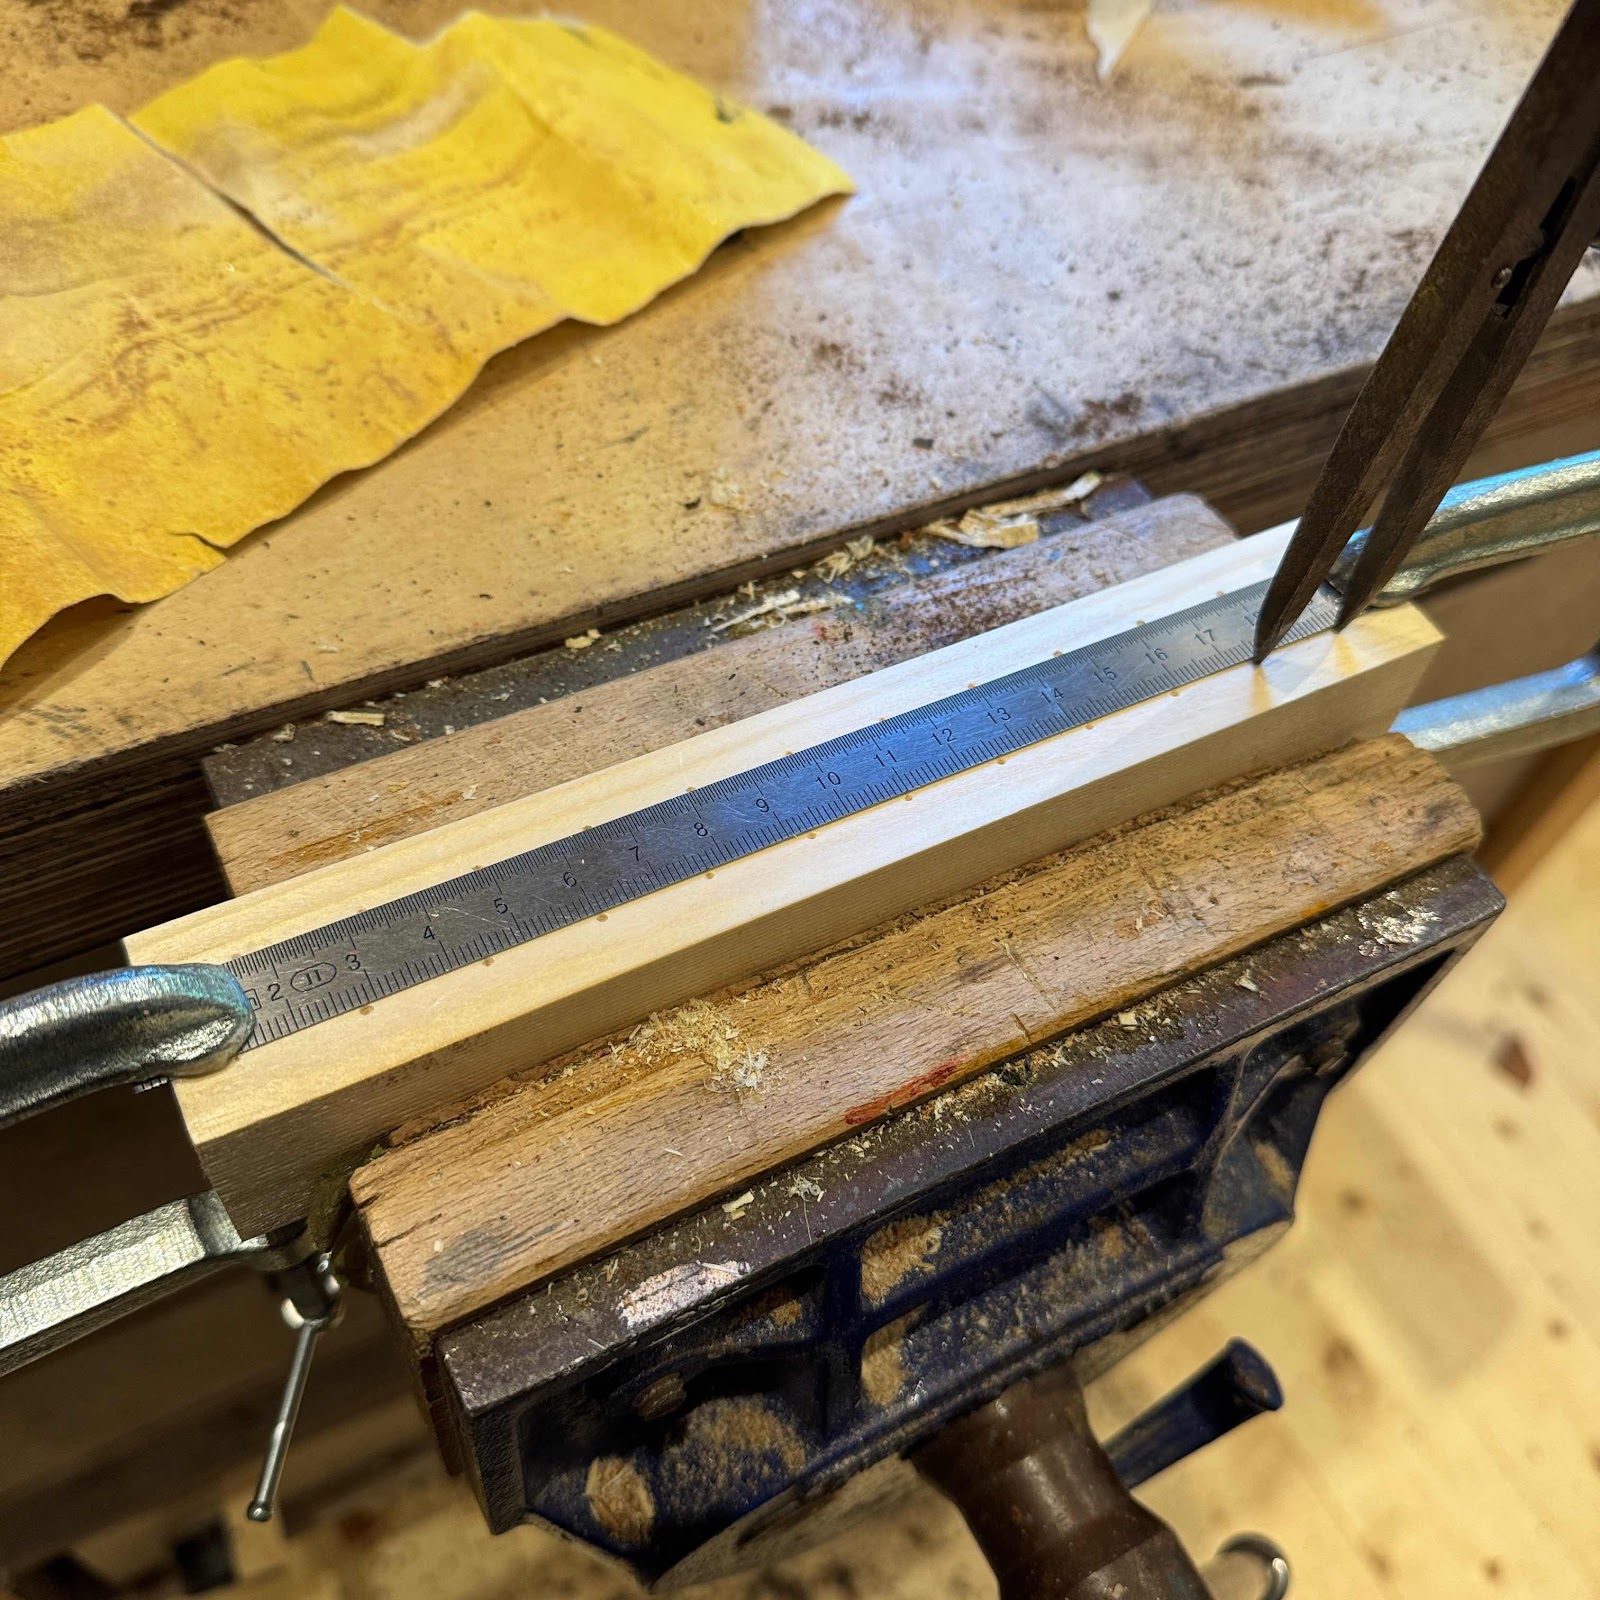
First pic is me laying out positions for some holes, using a very nice pair of dividers with a split nut. You need a few of these, trust me. The rule is just to keep the lines straight. 


Then over to the miniscule drill press, a Proxxon. So much better than a Dremel I hesitate to even compare them, but the latter has an industry standard thread at the front, allowing different adapters to be used. 


But what’s it for? For storing frets. I will cut the tangs back a bit, the weather’s warm and a bit humid so I foresee the fretboard shrinking a bit in the future. And then it’ll be much easier to knock back the ends if the tangs aren’t protruding. All this means I need to keep the frets sorted by length. 


Somehow (I know how) I missed taking a pic of actually cutting the tangs with my Stewmac fret nipper, but I’ll show that next time. Next pic shows me clamping a fret in using my version of a Jaws press. 


And once again aligning the board with rulers…


… before clamping it in place. 


Saturday, July 26, 2025

Fretboard pt. 1

I’ve been mucking around a bit with the fretboard while waiting for glue to dry in other places, now I have loads of progress to share. I’ll split it into two installments. 

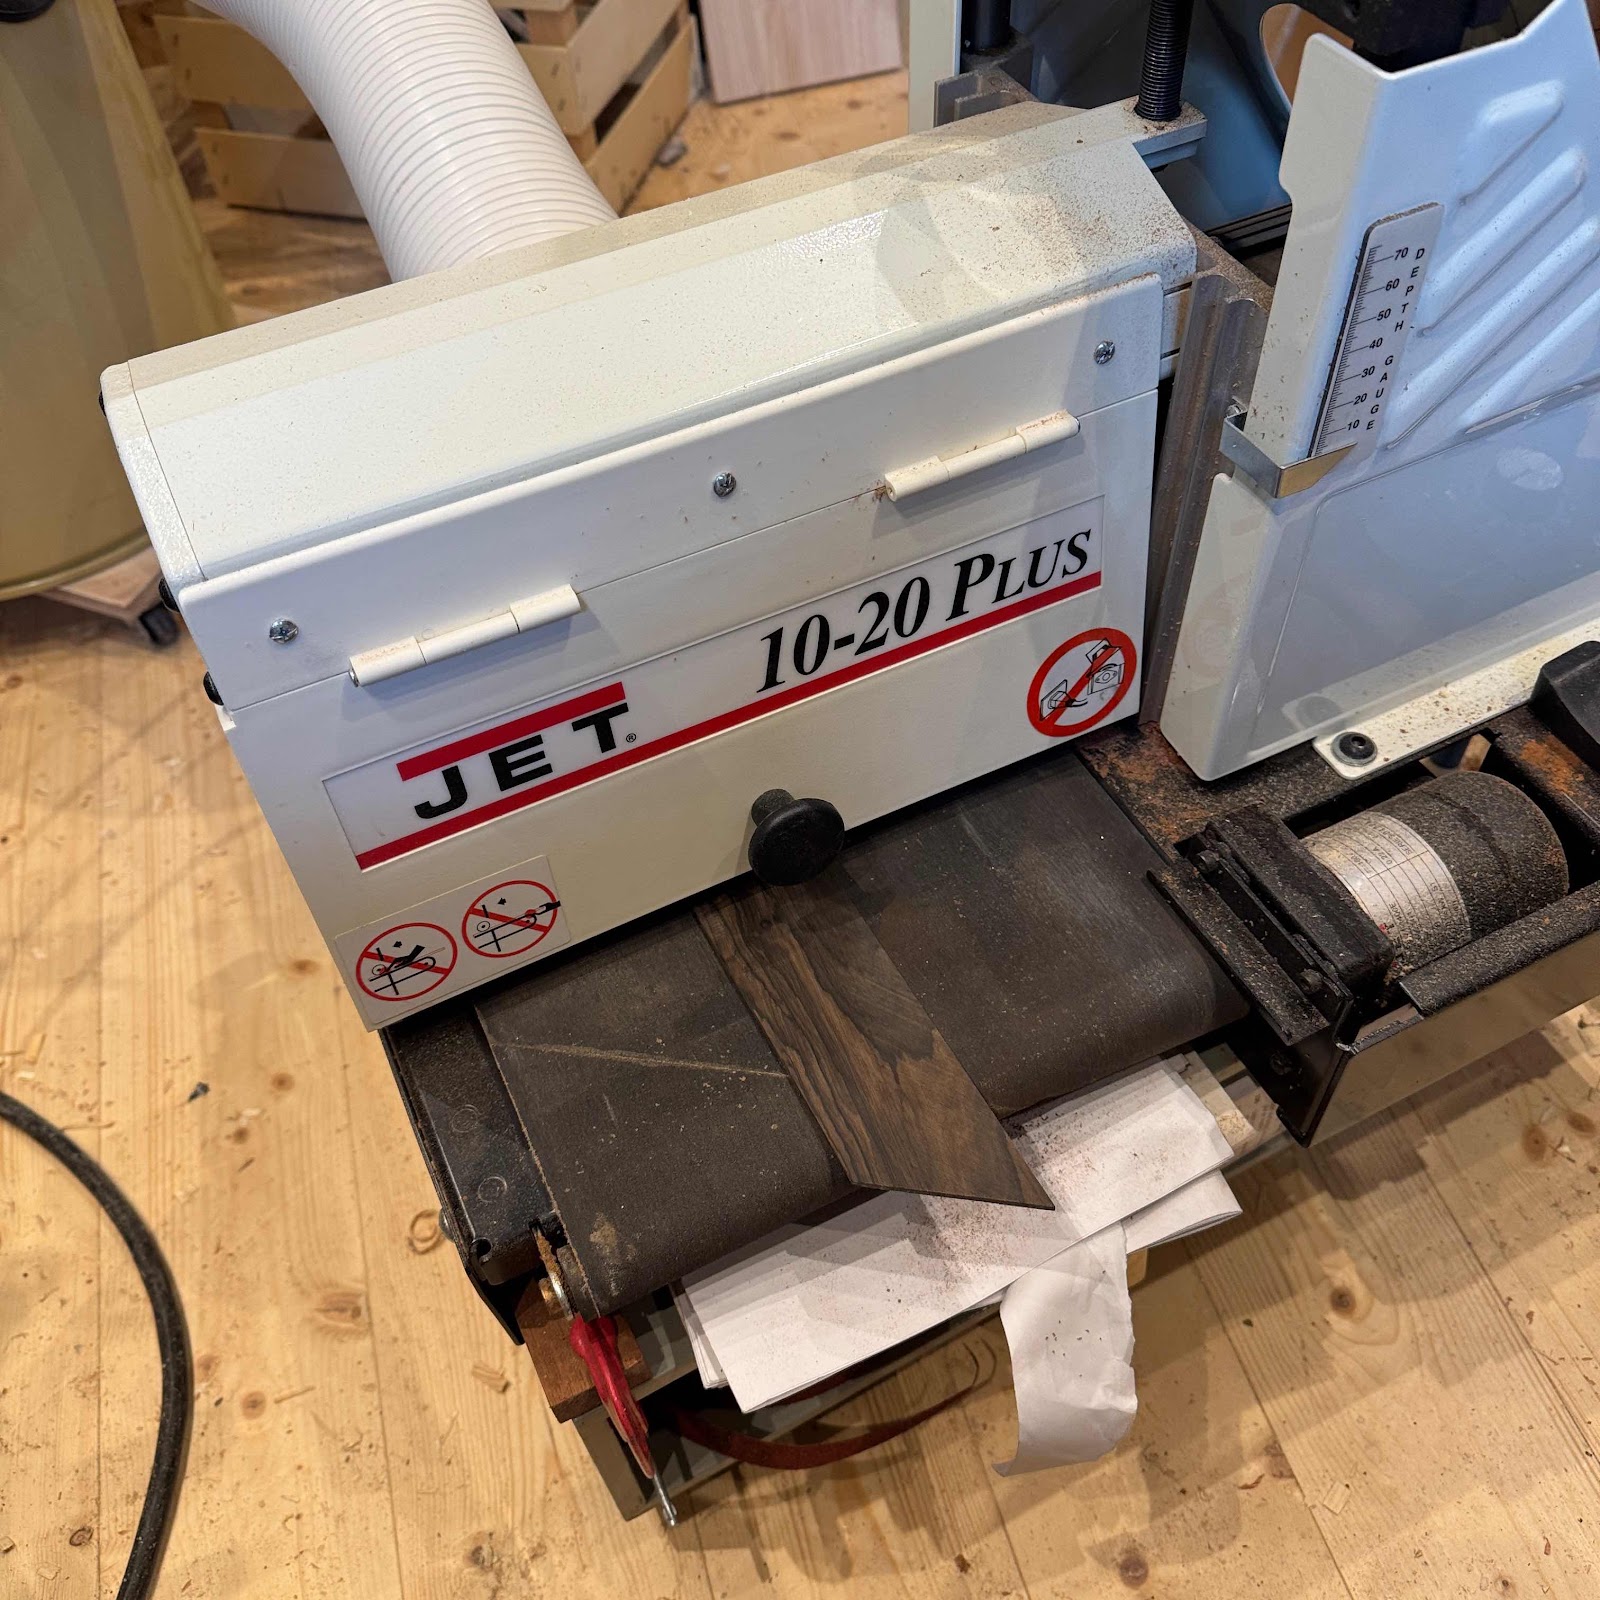
First pic is the rosewood board running through the drum sander. It was close to thickness already so I just needed the marks from the bandsaw to be gone. 


Then masking tape is applied to the underside of the board, and to the top of the fretboard. CA-glue holds the strips of tape together and everything in place. 


It was fiddly to set the depth stops to the exact depth, and the same depth, but I managed. I remember buying this expensive bit of kit from Stewmac, three weeks after the purchase they released their upgraded model with bearings and knurled thumb screws. I was fuming then and if I’m completely honest I’m still fuming. 


See? This is what we want. 


In a flash of inspiration I came up with the pattern for the inlays. I drill straight through and use plastic rods that I cut flush with a chisel. 


And sawing to width and the correct taper. The edges were planed after sawing. 


And this is where I’ll leave you for now. Fretting is underway and I dare promise that post will be gripping.