Learning Ukulele 50 Sites Top 50 Ukulele Sites Argapa Ukuleles - one size louder

Sunday, September 27, 2020

Neck work

I found a solid lump of cherry, strangely L-shaped. I planed the upper face to get a tenor length neck. The plan was to then bandsaw out the blank but alas, the blade on my bandsaw was dull. 

I was about to saw perpendicular stop cuts down to the line and chisel away the waste, but then I saw another neck in there. 


So this is what I had to resort to. A rickety frame saw and an hour of fun. 


I got the two blanks out but as you can see by the middle clamp, the contour was a bit of a mess. I started out by making the entry and exit points with the rasp. 

No - actually I started by planing the back of the headstock. Doing things in the correct order saves time. 


But then it was time for the spokeshaves, connecting the entry and exit points. This is so much fun. 


Here’s the first one, for the soprano resonator. 


And the one for the tenor. That one got a wee volute. 


And number three, for Li’s acoustic soprano. Mahogany and cherry are both great woods to carve. 


Monday, September 21, 2020

Tops on resos and the soprano

First pic shows the epoxy goo holding the mesh in place. Not pretty, I know, but it is the mist effective way I’ve come up with. 


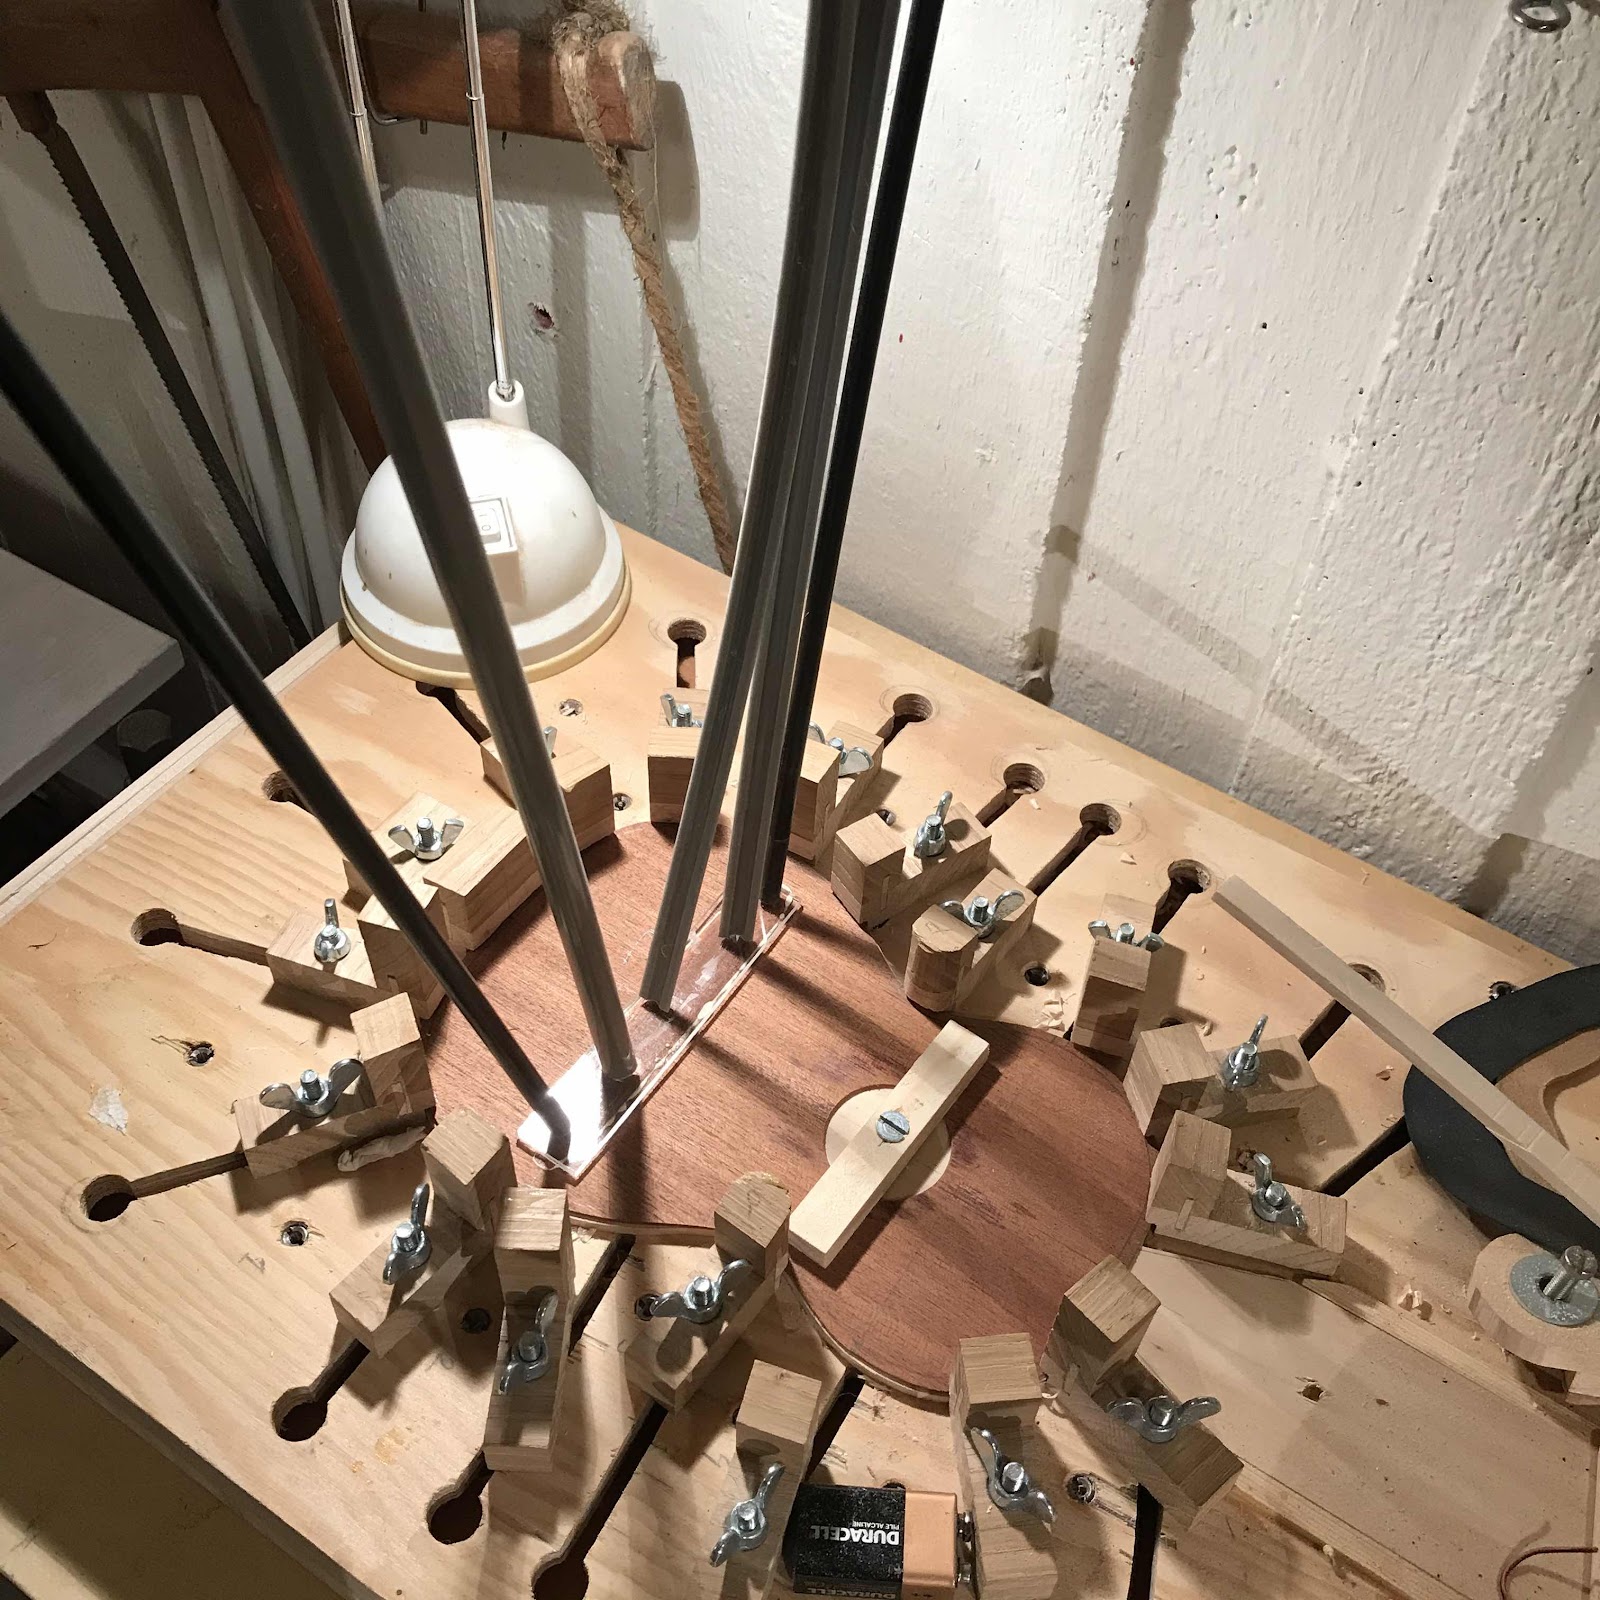
Glue goes on using the rubber roller. Titebond has a great open time but I could use a faster glue since I have the cleats around the perimeter to locate everything perfectly. 


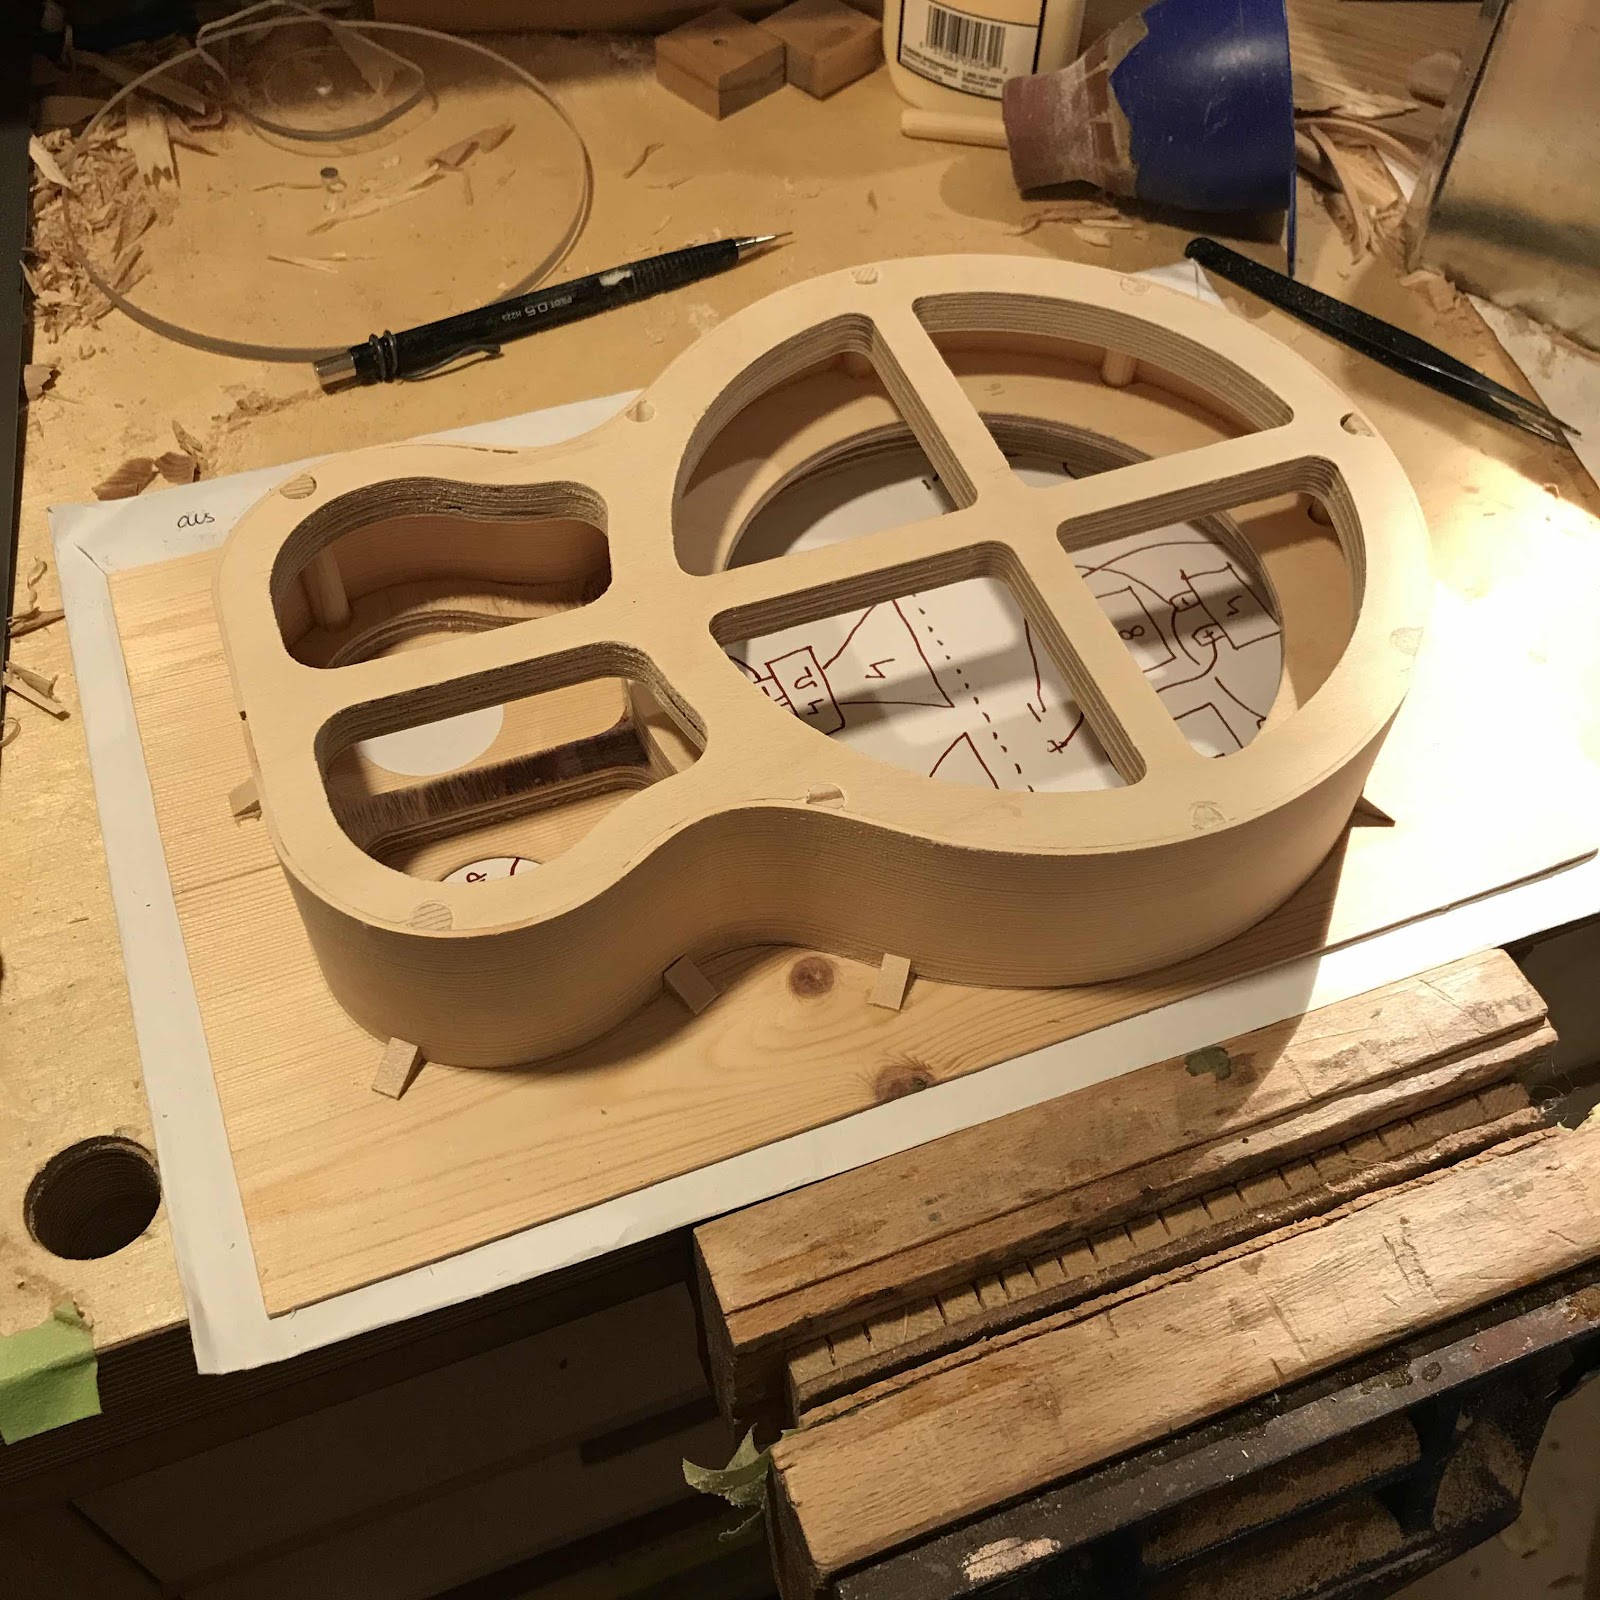
I glue both at the same time so they act as the perfect cauls. In between is a thin layer of foam material to even out the pressure. 


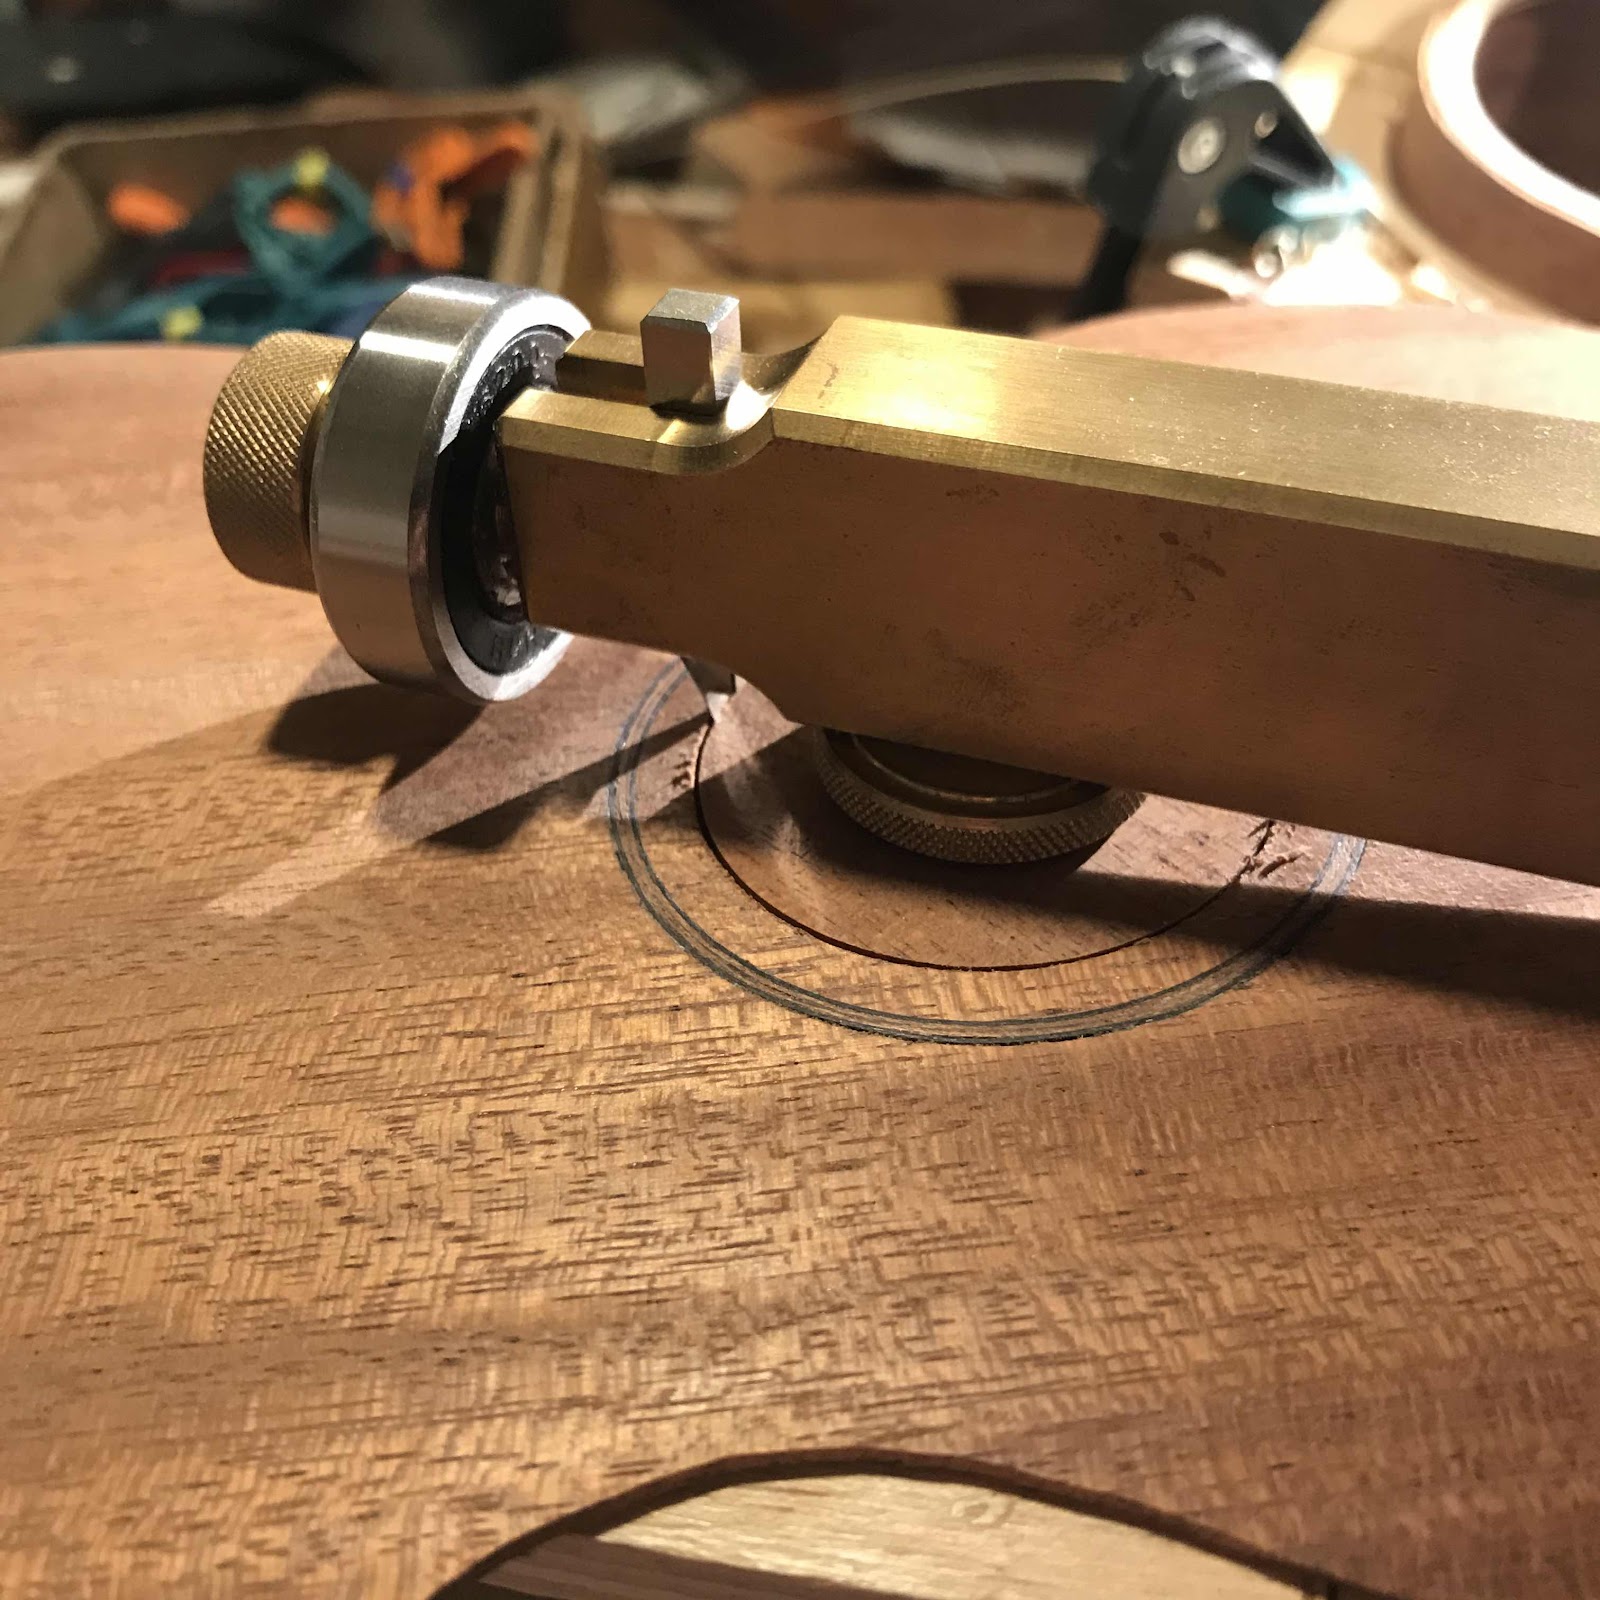
Then I started with a rosette for Li’s new soprano. Once again I whip out the rosette cutter, you know how I feel about it by now. 


I chose black - wood - black, with the wood in the middle being mahogany just like the body. Turned out really nice and subtle. 


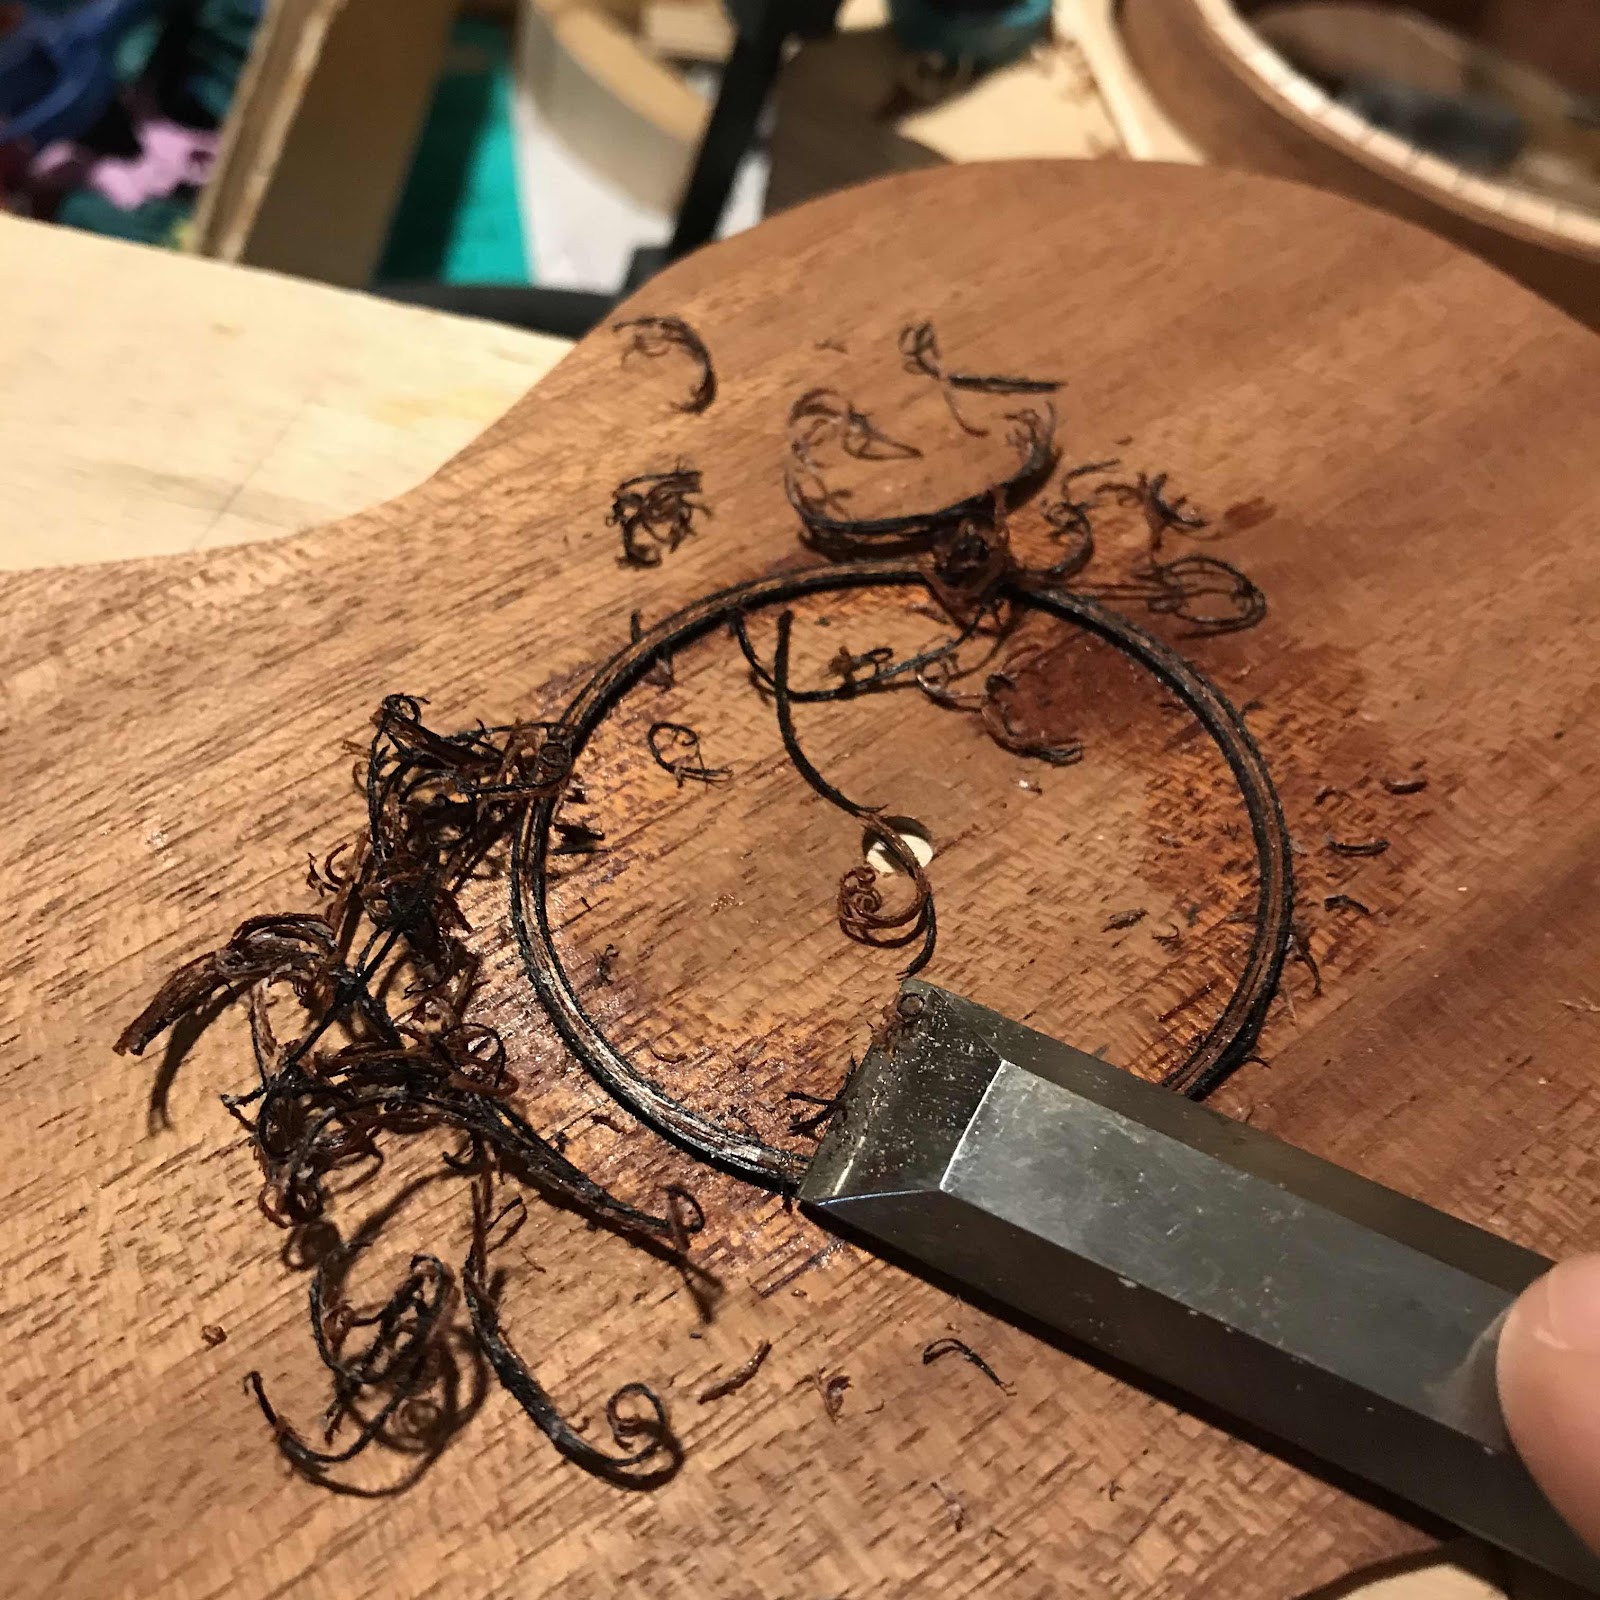
And cutting out the hole once the rosette is scraped down. 


The bridge patch, also mahogany, is glued on the solera to give the top the desired arch. 


More to come! Right now I’m building faster than I’m blogging.

Sunday, September 13, 2020

Tops and rims on the twin resos

It was time to take the rims down to height. Especially the alder one was way too high, almost tricking me into reaching for a saw. But I went with the humongous chisel instead, paring it down with very satisfying results. 


Then I rubbed them on a sanding plate. I want all sides to be dead flat before glueing the tops and backs. 


I’ve made so many resos by now that I have jigs and templates for most steps. Here you see me marking the center of the sound ports, with a piece of perspex. Another one is in the big well for the cone, giving me the center spot for the 150 mm hole.  


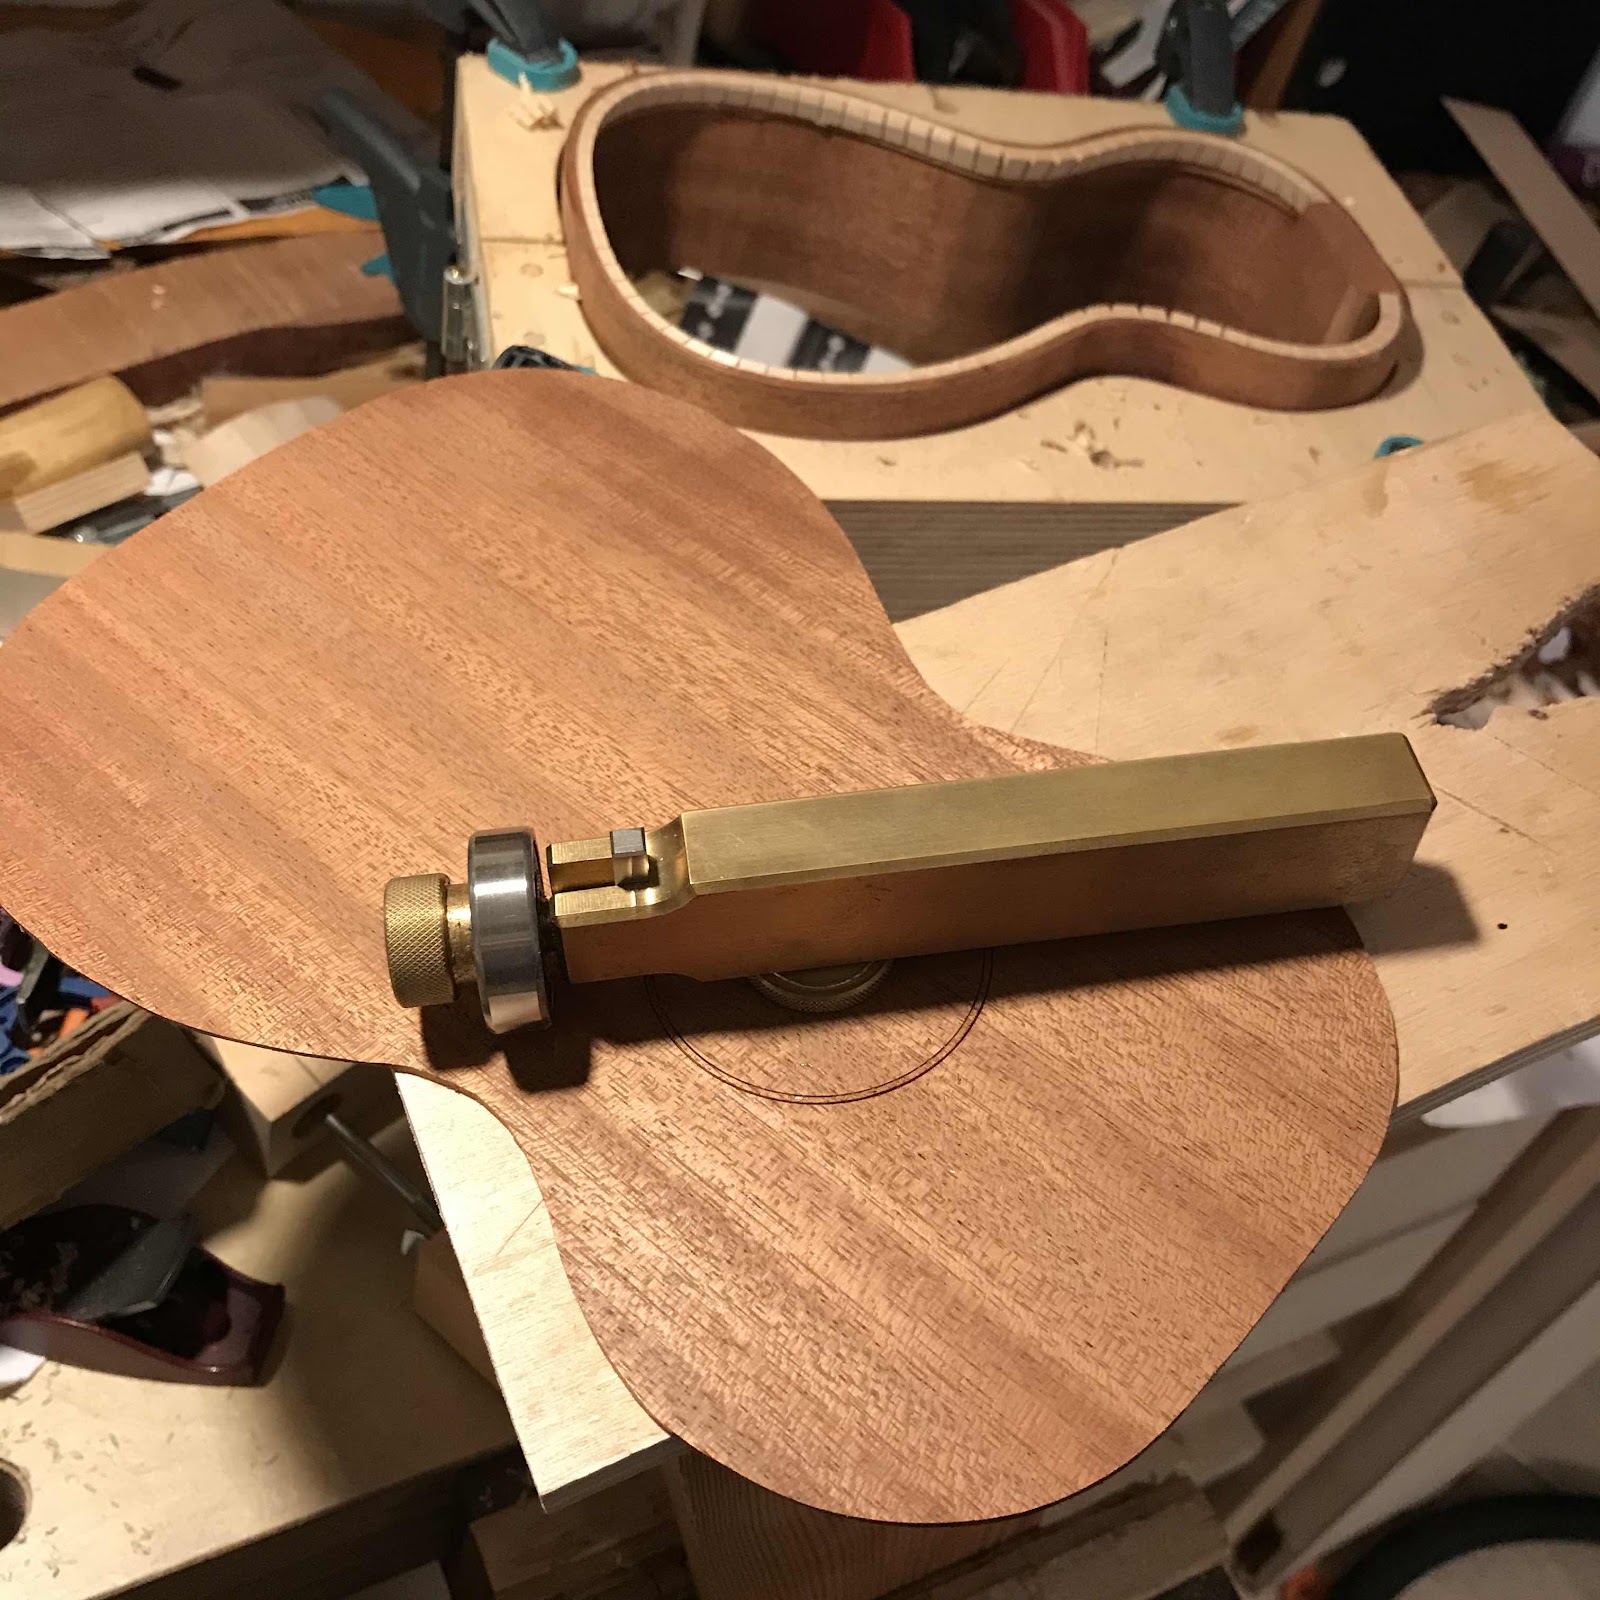
And here I’m cutting out the large hole with my circle cutter. I love it so much. Look up Micheal Connor, master tool maker. But don’t do it if you’re worried about paying realistic prices for handmade, top-quality tools. Tip: it’s so worth it. 


I need cleats to hold everything in place, so I use the only short length of kerfed lining strip these ukes will ever see. One by one the segments are superglued in place around the perimeter. 


And here’s where we’re at. I’ve cut out the pieces of steel mesh which are going to be glued in place, but can’t mix the epoxy now. My wife does not like the smell and the workshop is right next to our bed room. I’ll do it tomorrow before shuffling to the day job with a heavy heart and a hunched back.